BiadaGO Product Management: Adding Products and Categories
BiadaGO Product Management: Adding Products and Categories
In the realm of BiadaGO Product Management, this guide will walk you through the essential steps to add products and categories efficiently
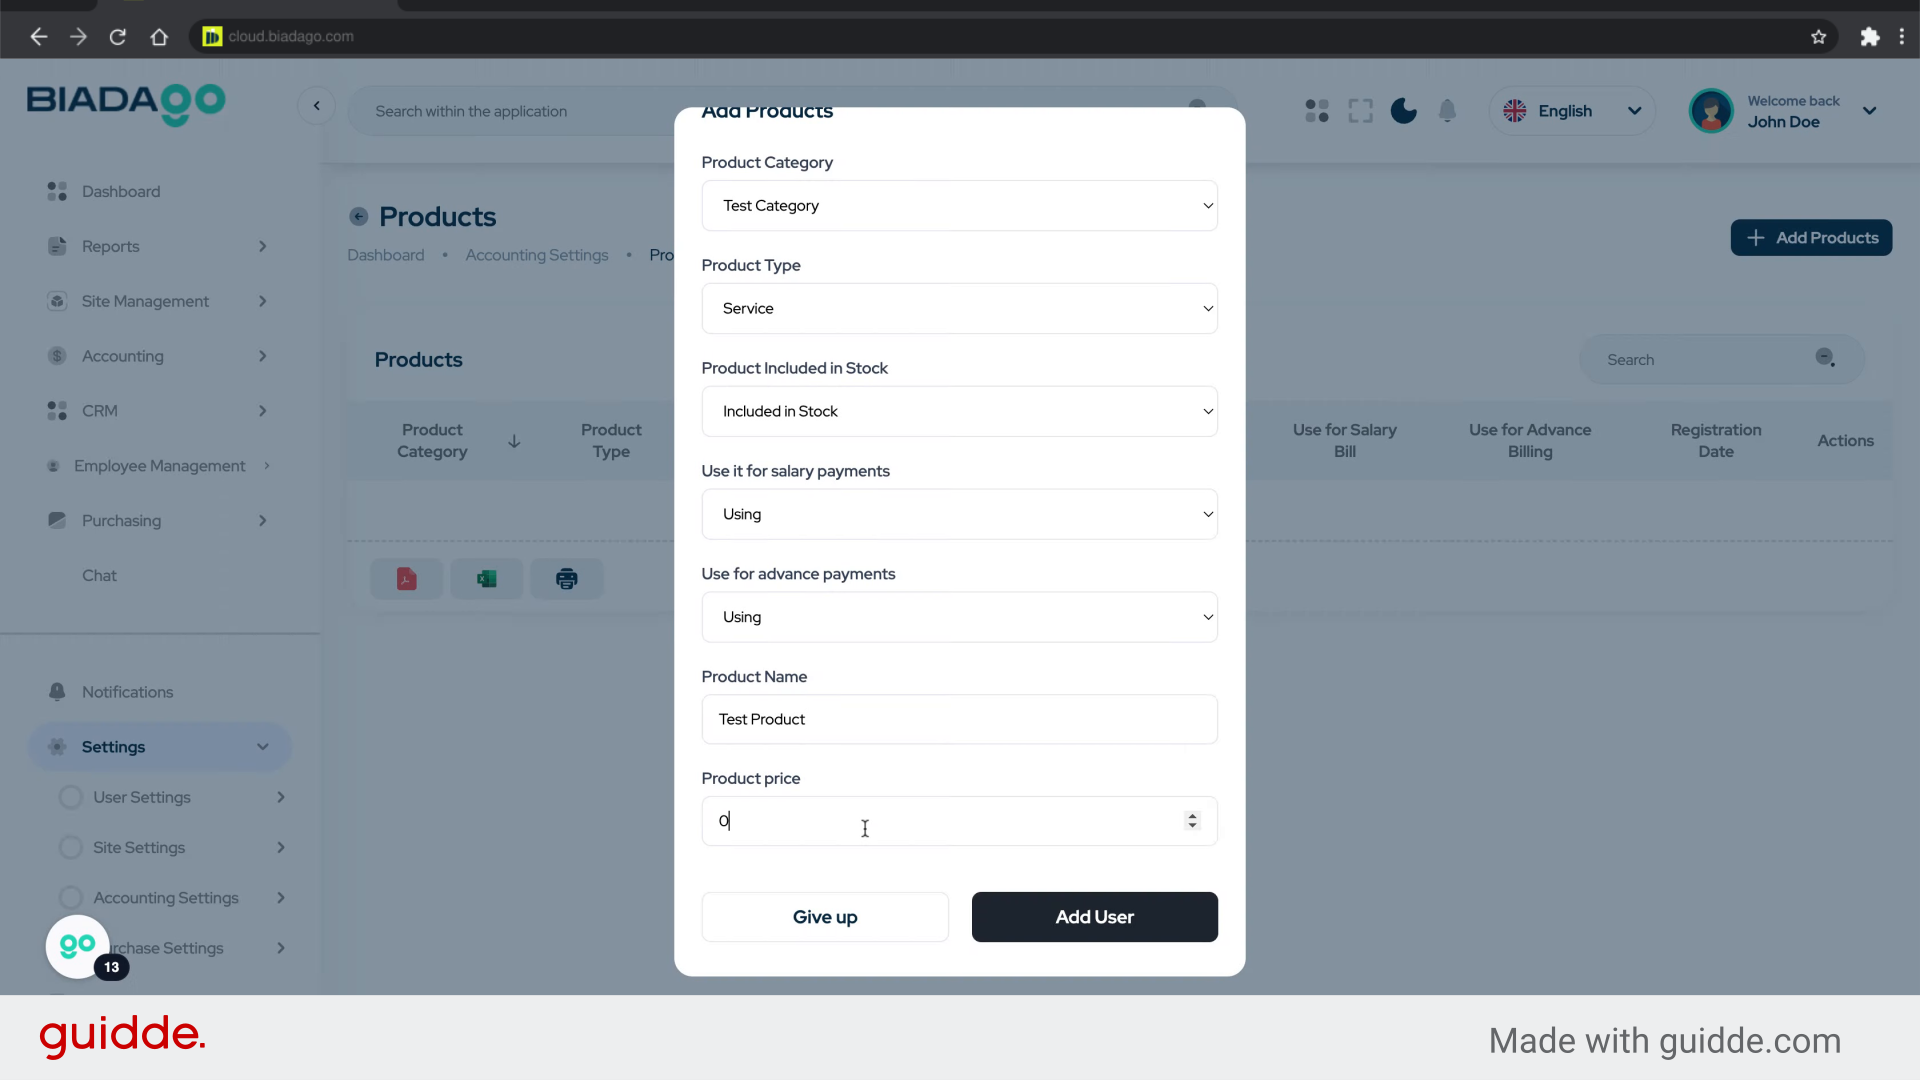
Go to cloud.biadago.com
1. Introduction
By following these instructions, you can streamline your inventory organization and optimize your product offerings.

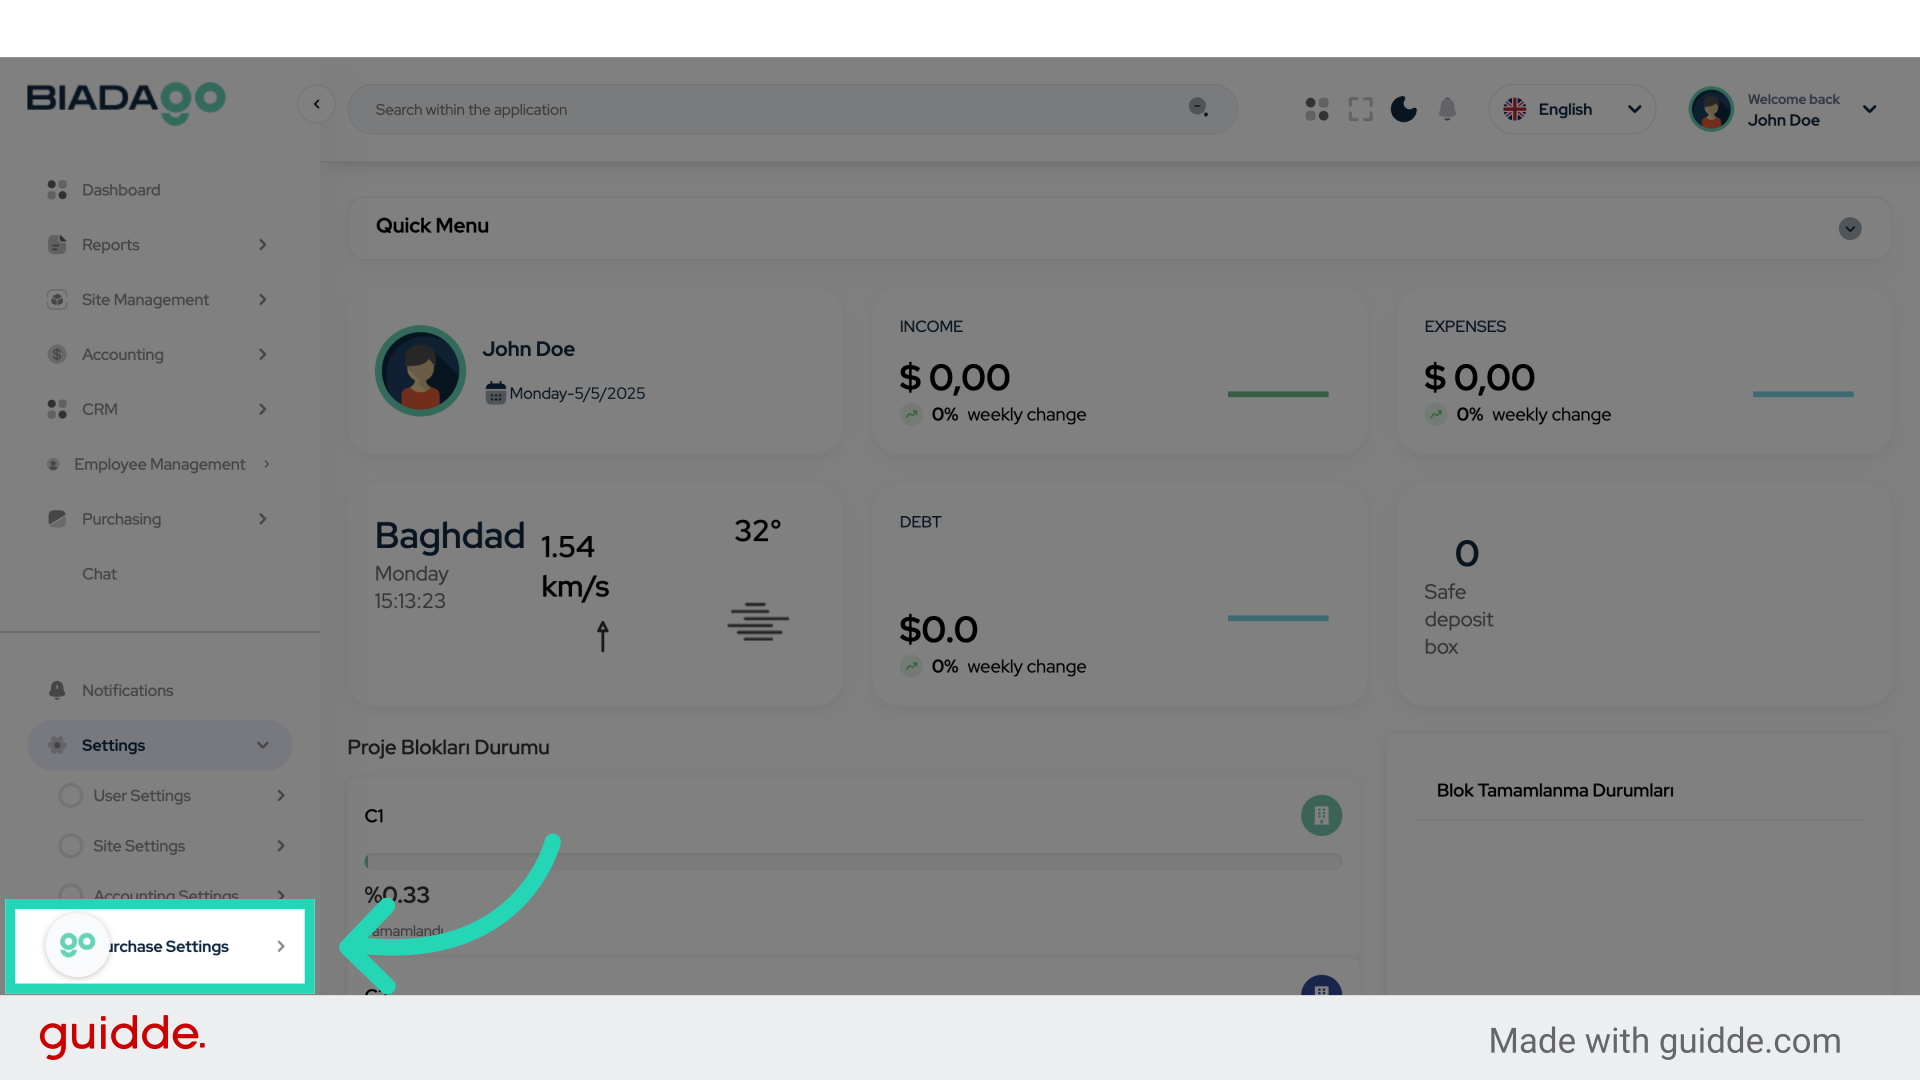
2. Click “Purchase Settings”
Access the purchase settings to set up your products and categories efficiently.
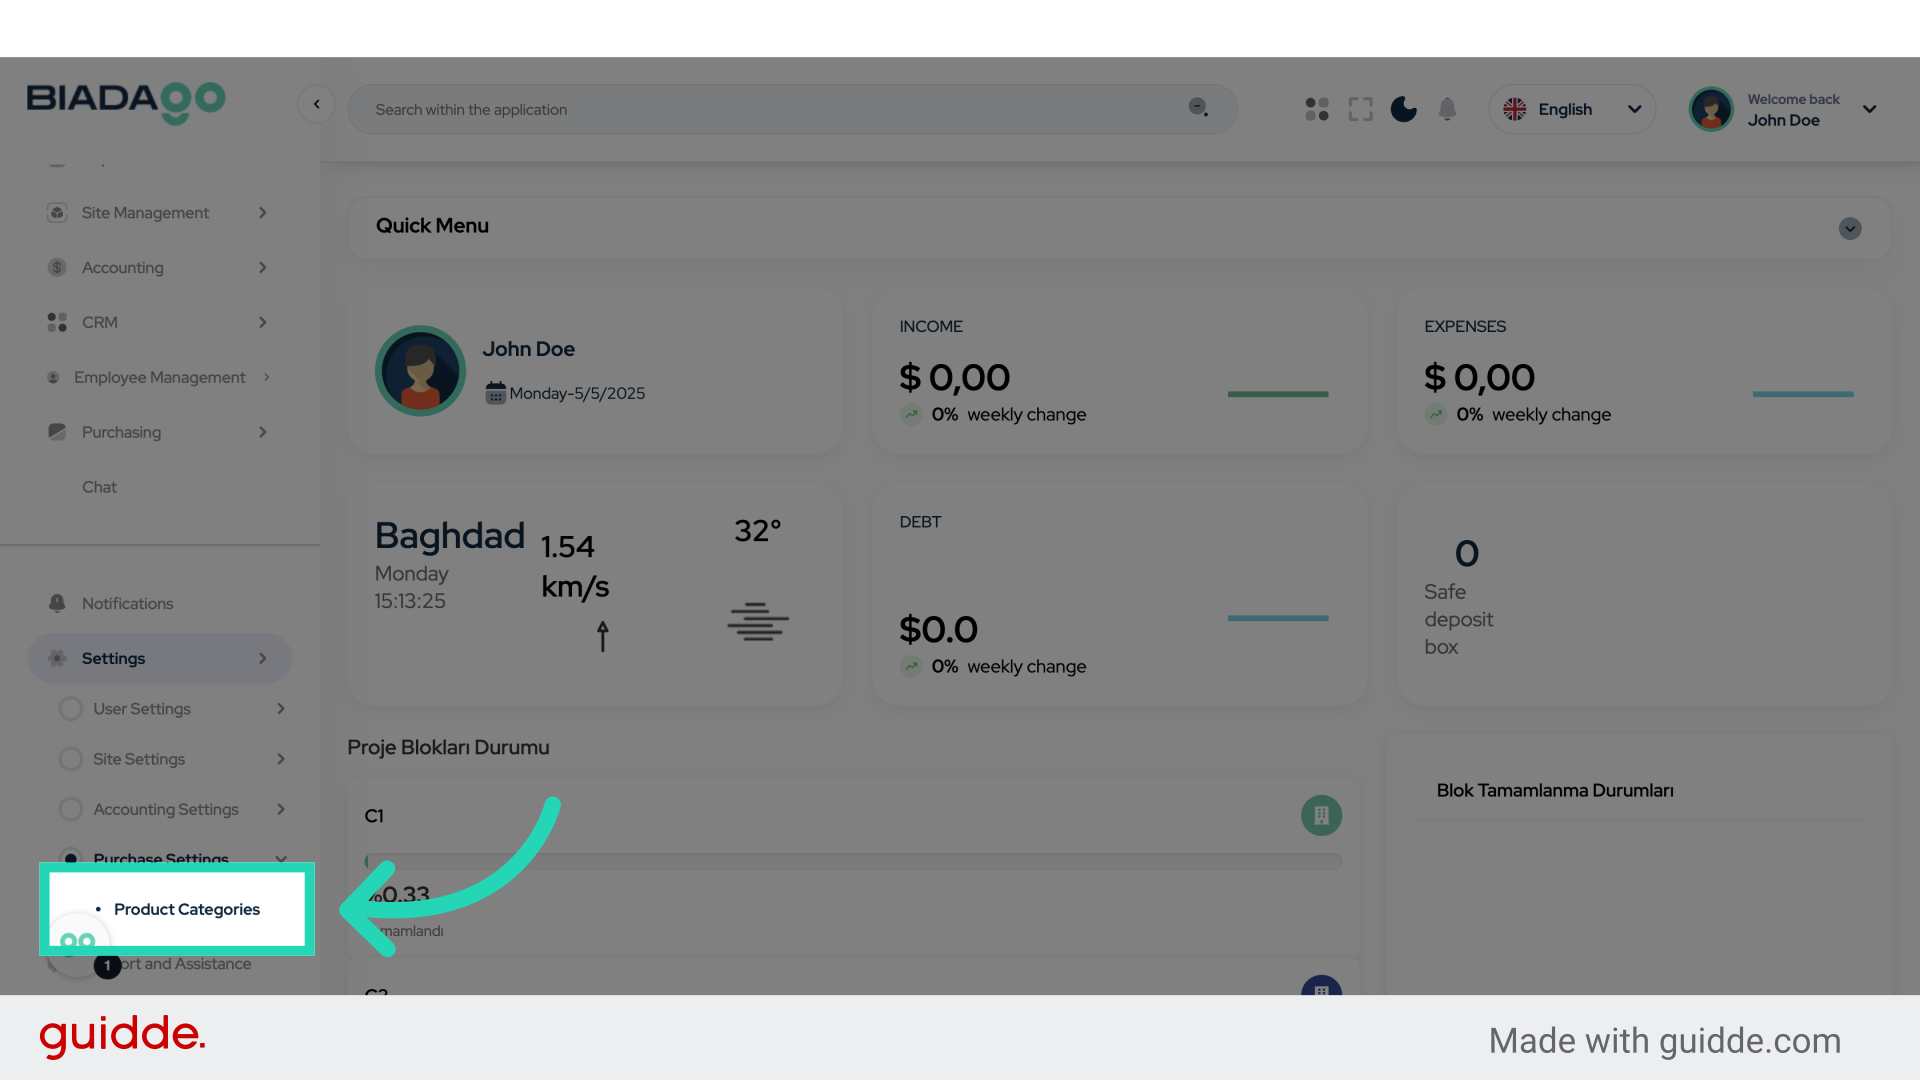
3. Click “Product Categories”
Navigate to the product categories section to organize your products effectively.
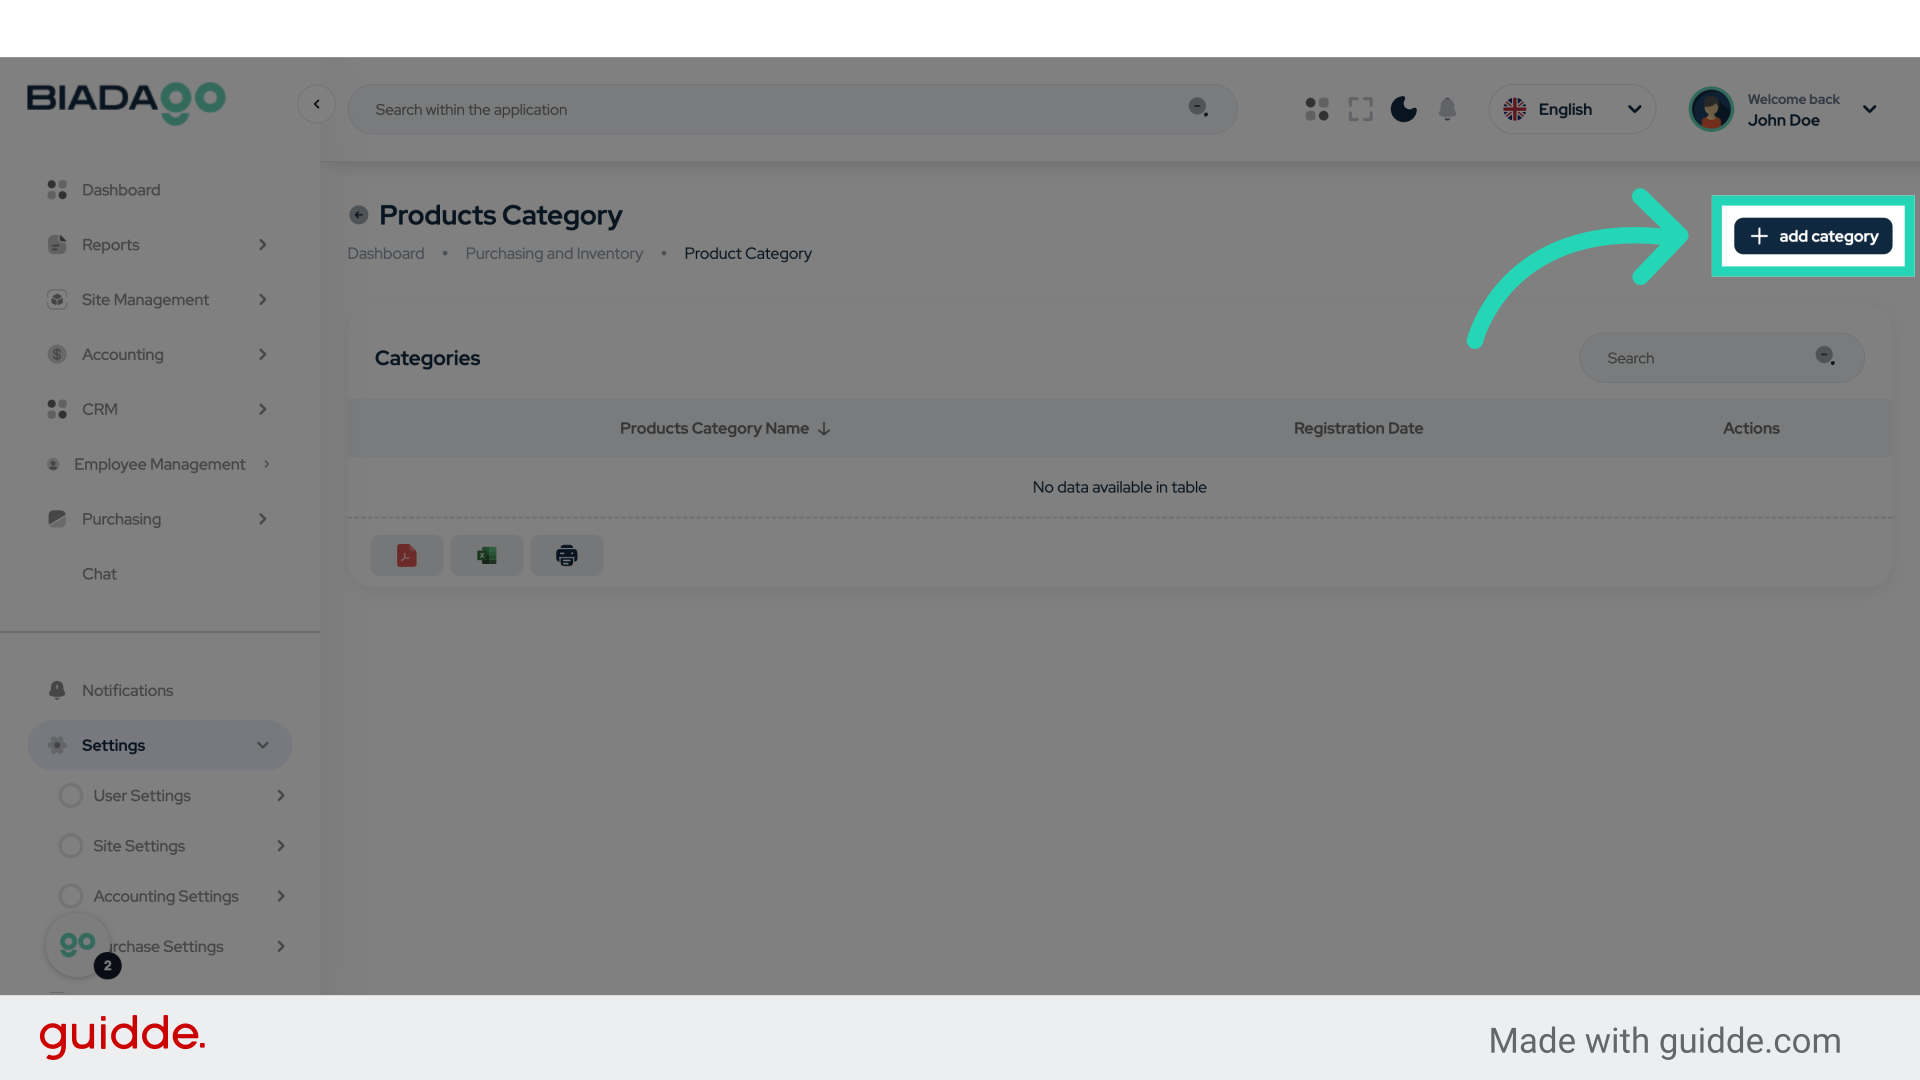
4. Click “add category”
Add a new category to classify your products for better management.
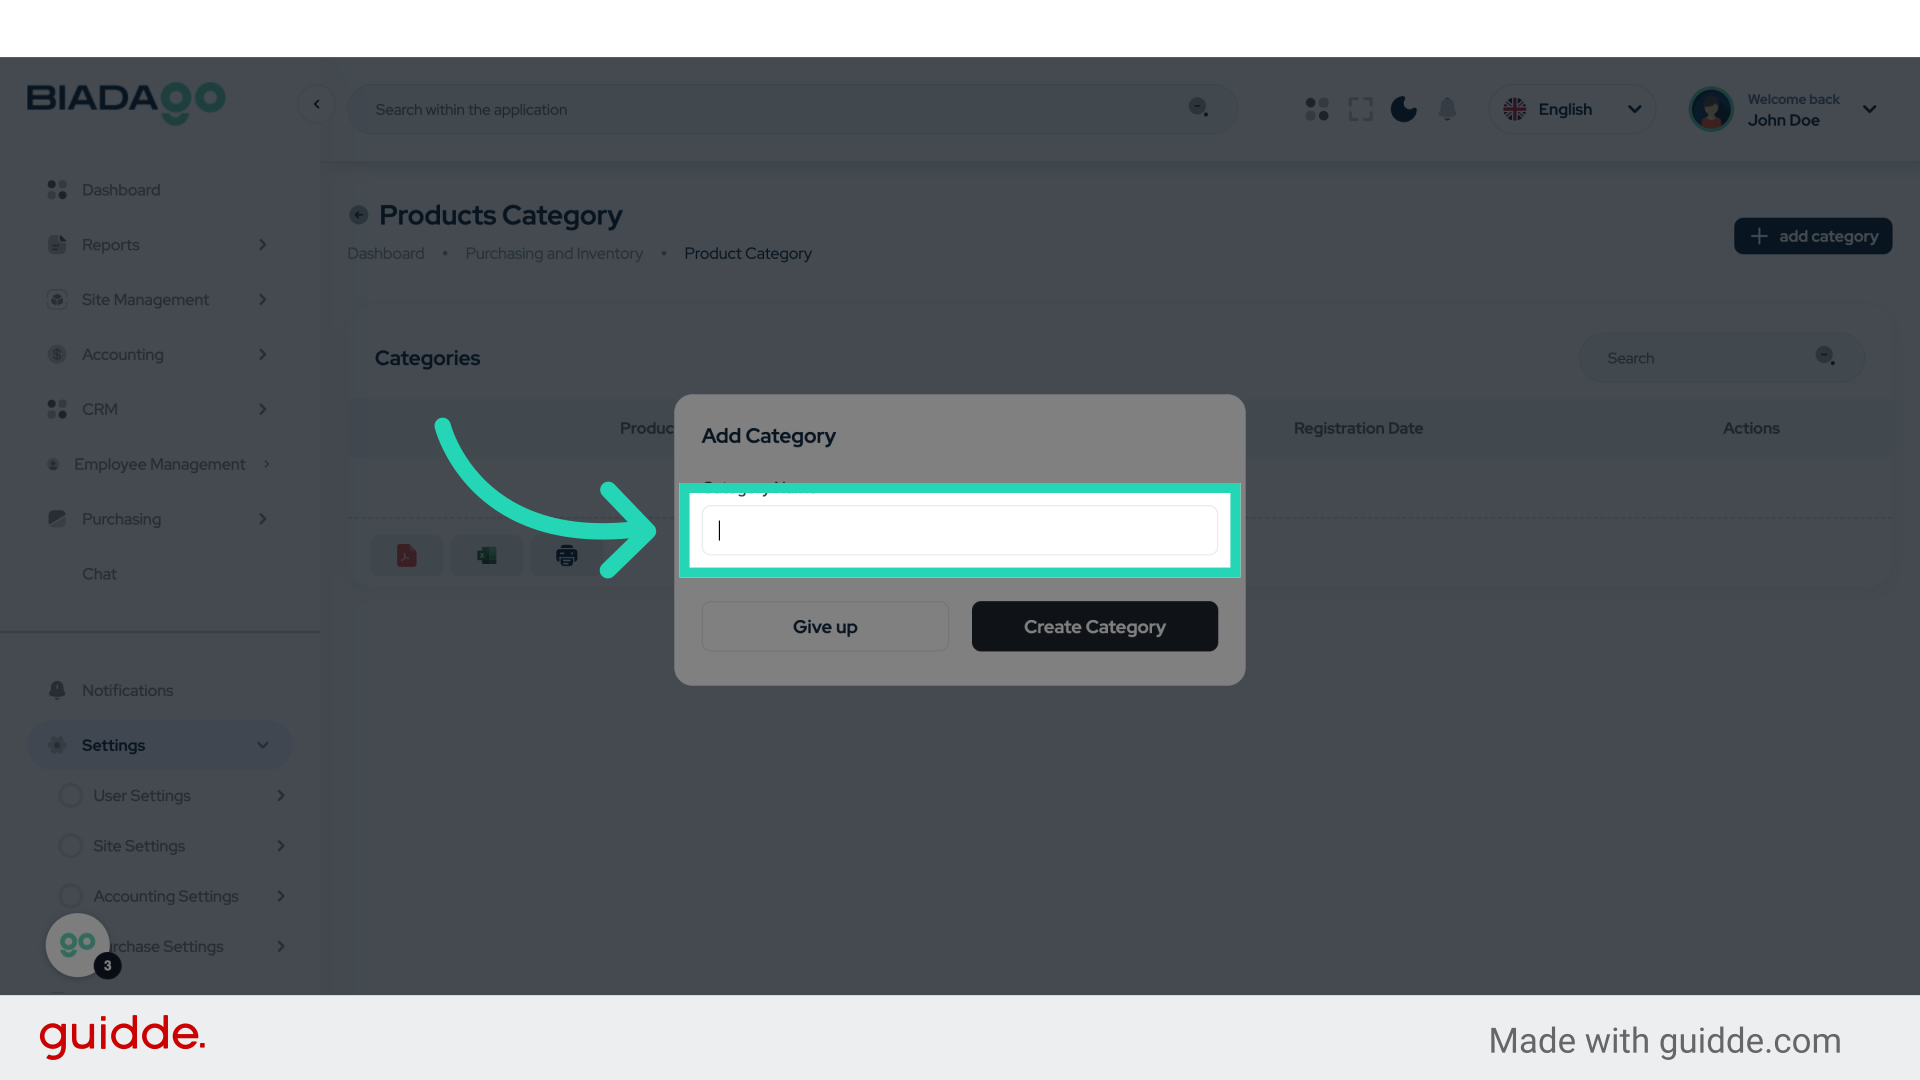
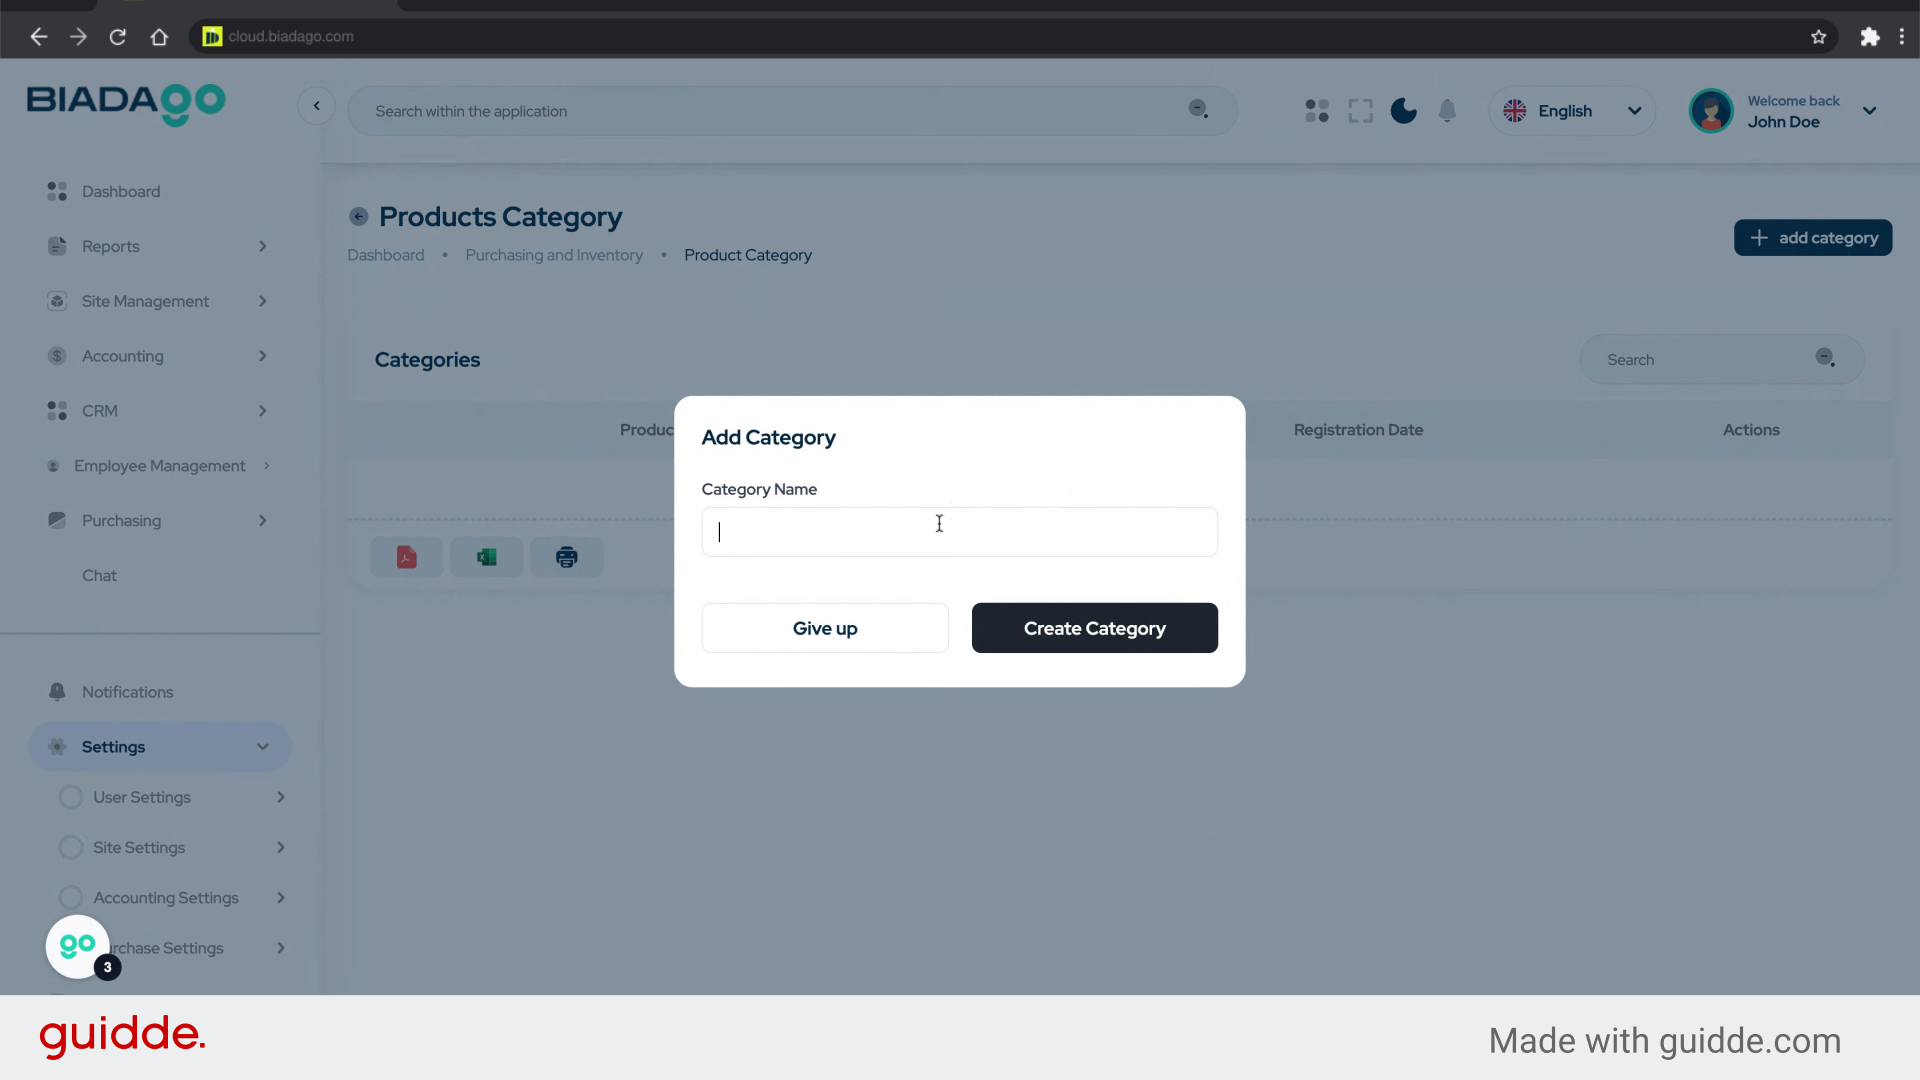
5. Click “Category Name”
Enter the name for the category you are creating.
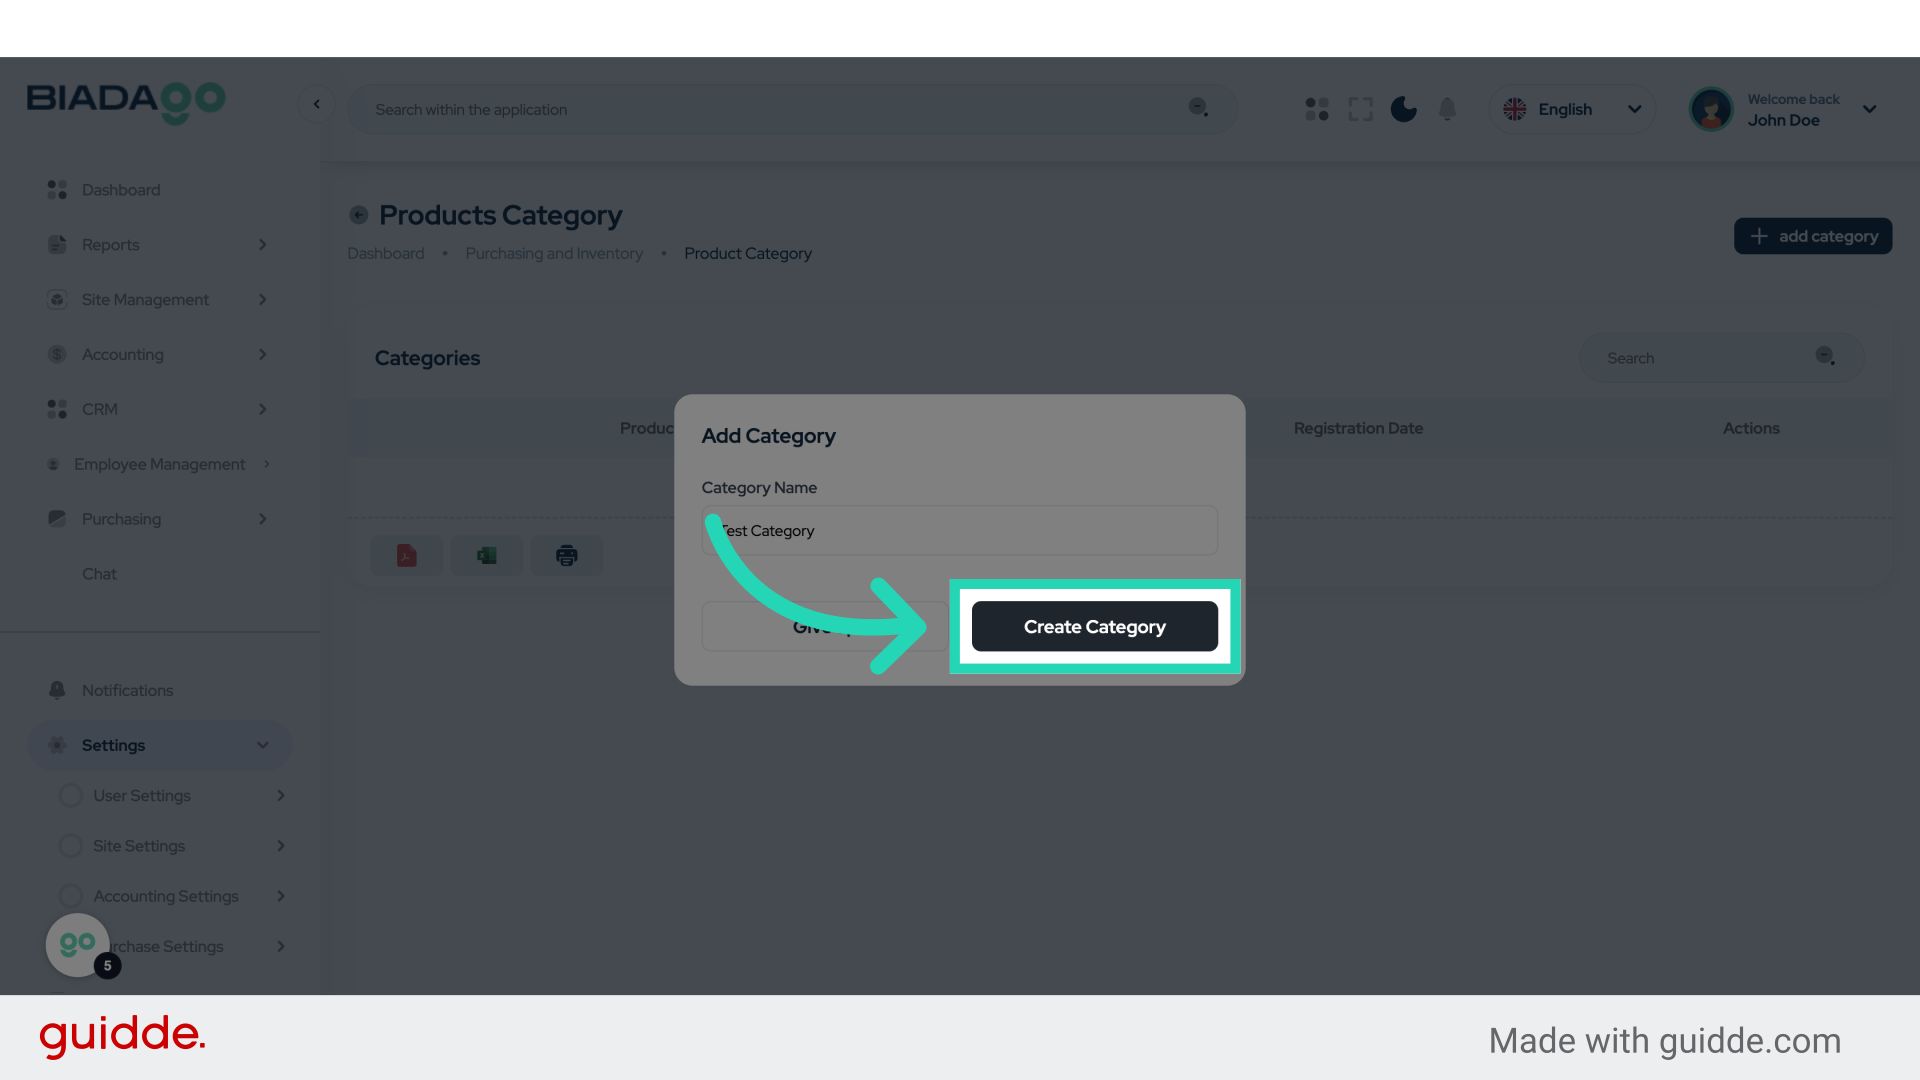
6. Fill “Test Category”
Fill in “Test Category”
7. Click “Create Category”
Finalize and create the category you have just set up.
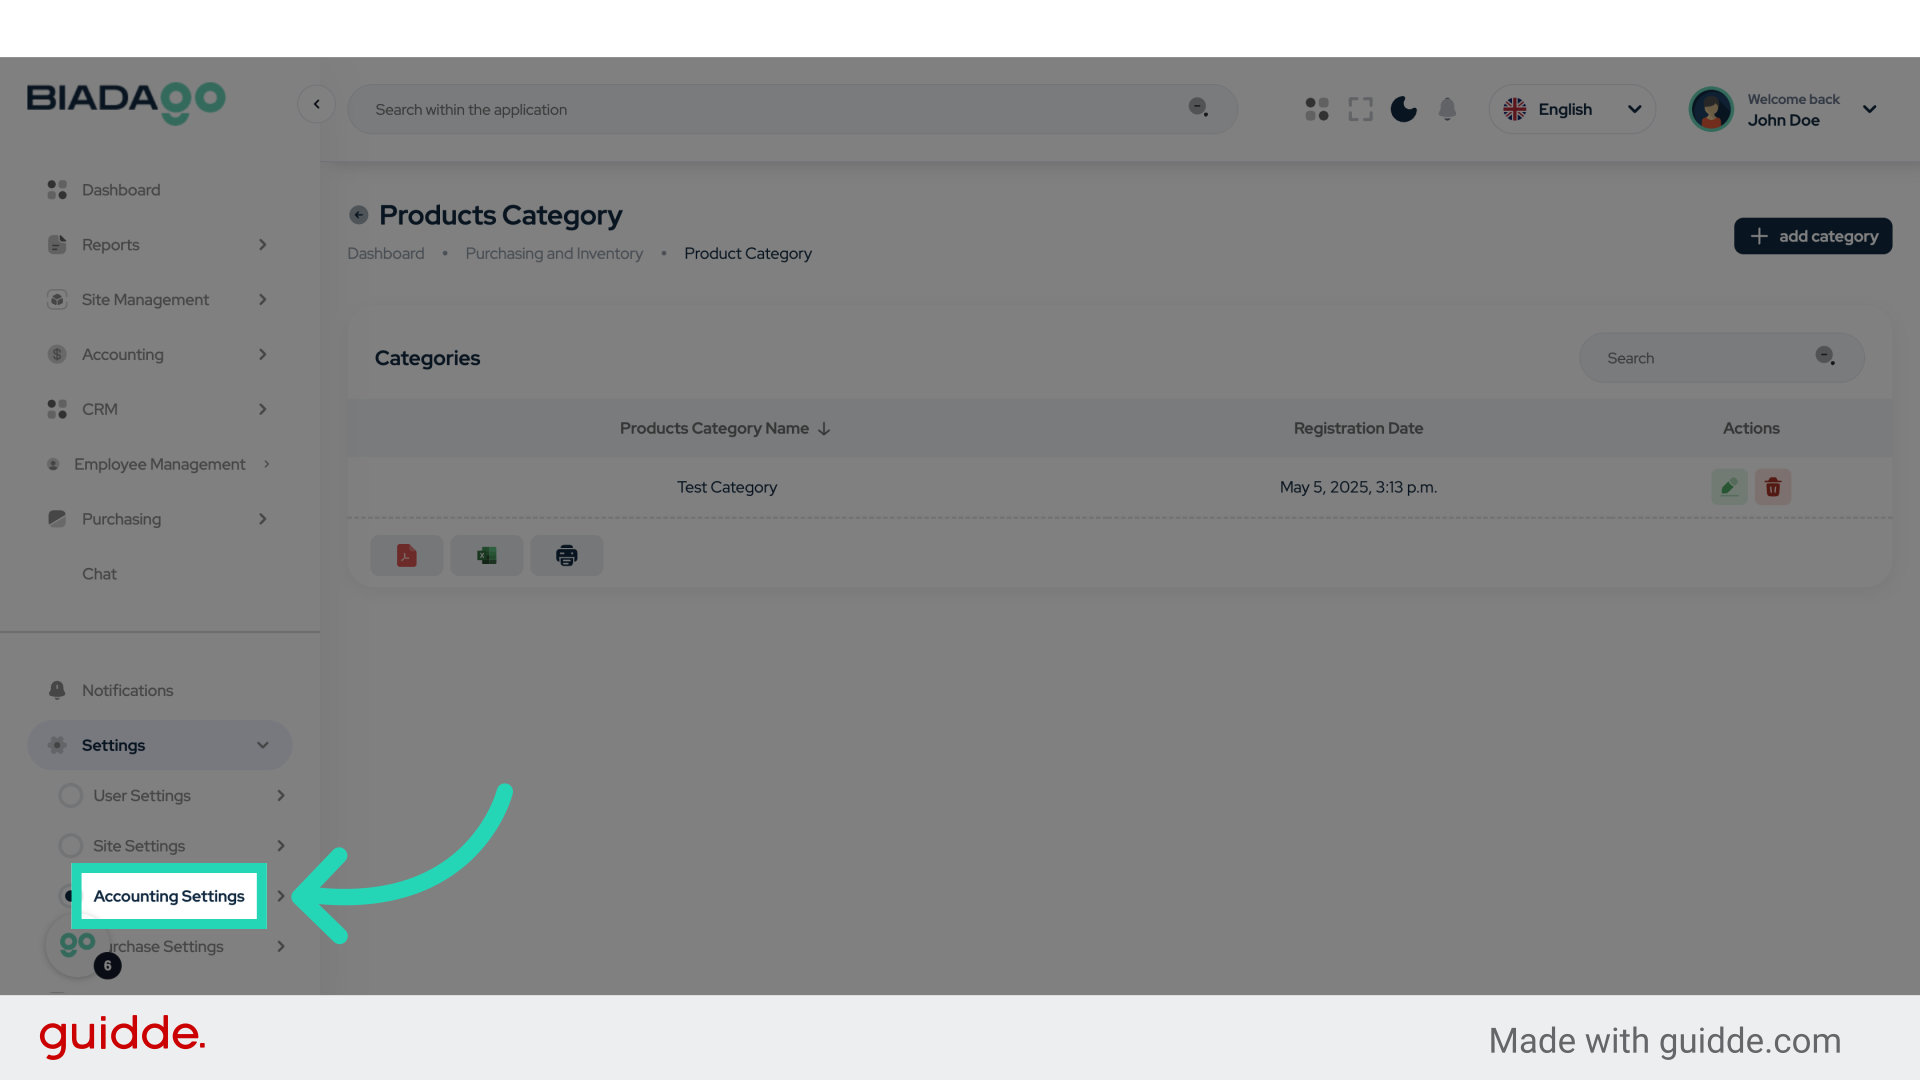
8. Click “Accounting Settings”
Access the accounting settings to configure financial aspects related to your products.
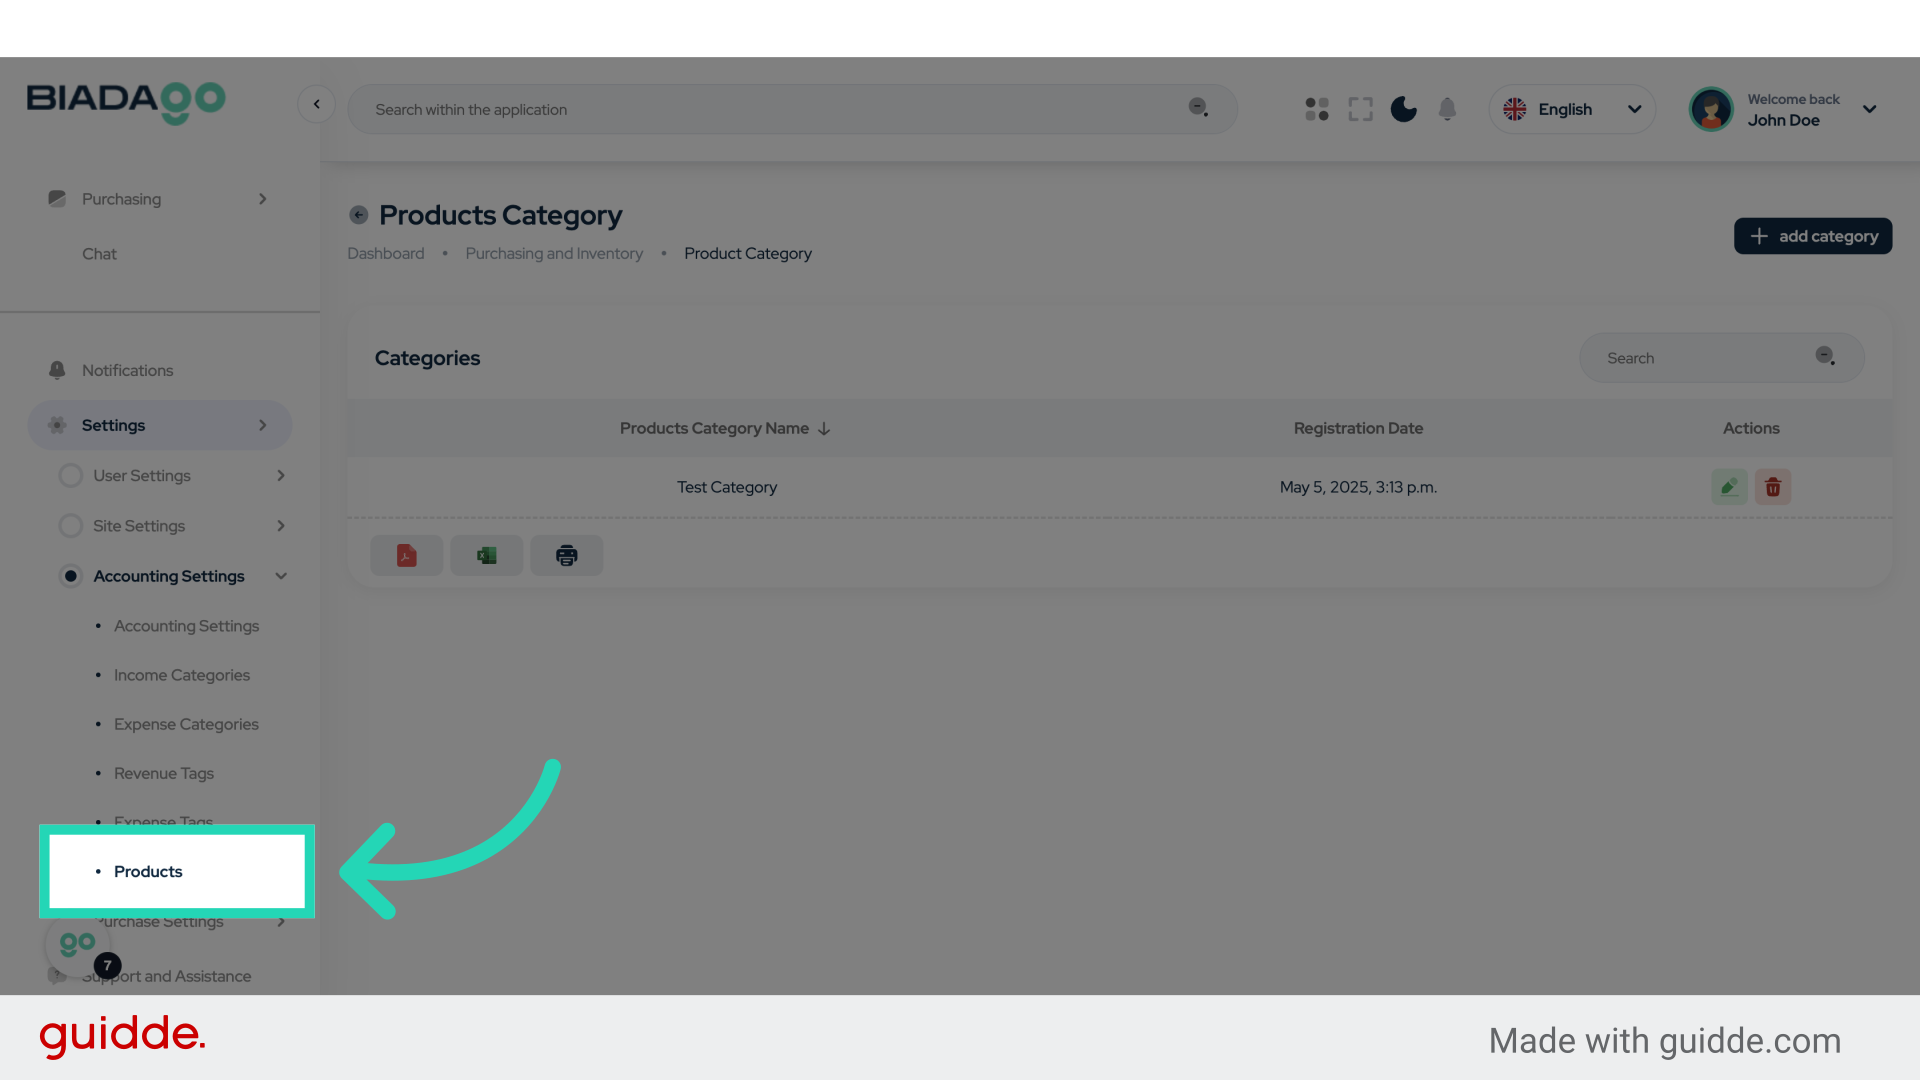
9. Click “Products”
Go to the products section to manage your inventory efficiently.
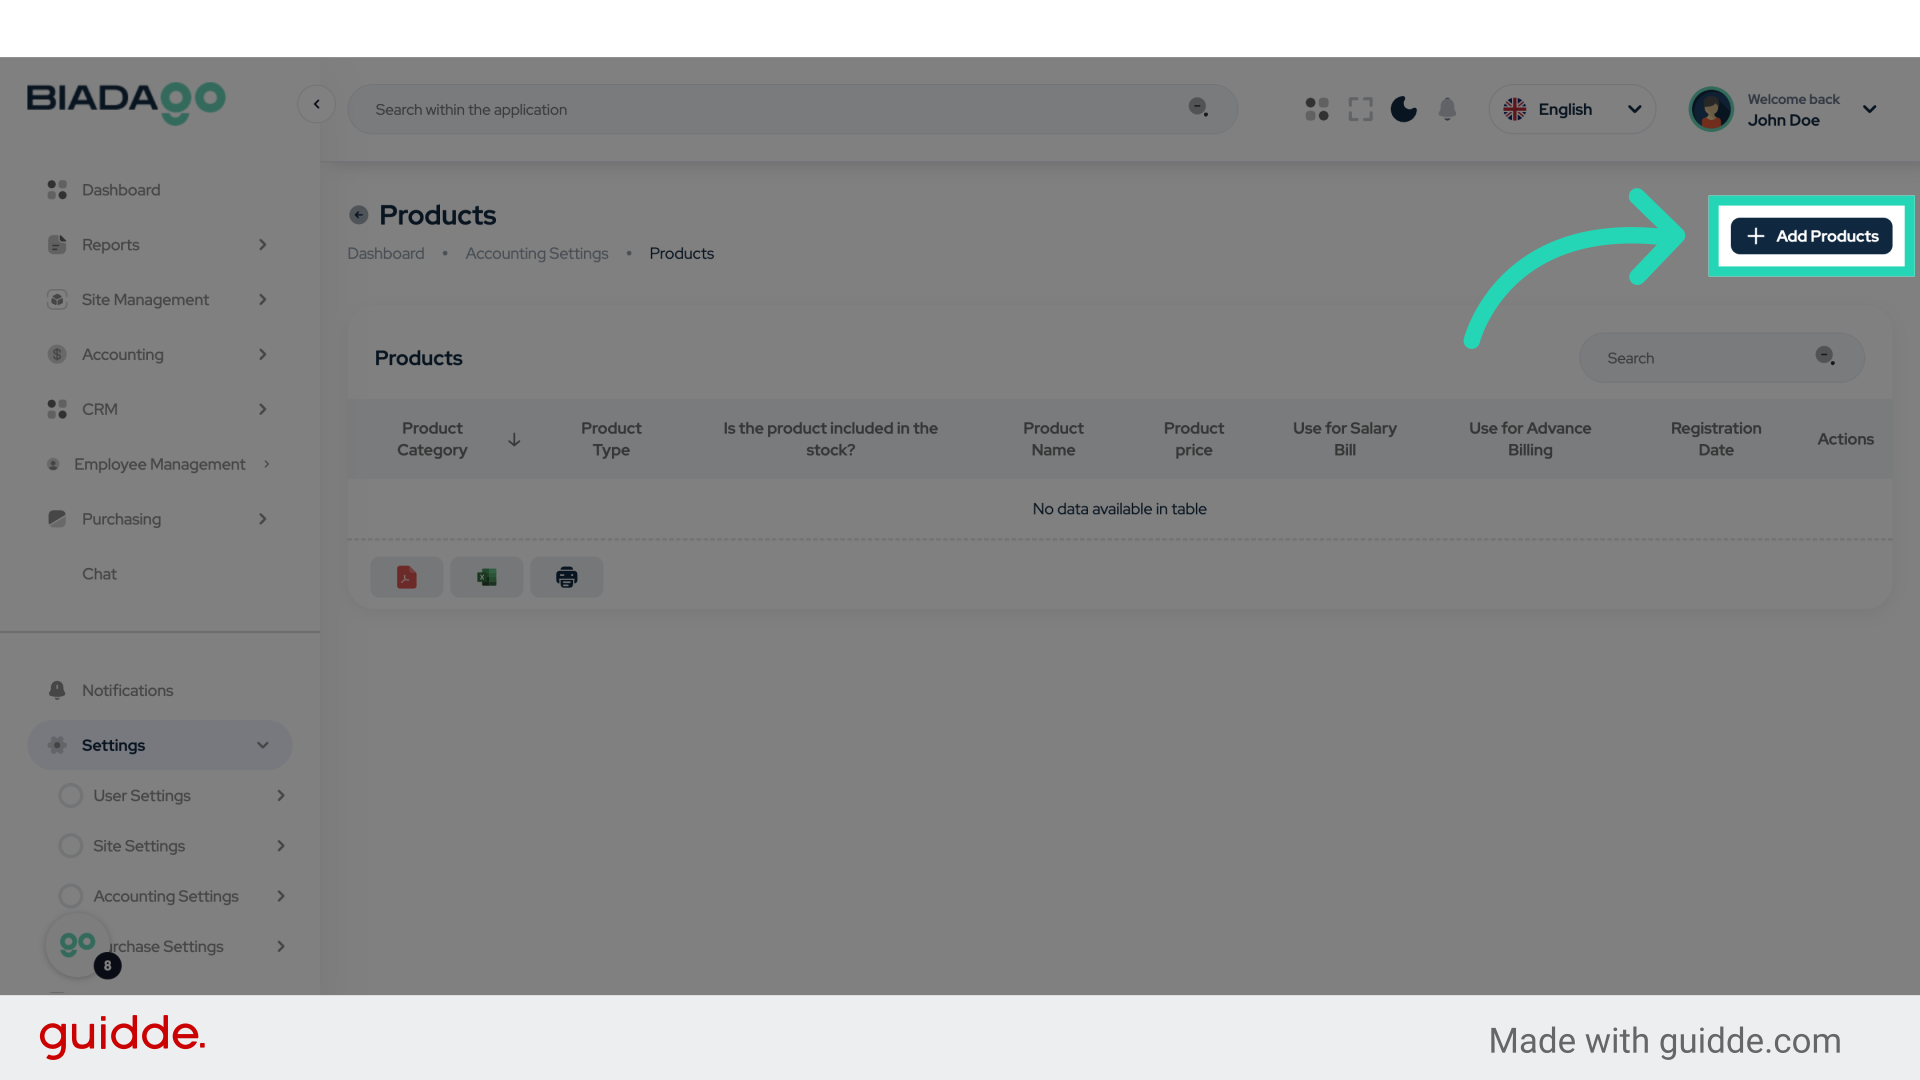
10. Click “Add Products”
Add new products to your inventory for tracking and sales purposes.
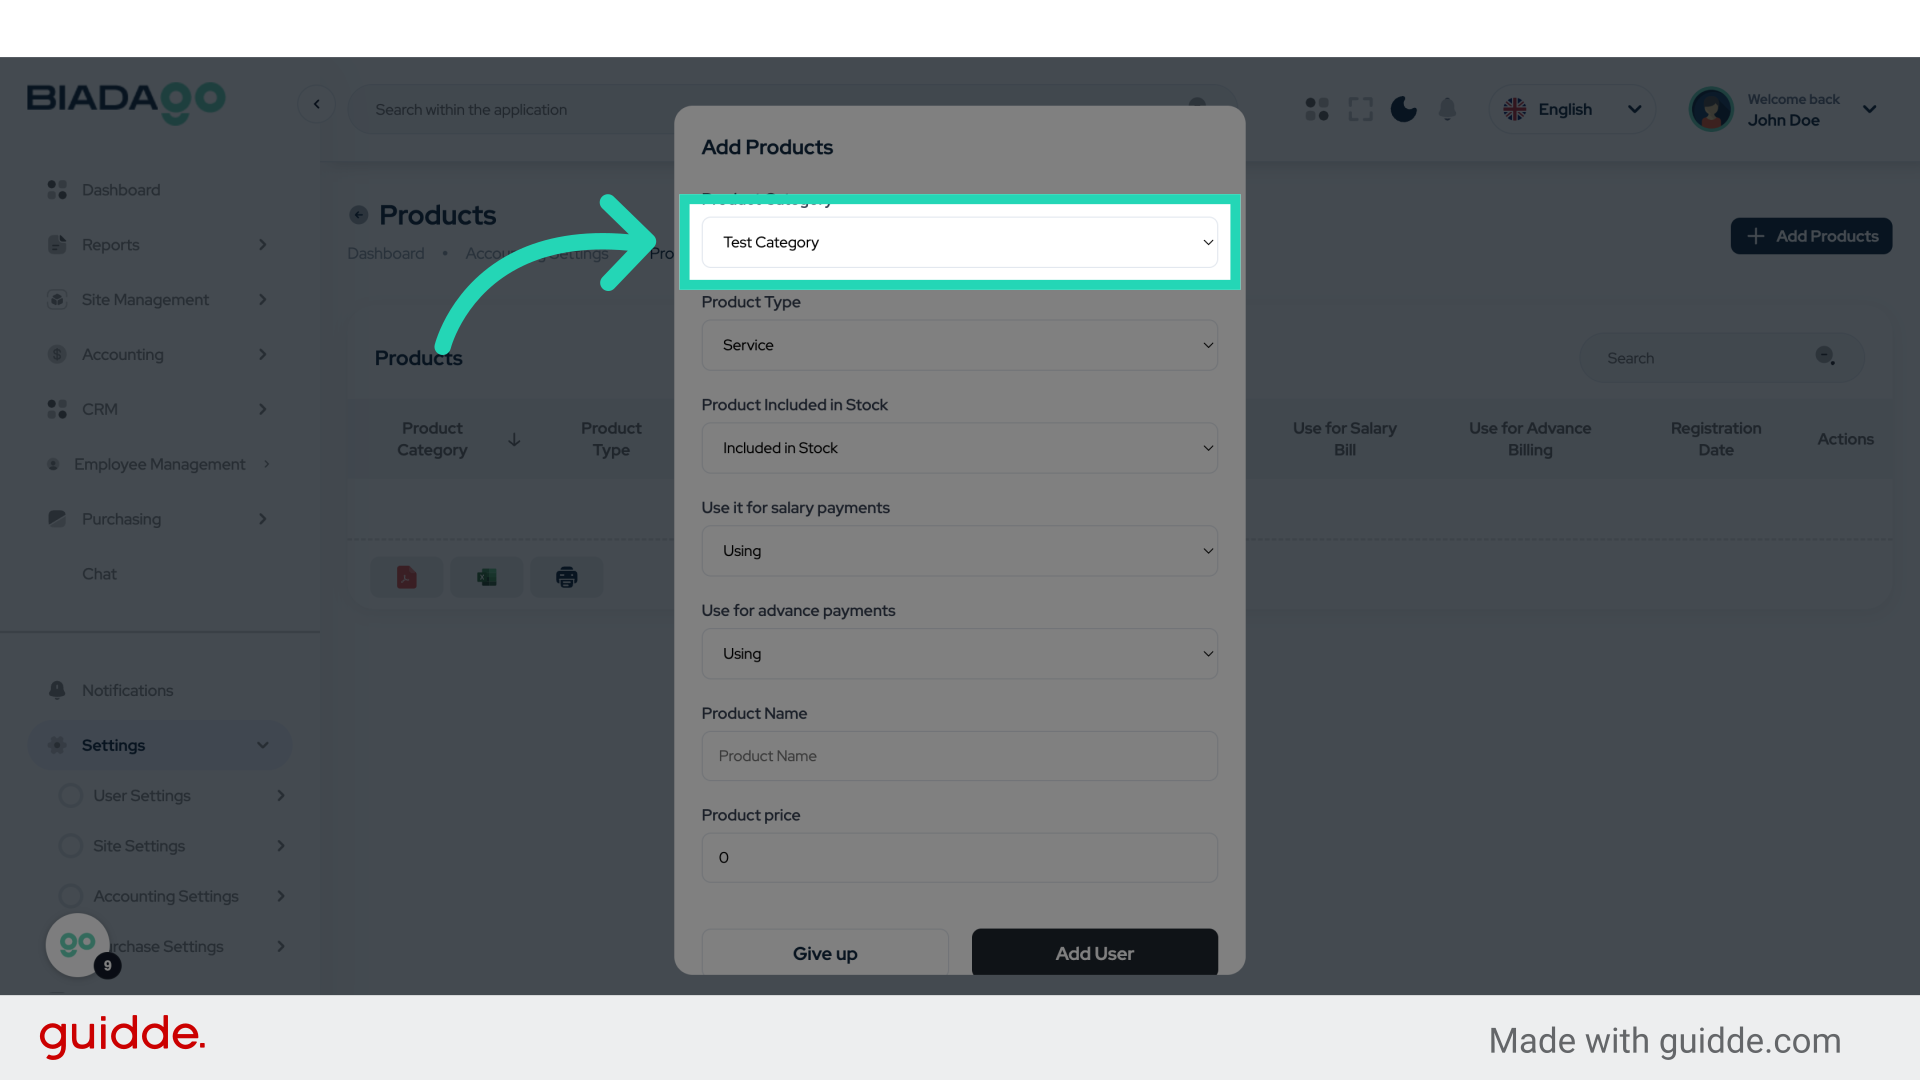
11. Click “Test Category”
Select the test category for product placement and testing.
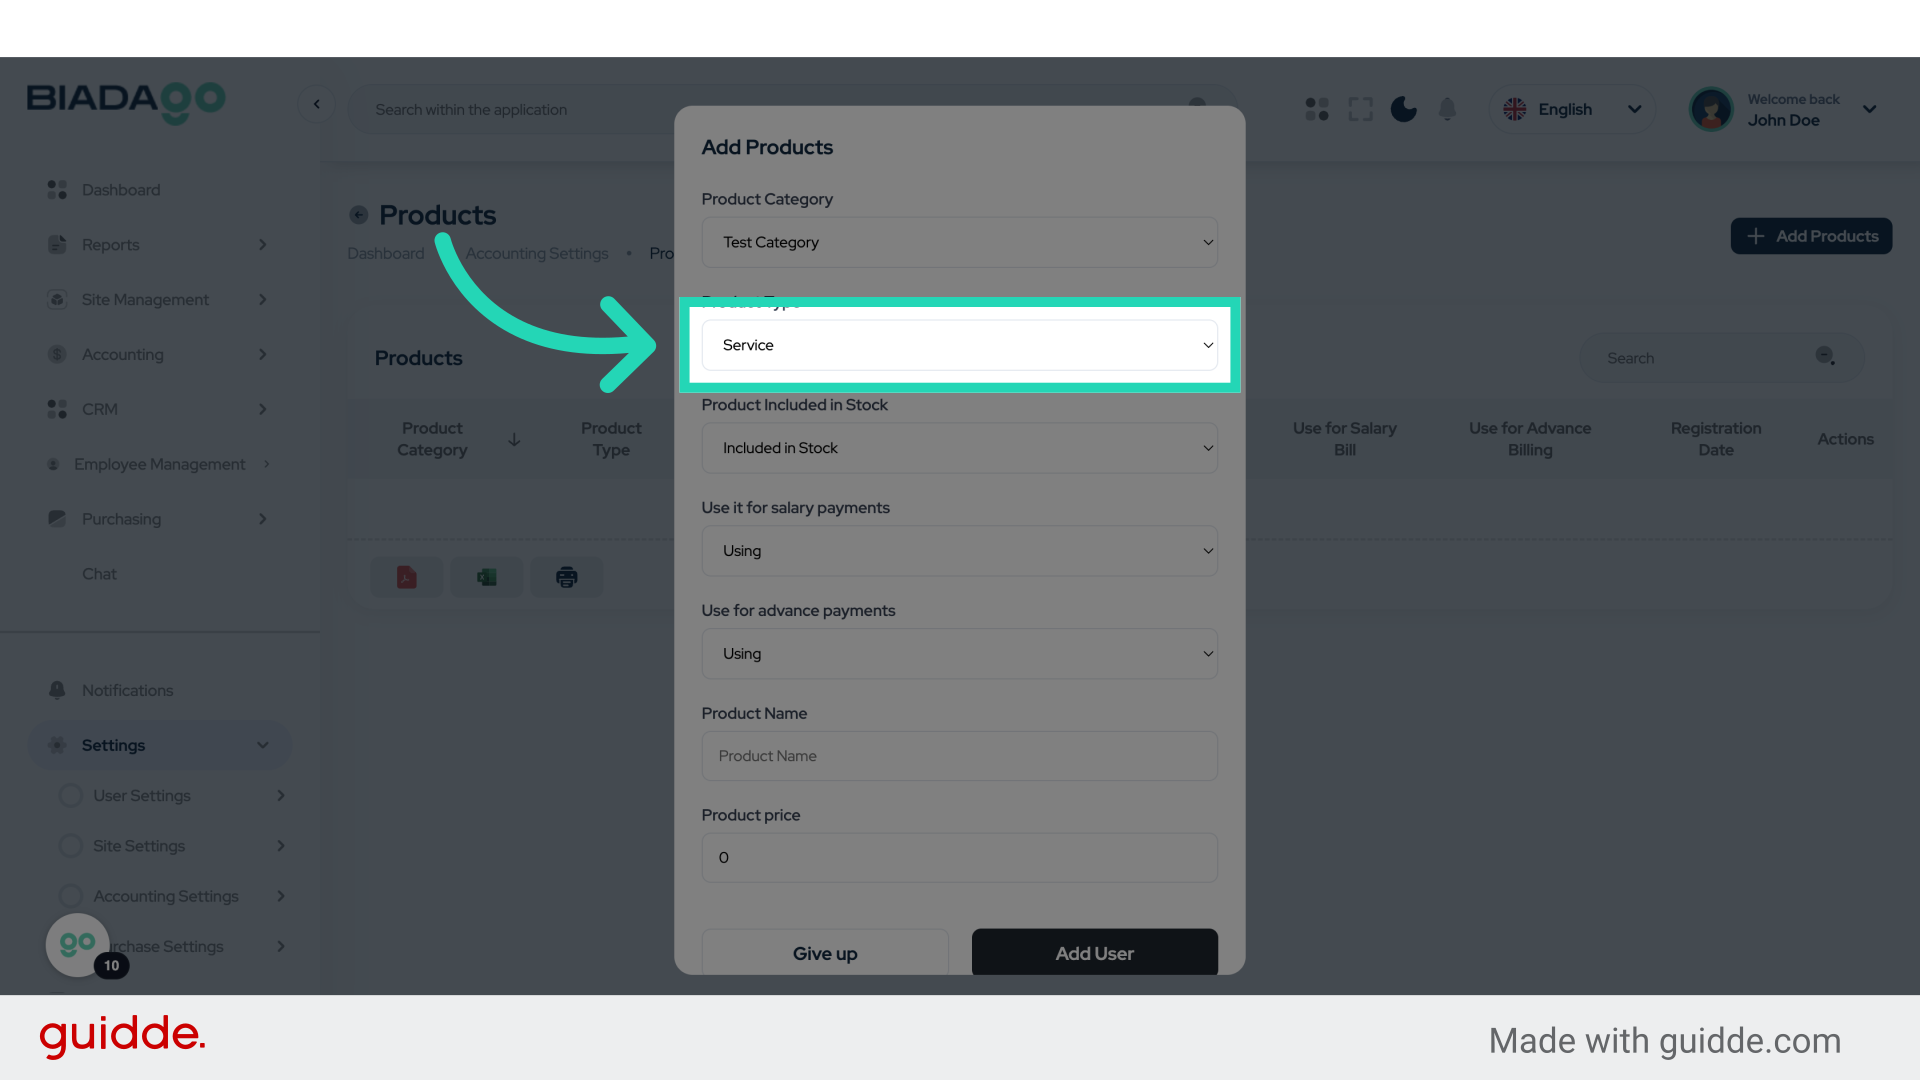
12. Click “Service
Stock Product”
Specify whether the product is included or not in stock for accurate inventory management.
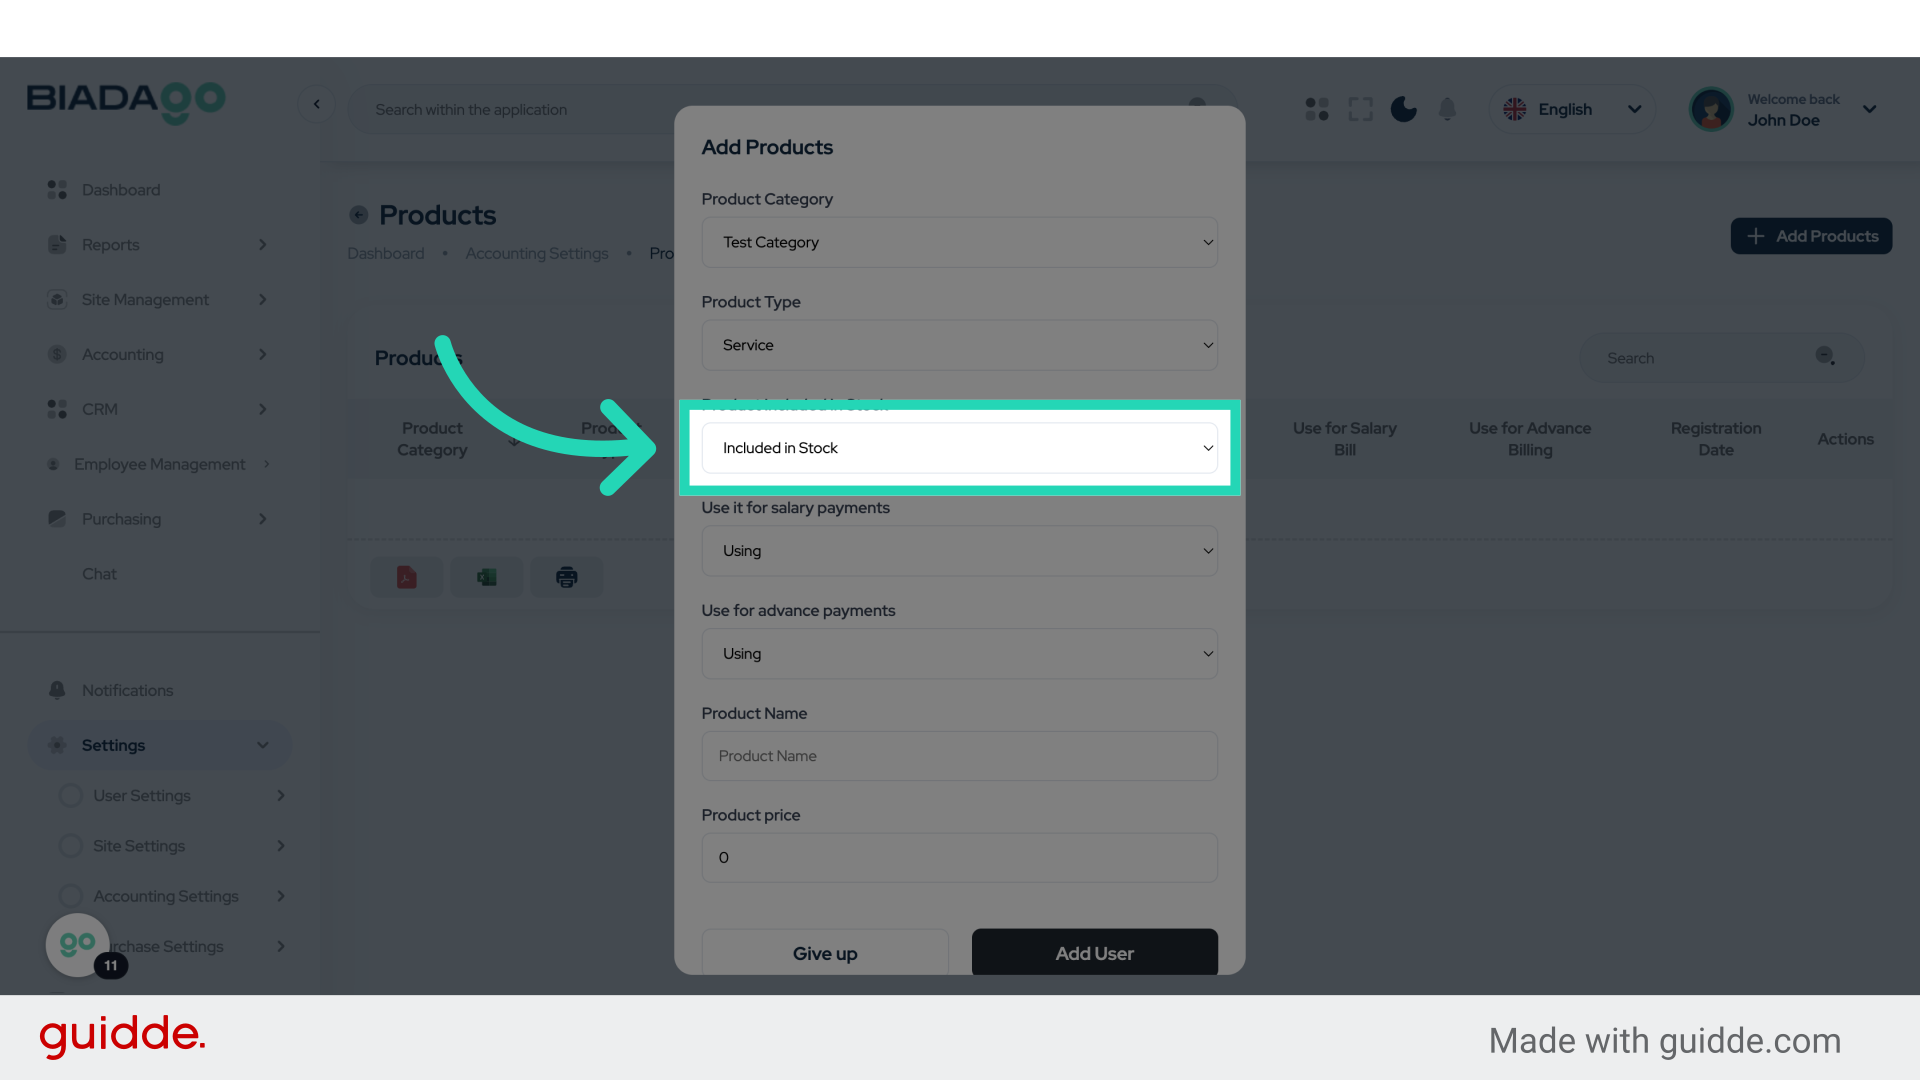
13. Click “Included in Stock
Not Included in Stock”
Choose the appropriate stock status for the product.
14. Click “Product Name”
Enter the name of the product you are adding.
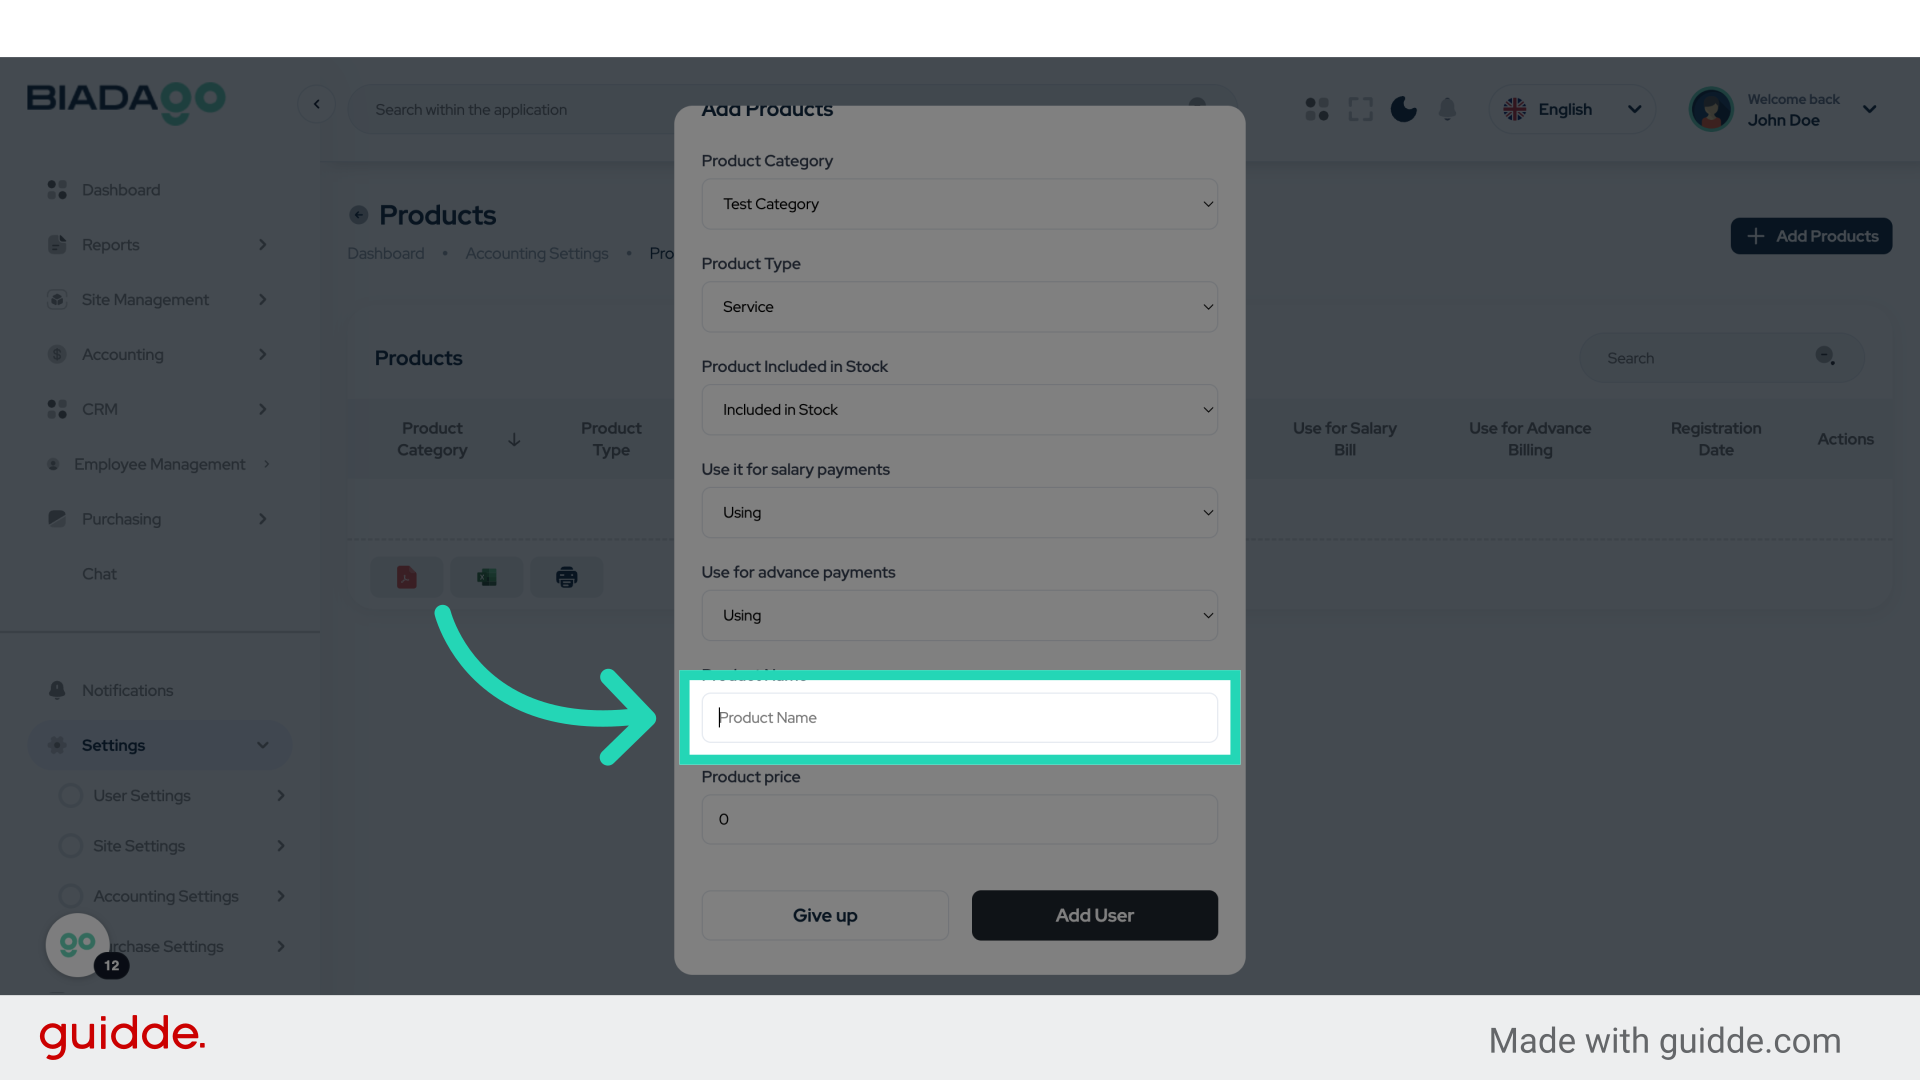
15. Fill “Test Product”
Enter “Test Product” in the provided field

16. Click “Product Name”
Ensure the product name is correctly entered.
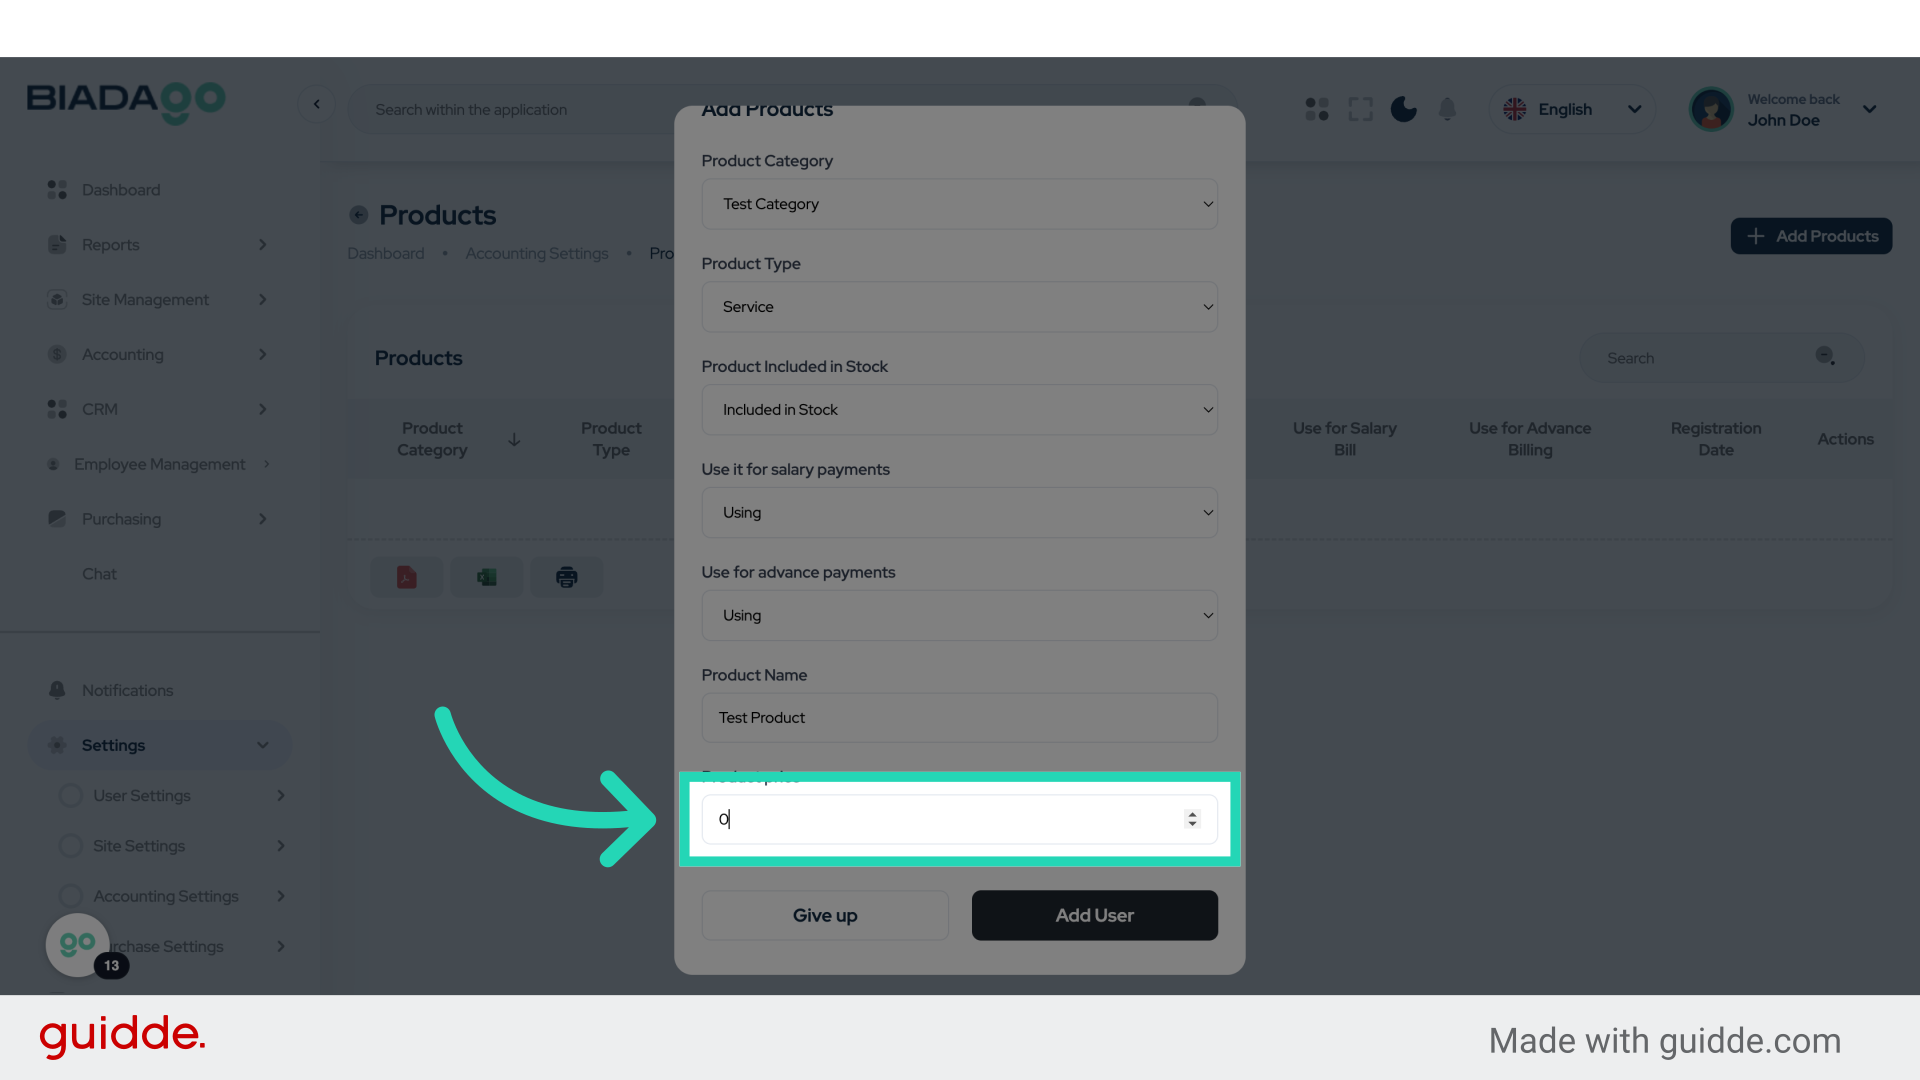
17. Fill “50”
Fill in the text box with “50”
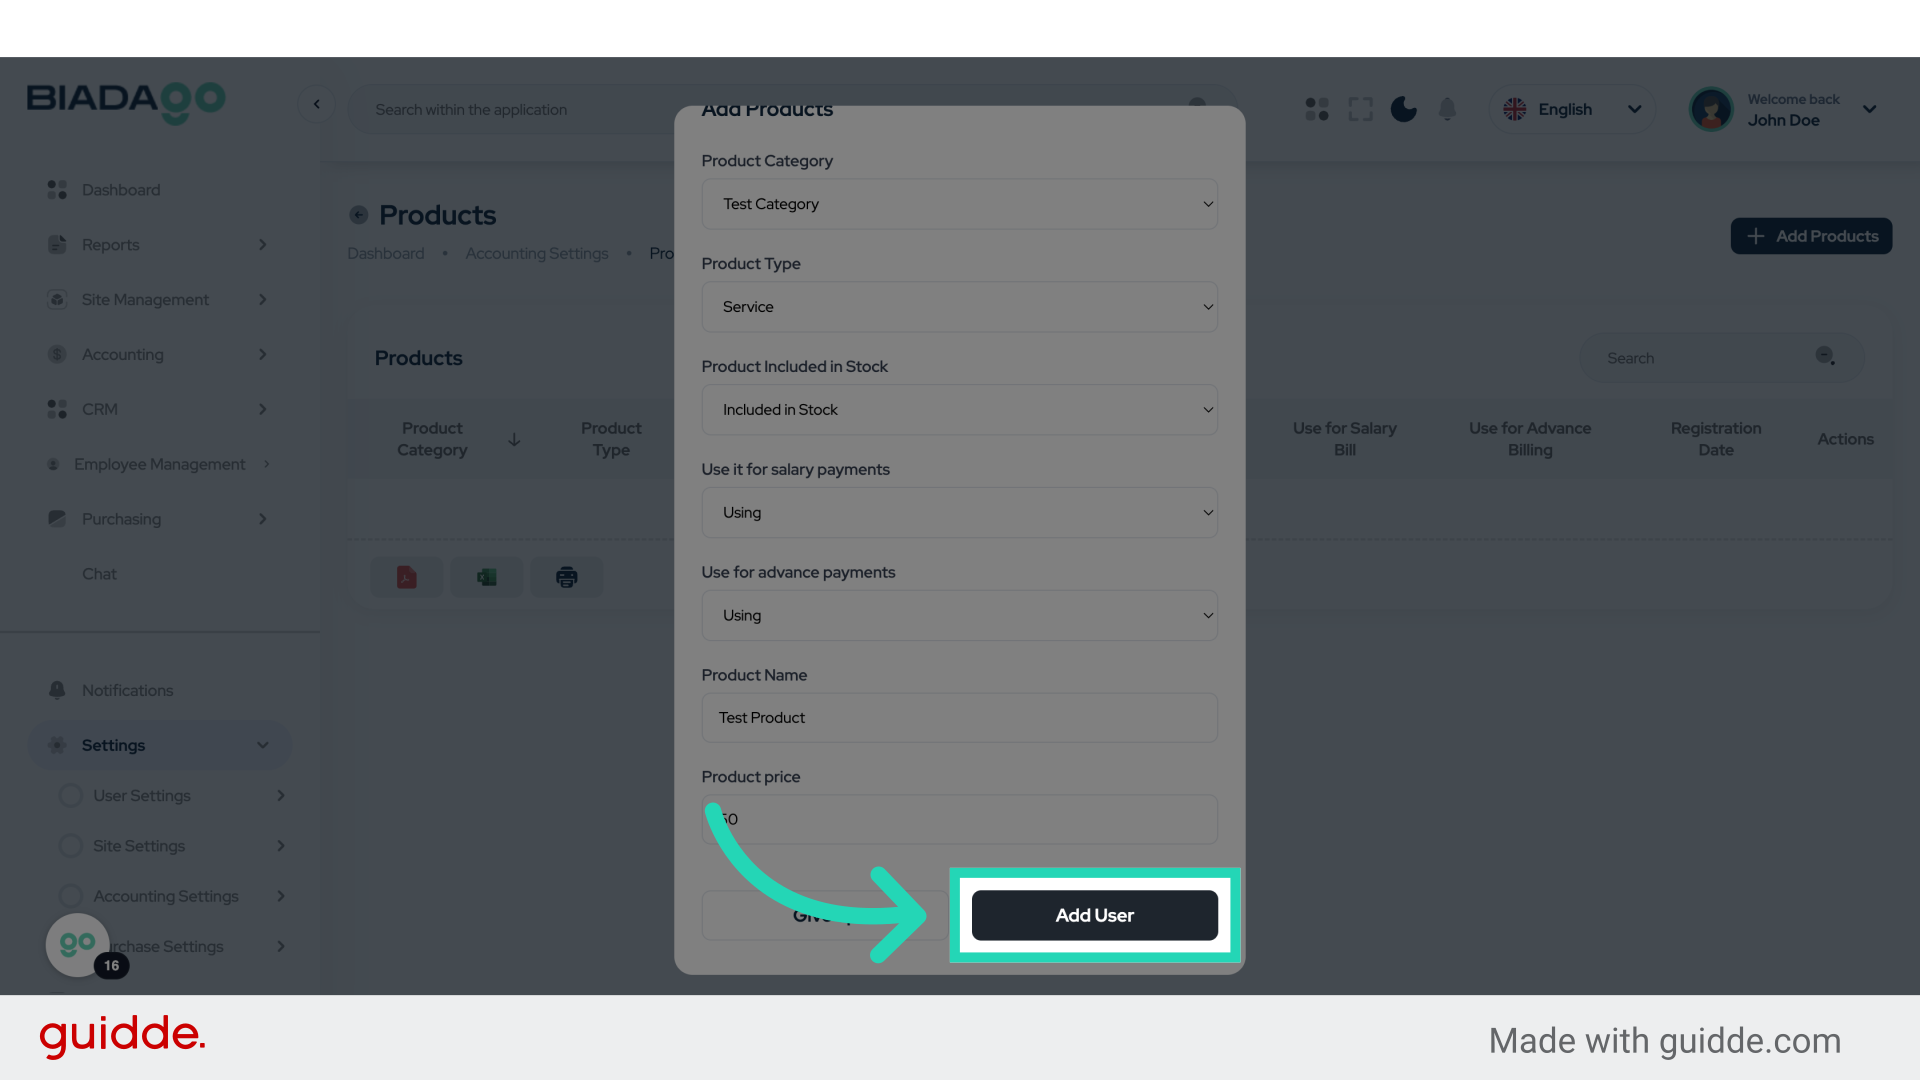
18. Click “Add User”
Add a user to assign roles and permissions for product management.
This guide covered the process of adding products and categories in BiadaGO Product Management. From setting up categories to adding products and managing inventory, you are now equipped to efficiently organize and maintain your product catalog.