BiadaGO: Role-Based Access Control and Permission Setup
BiadaGO: Role-Based Access Control and Permission Setup
Empower your team with precise role-based permissions using BiadaGO. This guide will walk you through setting up user authorizations, creating new groups, assigning roles, and defining access levels efficiently.
Go to cloud.biadago.com
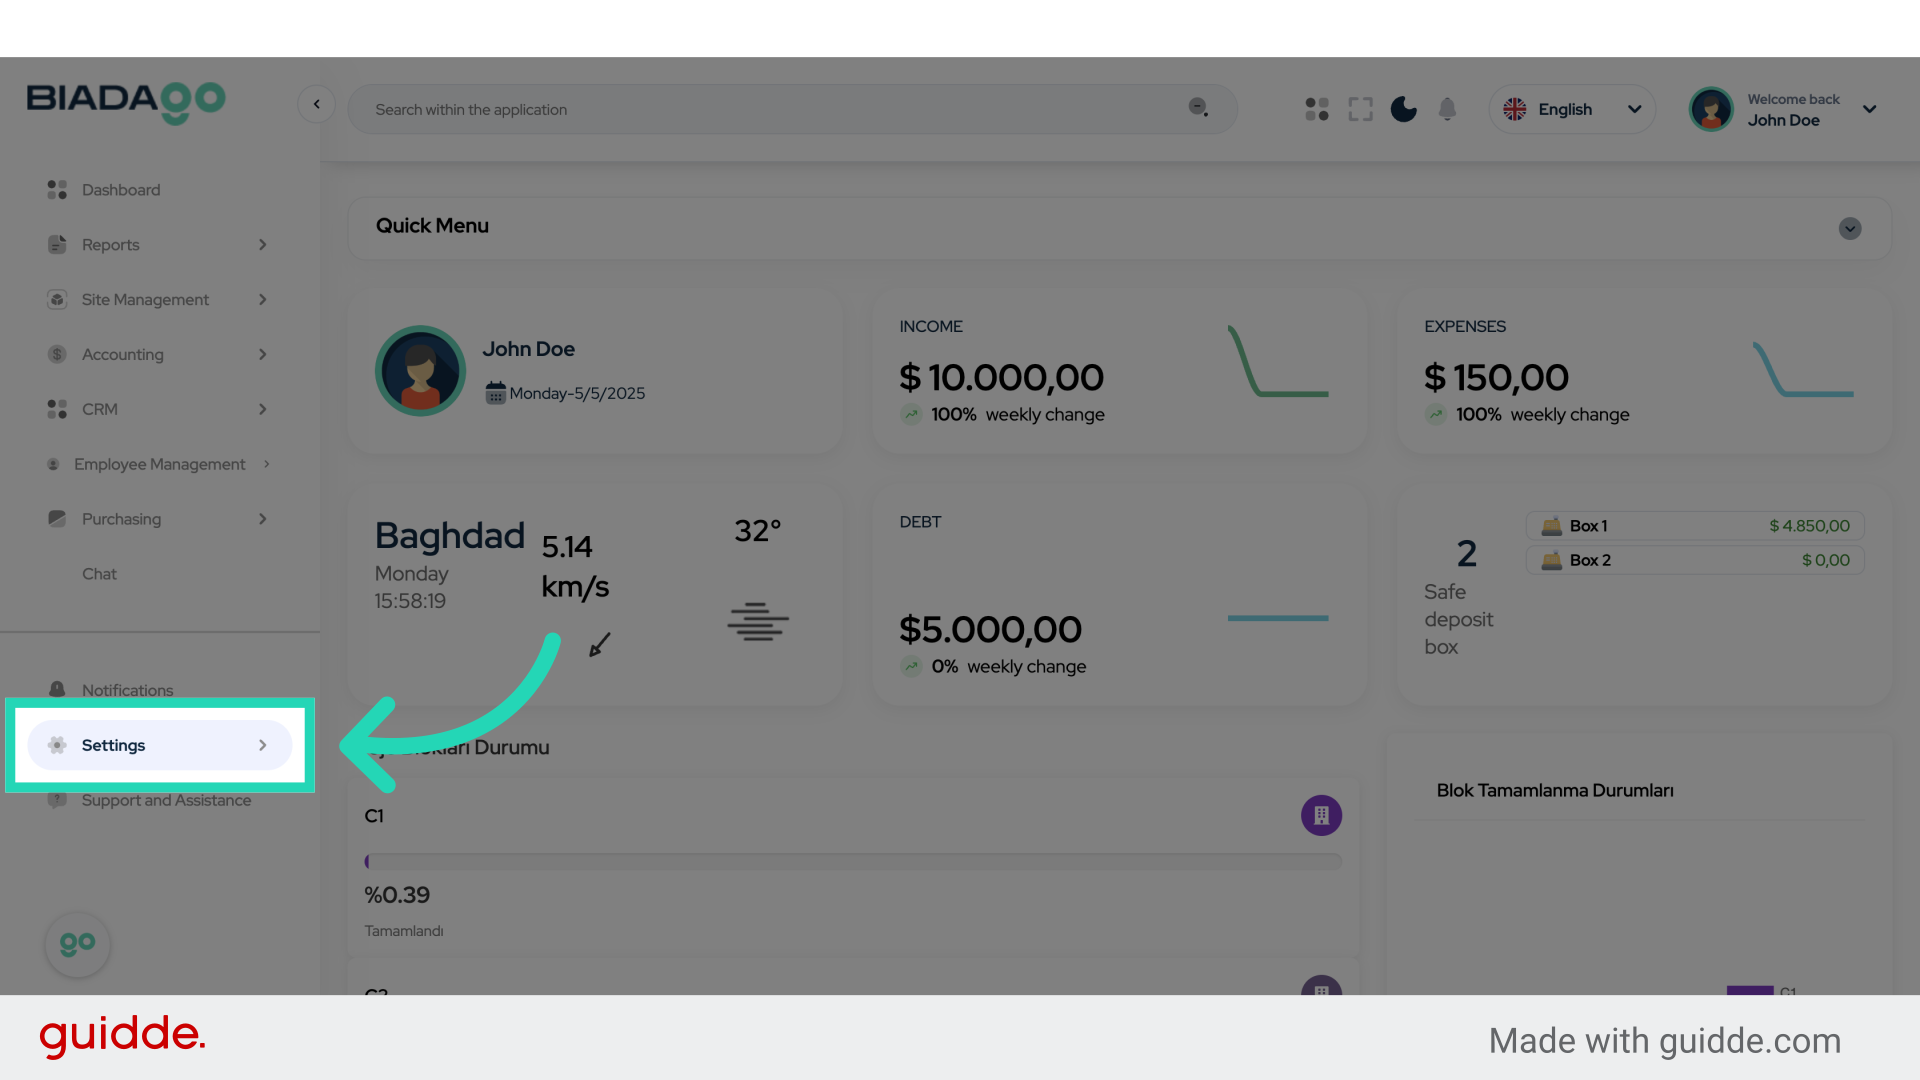
1. Click “Settings”
Access the application settings.
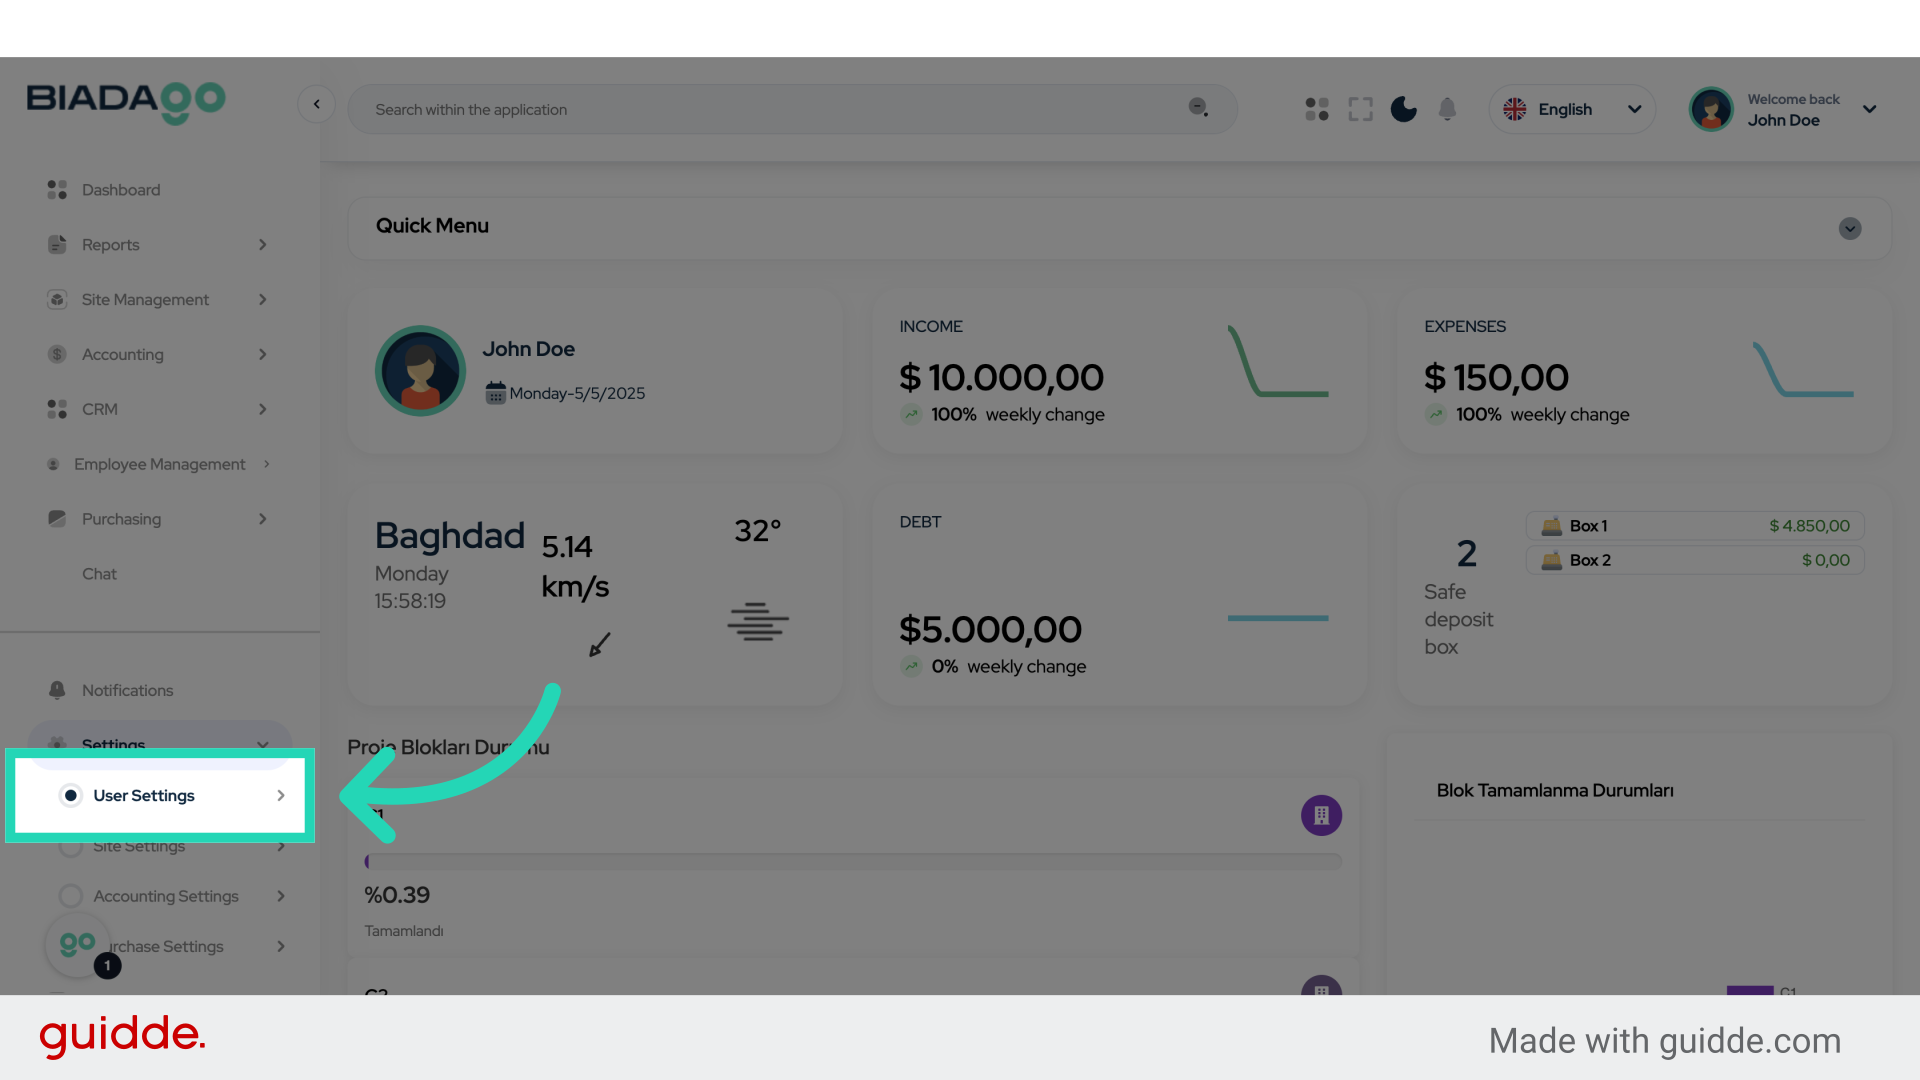
2. Click “User Settings”
Navigate to user settings.
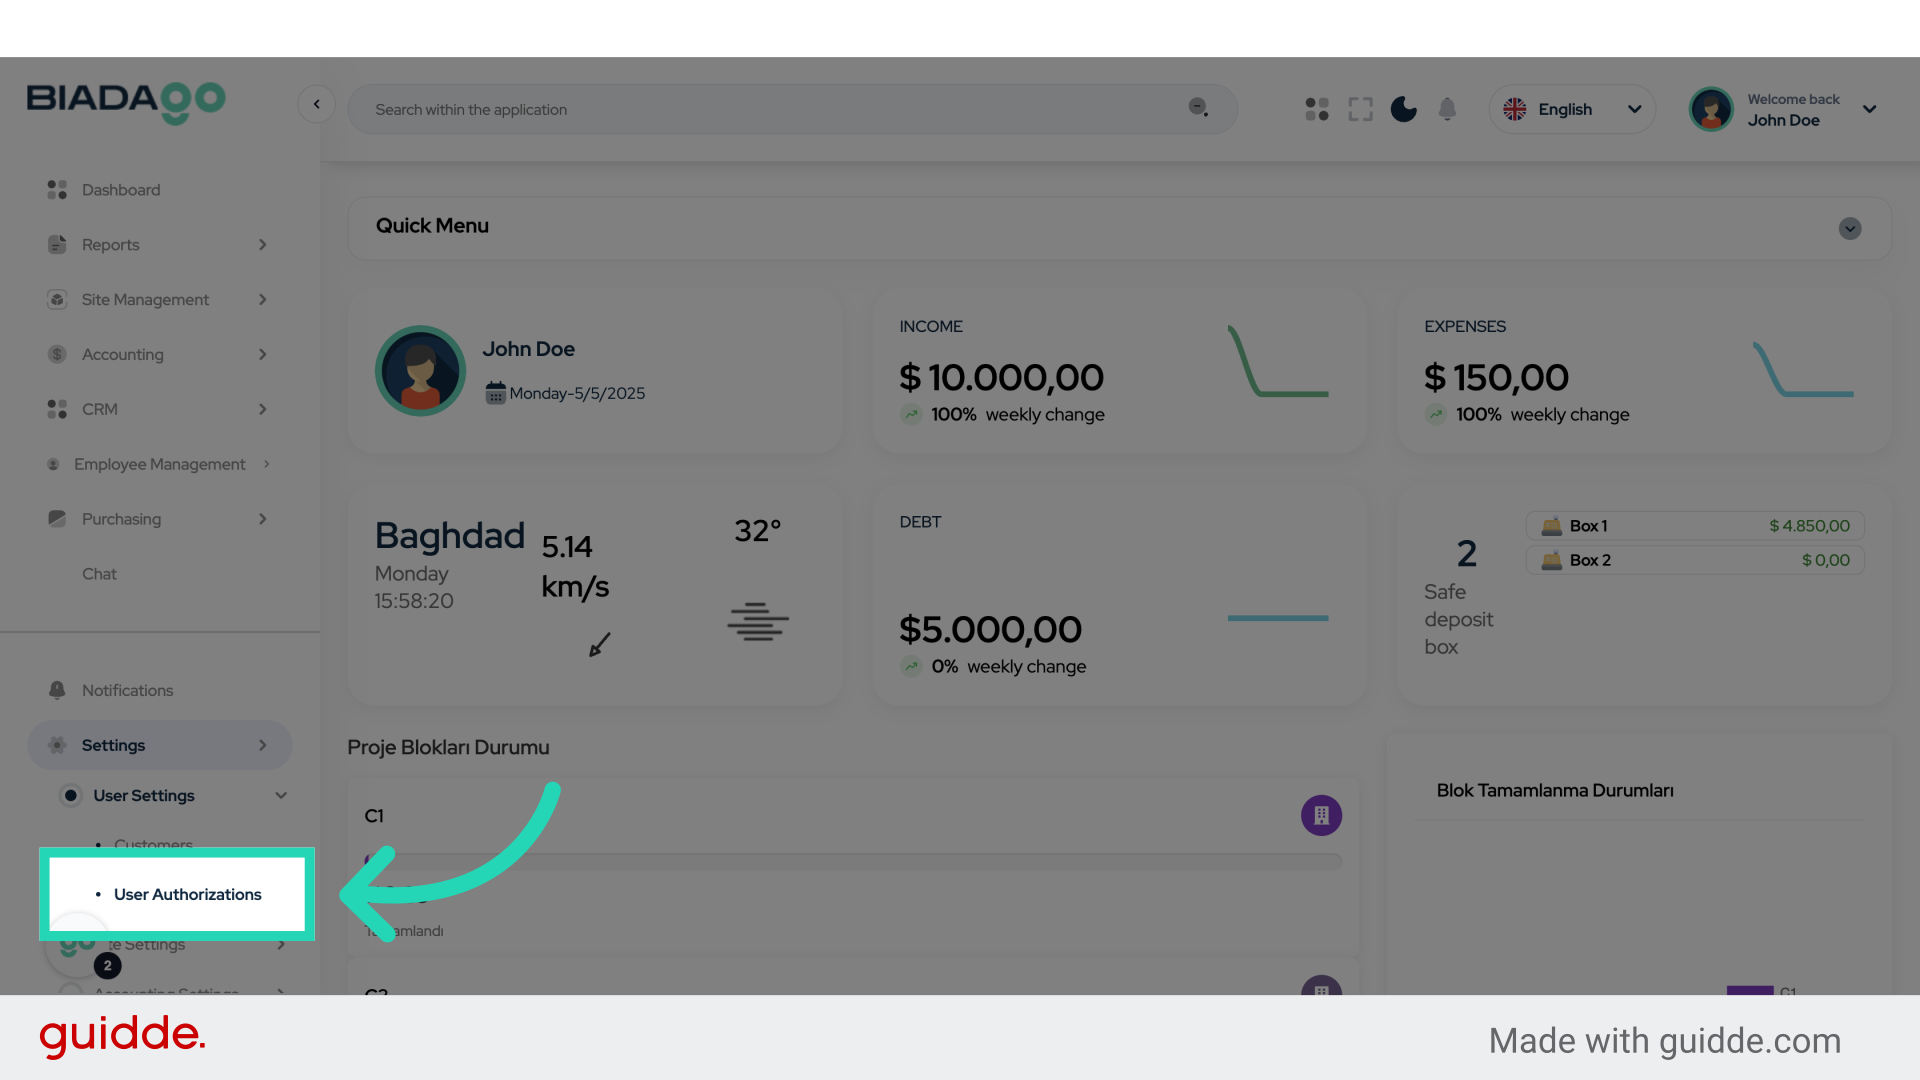
3. Click “User Authorizations”
Access user authorizations settings.
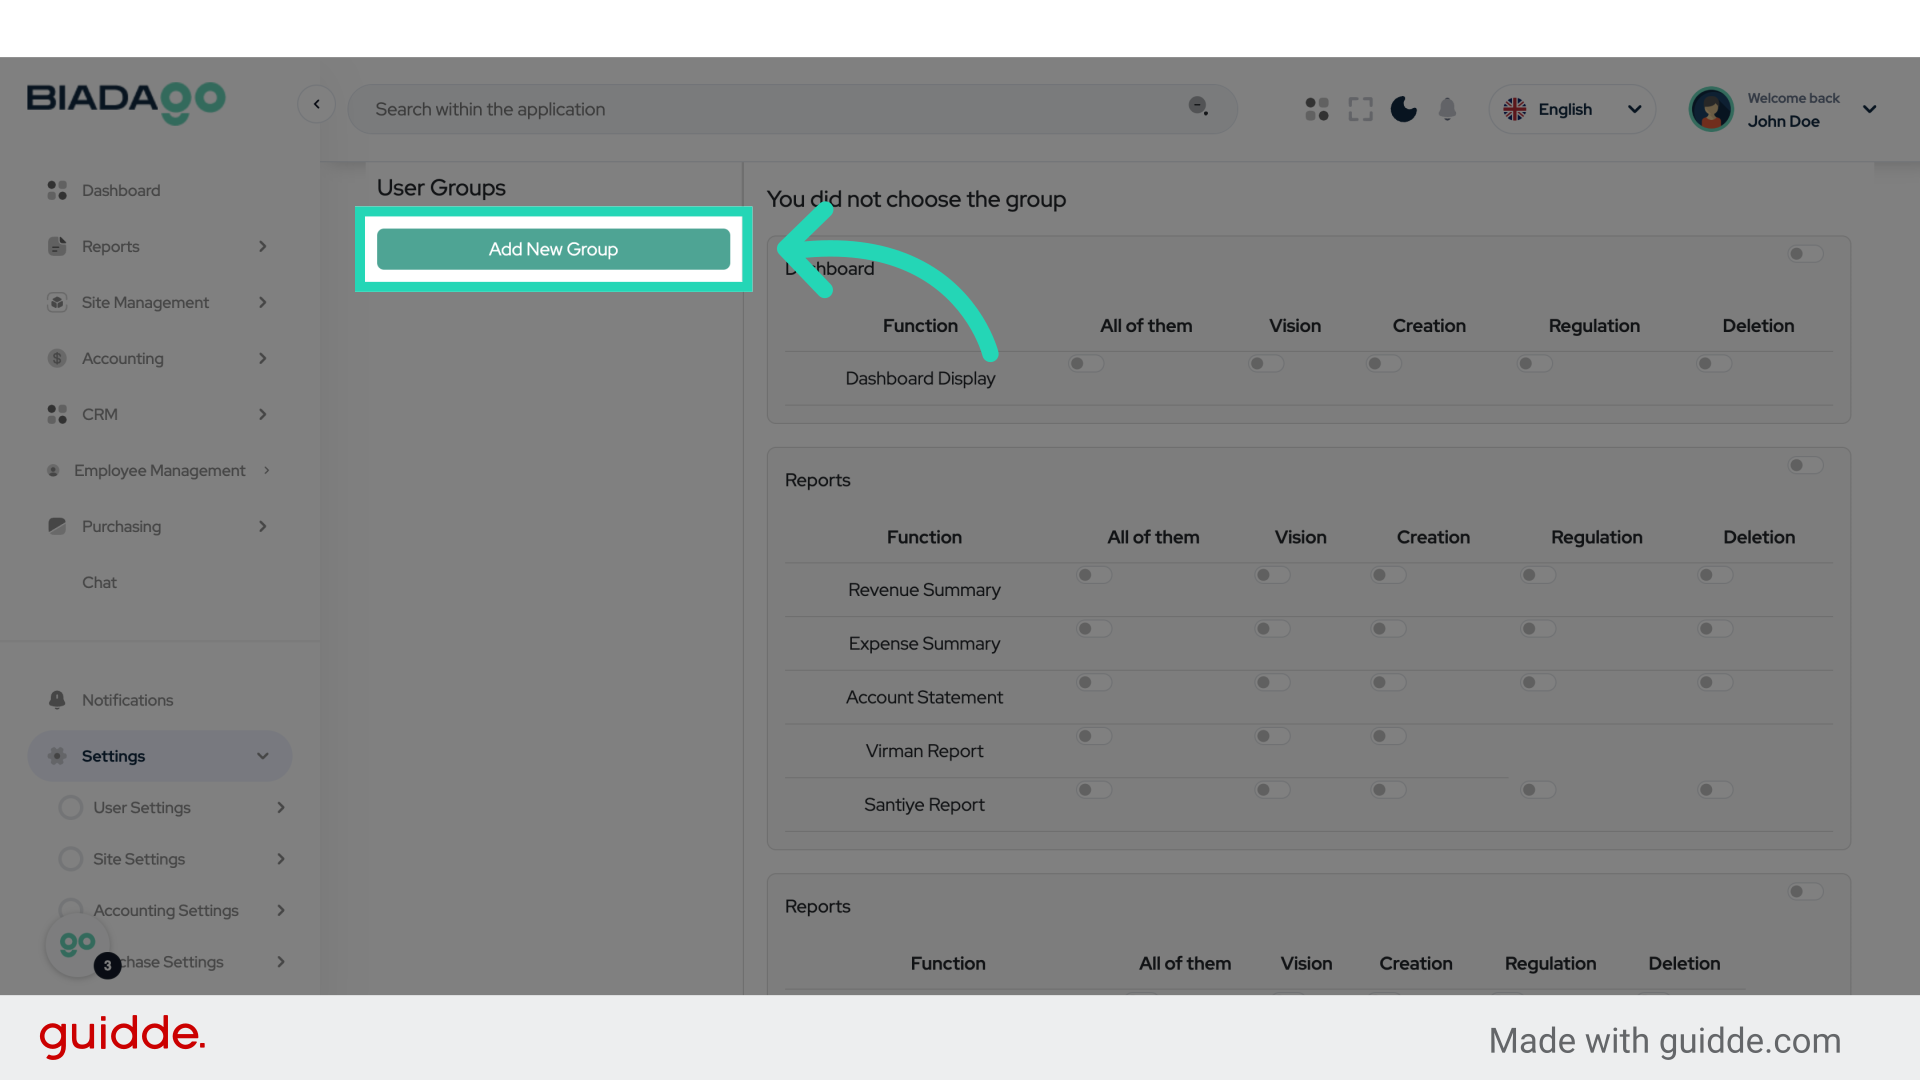
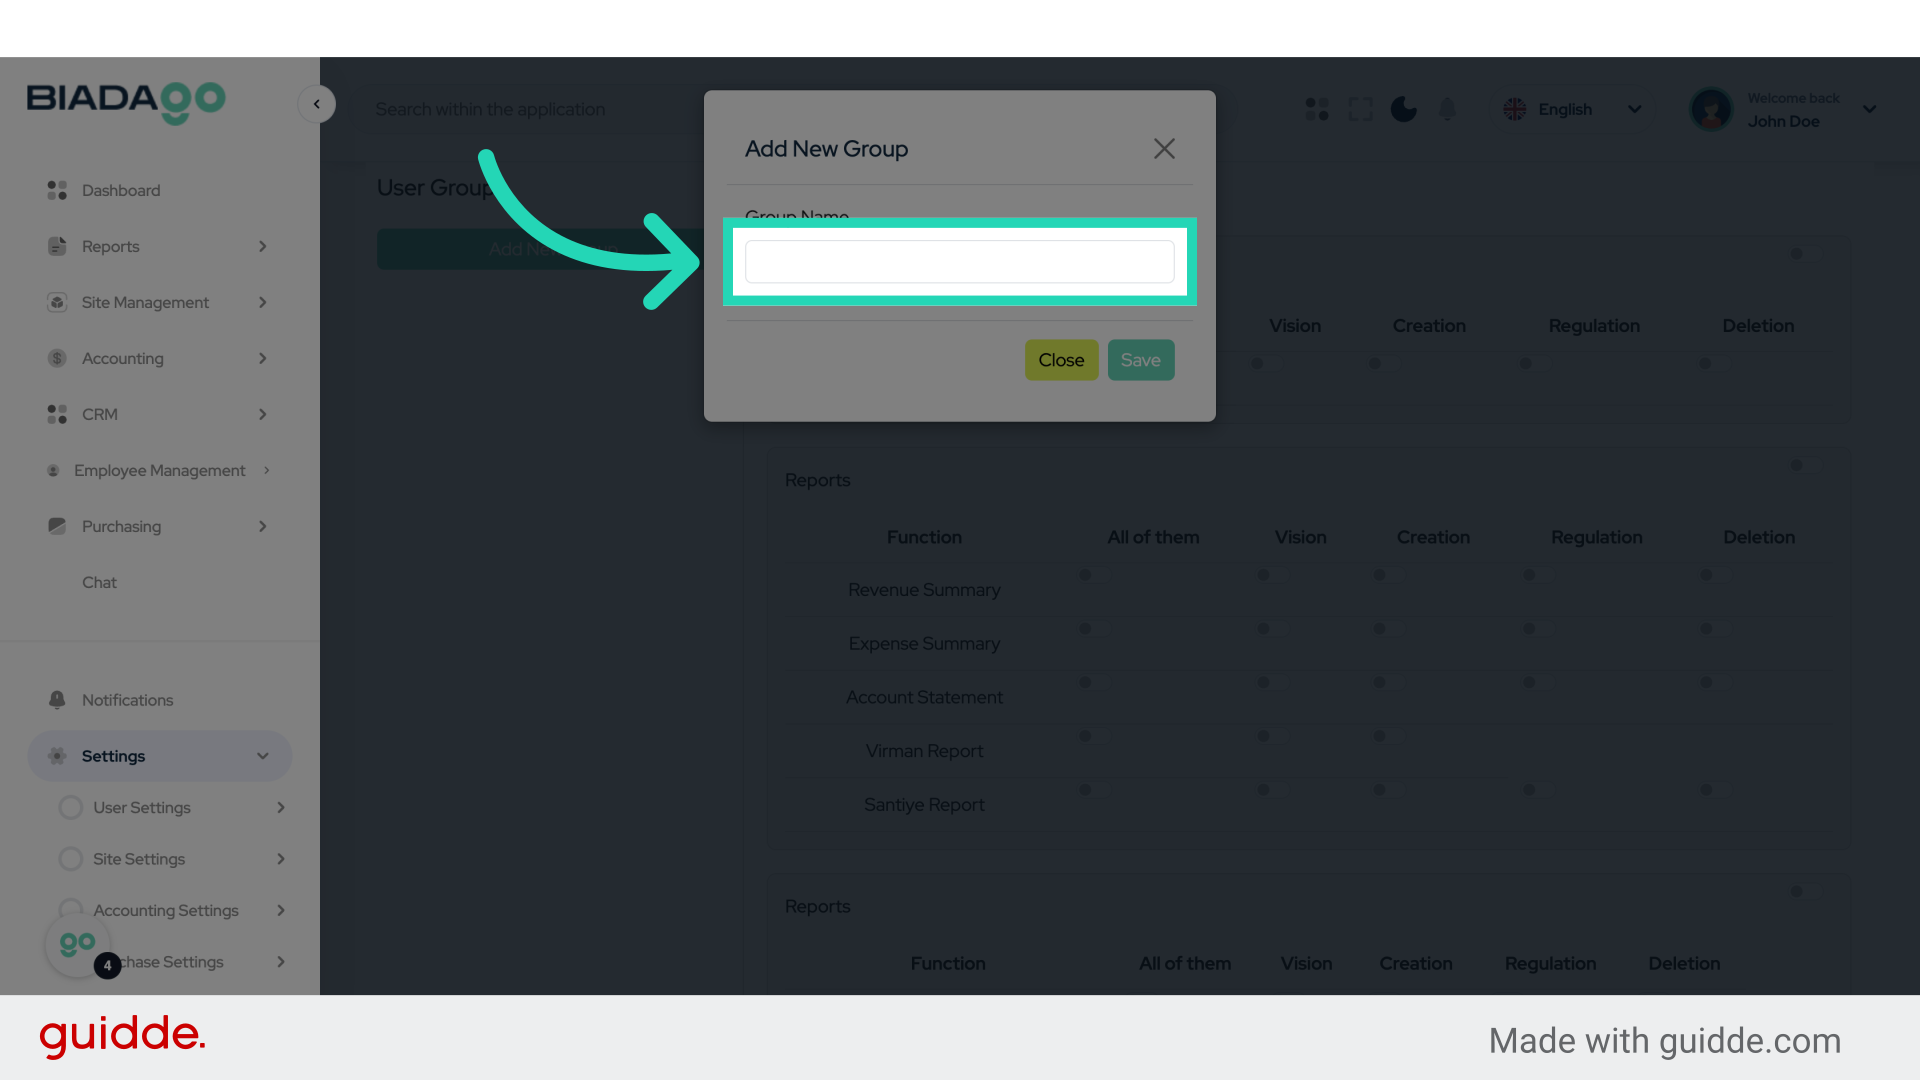
4. Click “Add New Group”
Initiate the creation of a new group.
5. Click “Group Name”
Enter the name for the new group.
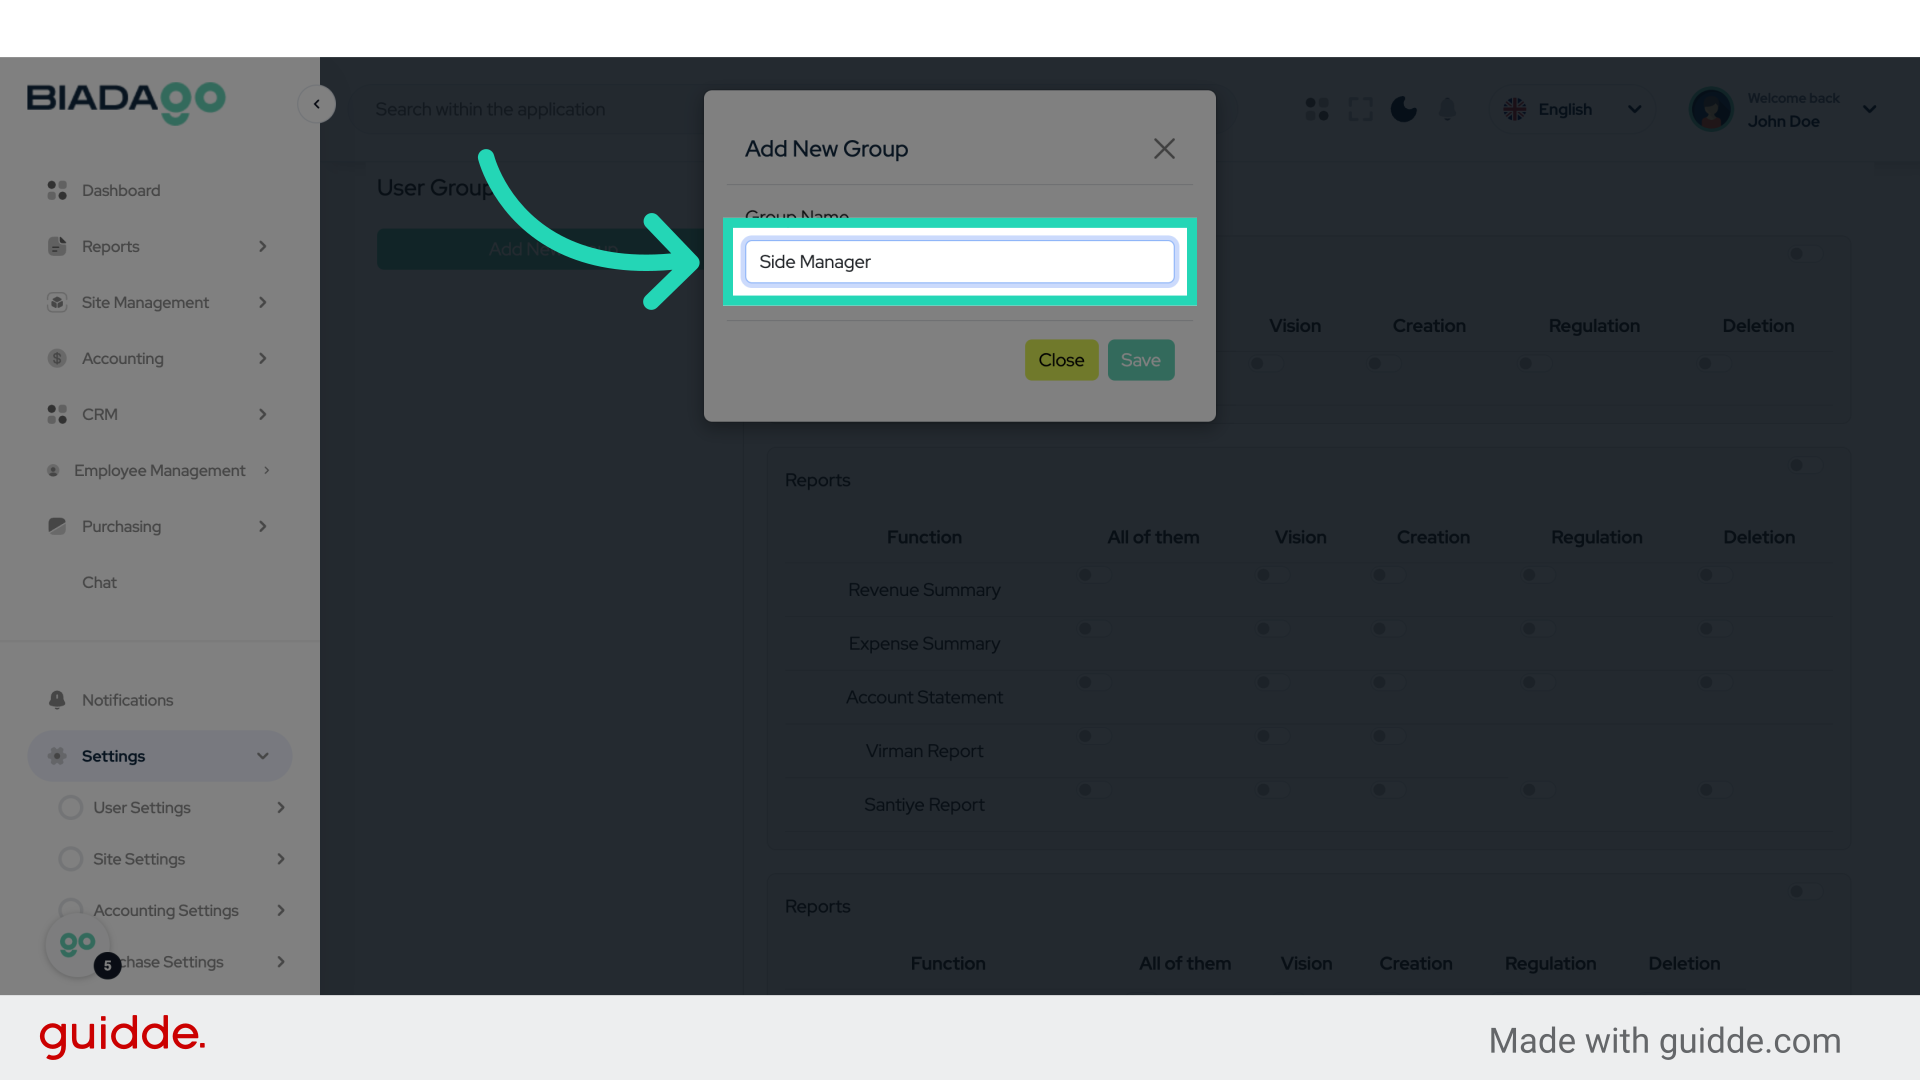
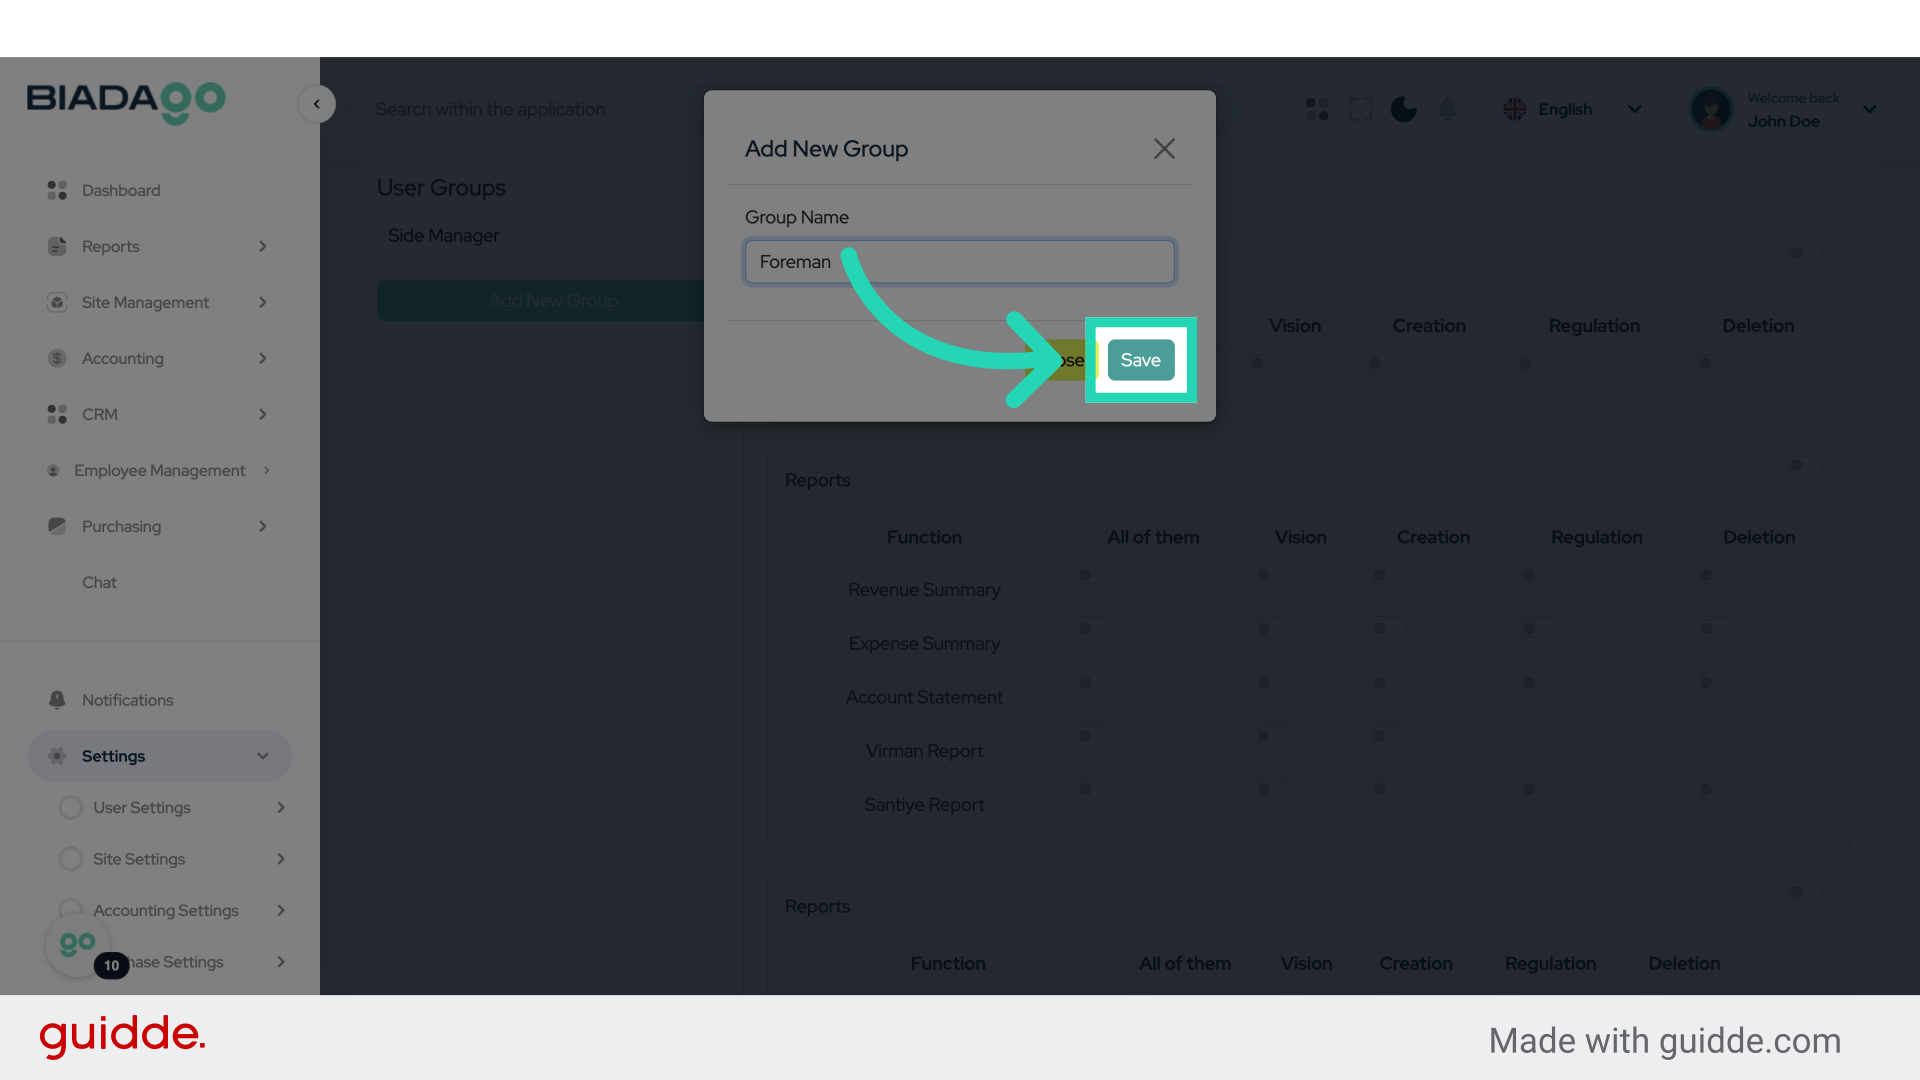
6. Fill “Side Manager”
Assign the role of Side Manager.
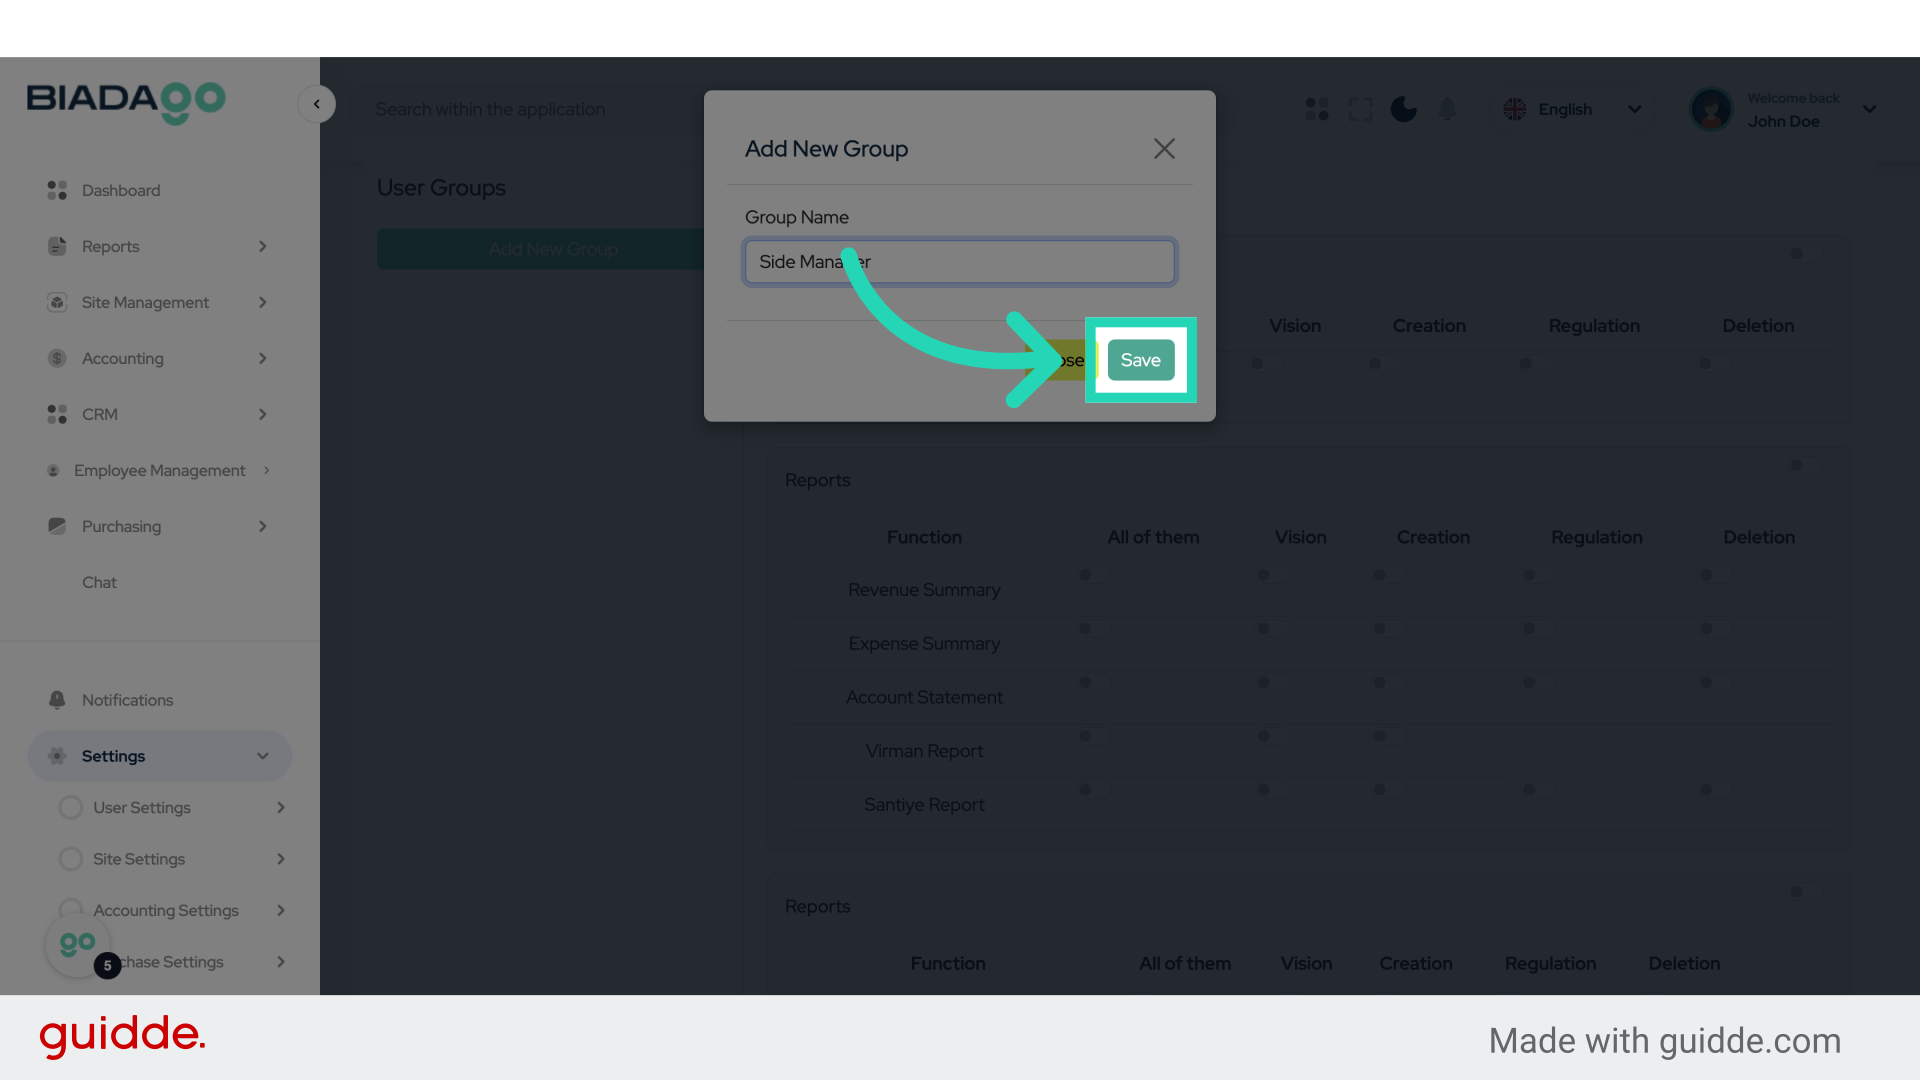
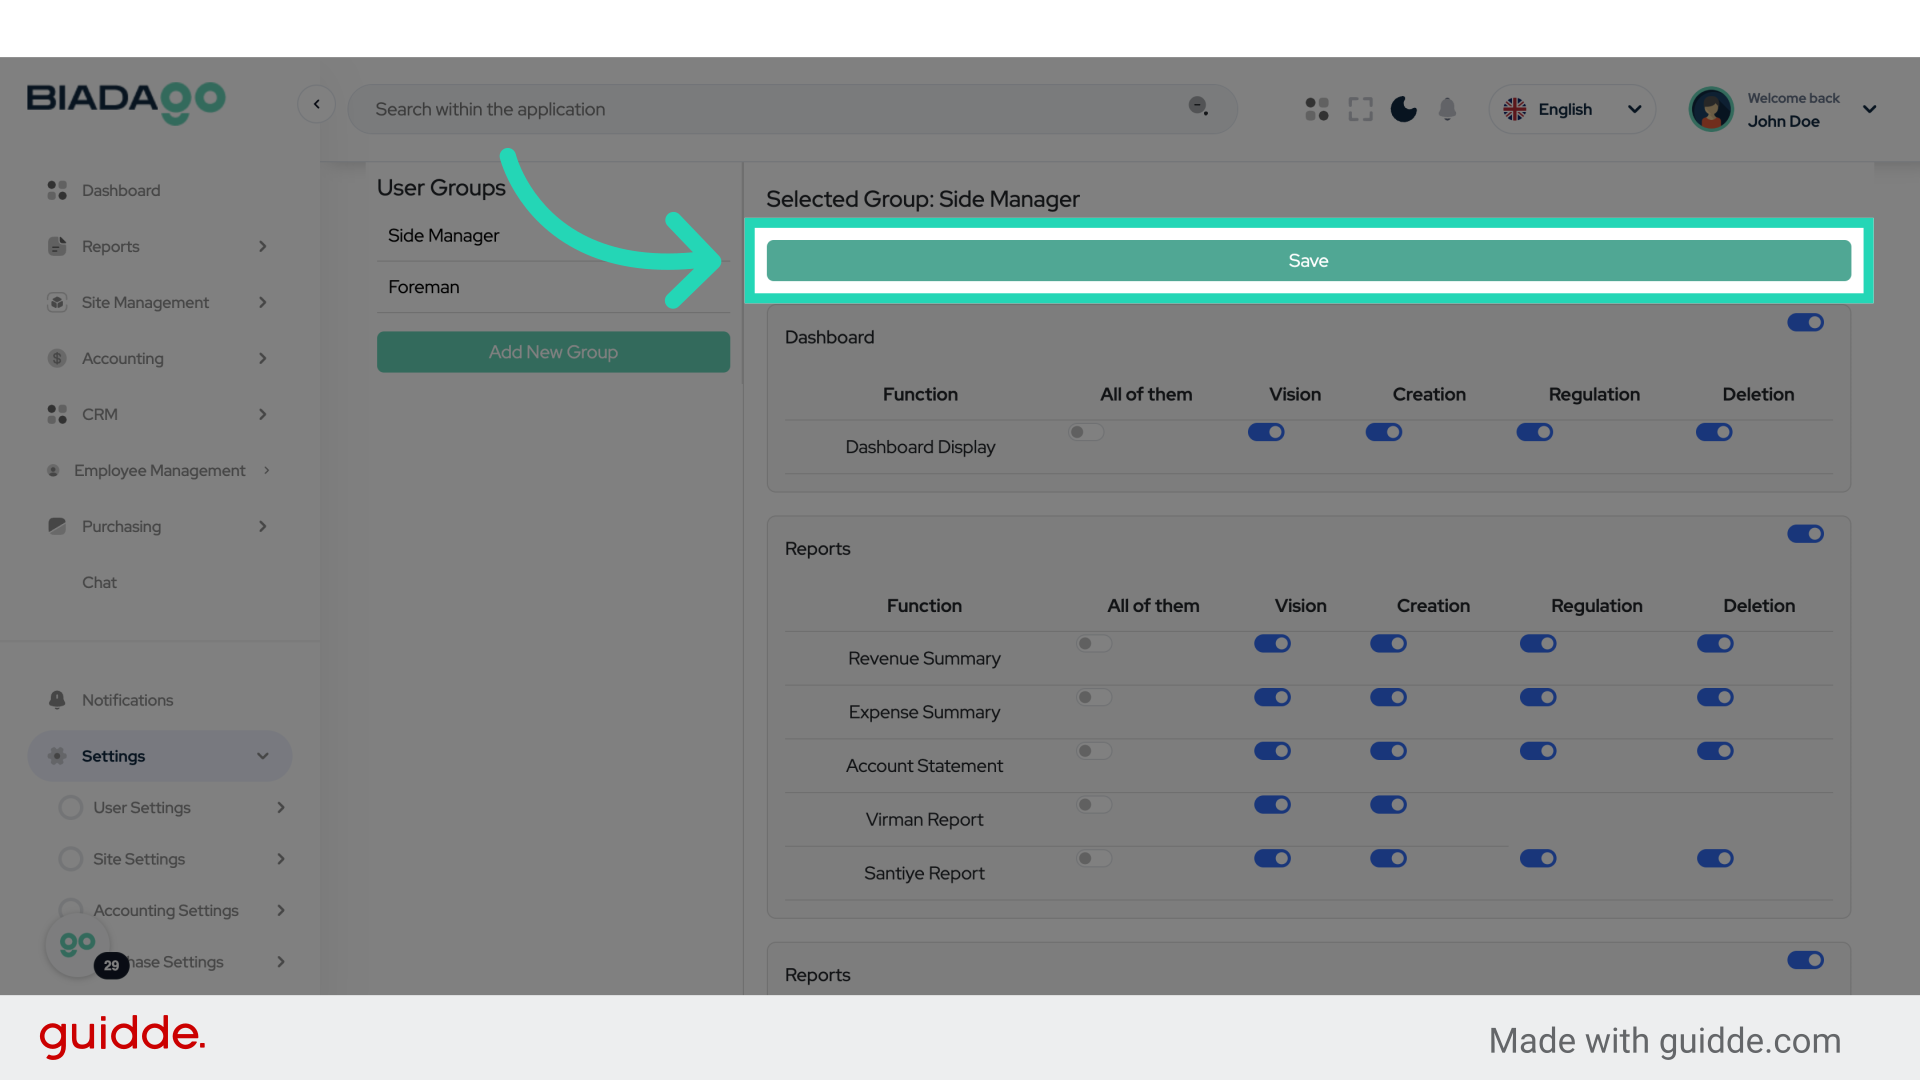
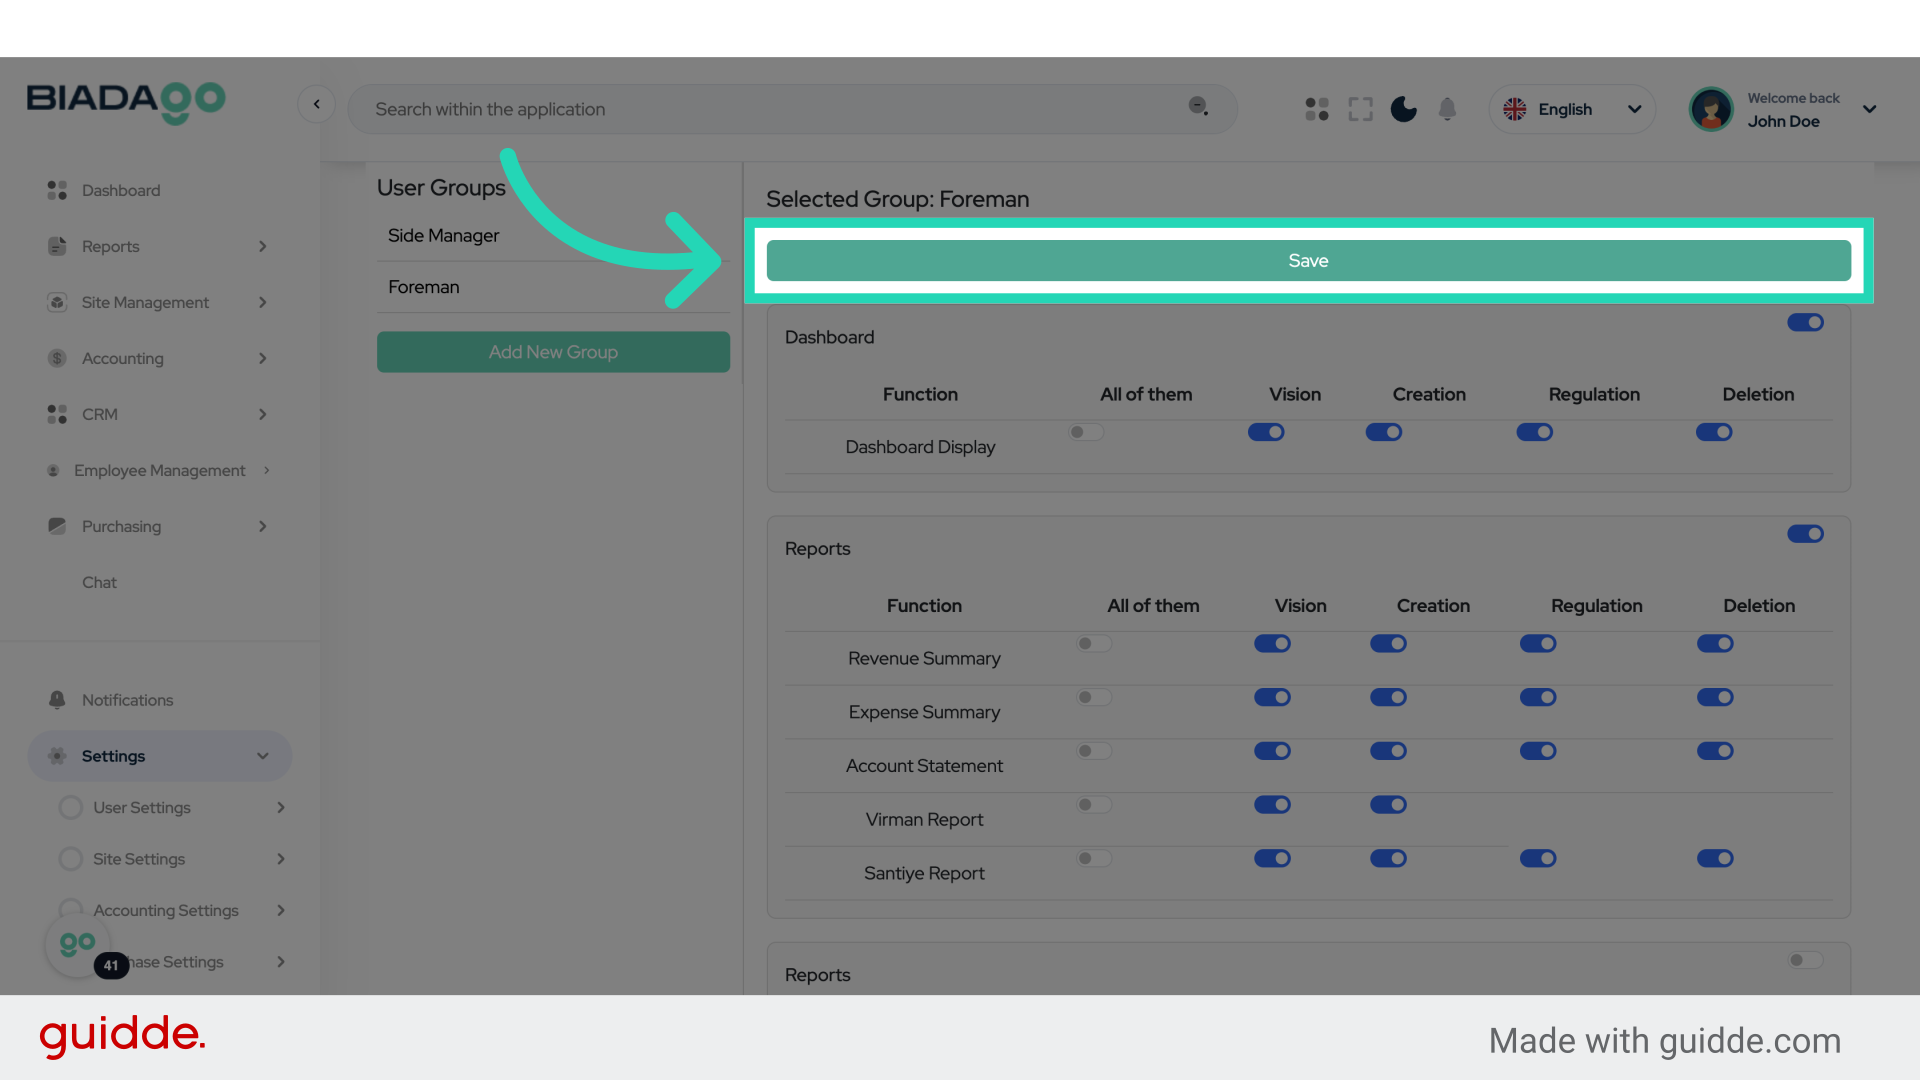
7. Click “Save”
Save the changes made.
8. Click “Add New Group”
Create another new group.

9. Click “Group Name”
Name the new group.

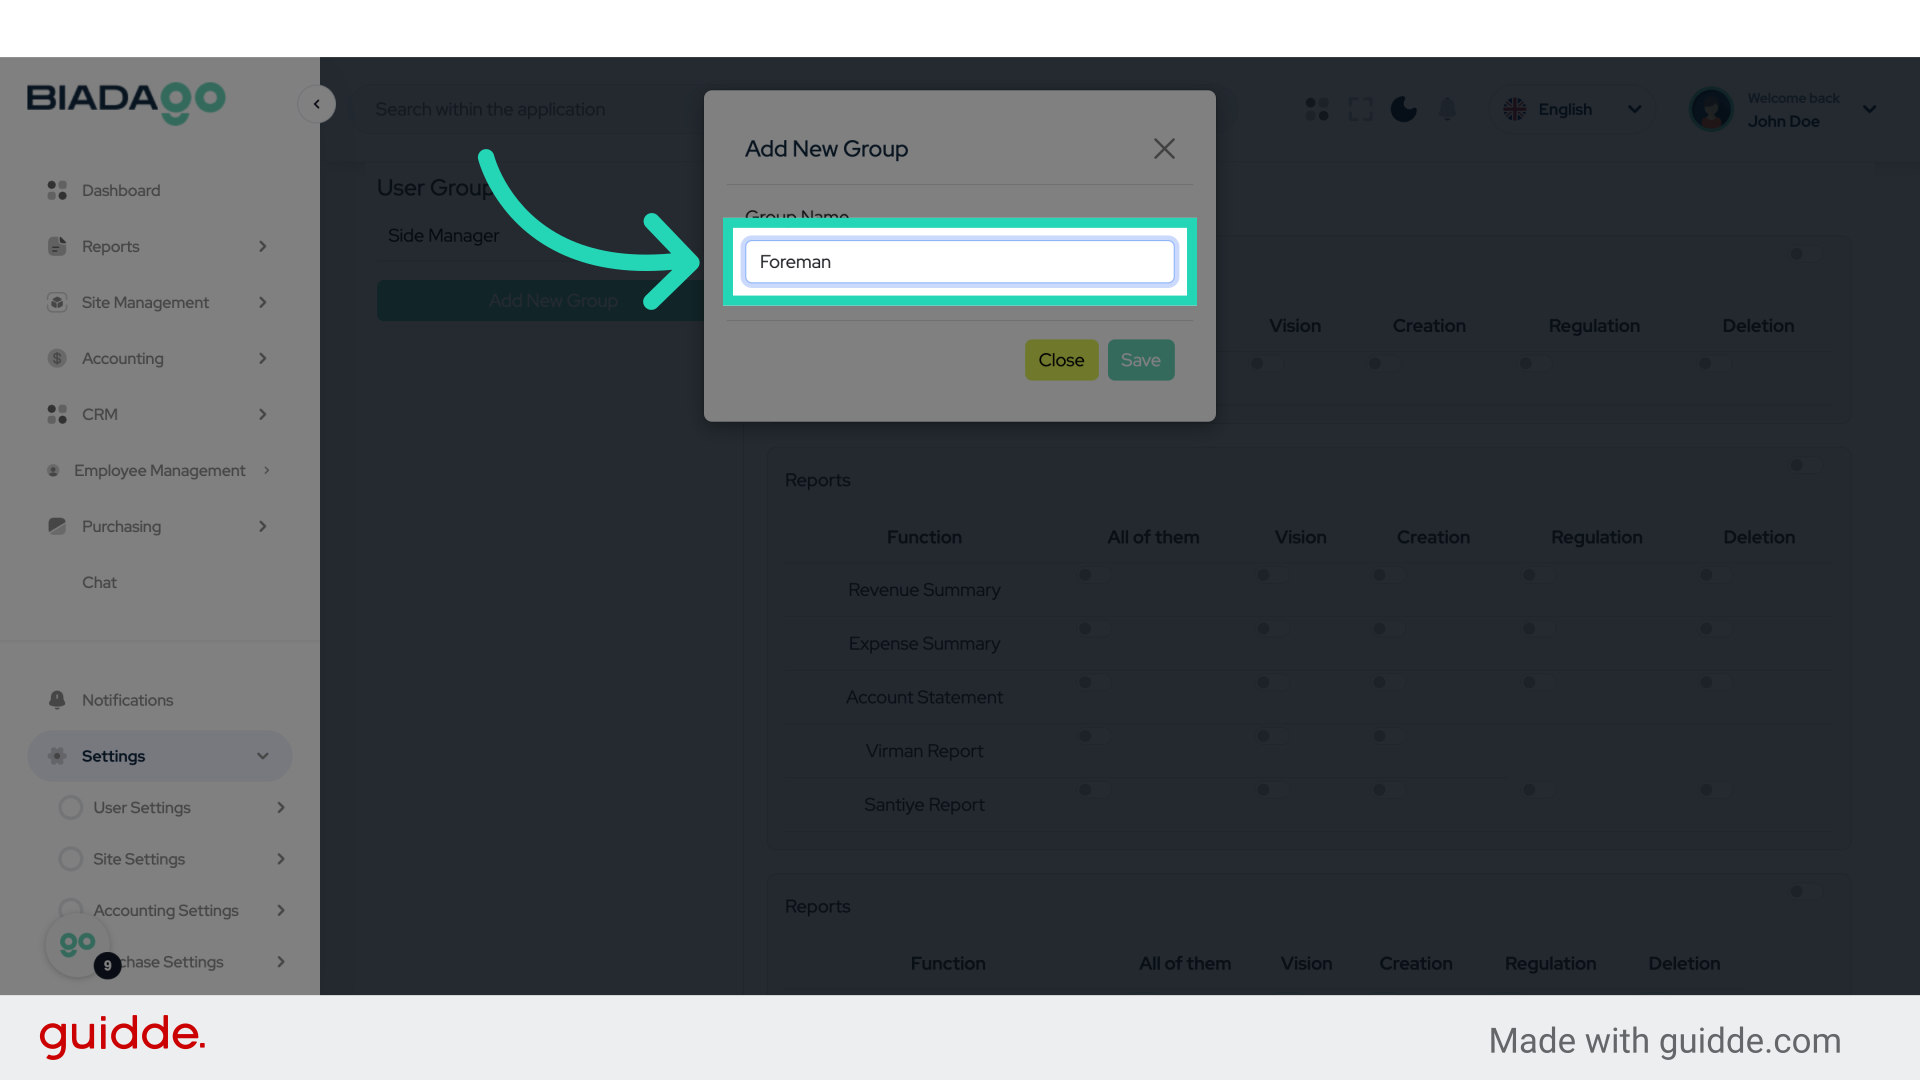
10. Fill “Foreman”
Assign the role of Foreman.
11. Click “Save”
Save the changes.
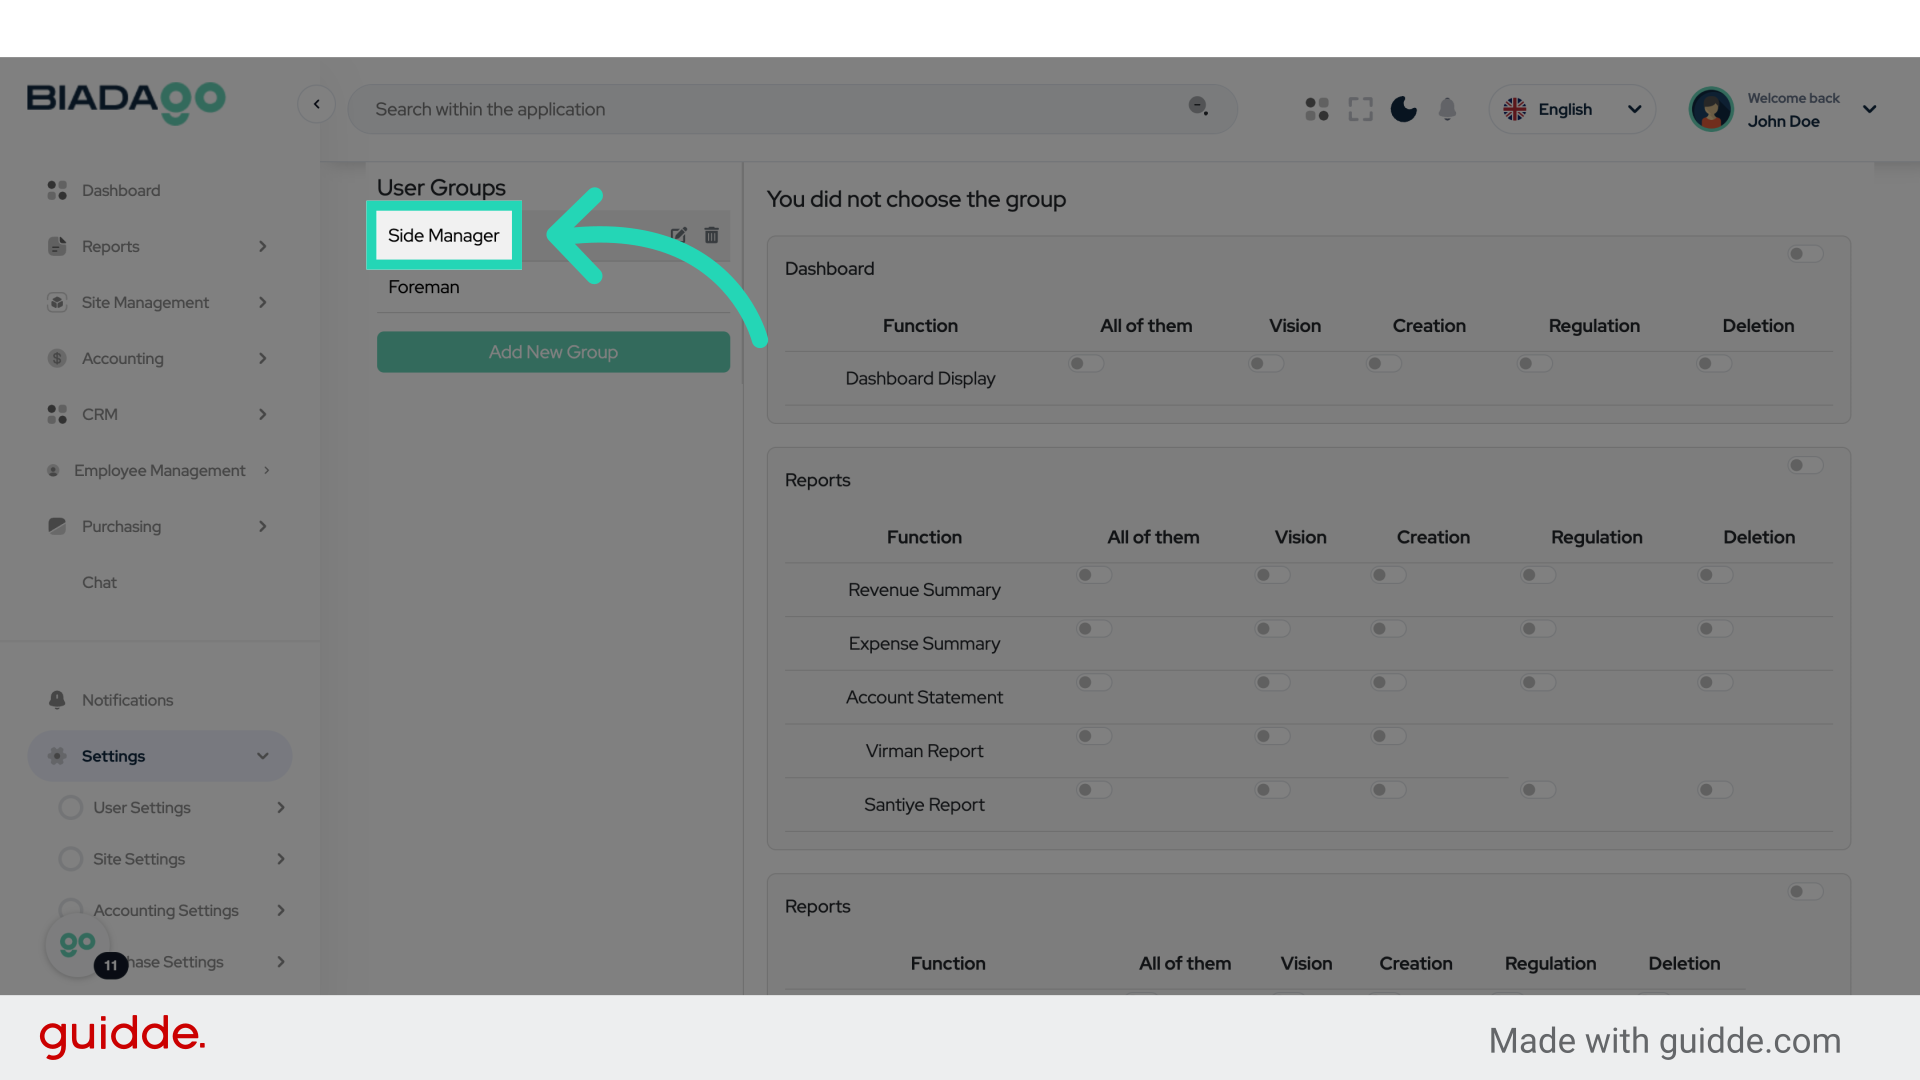
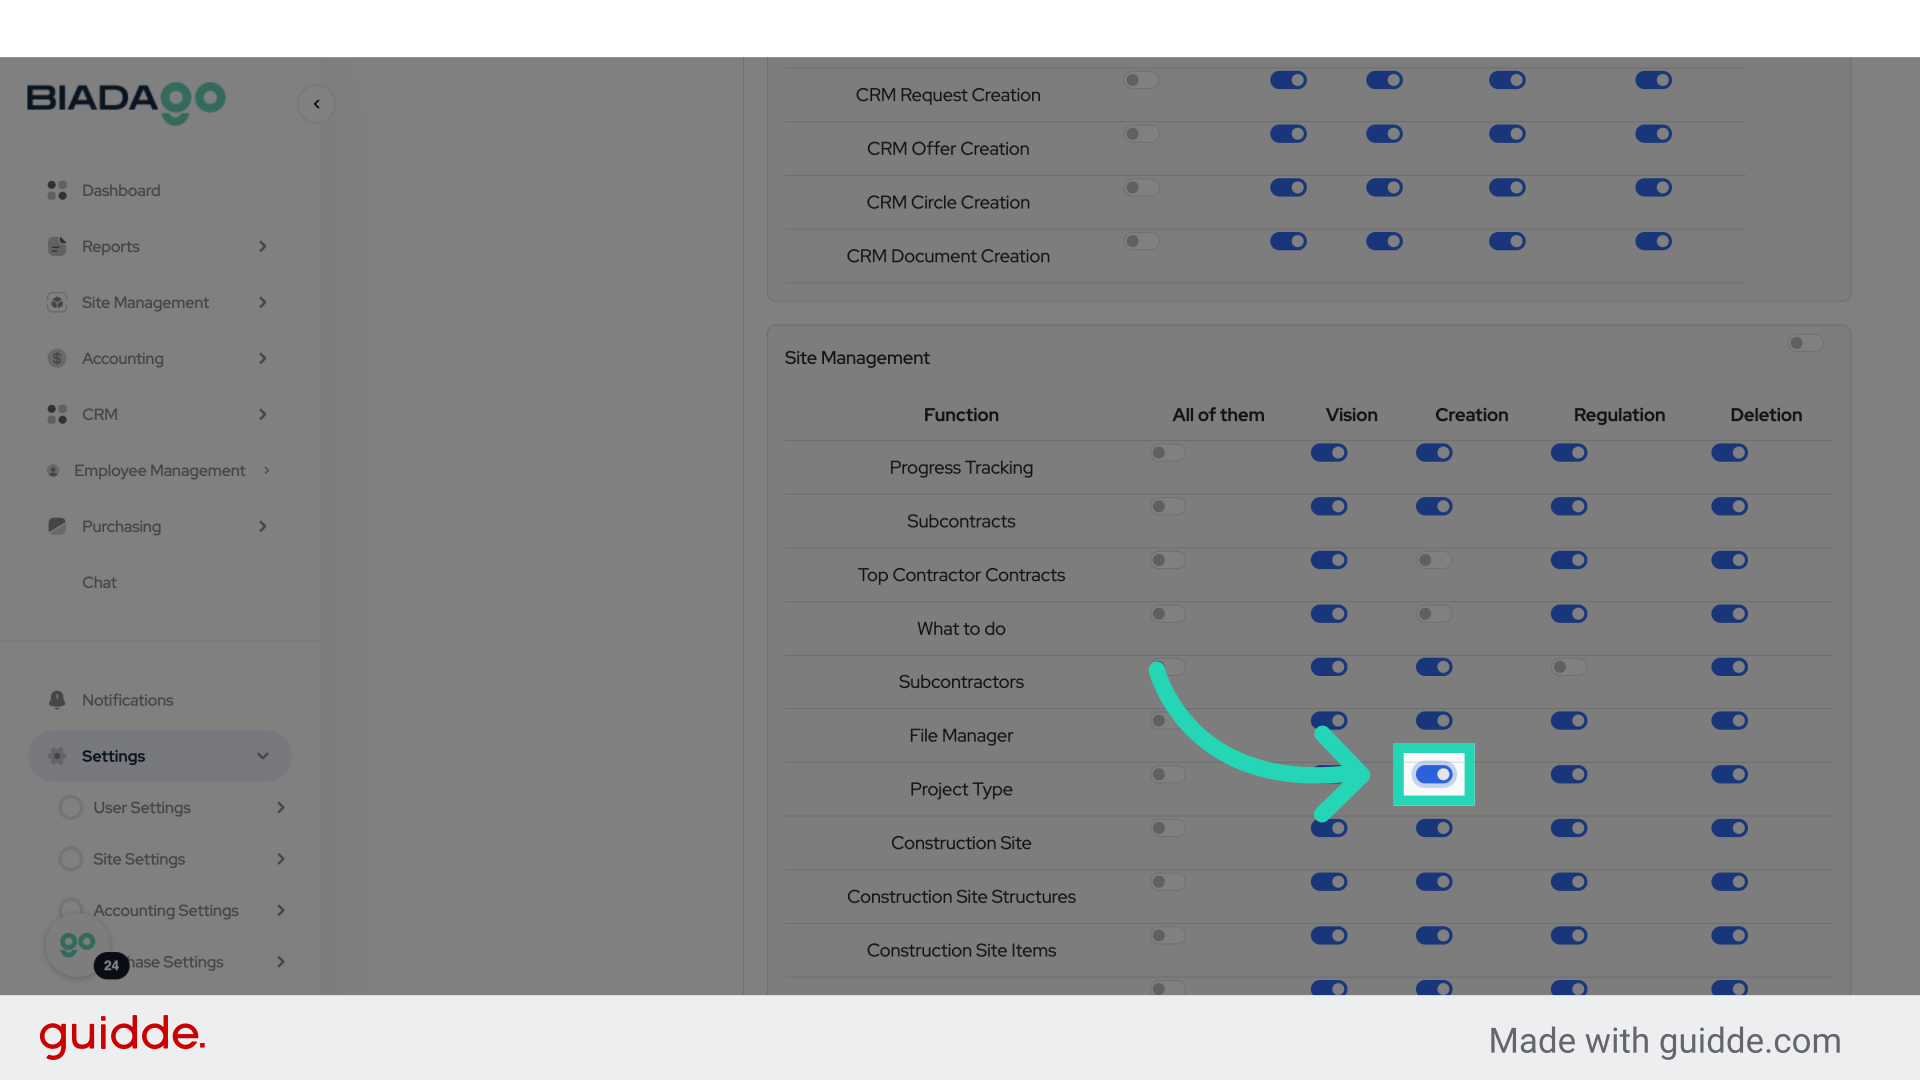
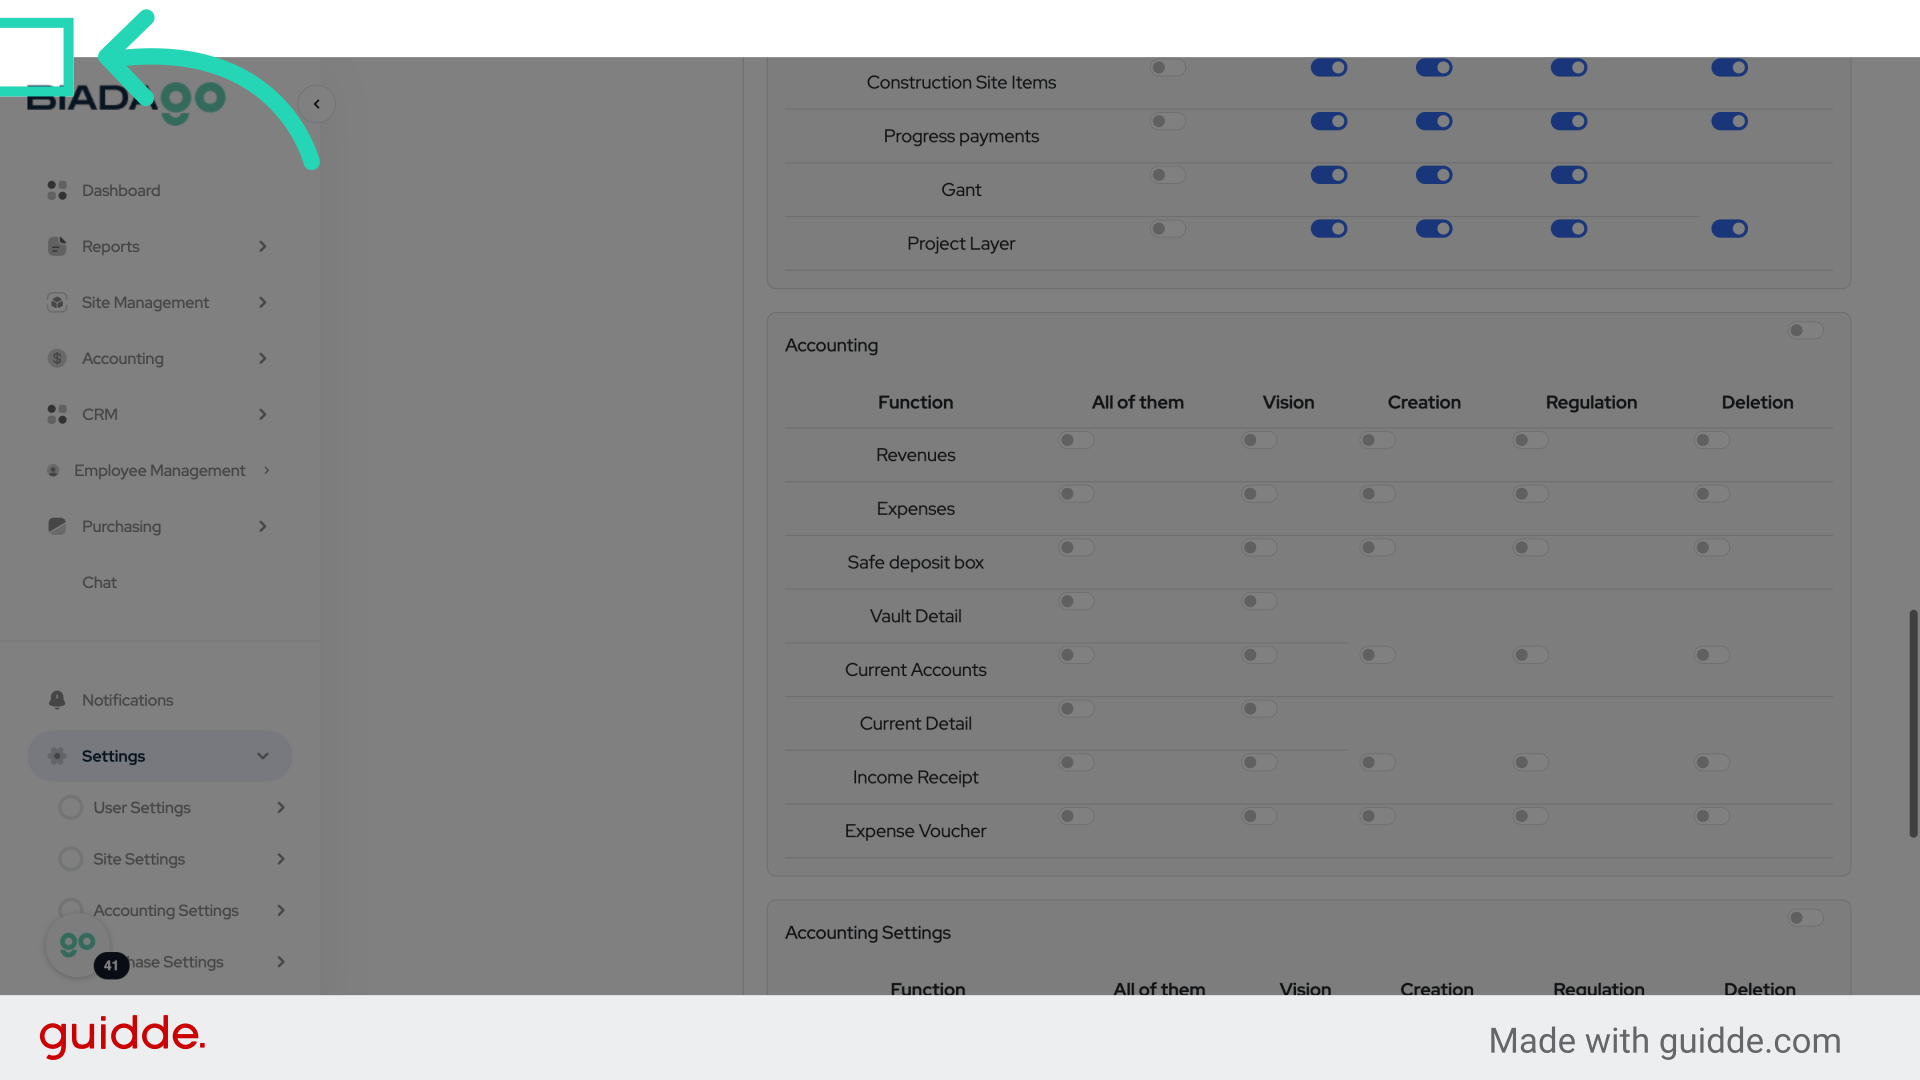
12. Click “Side Manager”
Select the Side Manager role.
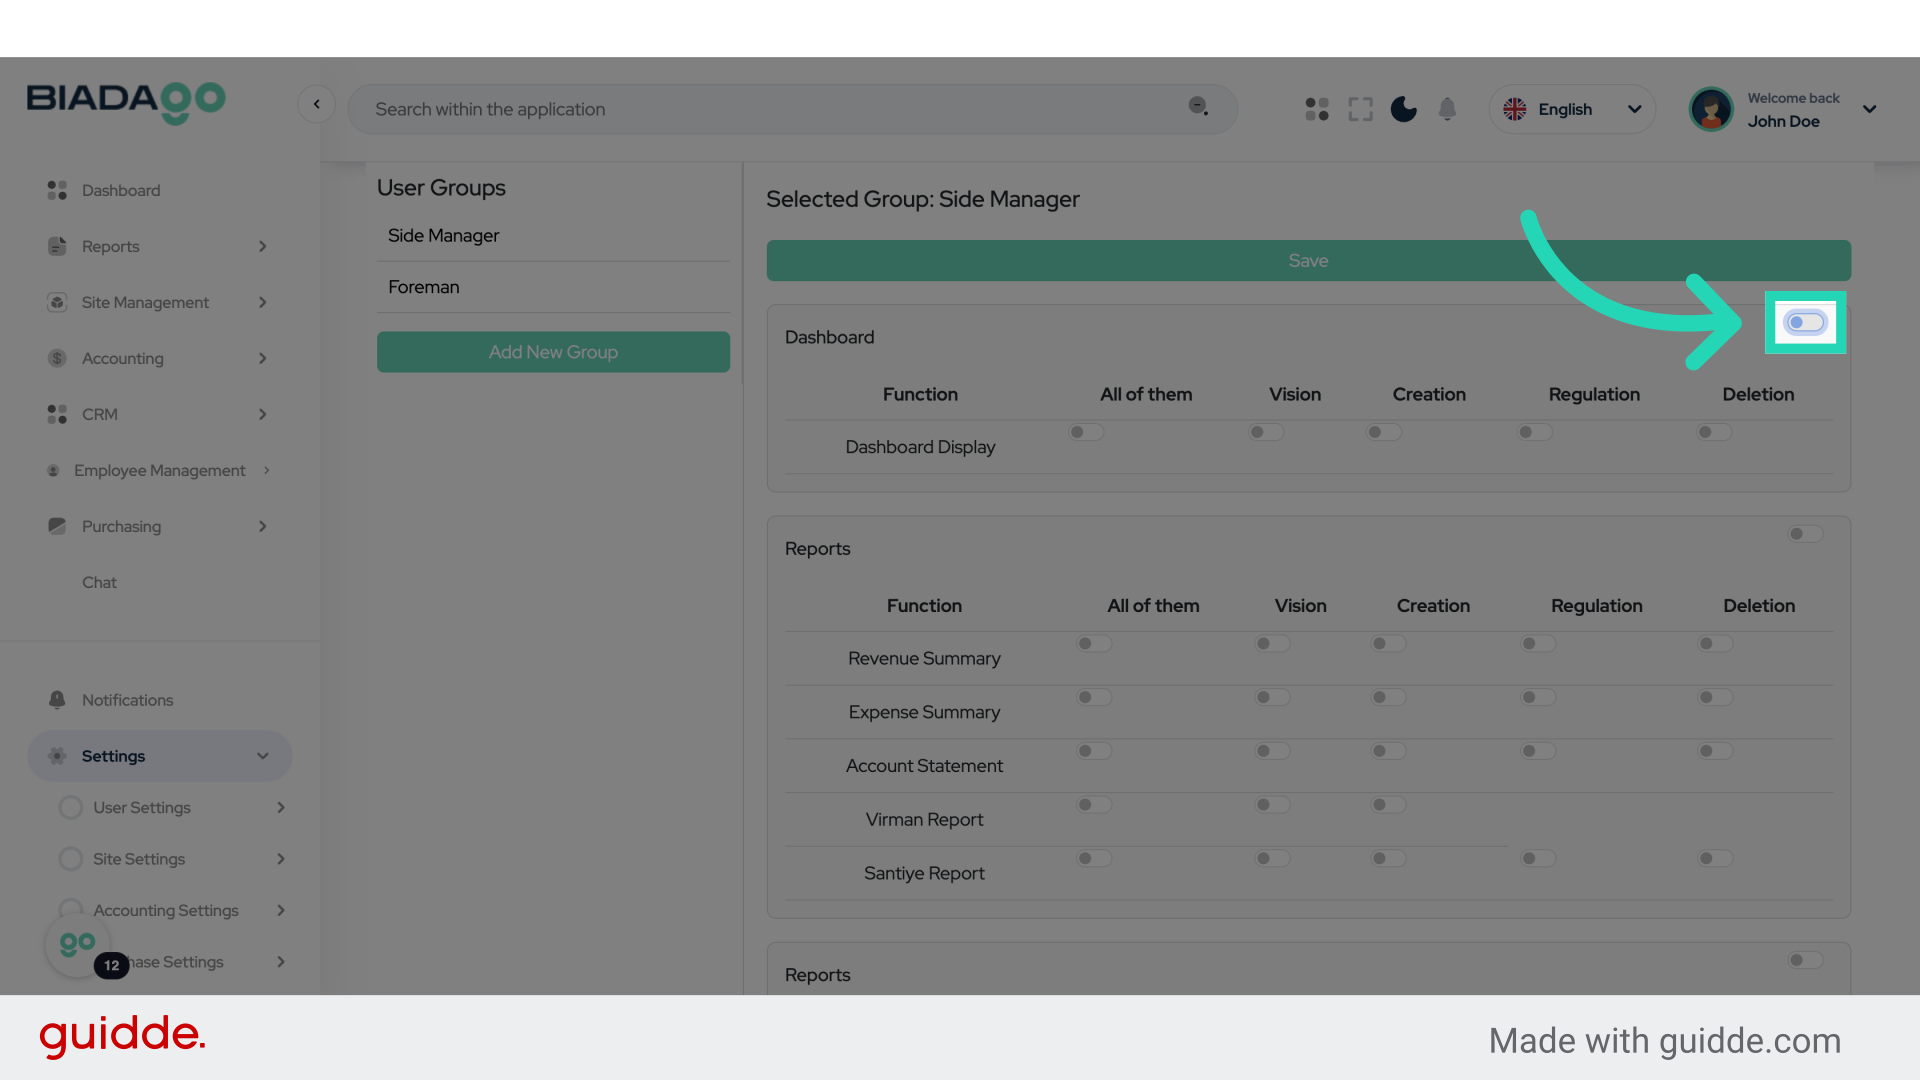
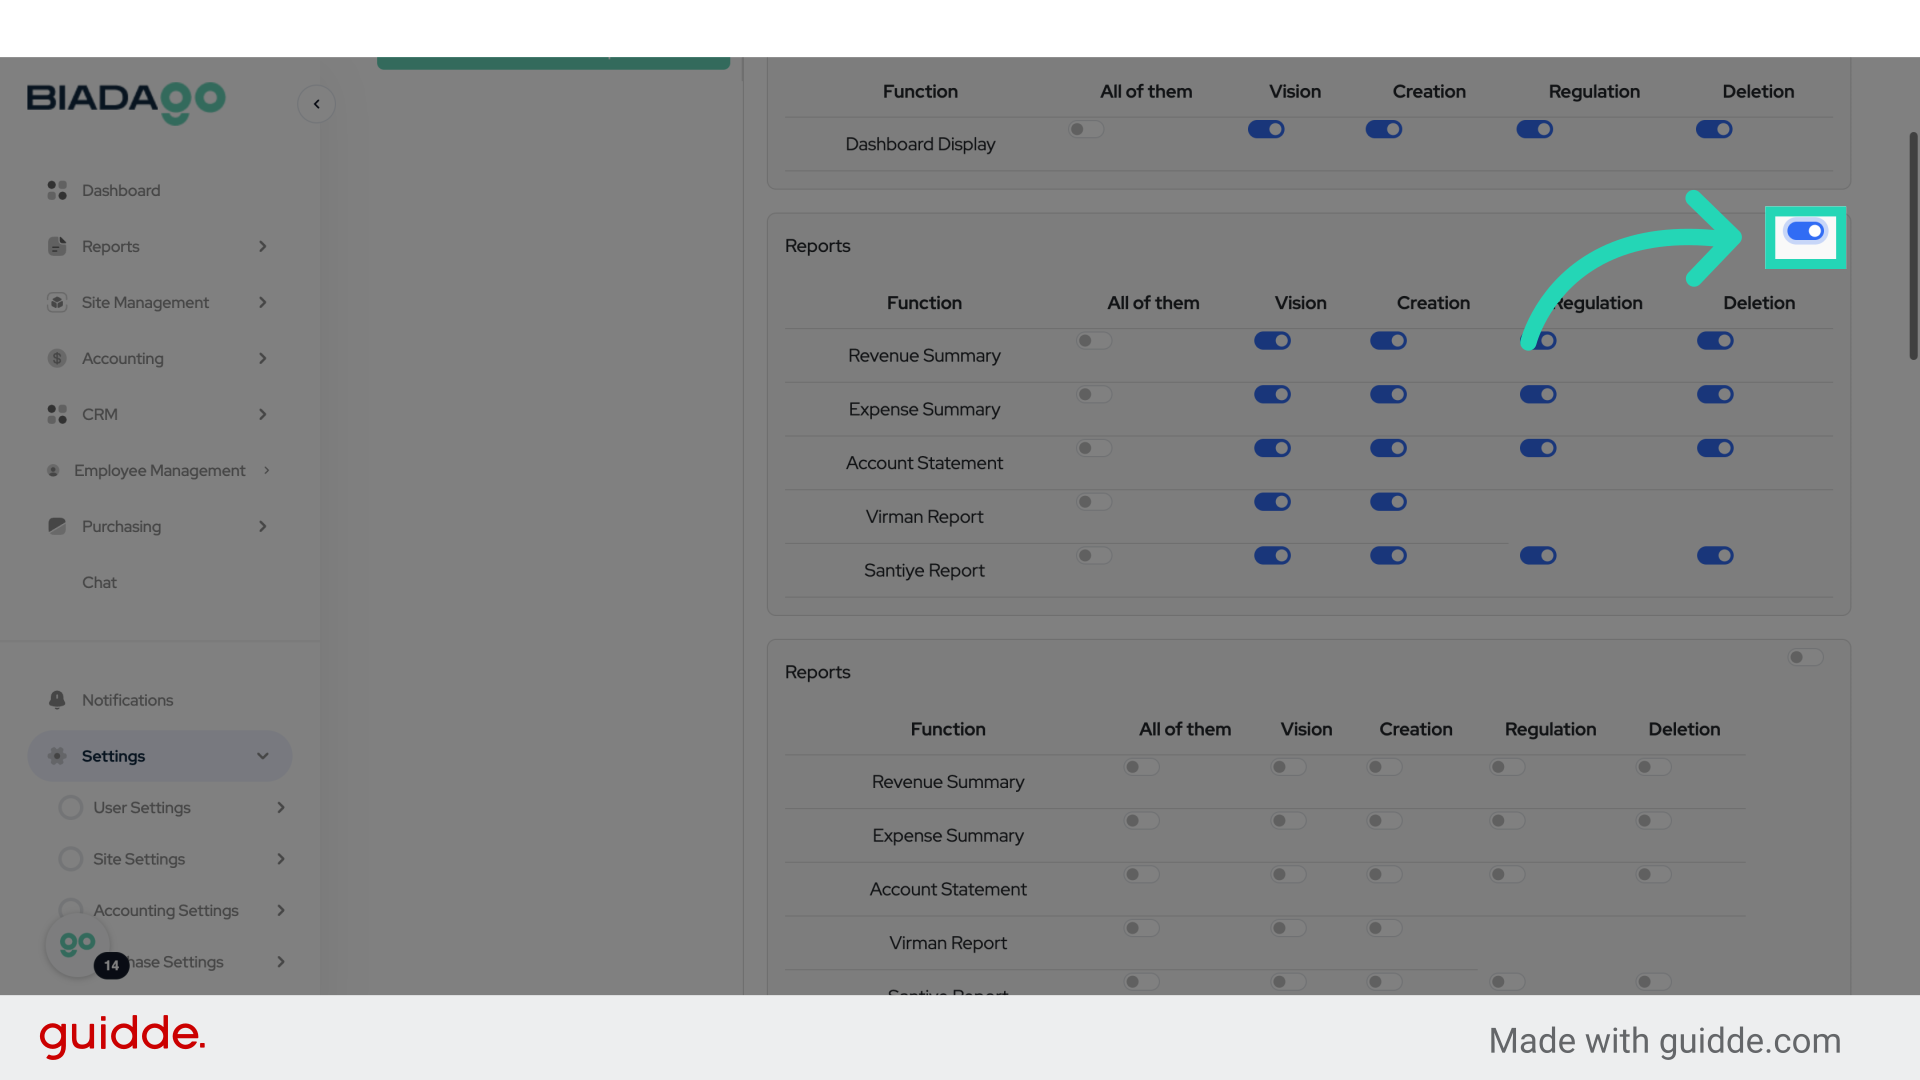
13. Click “on”
Enable access.
14. Fill “on”
Specify the access level.
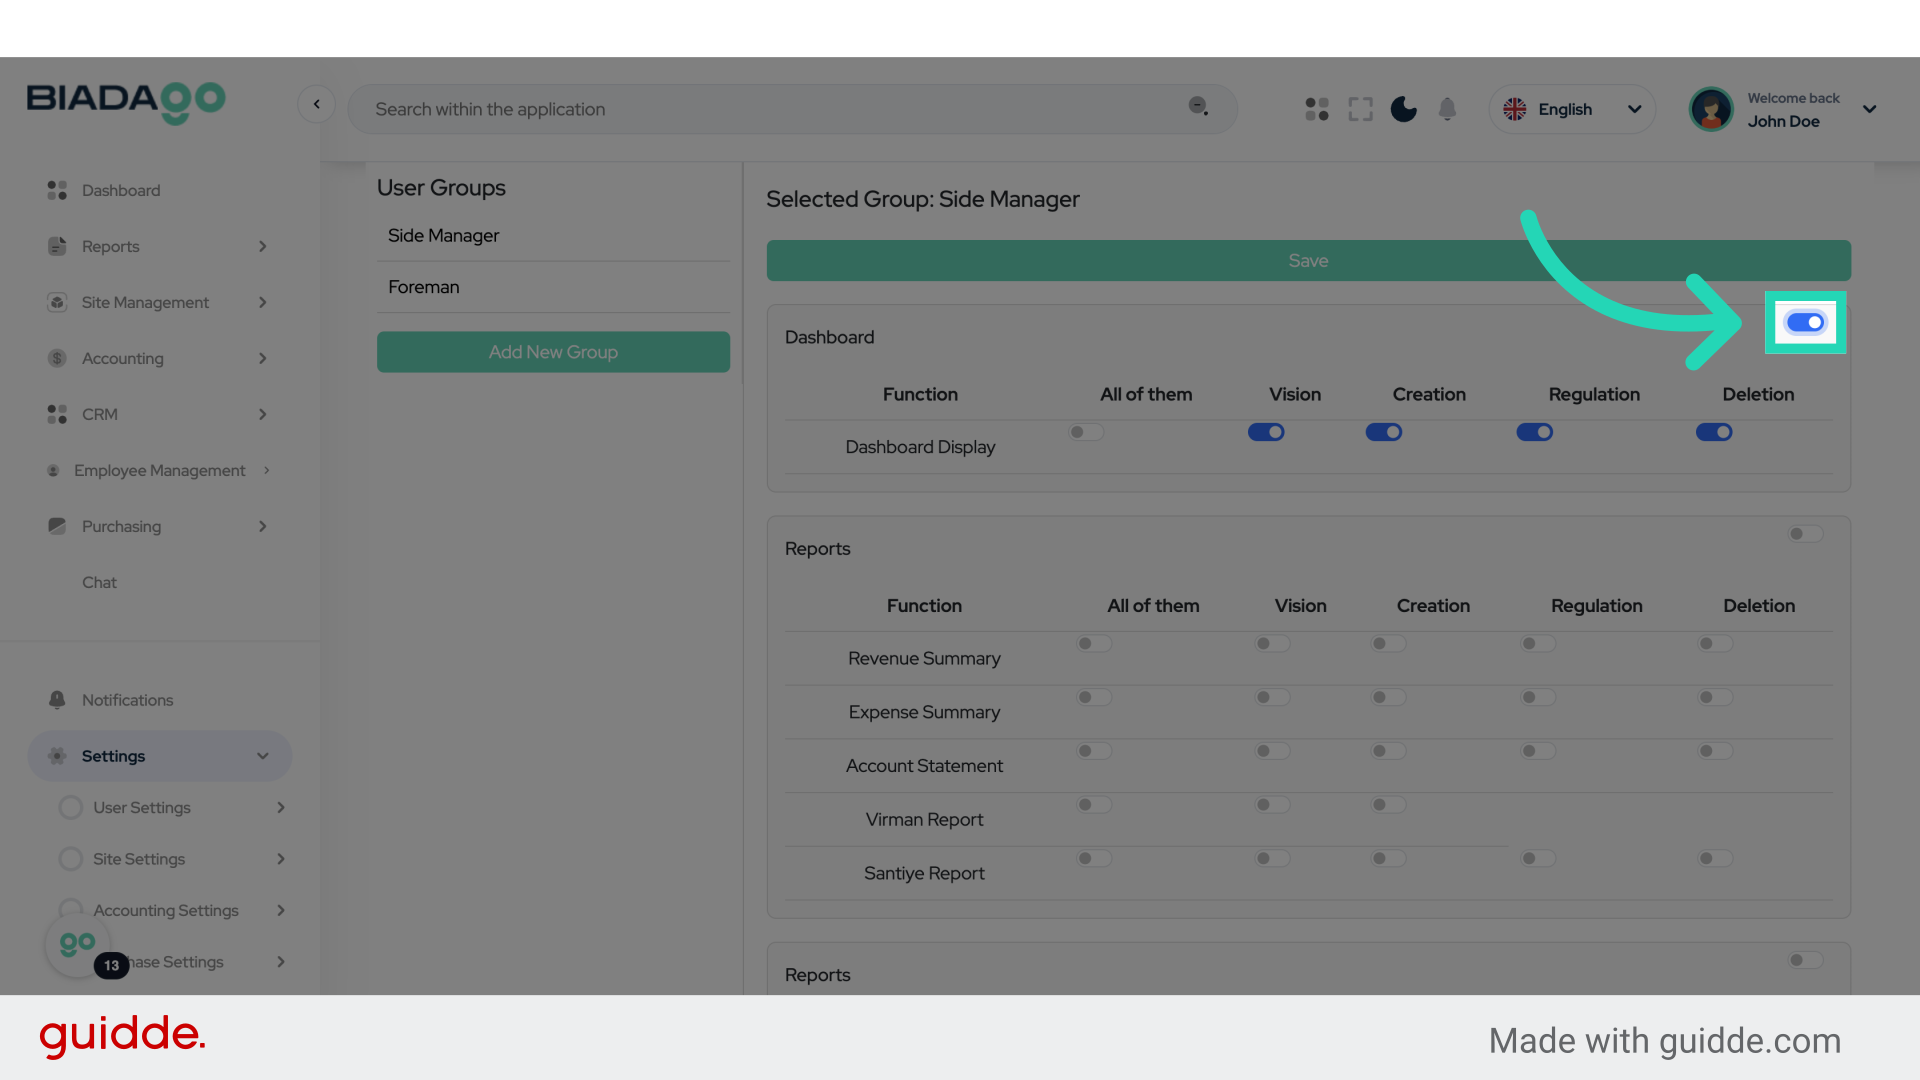
15. Fill “on”
Specify the access level.
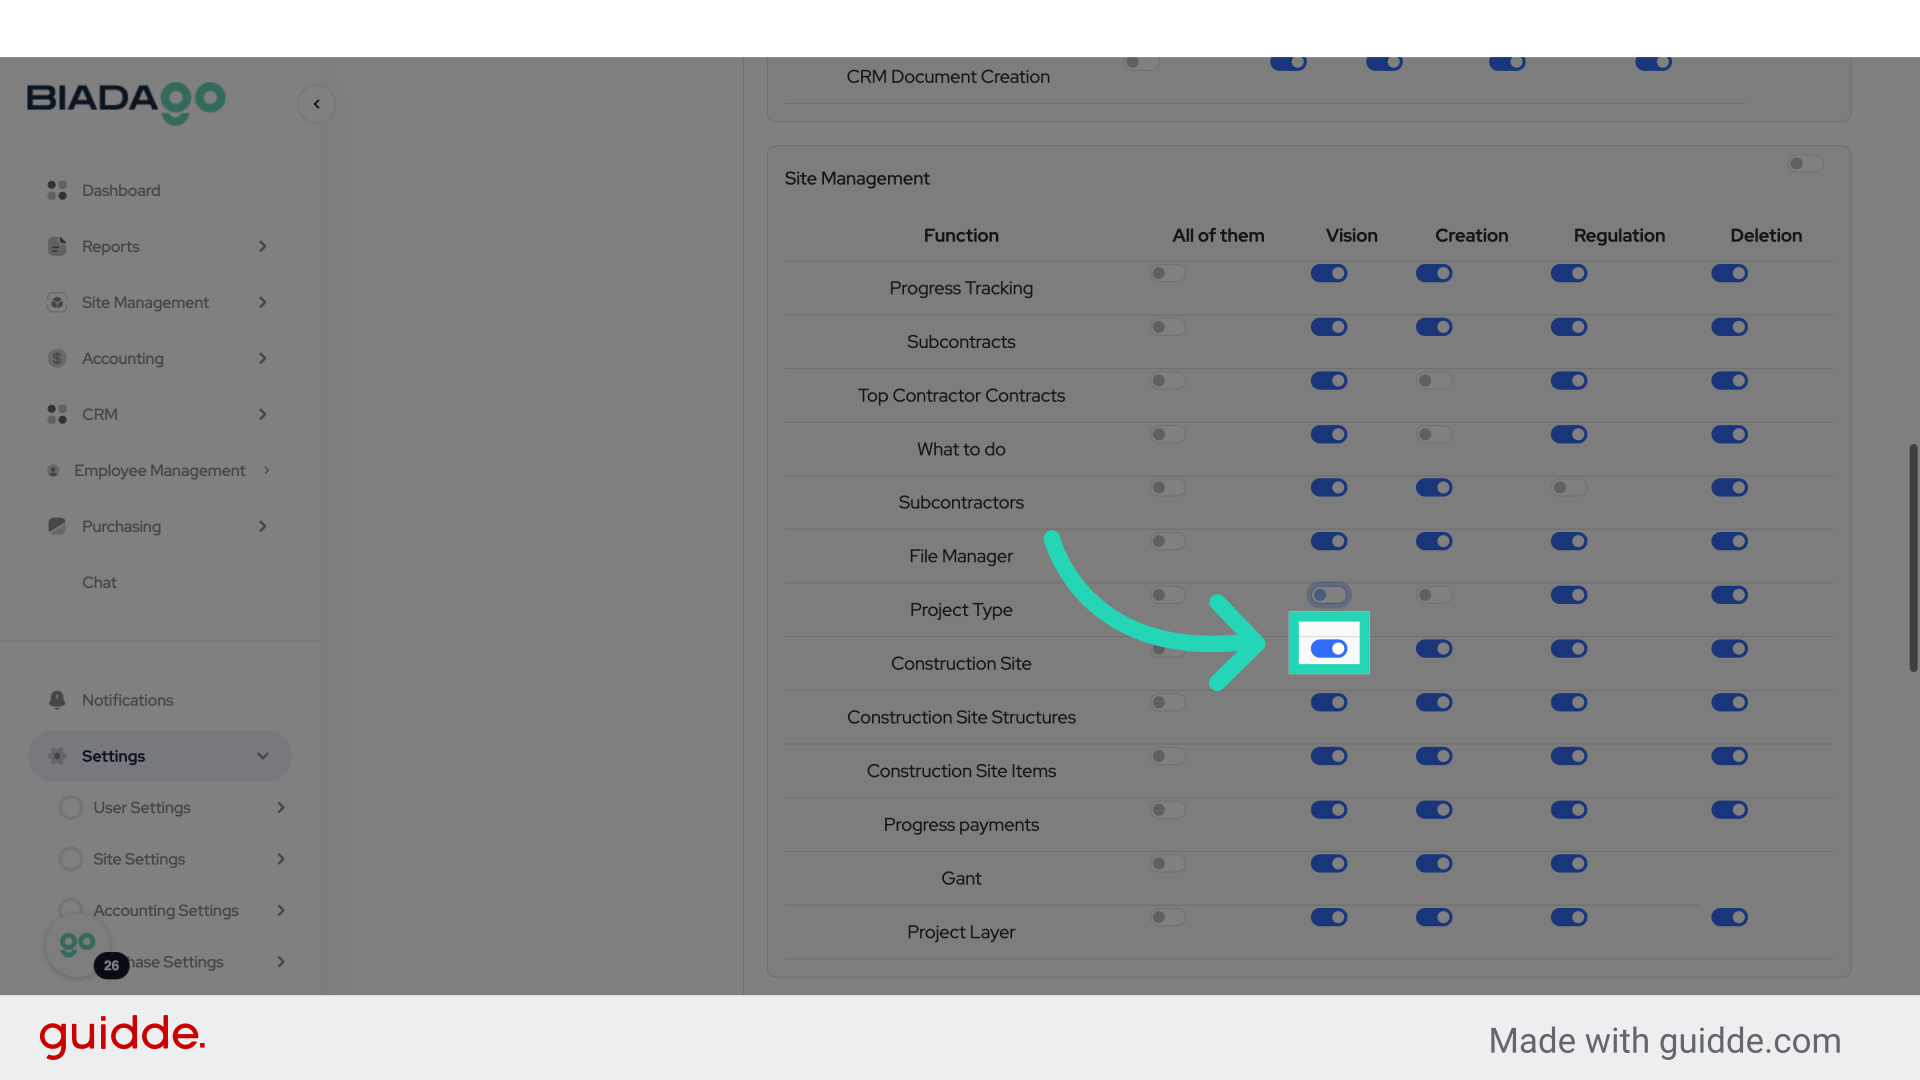
16. Click “on”
Enable access.
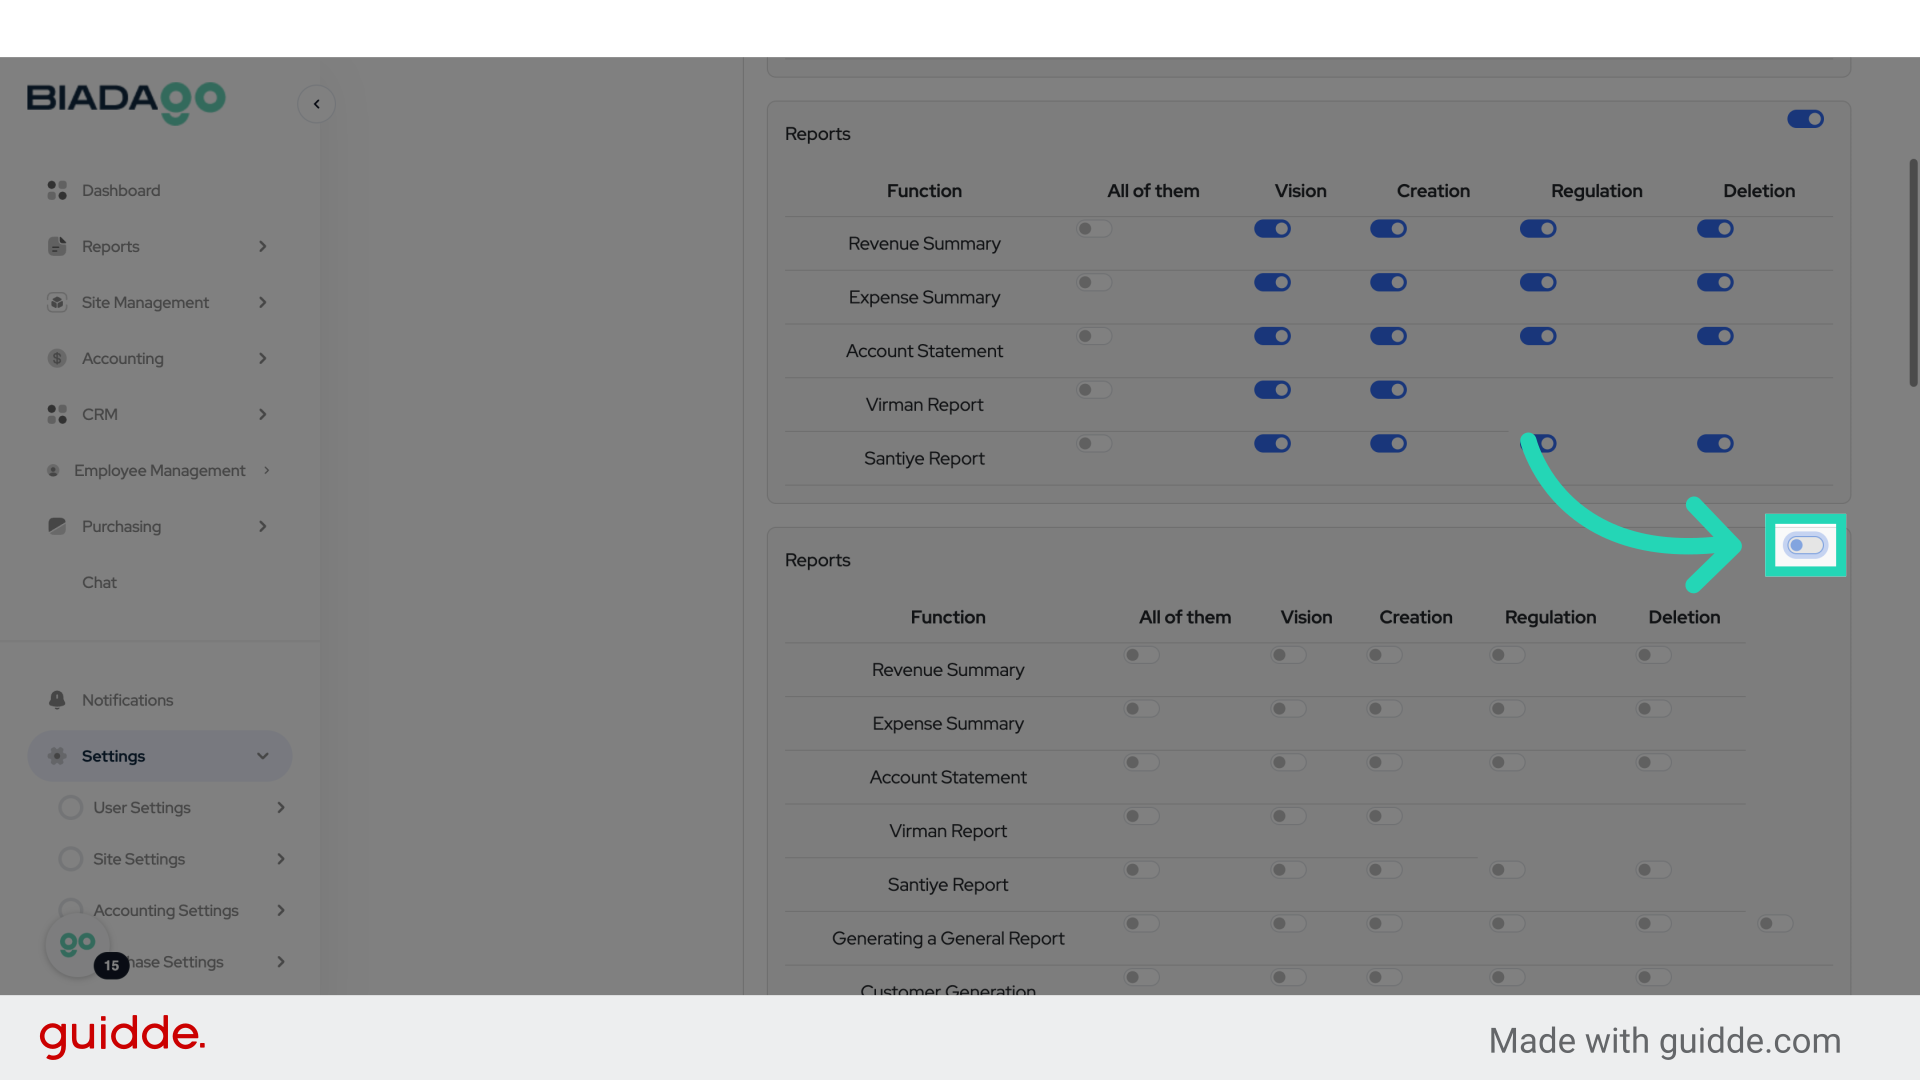
17. Fill “on”
Specify the access level.
18. Click “on”
Enable access.
19. Fill “on”
Specify the access level.
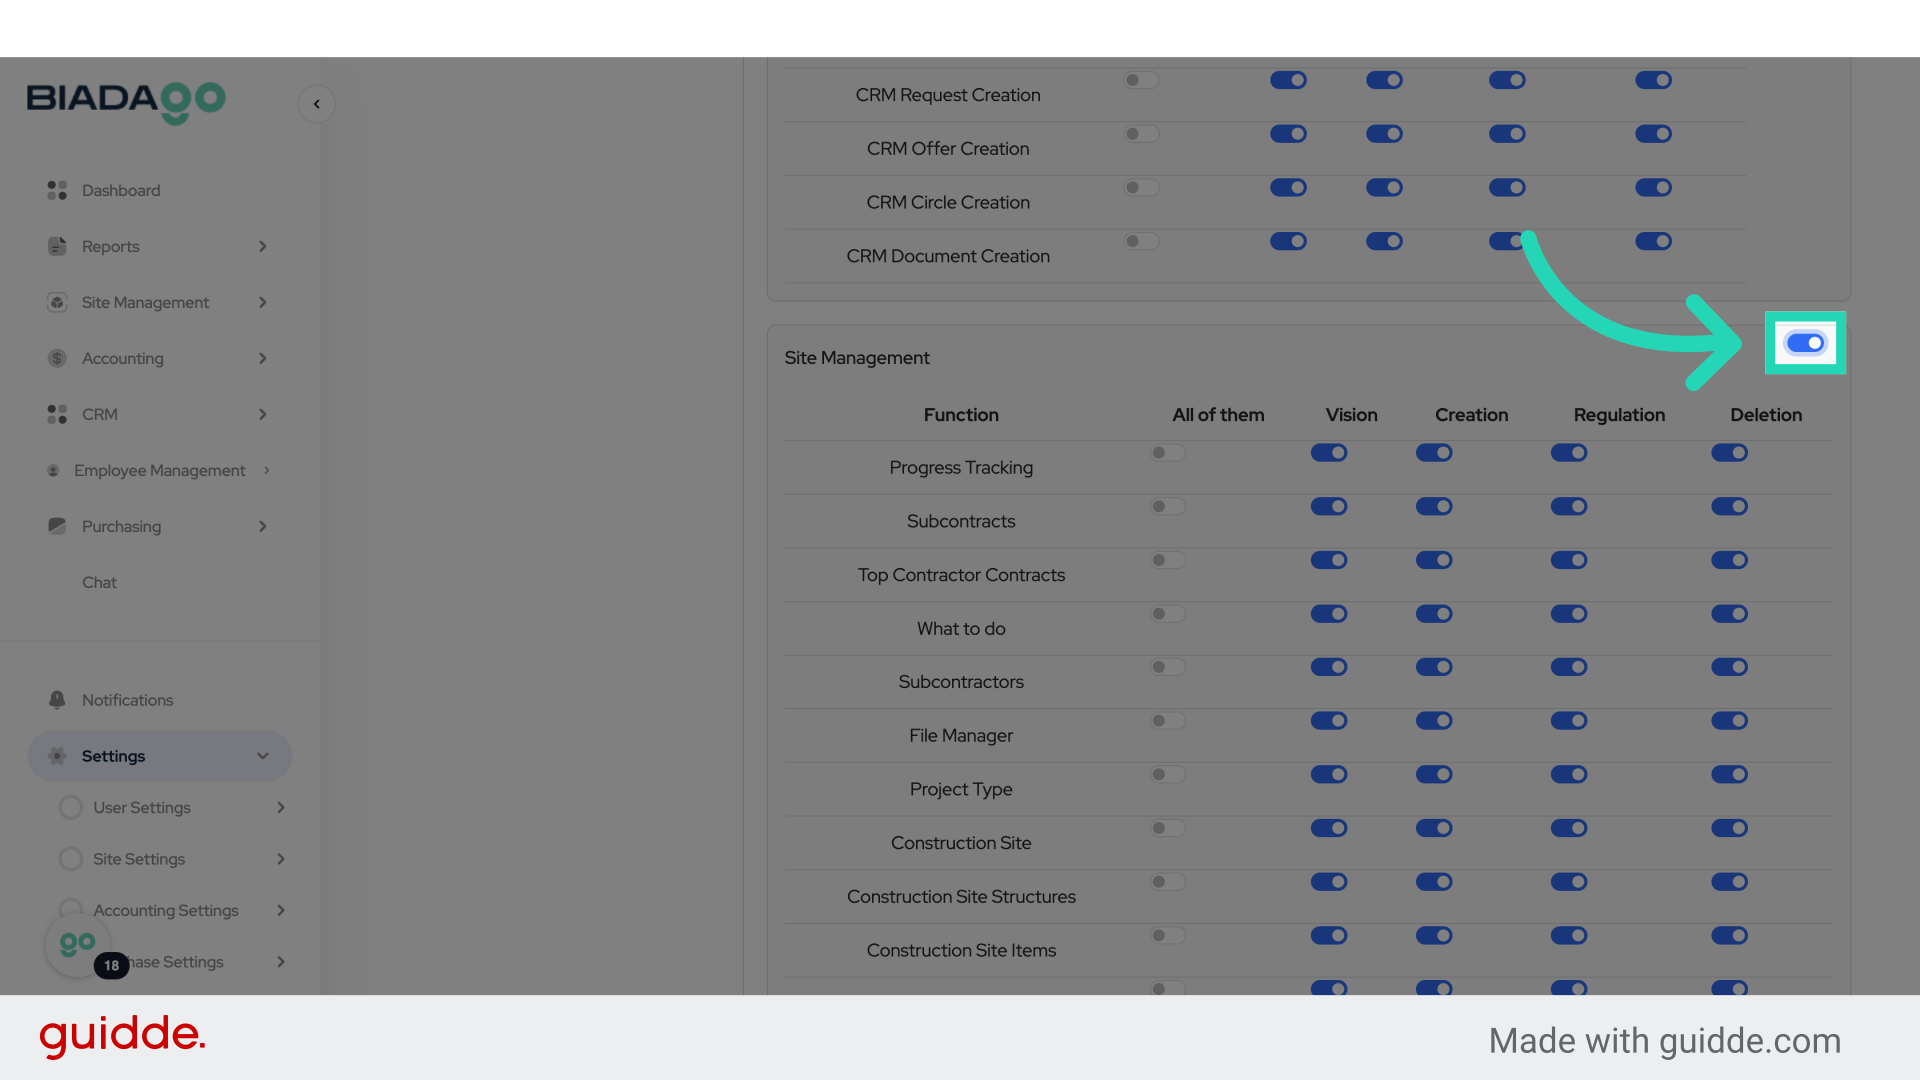
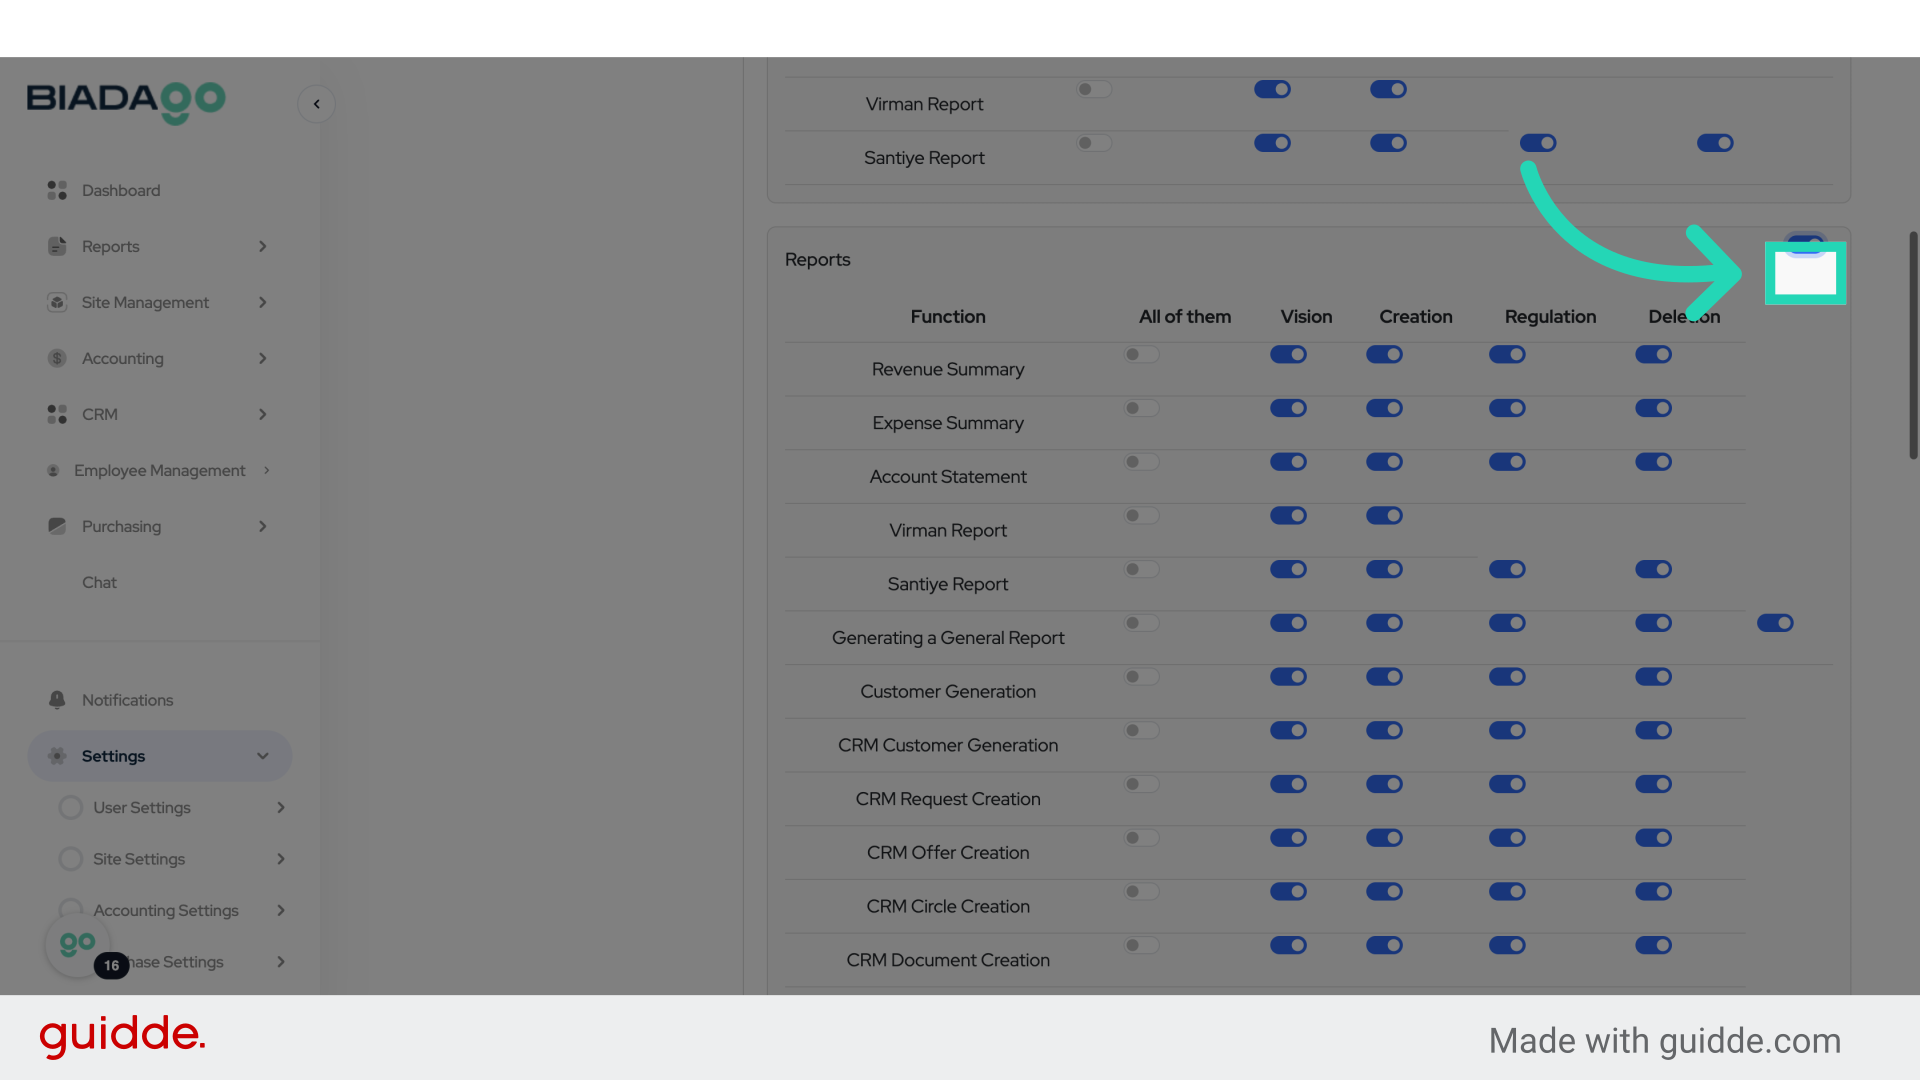
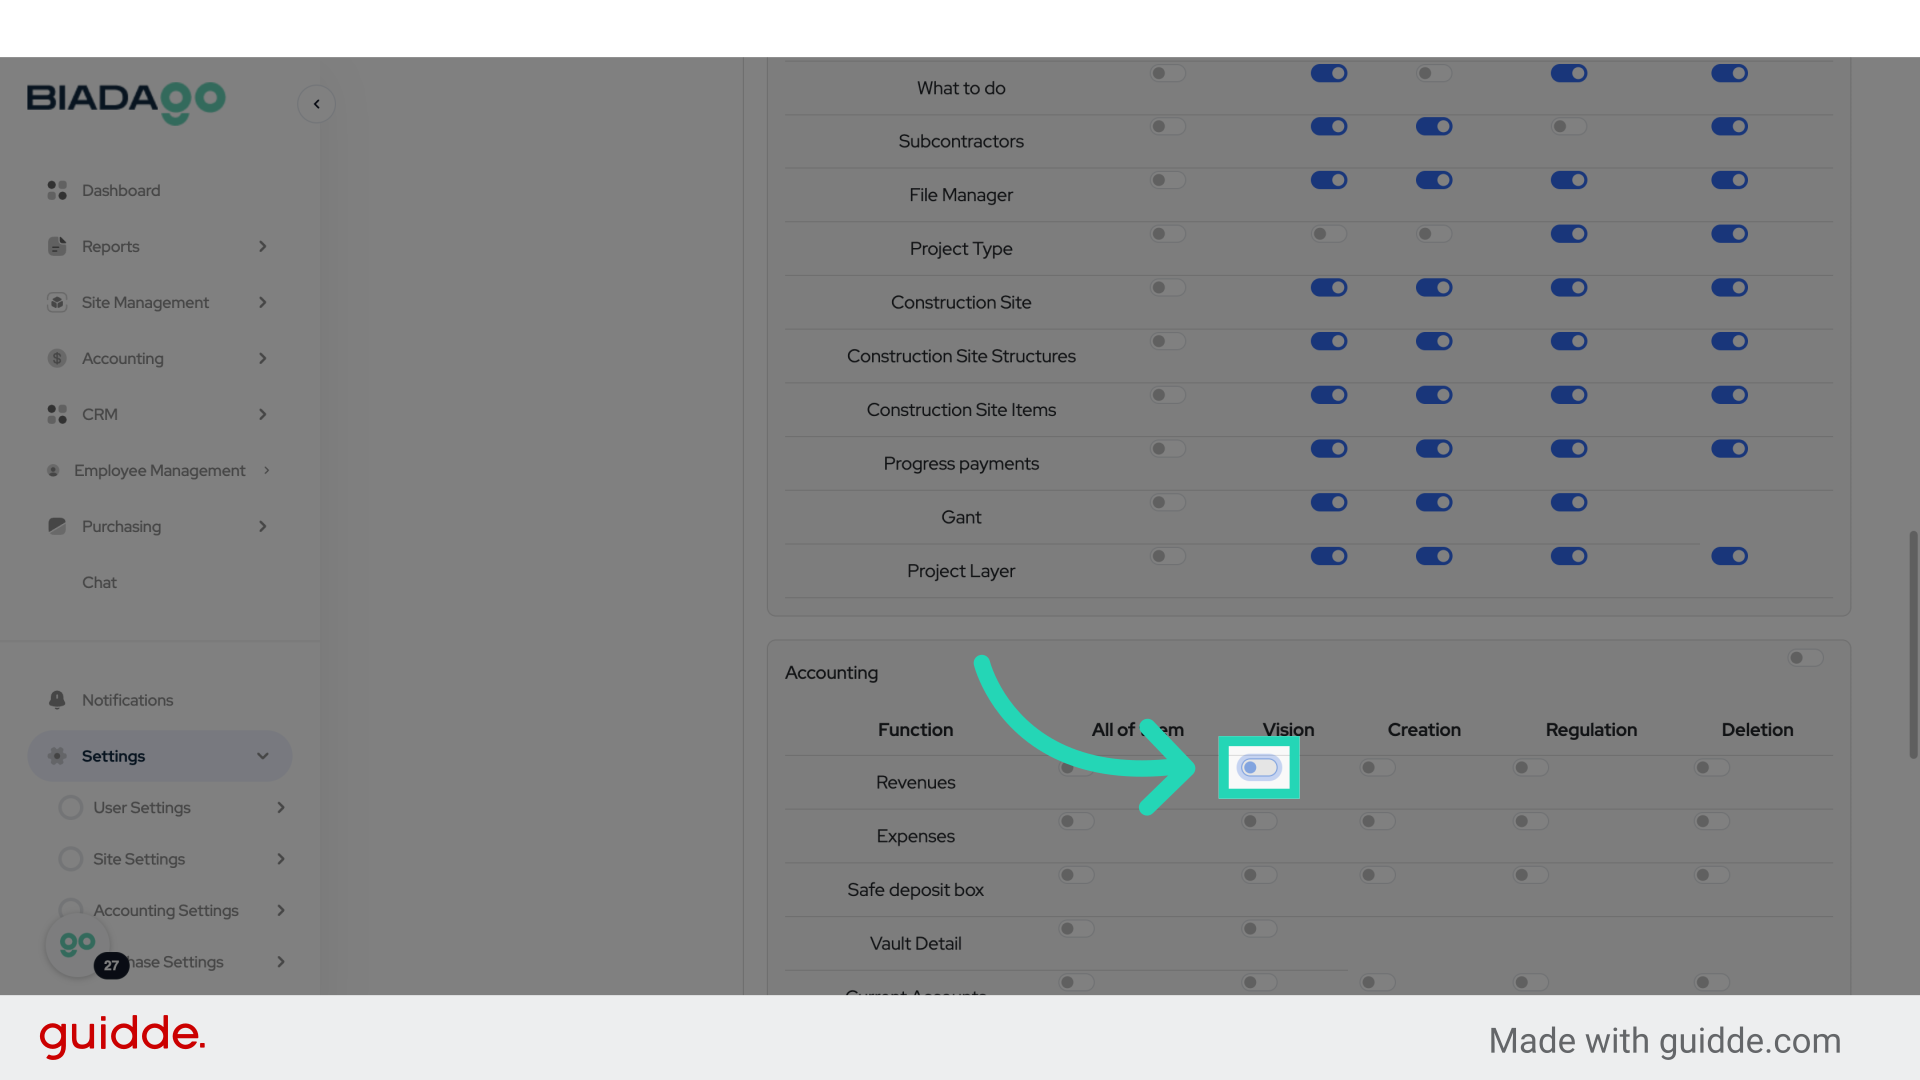
20. Click “on”
Enable access.

21. Fill “on”
Specify the access level.
22. Fill “on”
Specify the access level.
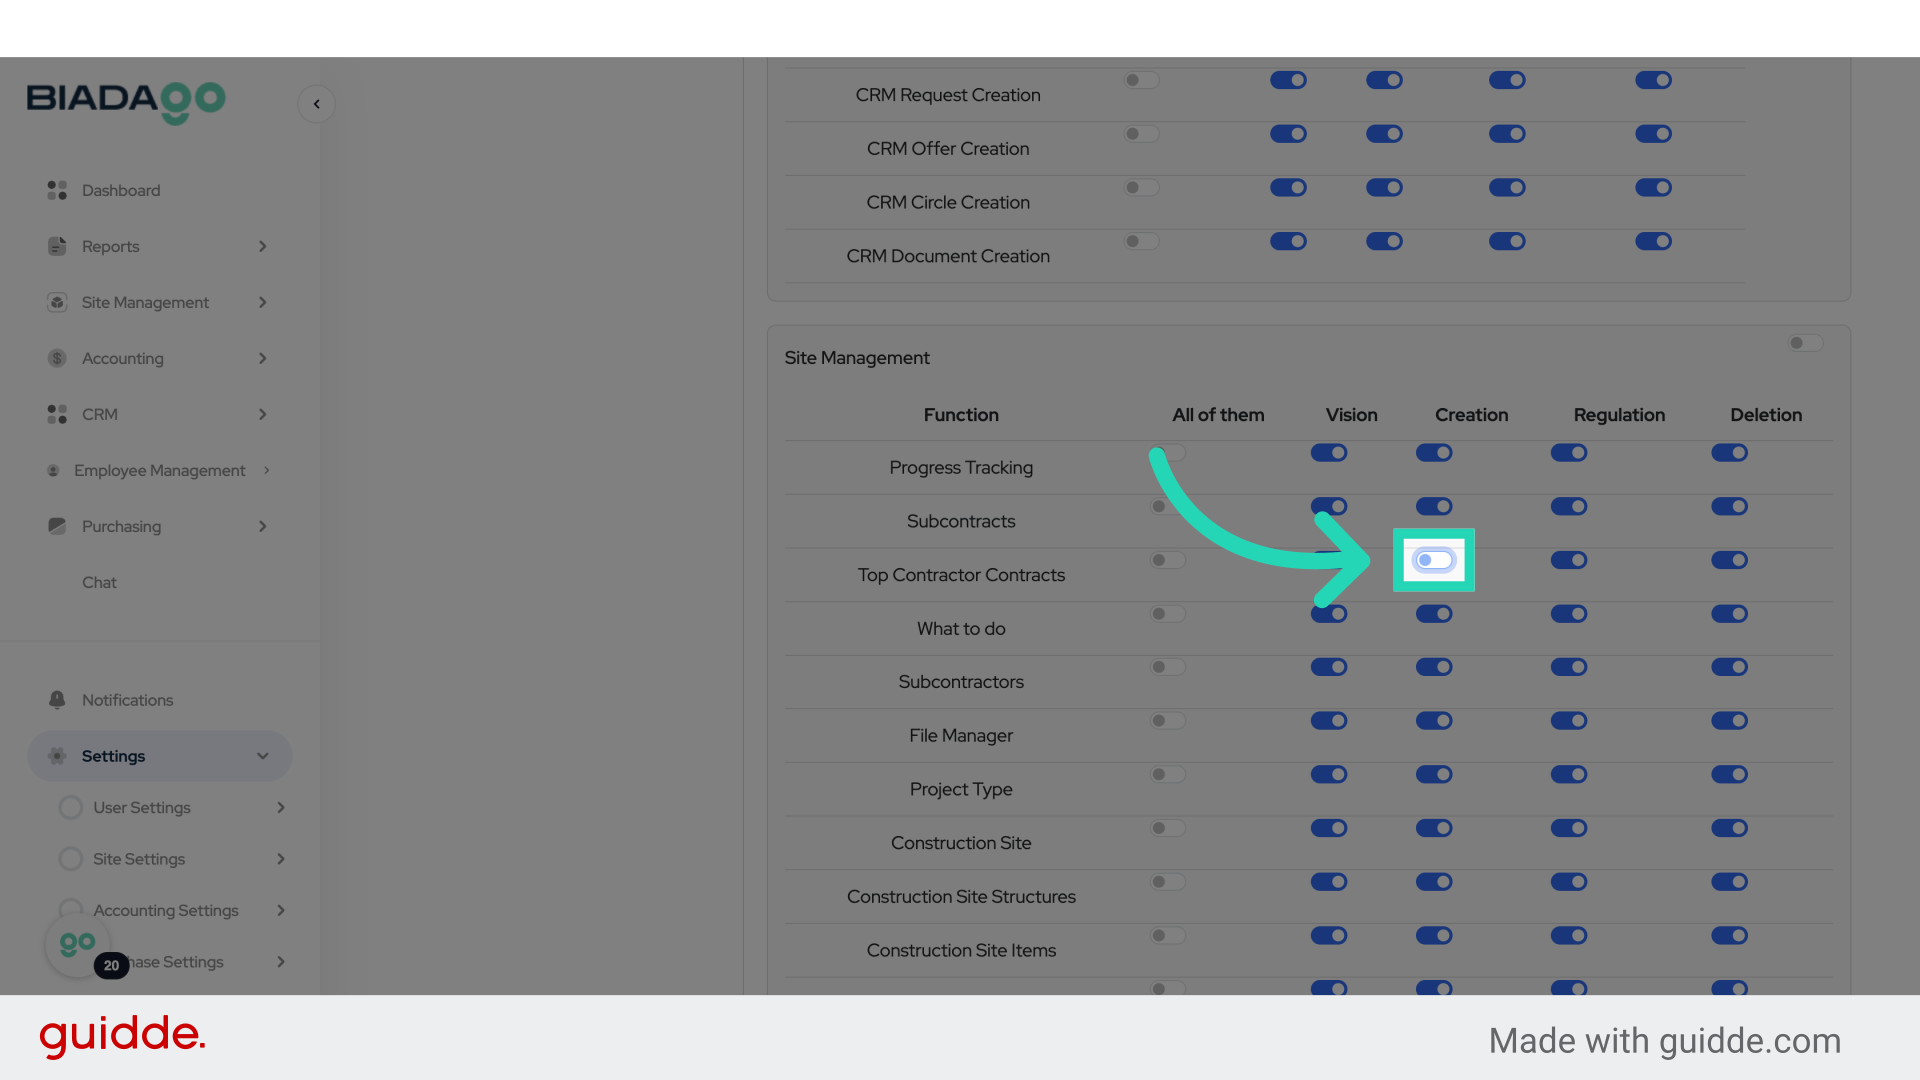
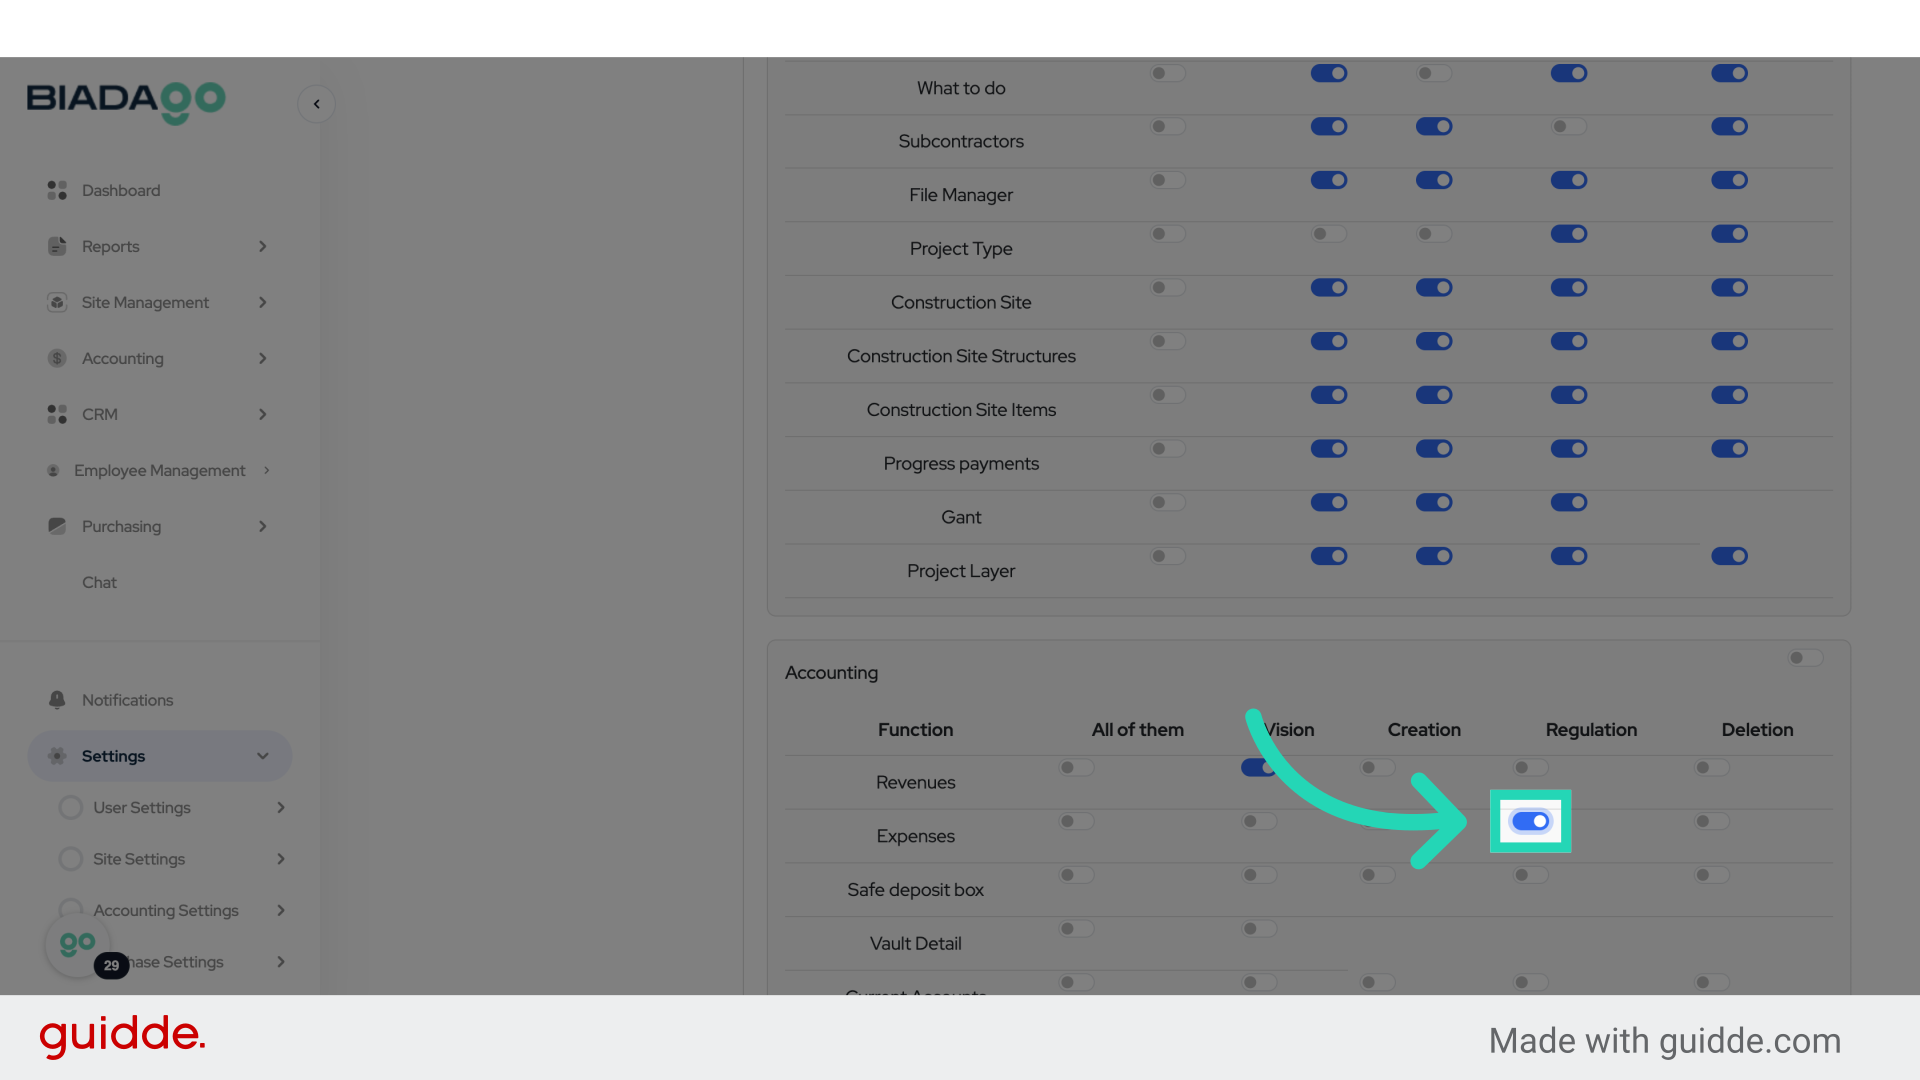
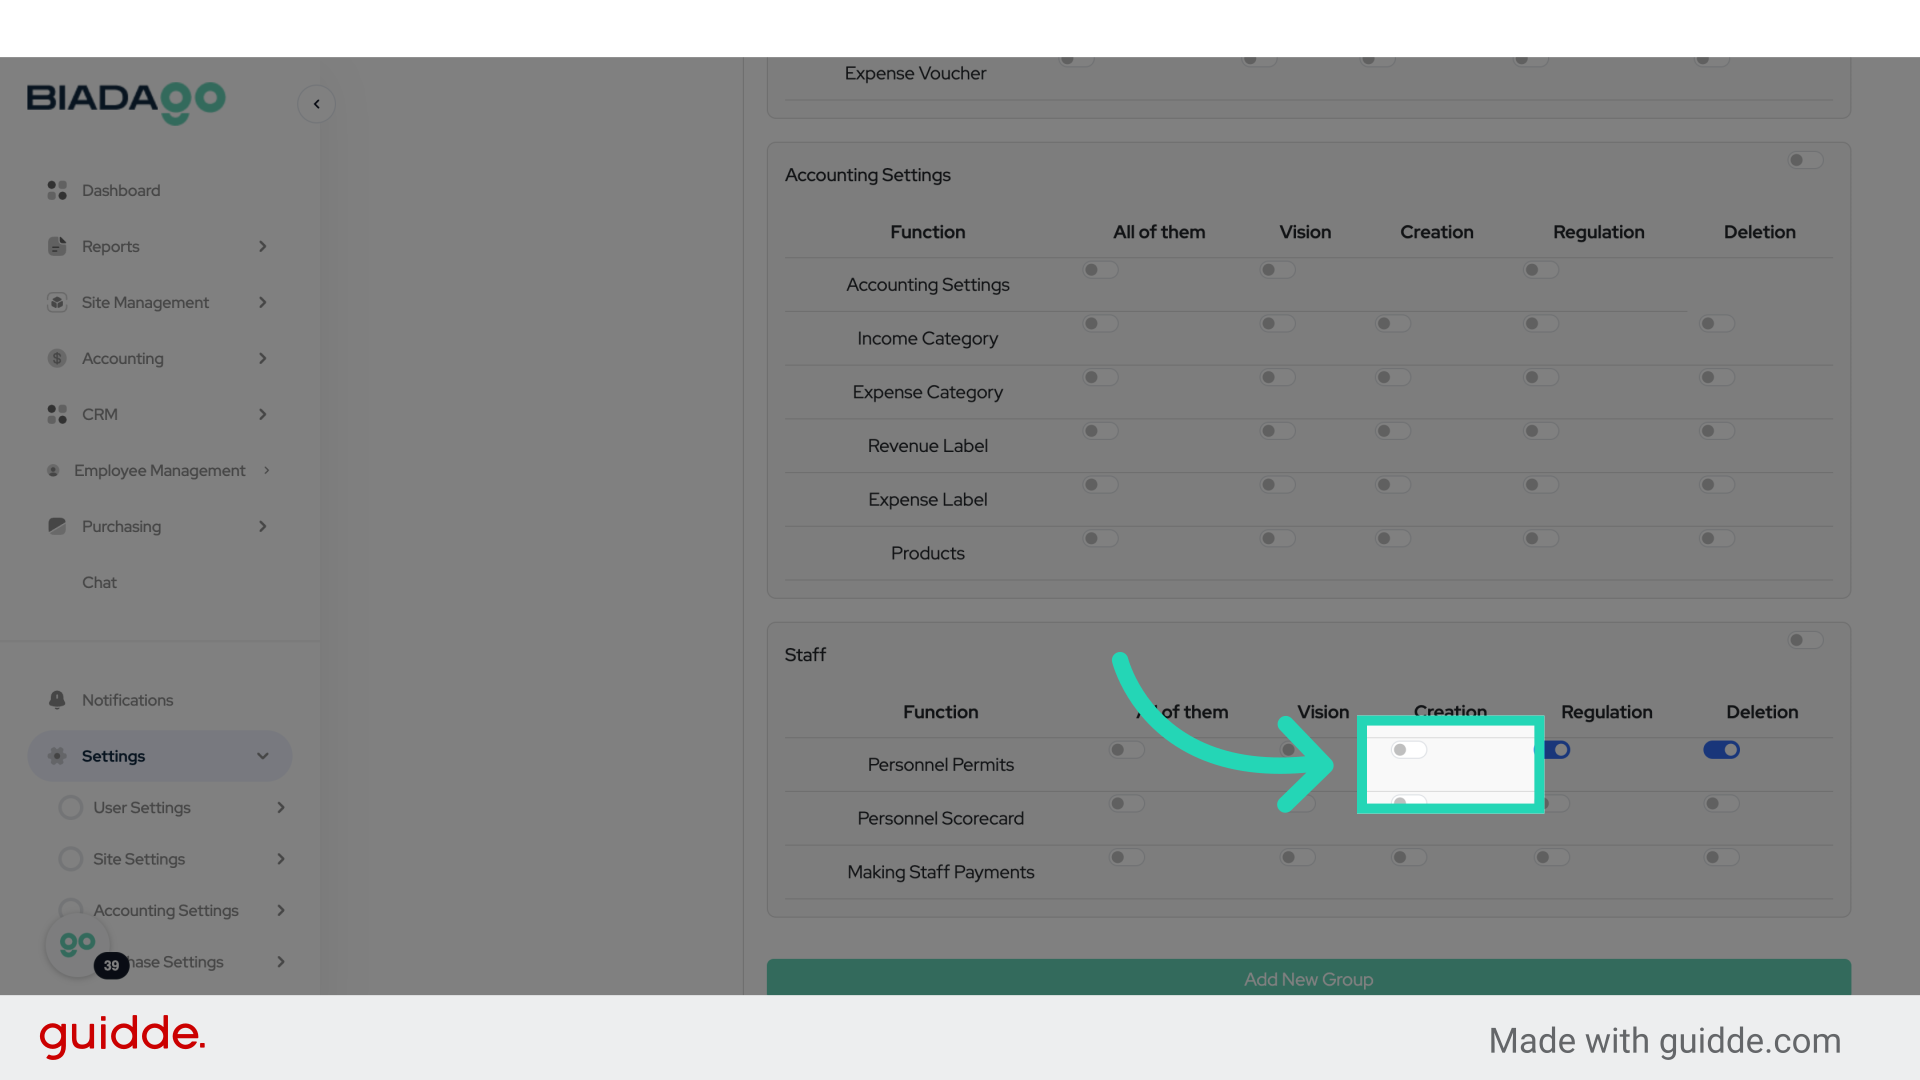
23. Click “on”
Enable access.
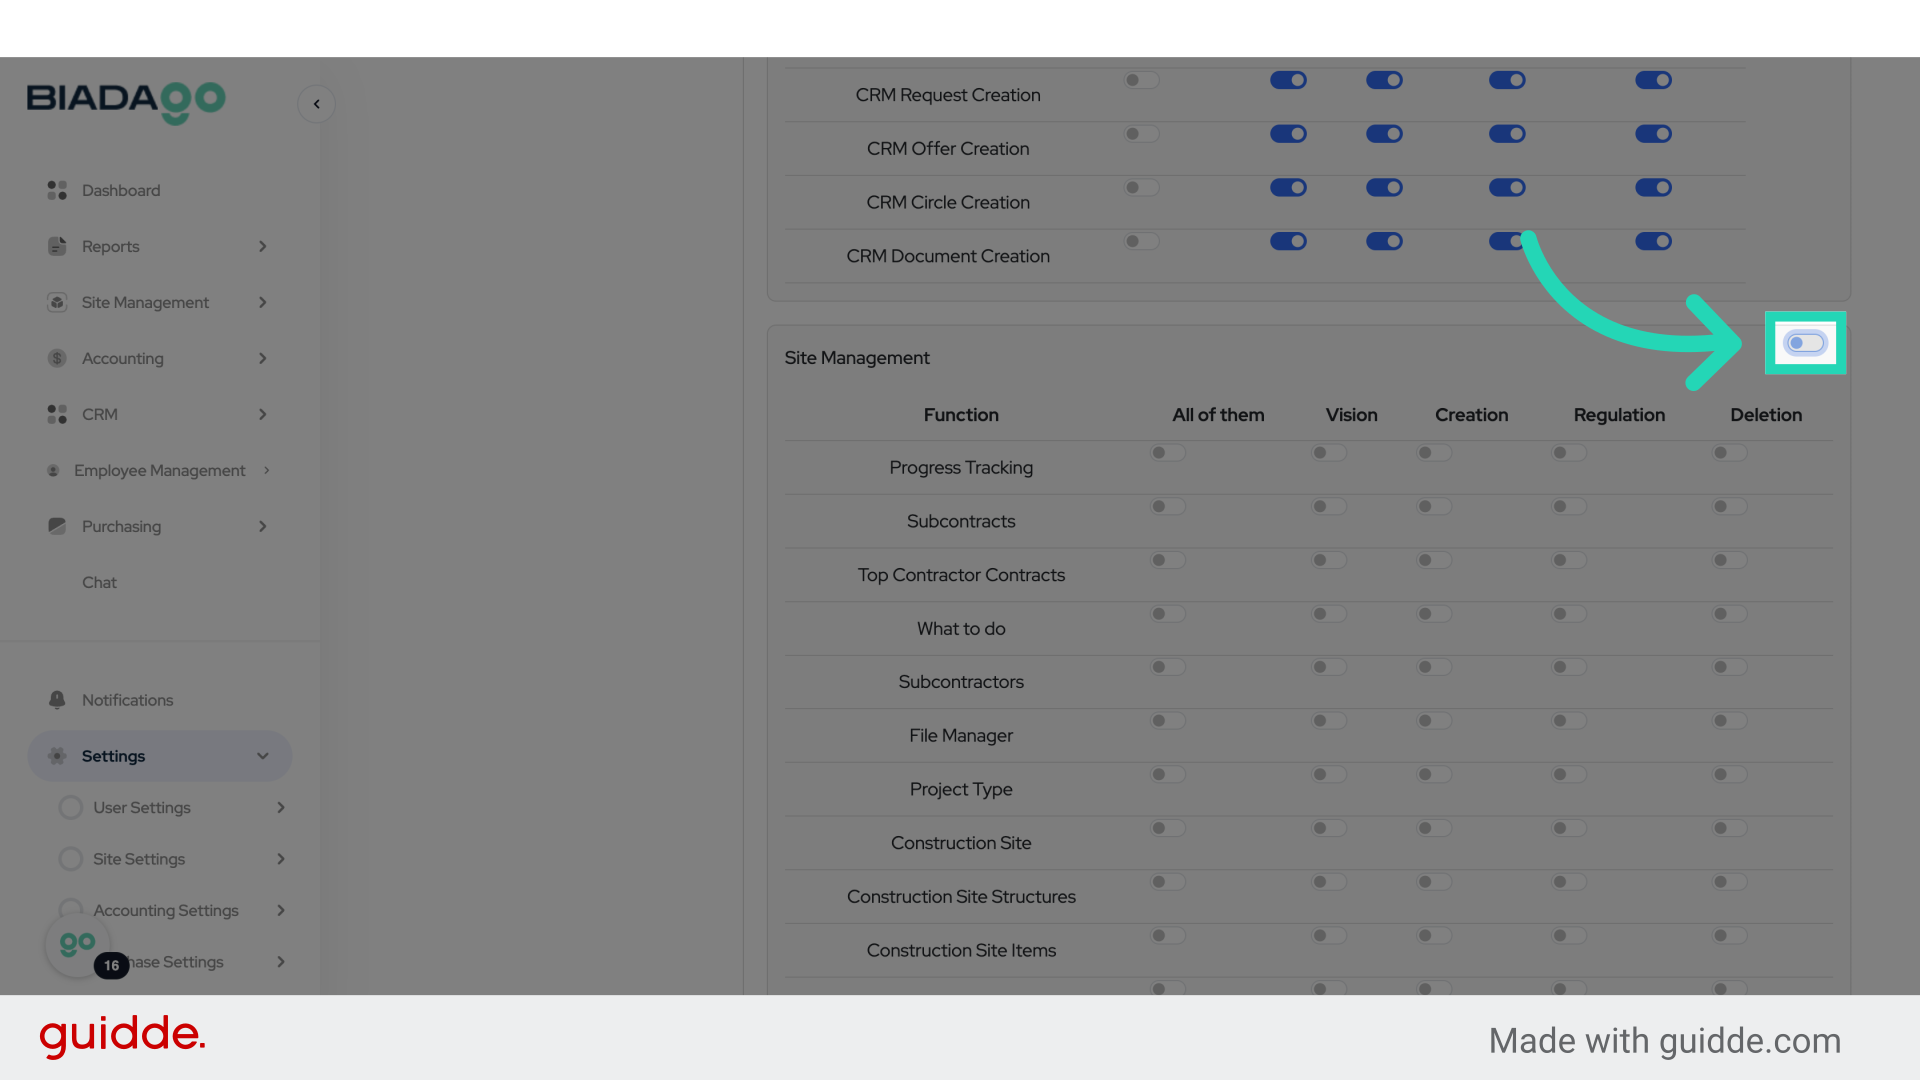
24. Click “on”
Enable access.
25. Fill “on”
Specify the access level.

26. Fill “on”
Specify the access level.
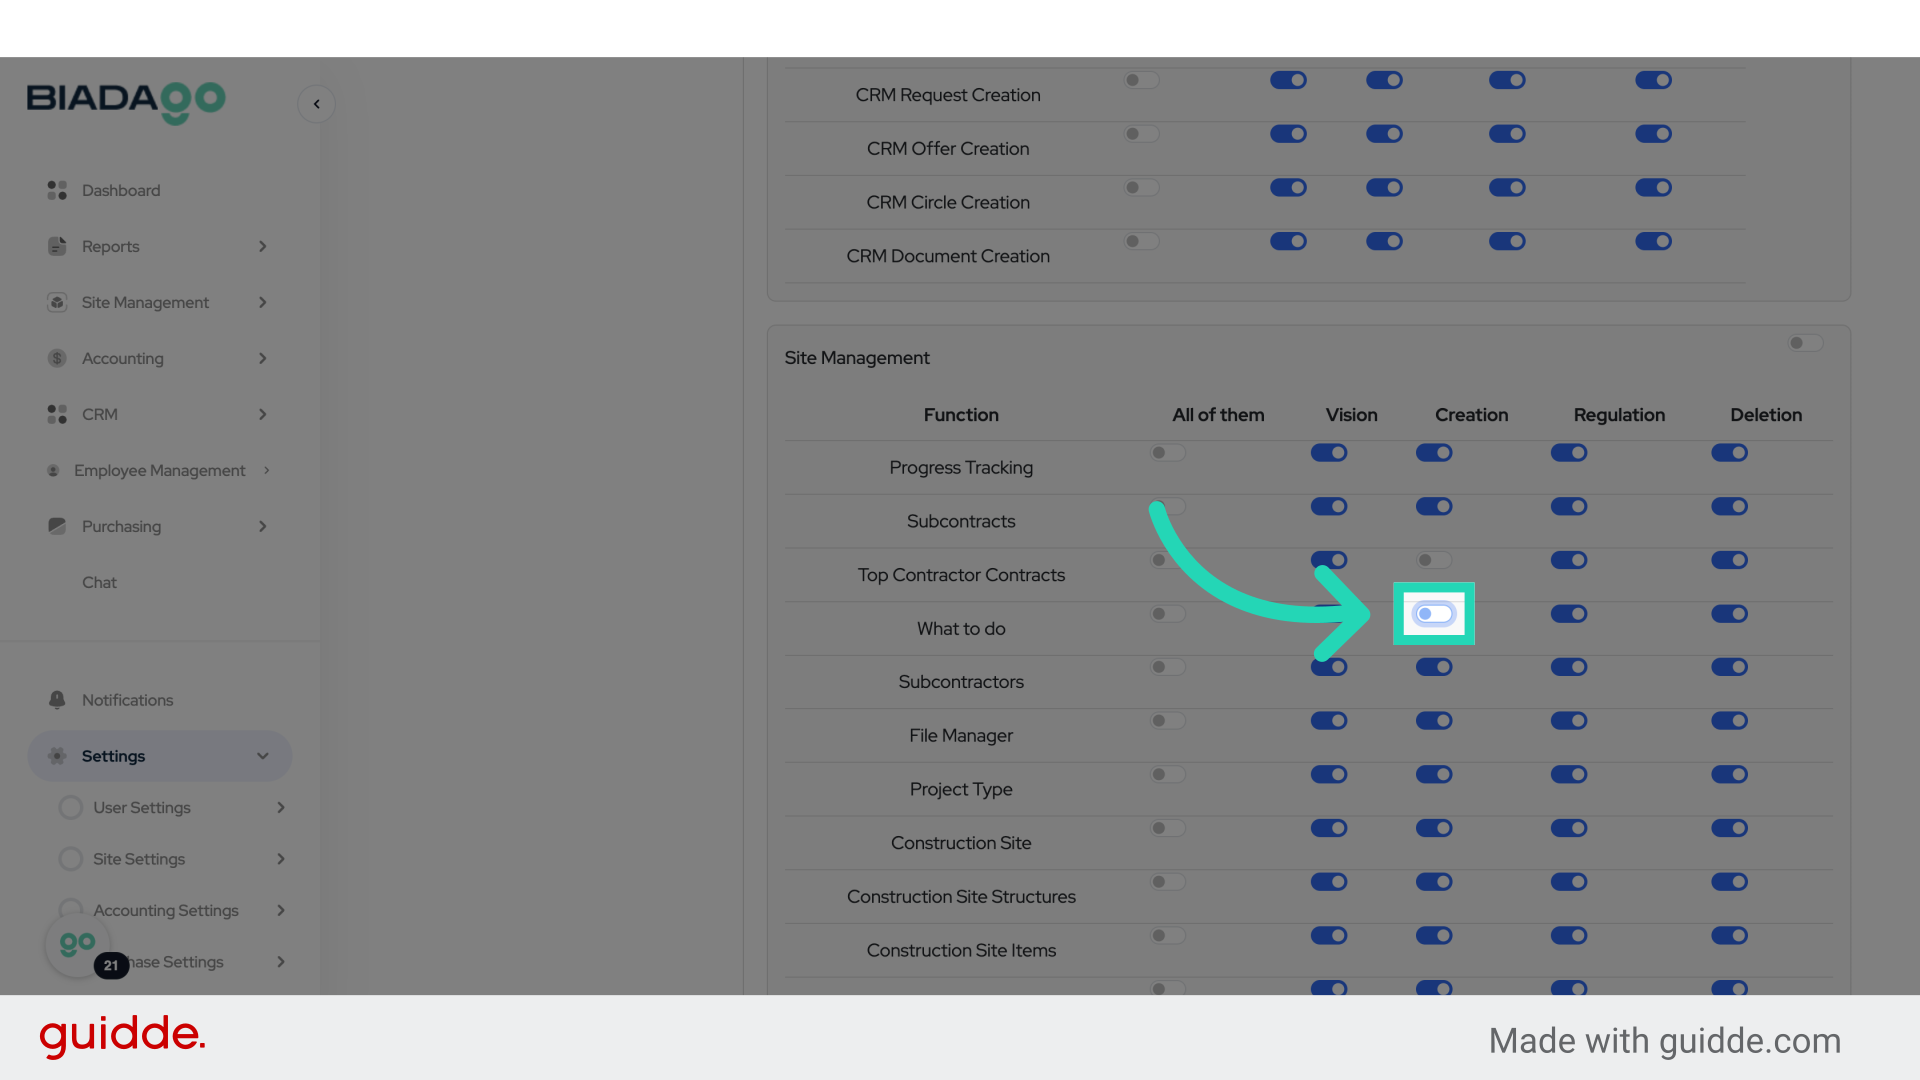
27. Click “on”
Enable access.
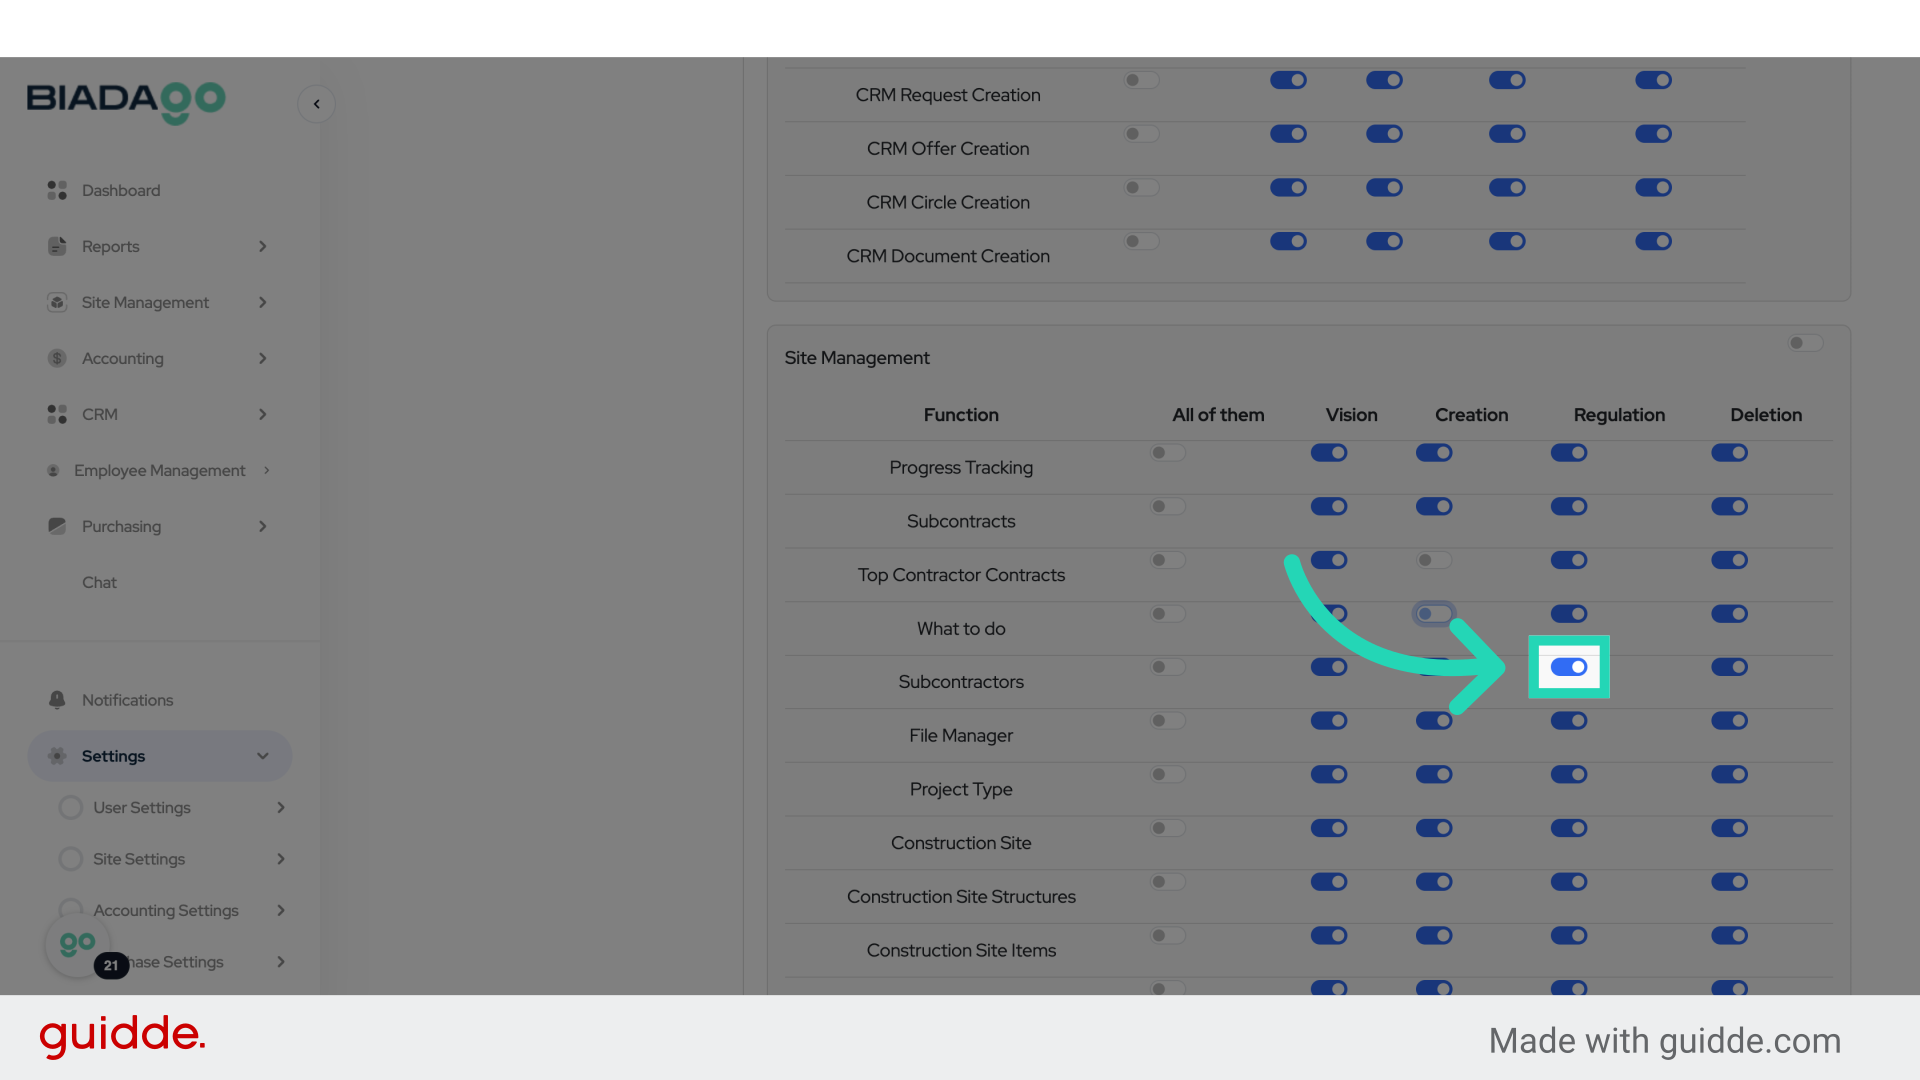
28. Fill “on”
Specify the access level.

29. Fill “on”
Specify the access level.
30. Click “Save”
Save the changes.
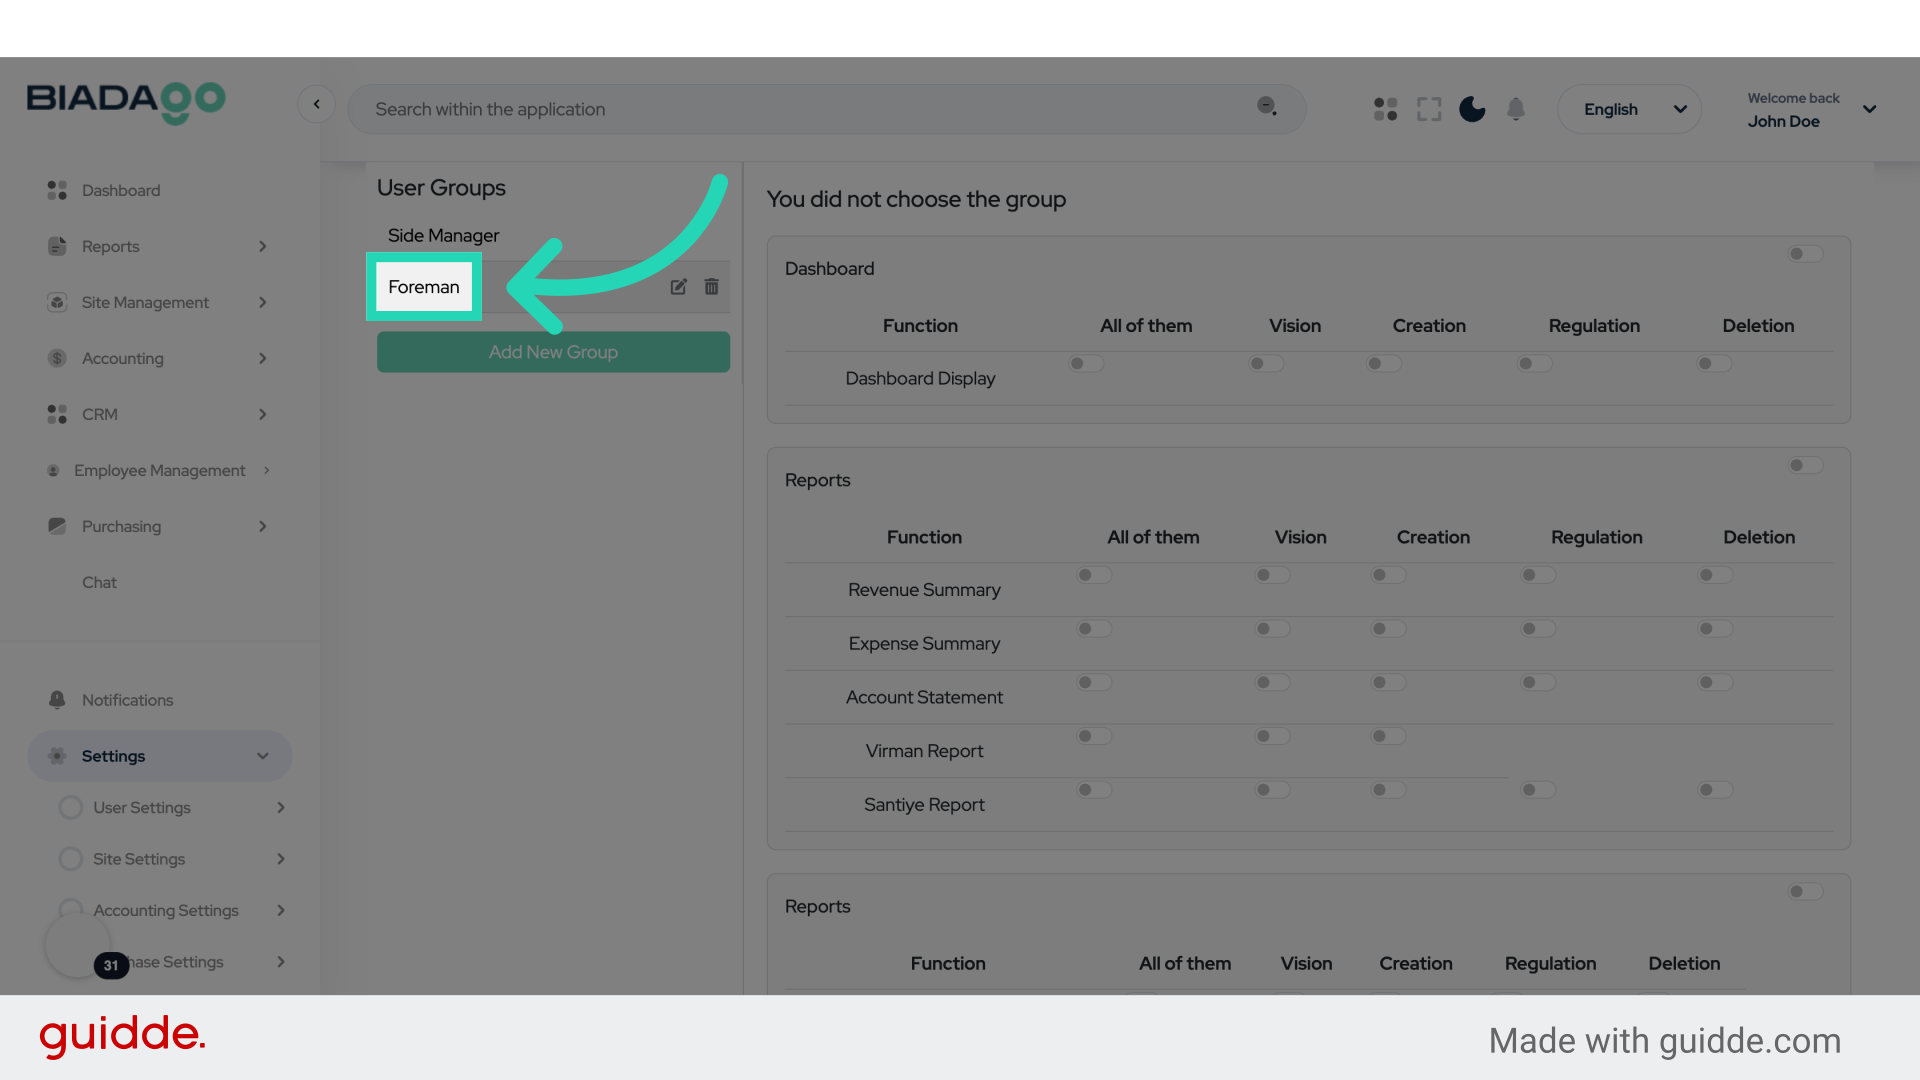
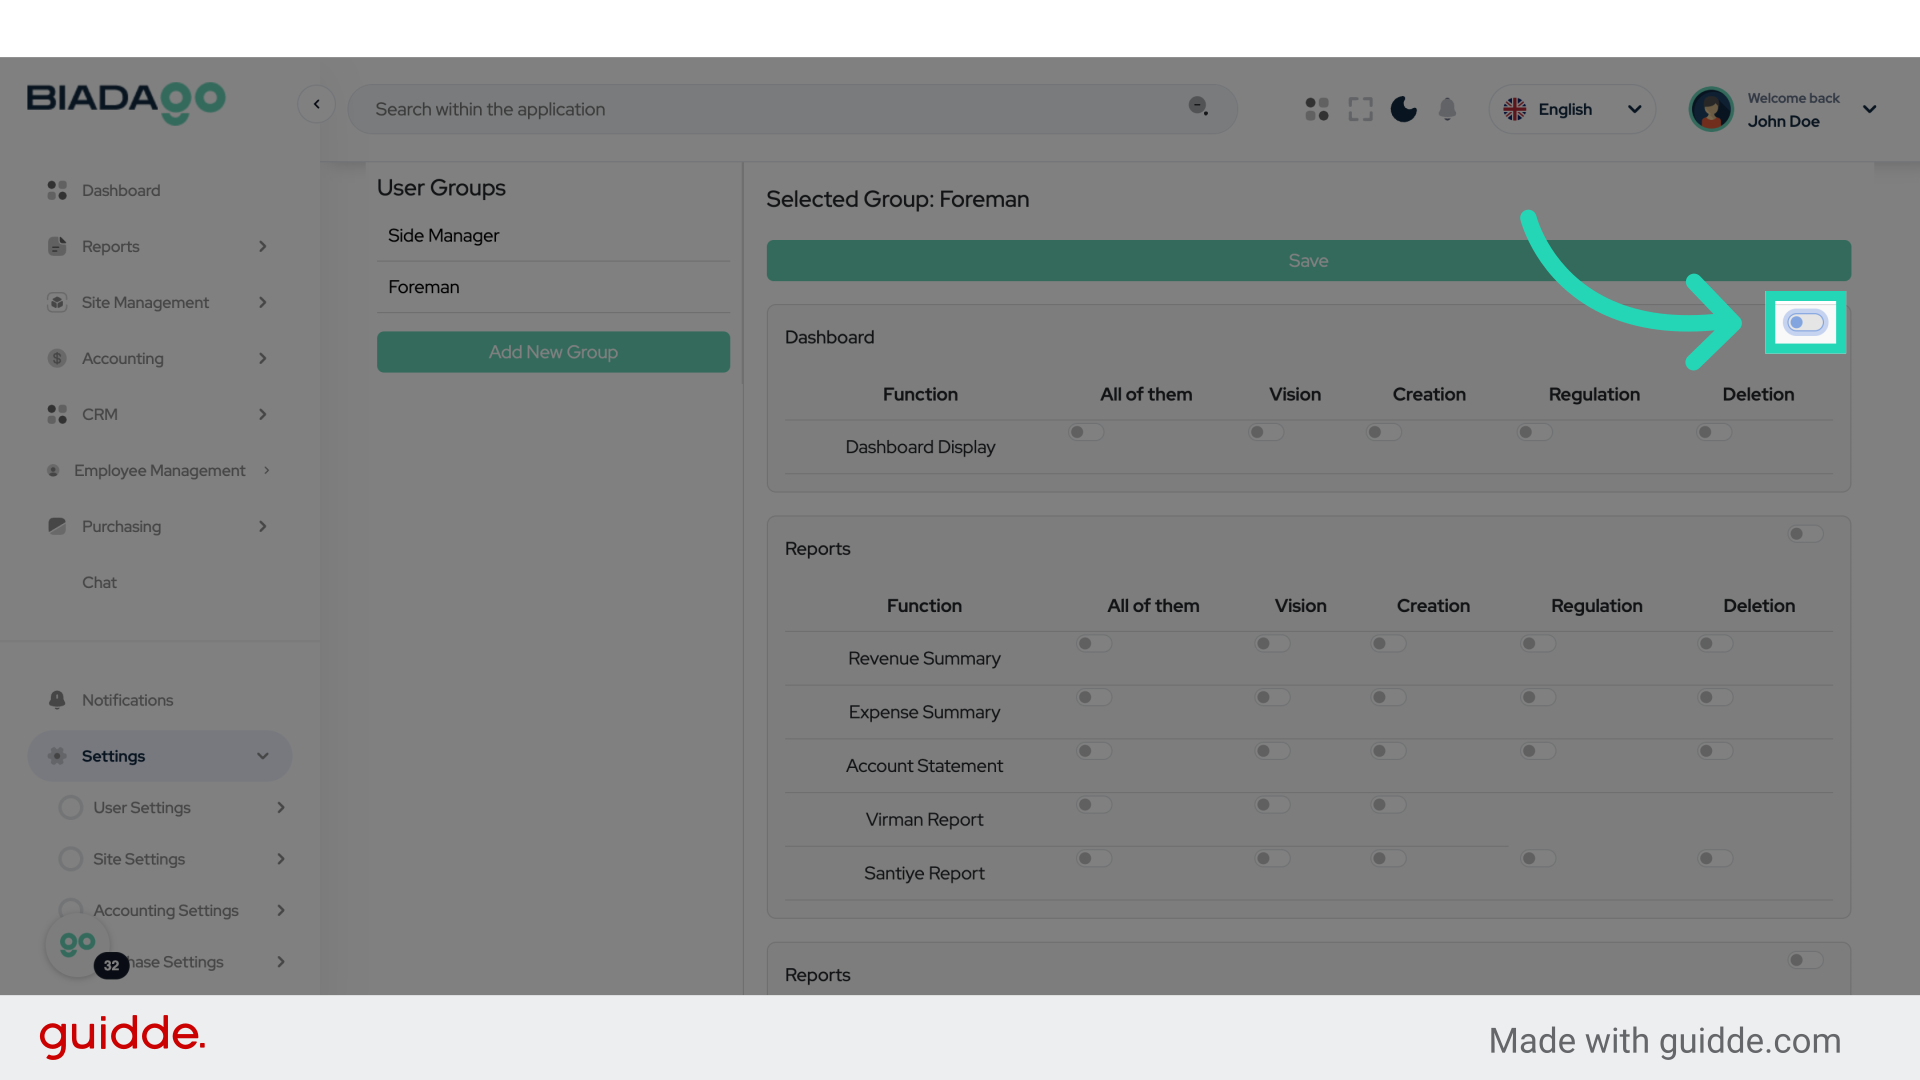
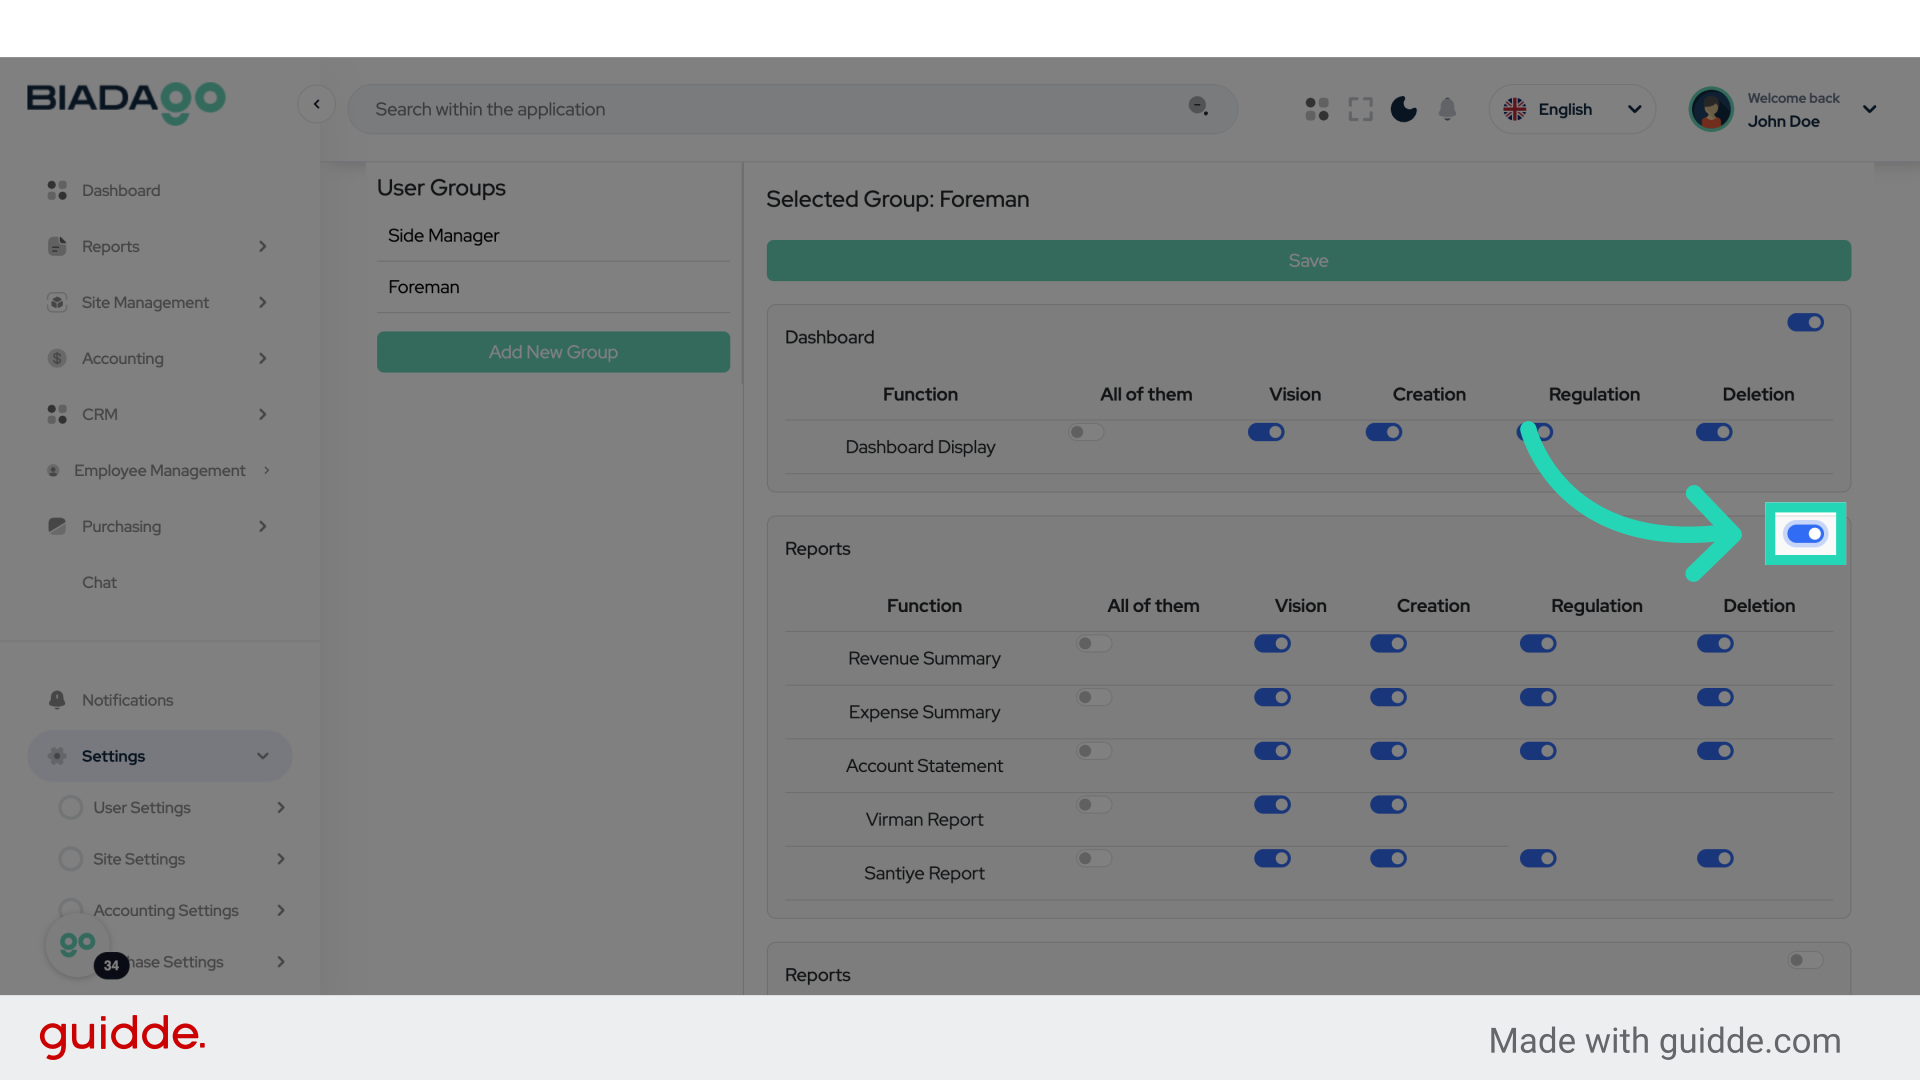
31. Click “Foreman”
Select the Foreman role.
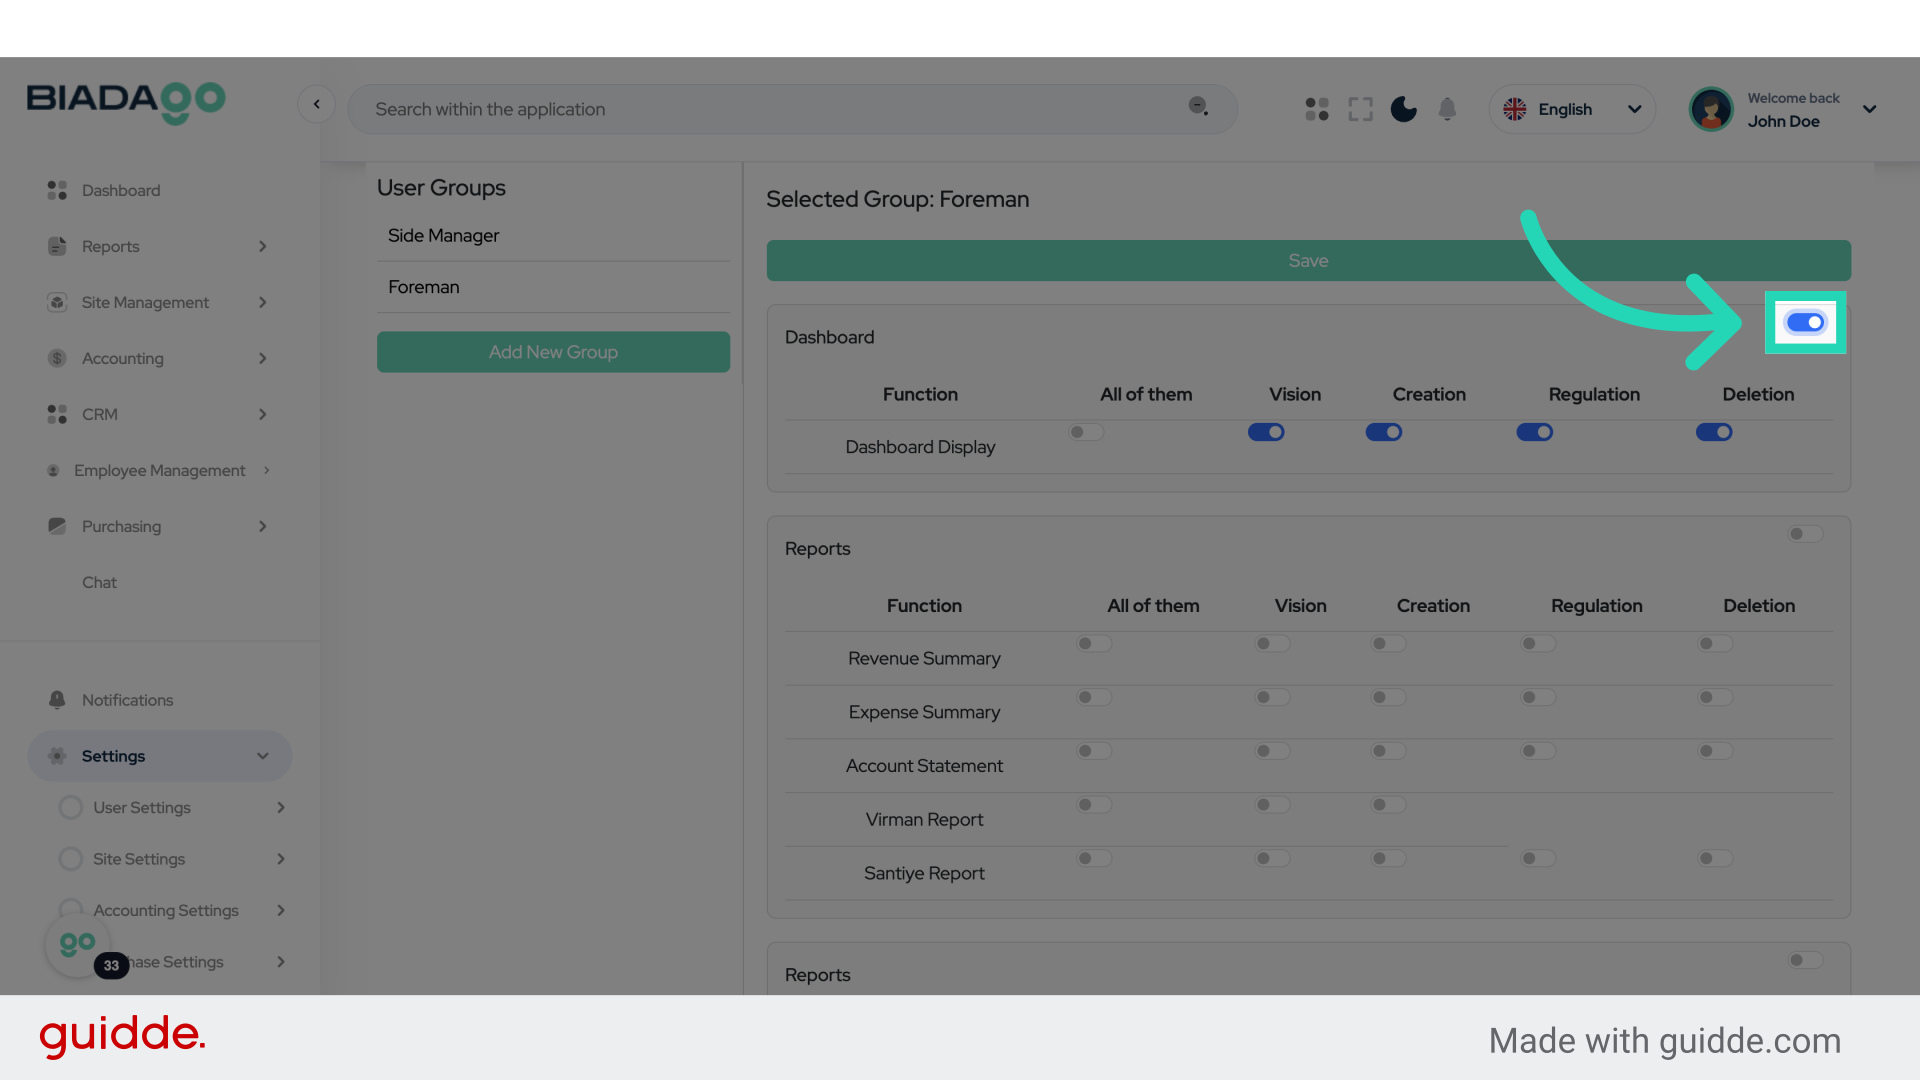
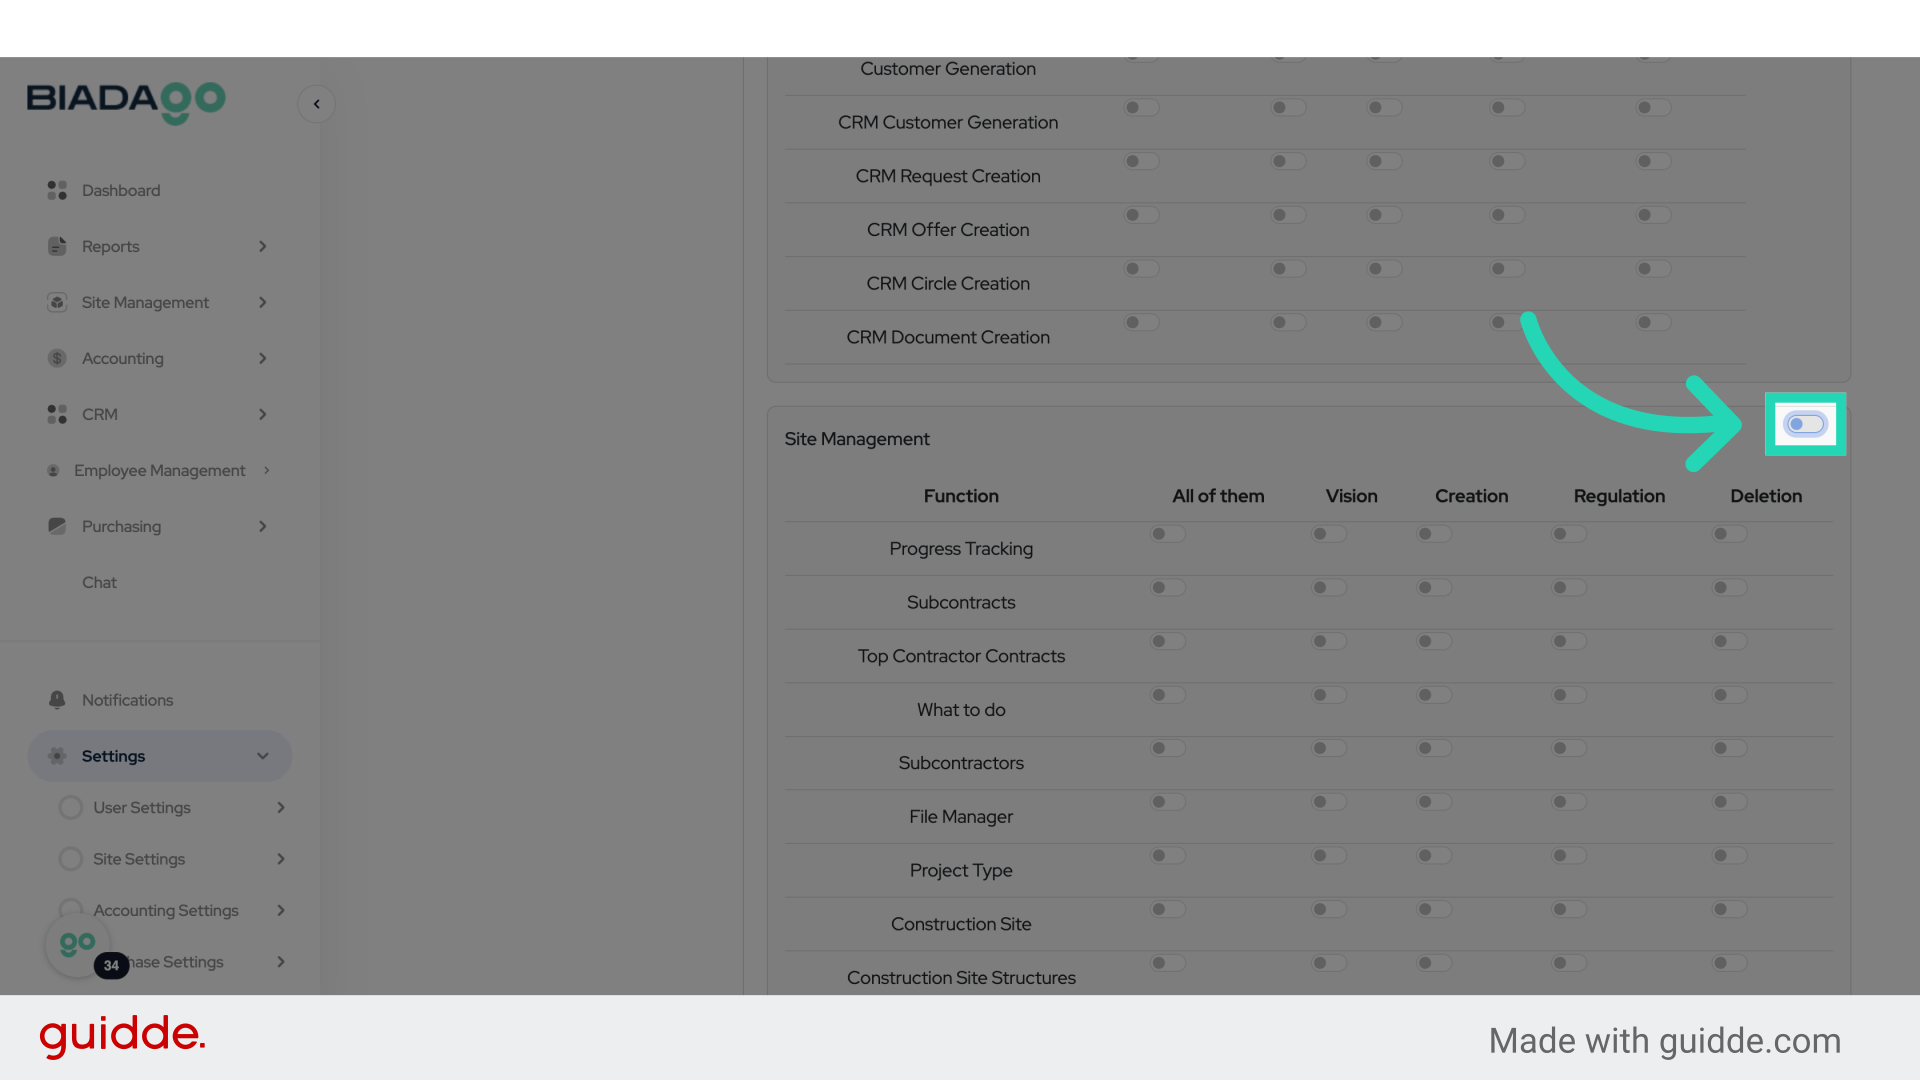
32. Click “on”
Enable access.
33. Fill “on”
Specify the access level.
34. Fill “on”
Specify the access level.
35. Click “on”
Enable access.
36. Fill “on”
Specify the access level.

37. Click “on”
Enable access.
38. Fill “on”
Specify the access level.
39. Fill “on”
Specify the access level.

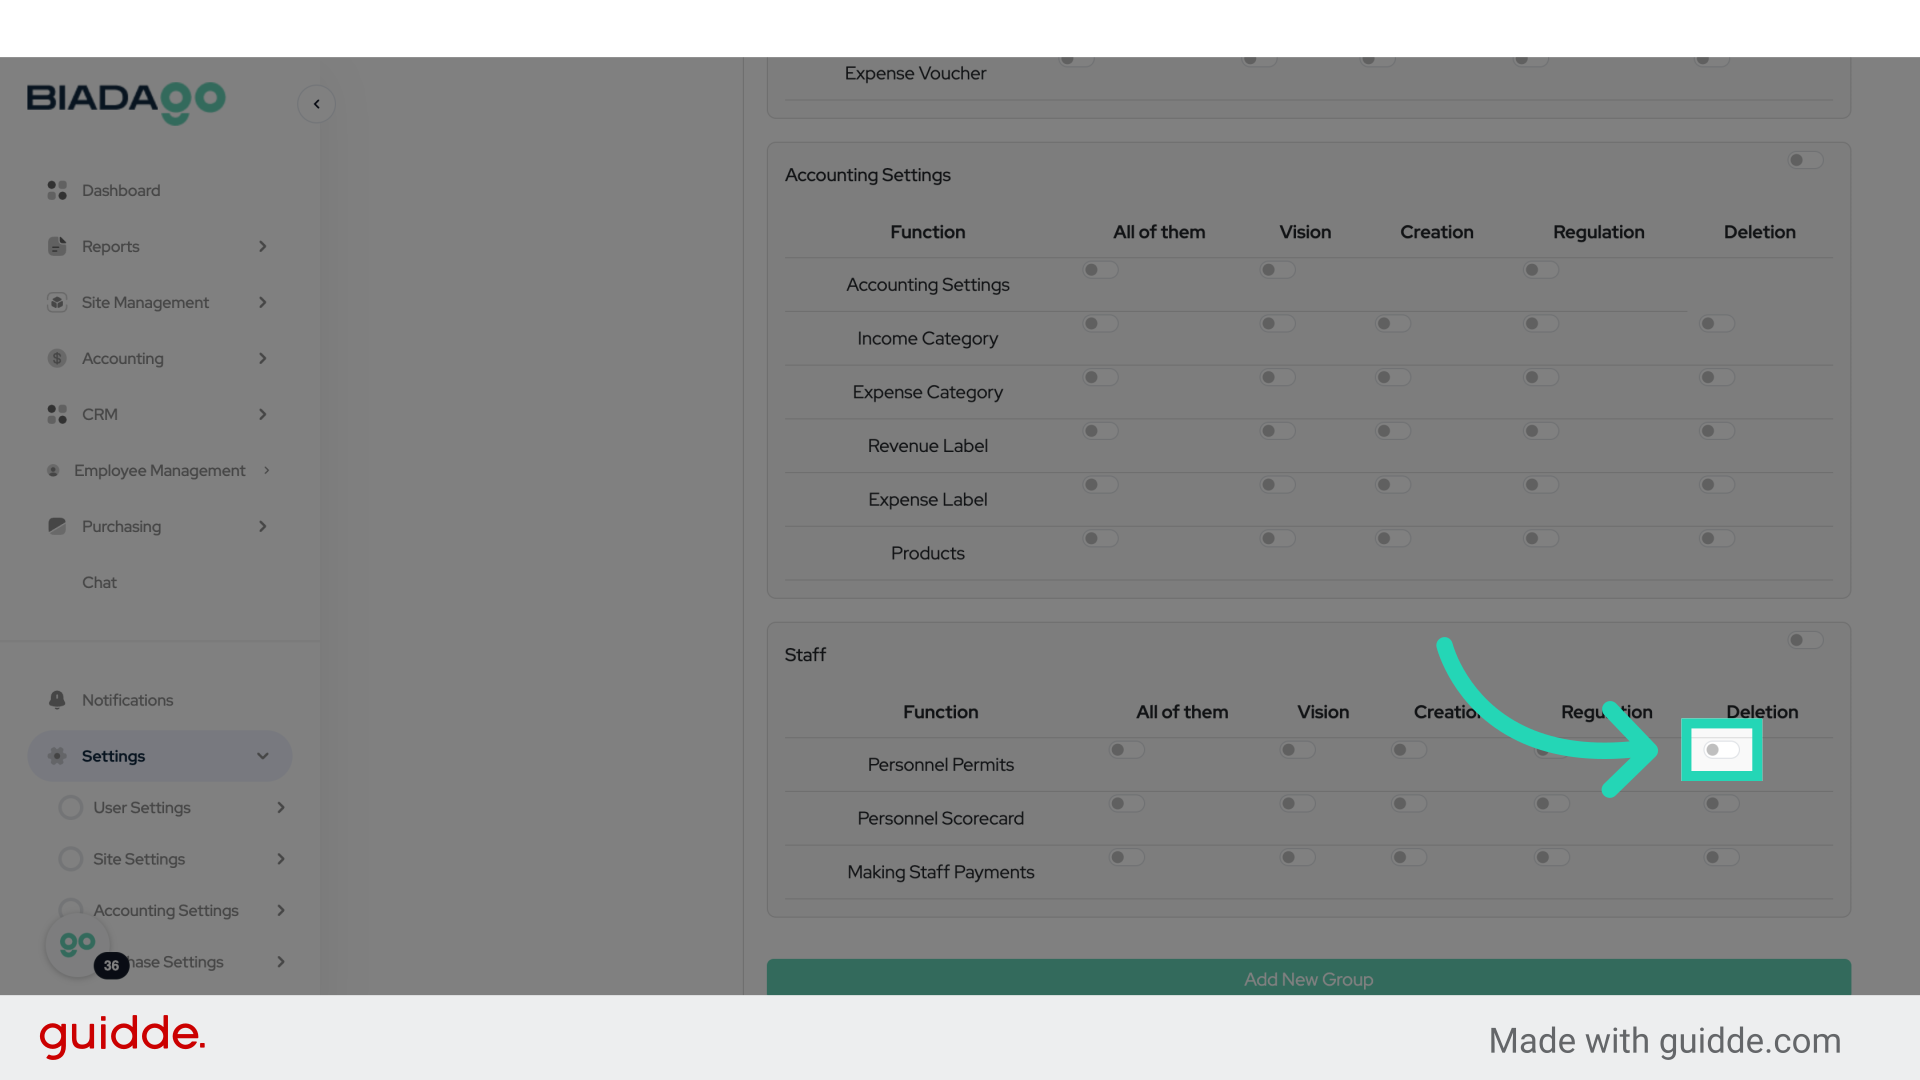
40. Click here
Click on the specified location.
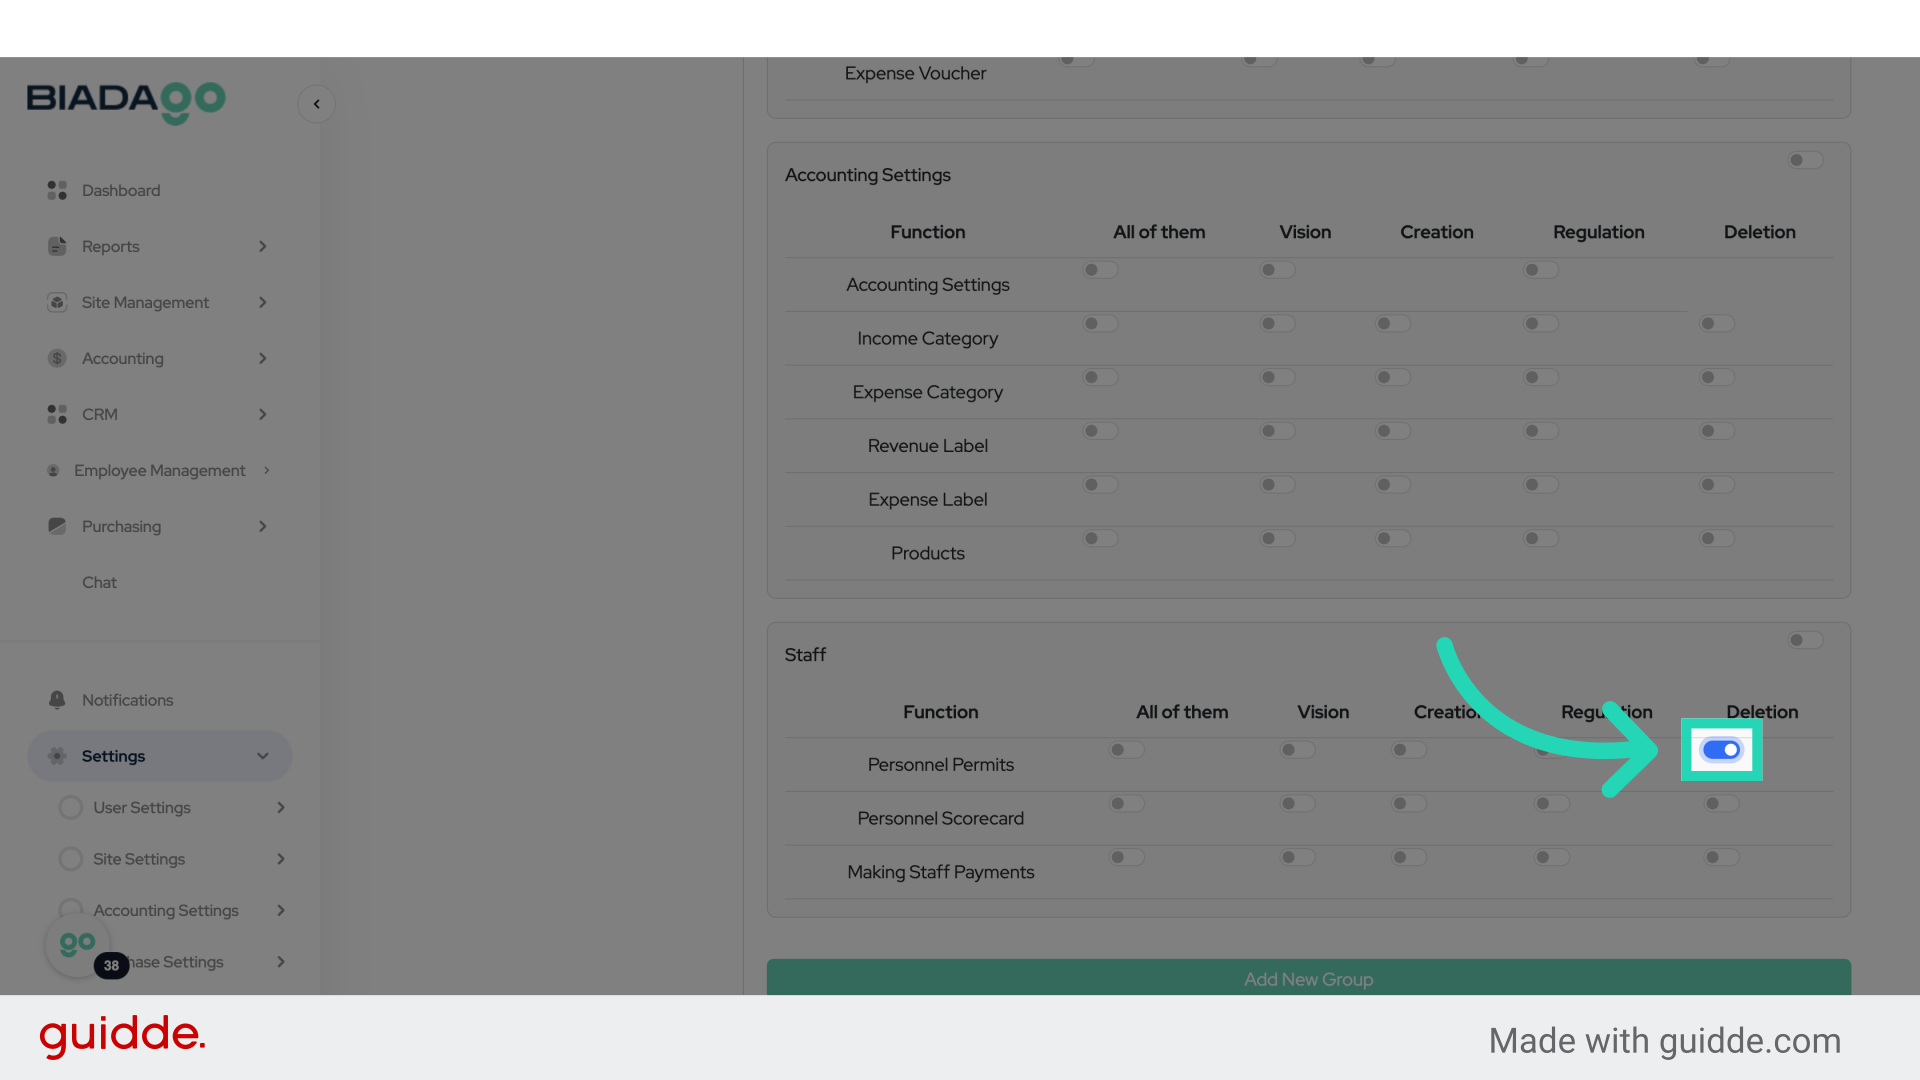
41. Fill “on”
Specify the access level.
42. Click “Save”
Save the changes.
This guide covers setting up role-based access control and permission management in BiadaGO, from creating new groups to specifying access levels and saving changes effectively. Master user authorizations effortlessly with these detailed steps.