BiadaGO Site Setup: Adding Site Types, Structures & Activities
BiadaGO Site Setup: Adding Site Types, Structures & Activities
This guide will walk you through setting up a BiadaGO site by adding site types, structures, and activities
Go to cloud.biadago.com
1. Introduction
Follow the precise instructions provided to streamline the process efficiently.
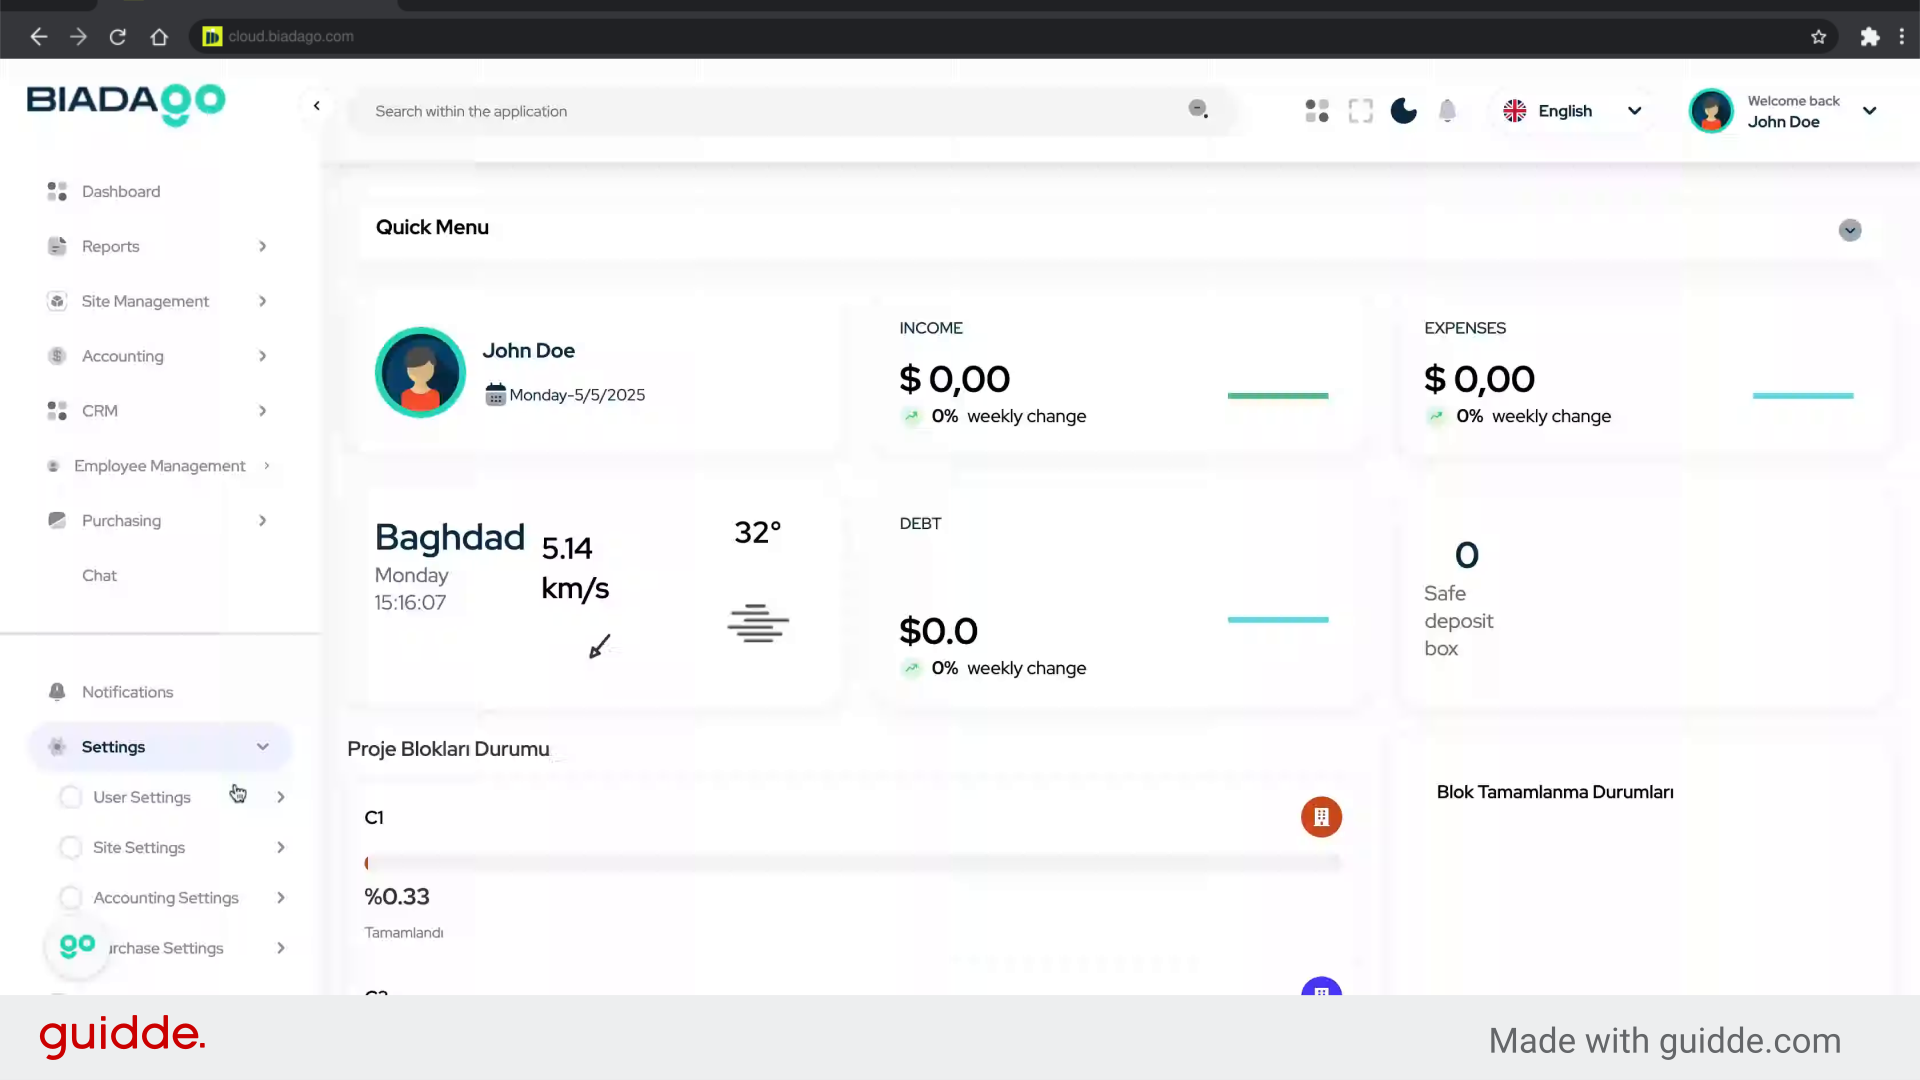
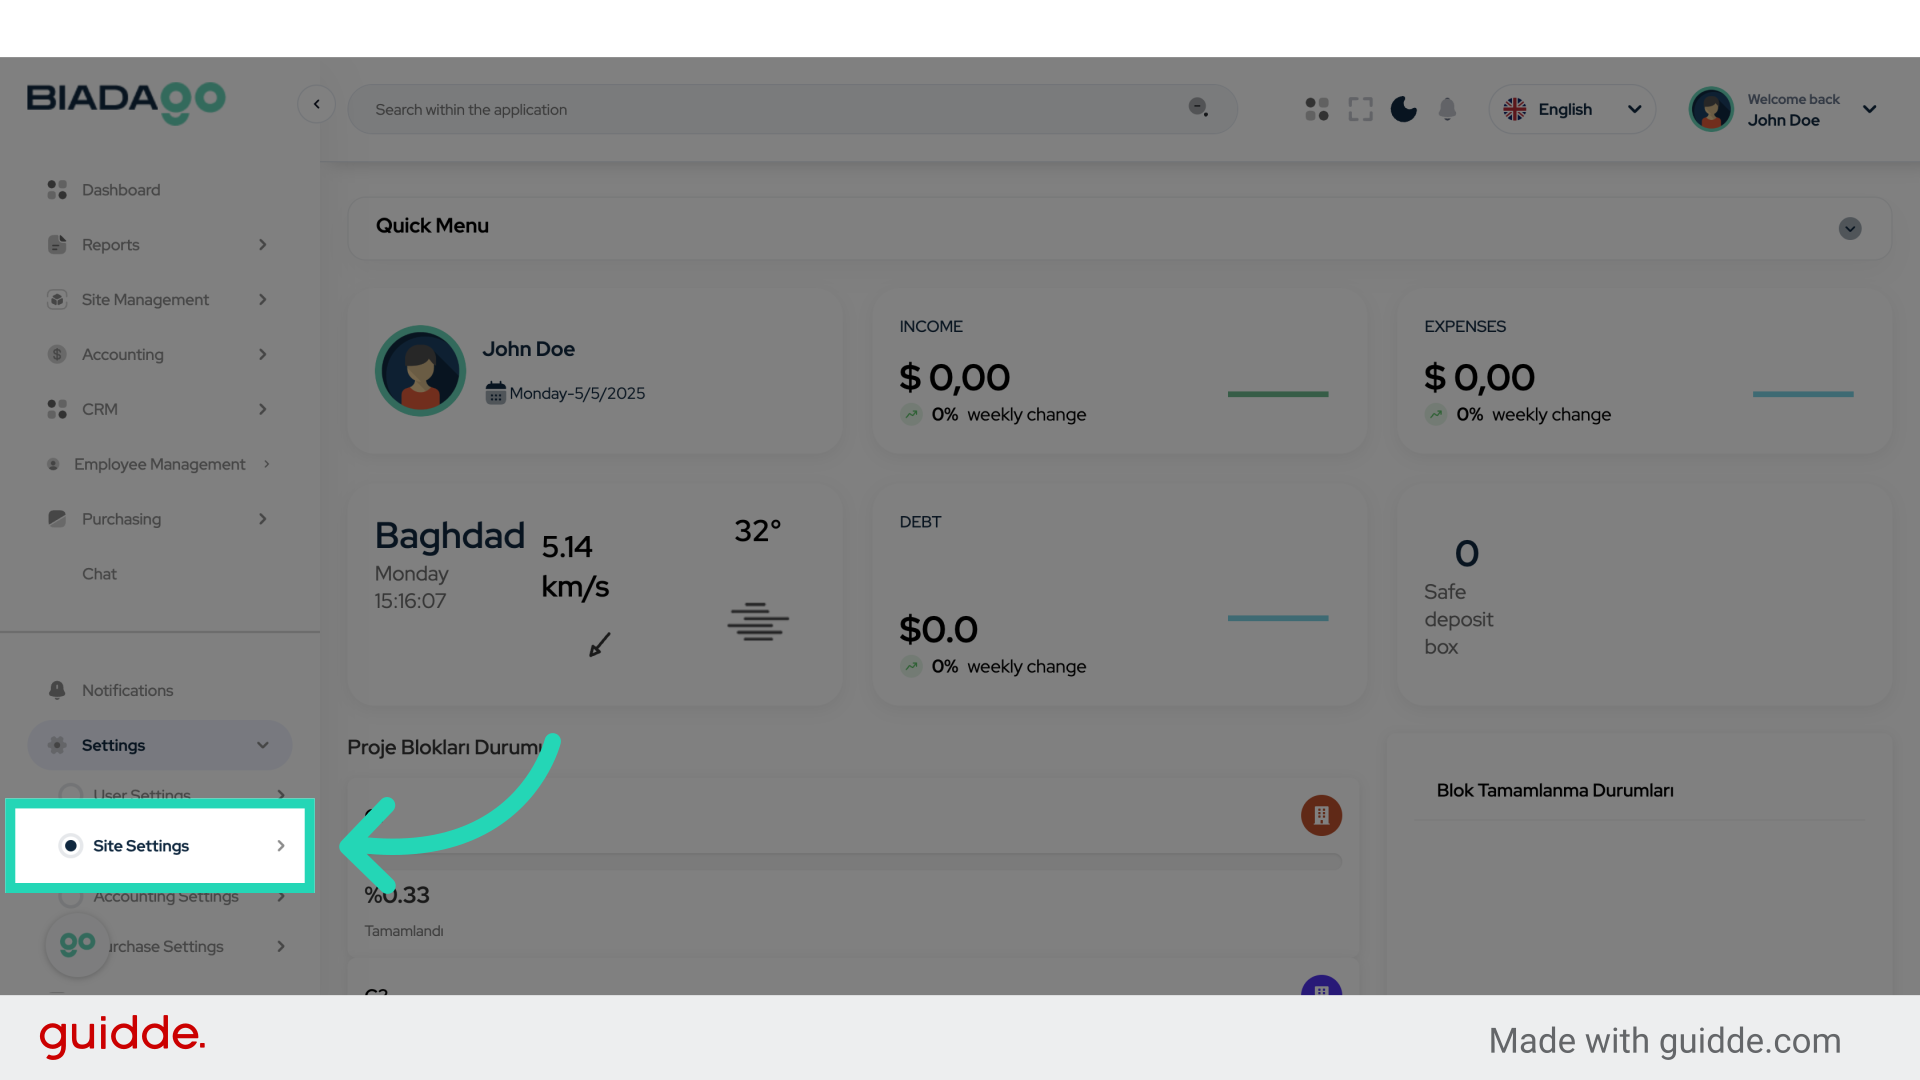
2. Click “Site Settings”
Access the site settings.
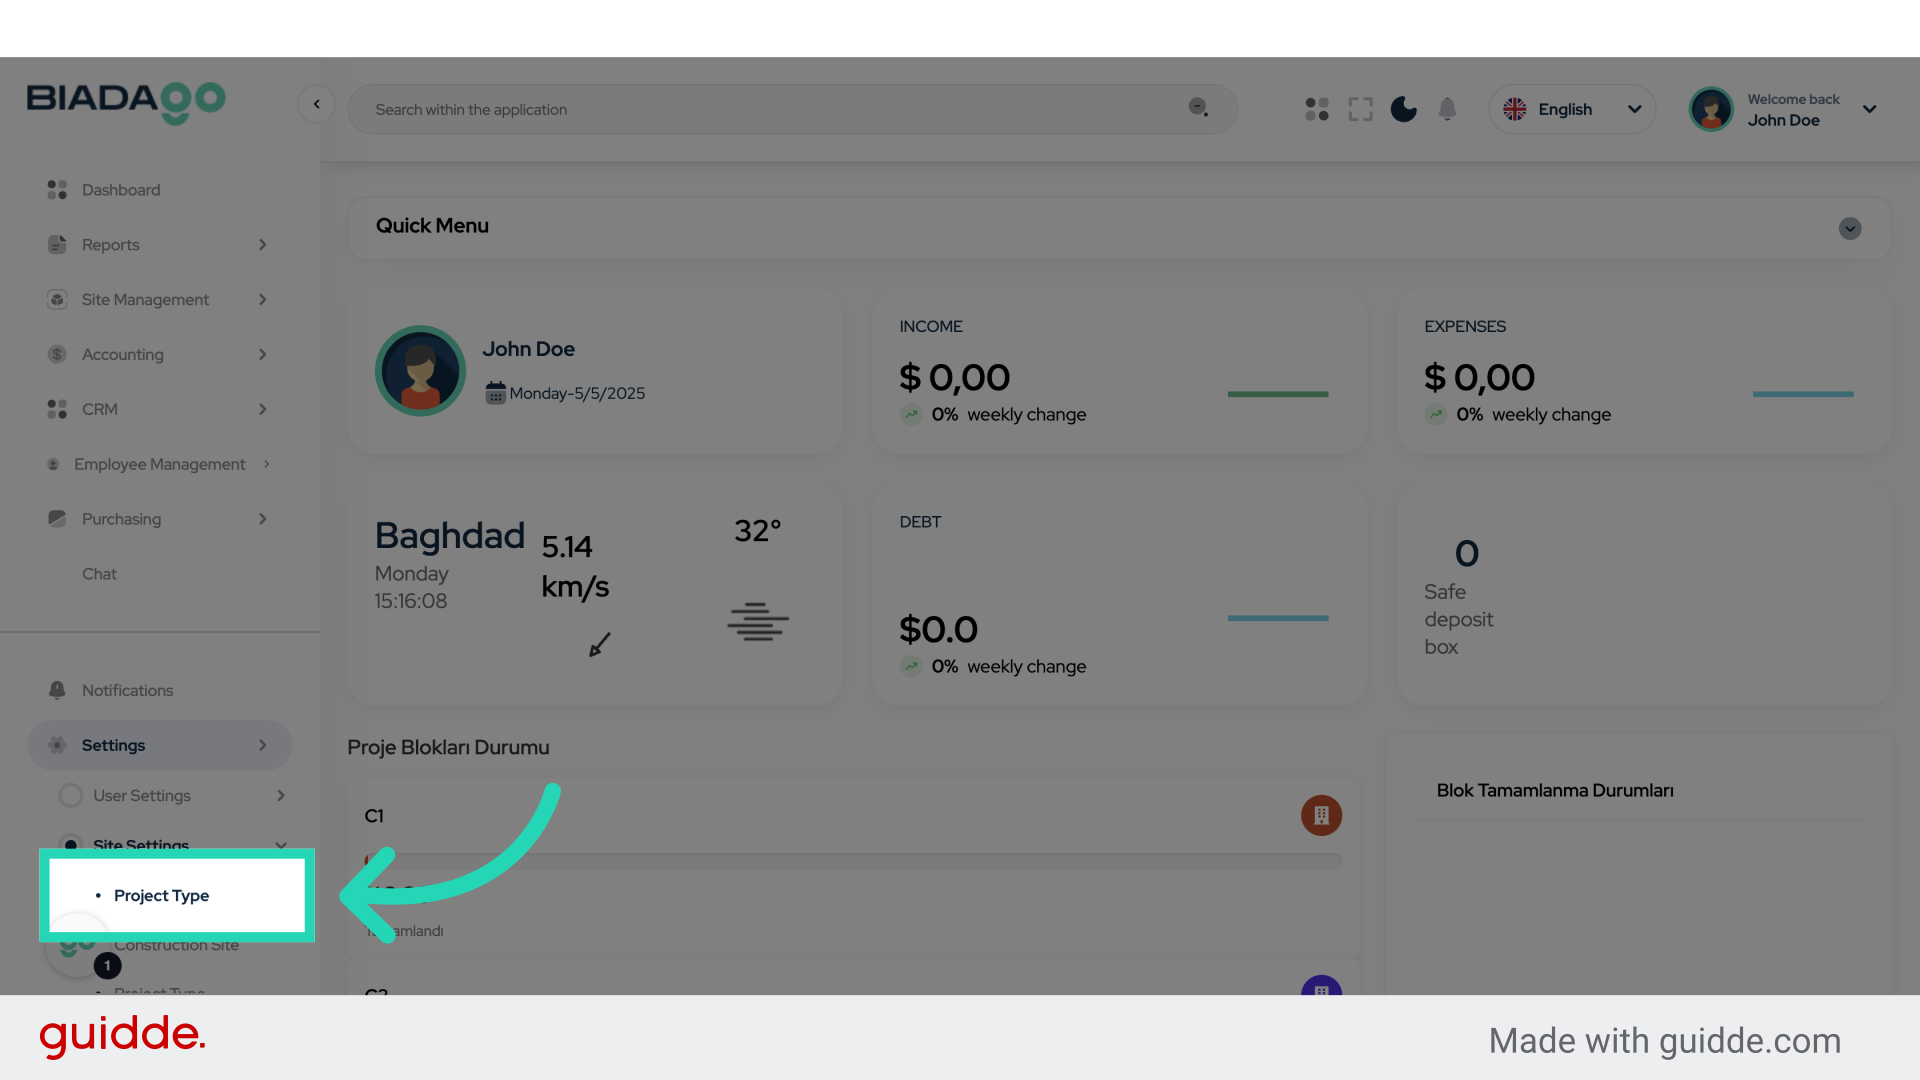
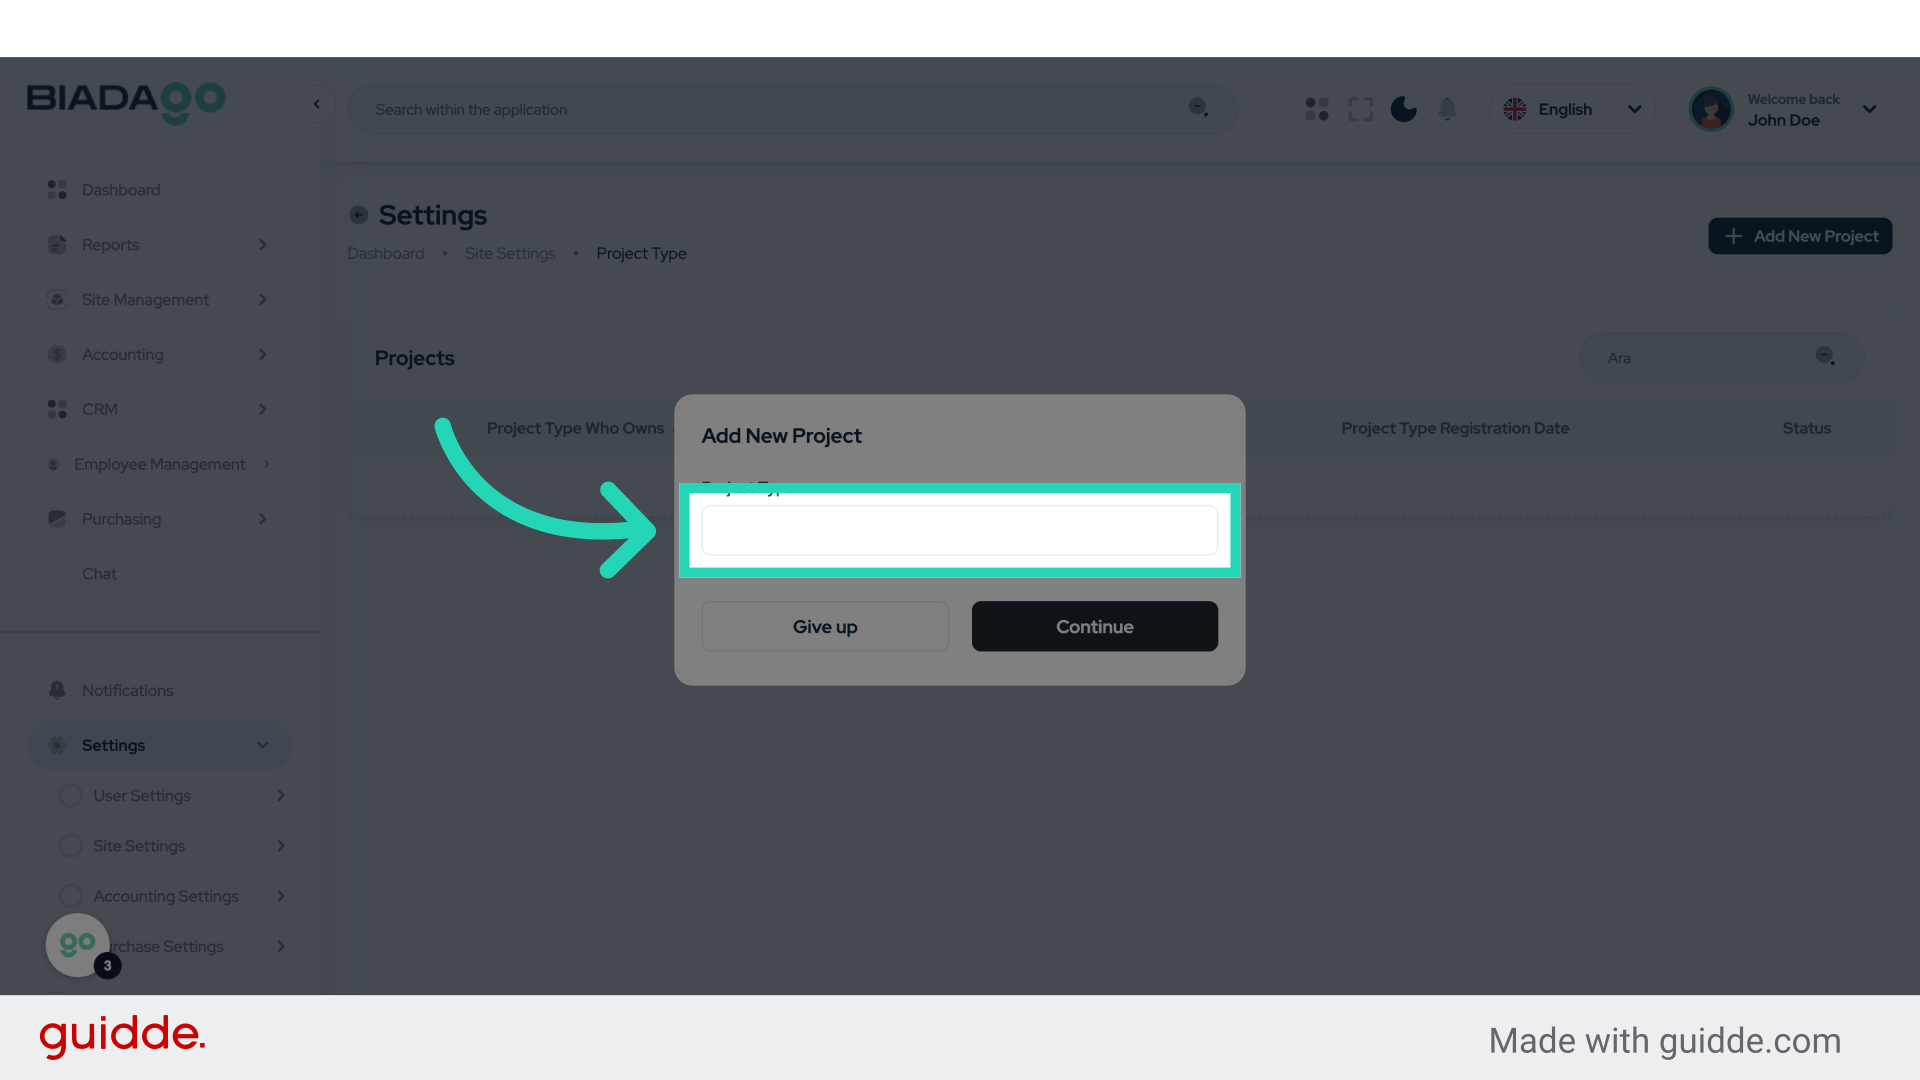
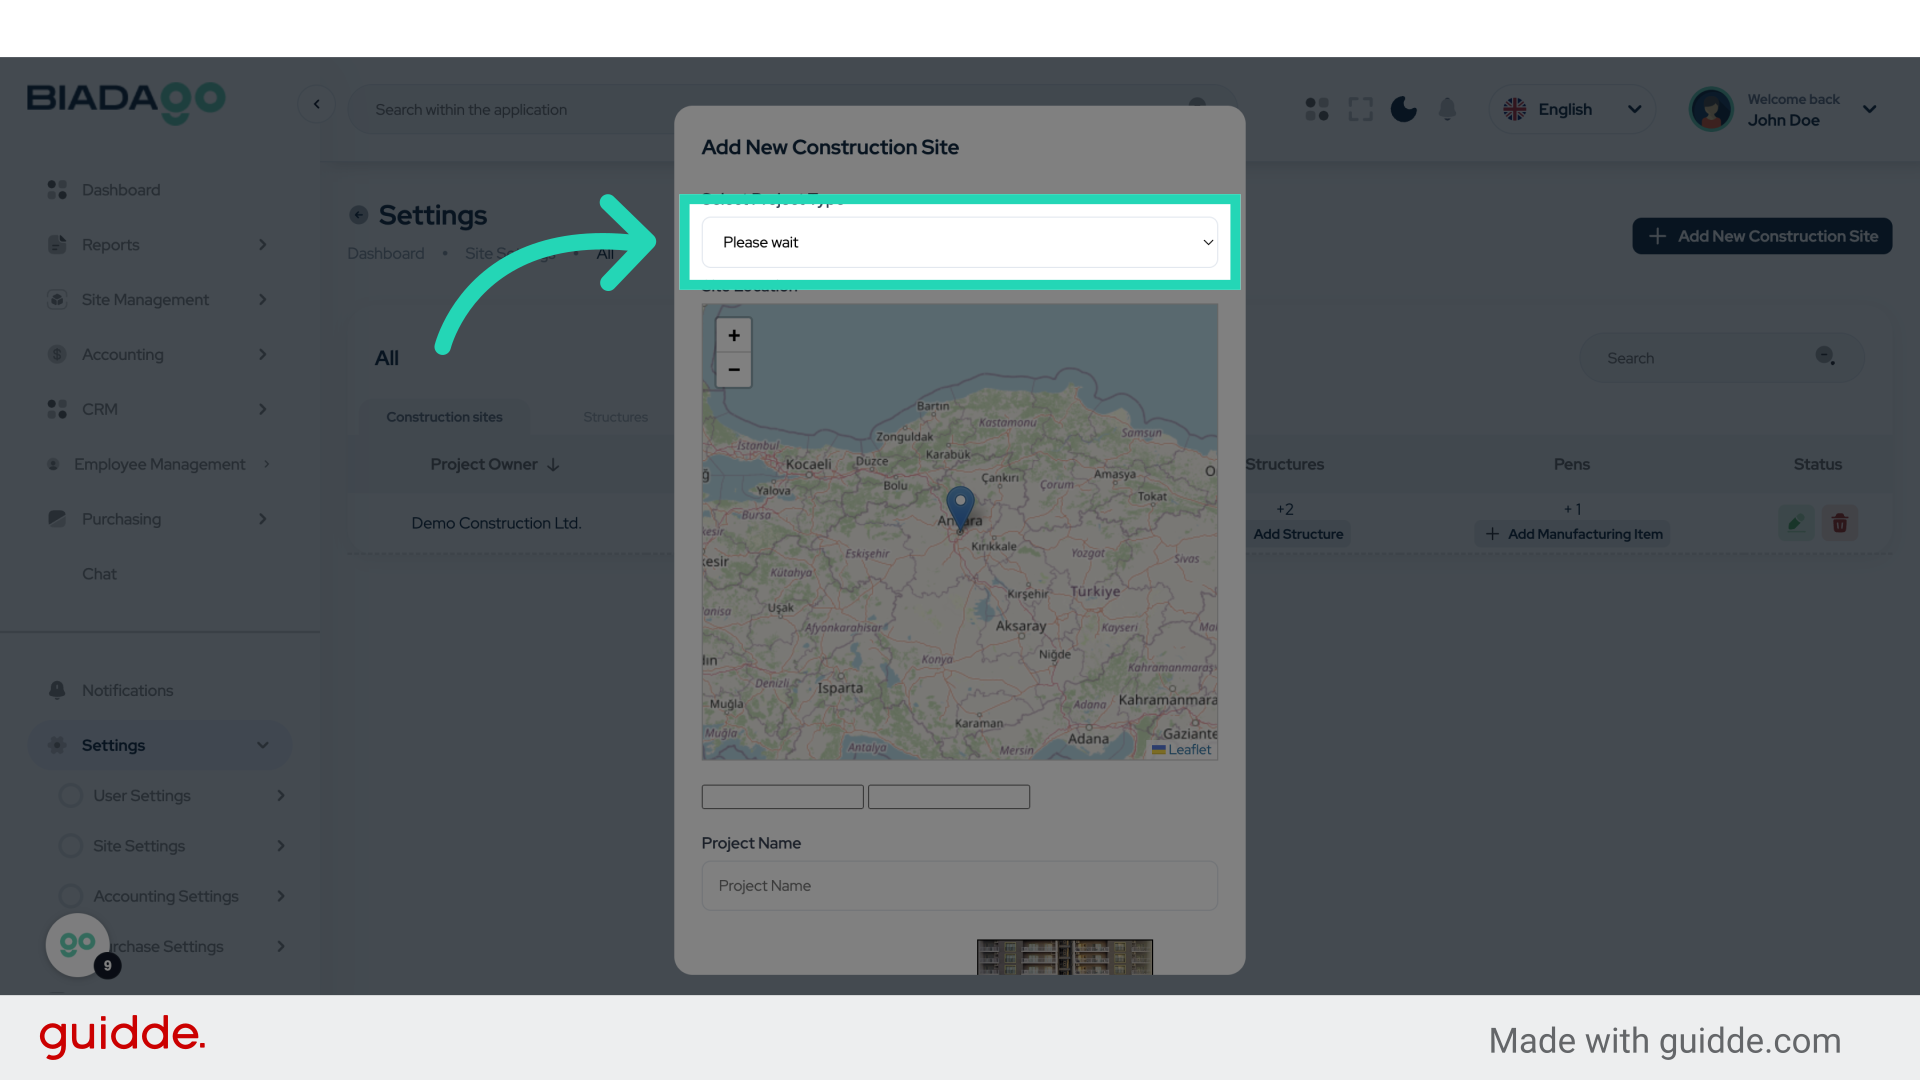
3. Click “Project Type”
Navigate to the project type section.
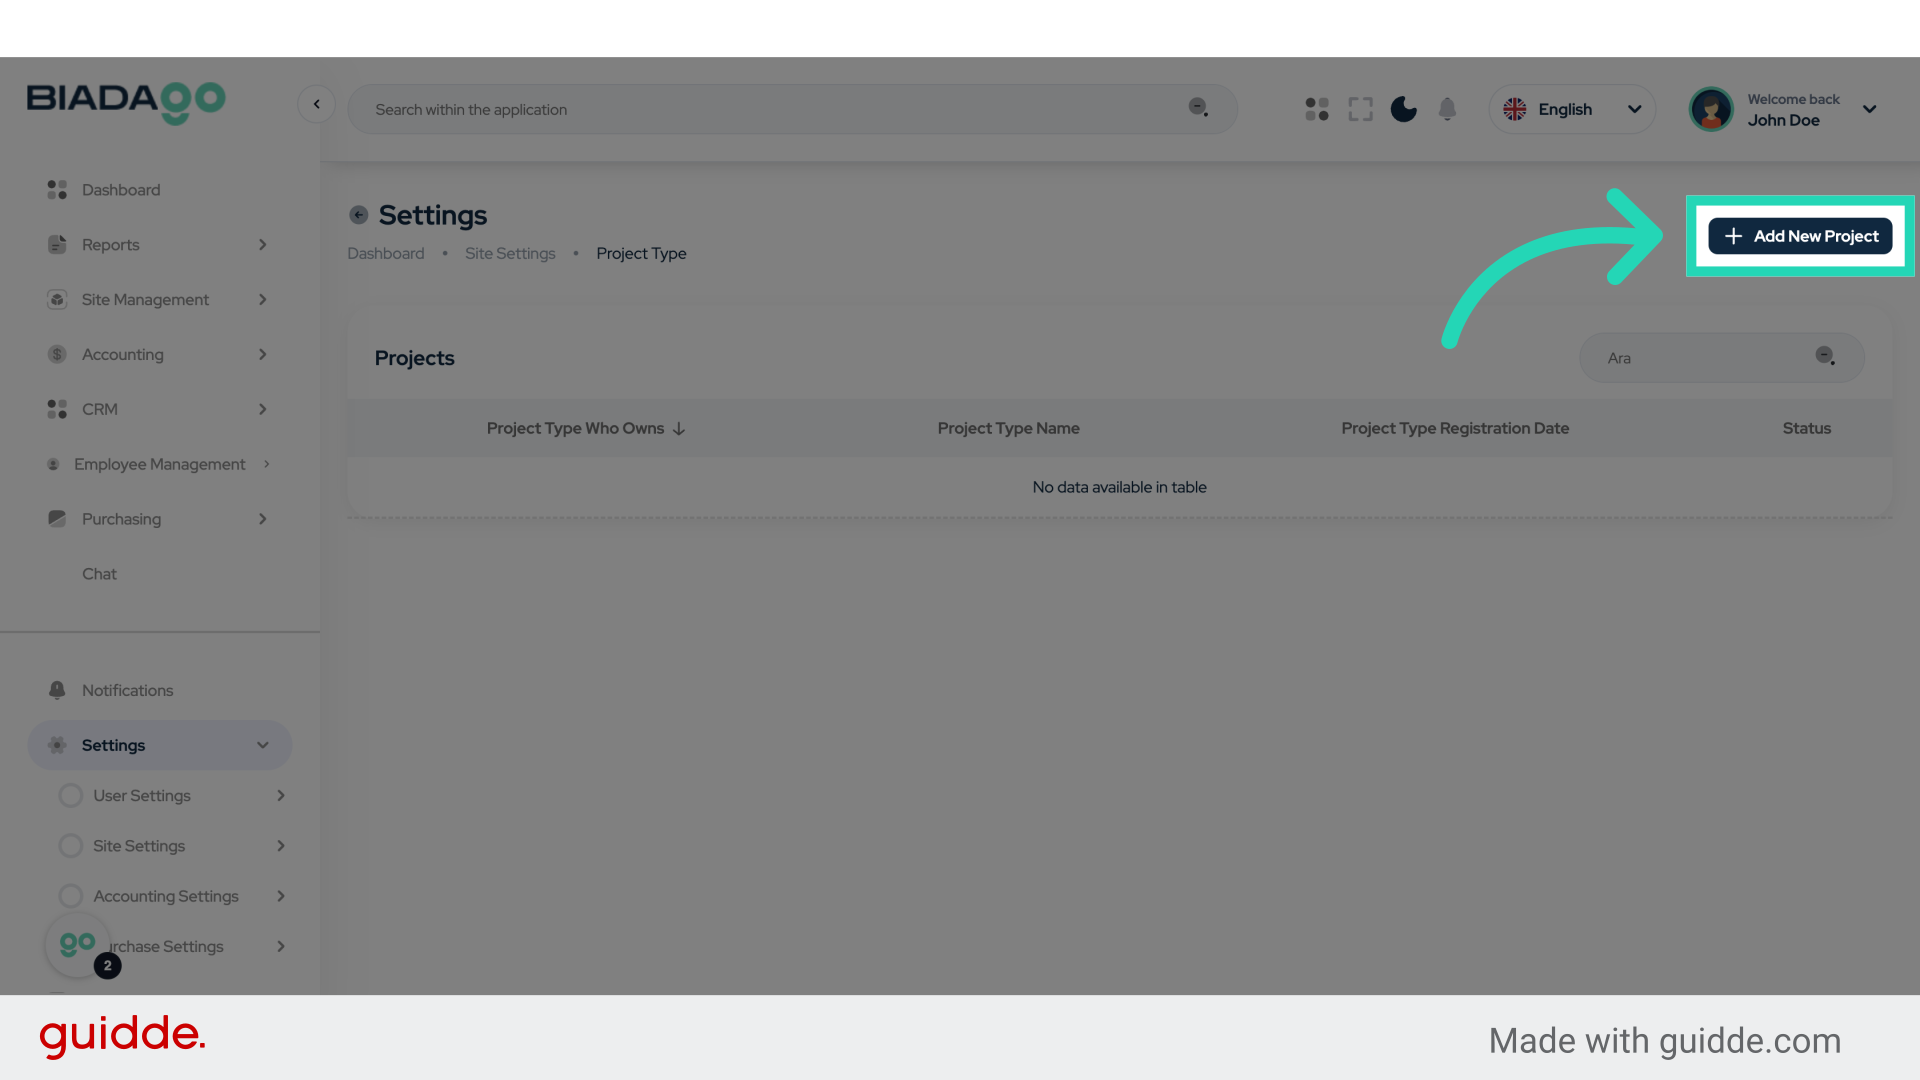
4. Click “Add New Project”
Initiate the process to add a new project.
5. Click “Project Type”
Return to the project type section.
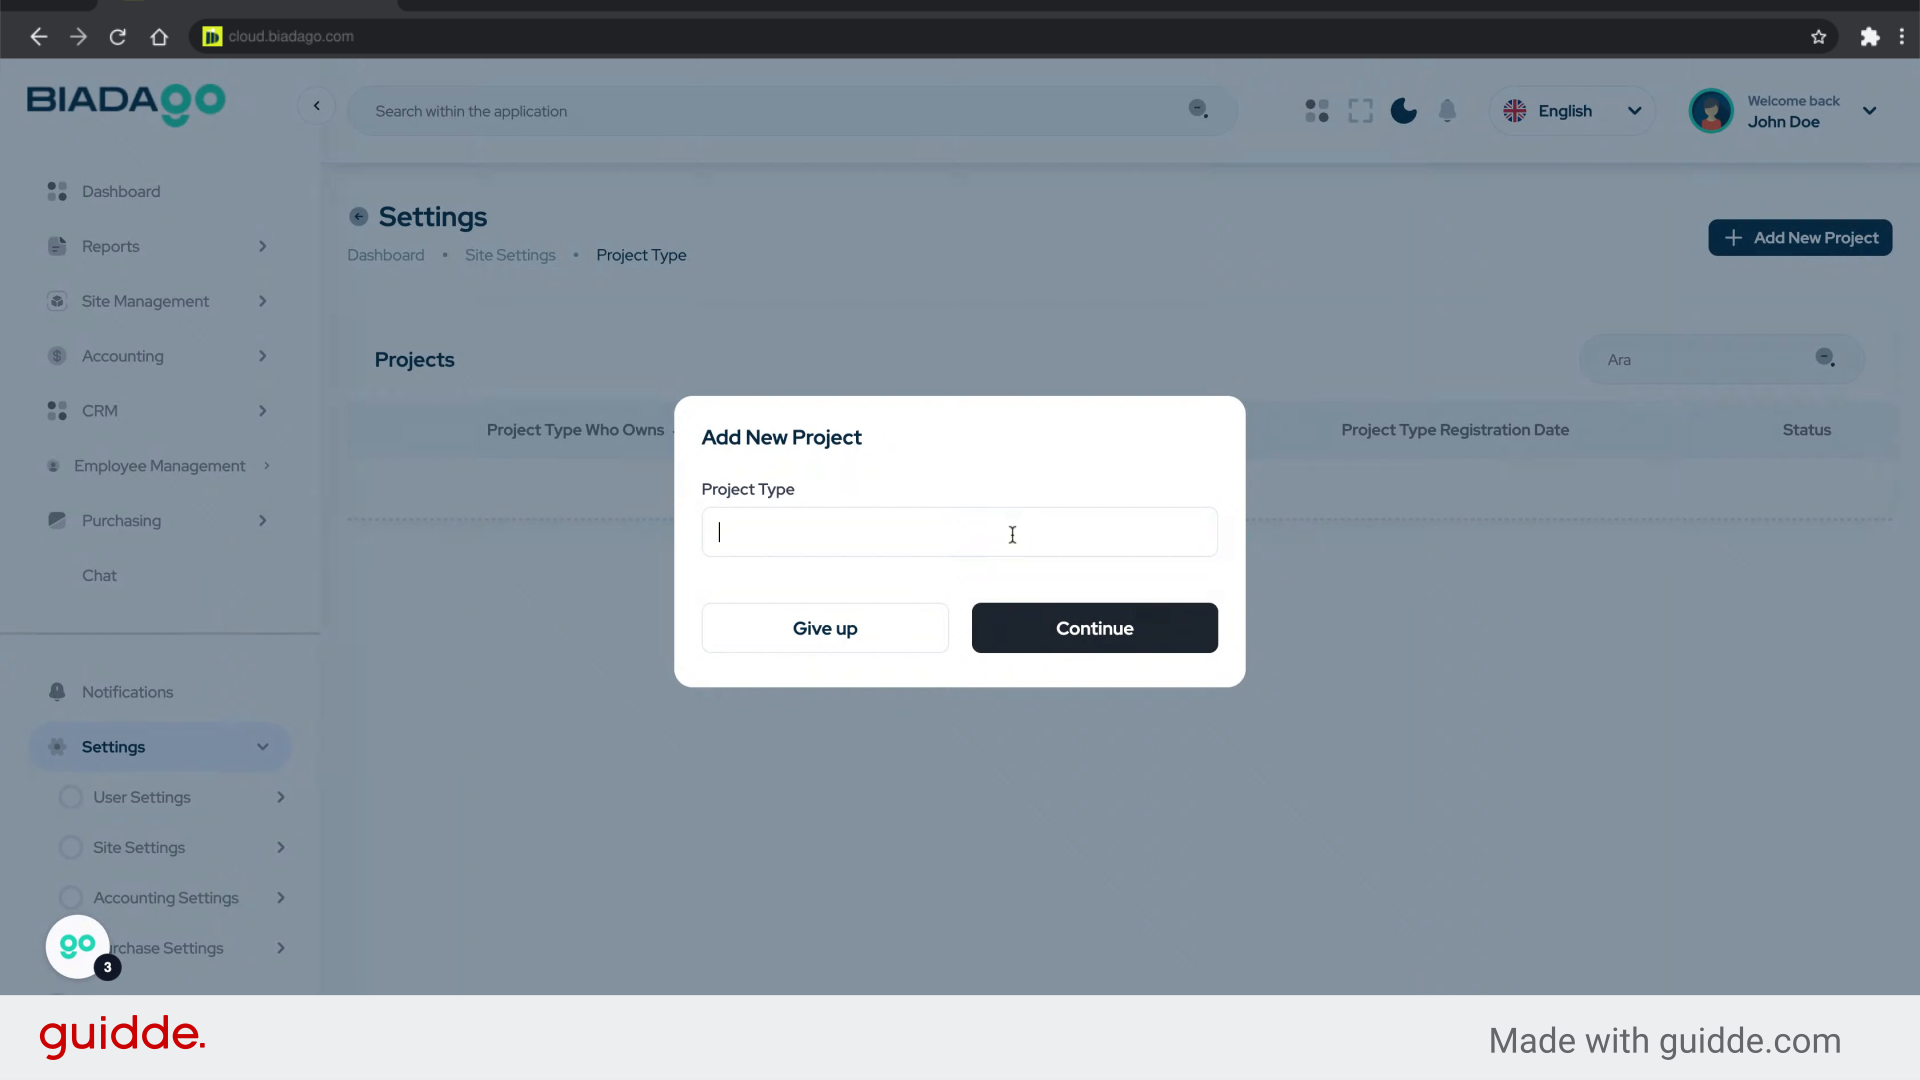
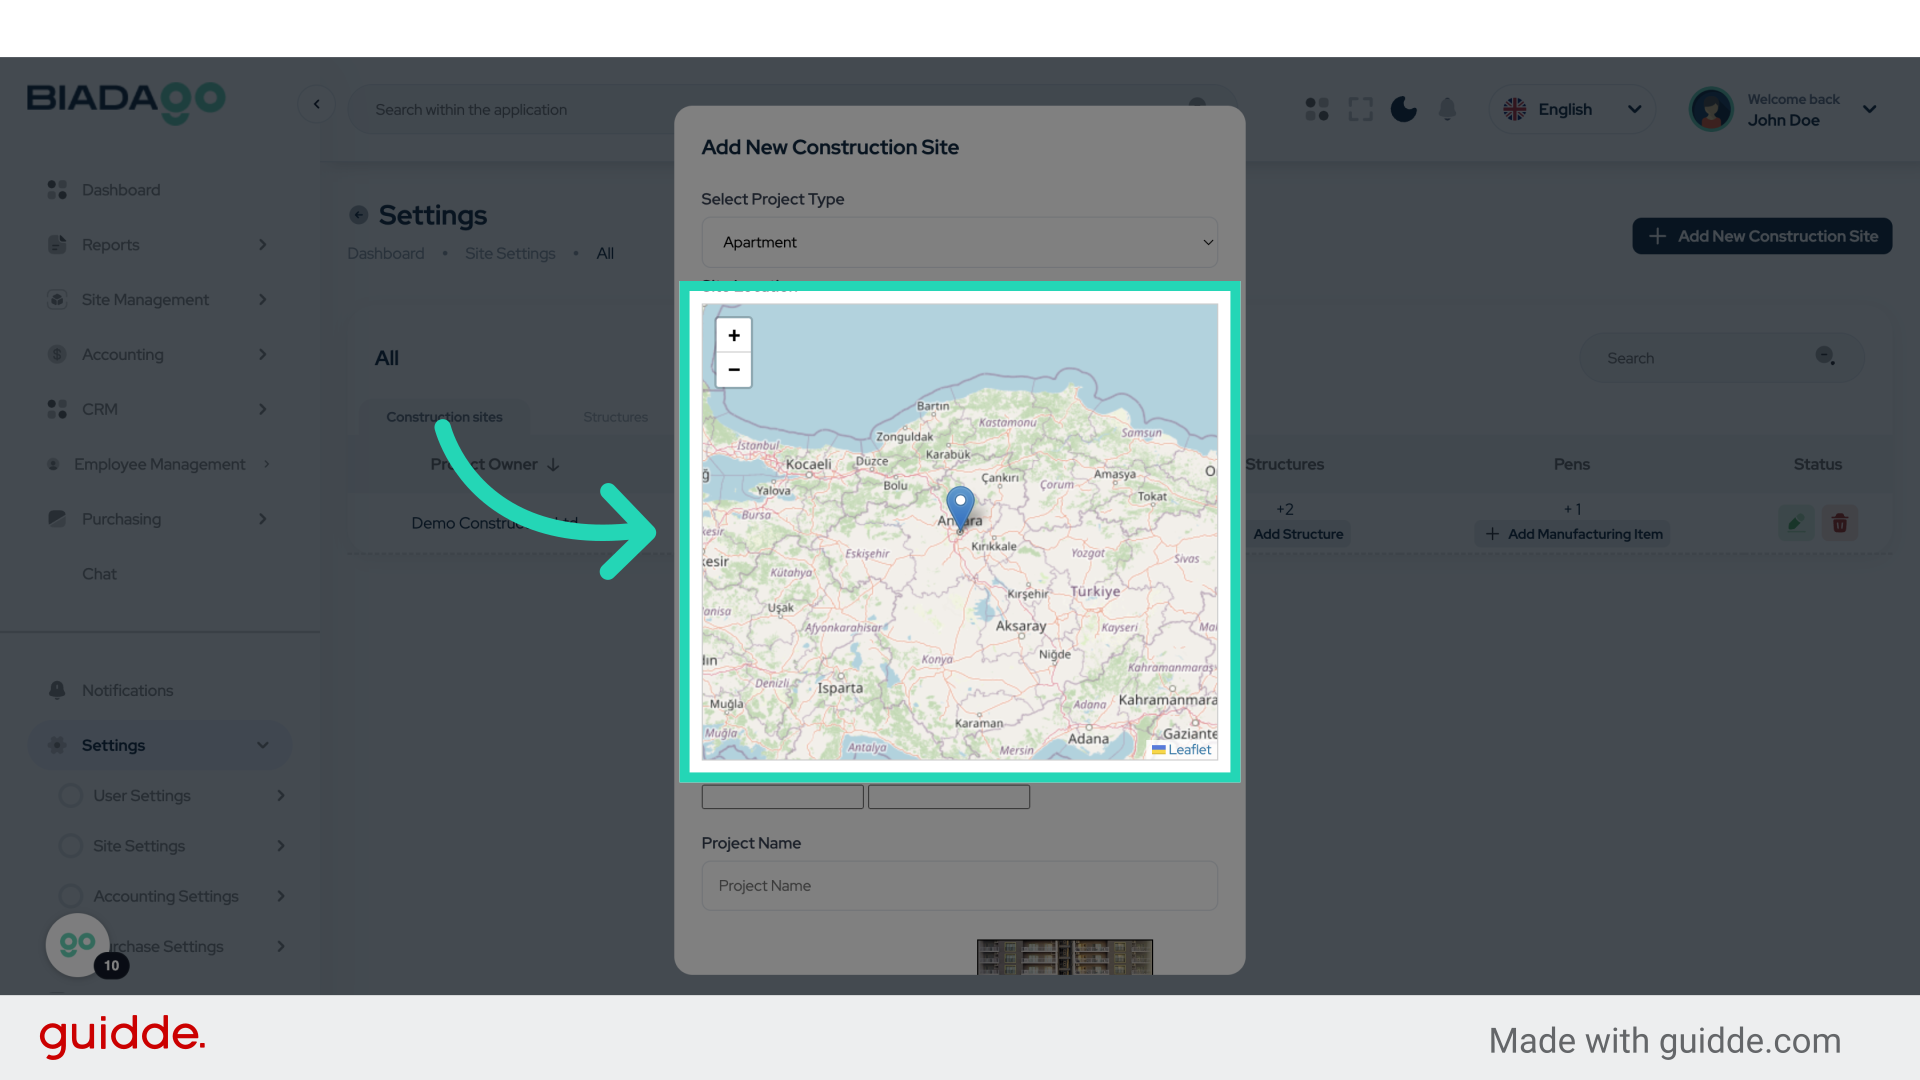
6. Fill “Apartment”
Fill in “Apartment”
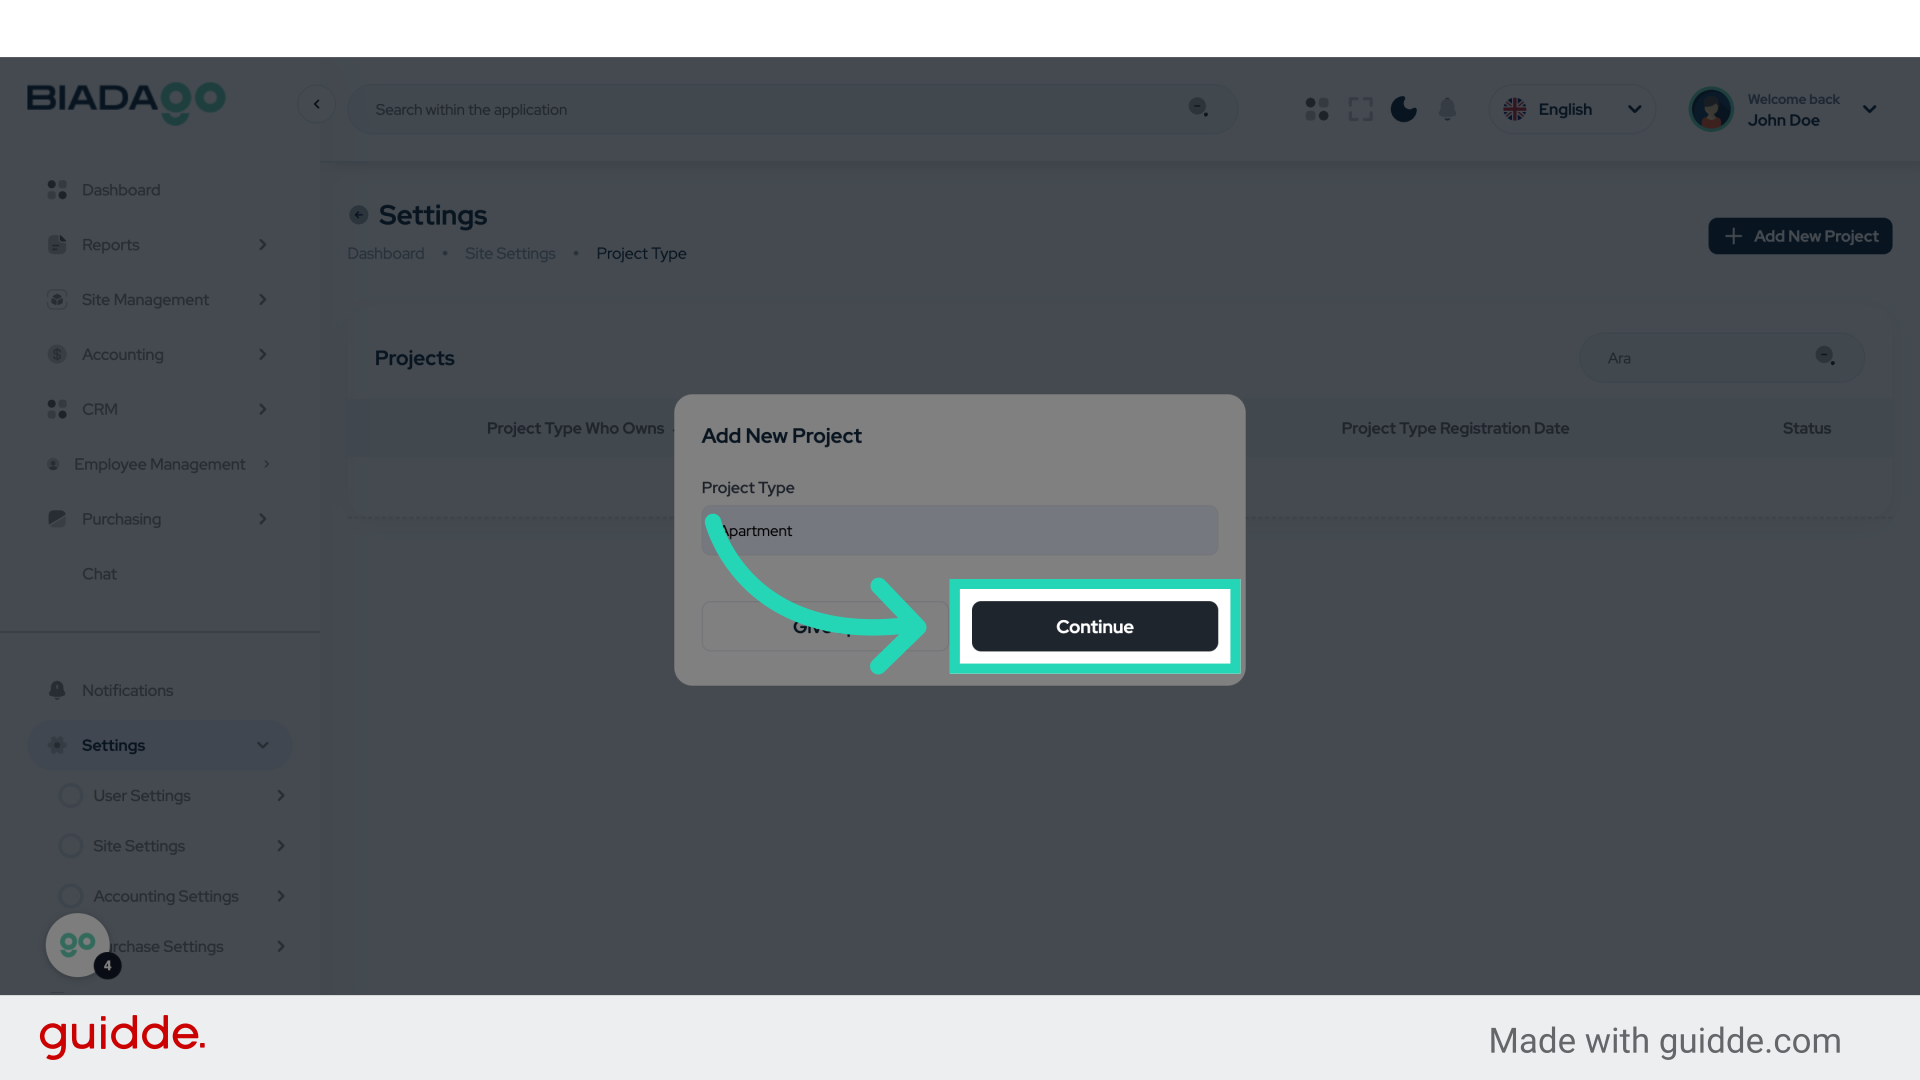
7. Click “Continue”
Proceed to the next step.
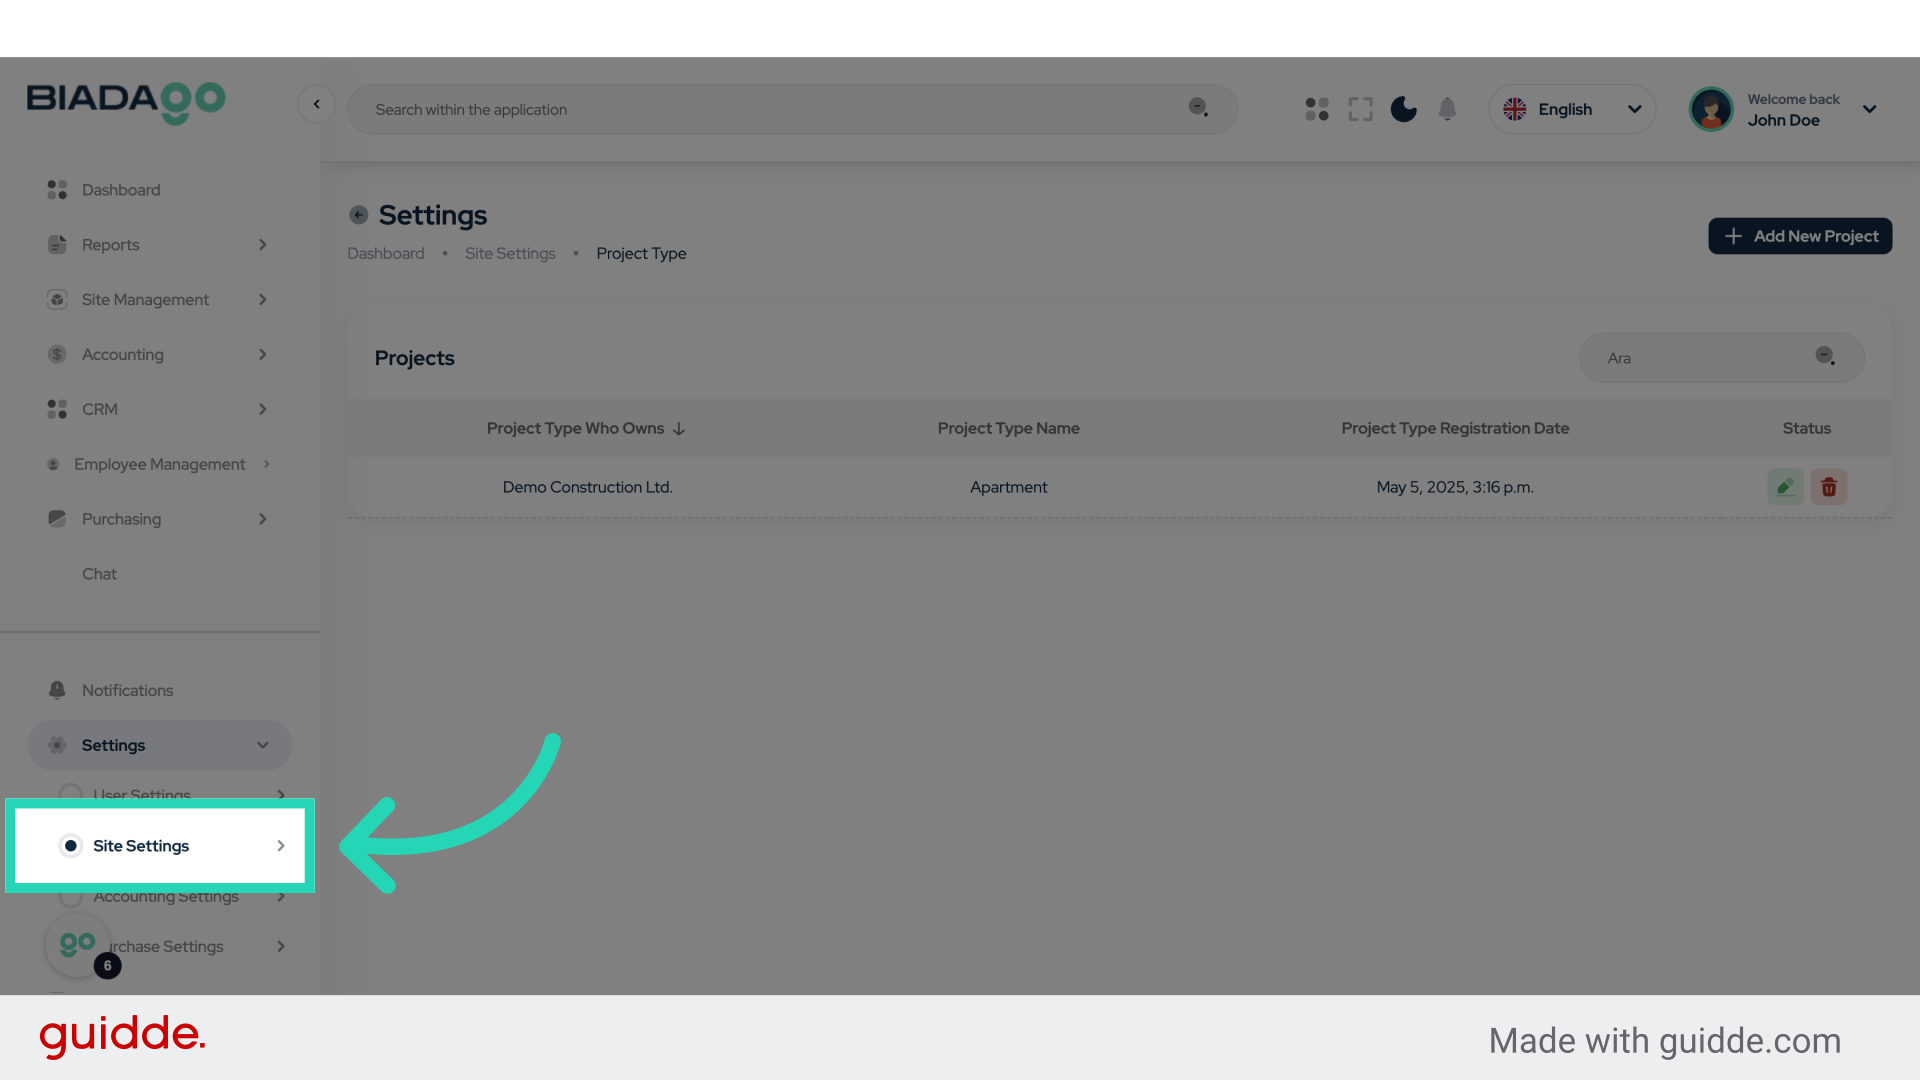
8. Click “Site Settings”
Access the site settings again.
9. Click “Construction Site”
Select the Construction Site option.

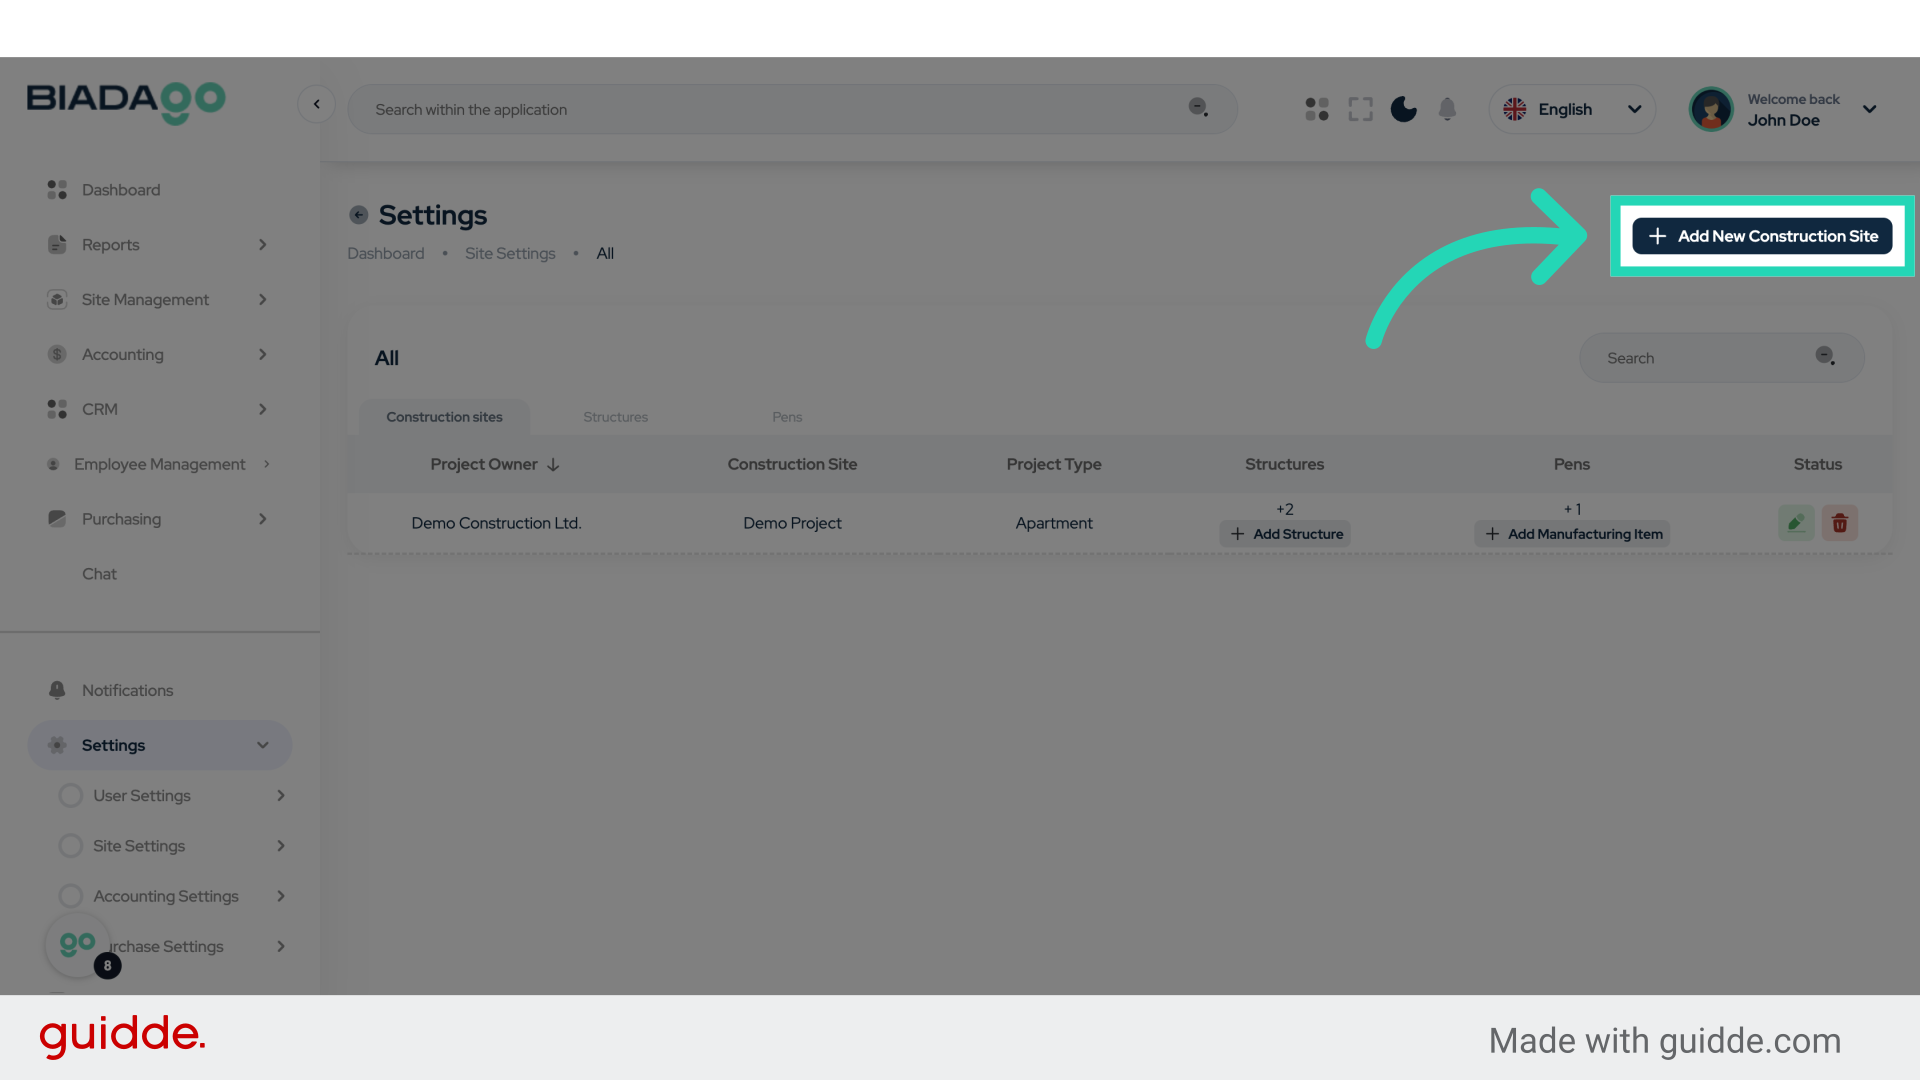
10. Click “Add New Construction Site”
Start adding a new construction site.
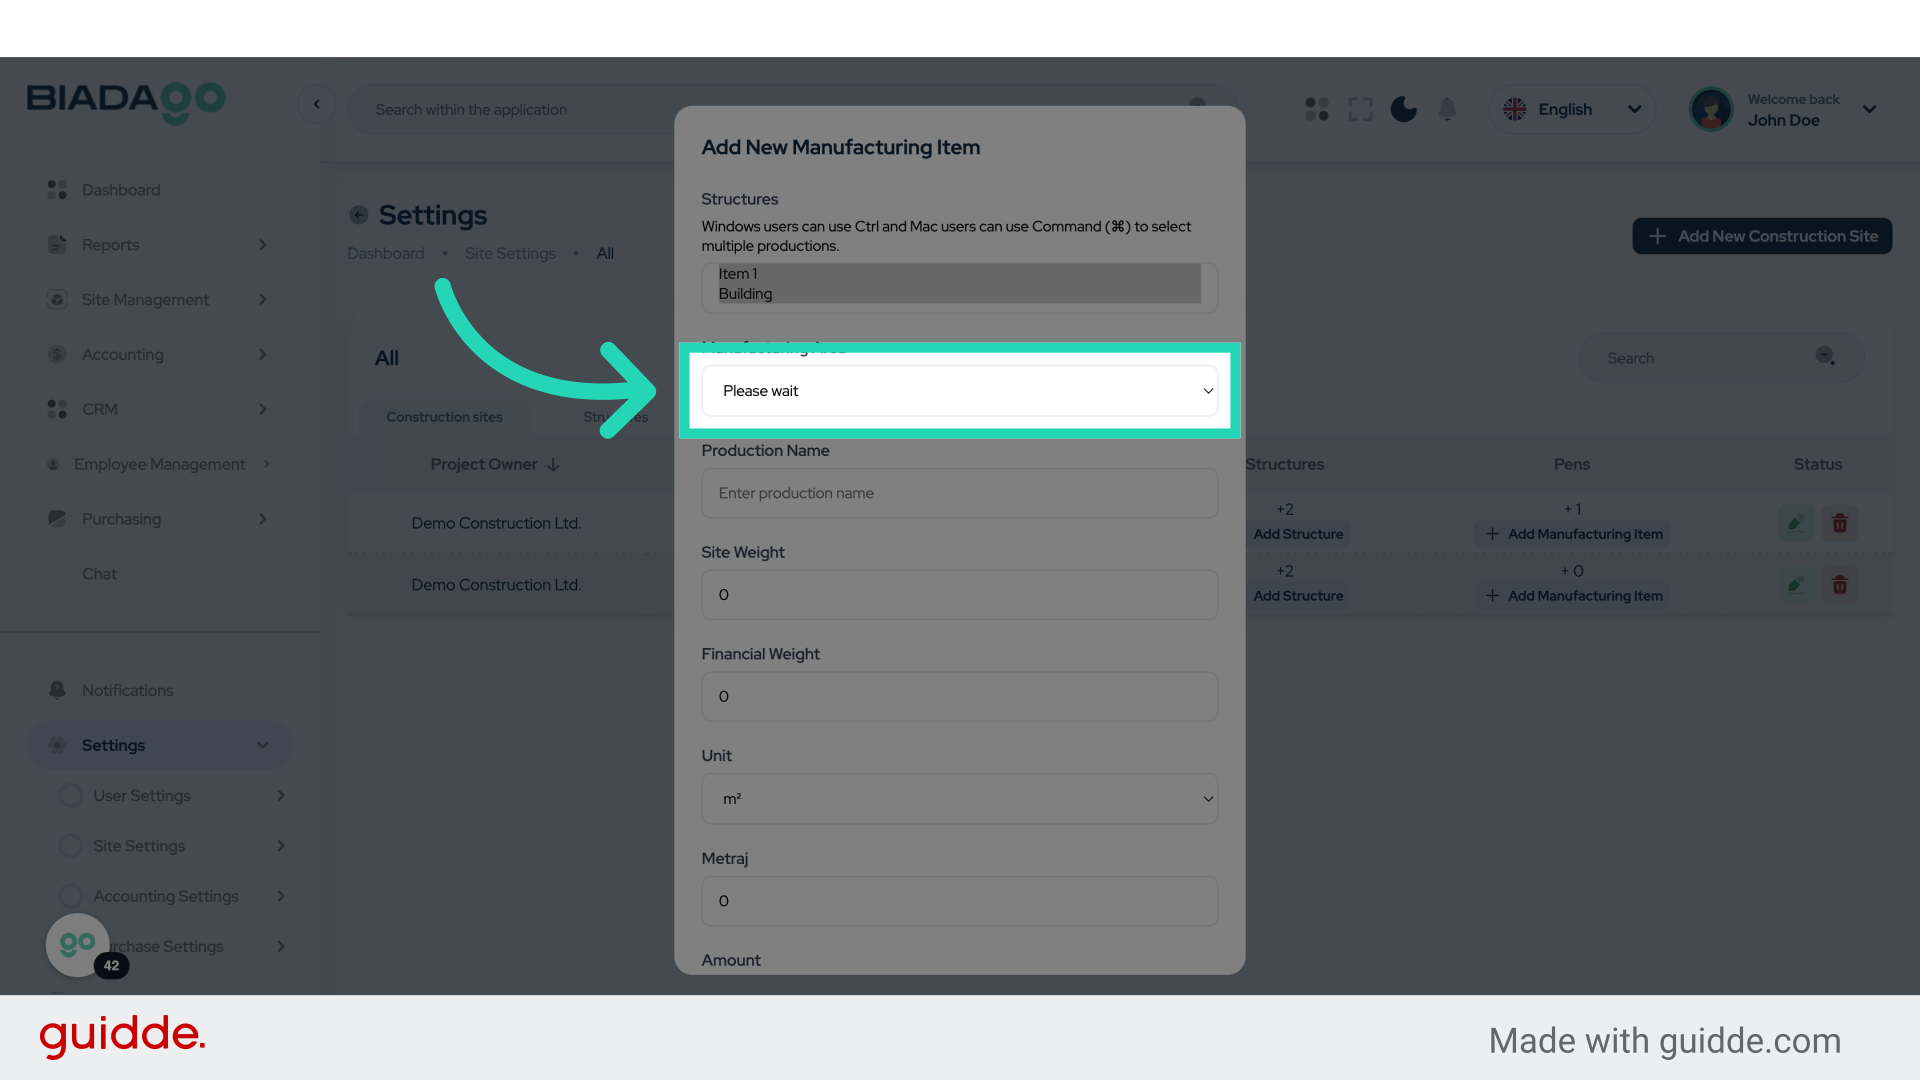
11. Click “Please wait
Apartment”
Enter the necessary details for the apartment.
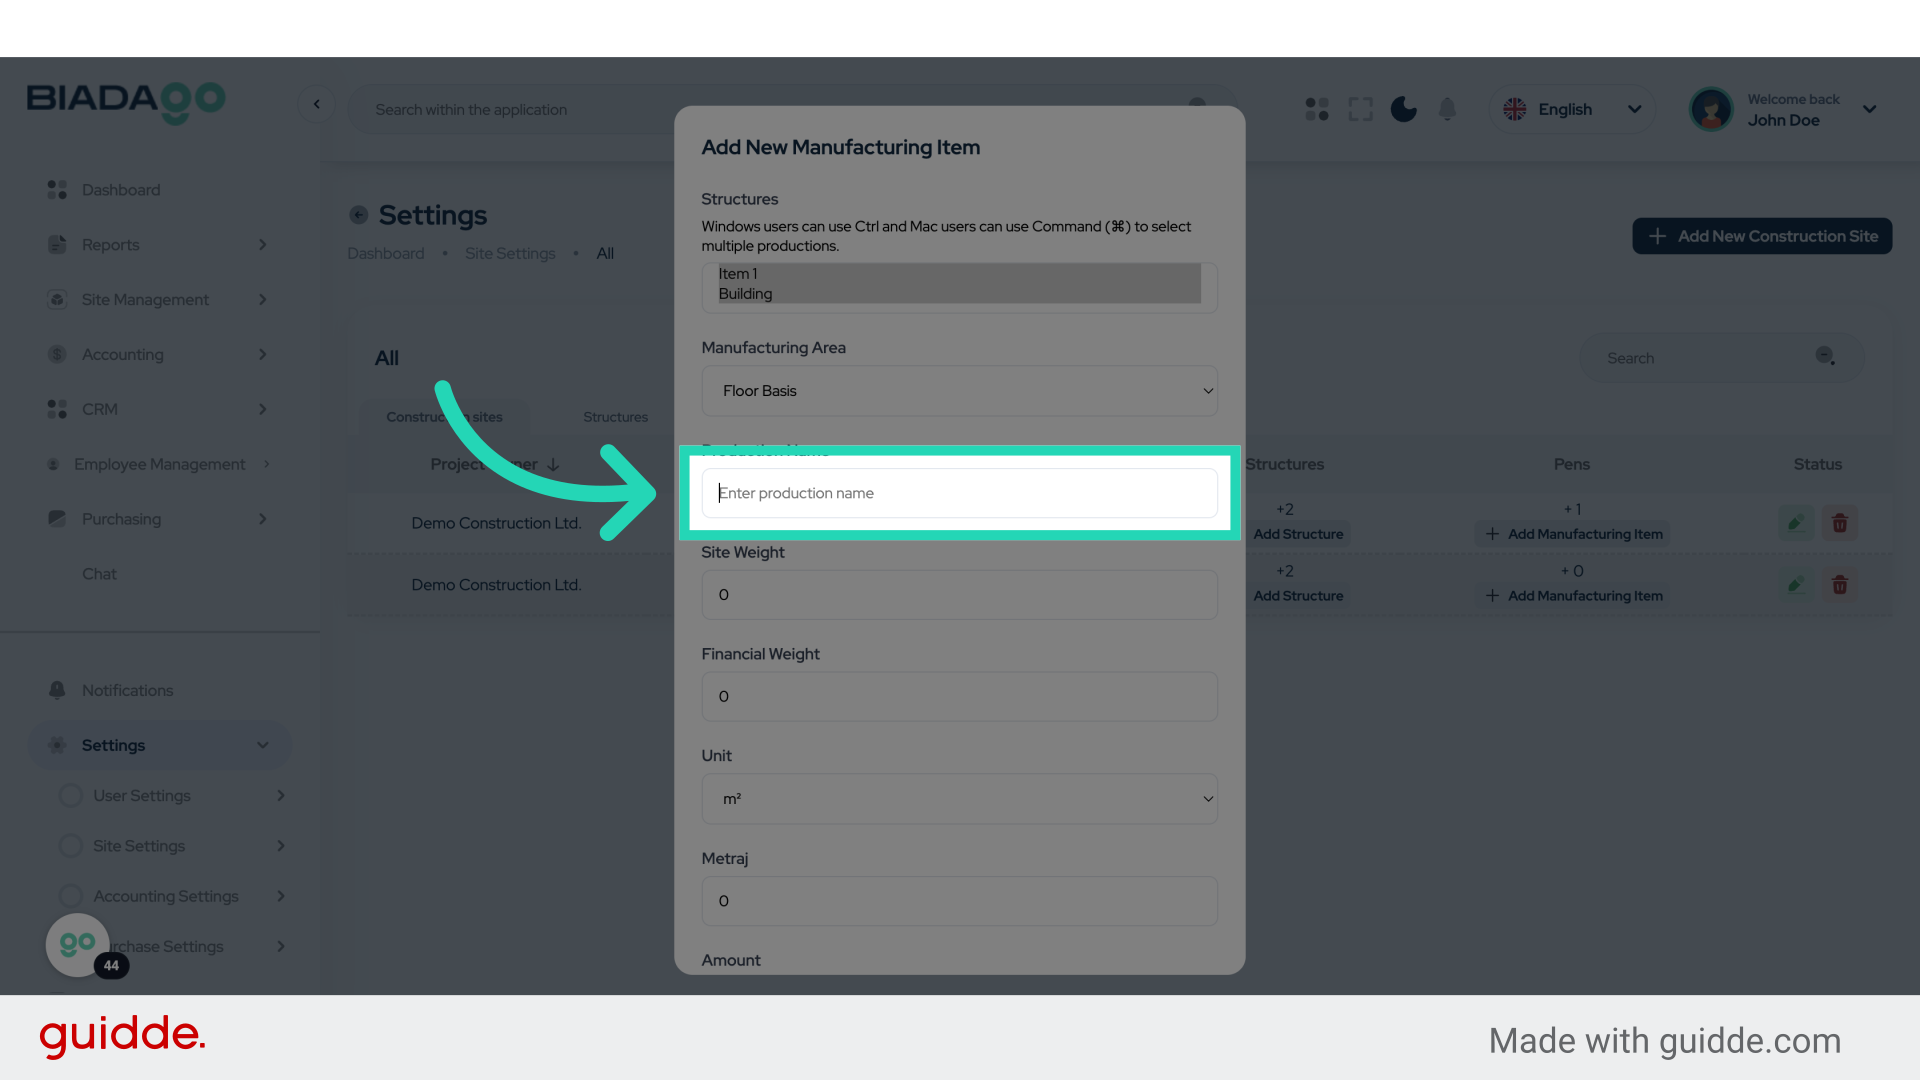
12. Fill “Please wait
Apartment”
Enter “Please waitApartment” in the provided field
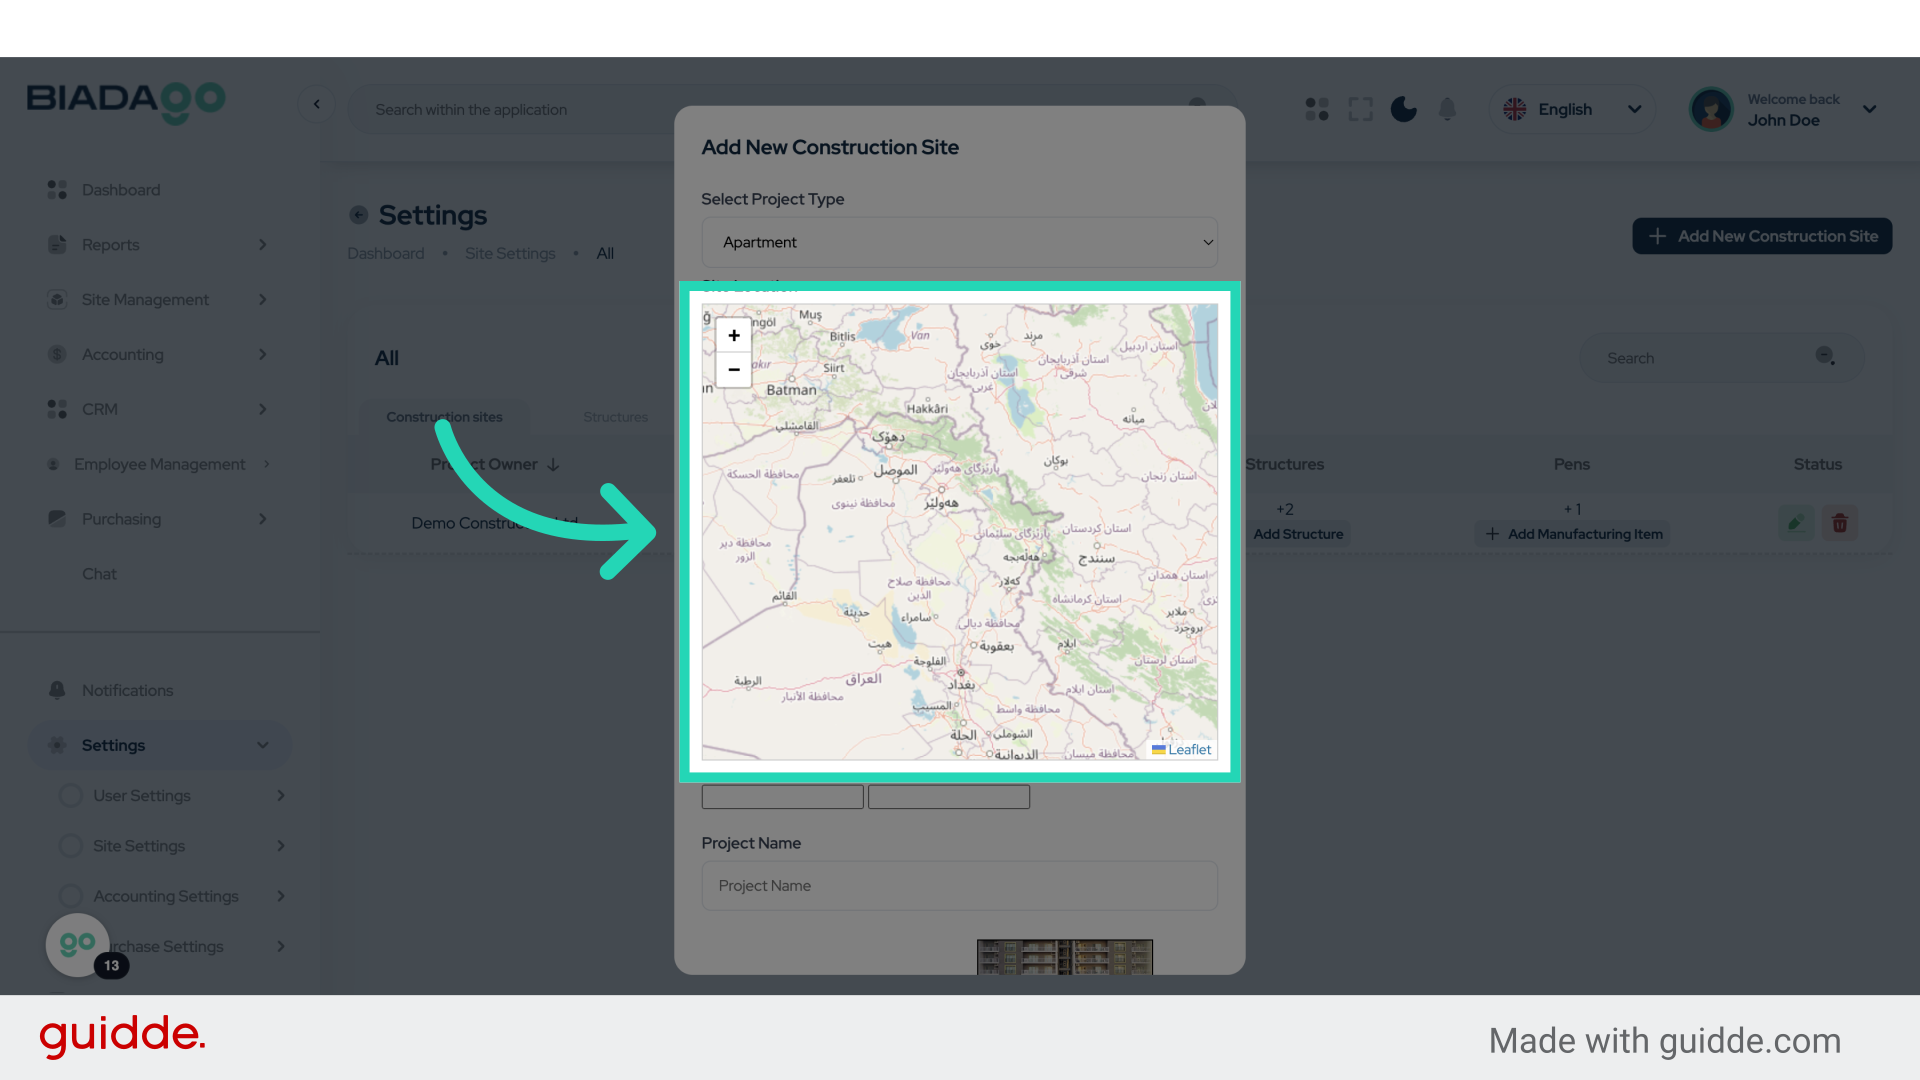
13. Click “+− Leaflet”
Select the Leaflet option.
14. Click “+− Leaflet”
Select the Leaflet option again.

15. Click “+− Leaflet”
Select the Leaflet option once more.
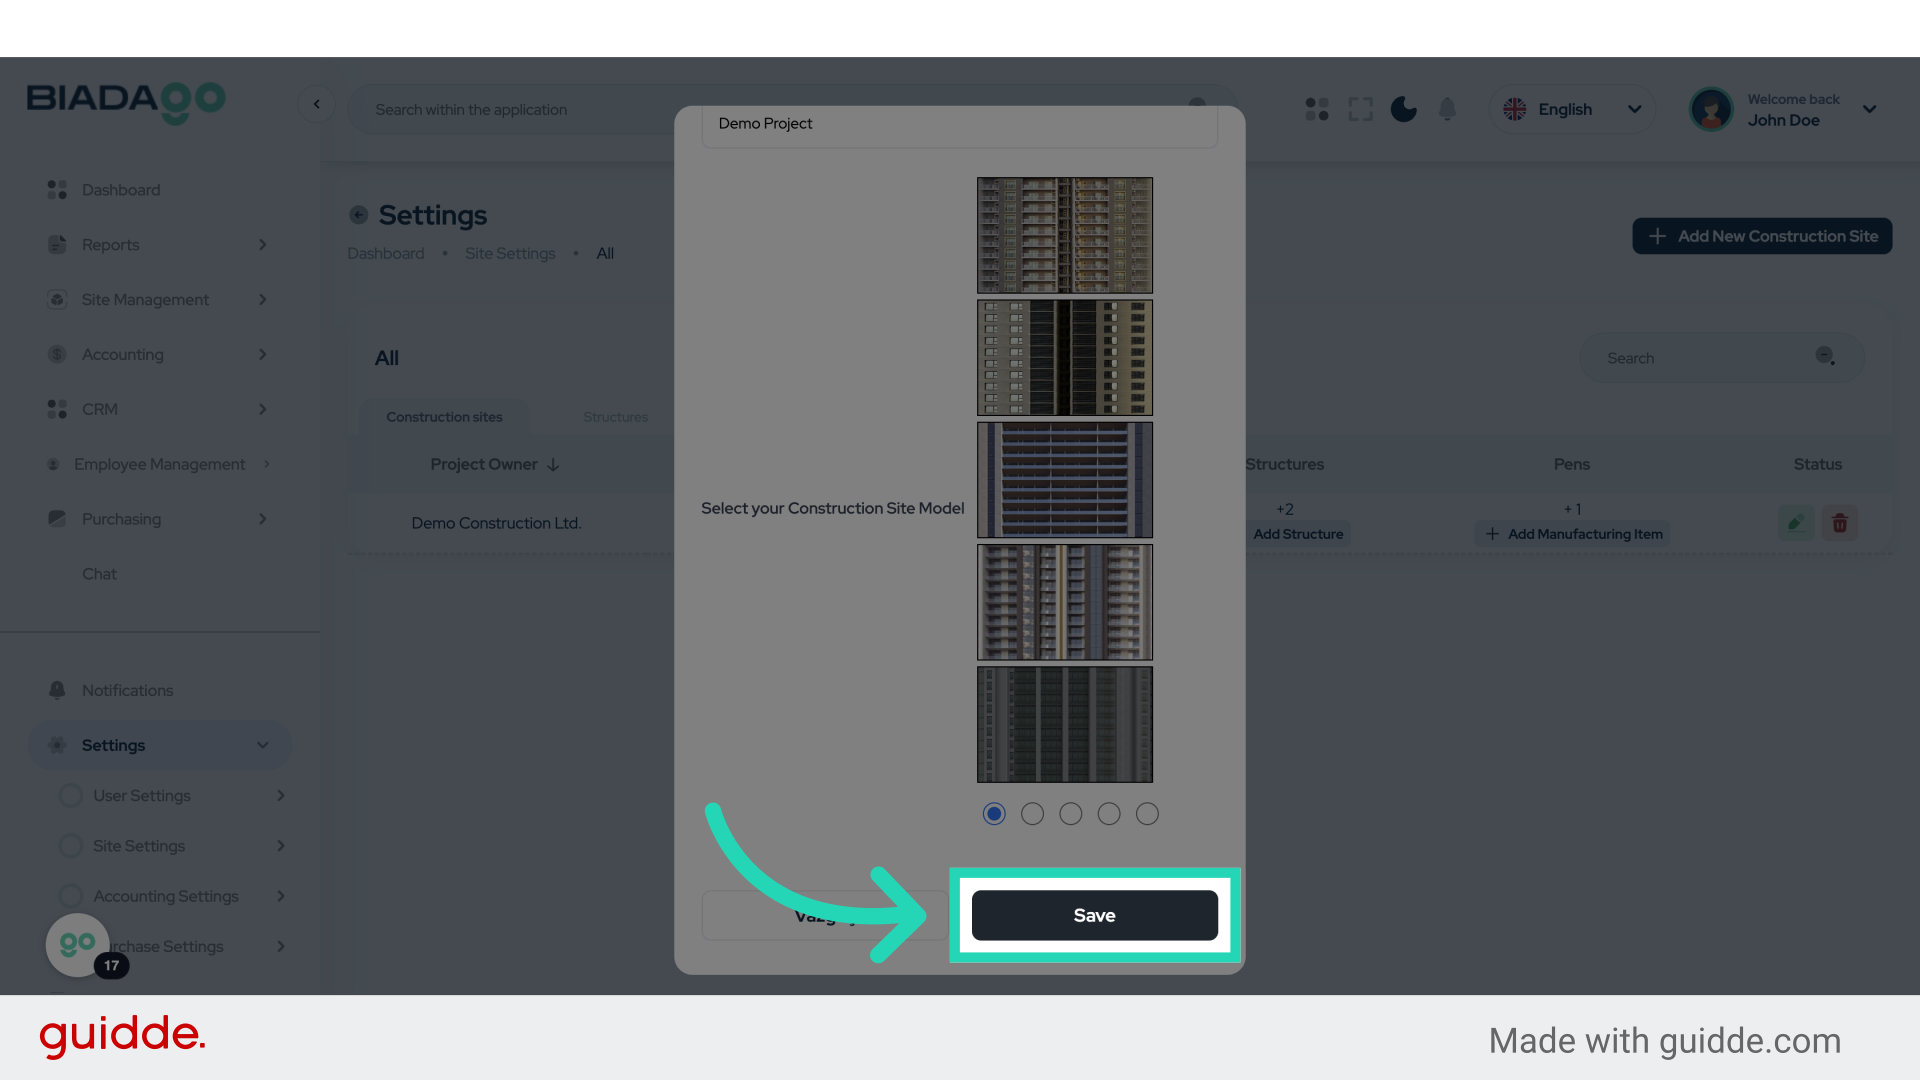
16. Click “Project Name”
Input the project name.
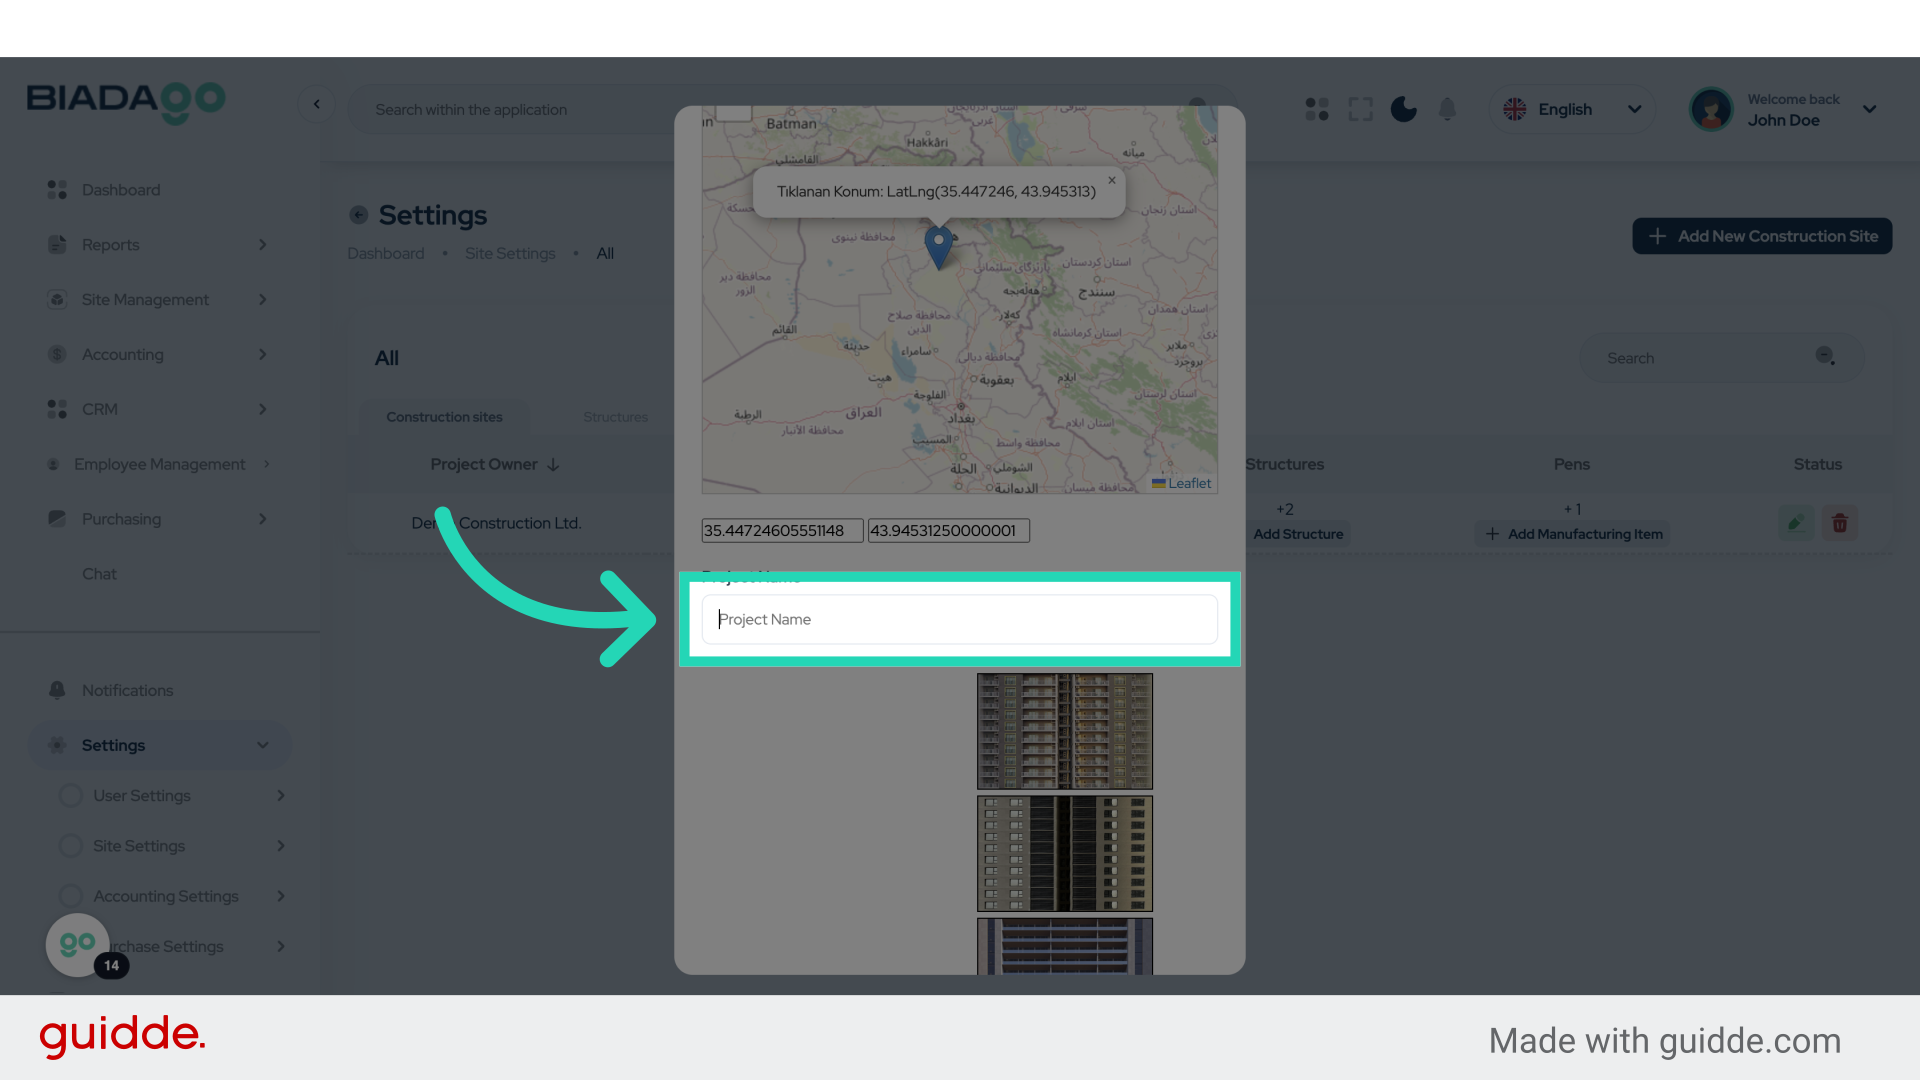
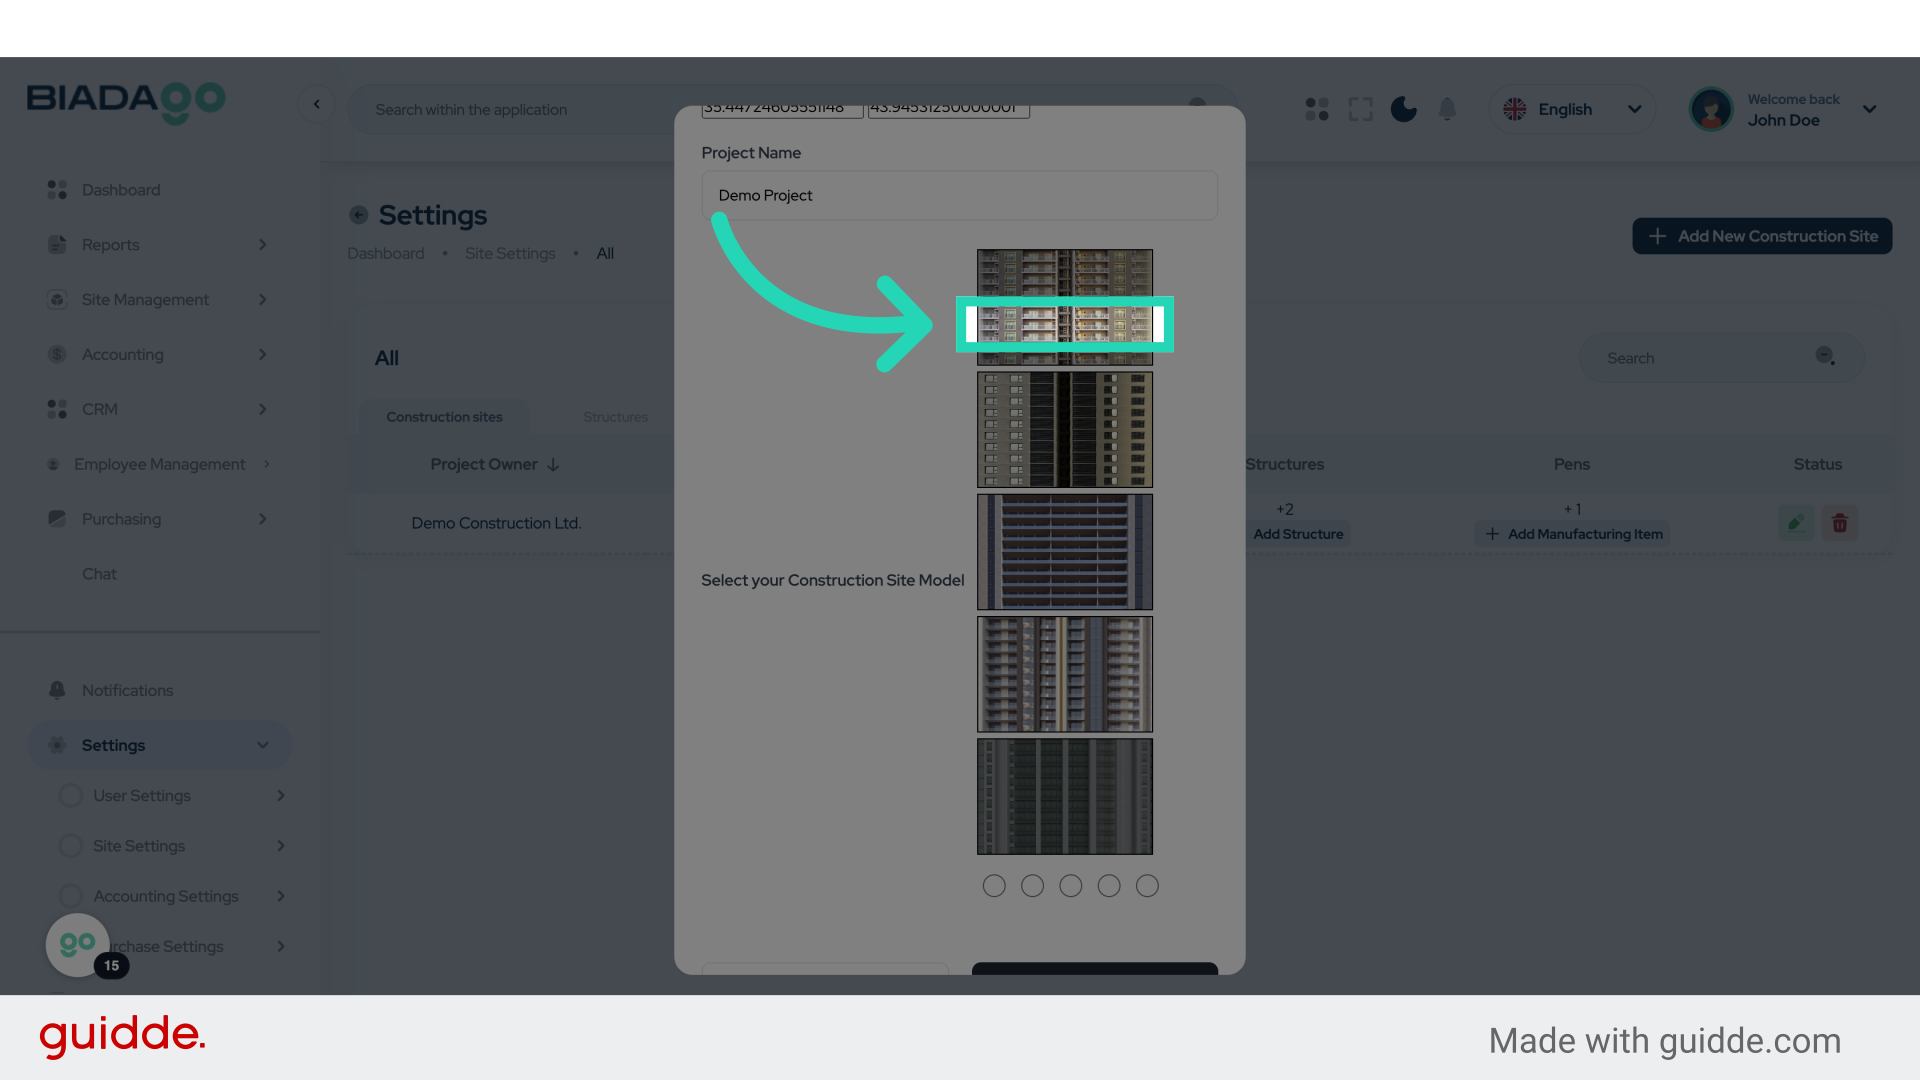
17. Fill “Demo Project”
Fill in the text box with “Demo Project”
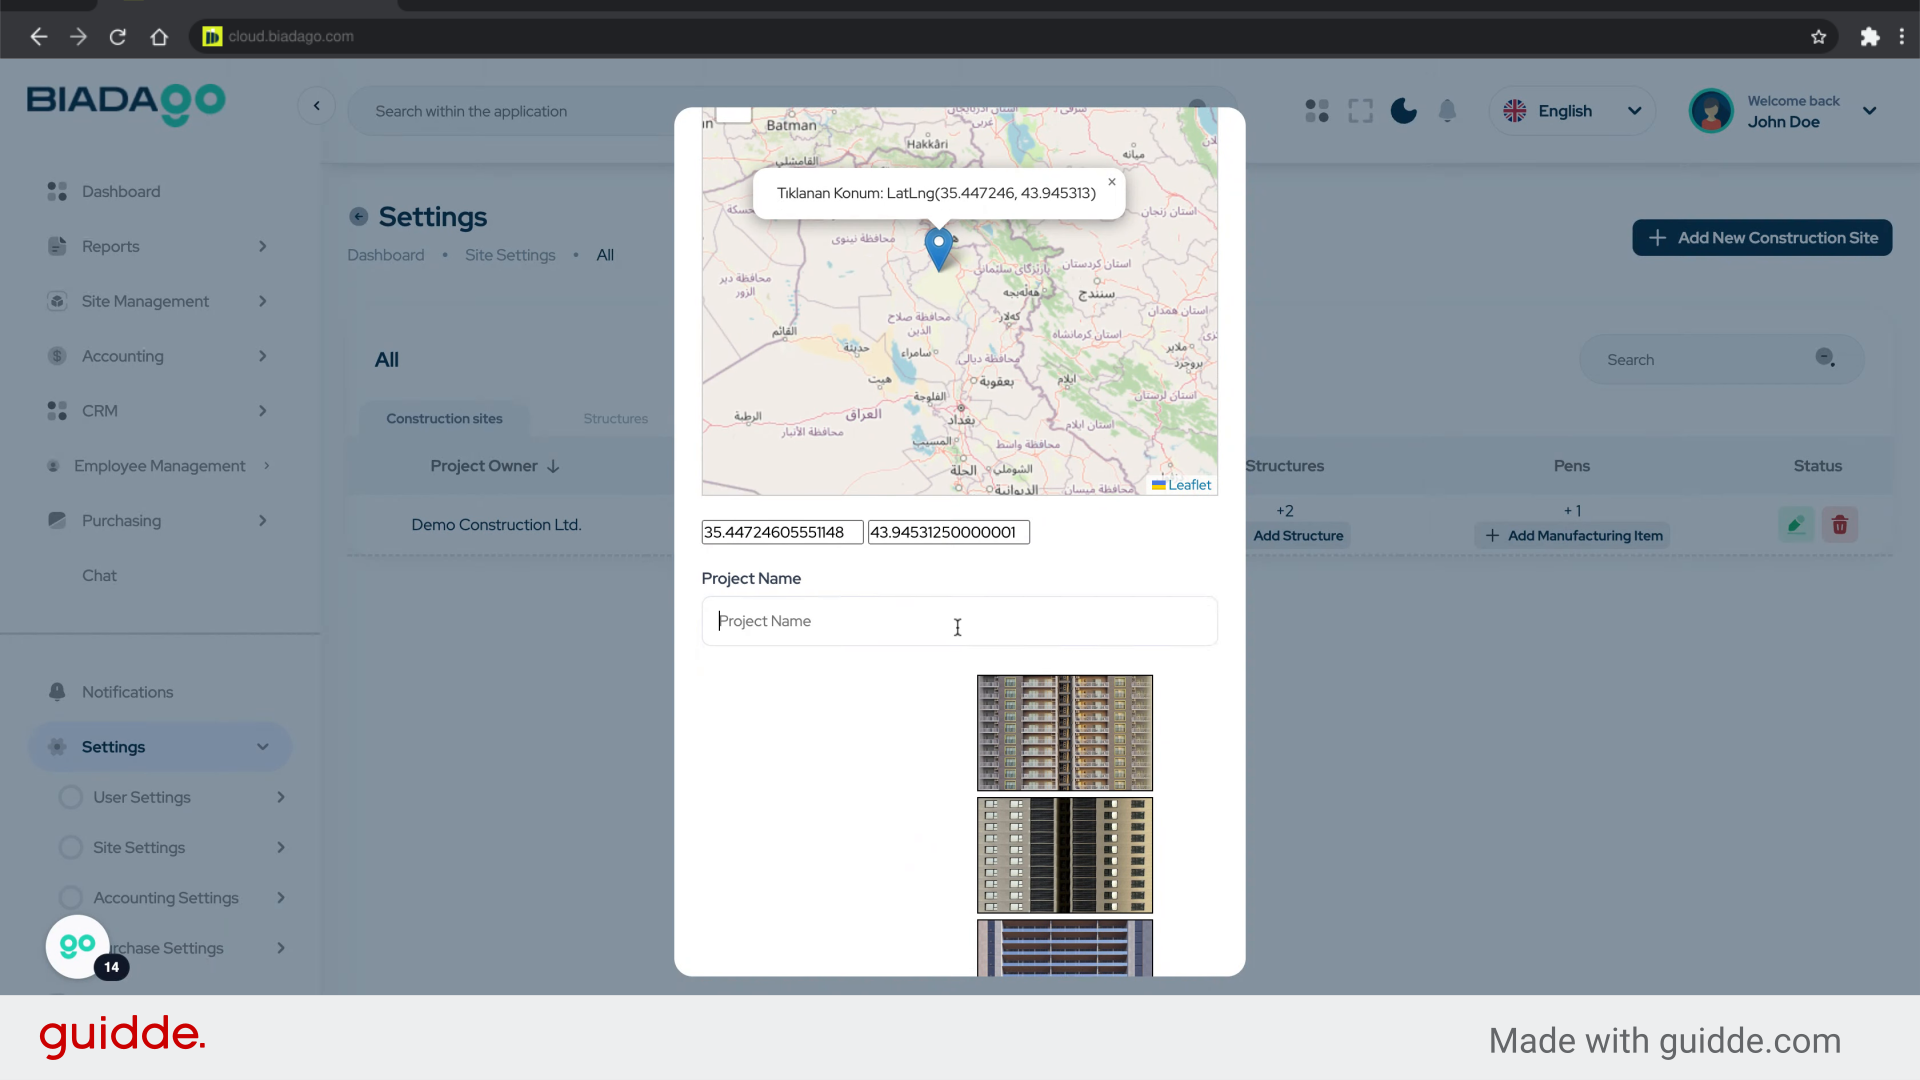
18. Click here
Click on the specified location.
19. Click “Save”
Save the changes made.
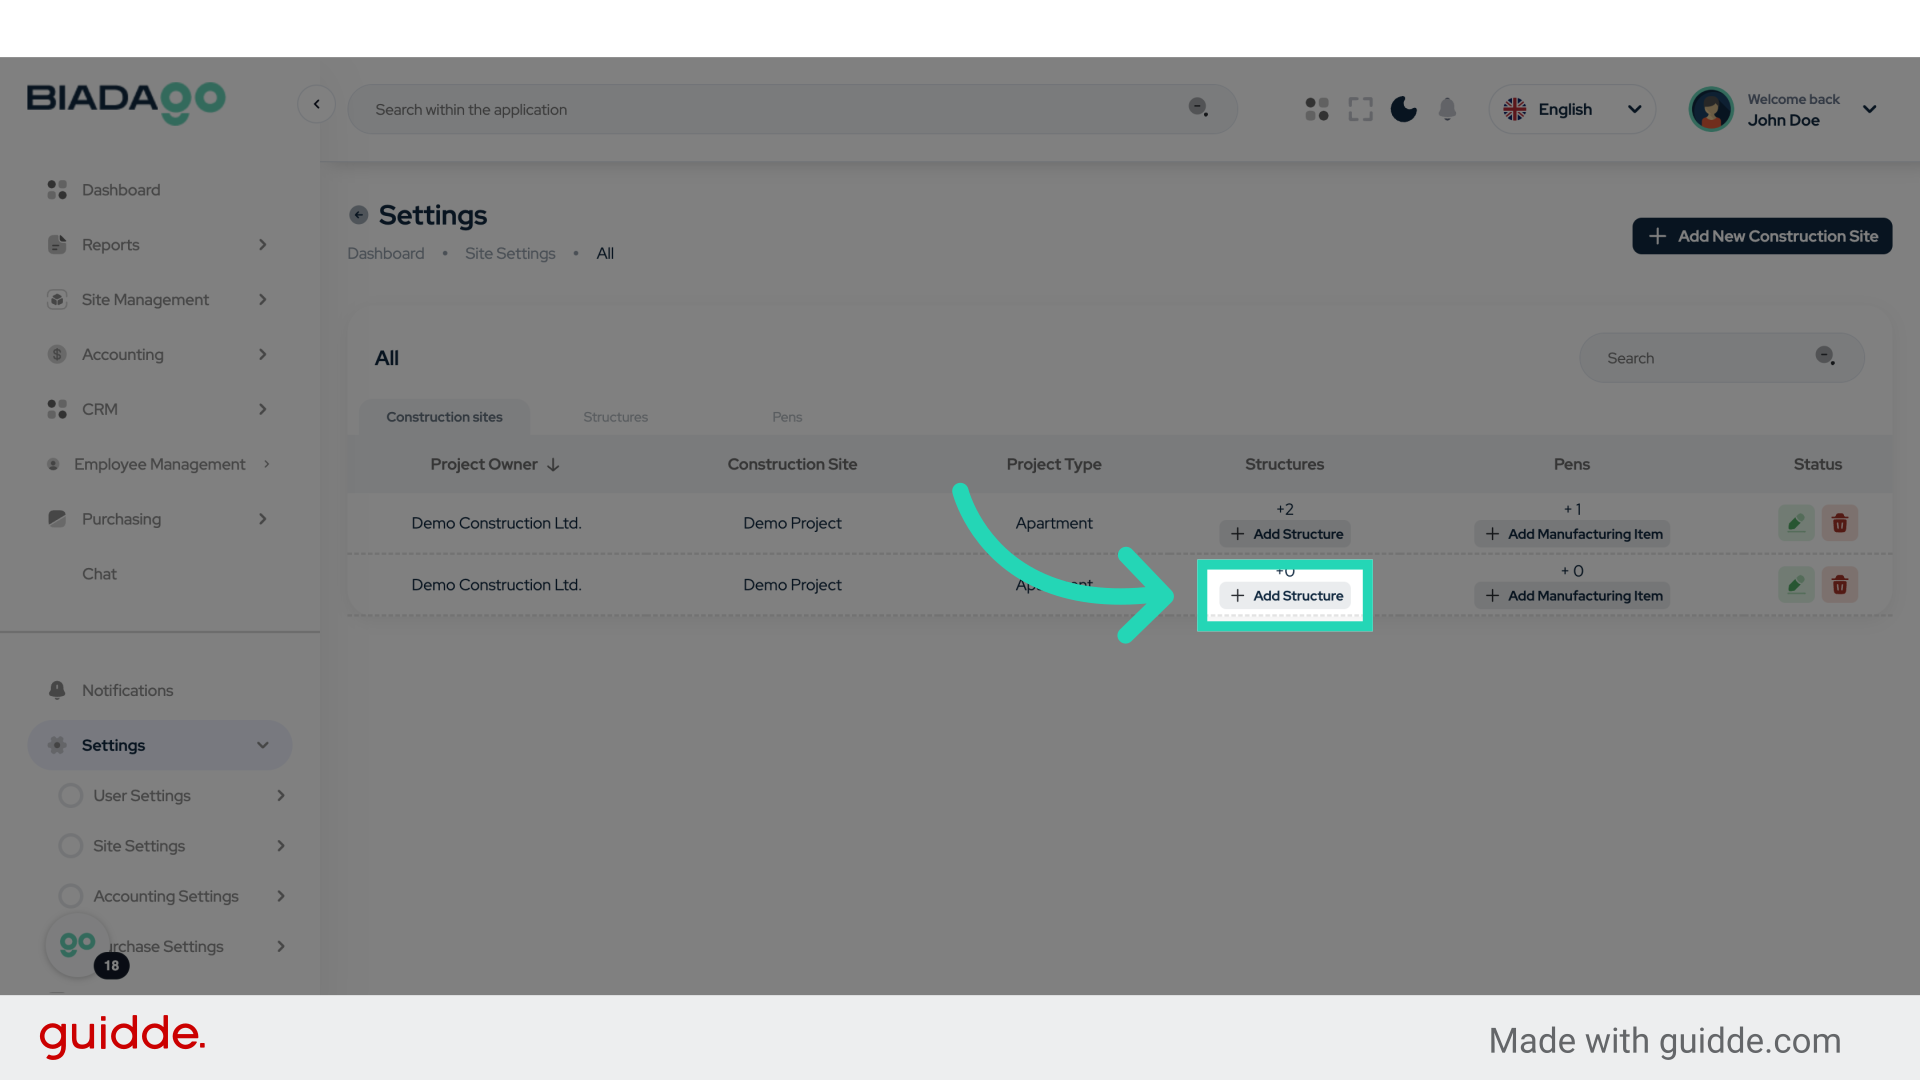
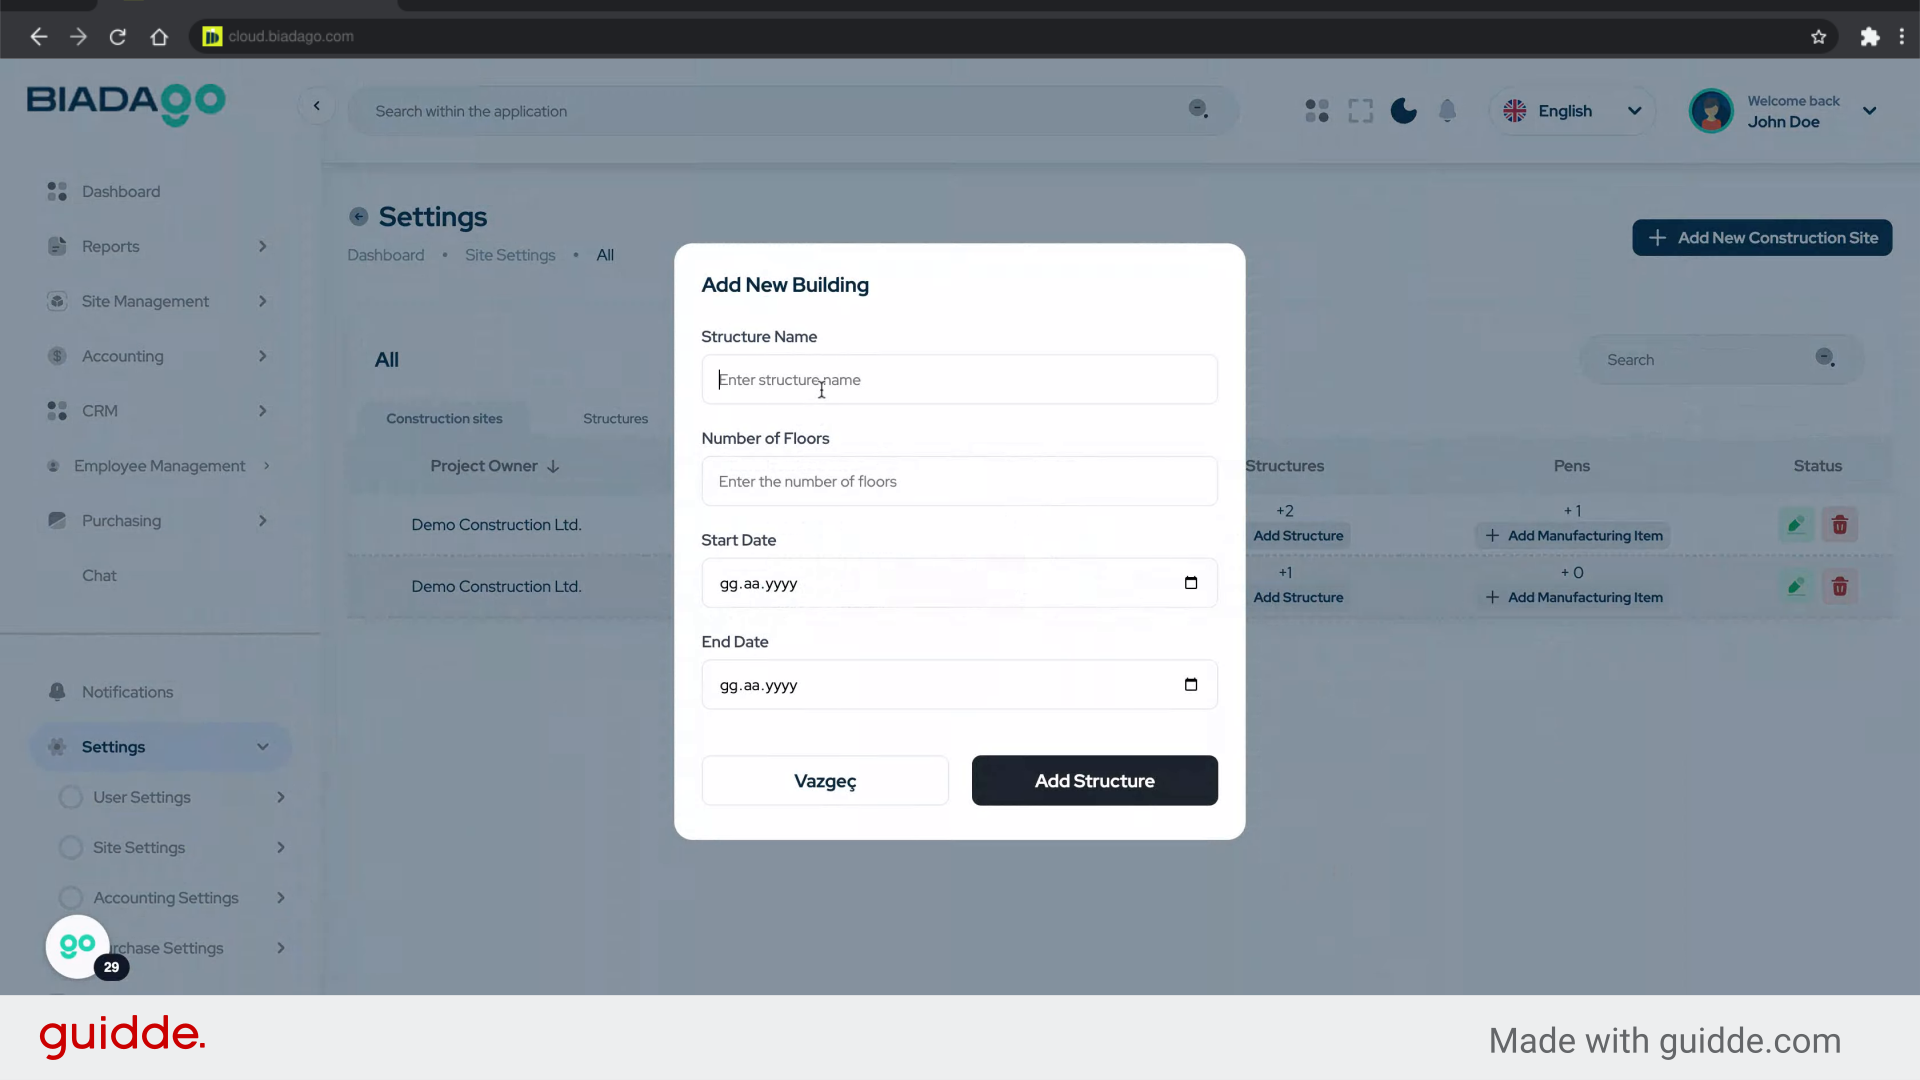
20. Click “Add Structure”
Begin adding a new structure.
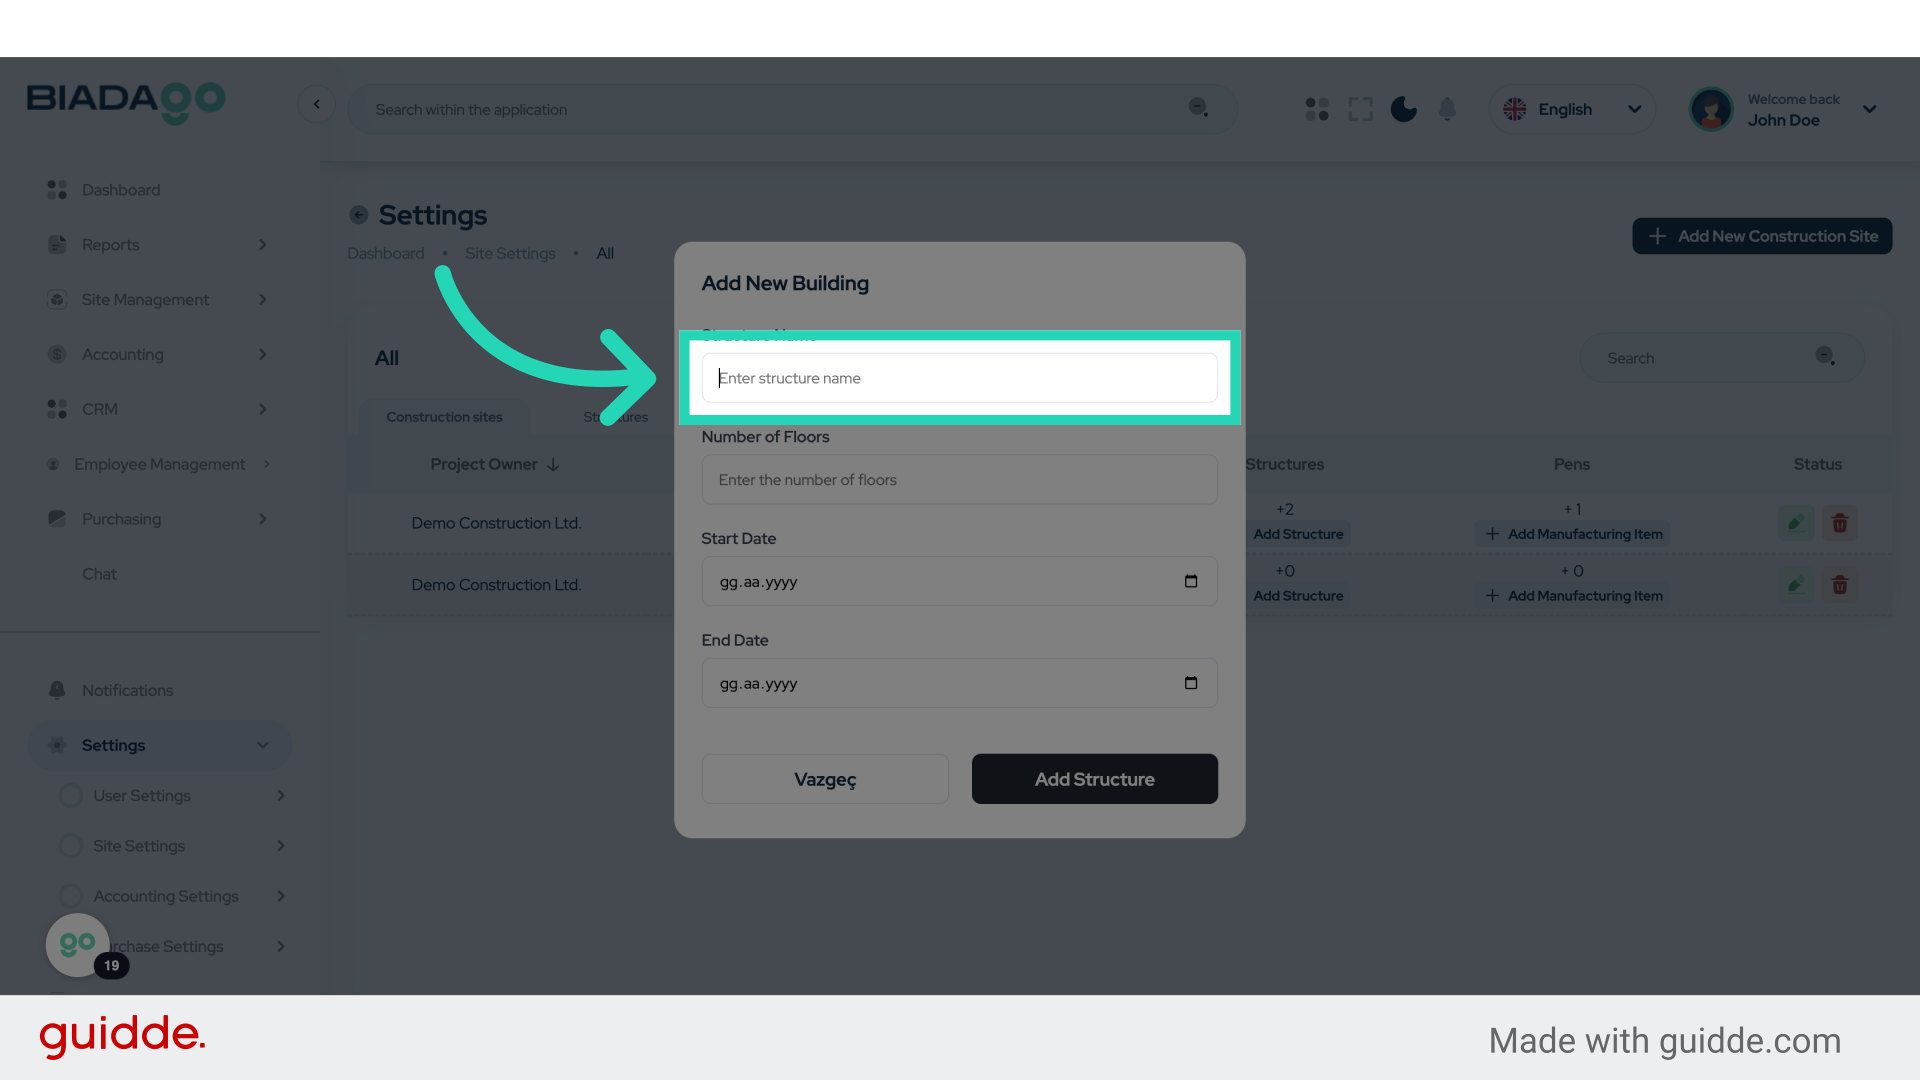
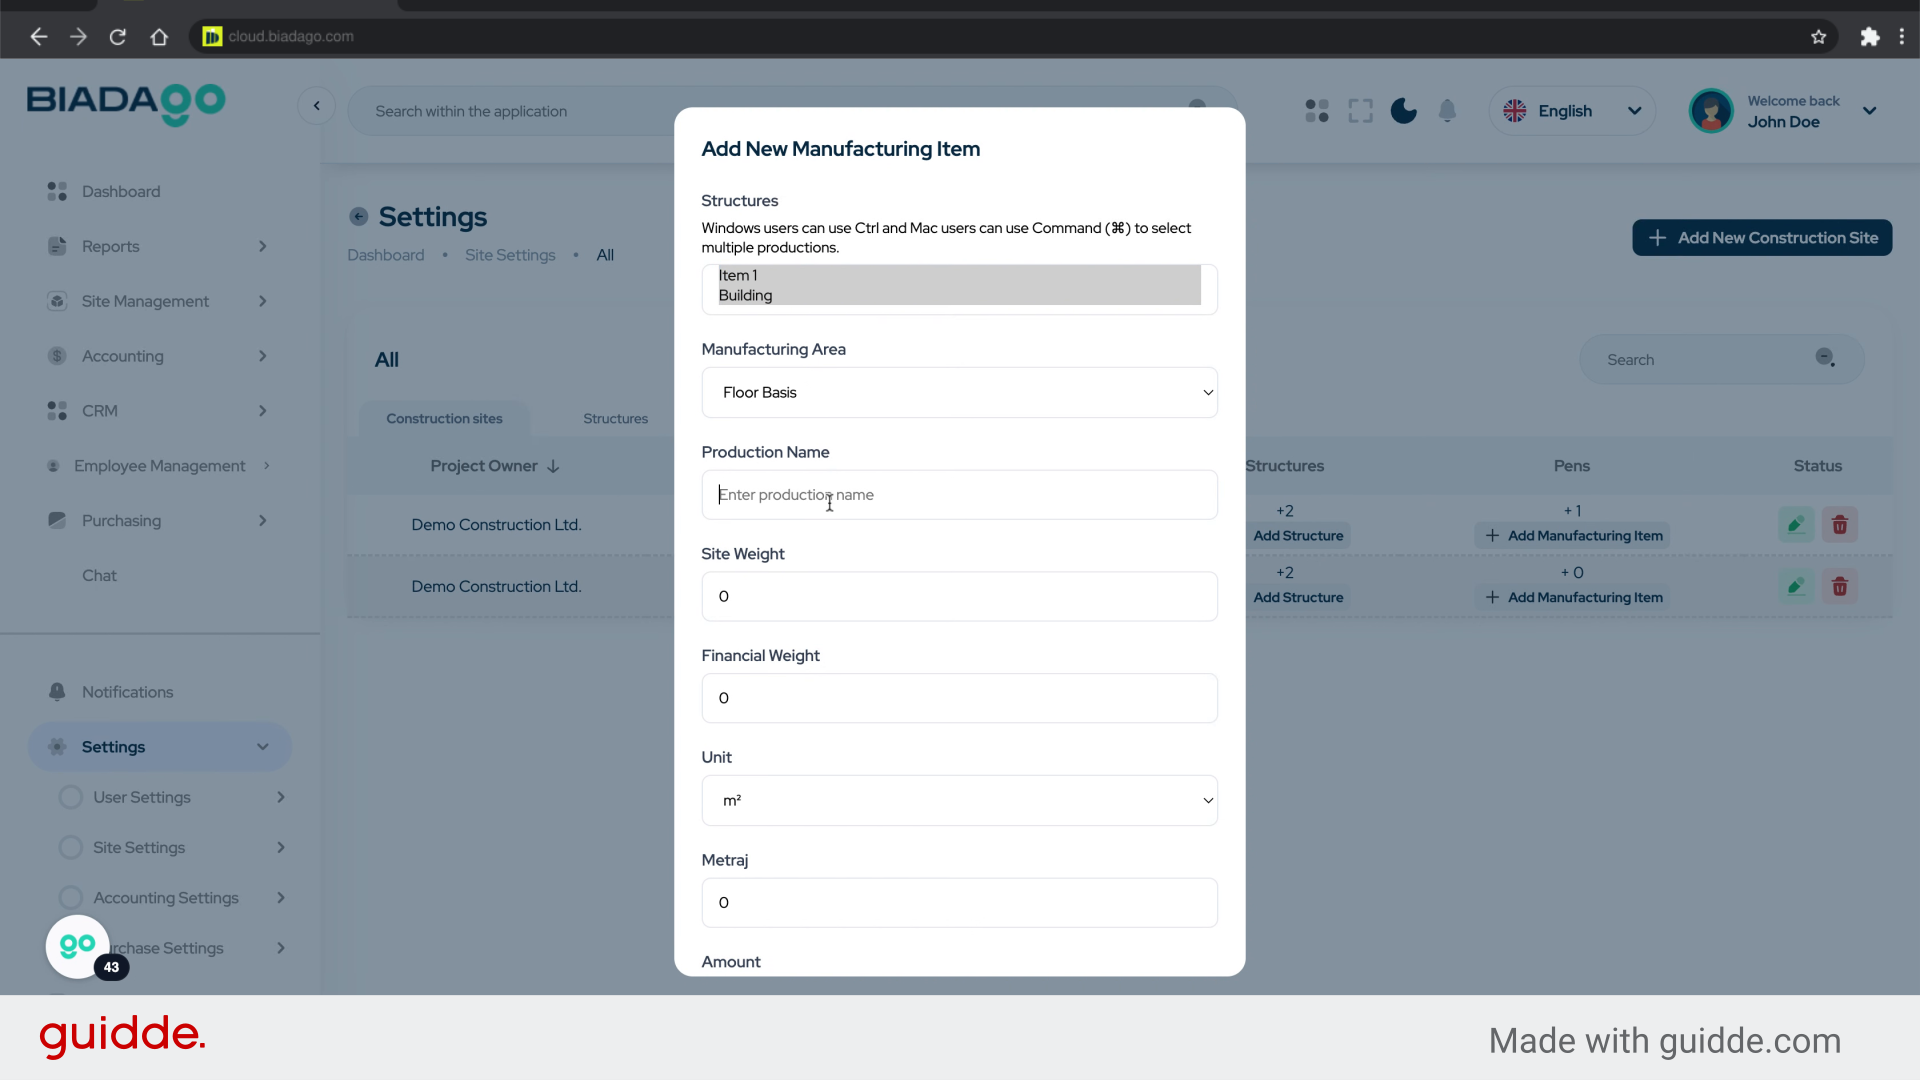
21. Click “Project Name”
Input the project name.
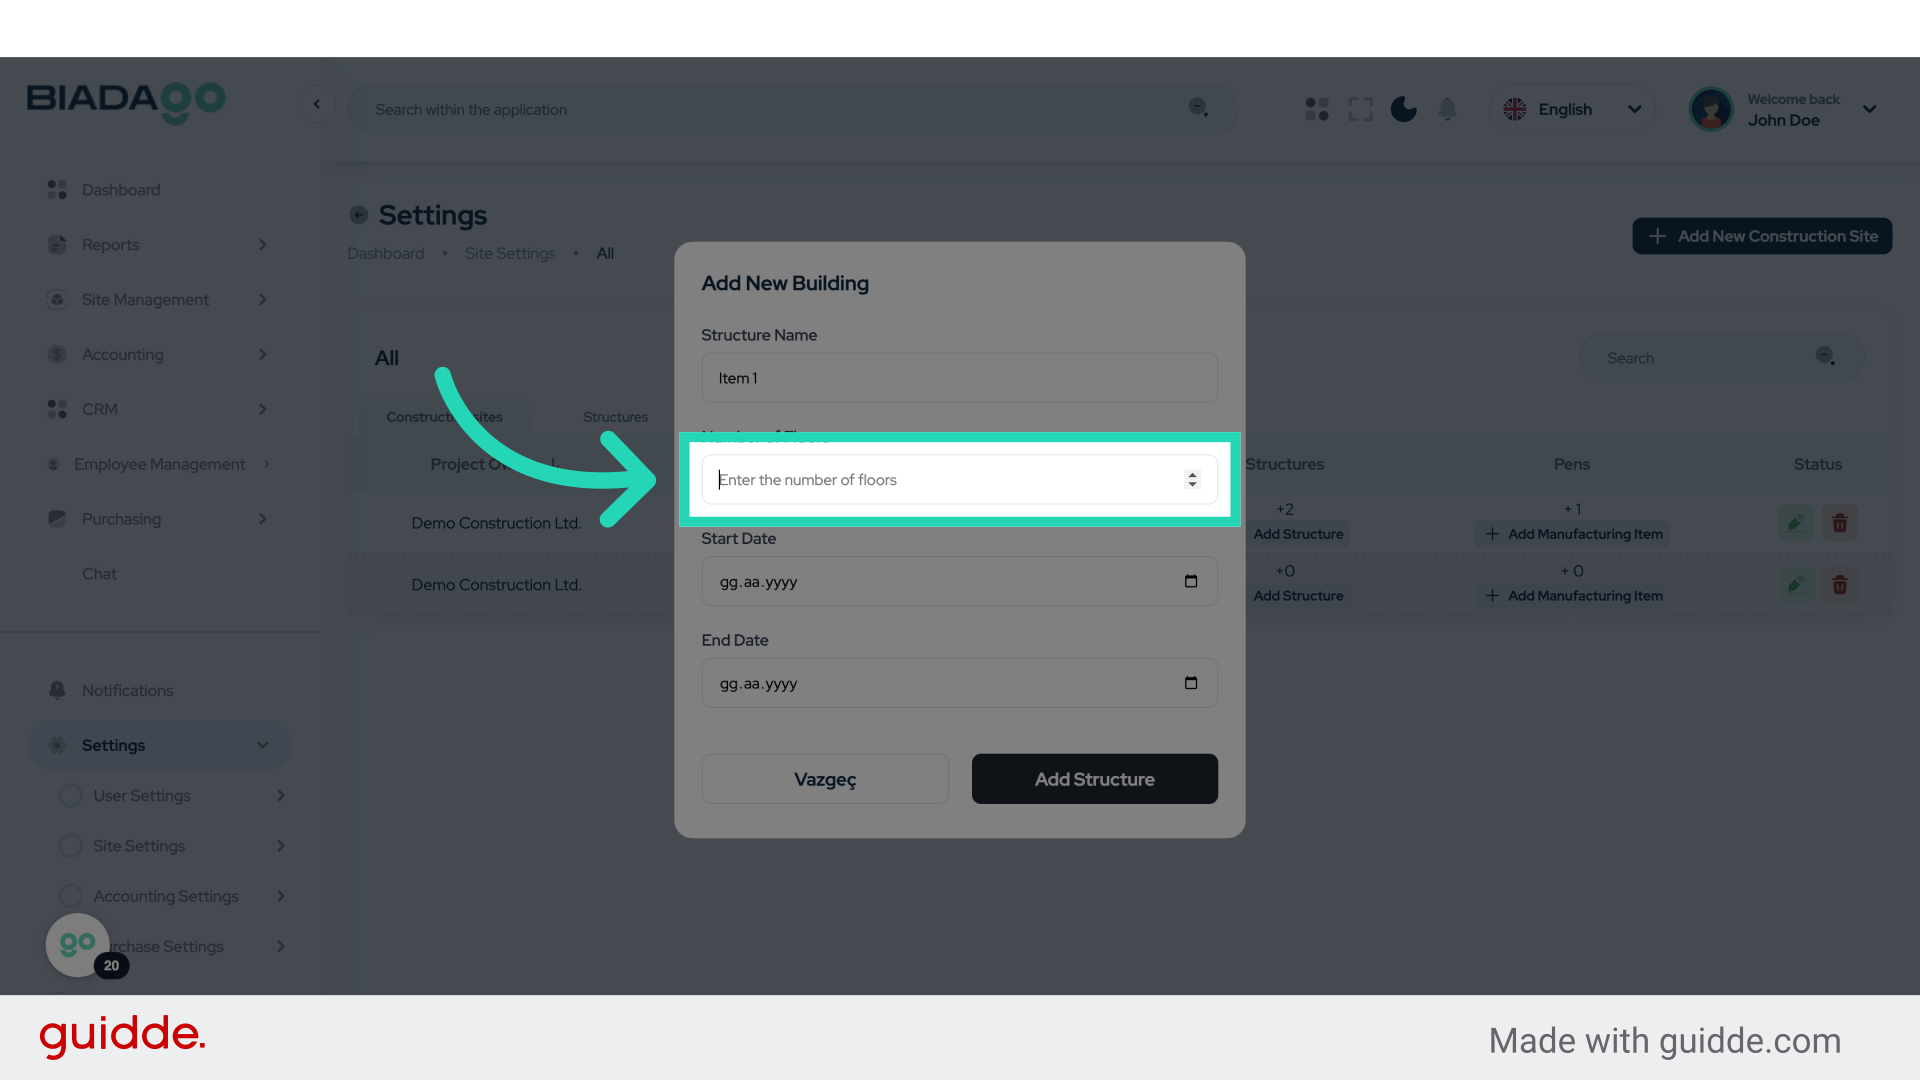
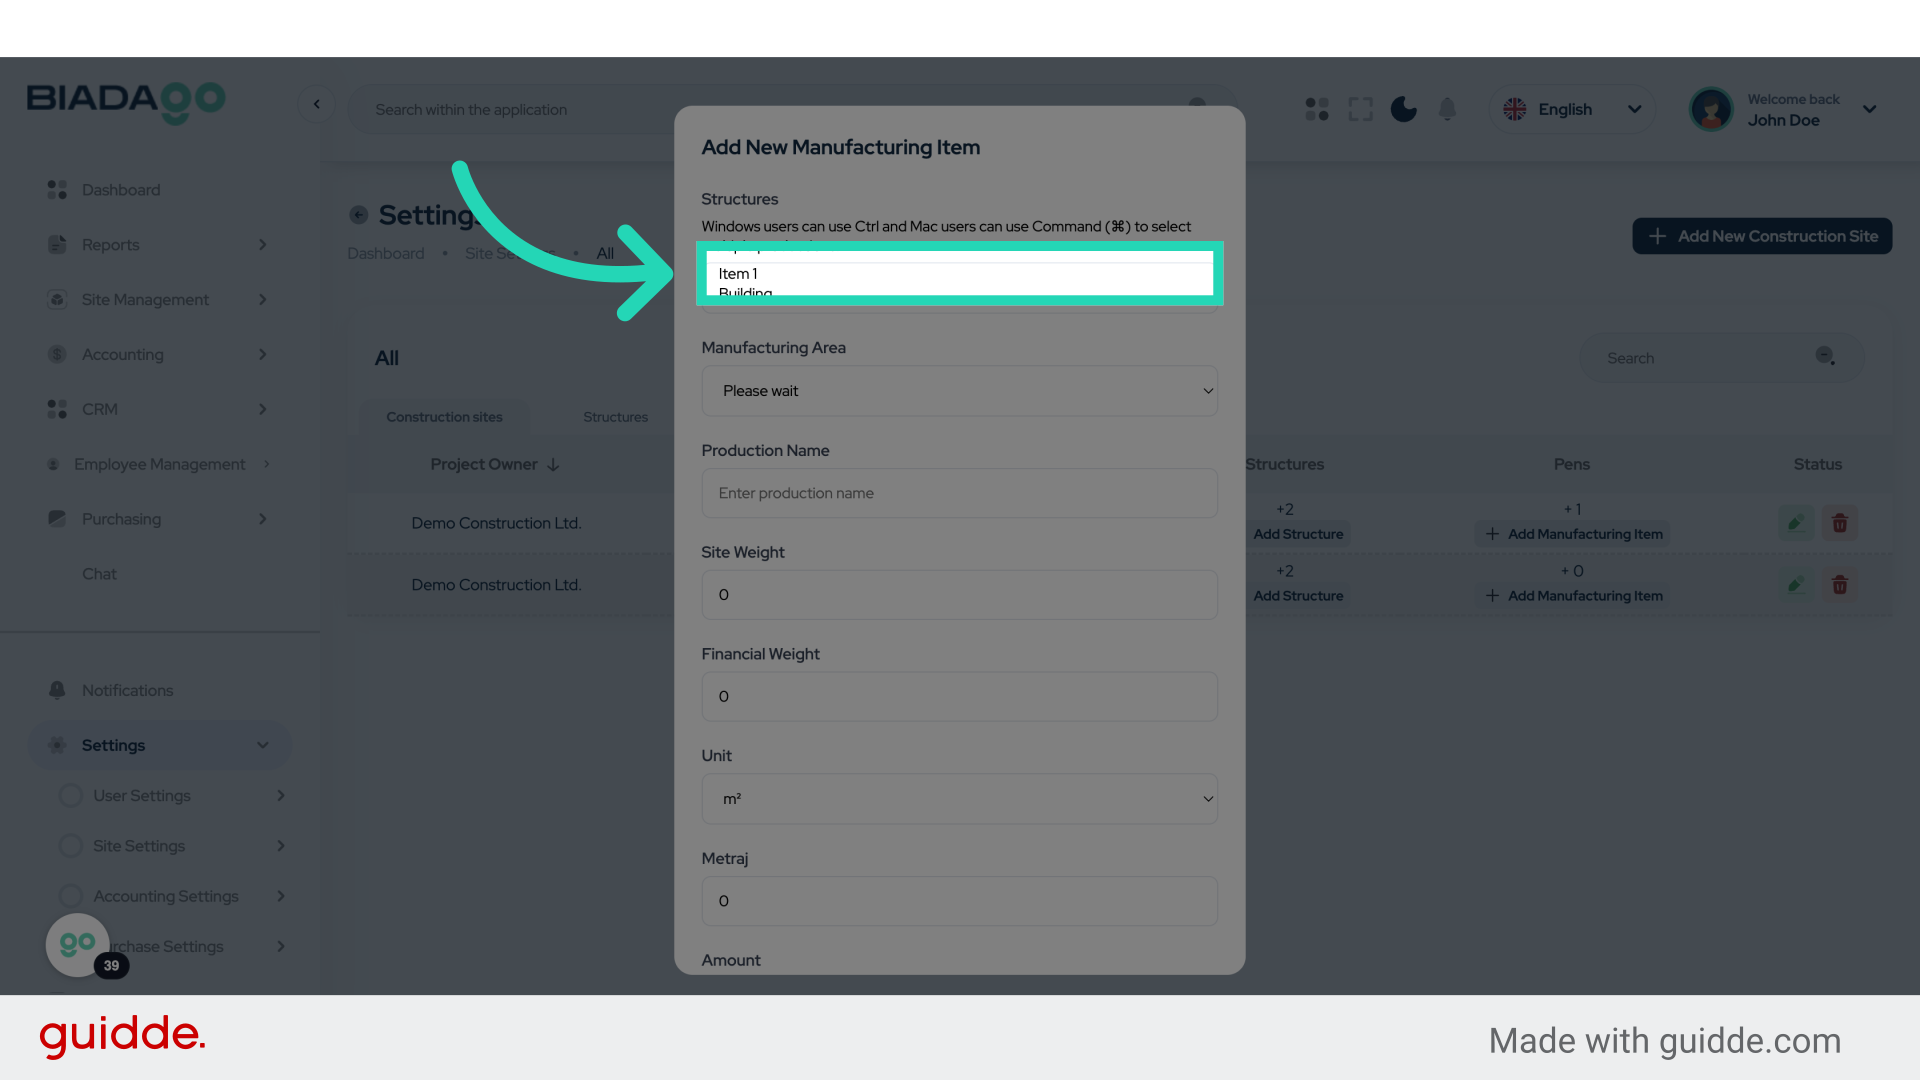
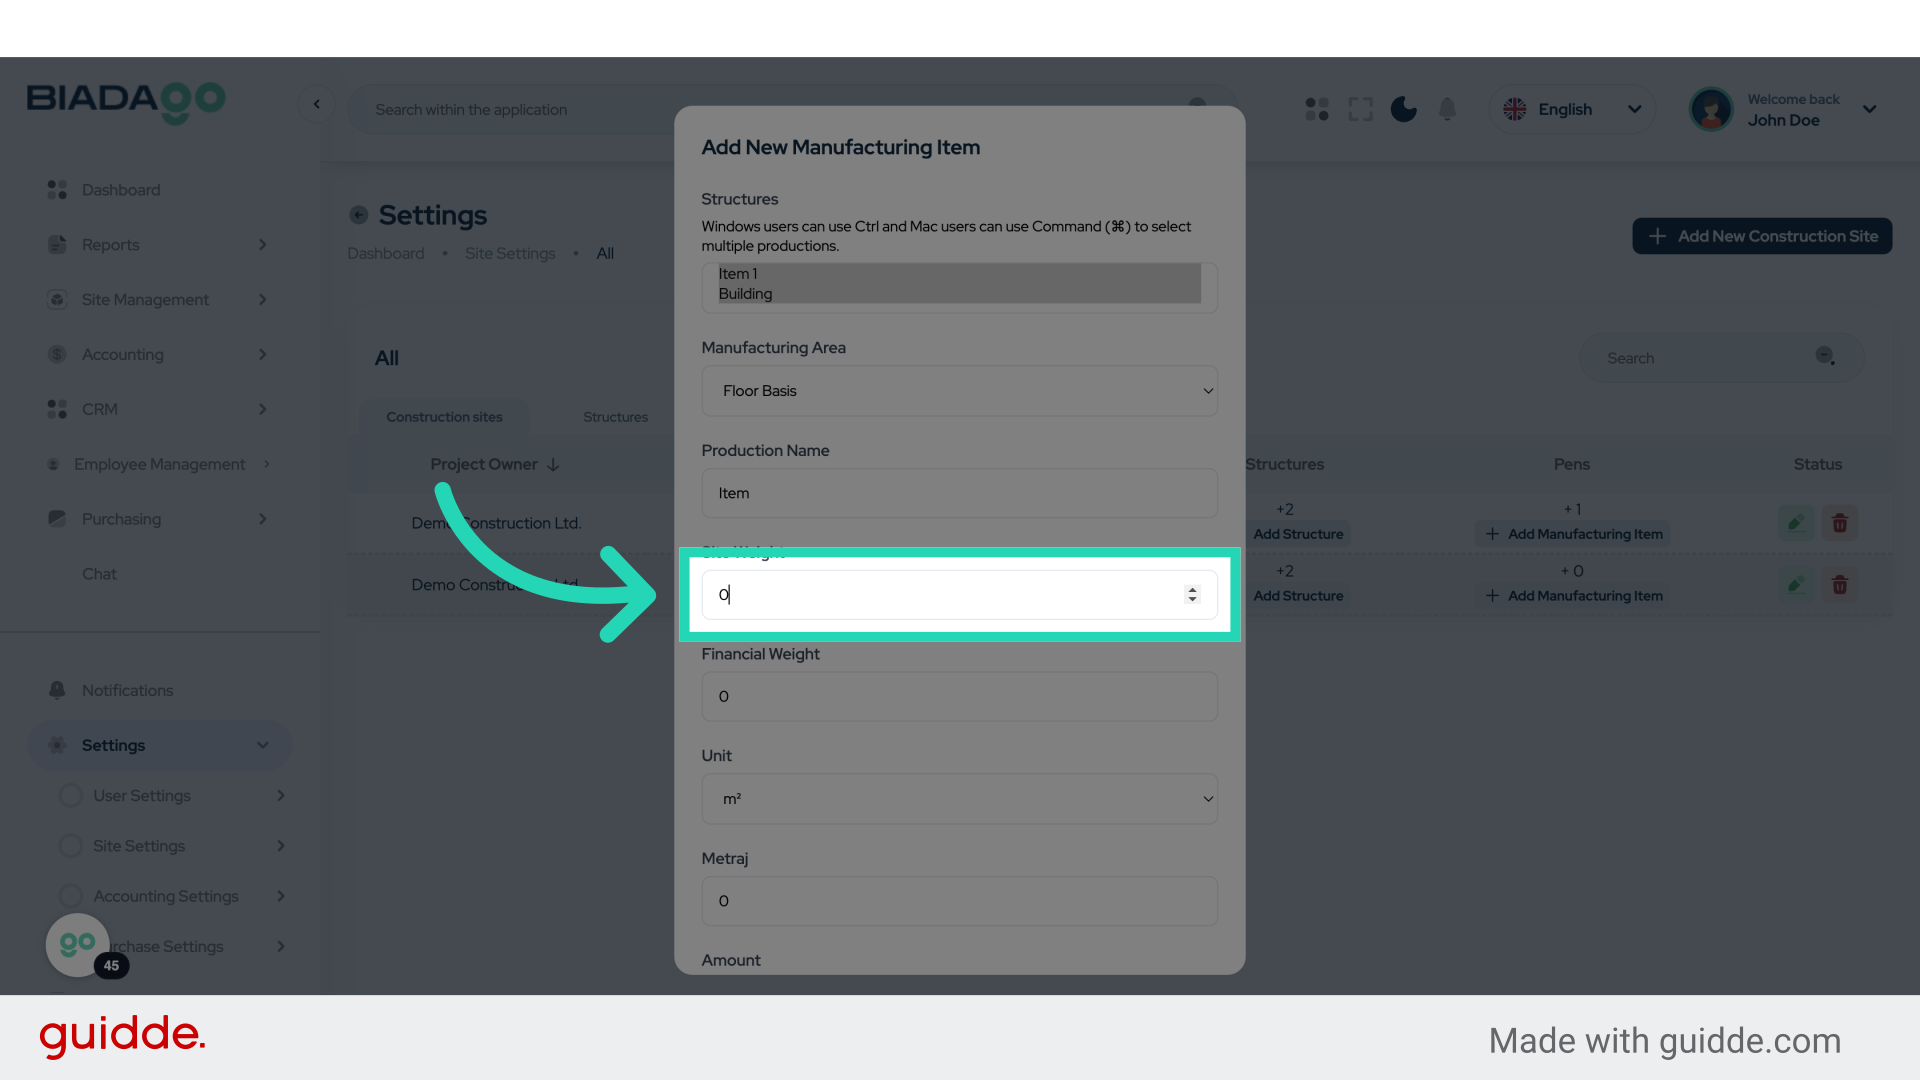
22. Fill “Item 1”
Enter the desired text.

23. Click “Project Name”
Input the project name again.
24. Fill “18”
Type “18” in the given field

25. Click “Project Name”
Input the project name once more.

26. Fill “2025-05-06”
Input “2025-05-06” in the available field

27. Click “Project Name”
Input the project name again.

28. Fill “2025-05-31”
Write “2025-05-31” in the specified field

29. Click “Add Structure”
Initiate adding a new structure.

30. Click “Add Structure”
Initiate adding a new structure again.

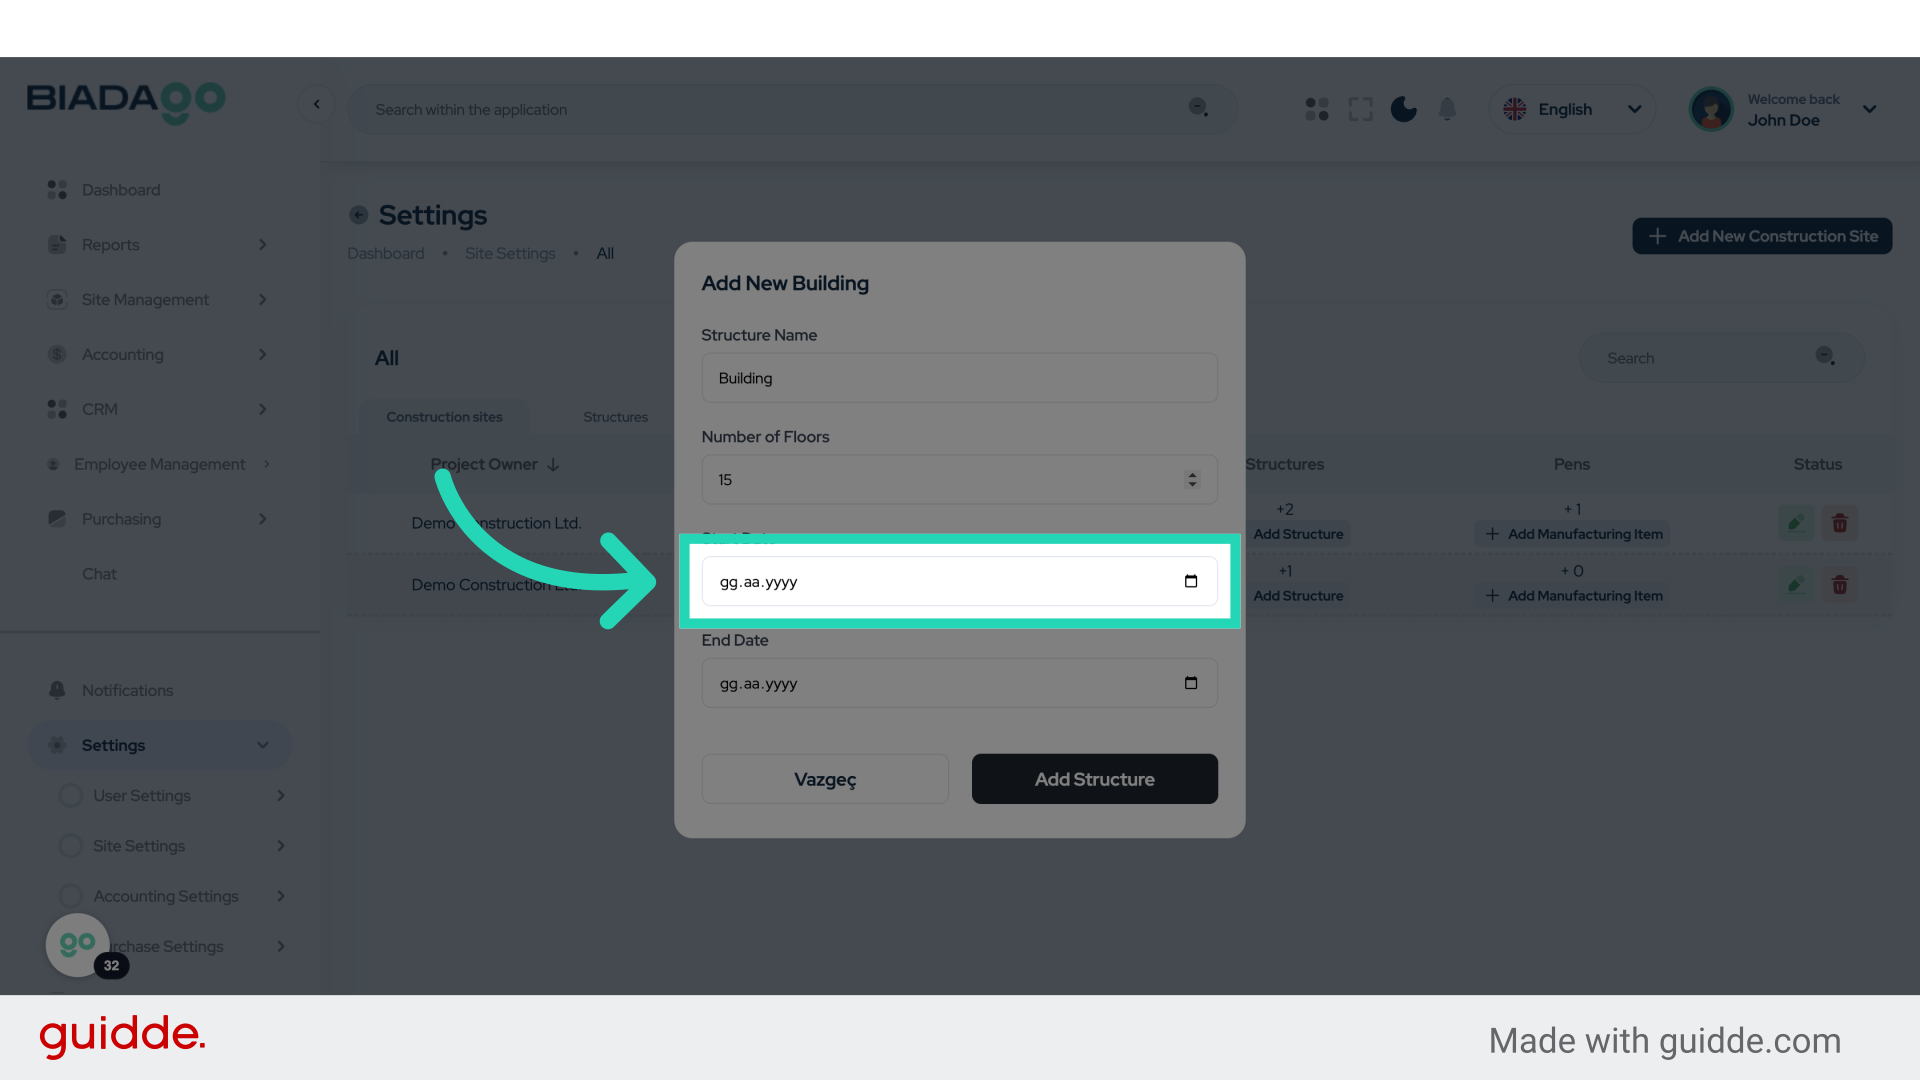
31. Click “Project Name”
Input the project name.

32. Fill “Building”
Submit “Building” in the appropriate field
33. Click “Project Name”
Input the project name again.

34. Fill “15”
Input the desired text

35. Click “Project Name”
Input the project name once more.
36. Fill “2025-05-06”
Write your desired text.

37. Click “Project Name”
Input the project name again.
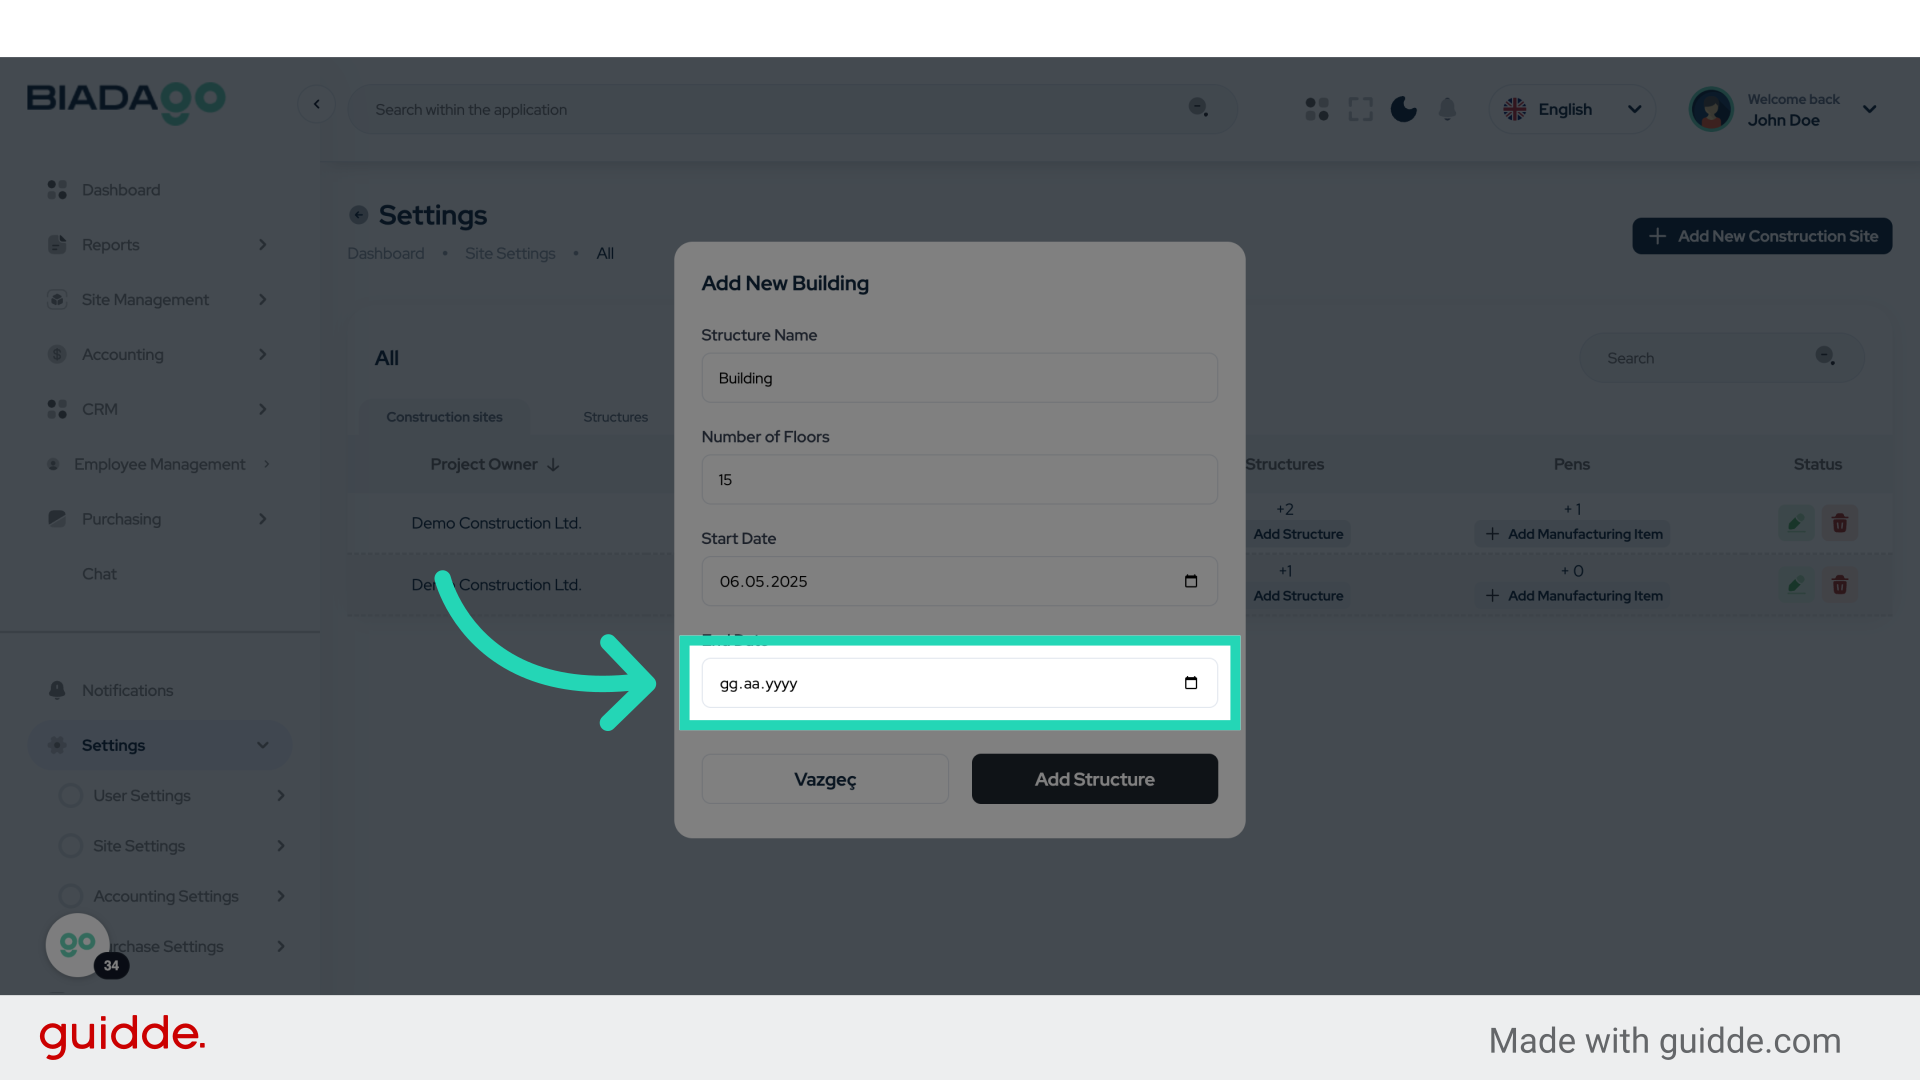
38. Fill “2025-05-30”
Fill in “2025-05-30”

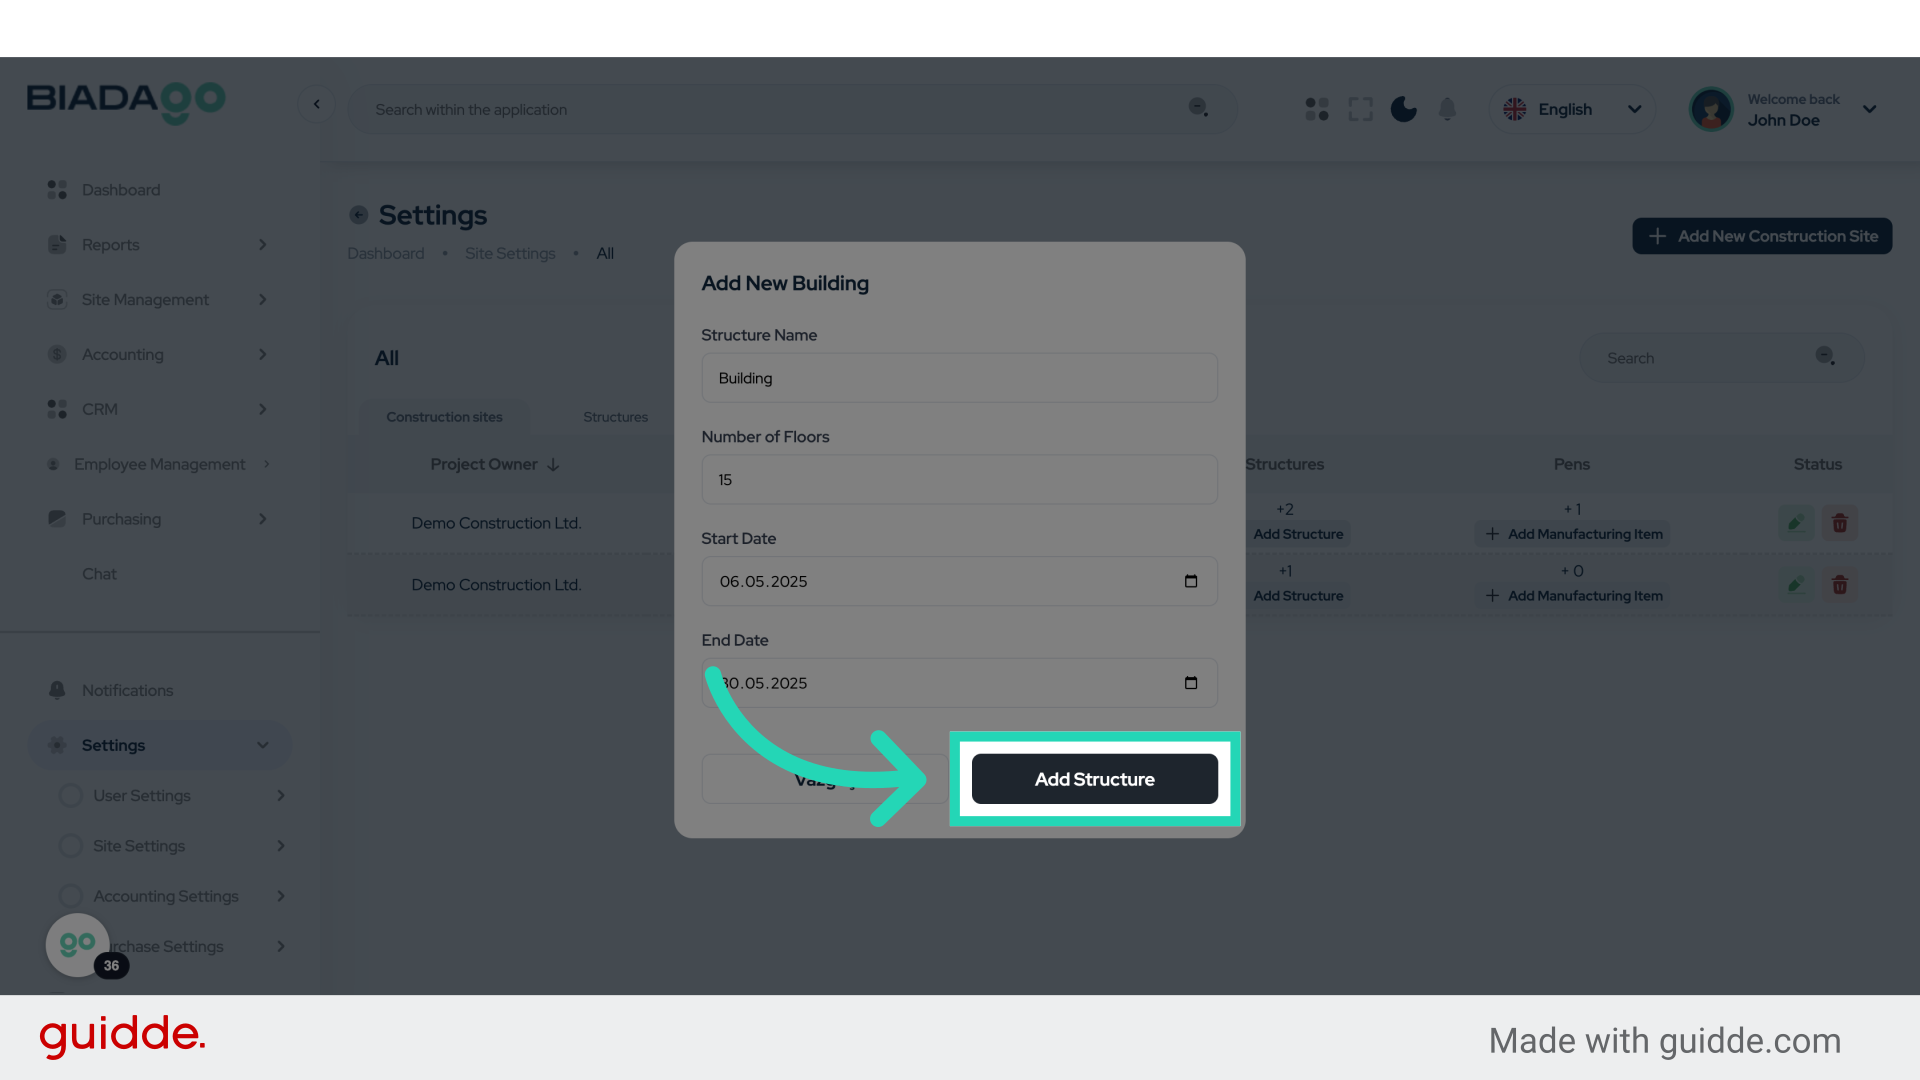
39. Click “Add Structure”
Initiate adding a new structure.
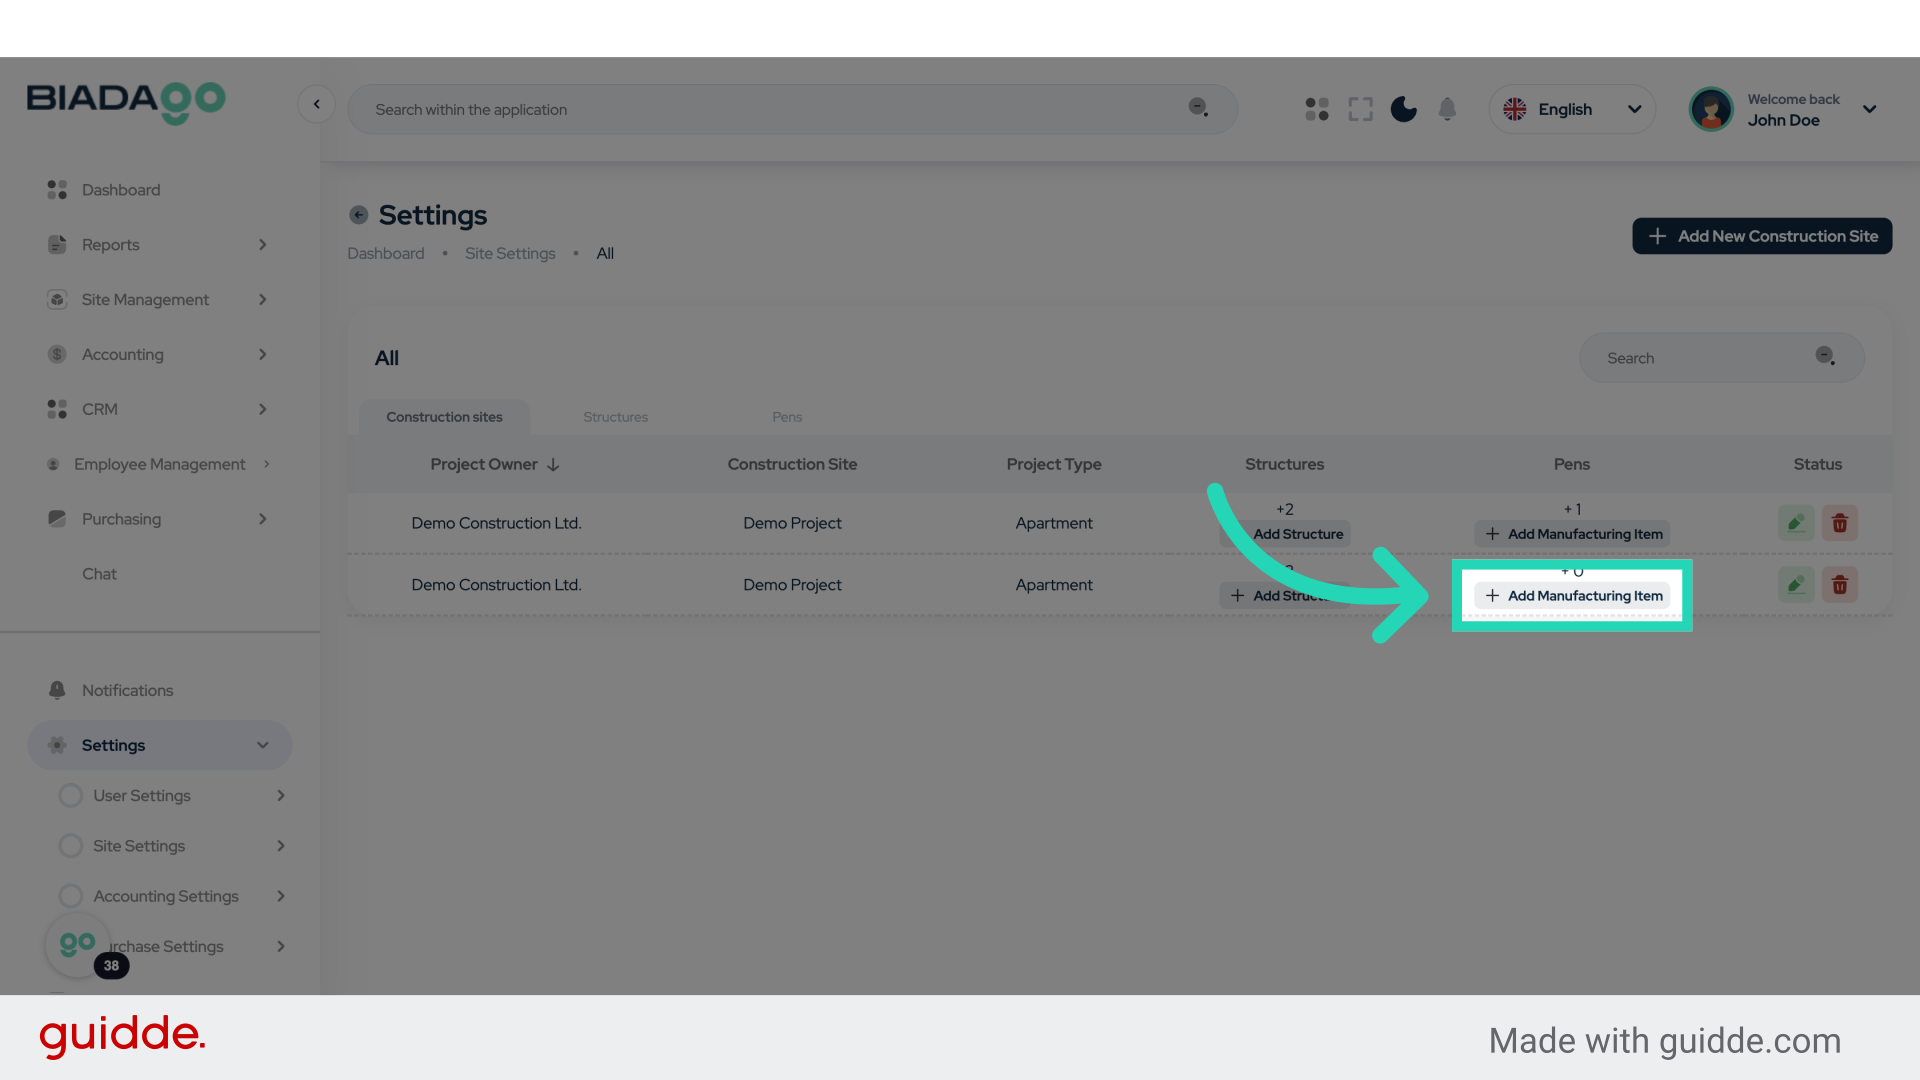
40. Click “Add Manufacturing Item”
Start adding a manufacturing item.
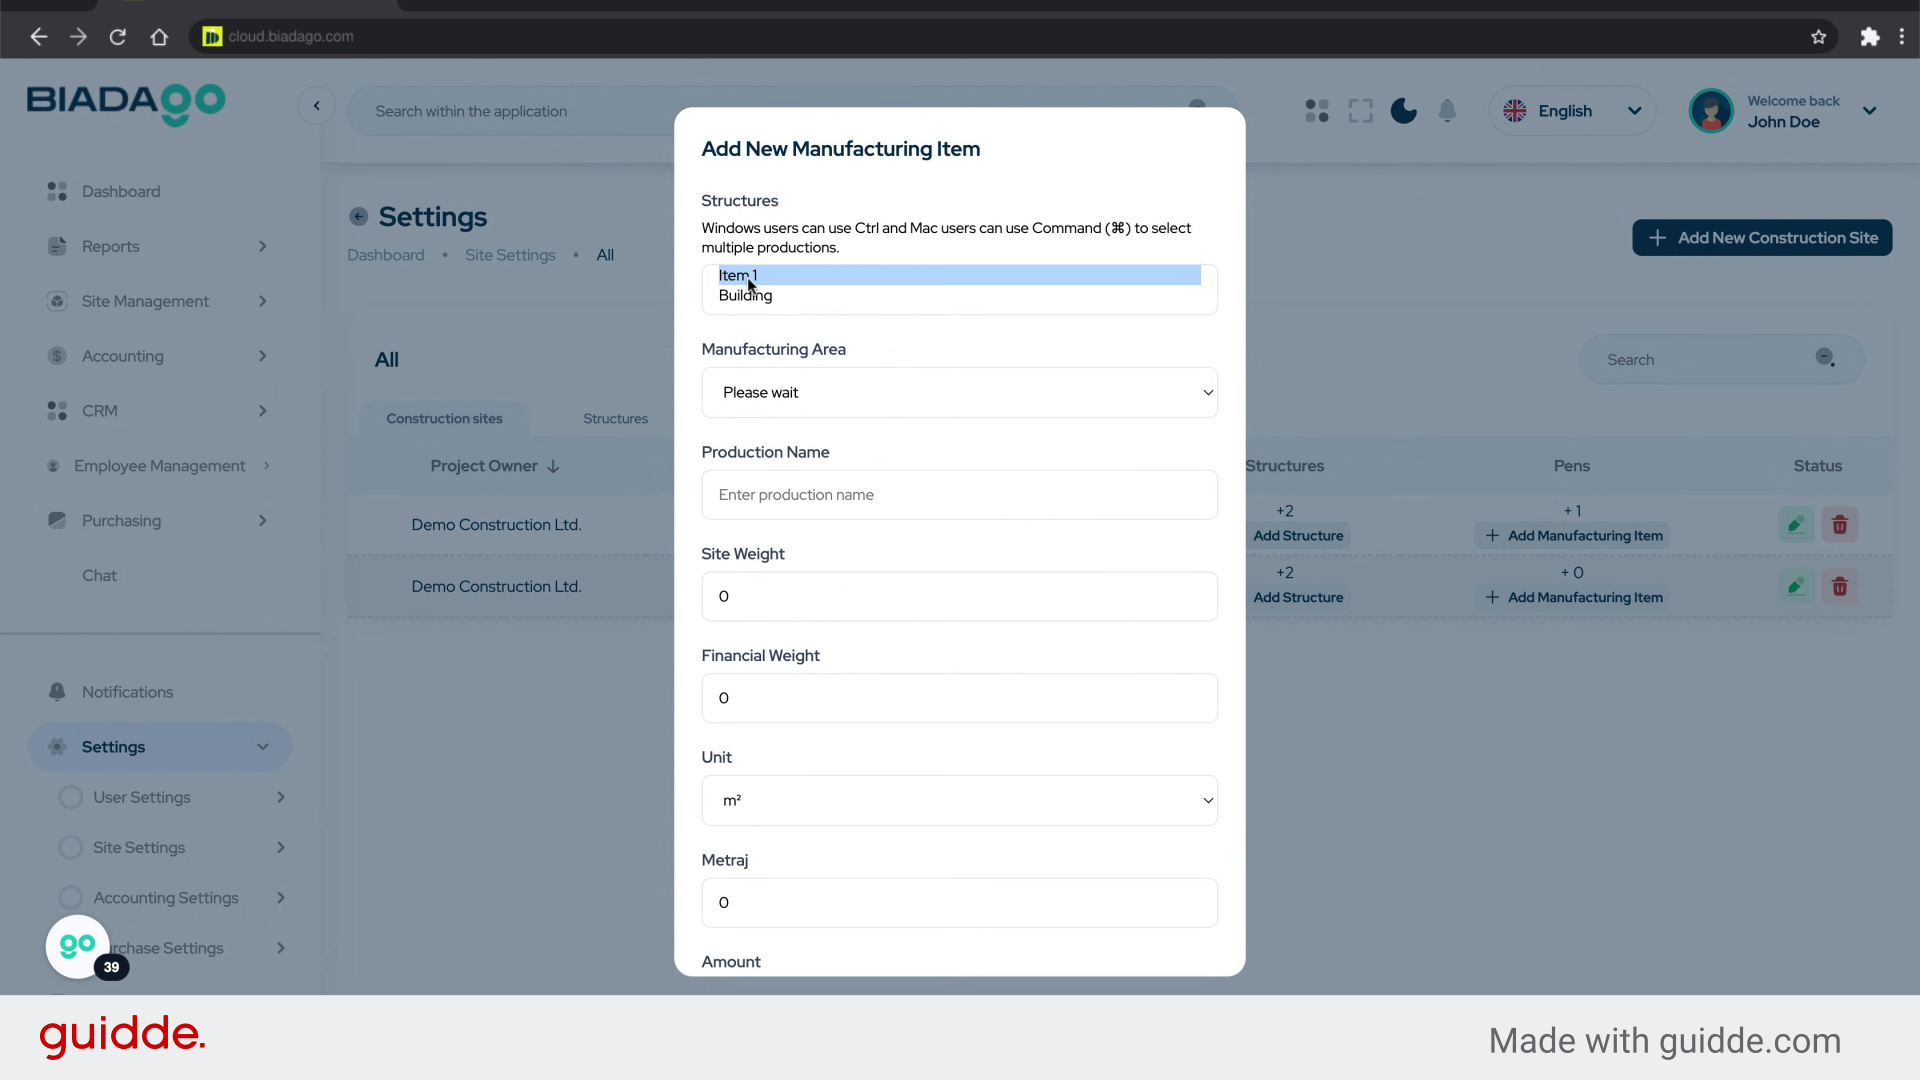
41. Click “Item 1”
Select Item 1.
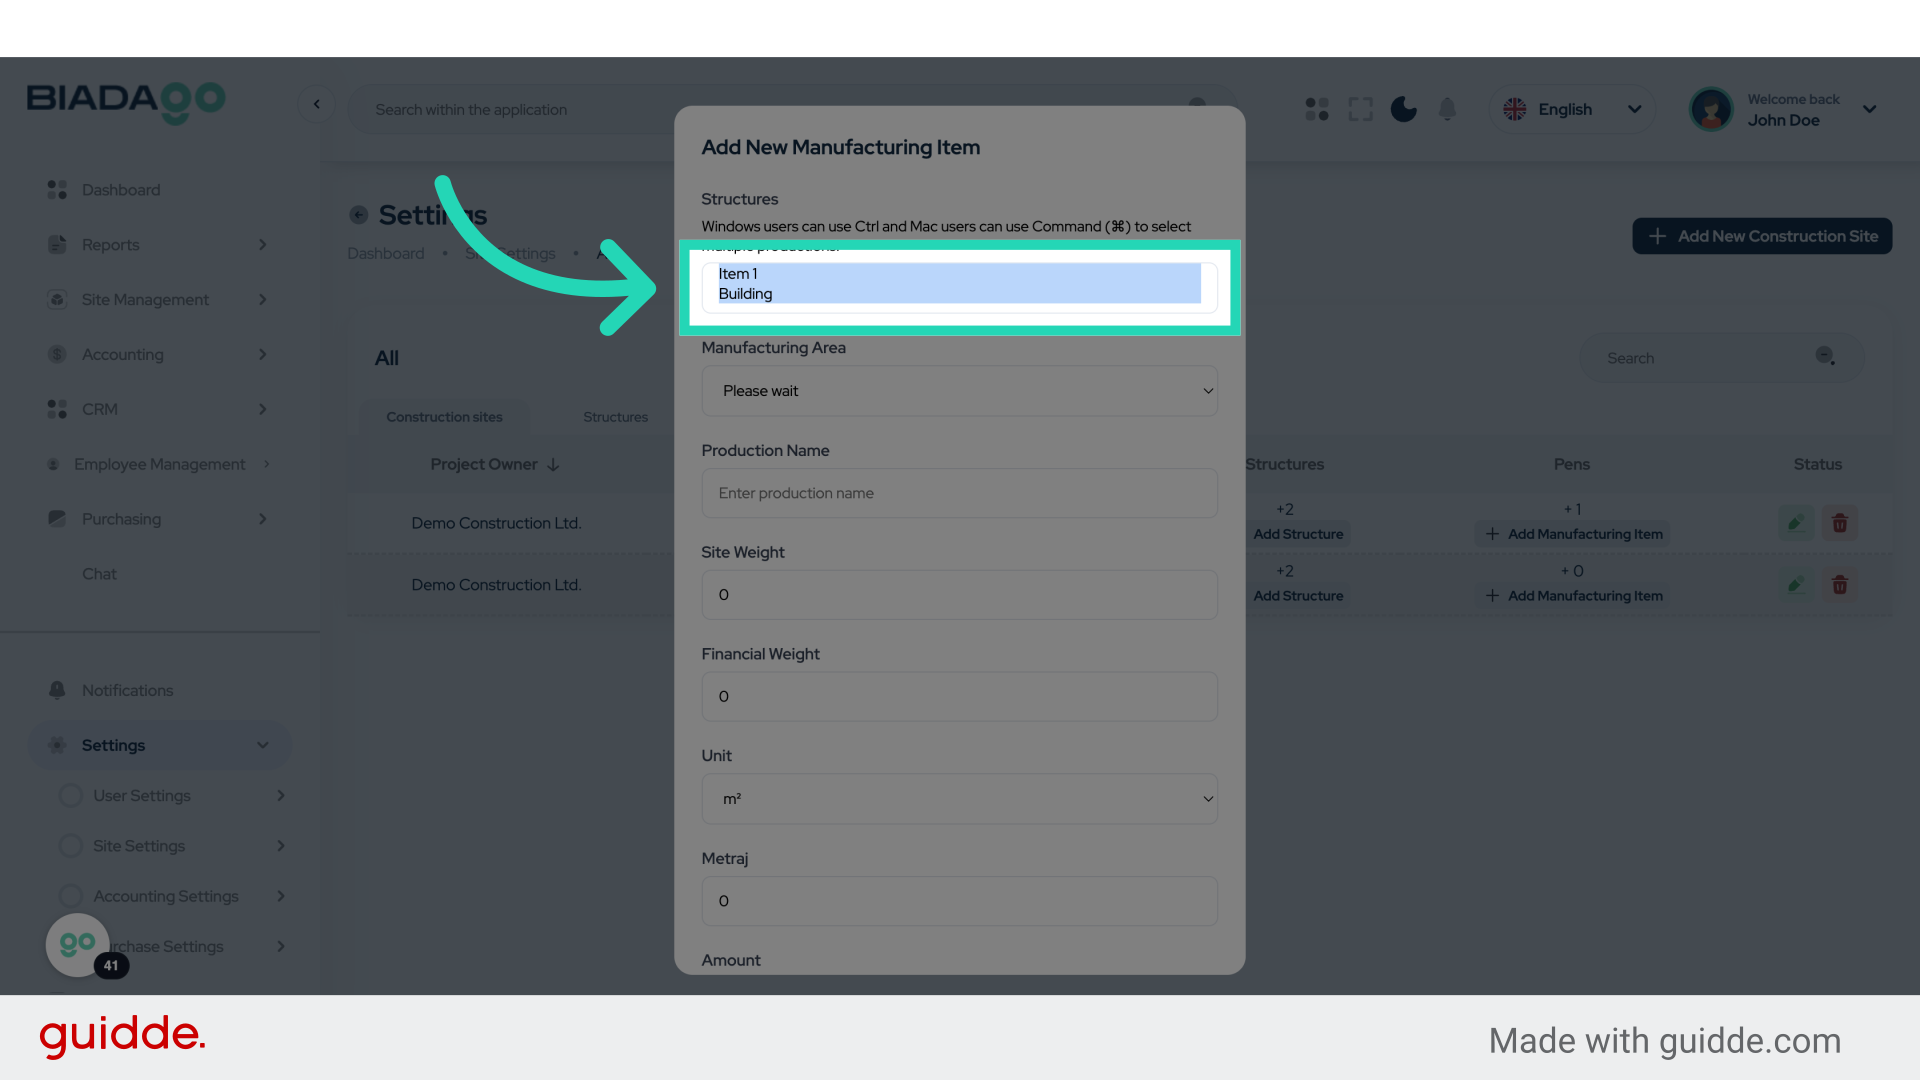
42. Fill “Item 1Building”
Enter “Item 1Building” in the provided field
43. Fill “Item 1Building”
Enter details for Item 1 under Building.
44. Click “Please wait
Floor Basis
Building-wide
On Facade Basis”
Select the specified options.
45. Fill “Please wait
Floor Basis
Building-wide
On Facade Basis”
Enter the desired text.

46. Click “Project Name”
Input the project name.
47. Fill “Item”
Type “Item” in the given field
48. Click “Project Name”
Input the project name again.
49. Fill “0.4”
Input “0.4” in the available field

50. Click “Project Name”
Input the project name once more.
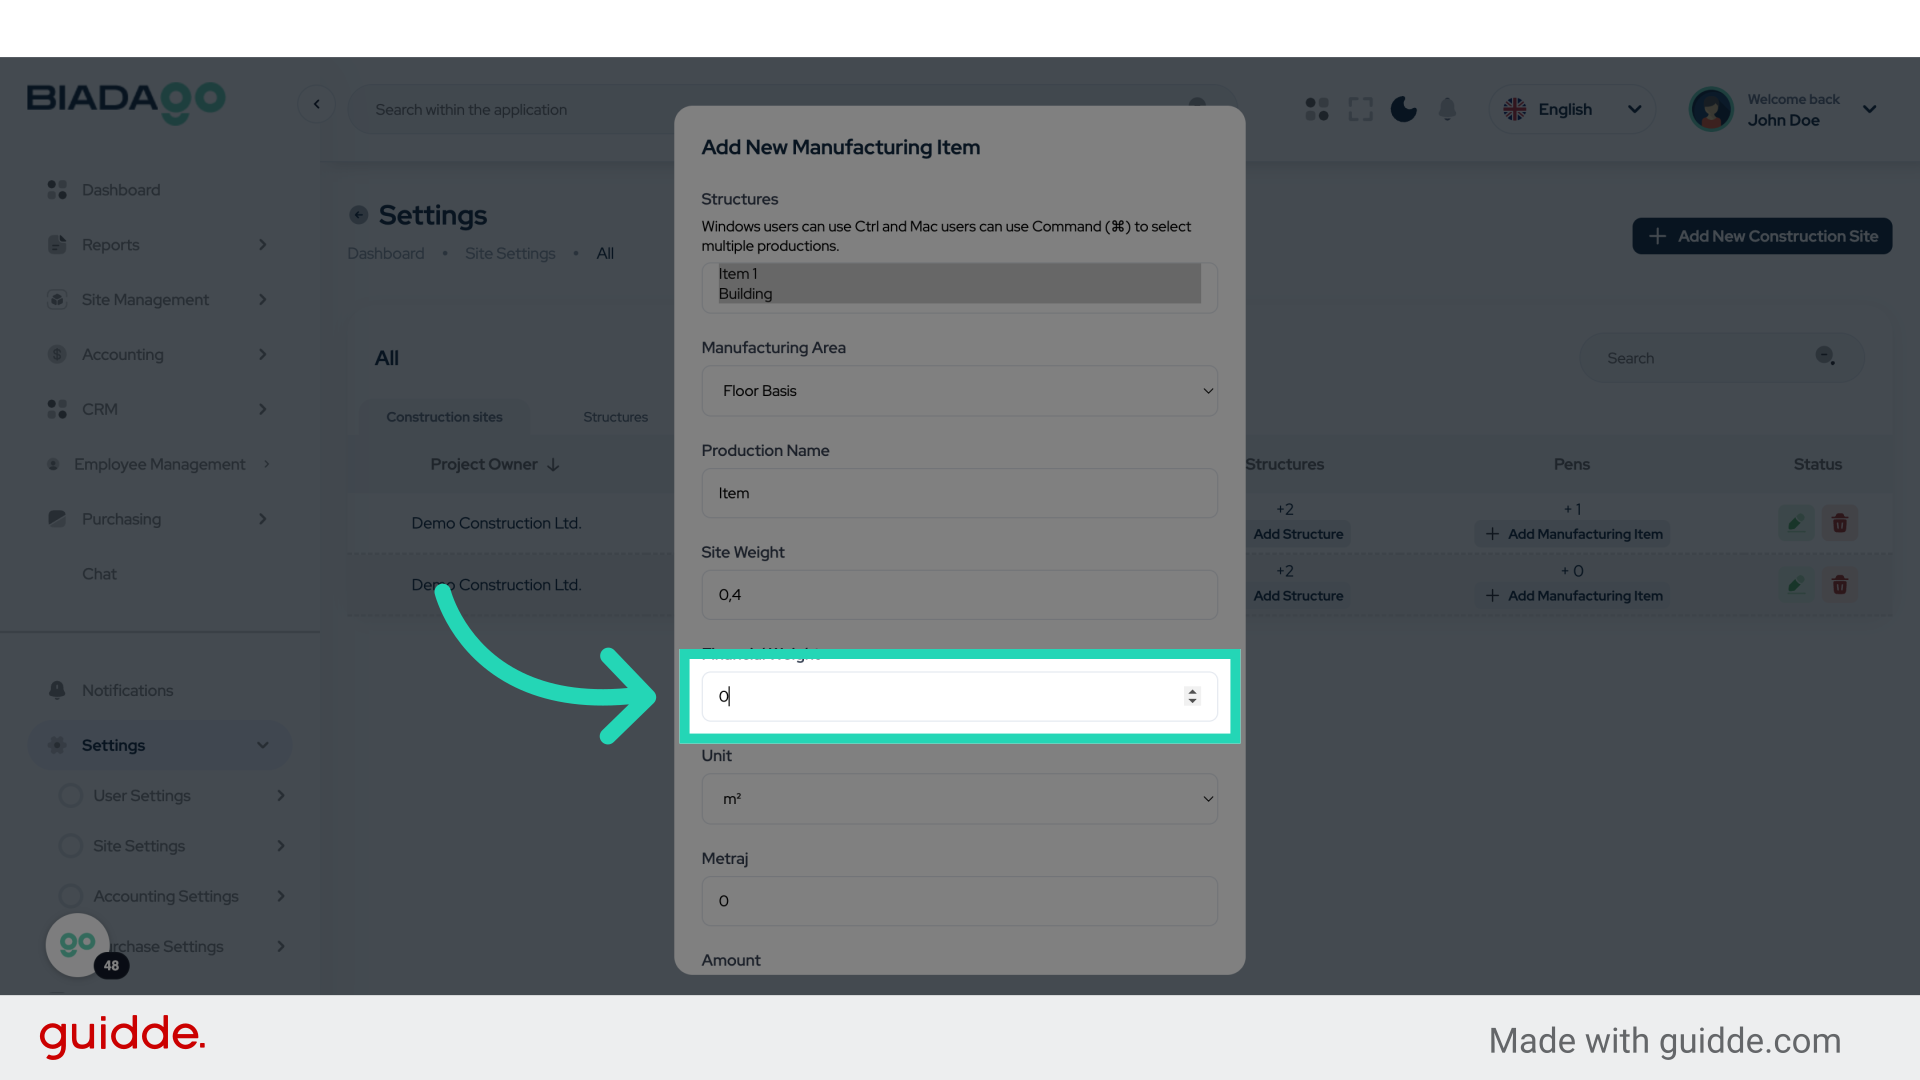
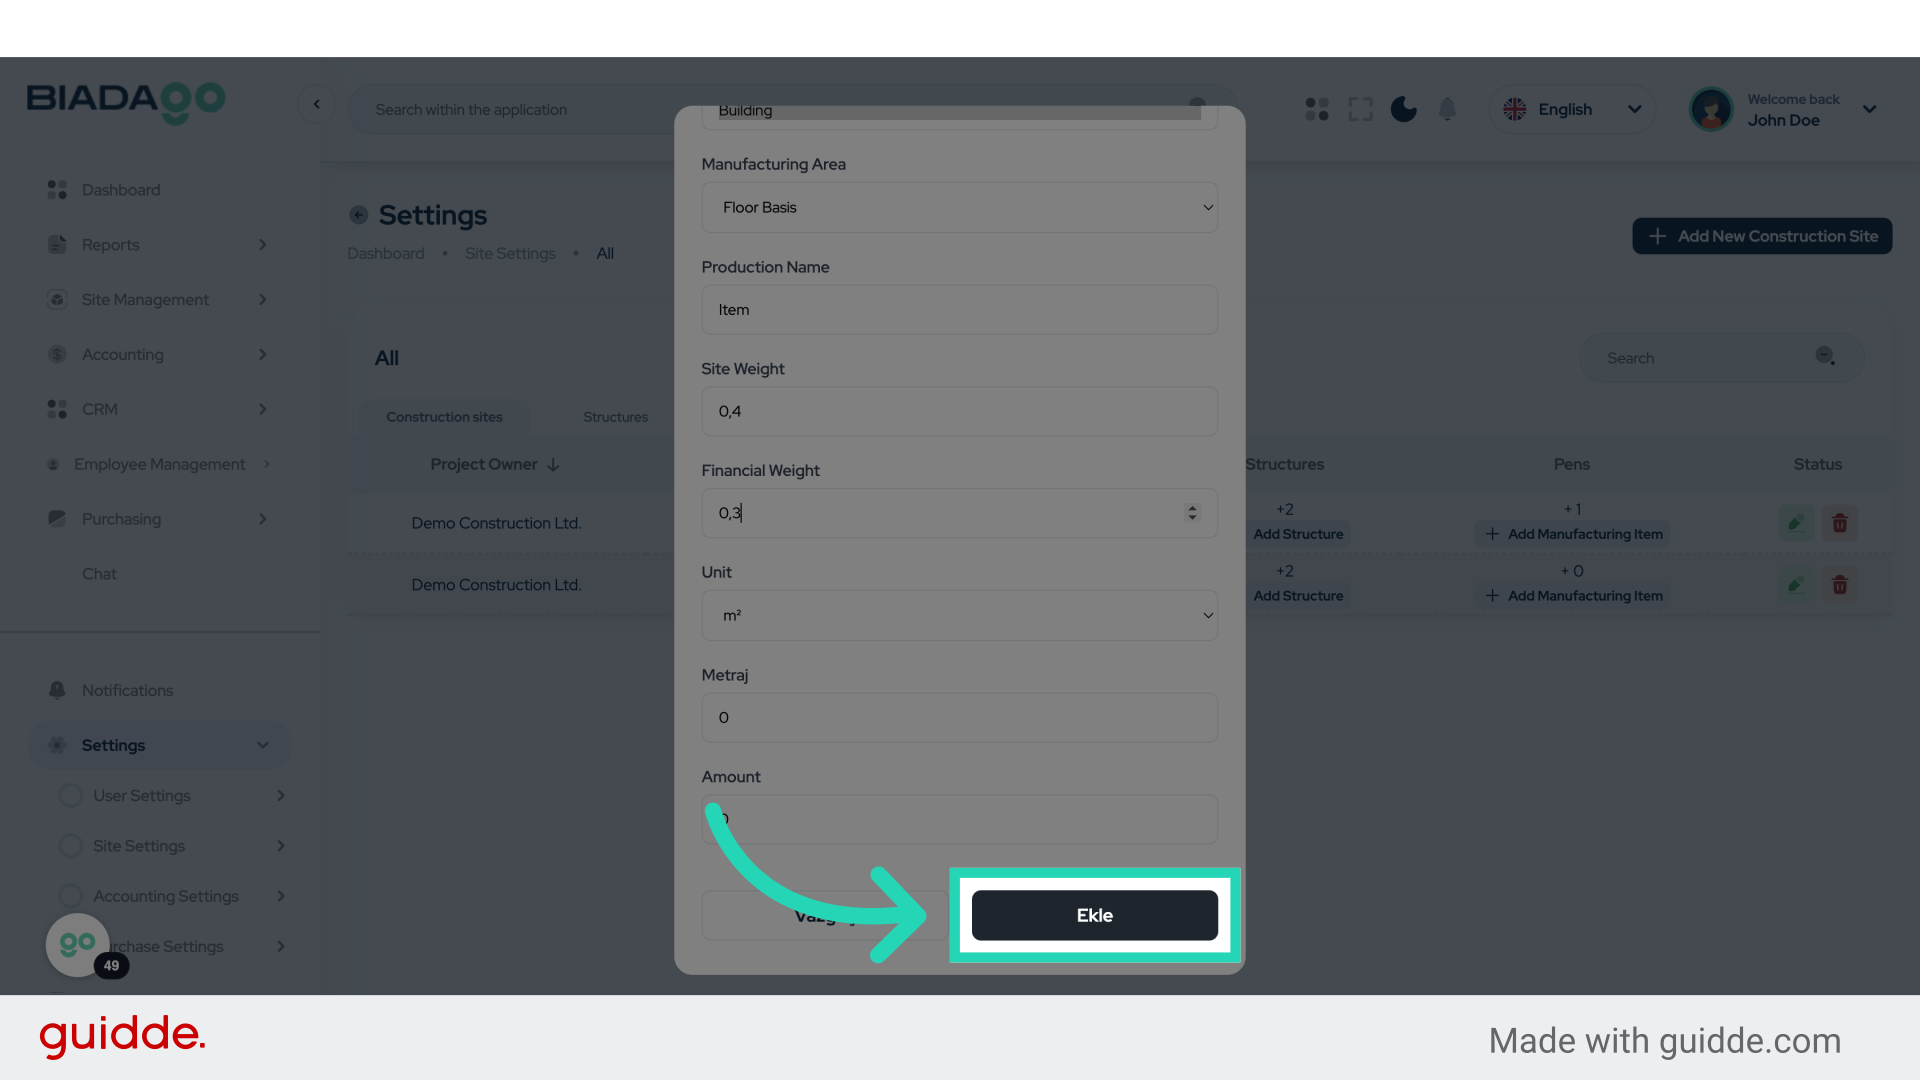
51. Fill “0.3”
Write “0.3” in the specified field

52. Click “Ekle”
Click on the “Ekle” button.
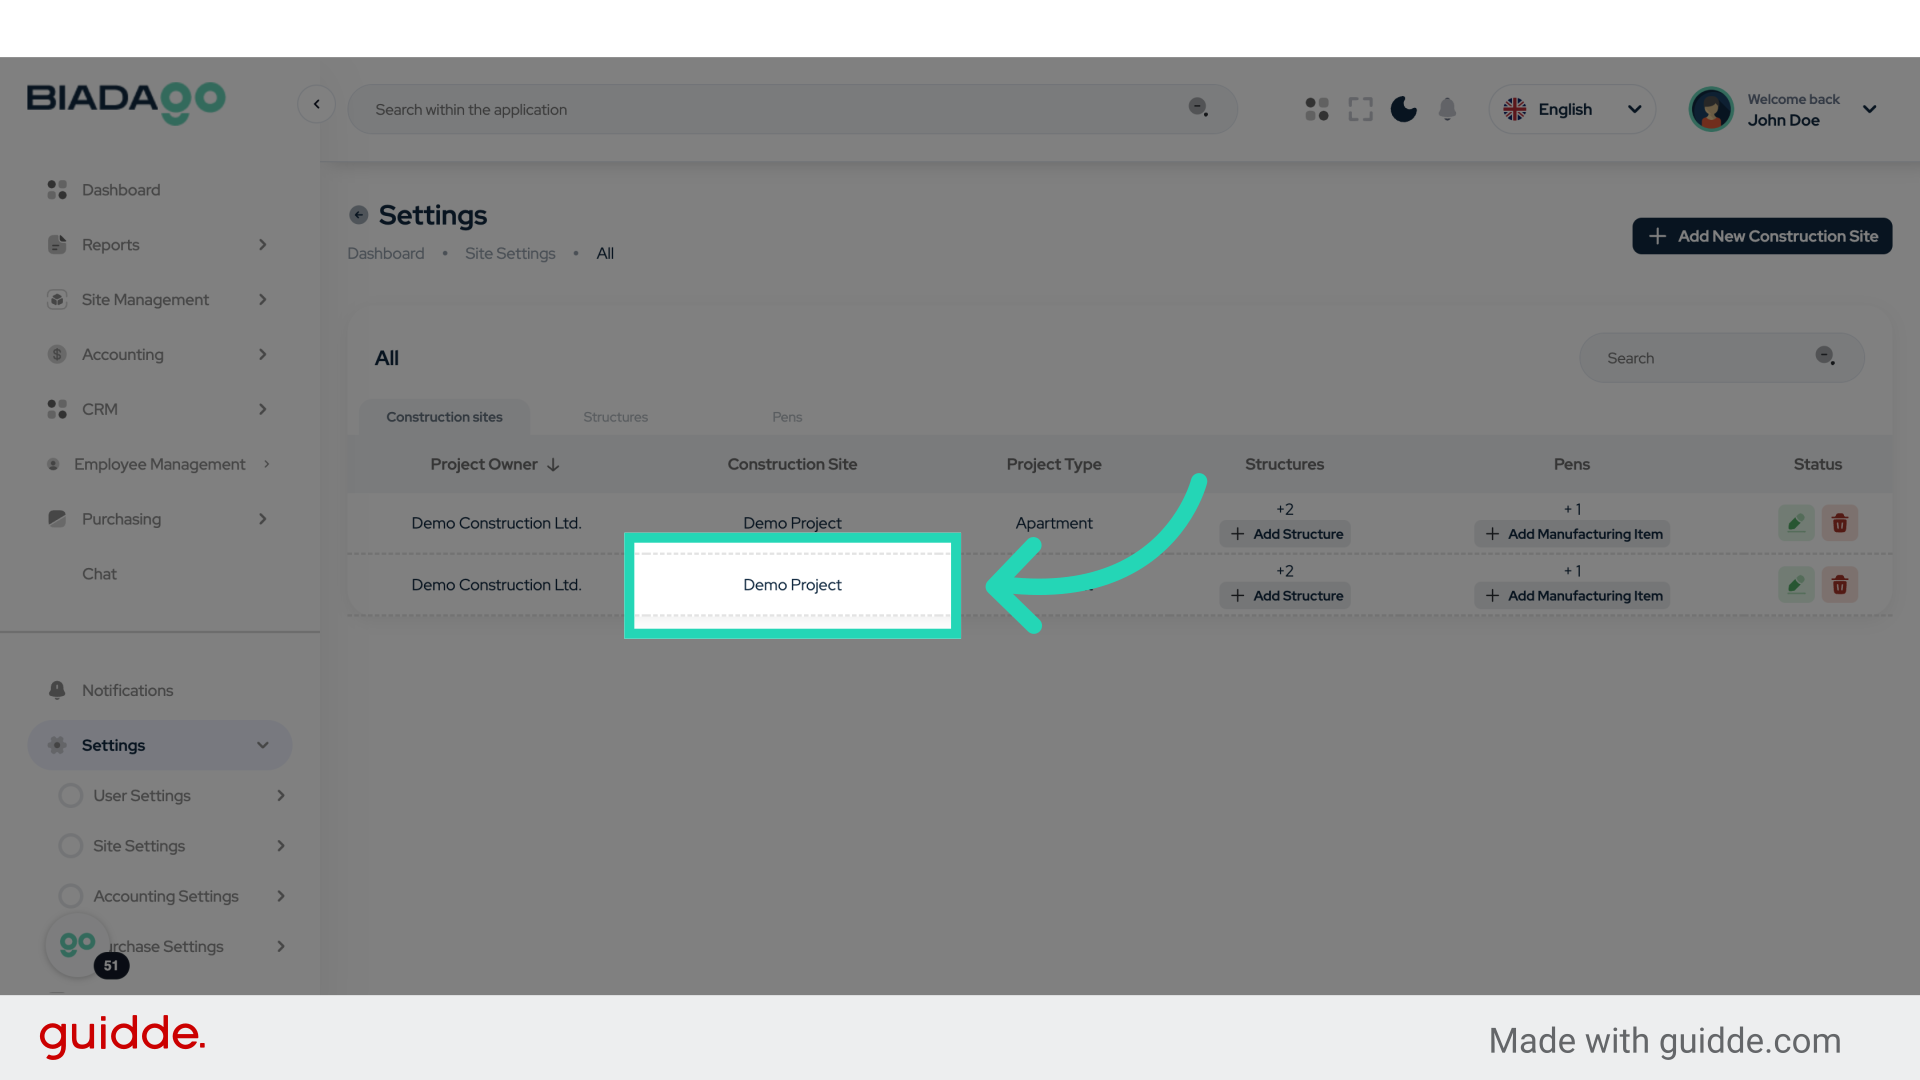
53. Click “Demo Project”
Select the Demo Project.
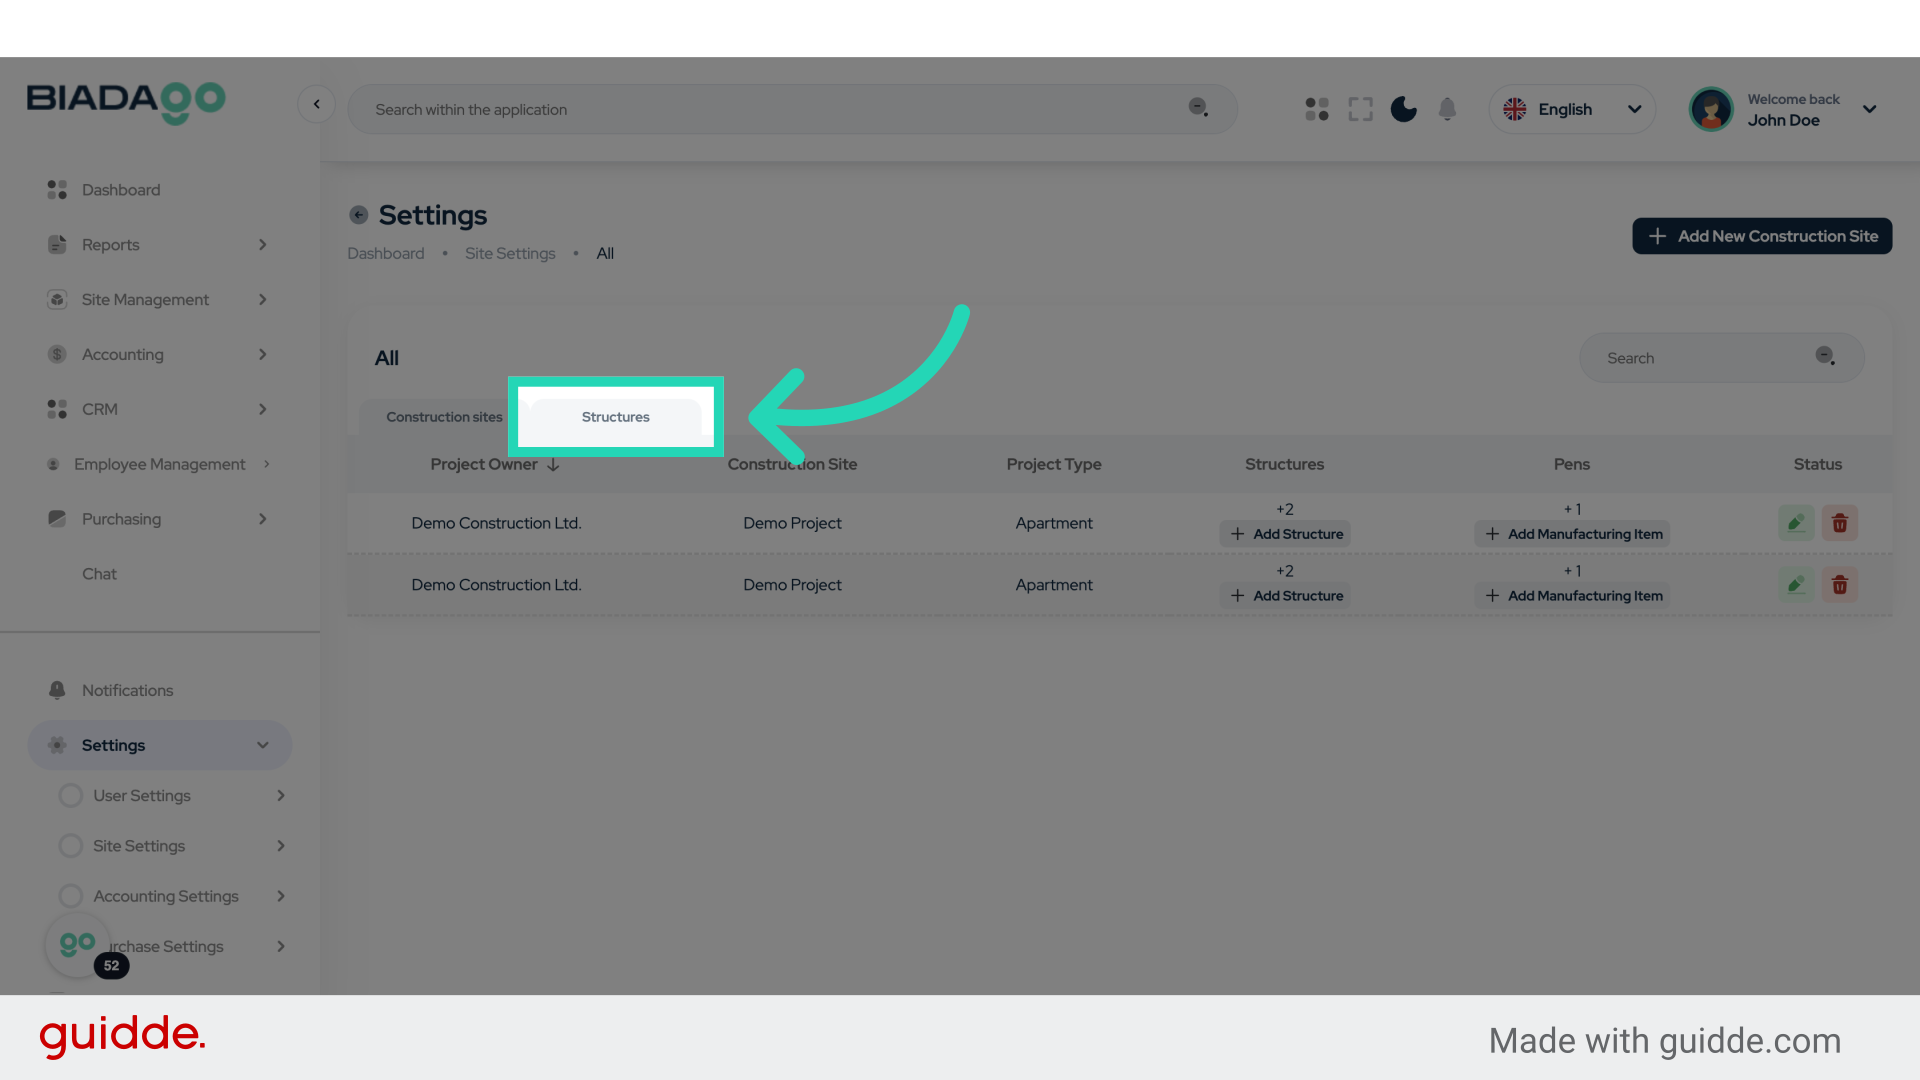
54. Click “Structures”
Access the Structures section.
55. Click “Pens”
Choose the “Pens” option

The guide covered adding site types, structures, and activities in BiadaGO. From accessing site settings to adding manufacturing items, this guide ensures a smooth setup process for your project.