Company Profile Setup in BiadaGO
Company Profile Setup in BiadaGO
This guide will walk you through the process of setting up the Company Profile in BiadaGO
Go to cloud.biadago.com
1. Introduction
From accessing the Accounting section to saving the changes, follow these instructions to configure your Company Profile efficiently.
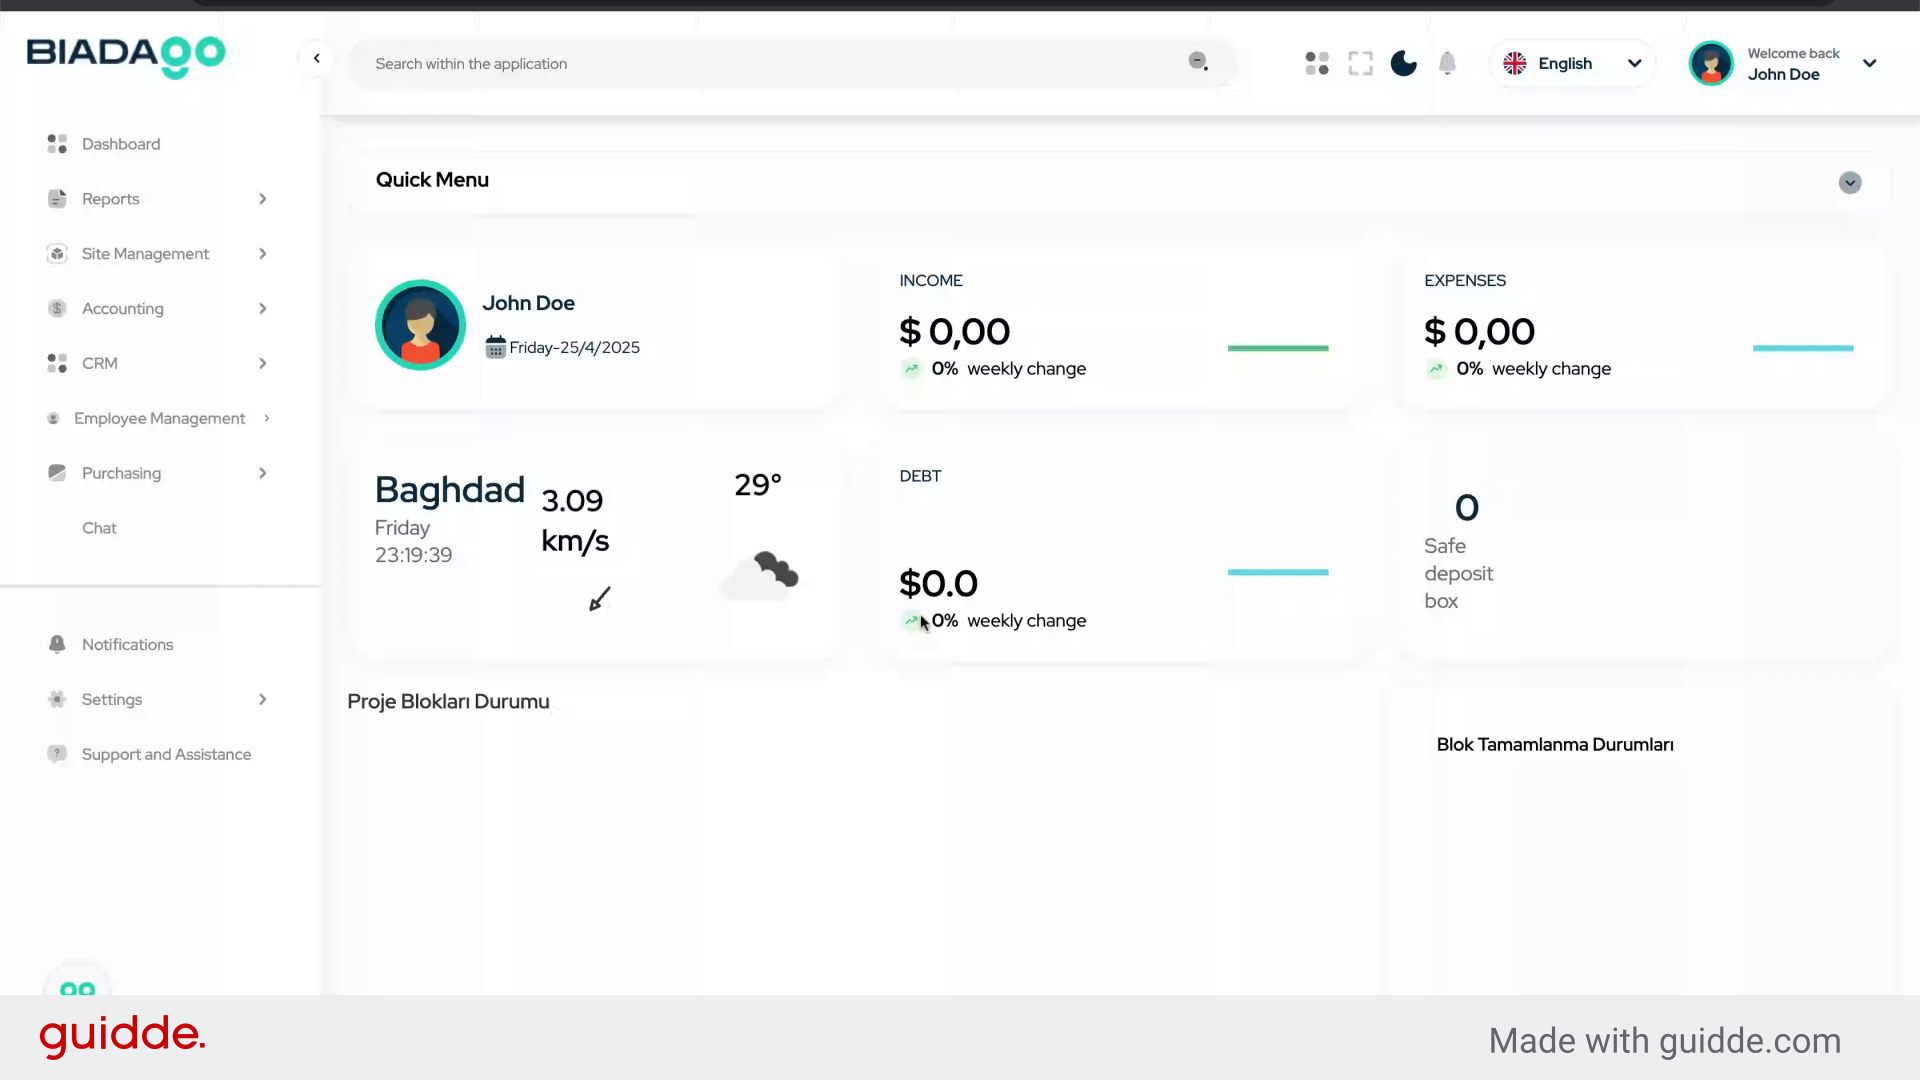
2. Click “Accounting”
Access the Accounting section.
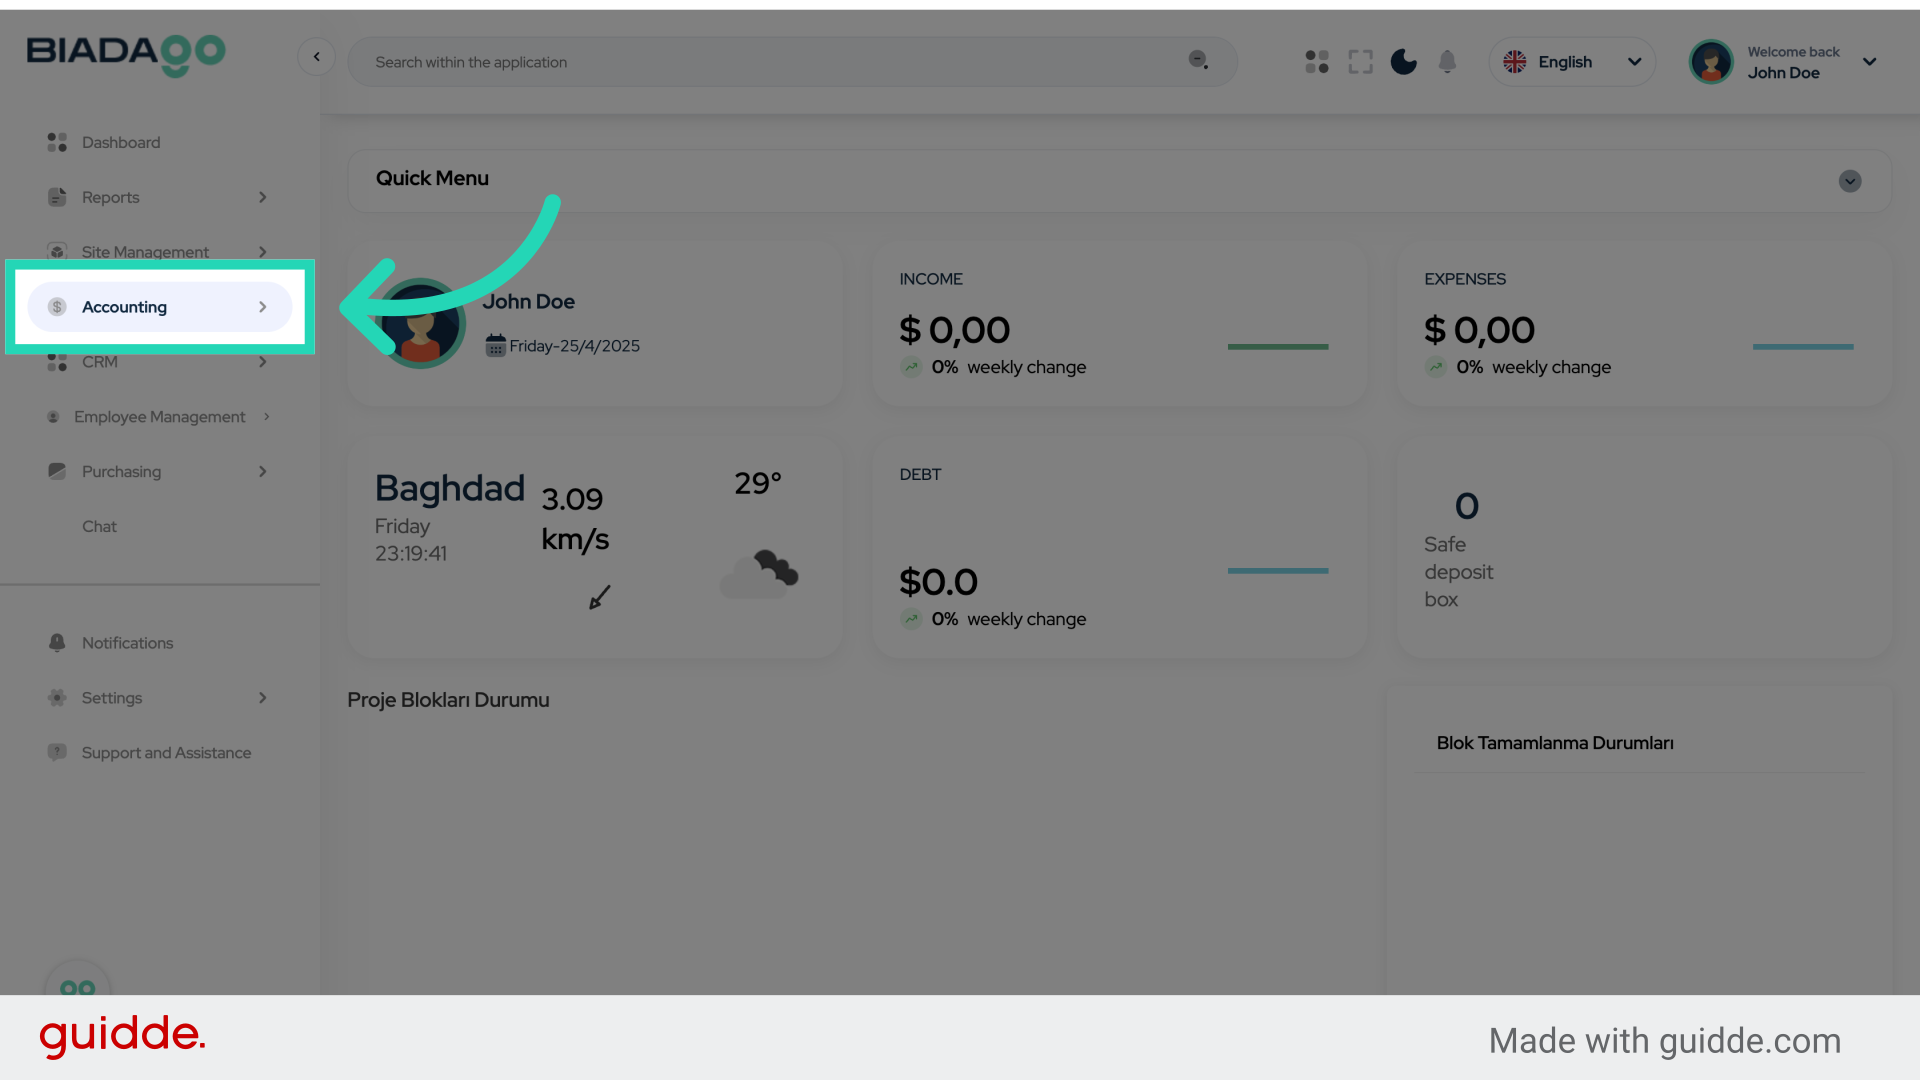
3. Click “Settings”
Navigate to the Settings menu.
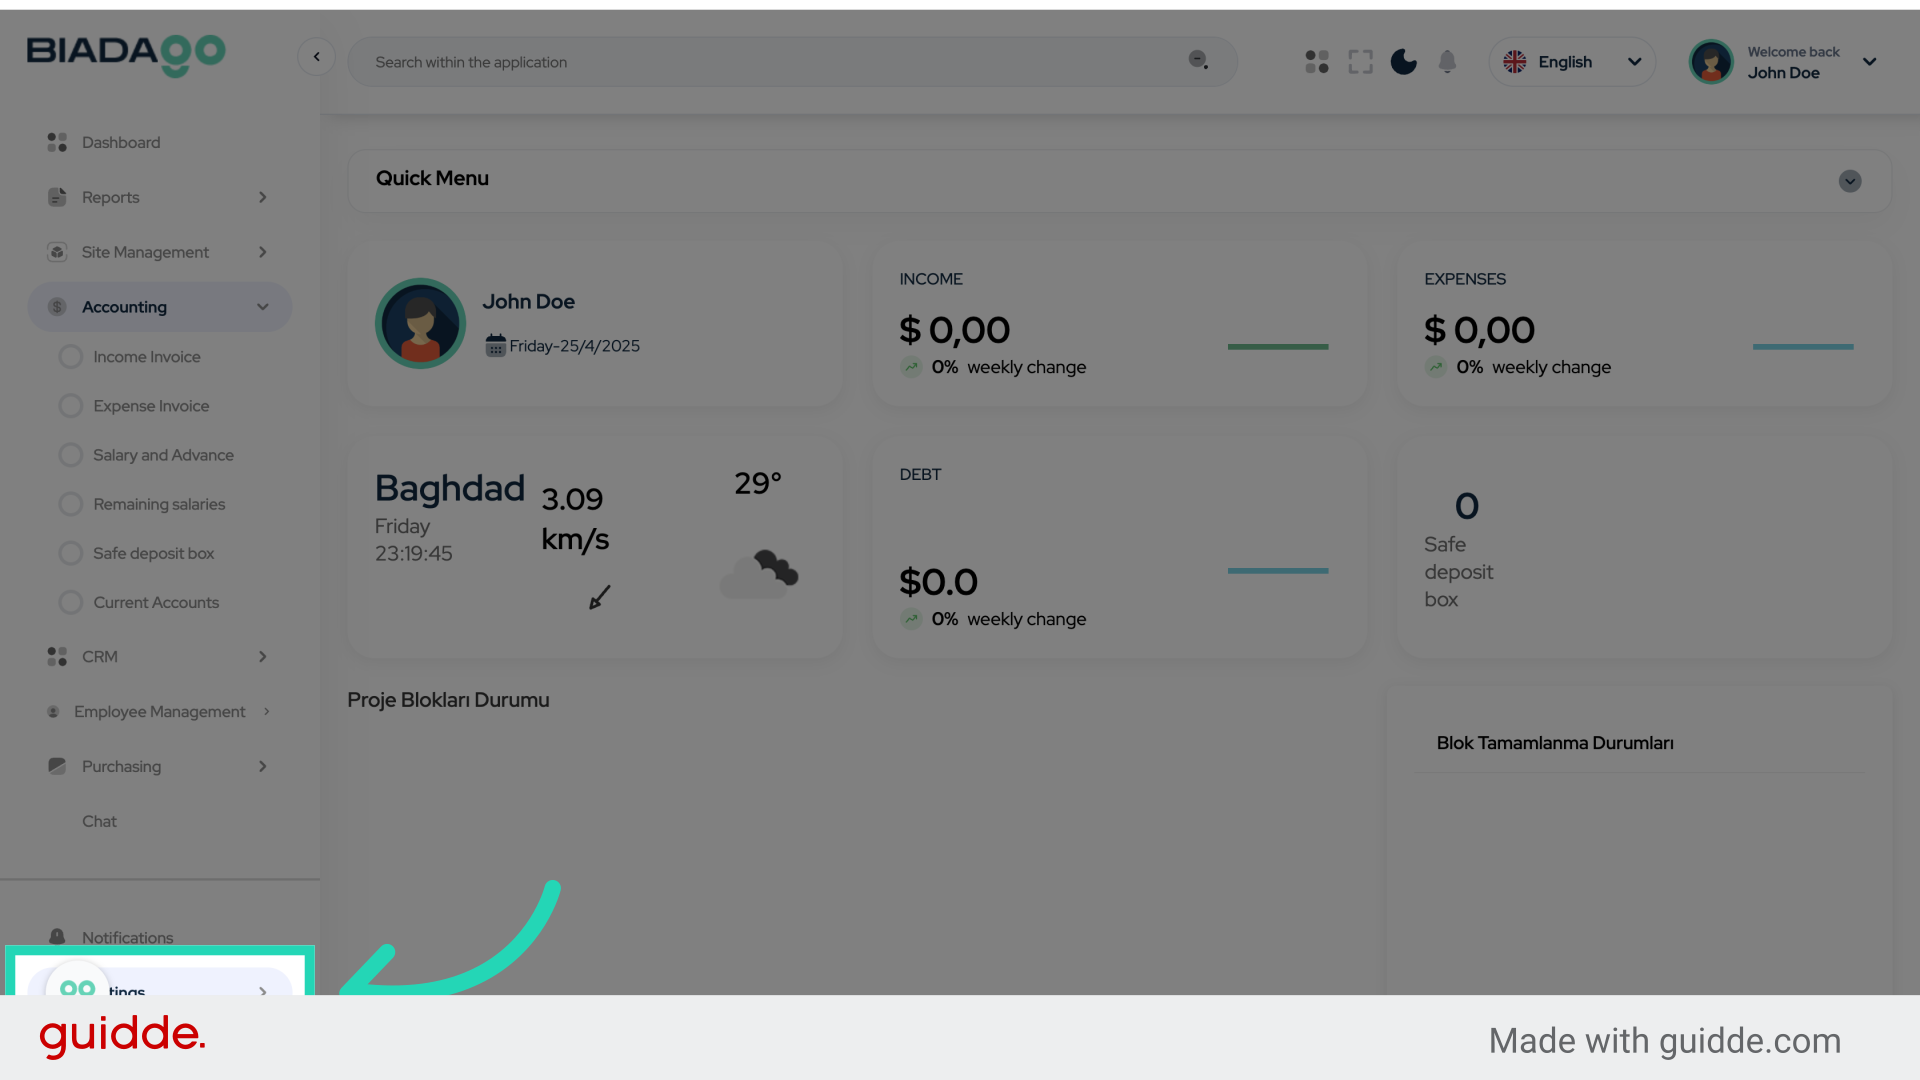
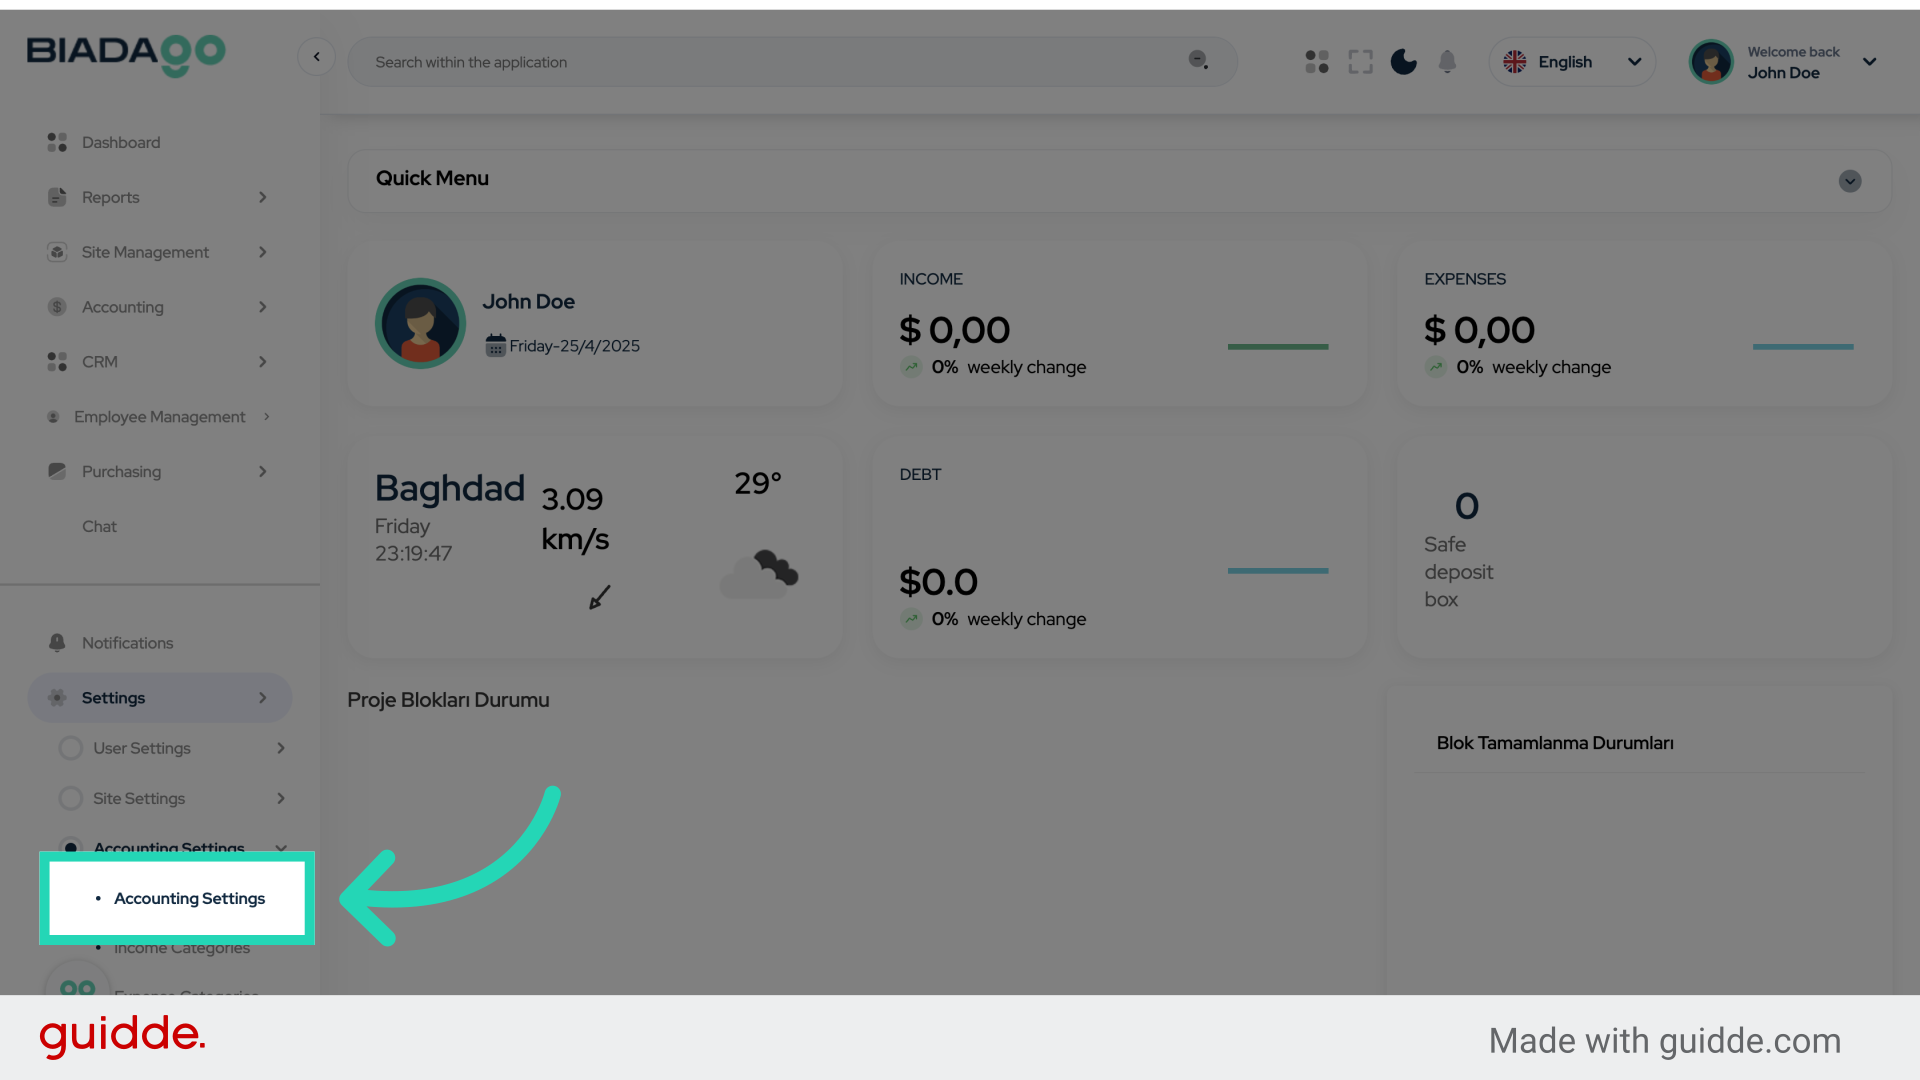
4. Click “Accounting Settings”
Access the Accounting Settings within the Settings menu.
5. Click “Accounting Settings”
Access the Accounting Settings within the Settings menu.
6. Click “Upload”
Select the Upload option.

7. Fill “C:\fakepath\logo.png”
Fill in “C:\fakepath\logo.png”

8. Click here
Click on the specified location.
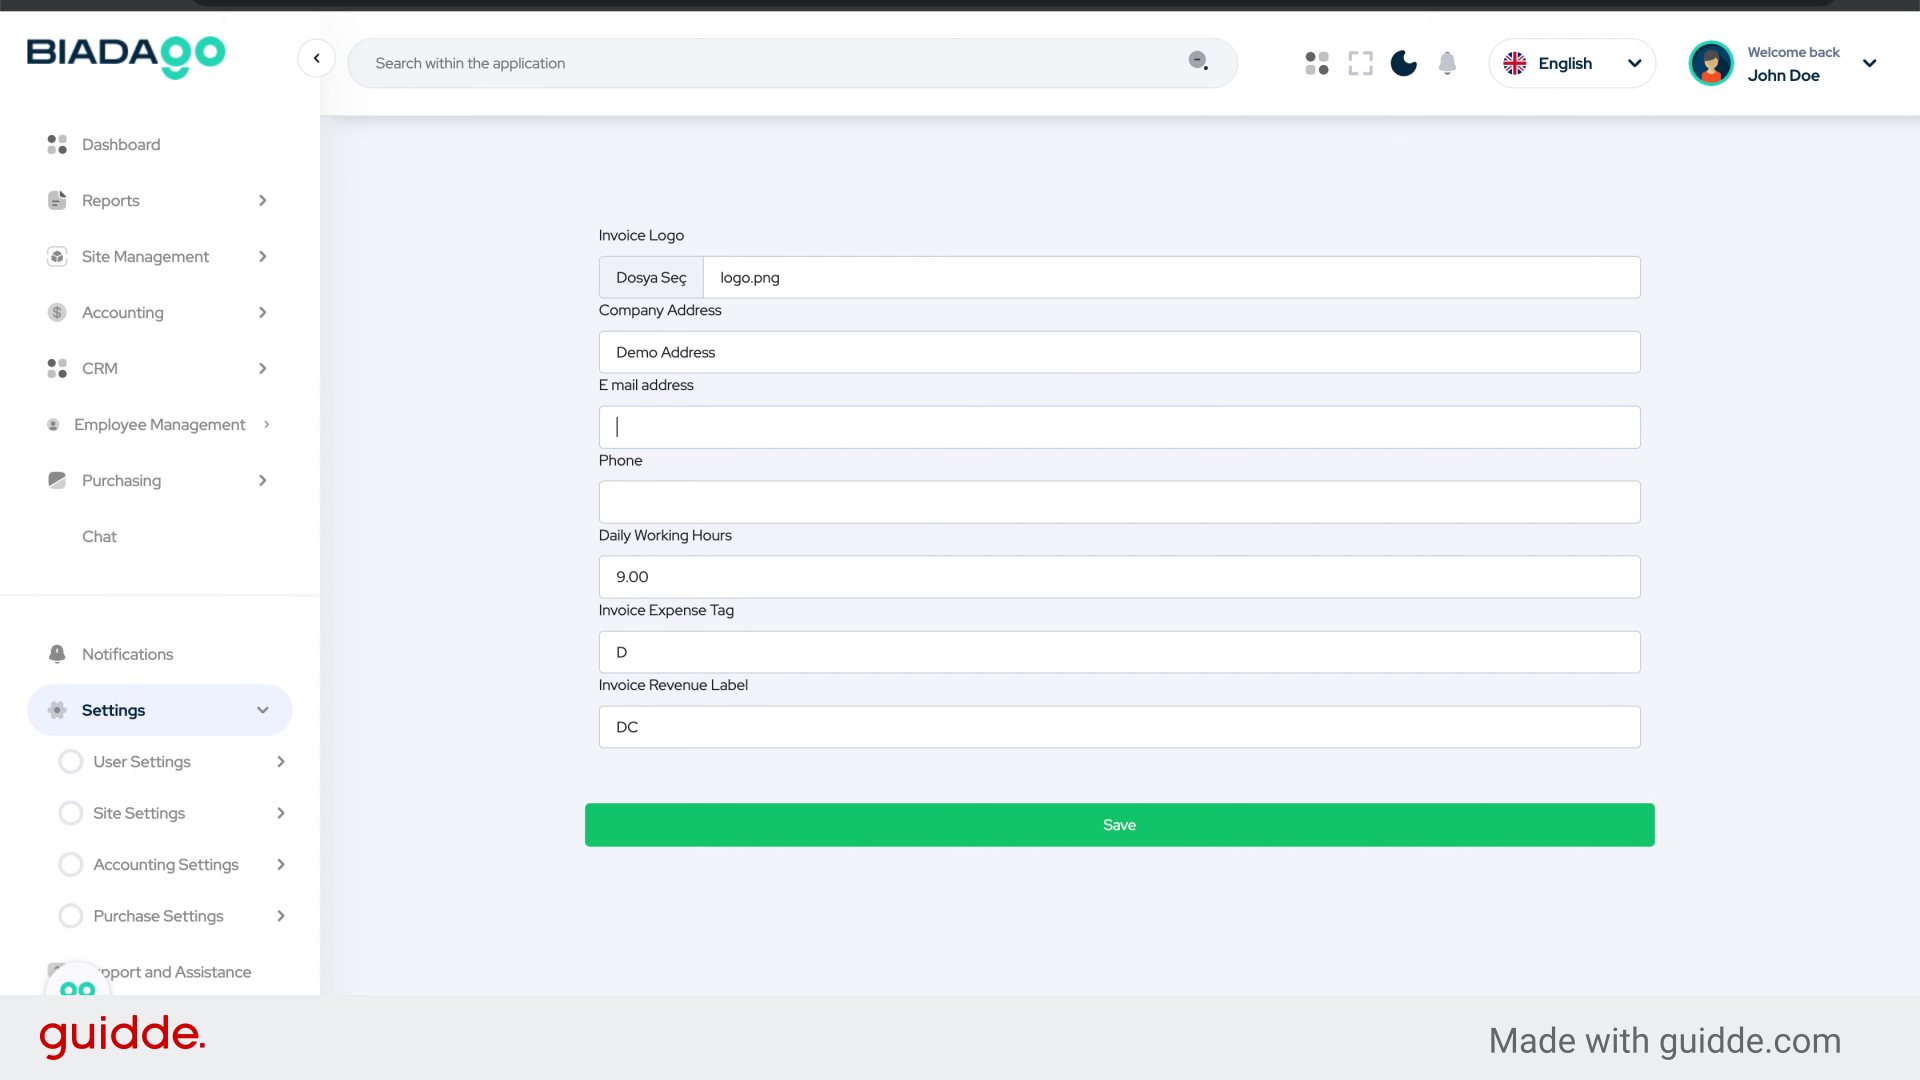
9. Fill “Demo Address”
Enter “Address” in the provided field

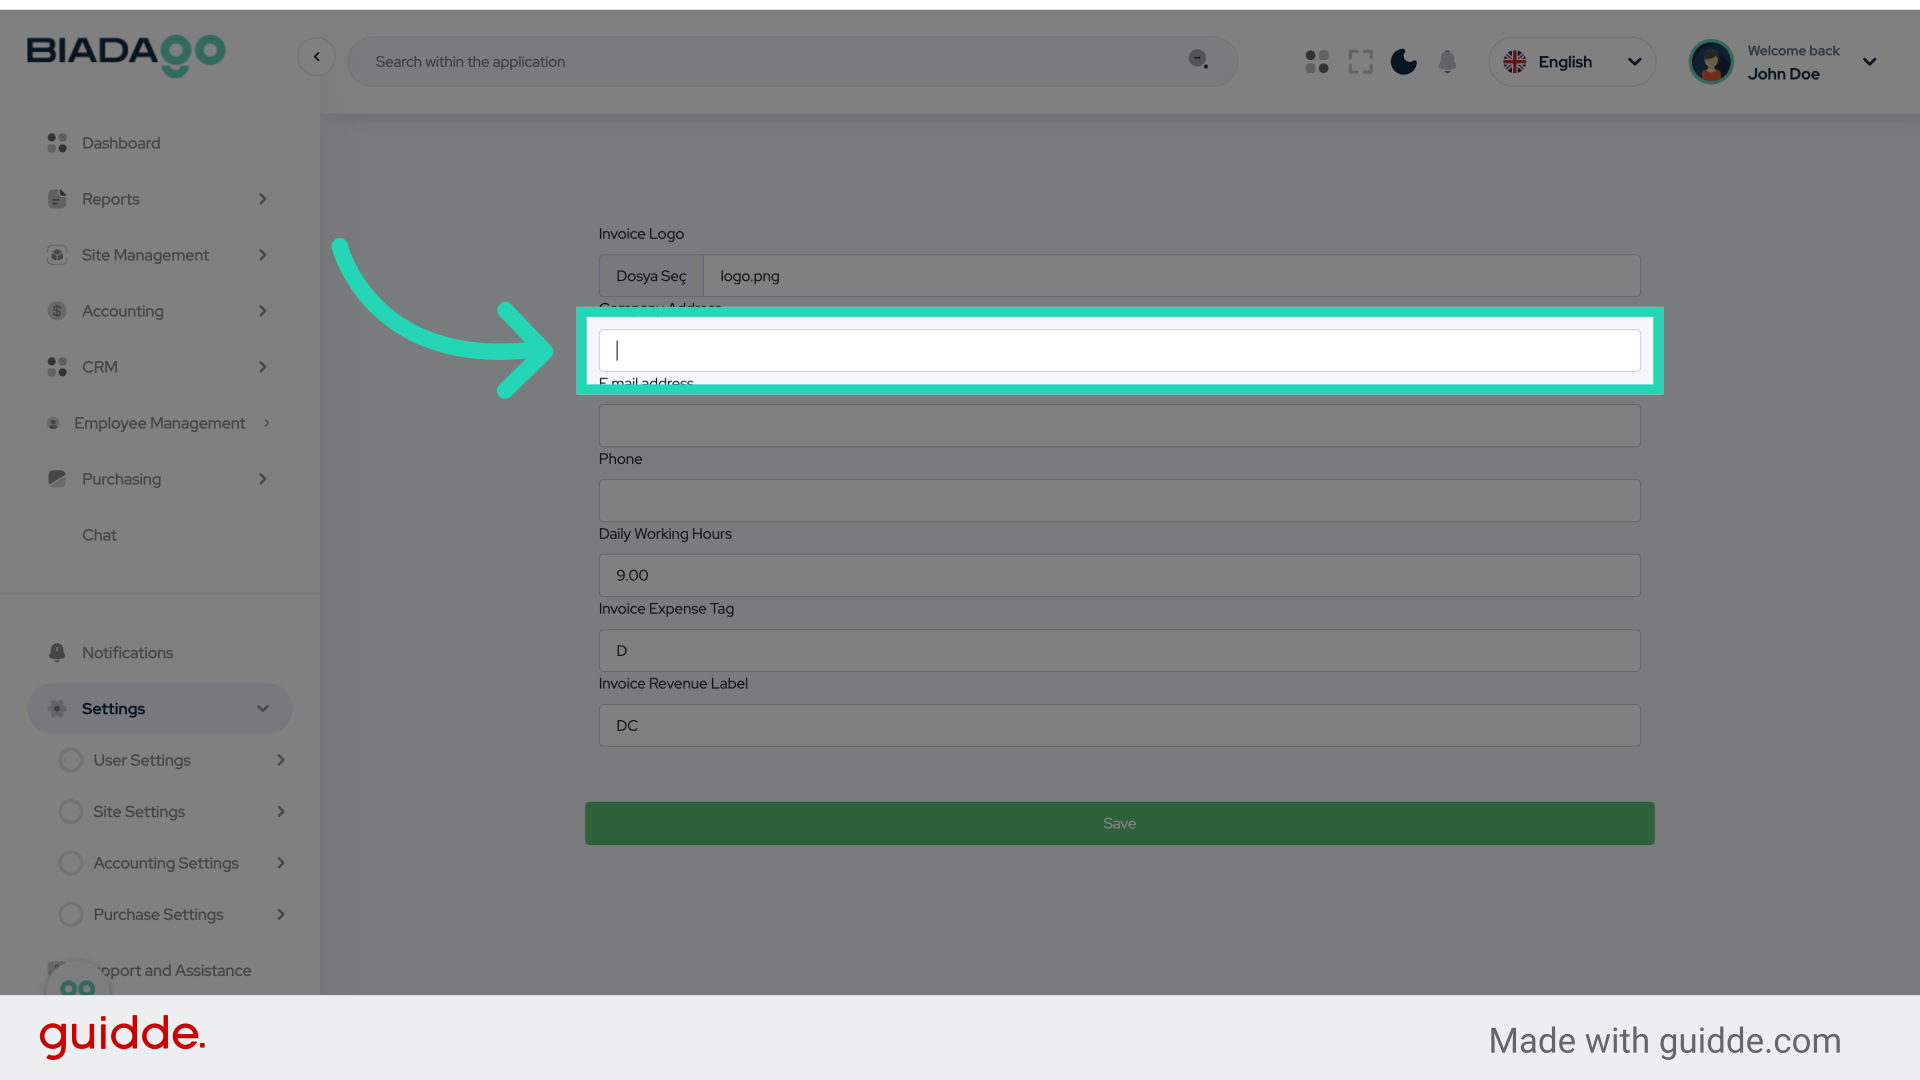
10. Go here
Navigate to the indicated section.
11. Fill “demo@democompany.com”
Fill in the text box with “email”
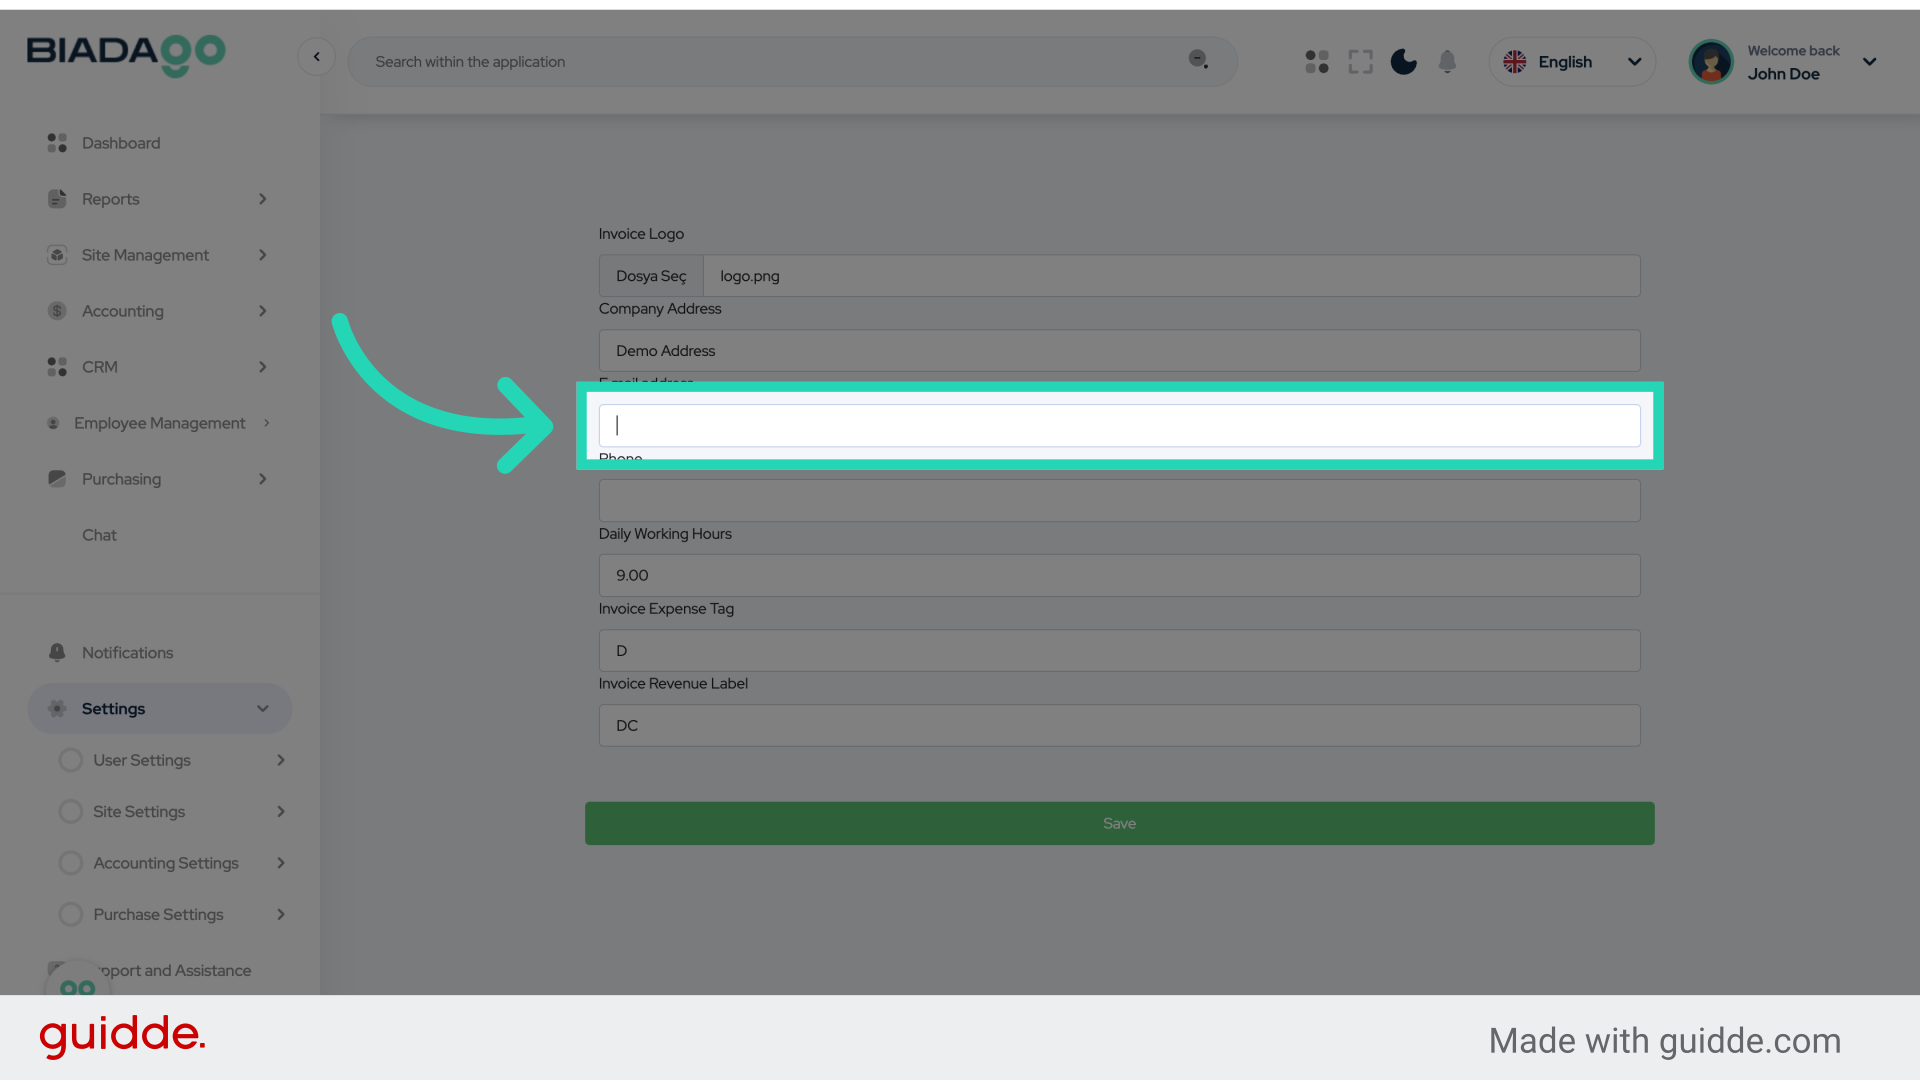
12. Go here
Navigate to the indicated section.
13. Fill “96400000”
Enter the company phone number.
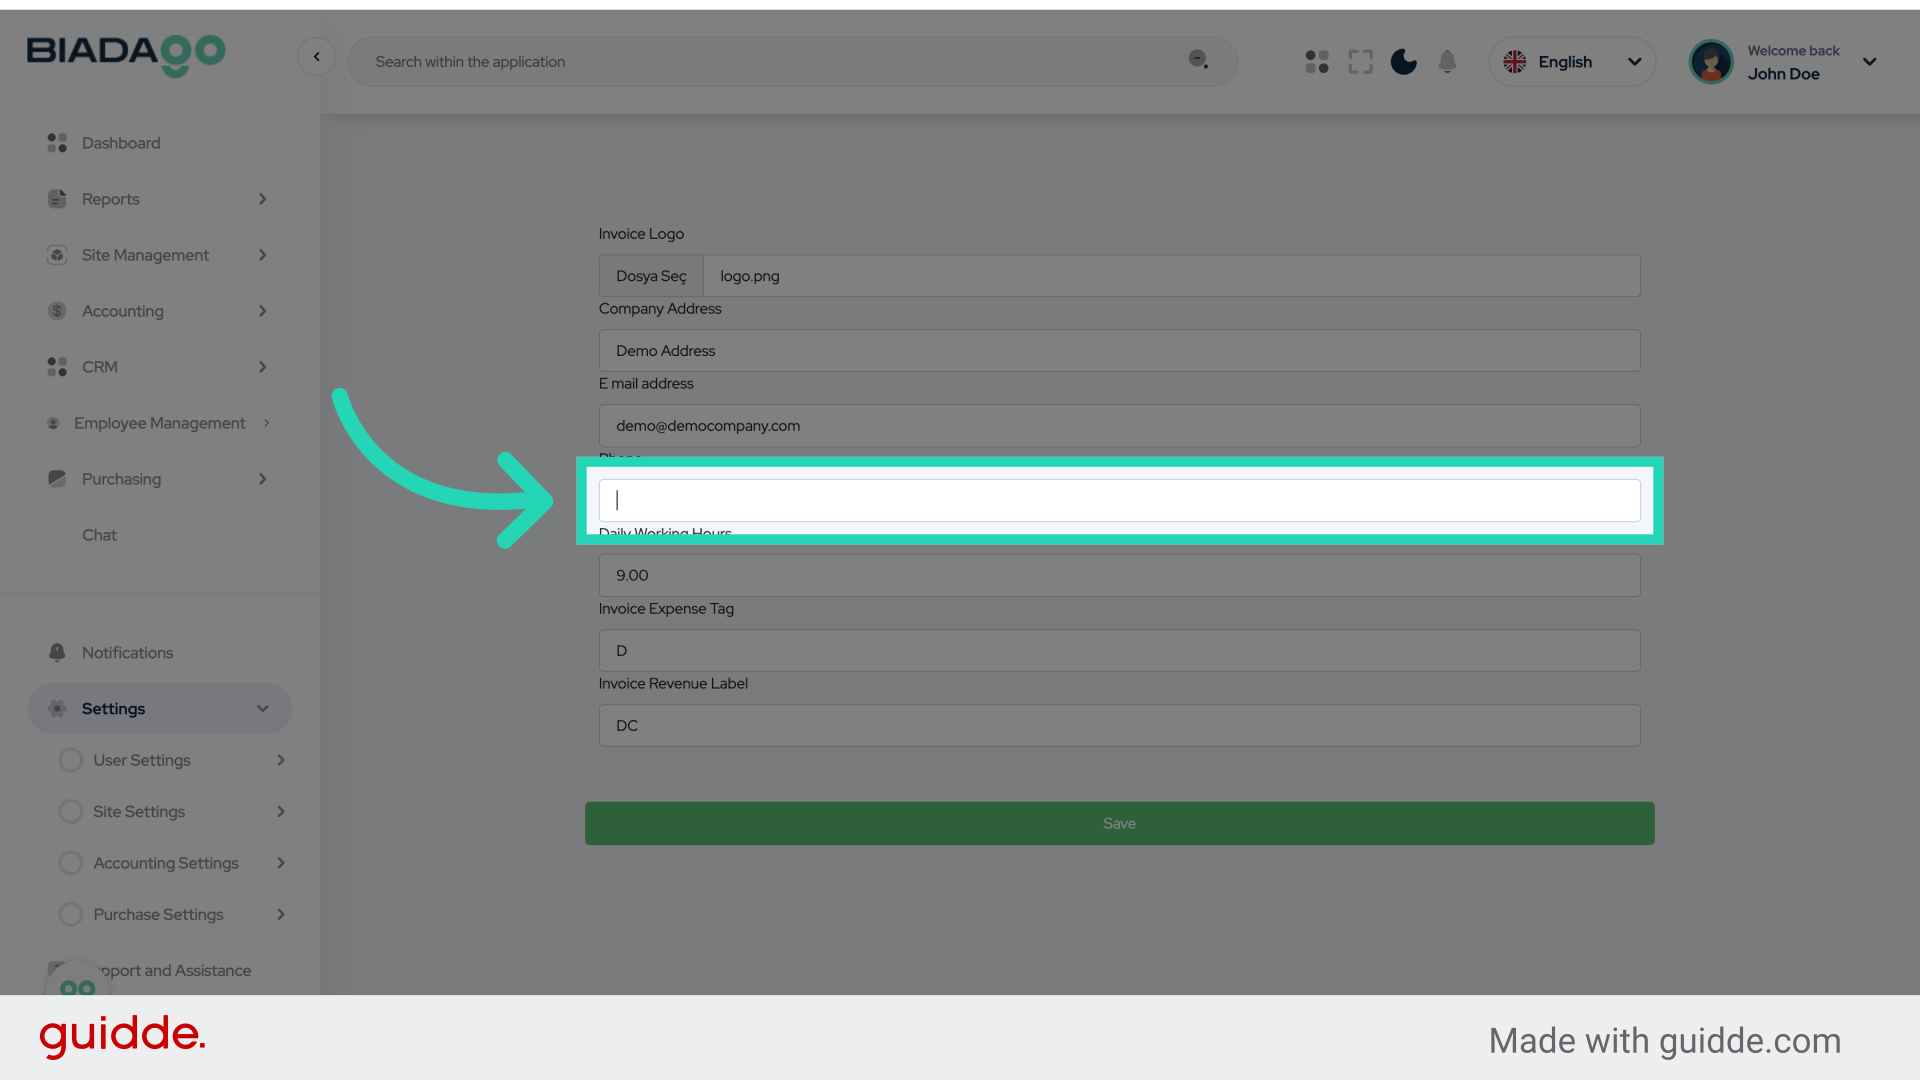
14. Go here
Navigate to the indicated section.
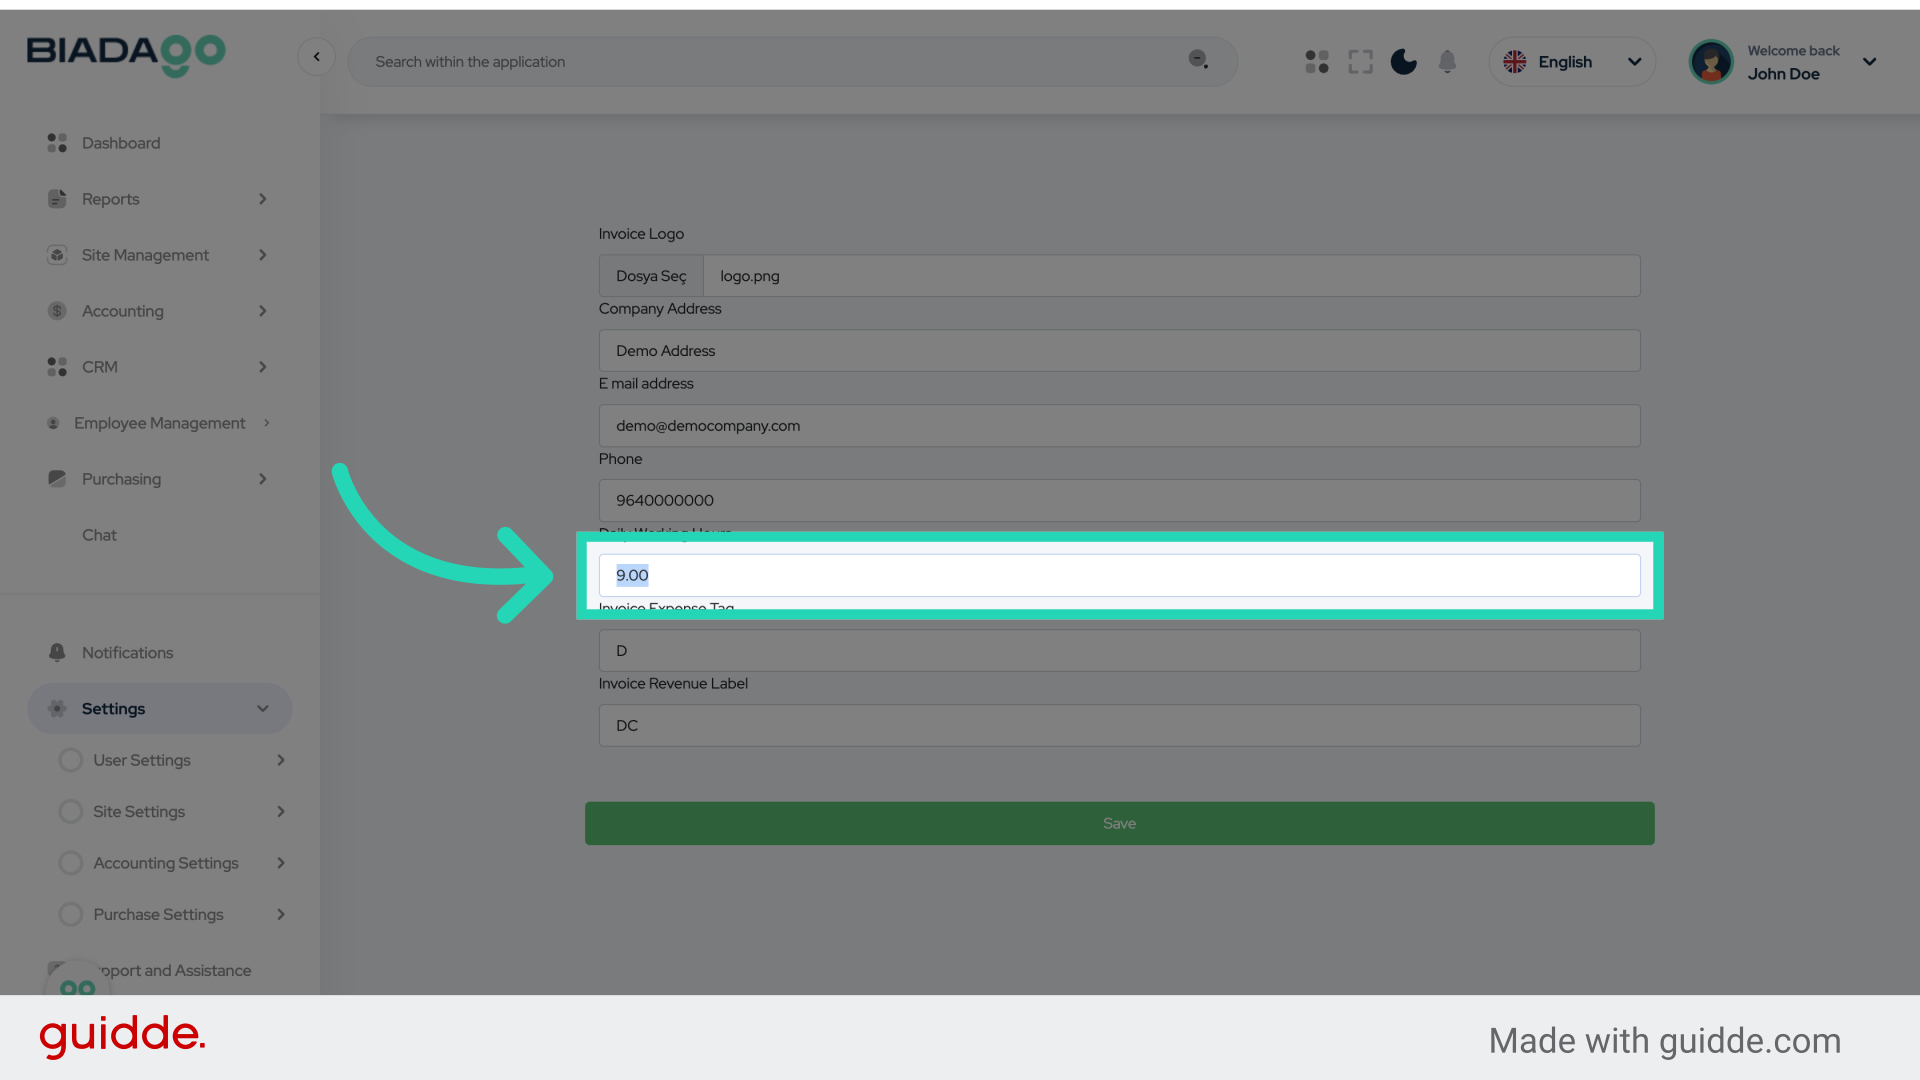
15. Fill “9”
Type “9” in the given fieldEnter the employee’s working hours
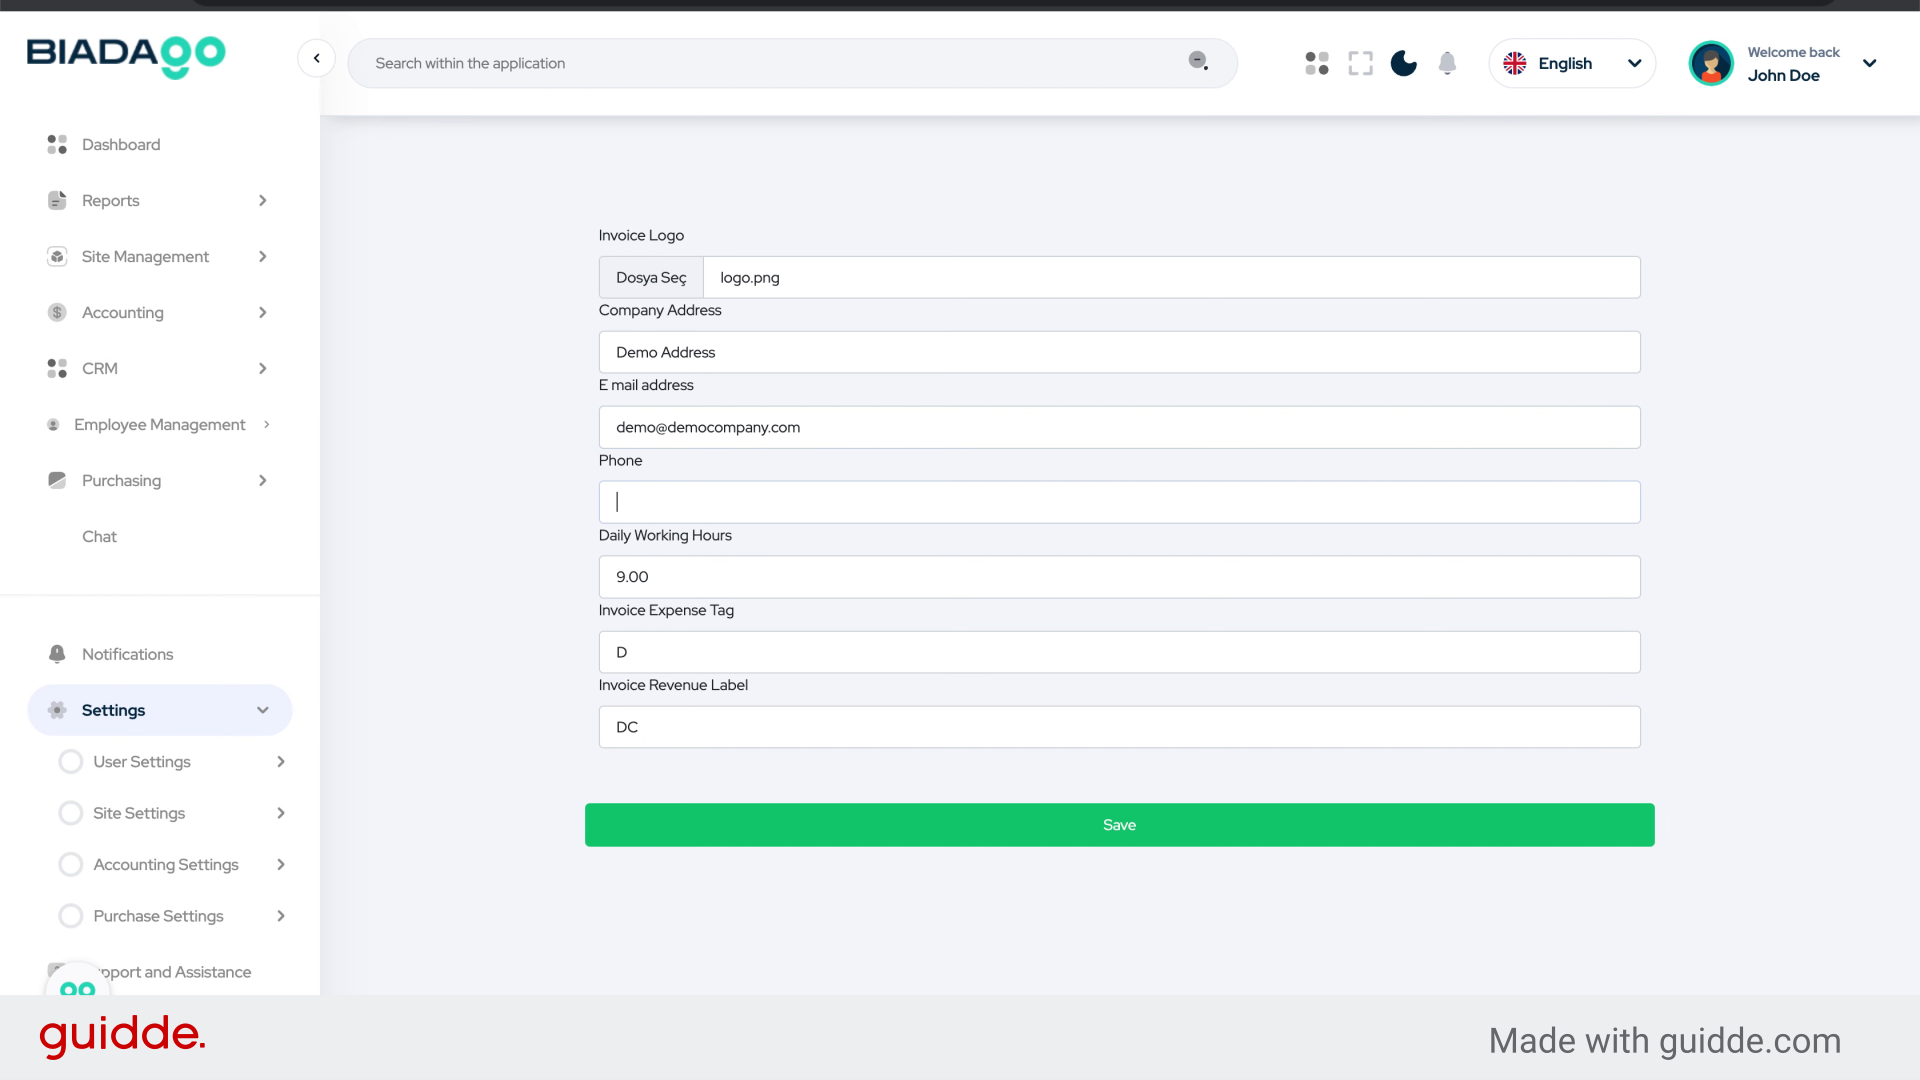
16. Go here
Navigate to the indicated section.
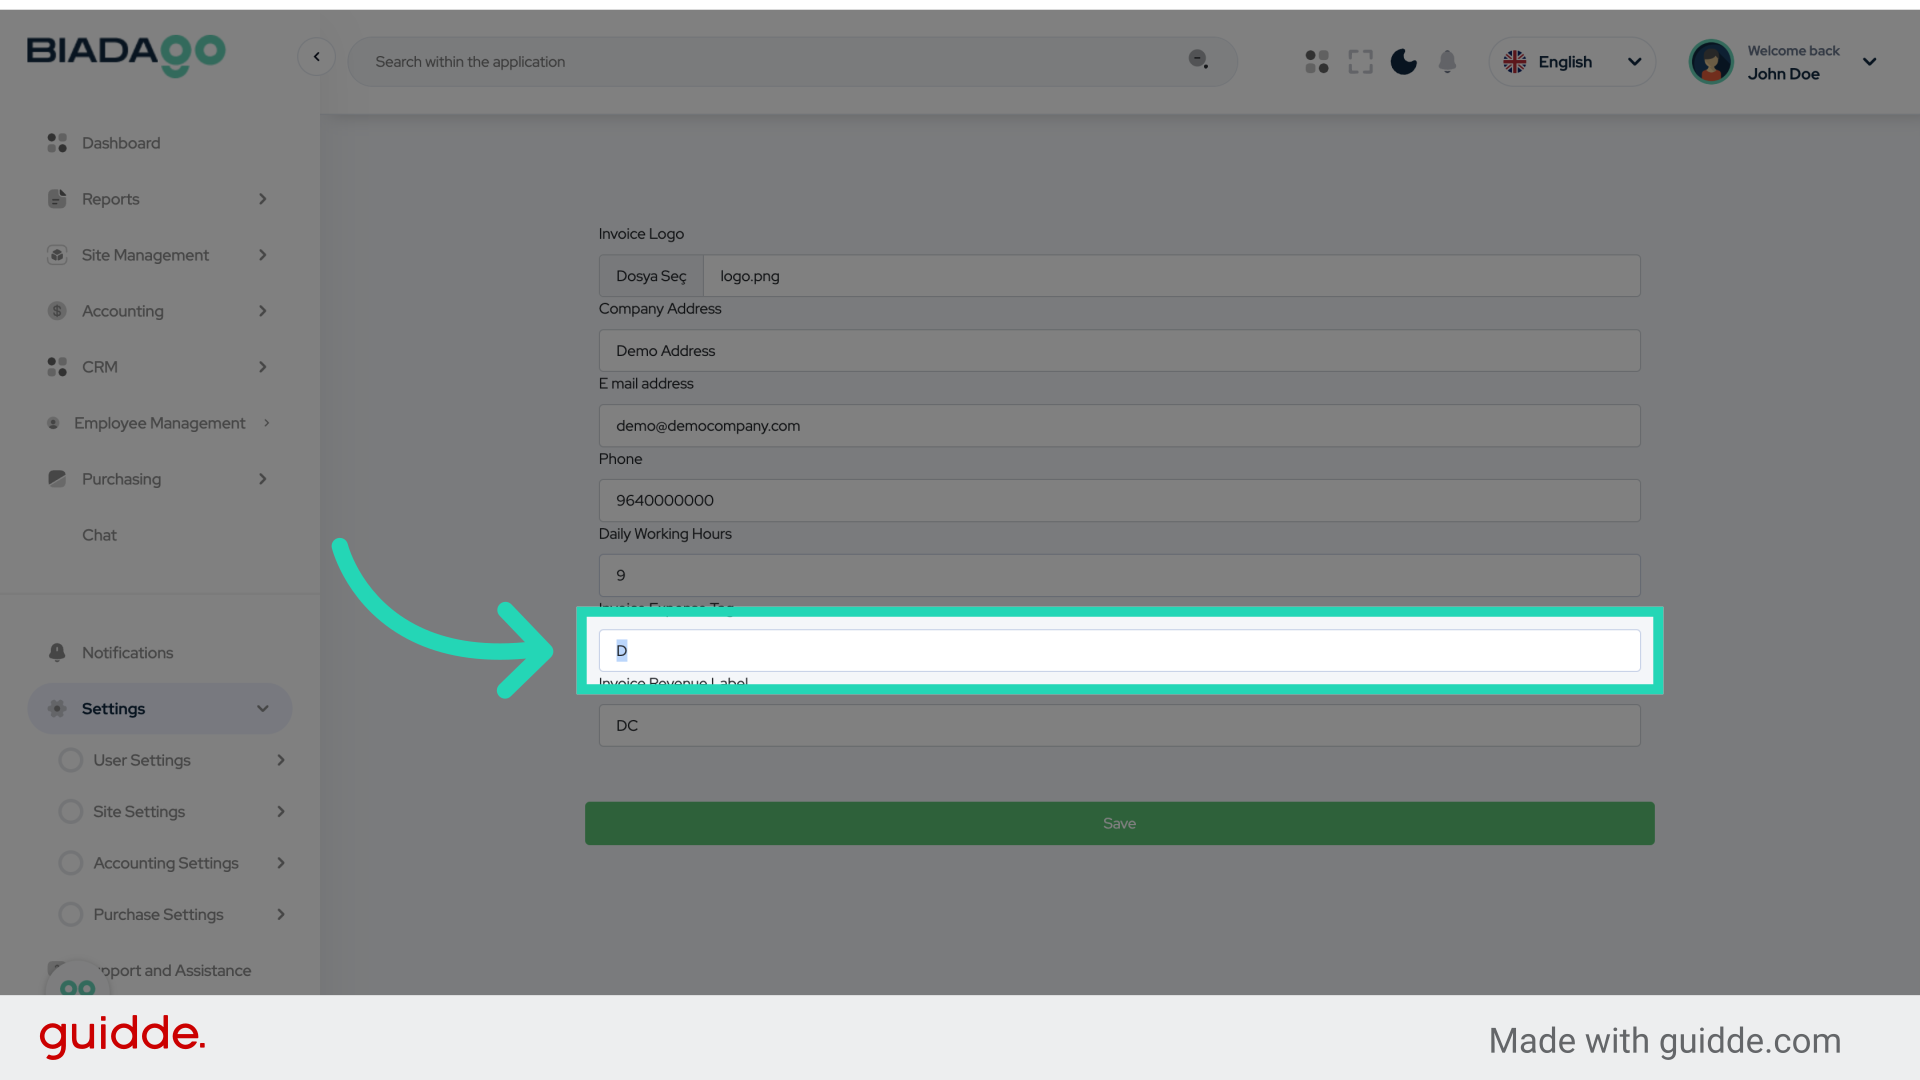
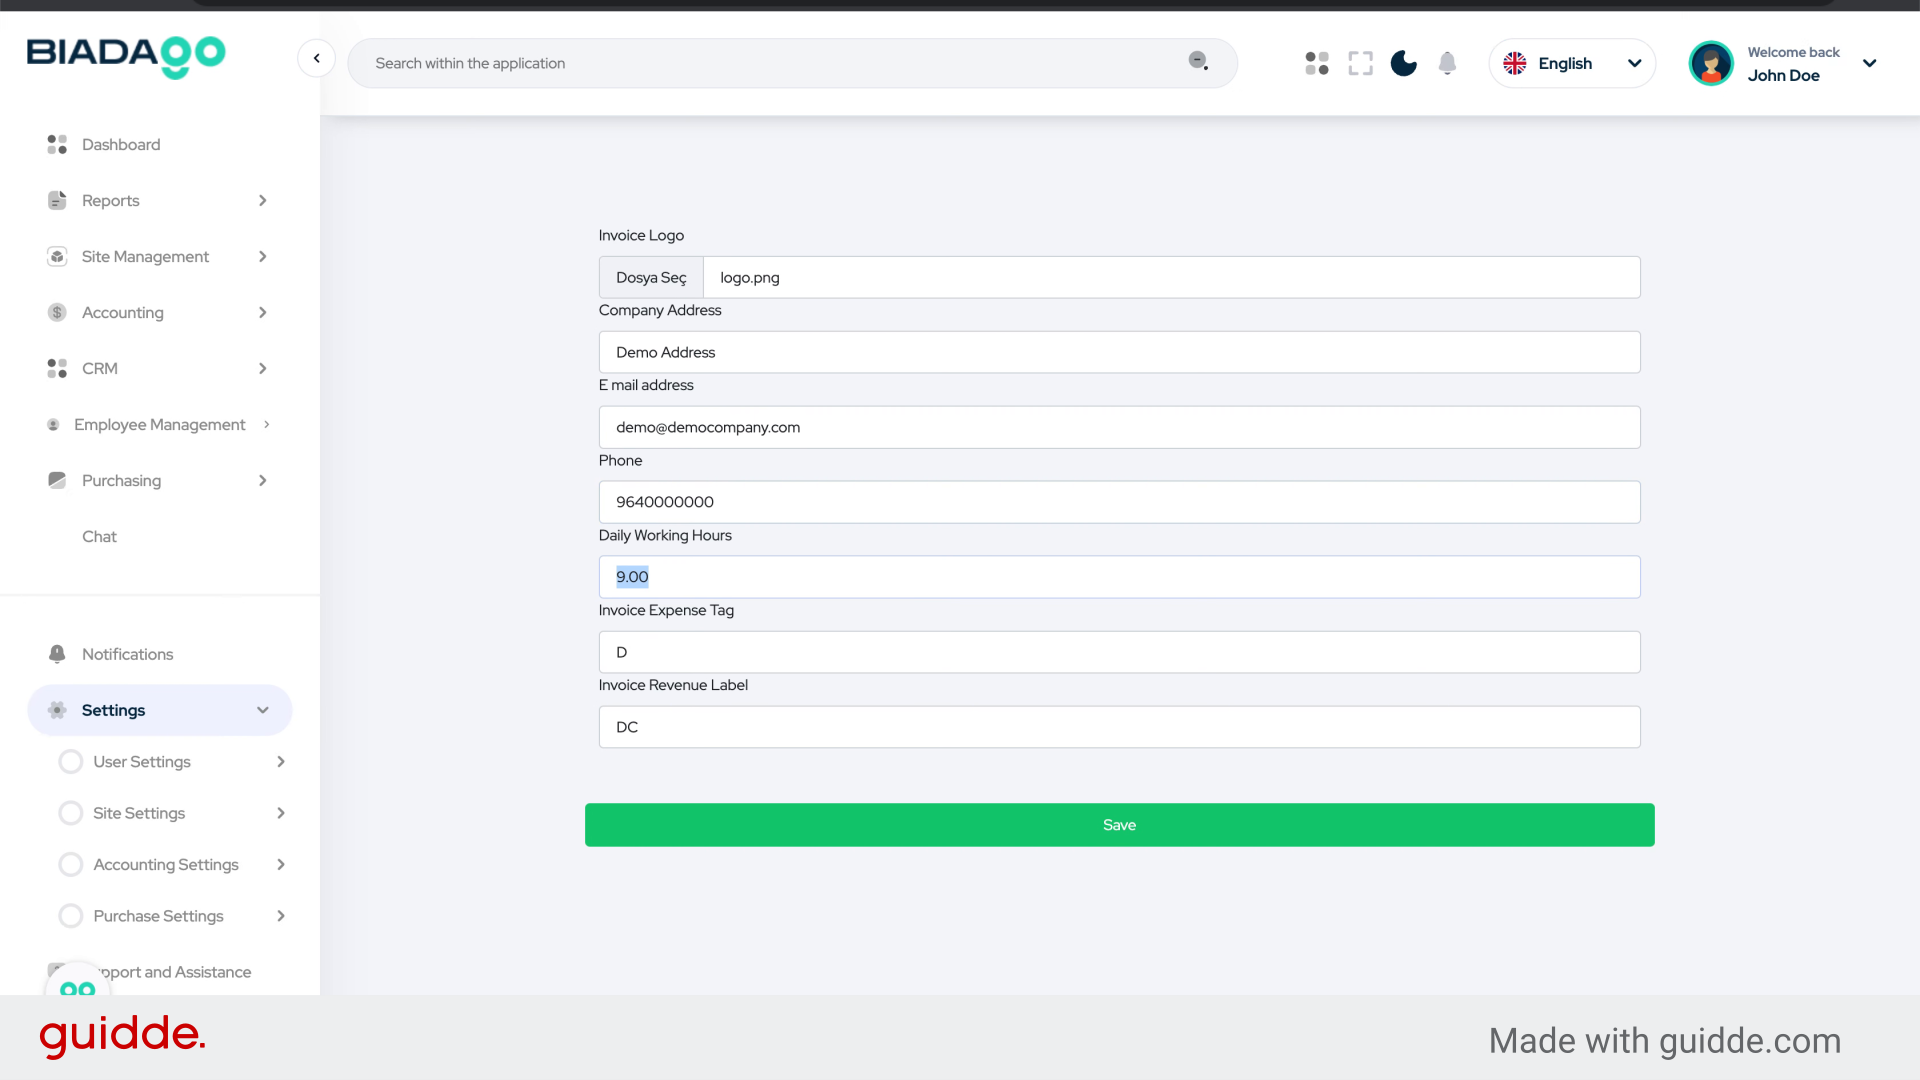
17. Fill “D”
Enter the prefix for expenses invoices

18. Go here
Navigate to the indicated section.
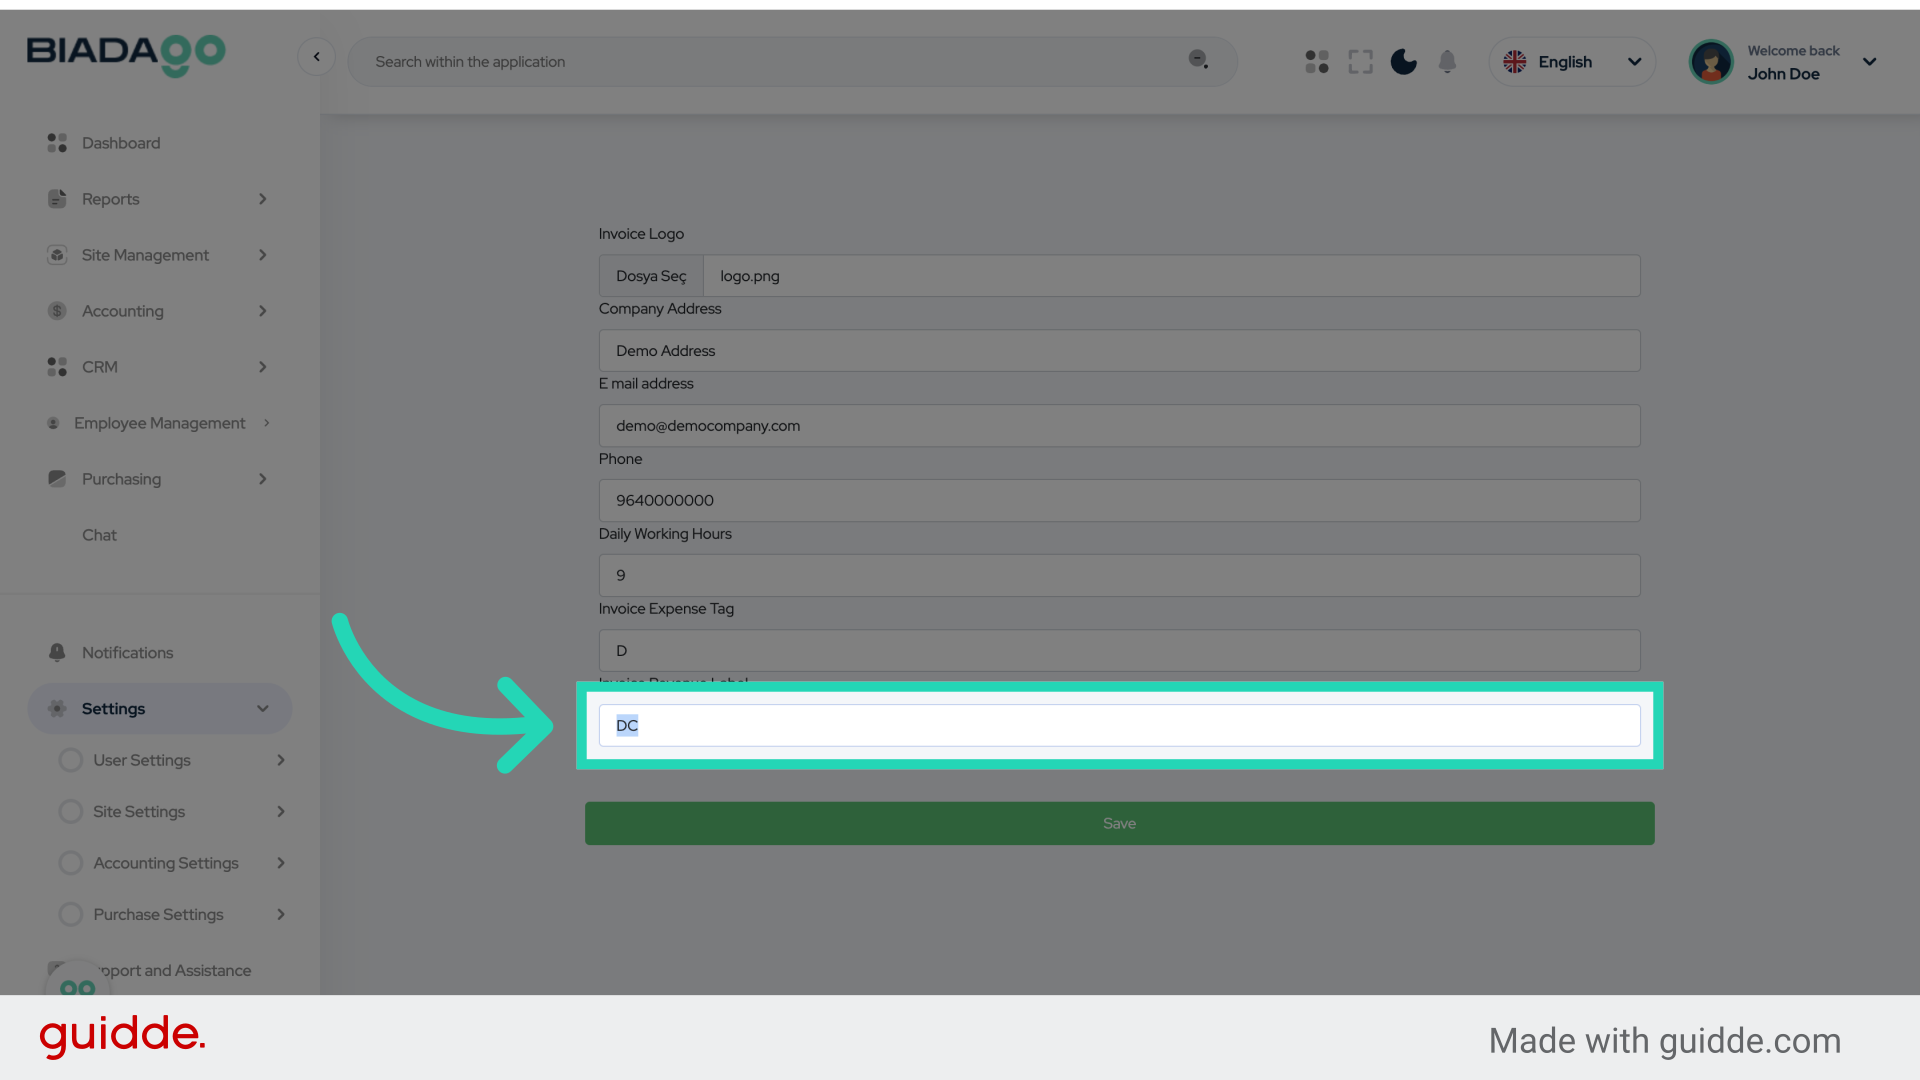
19. Fill “DC”
Enter the prefix for income invoices

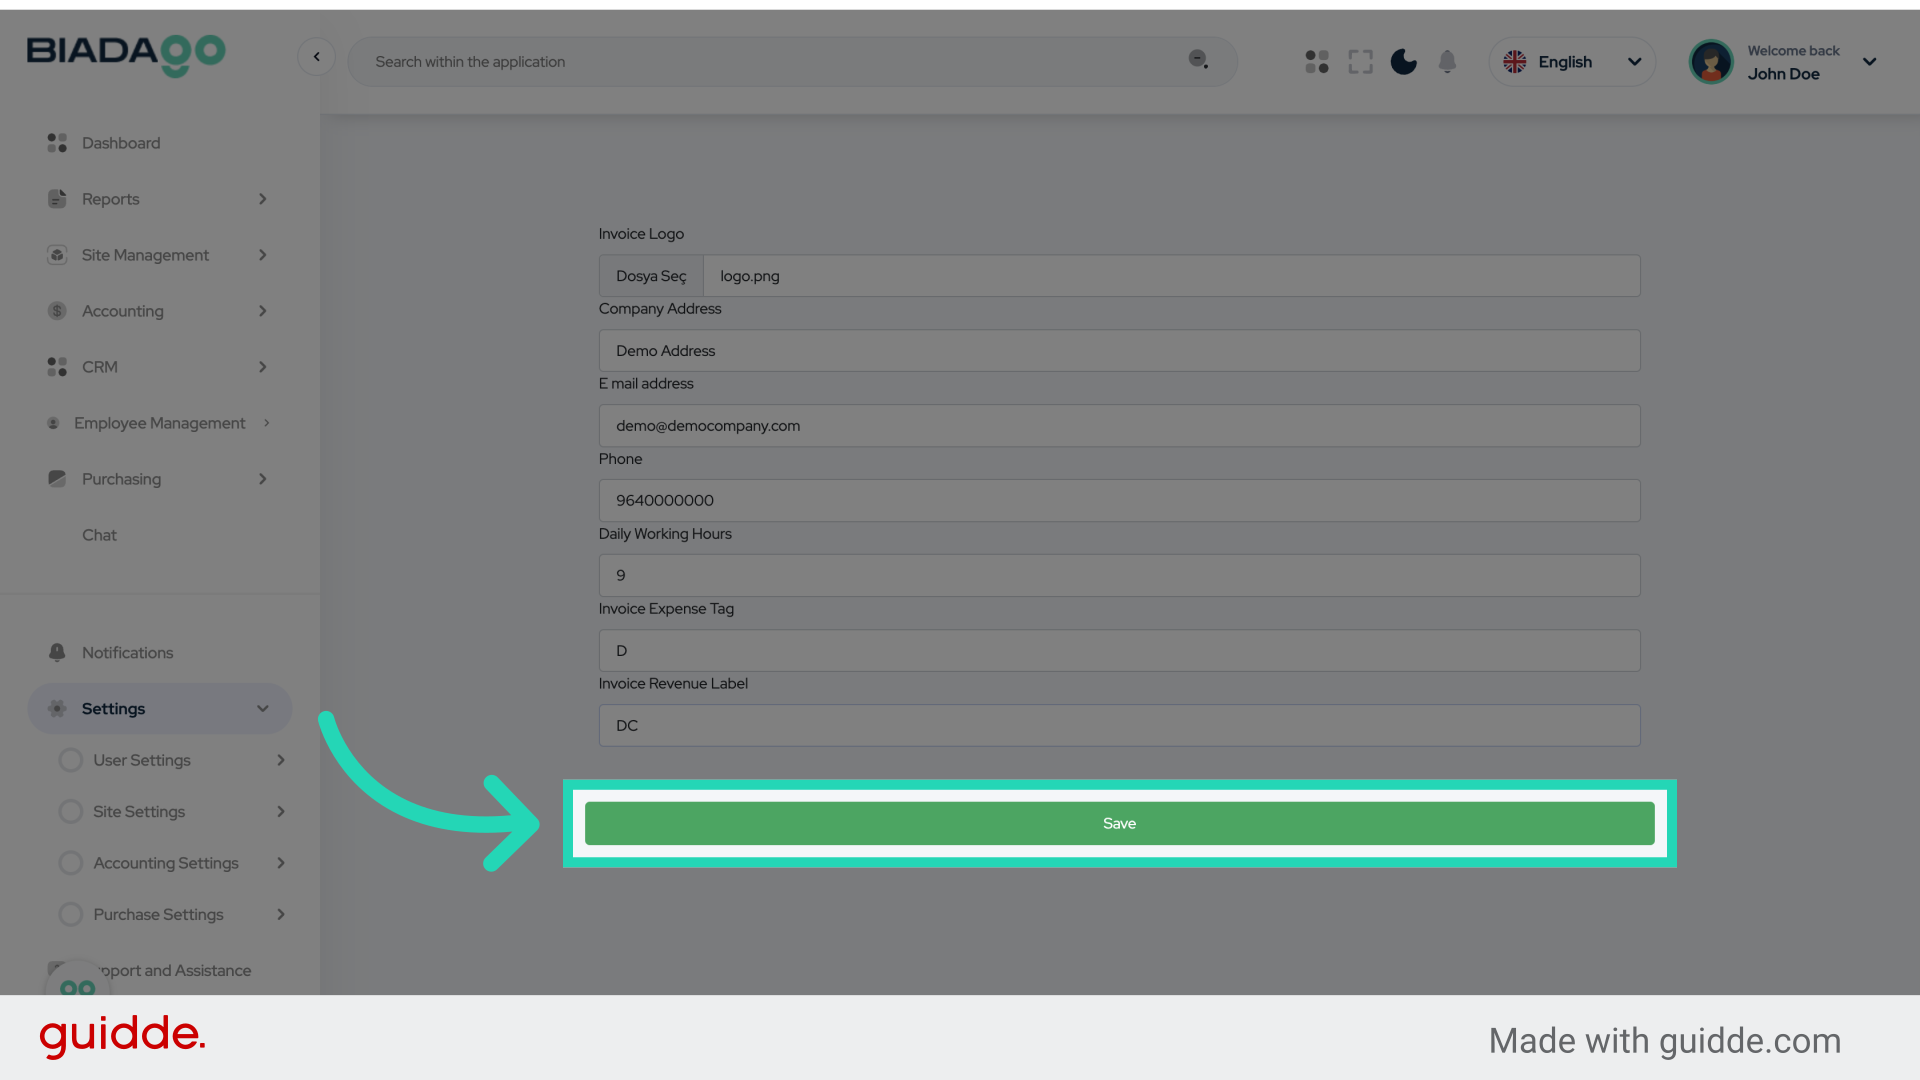
20. Click “Save”
Save the changes made.
This guide covered the necessary steps to set up the Company Profile in BiadaGO, including accessing Accounting settings, navigating various sections, uploading files, and saving changes.