Creating Income Invoices and Recording Payments | BiadaGO Tutorial
Creating Income Invoices and Recording Payments | BiadaGO Tutorial
This guide will walk you through the process of creating income invoices and recording payments in BiadaGO
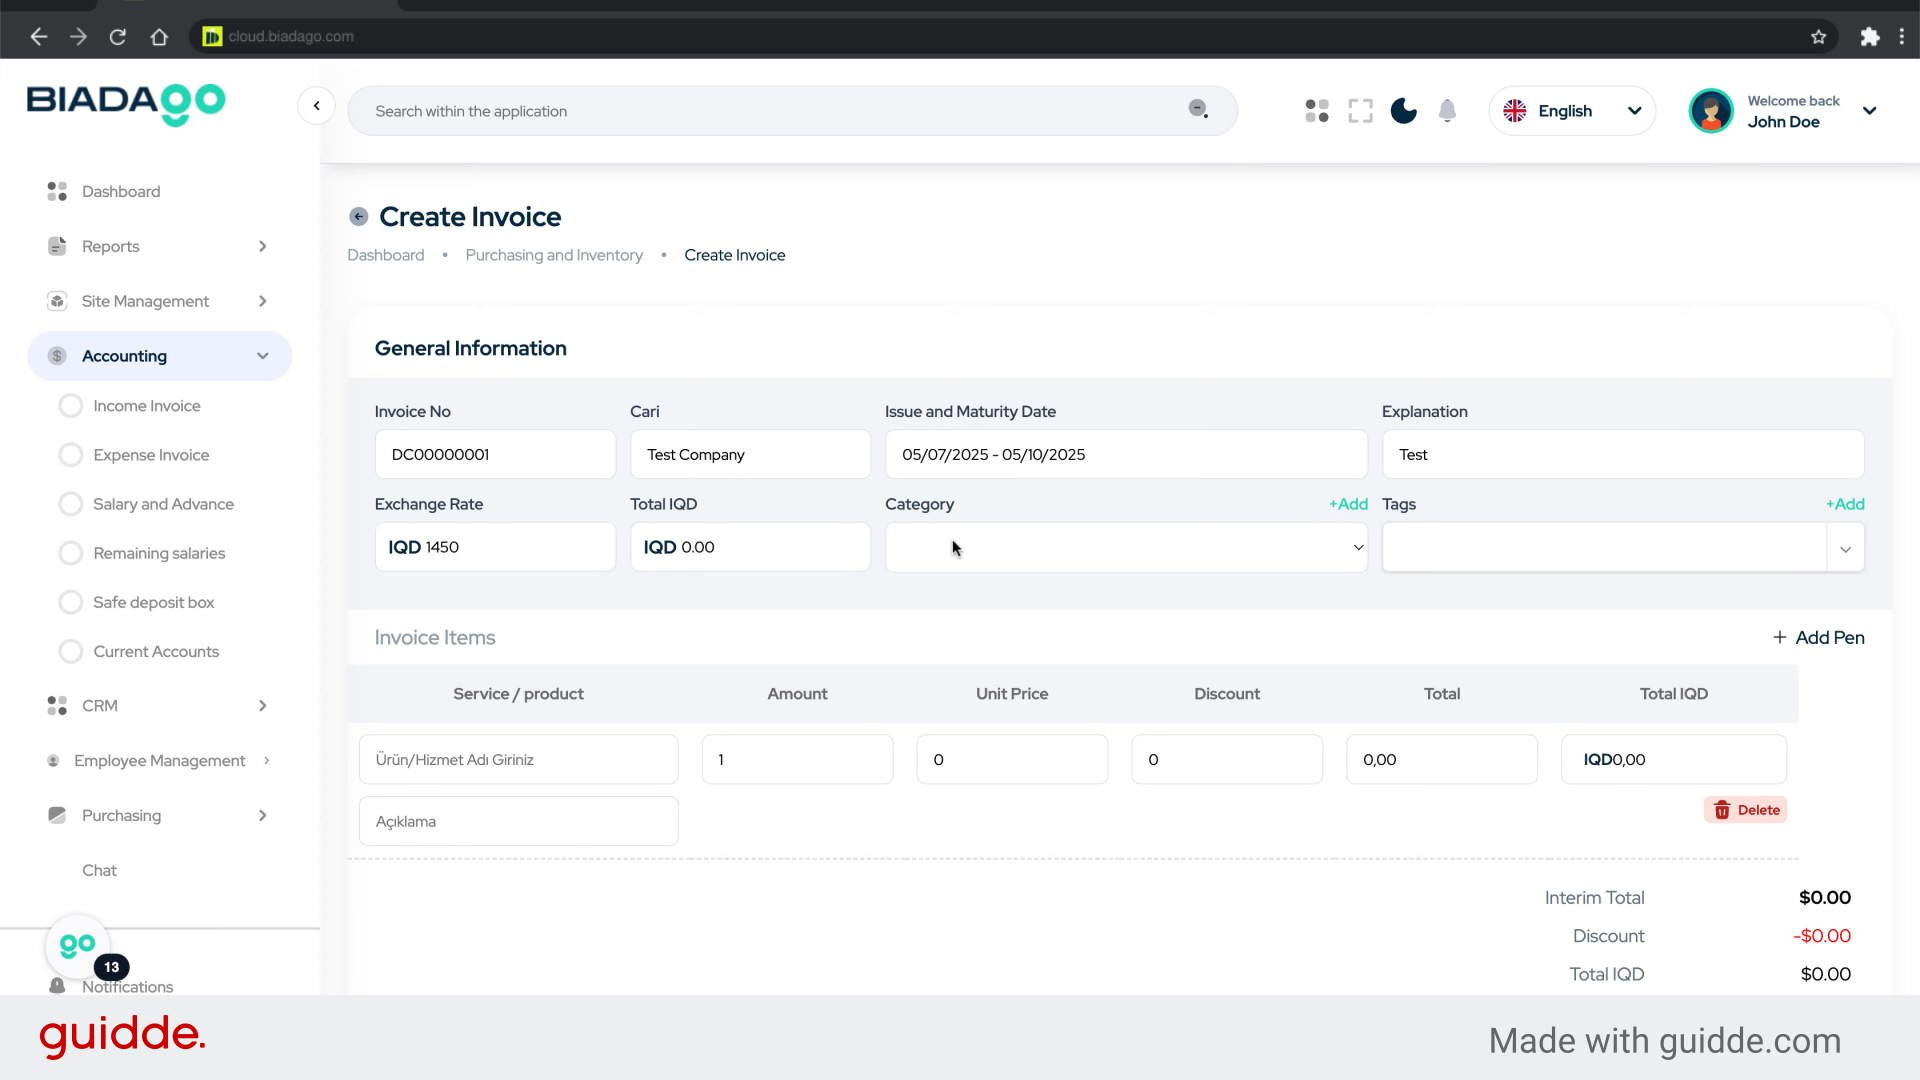
Go to cloud.biadago.com
1. Introduction
From accessing the accounting section to initiating the collection process, follow the precise instructions below to streamline your employee training.
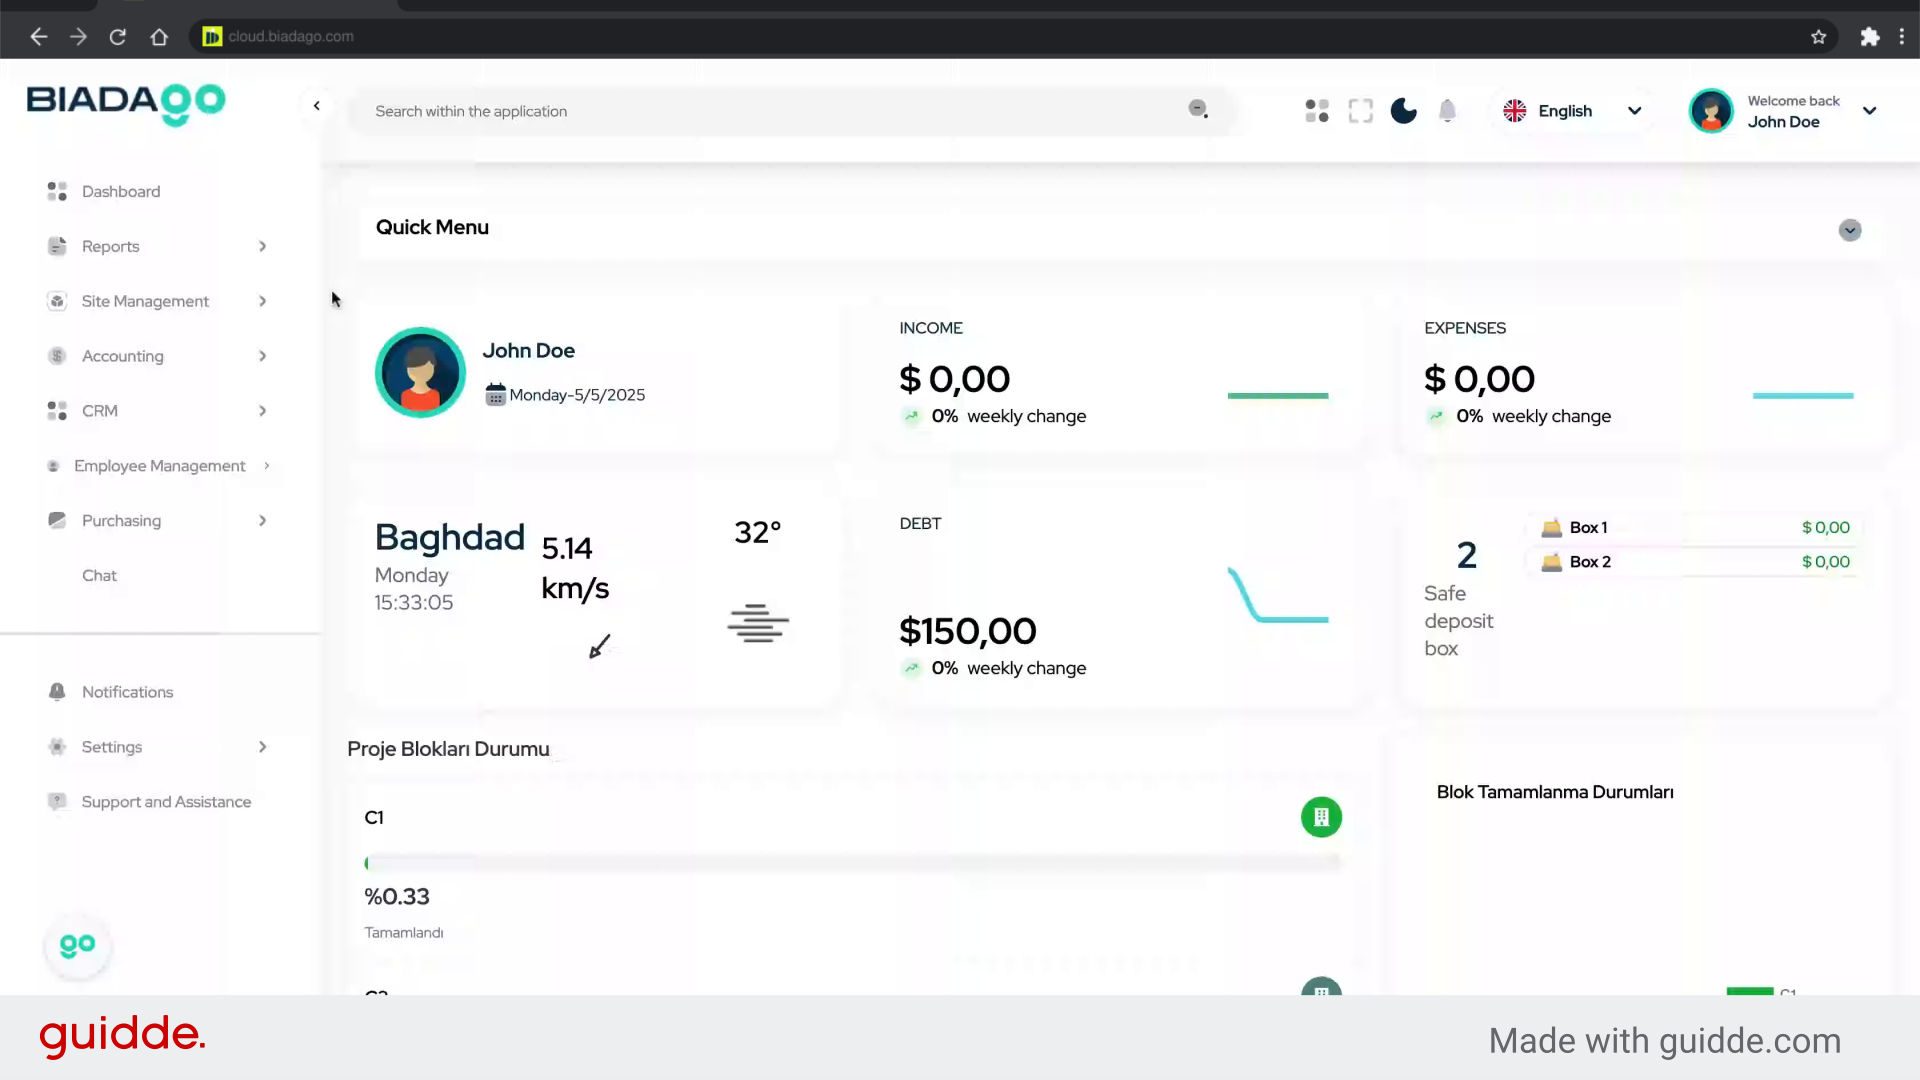
2. Click “Accounting”
Navigate to the “Accounting” section.

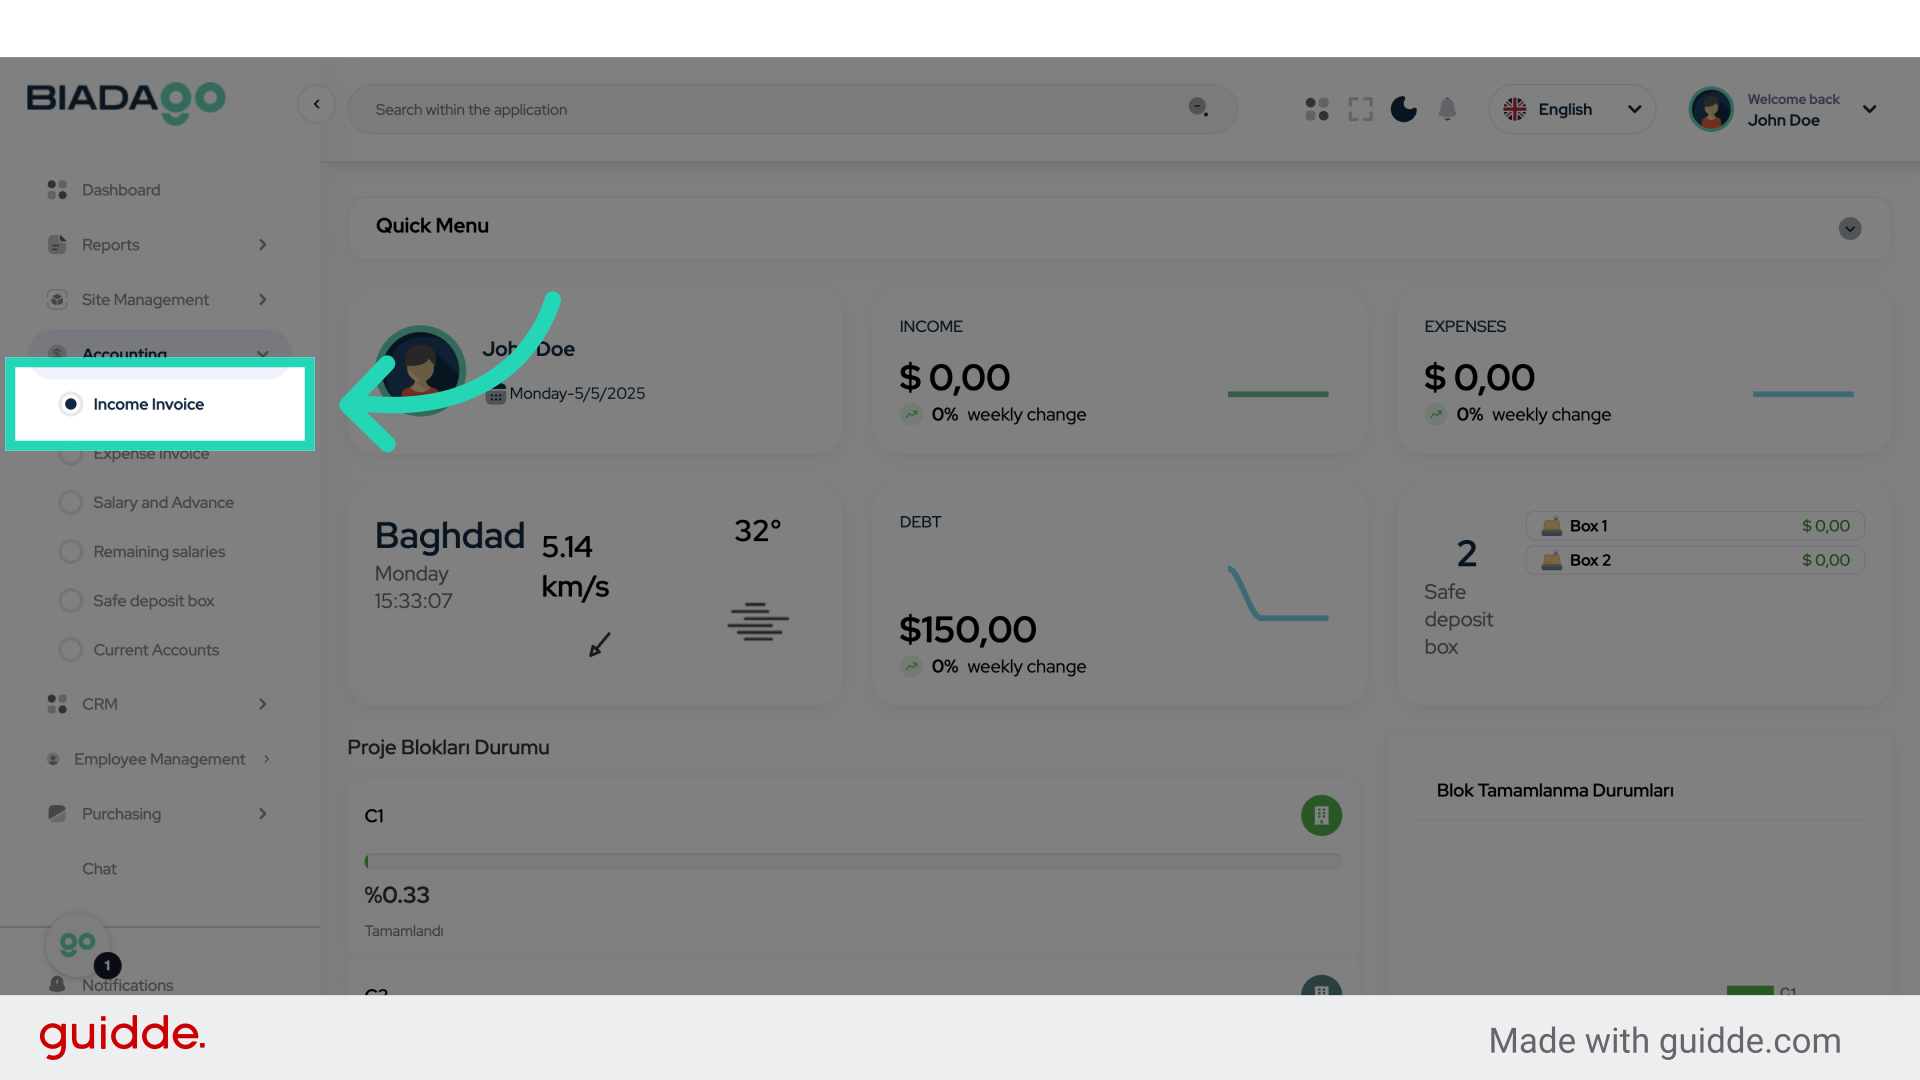
3. Click “Income Invoice”
Access the “Income Invoice” tab.
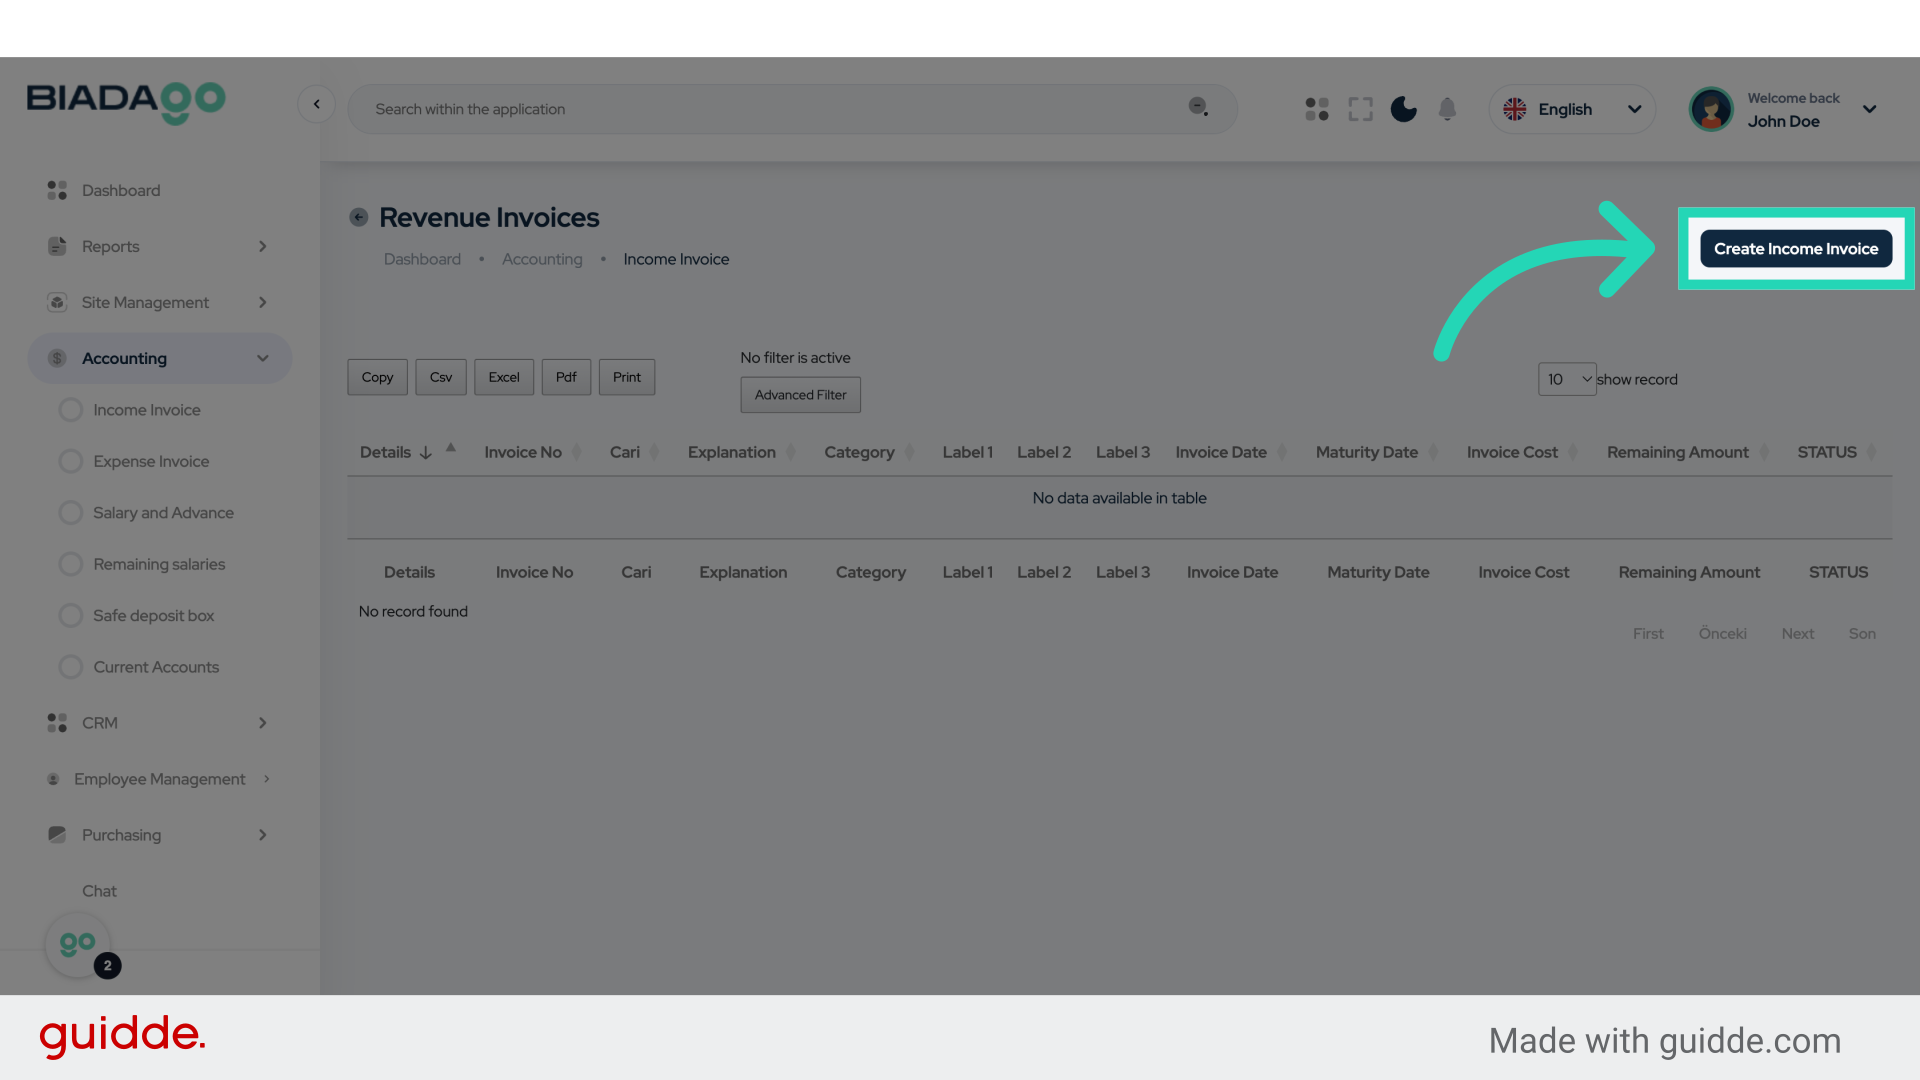
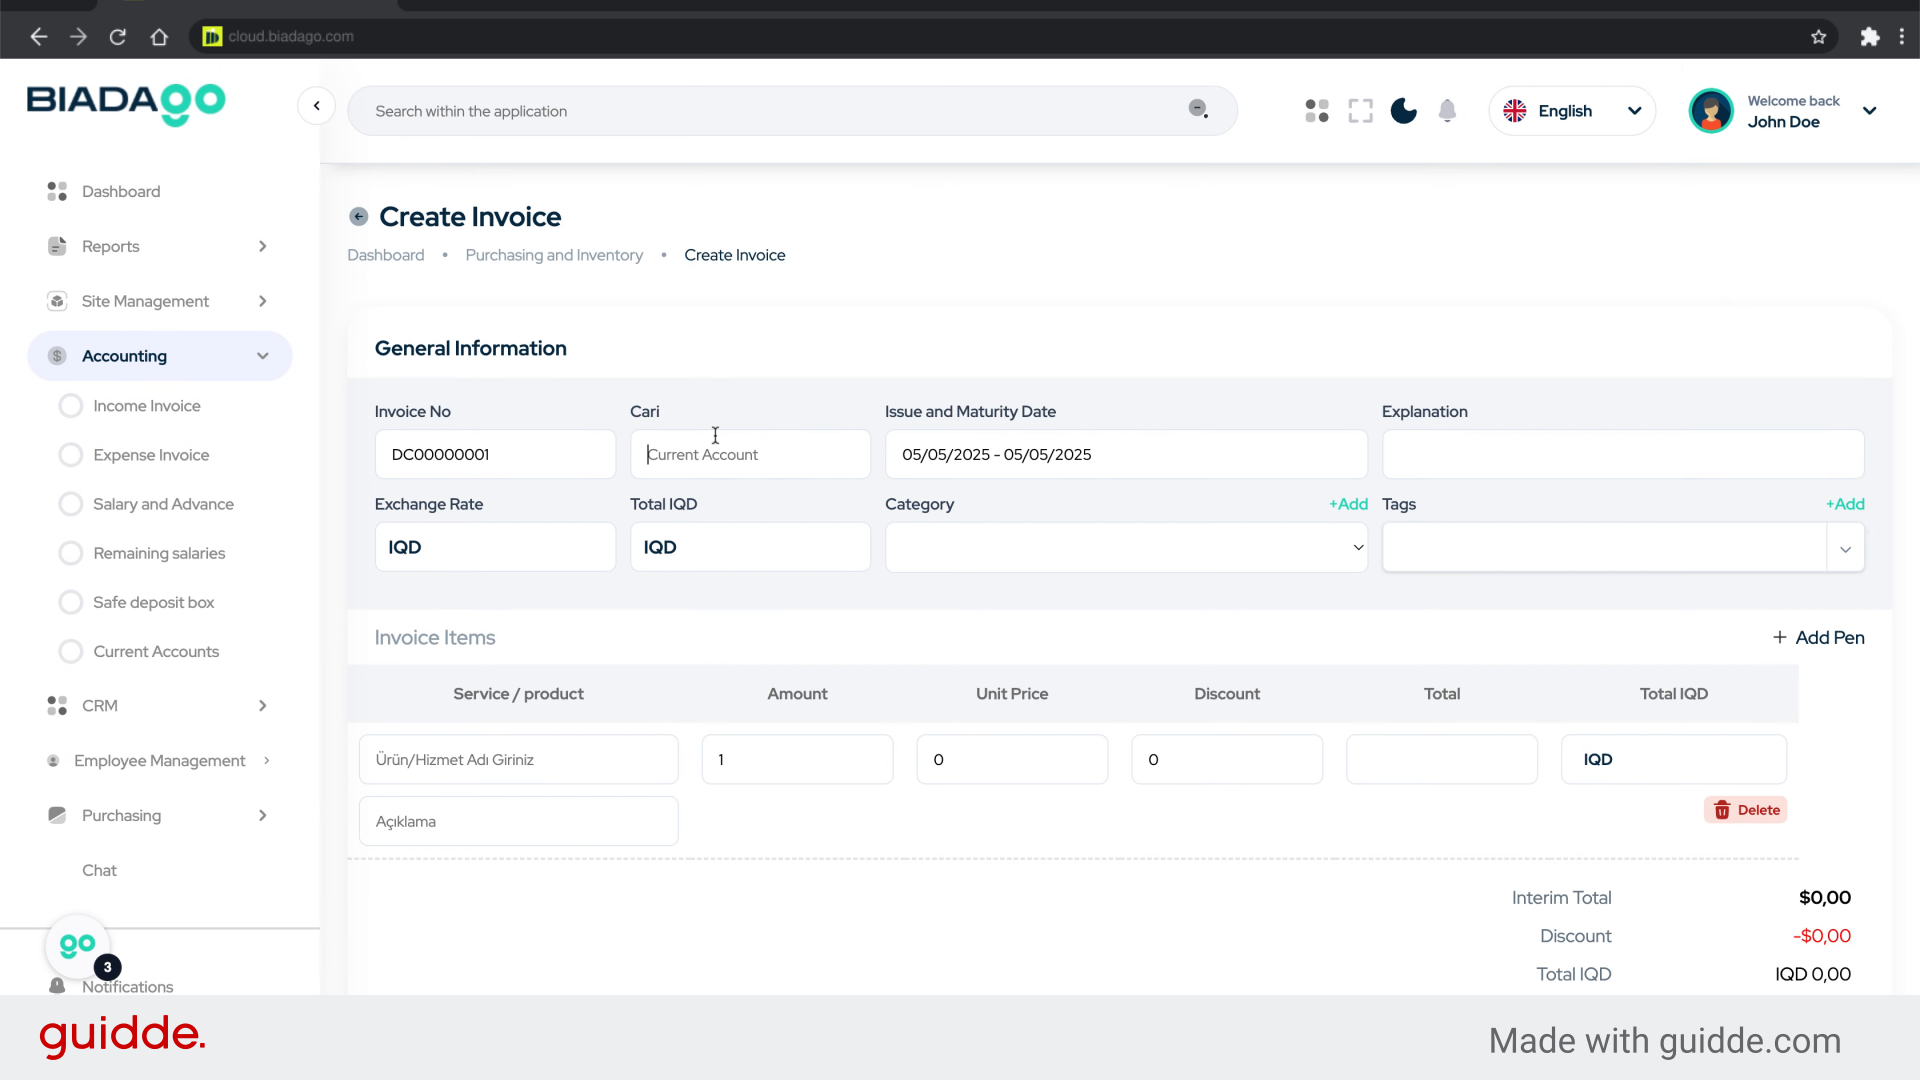
4. Click “Create Income Invoice”
Initiate the creation of a new income invoice.
5. Click “Current Account”
Select the “Current Account” option.
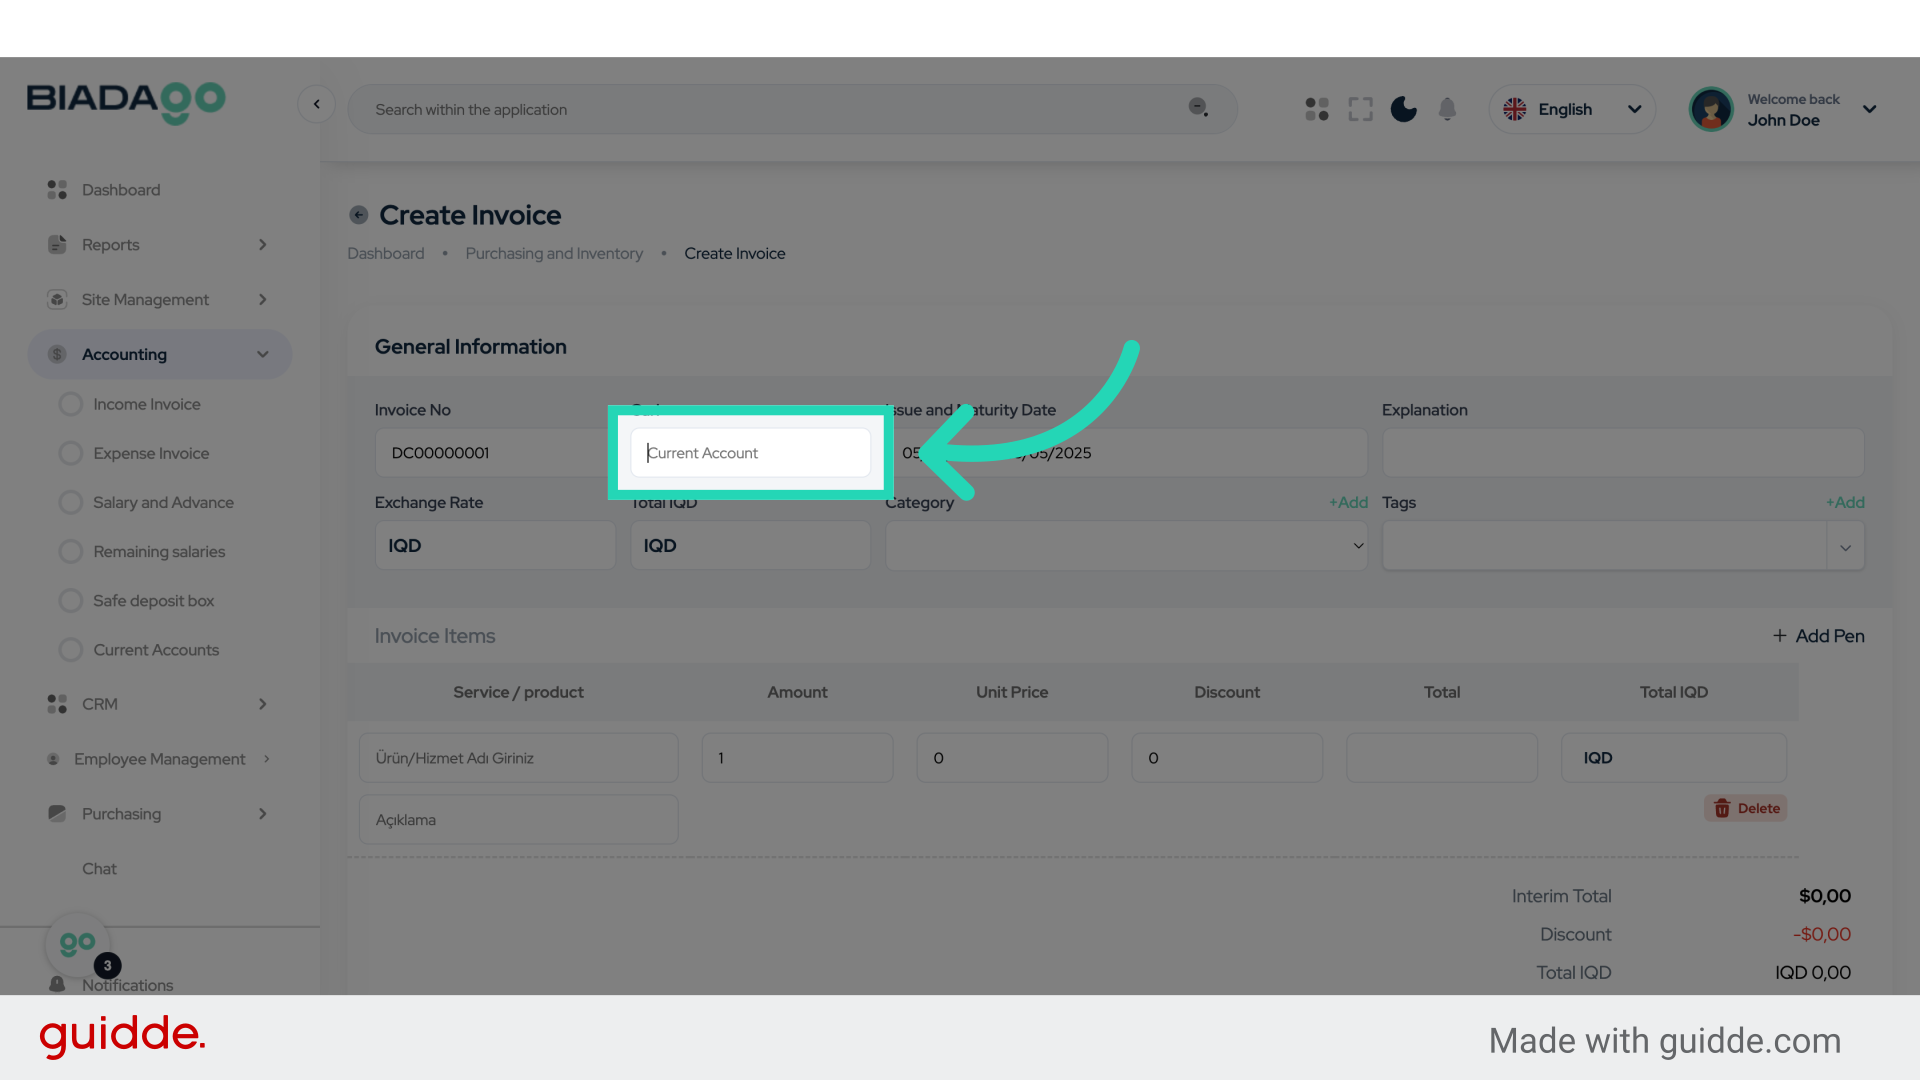
6. Fill “Test Company”
Fill in “Test Company”
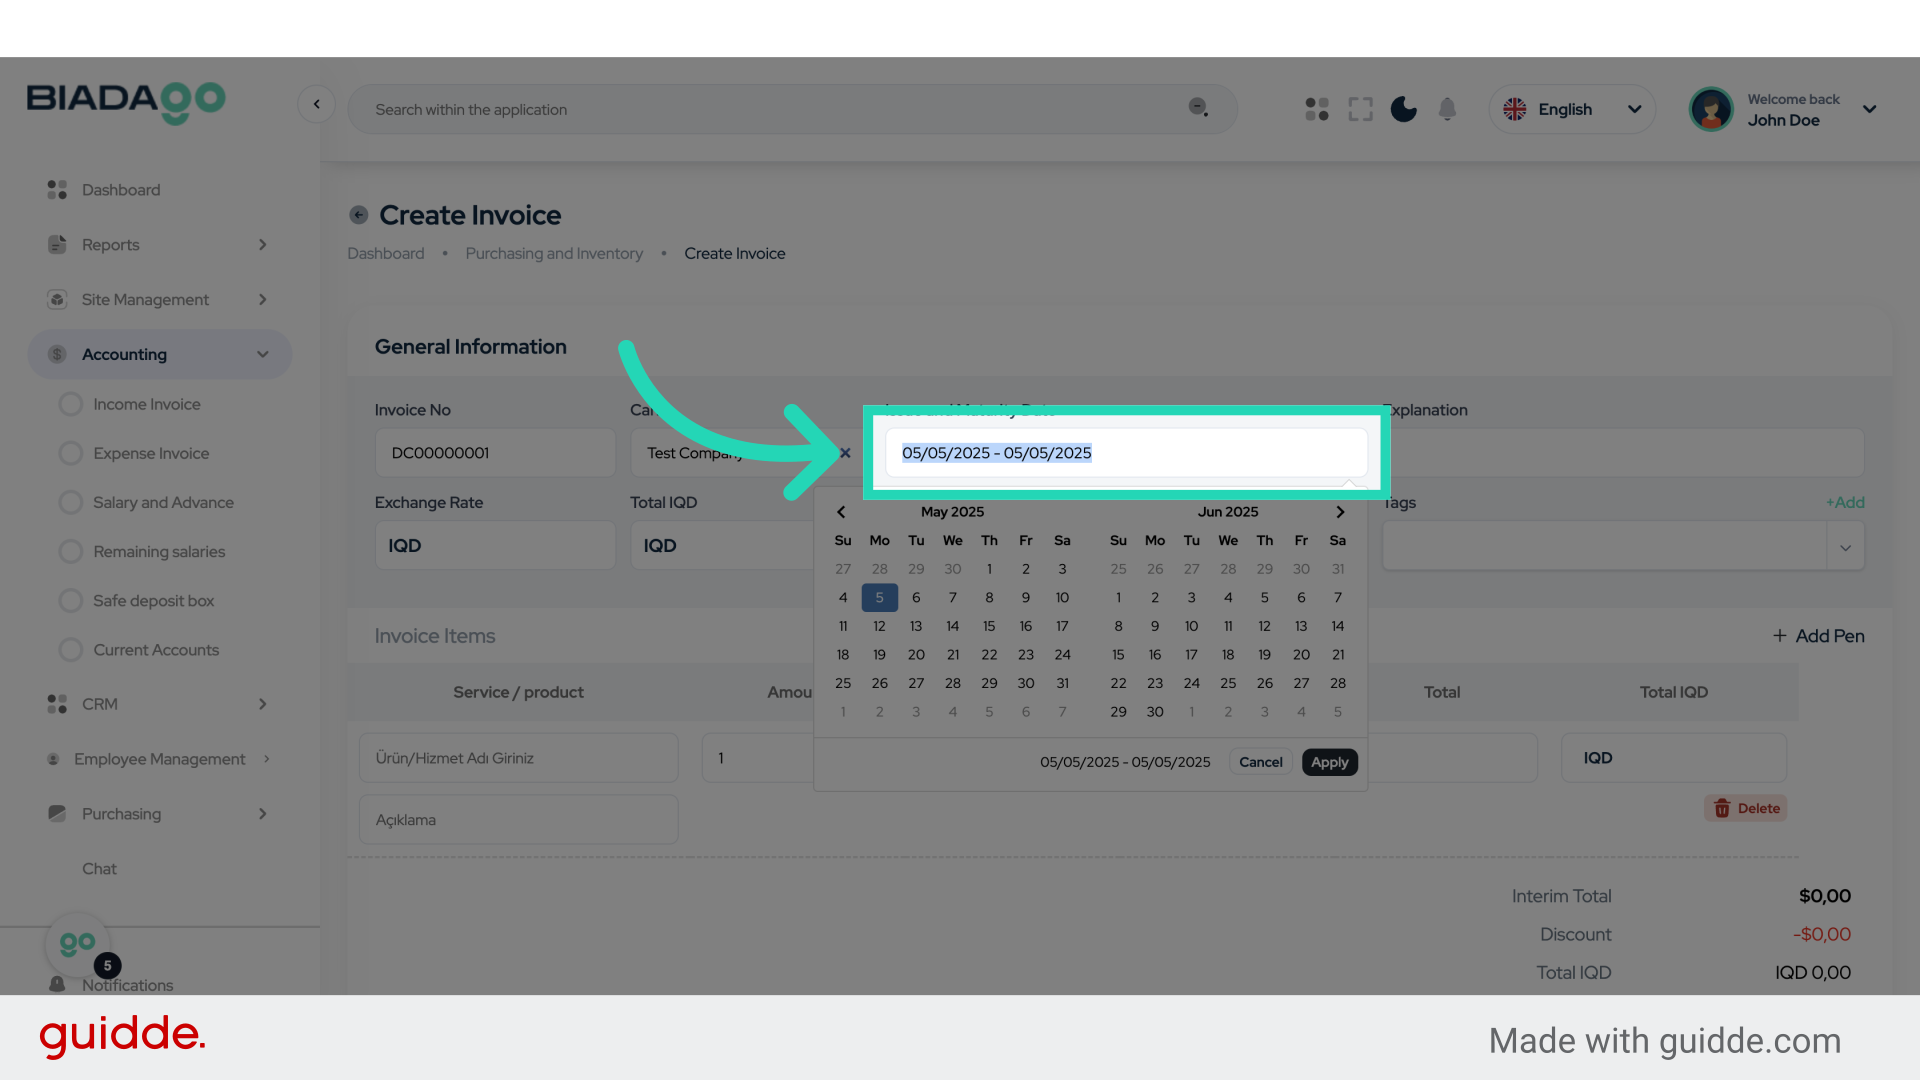
7. Go here
Navigate to the specified location.
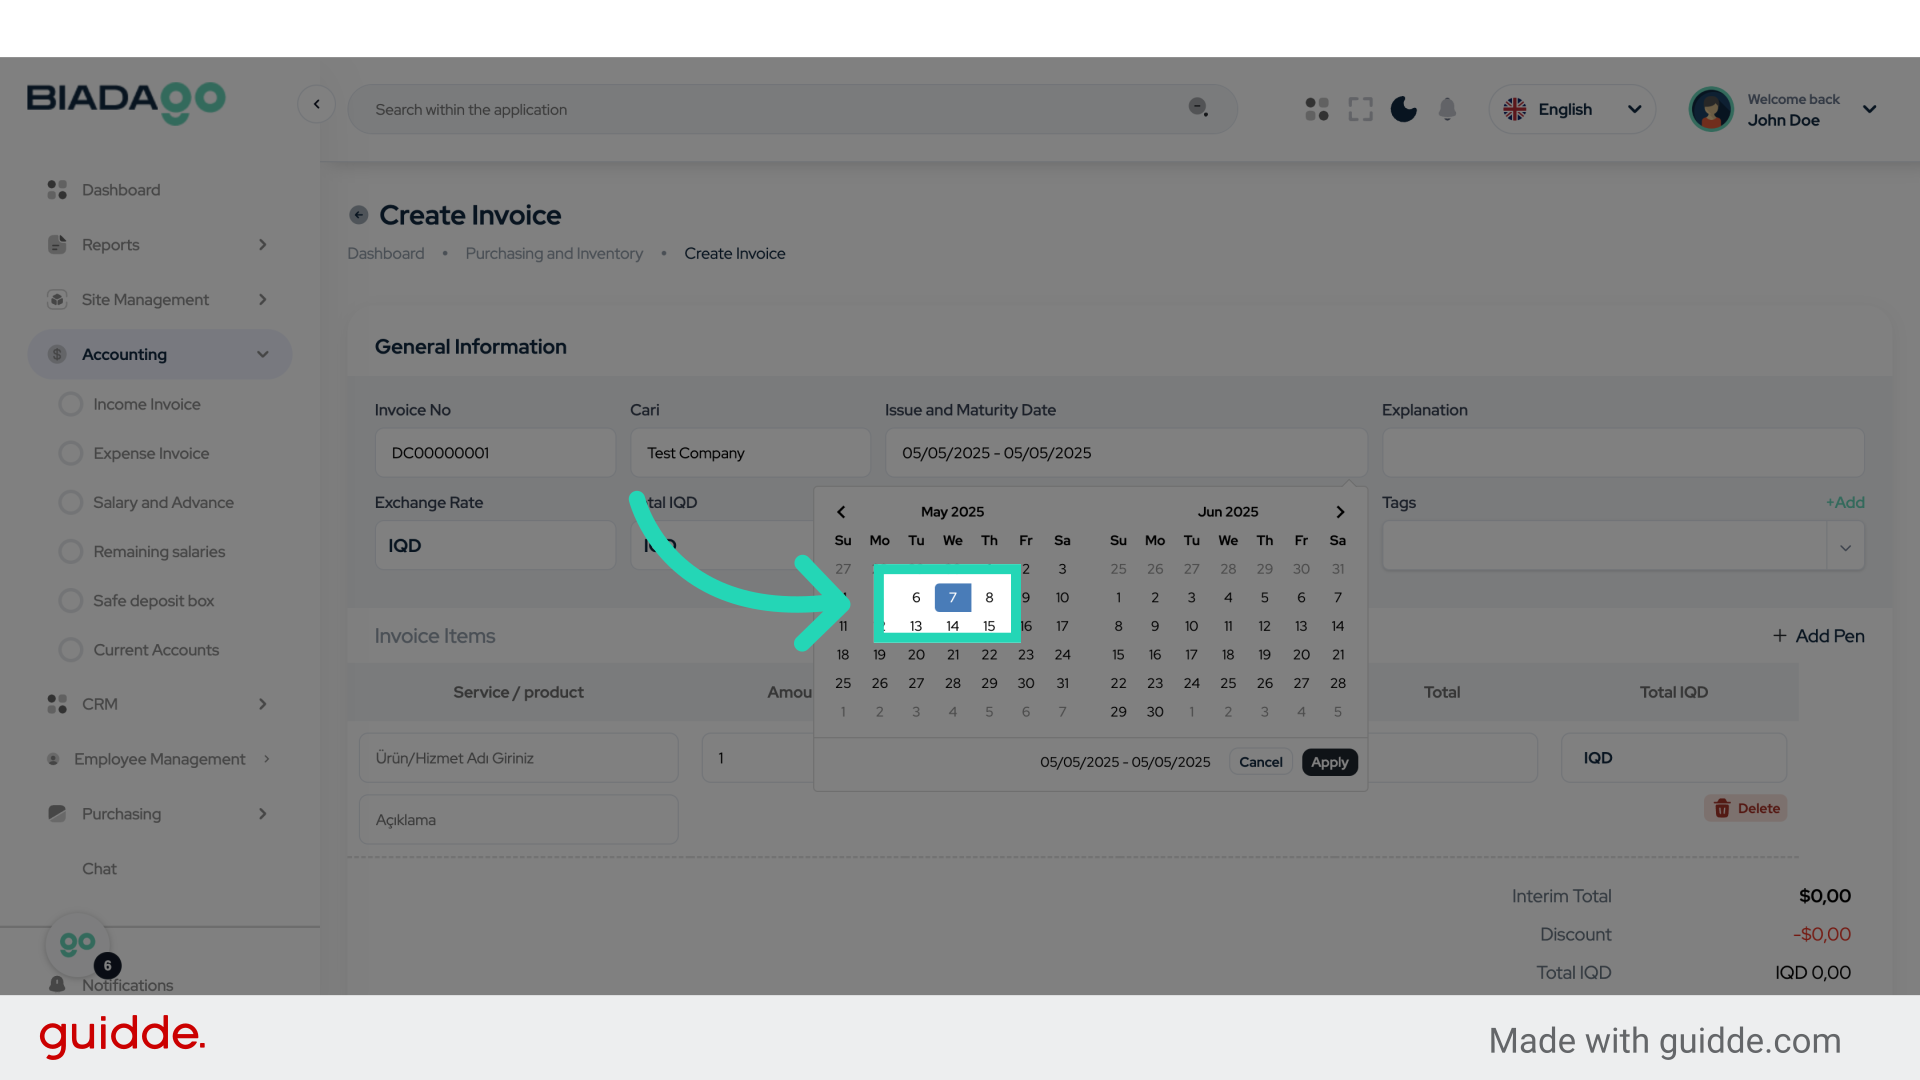
8. Click “7”
Click on the number “7”.
9. Click “10”
Select the option labeled “10”.
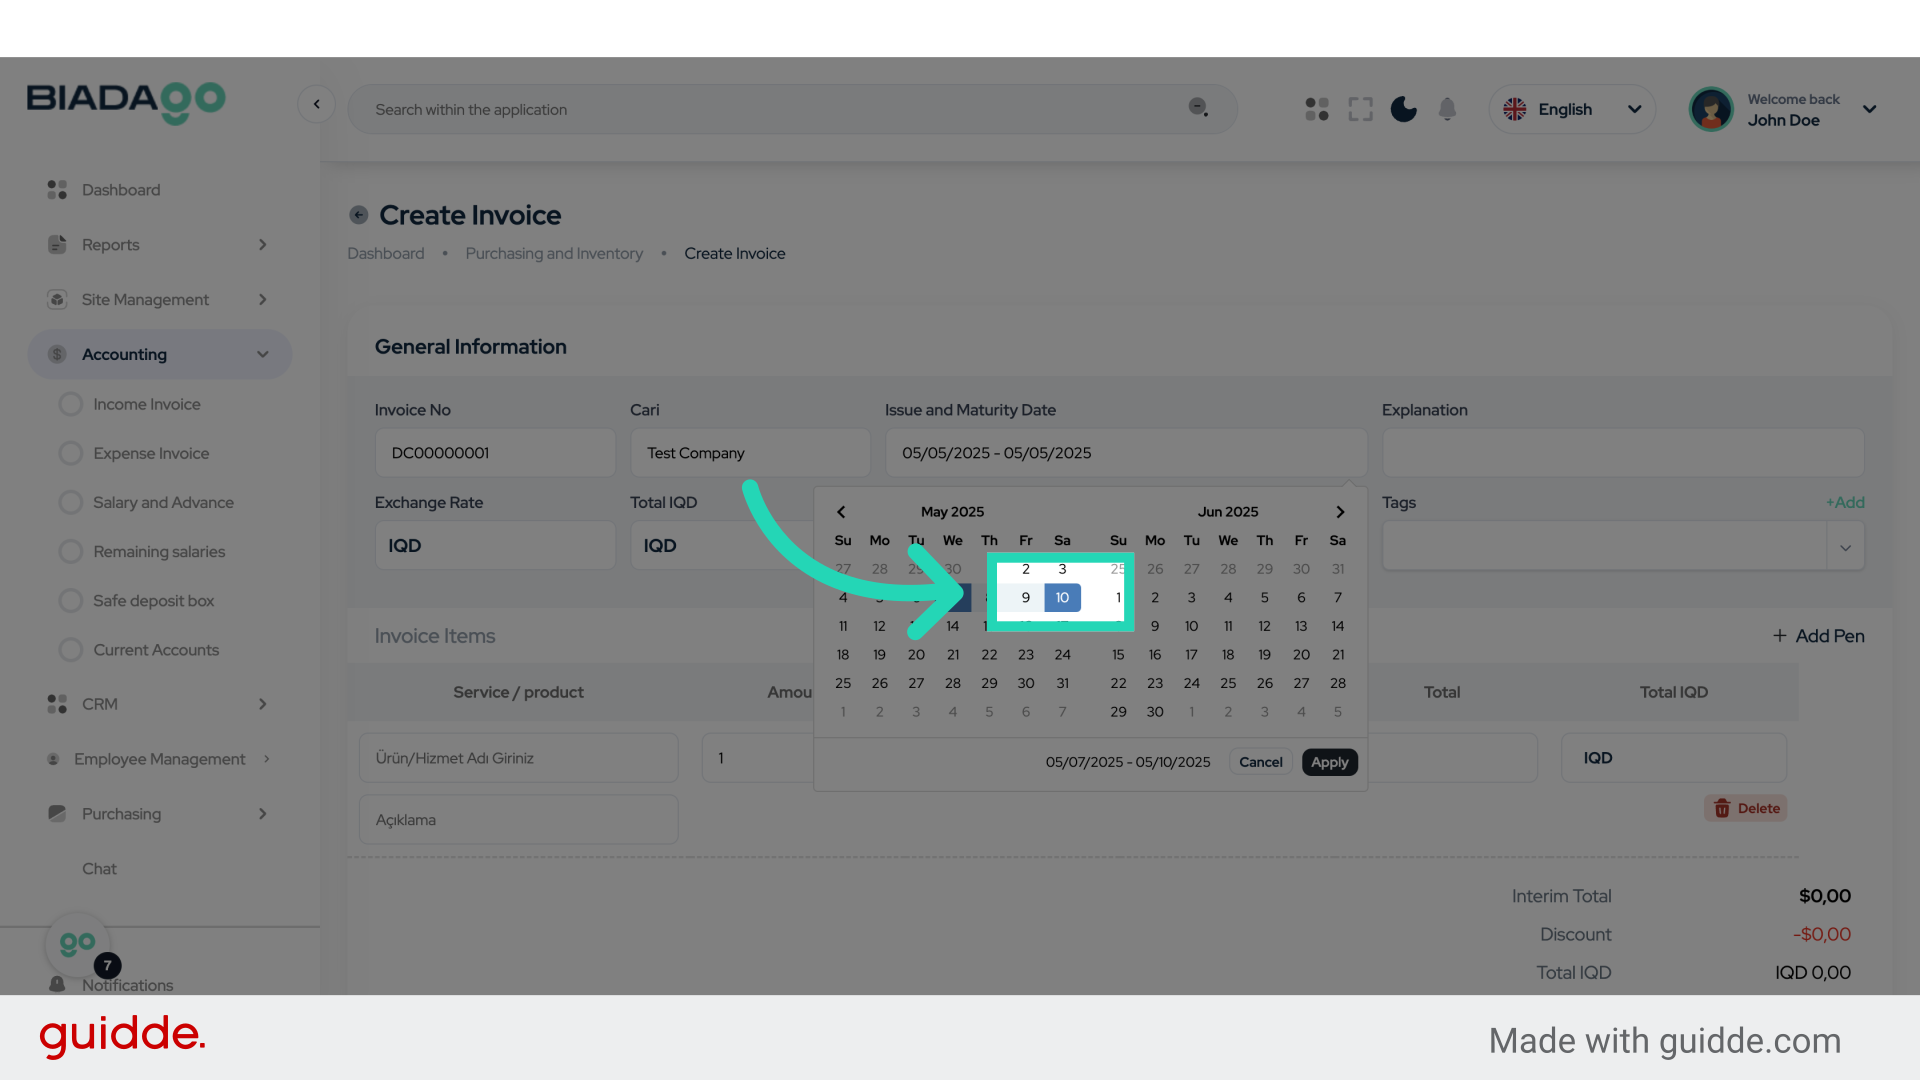
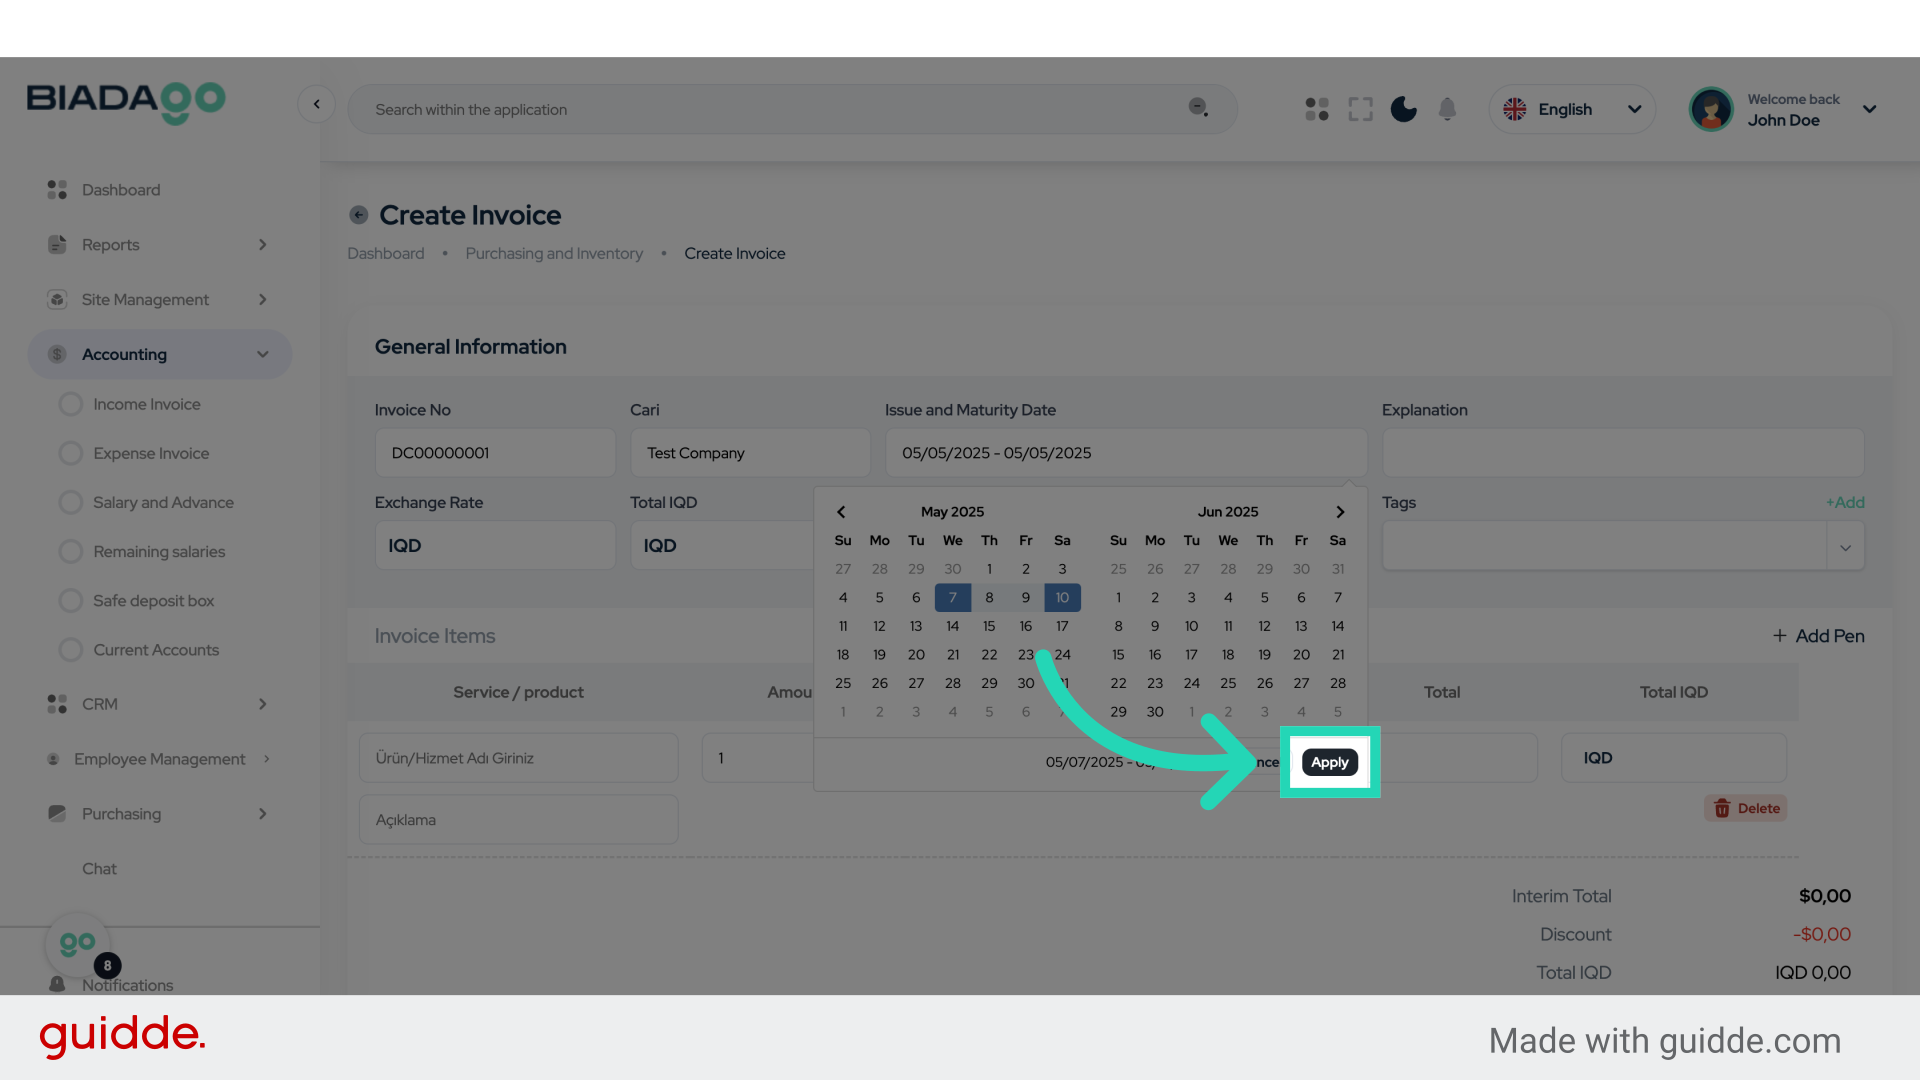
10. Click “Apply”
Apply the changes or settings.
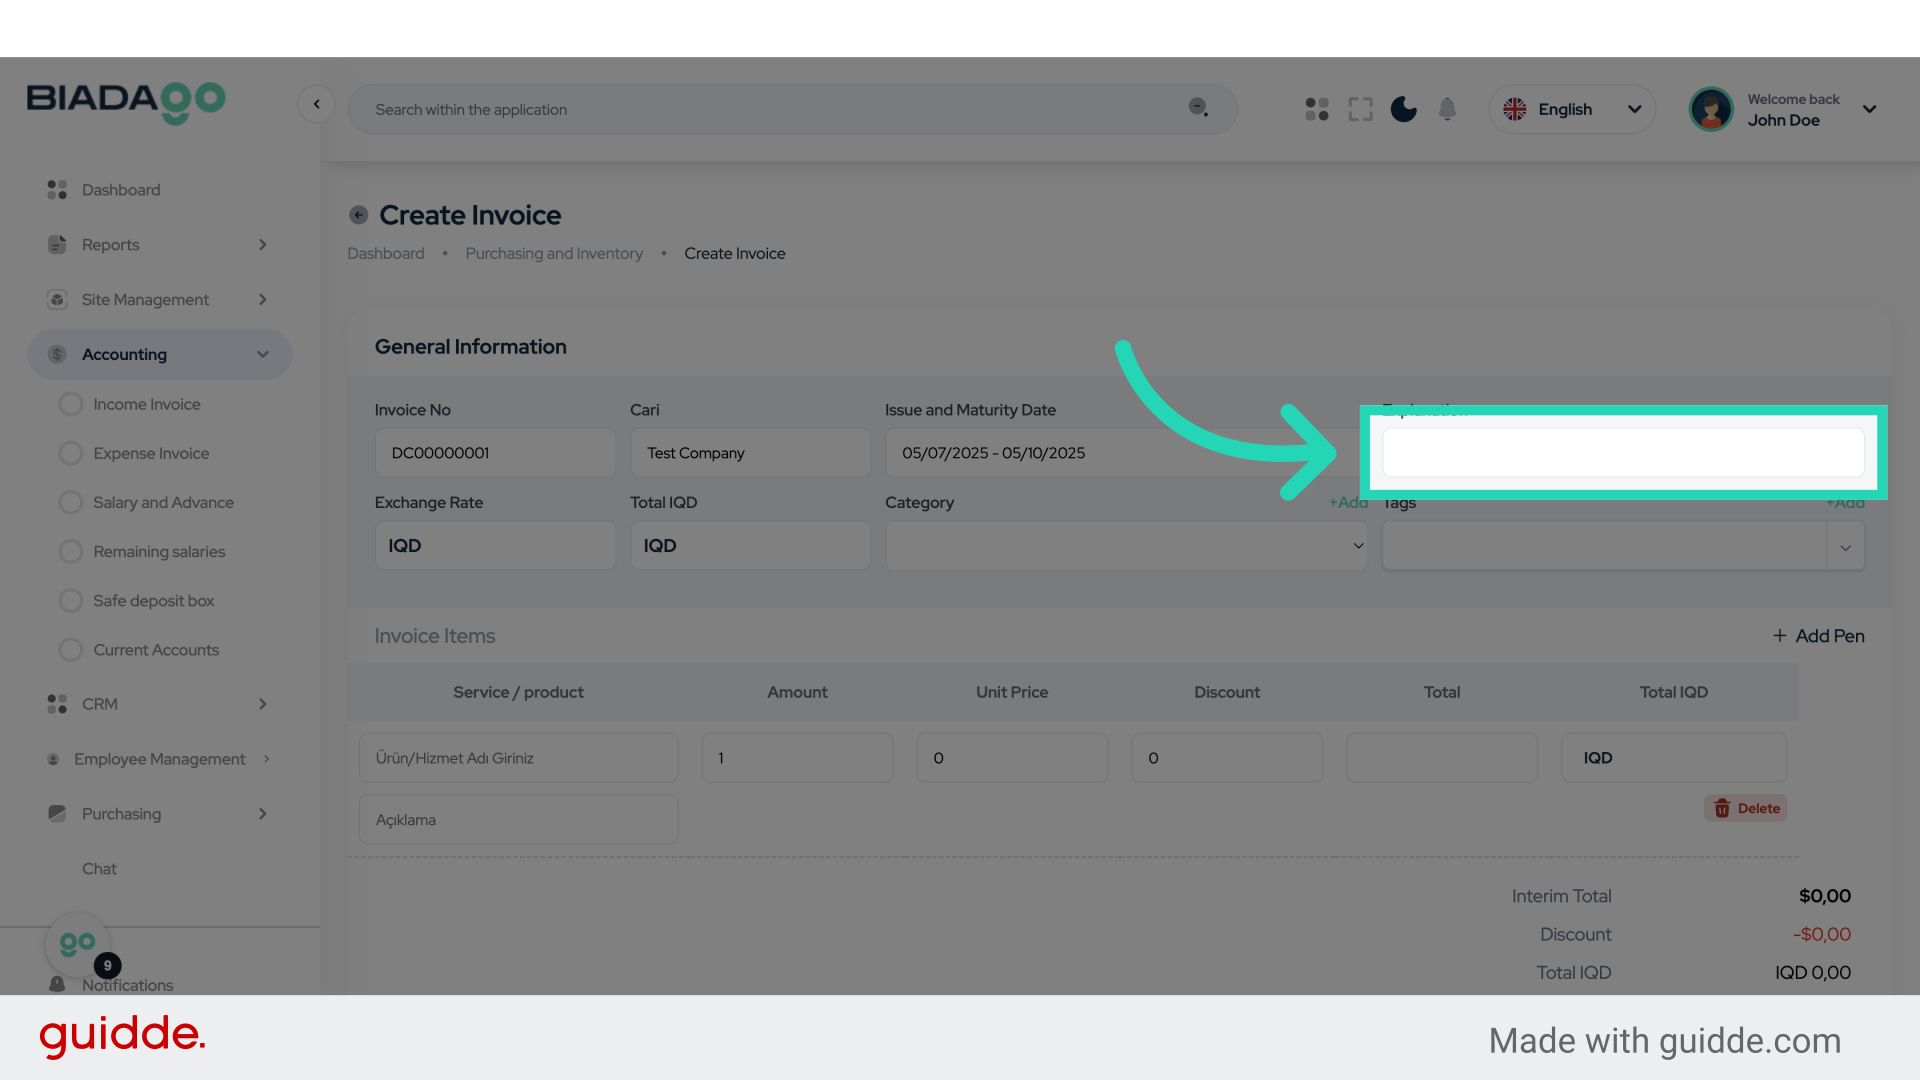
11. Click “Explanation”
Access the “Explanation” section.
12. Fill “Test”
Enter “Test” in the provided field

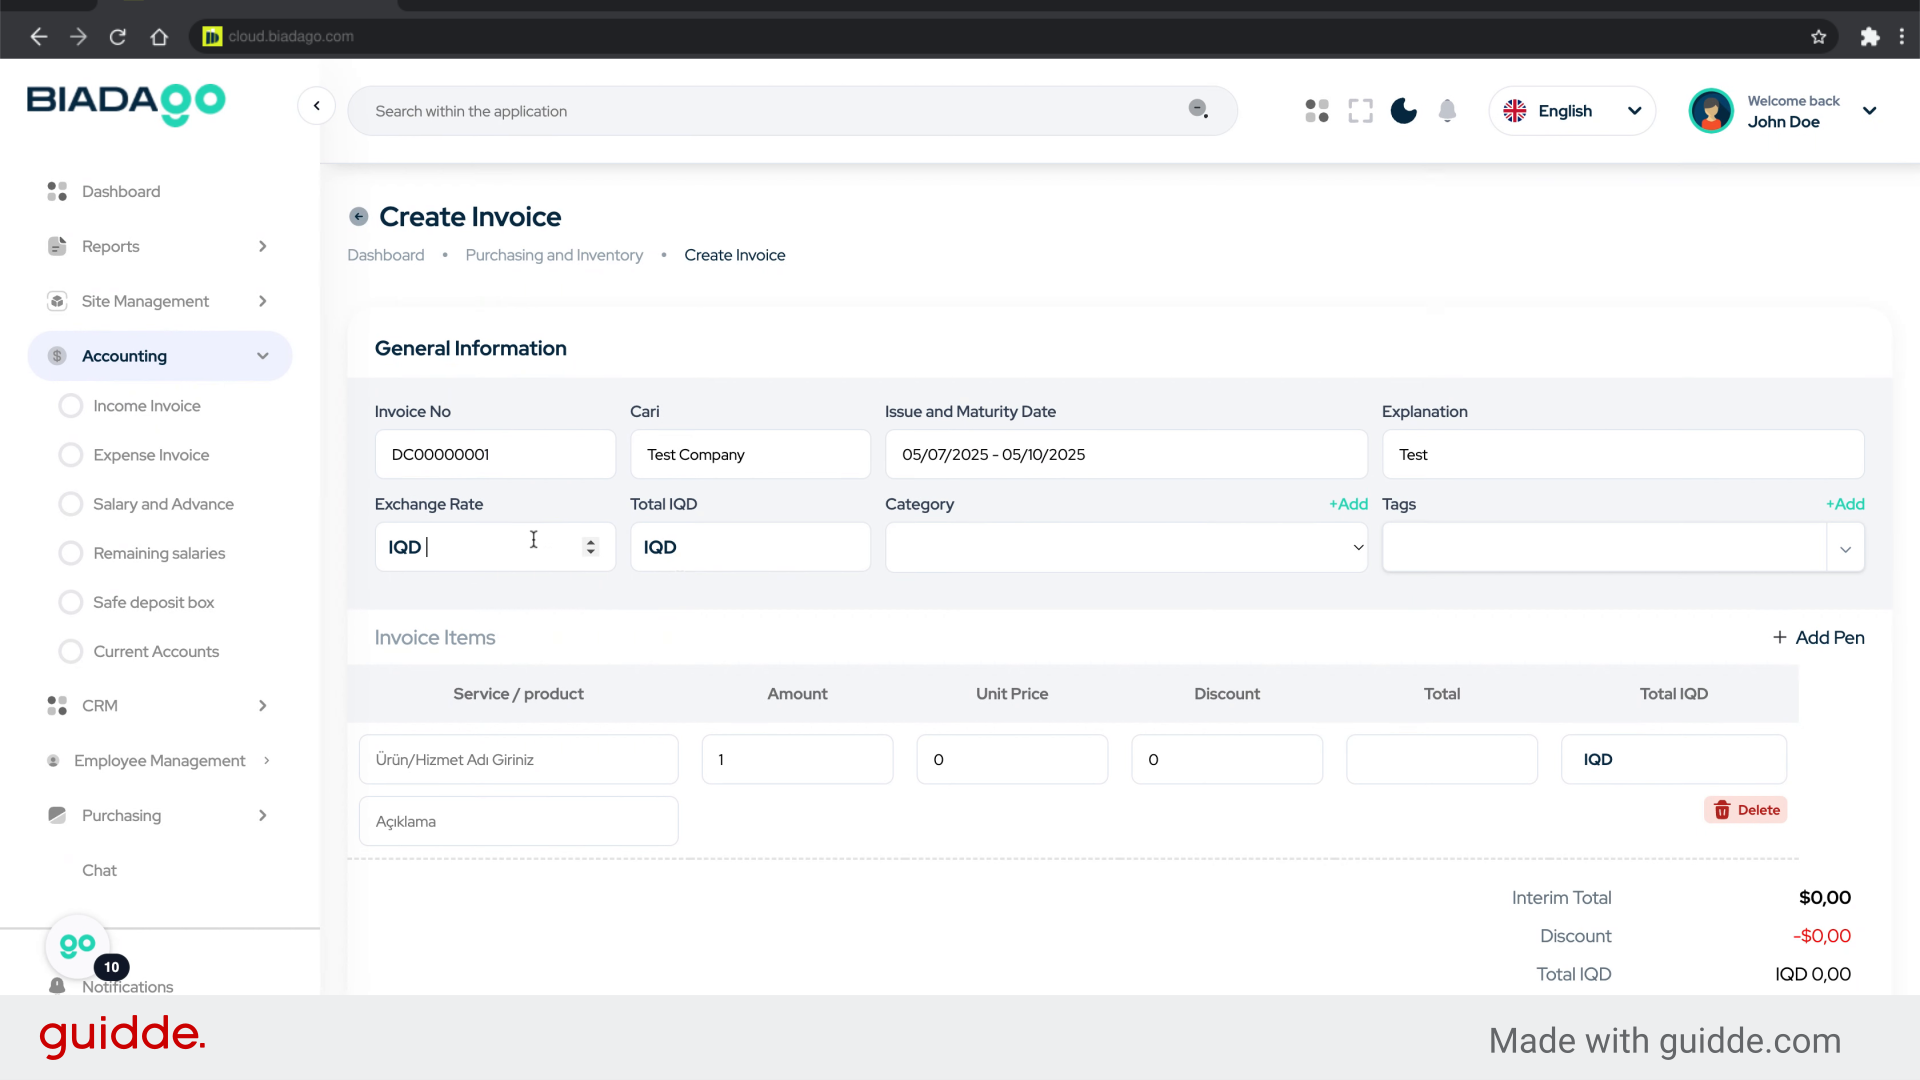
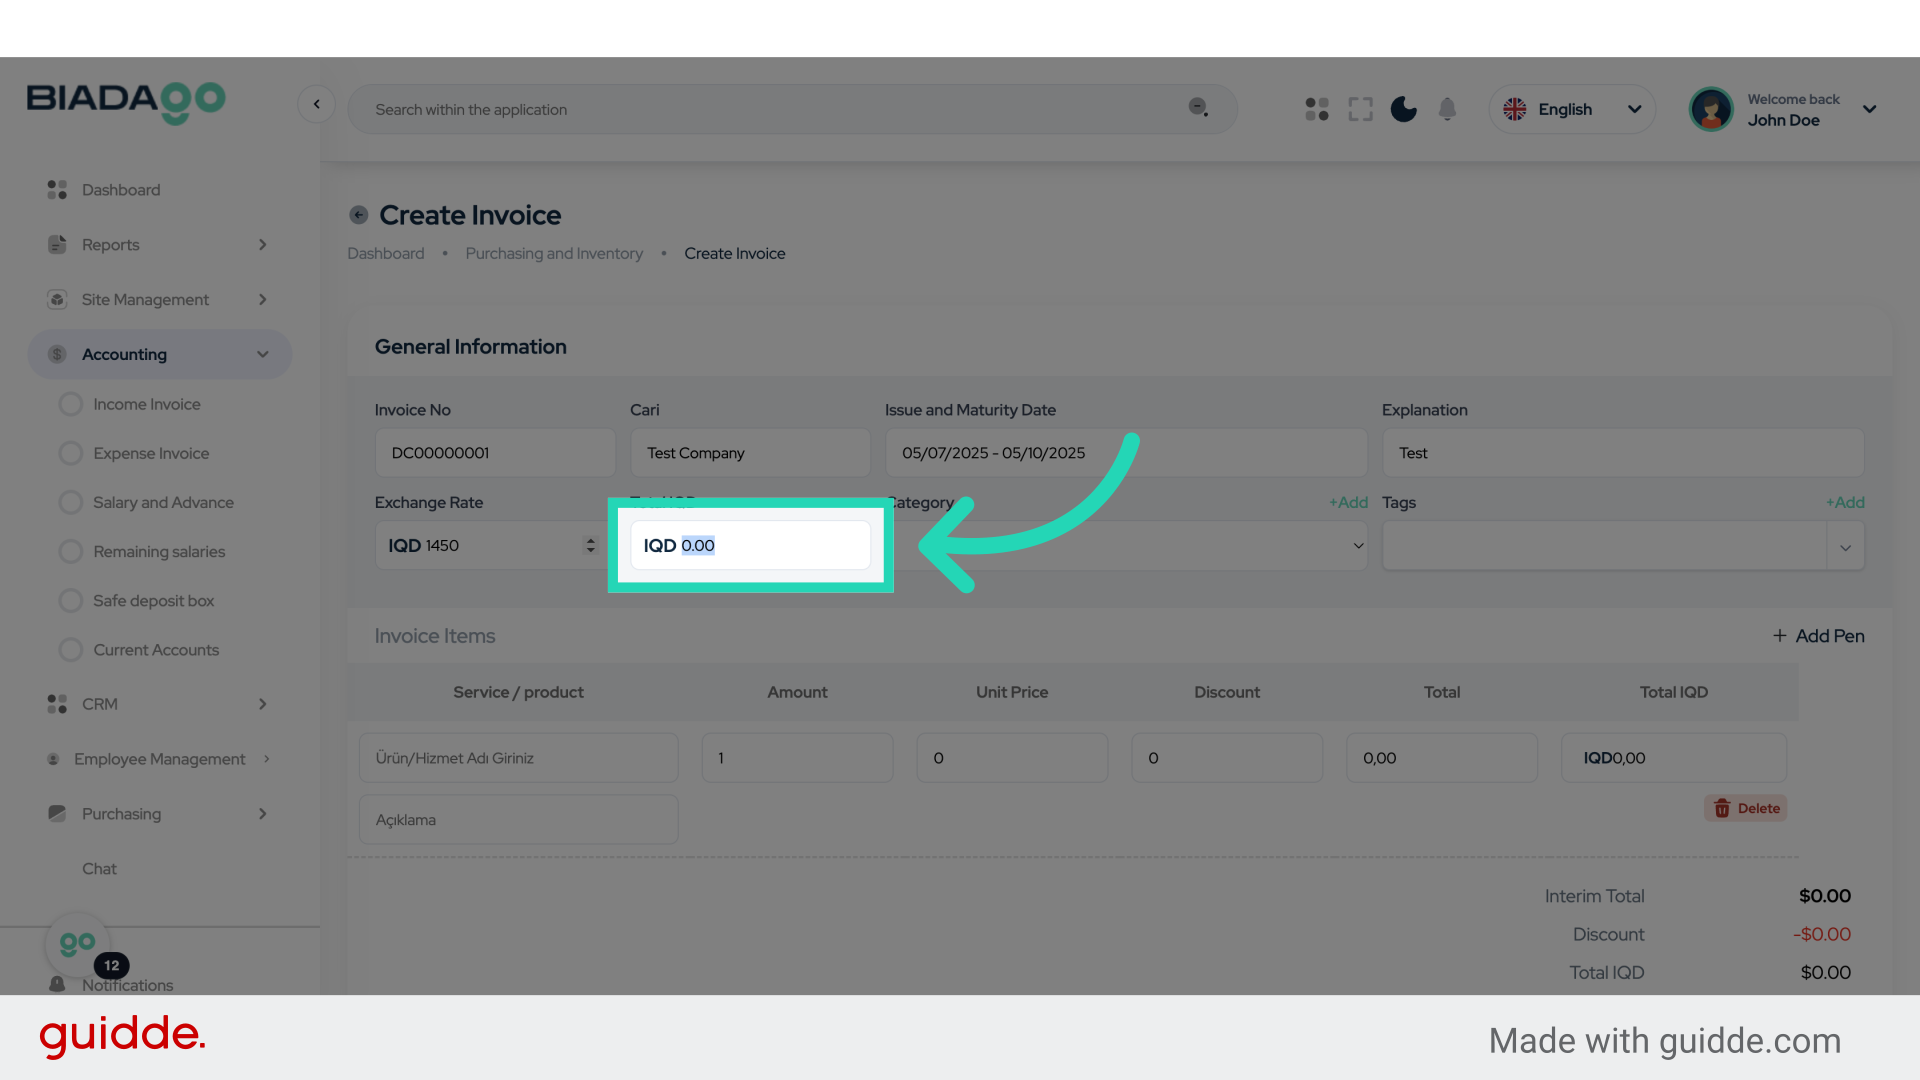
13. Click “Exchange Rate”
Select the “Exchange Rate” option.
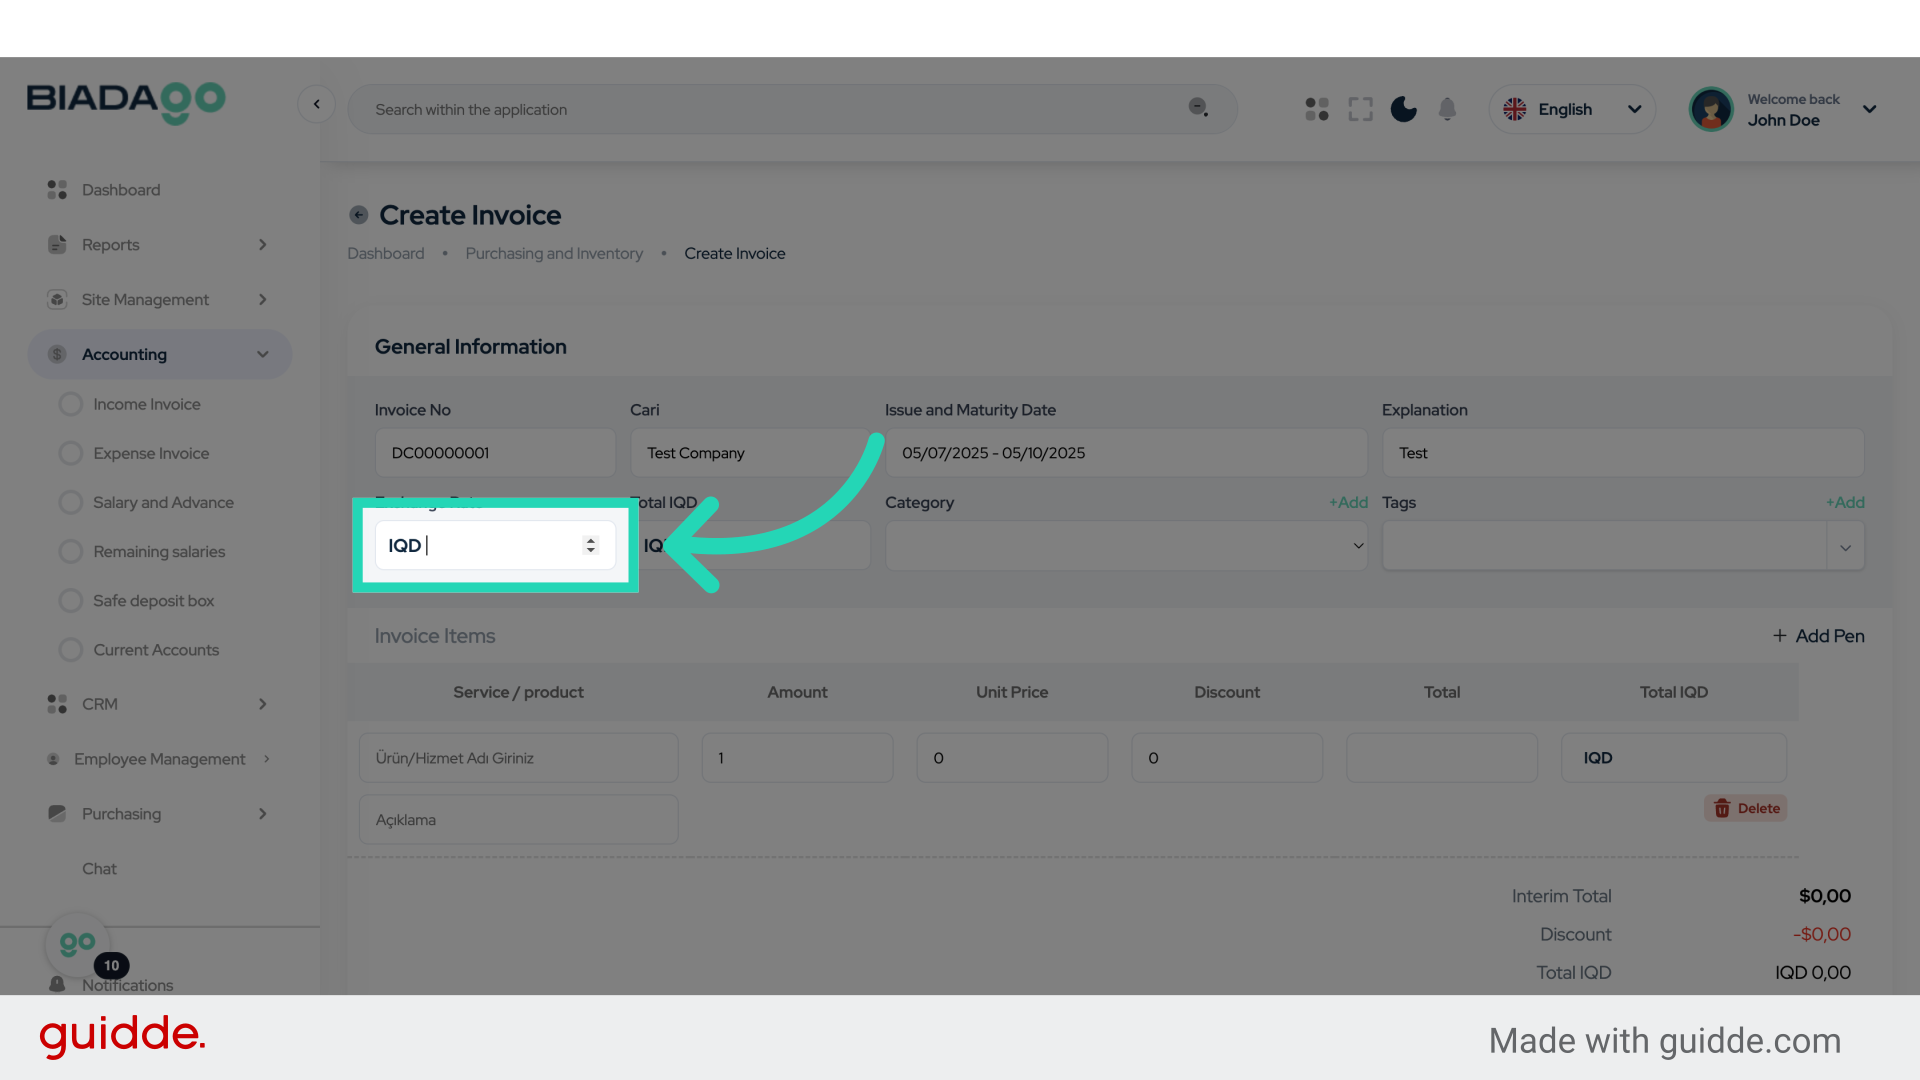
14. Fill “1450”
Fill in the text box with “1450”
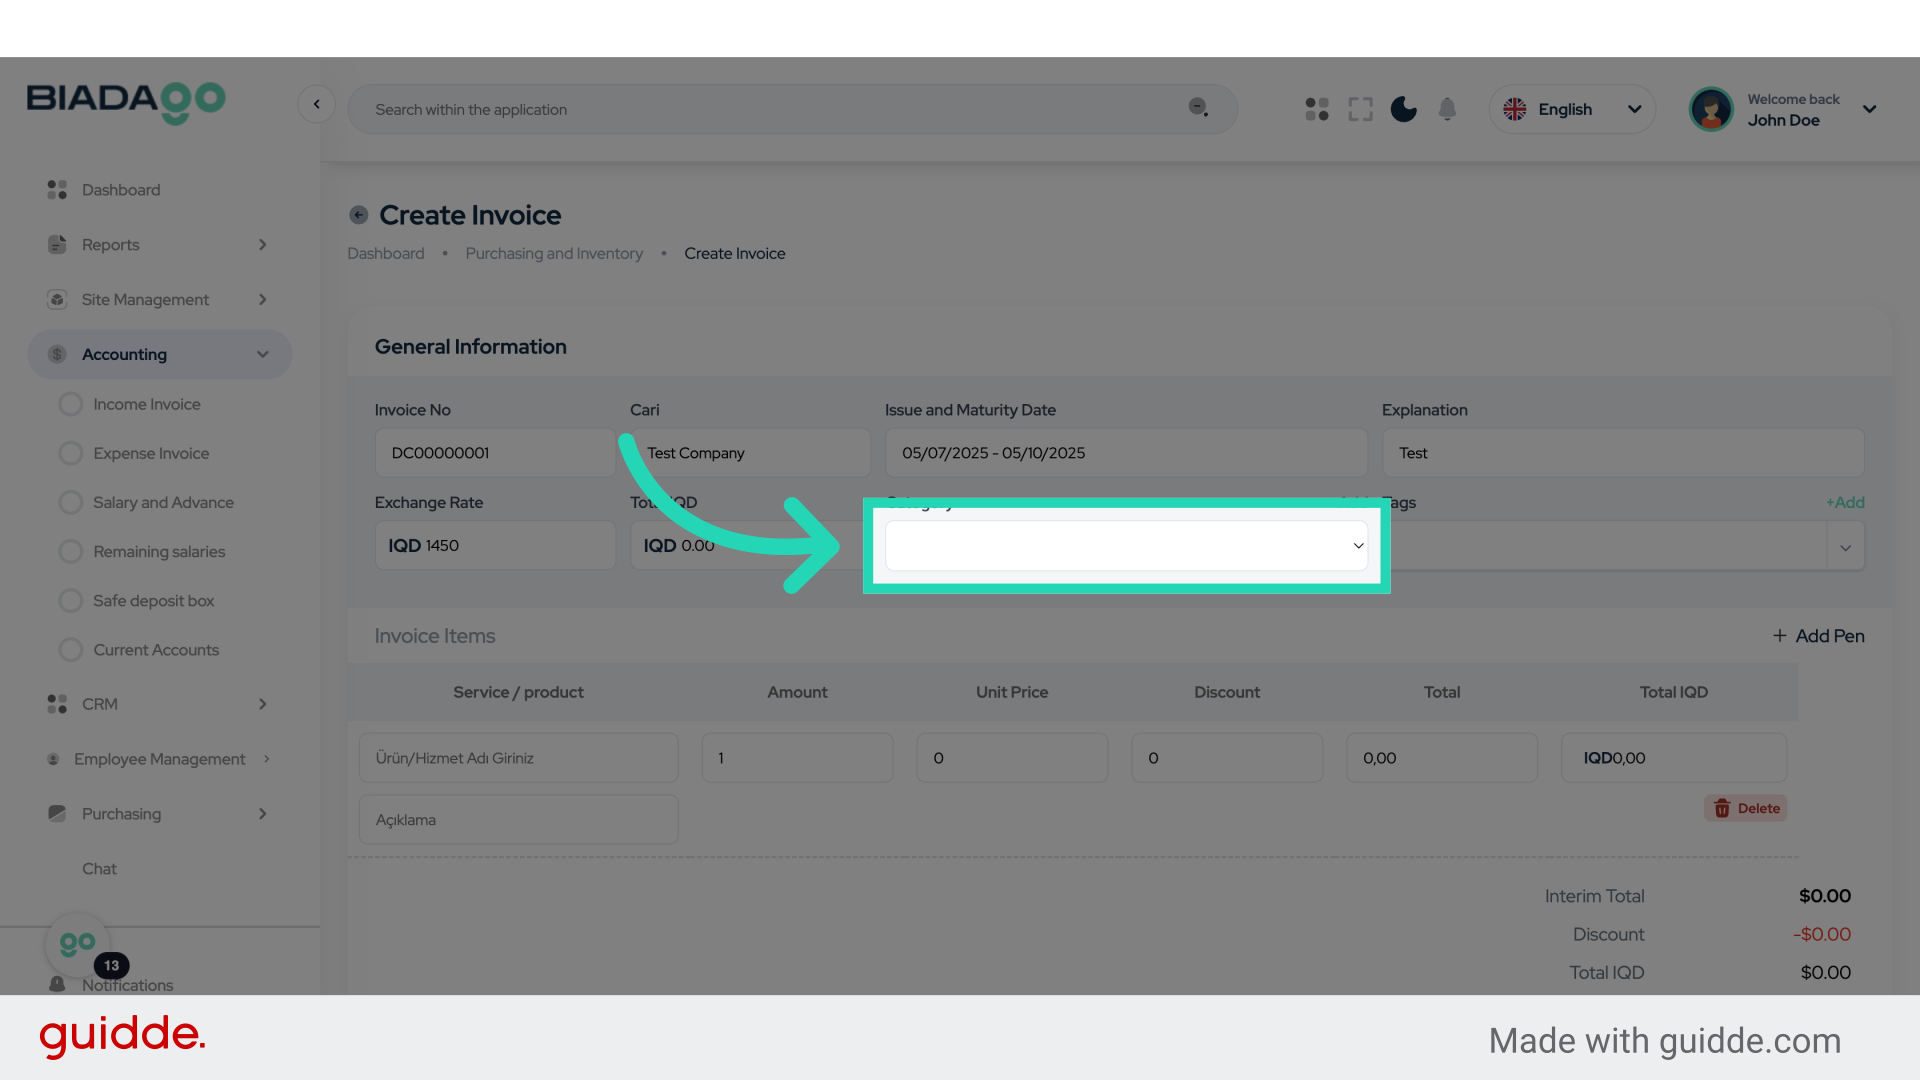
15. Go here
Navigate to the specified location.
16. Click “Test Income”
Select the “Test Income” option.
17. Fill “Test Income”
Enter the desired text.
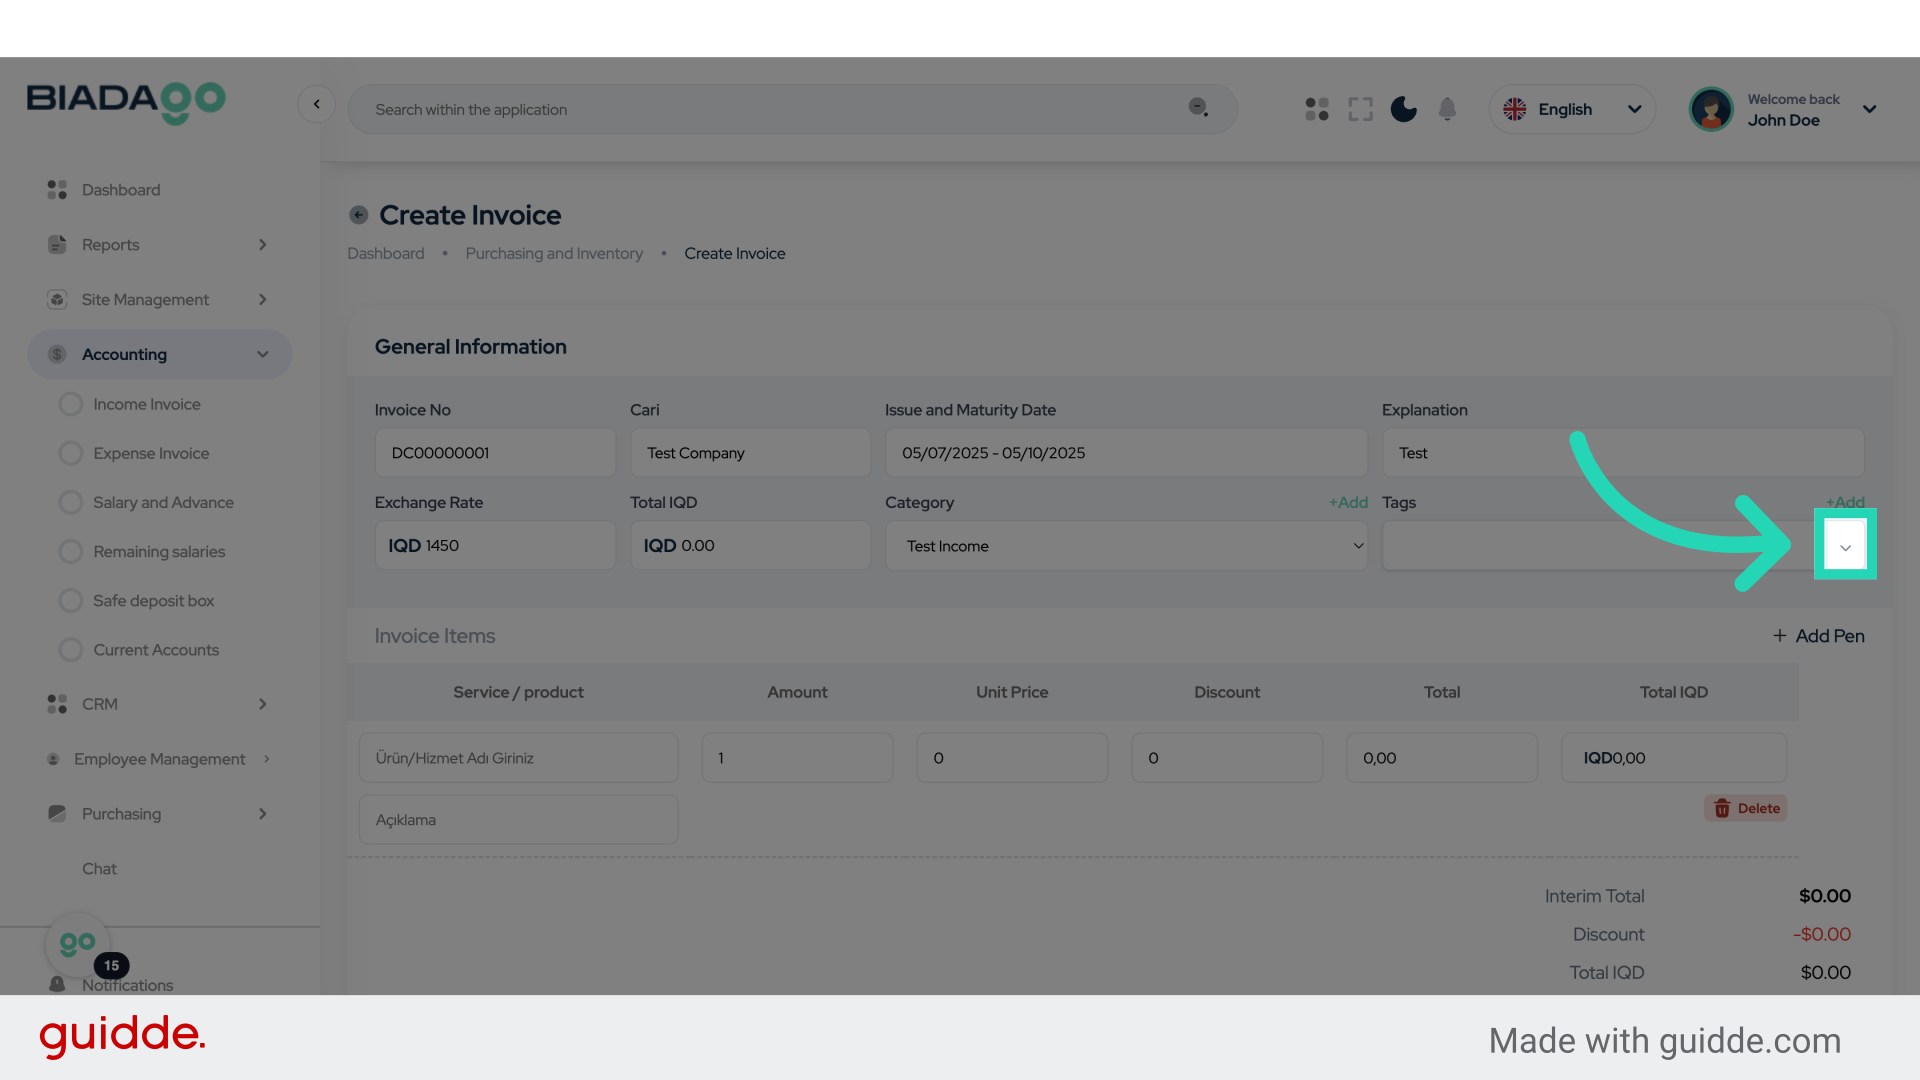
18. Click here
Click on the designated location.
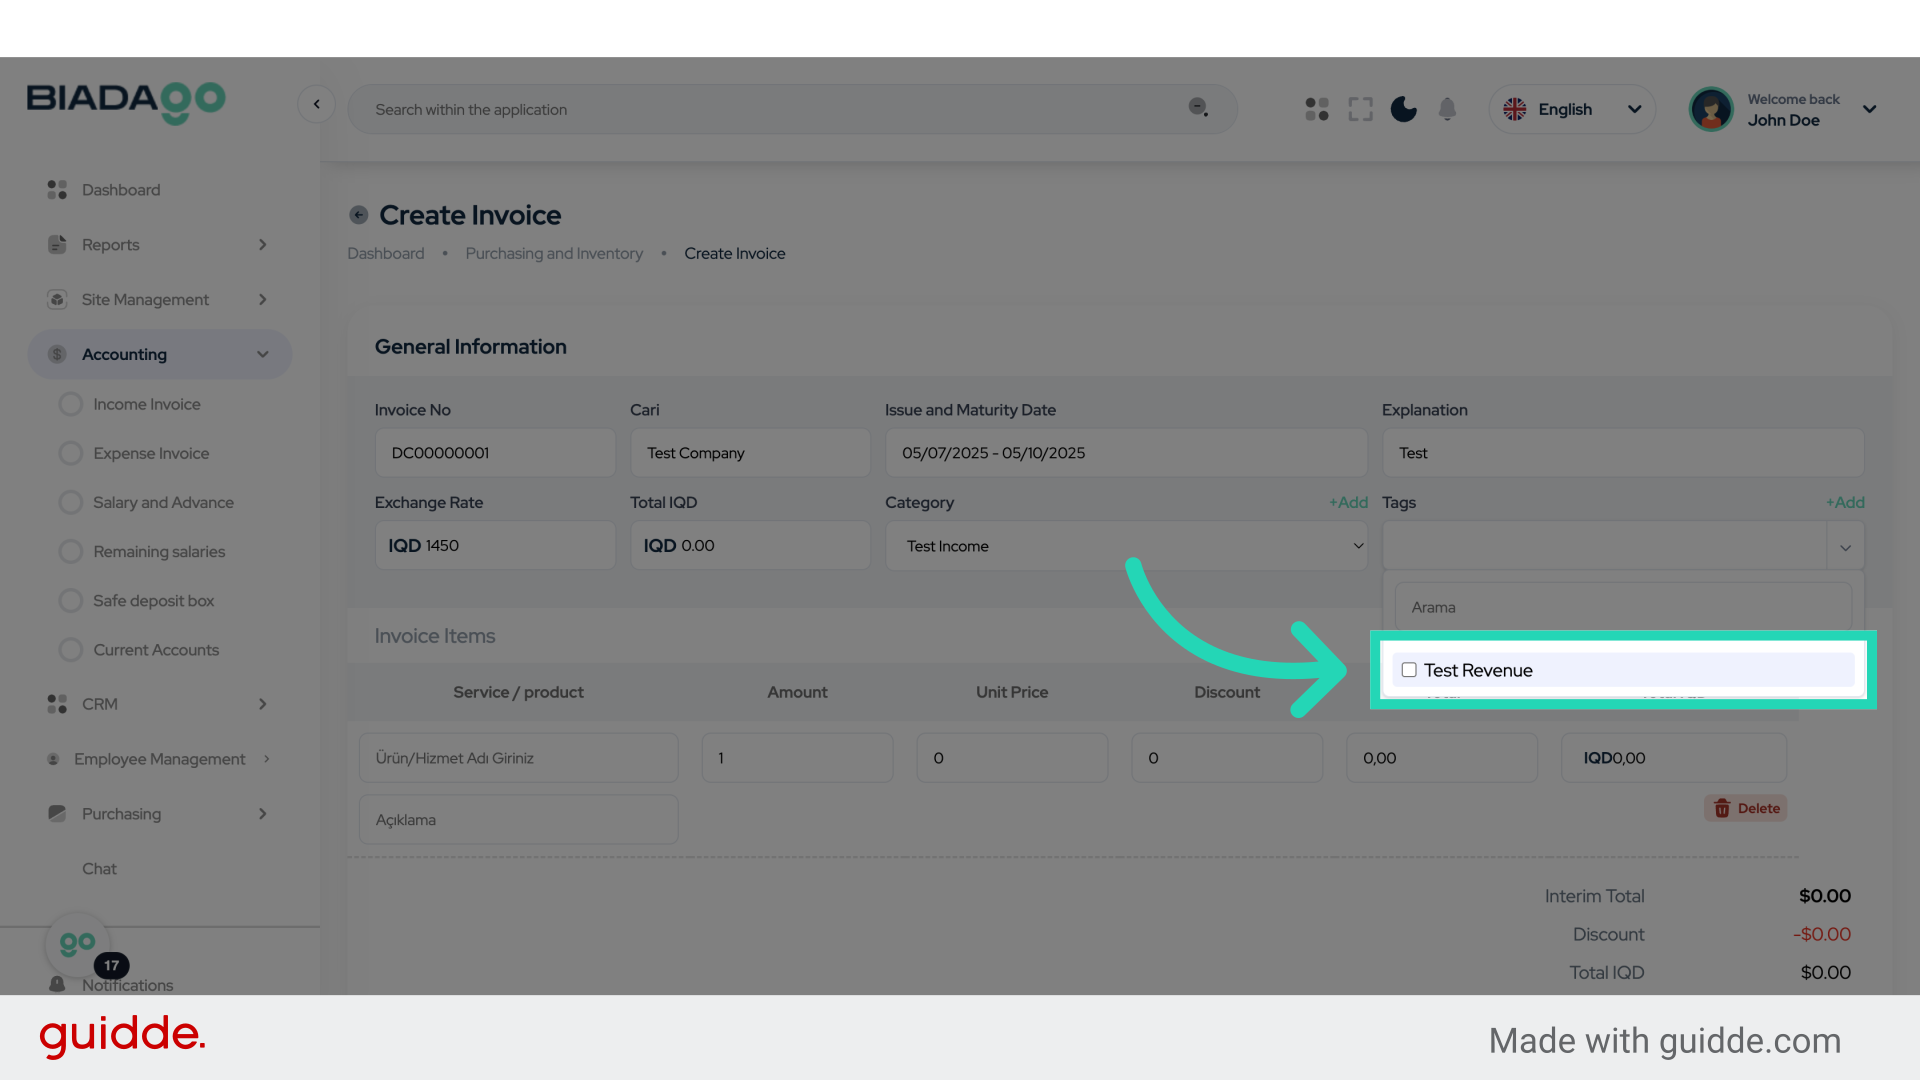
19. Click “Test Revenue”
Access the “Test Revenue” section.
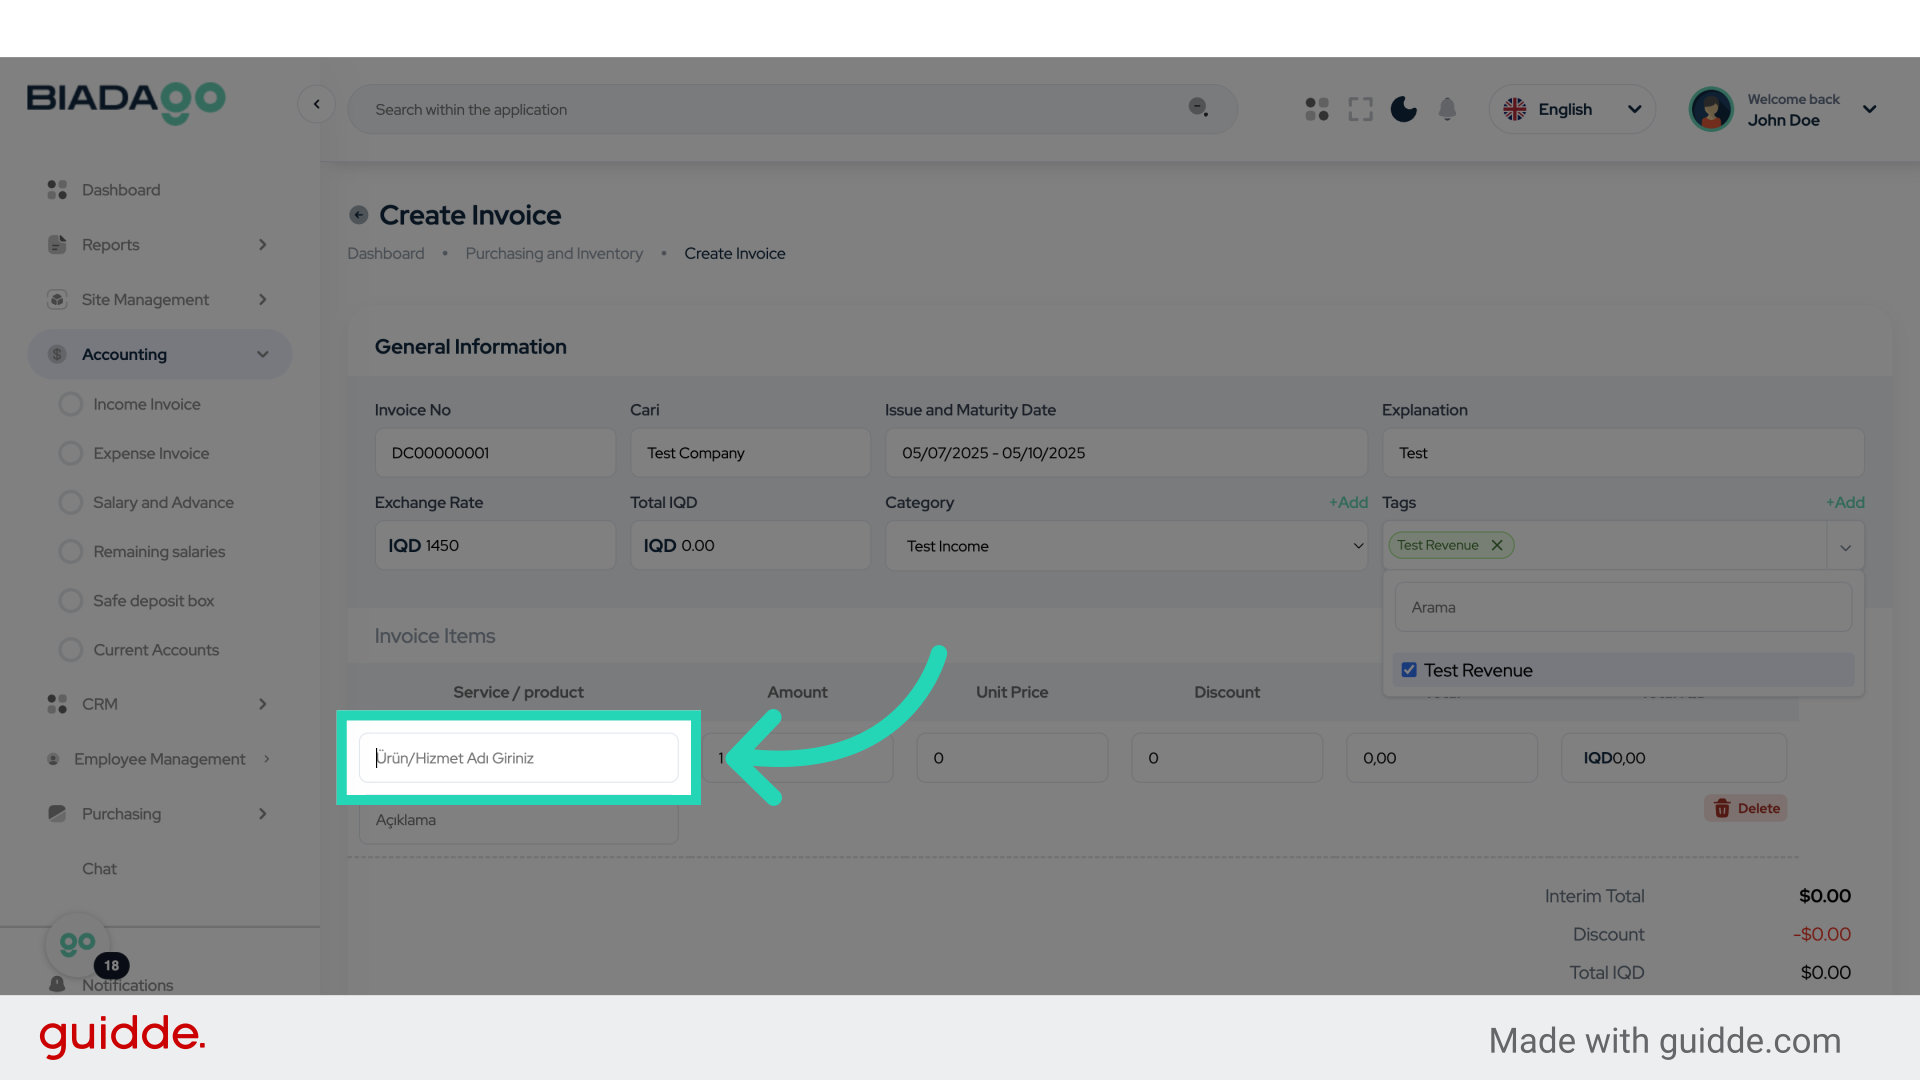
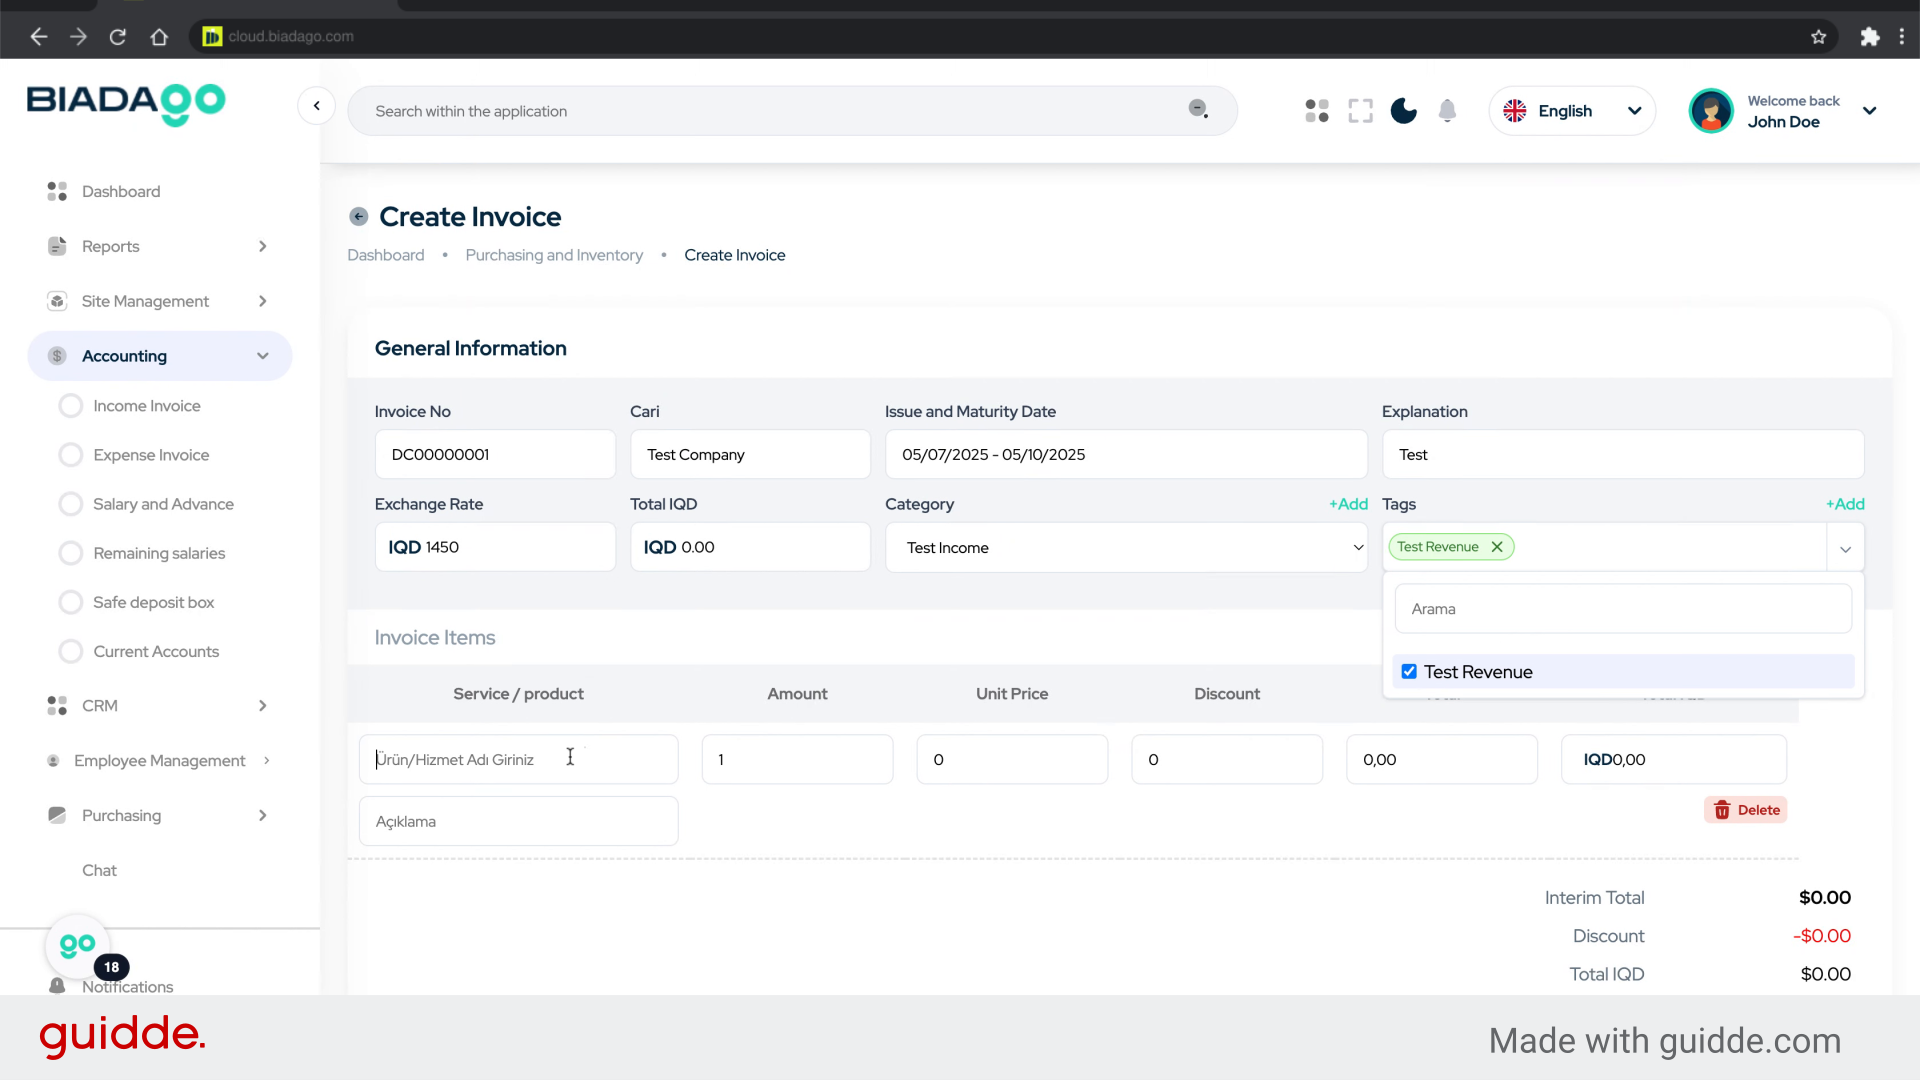
20. Click “Ürün/Hizmet Adı Giriniz”
Click on the “Ürün/Hizmet Adı Giriniz” field.
21. Fill “Test”
Type “Test” in the given field
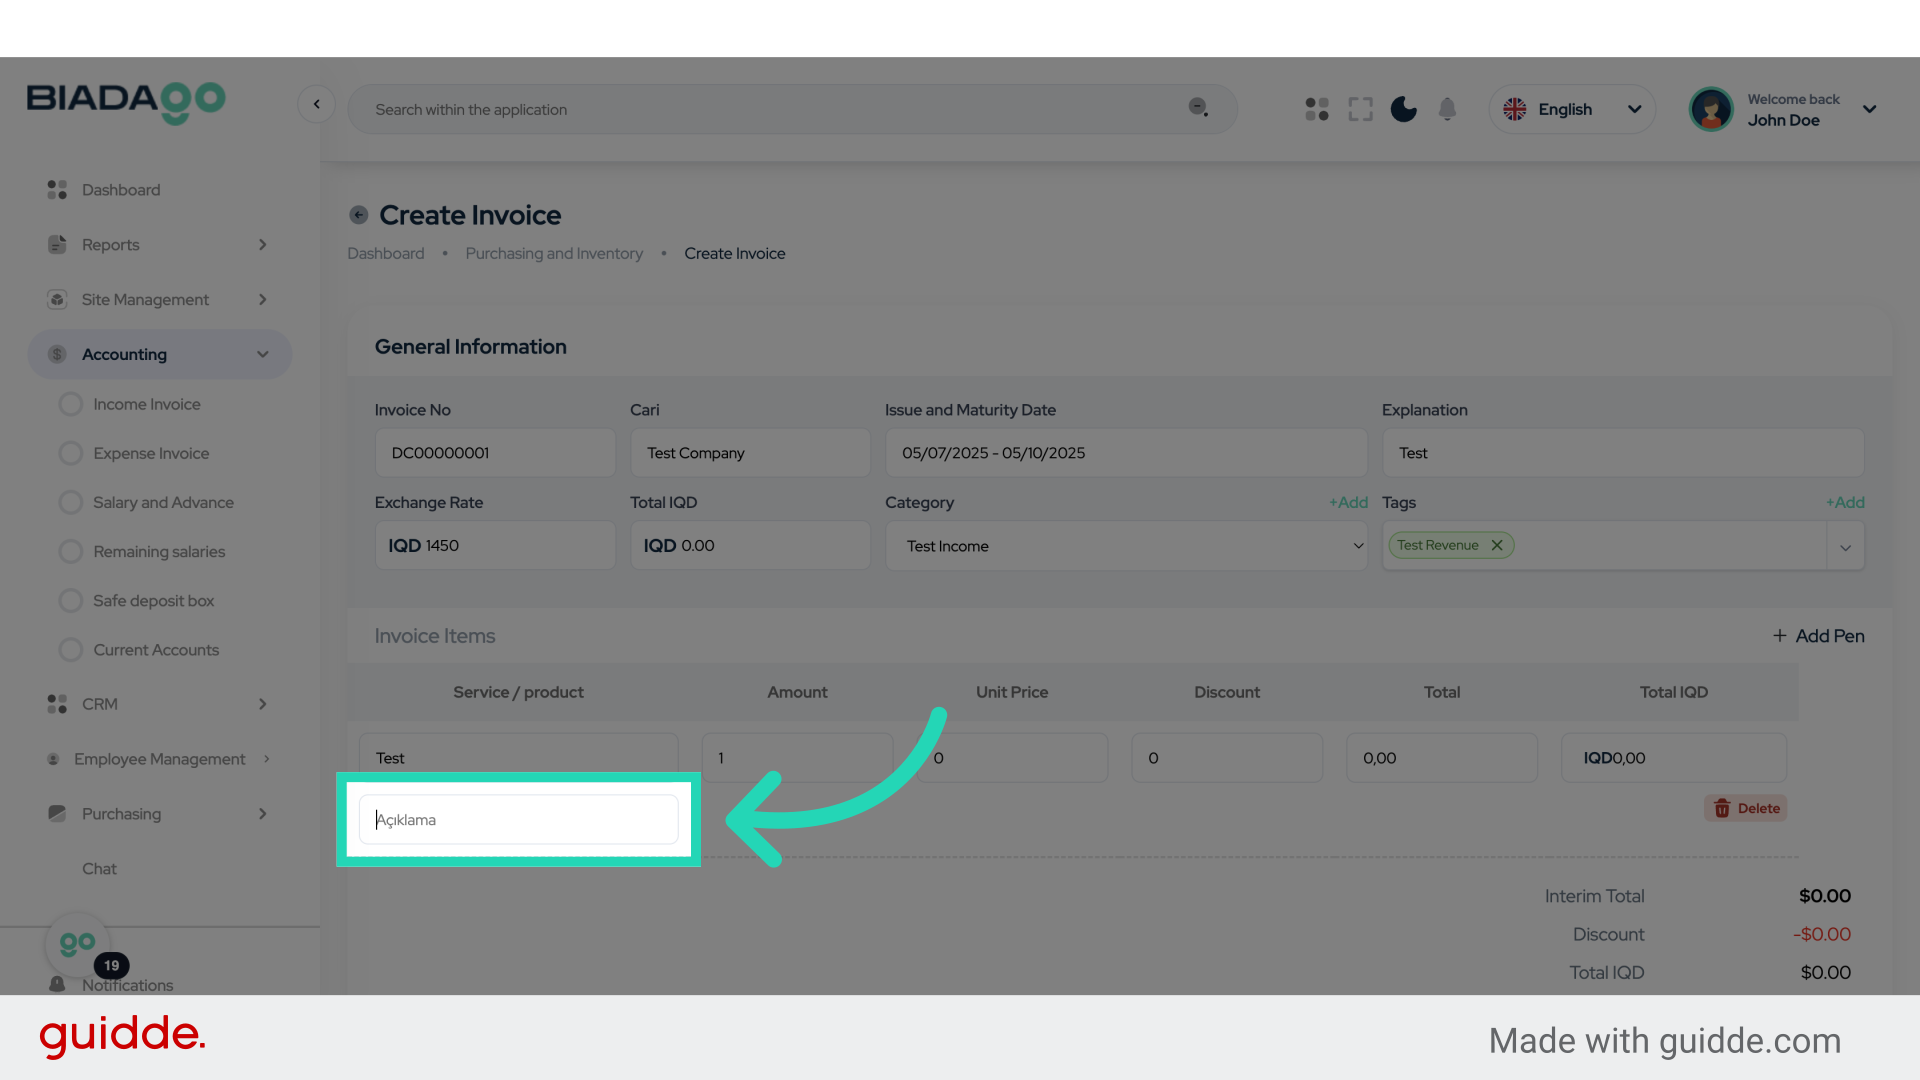
22. Go here
Navigate to the specified location.
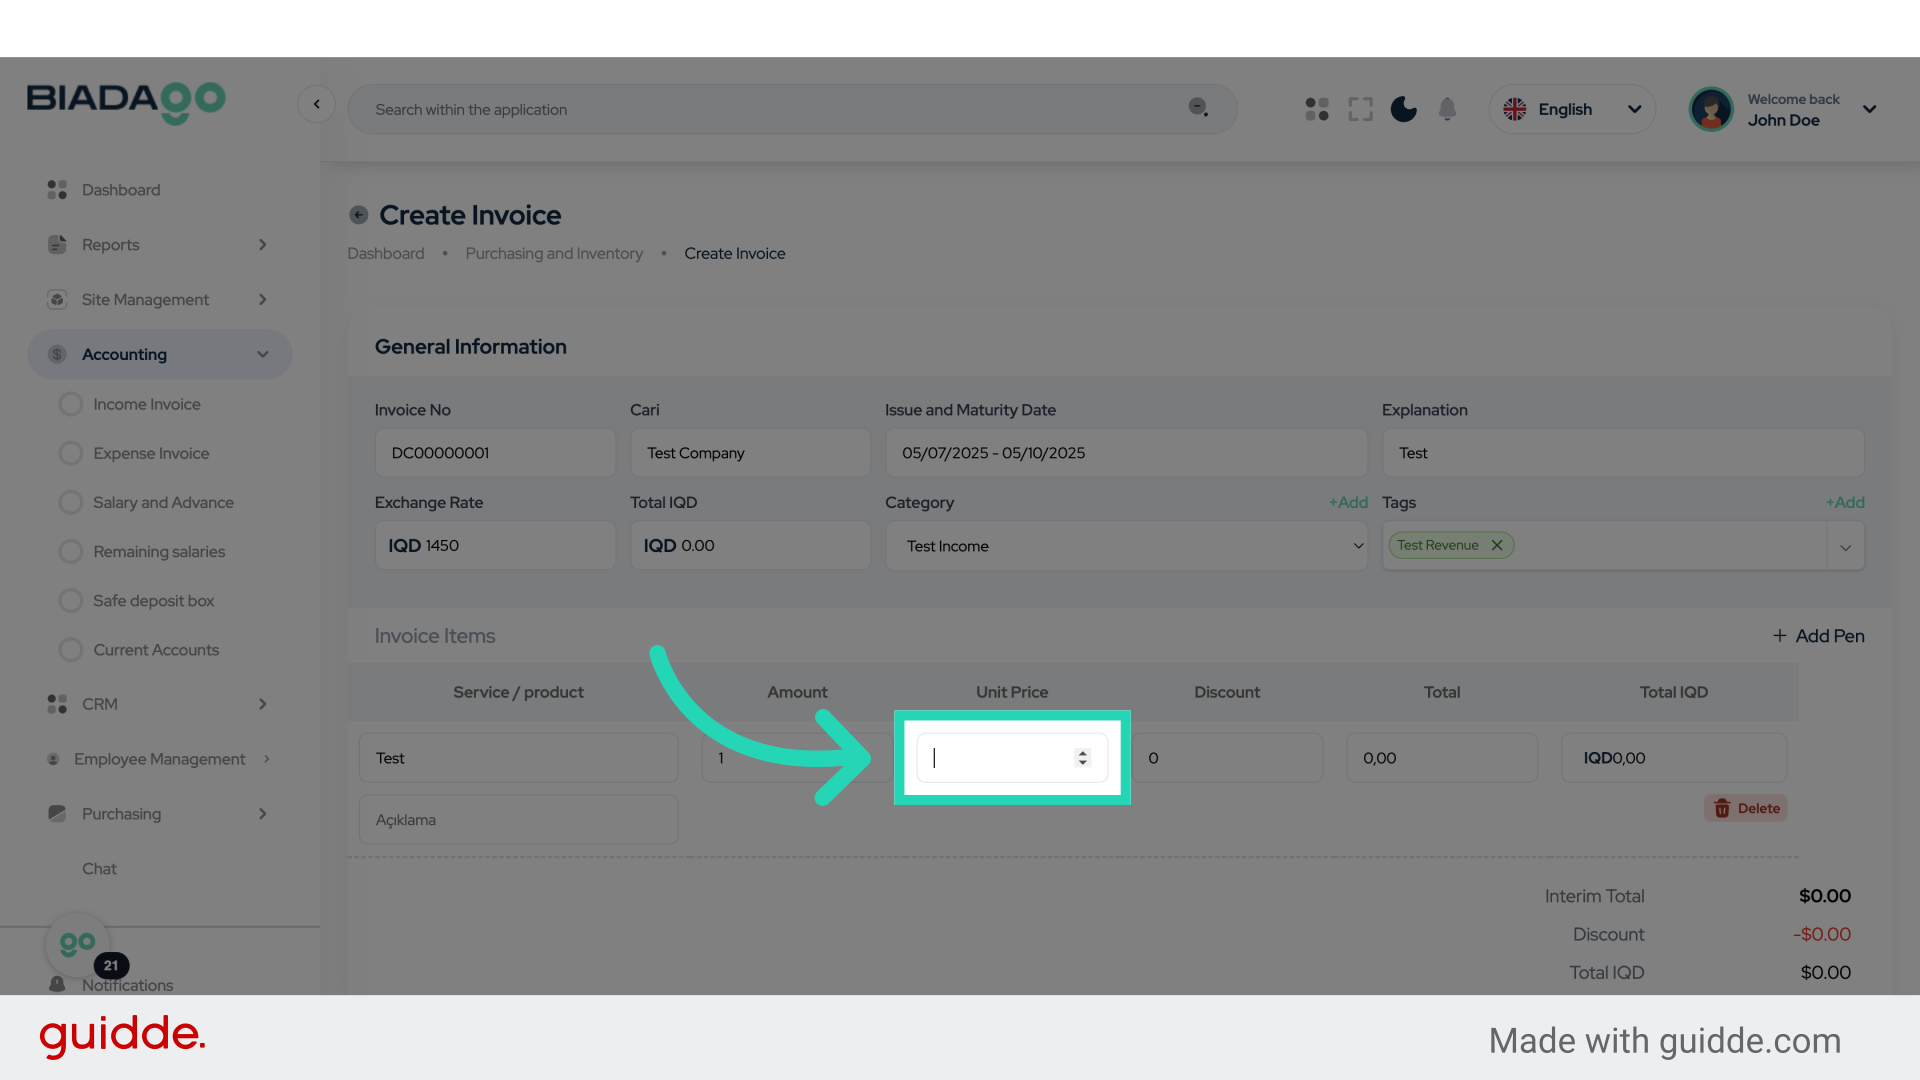
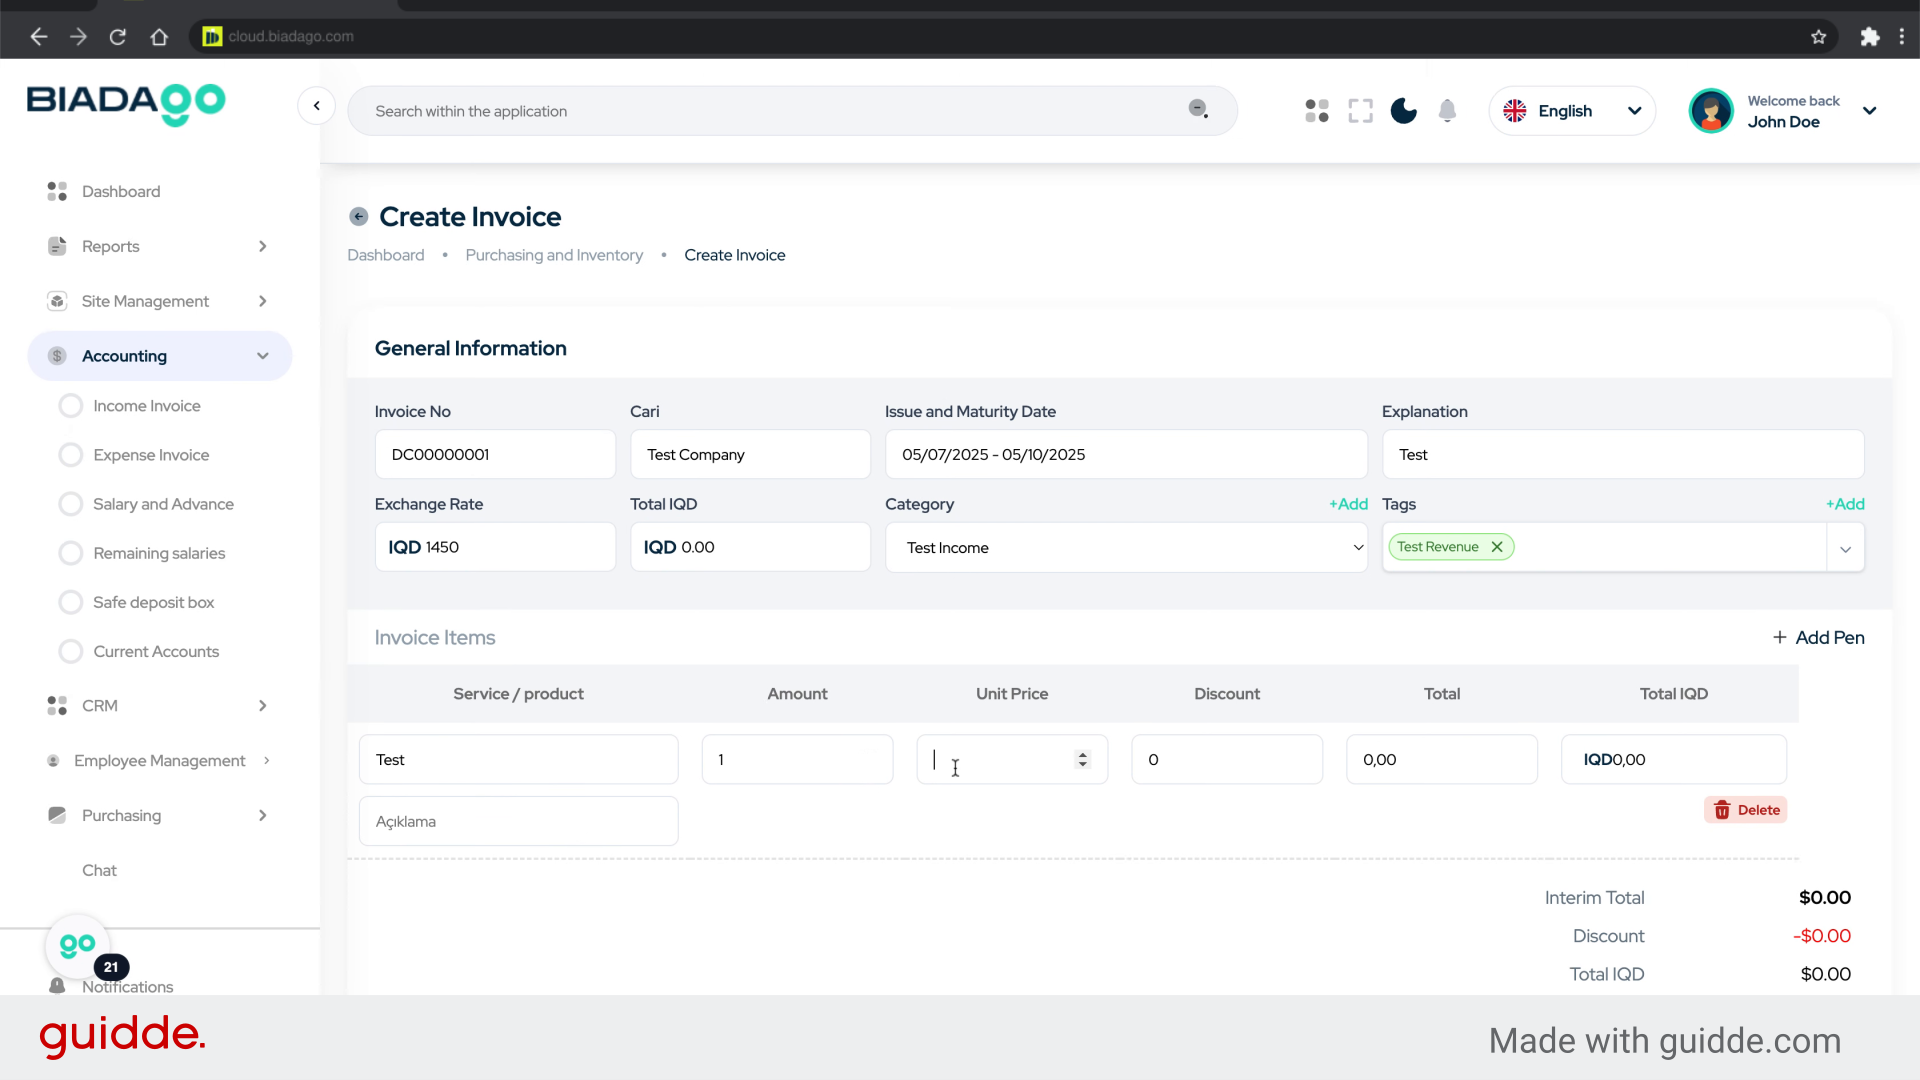
23. Click here
Click on the designated location.
24. Fill “10”
Input “10” in the available field
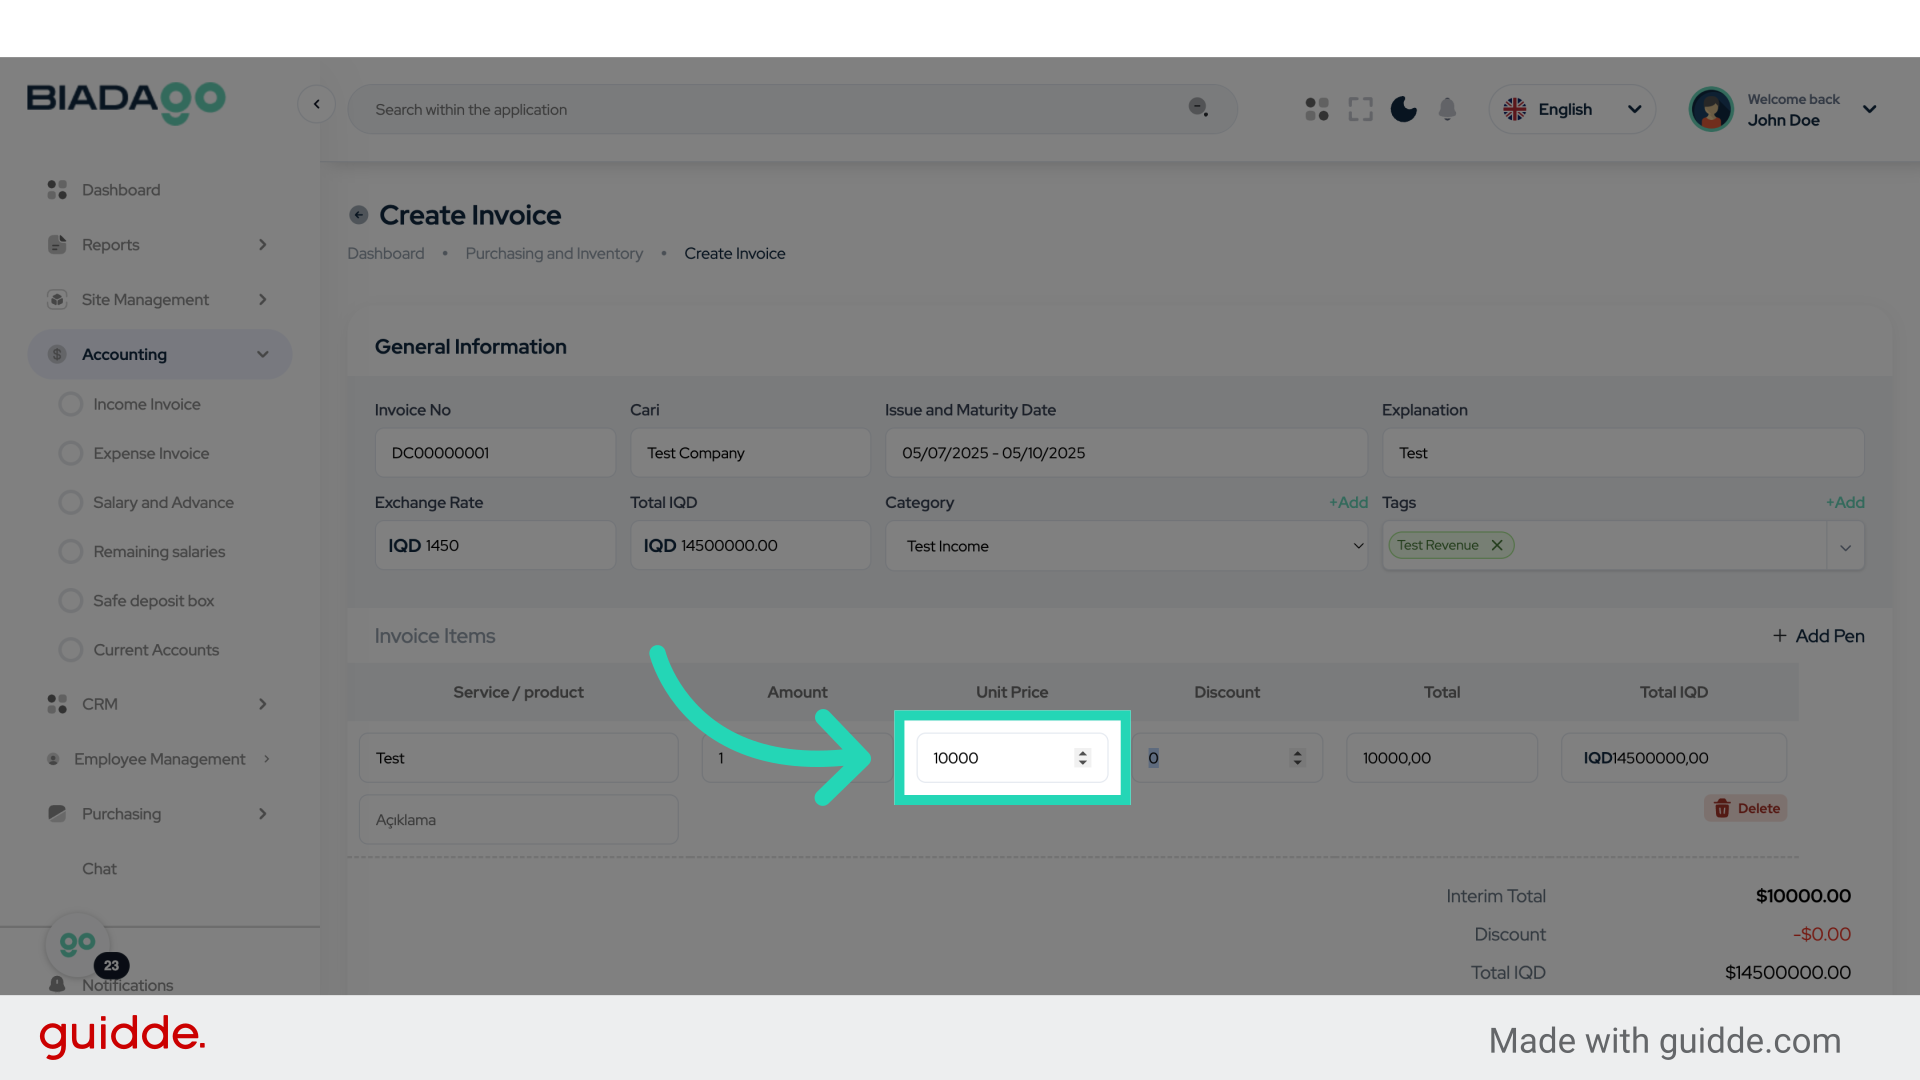
25. Fill “10000”
Enter the amount “10000” in the field.
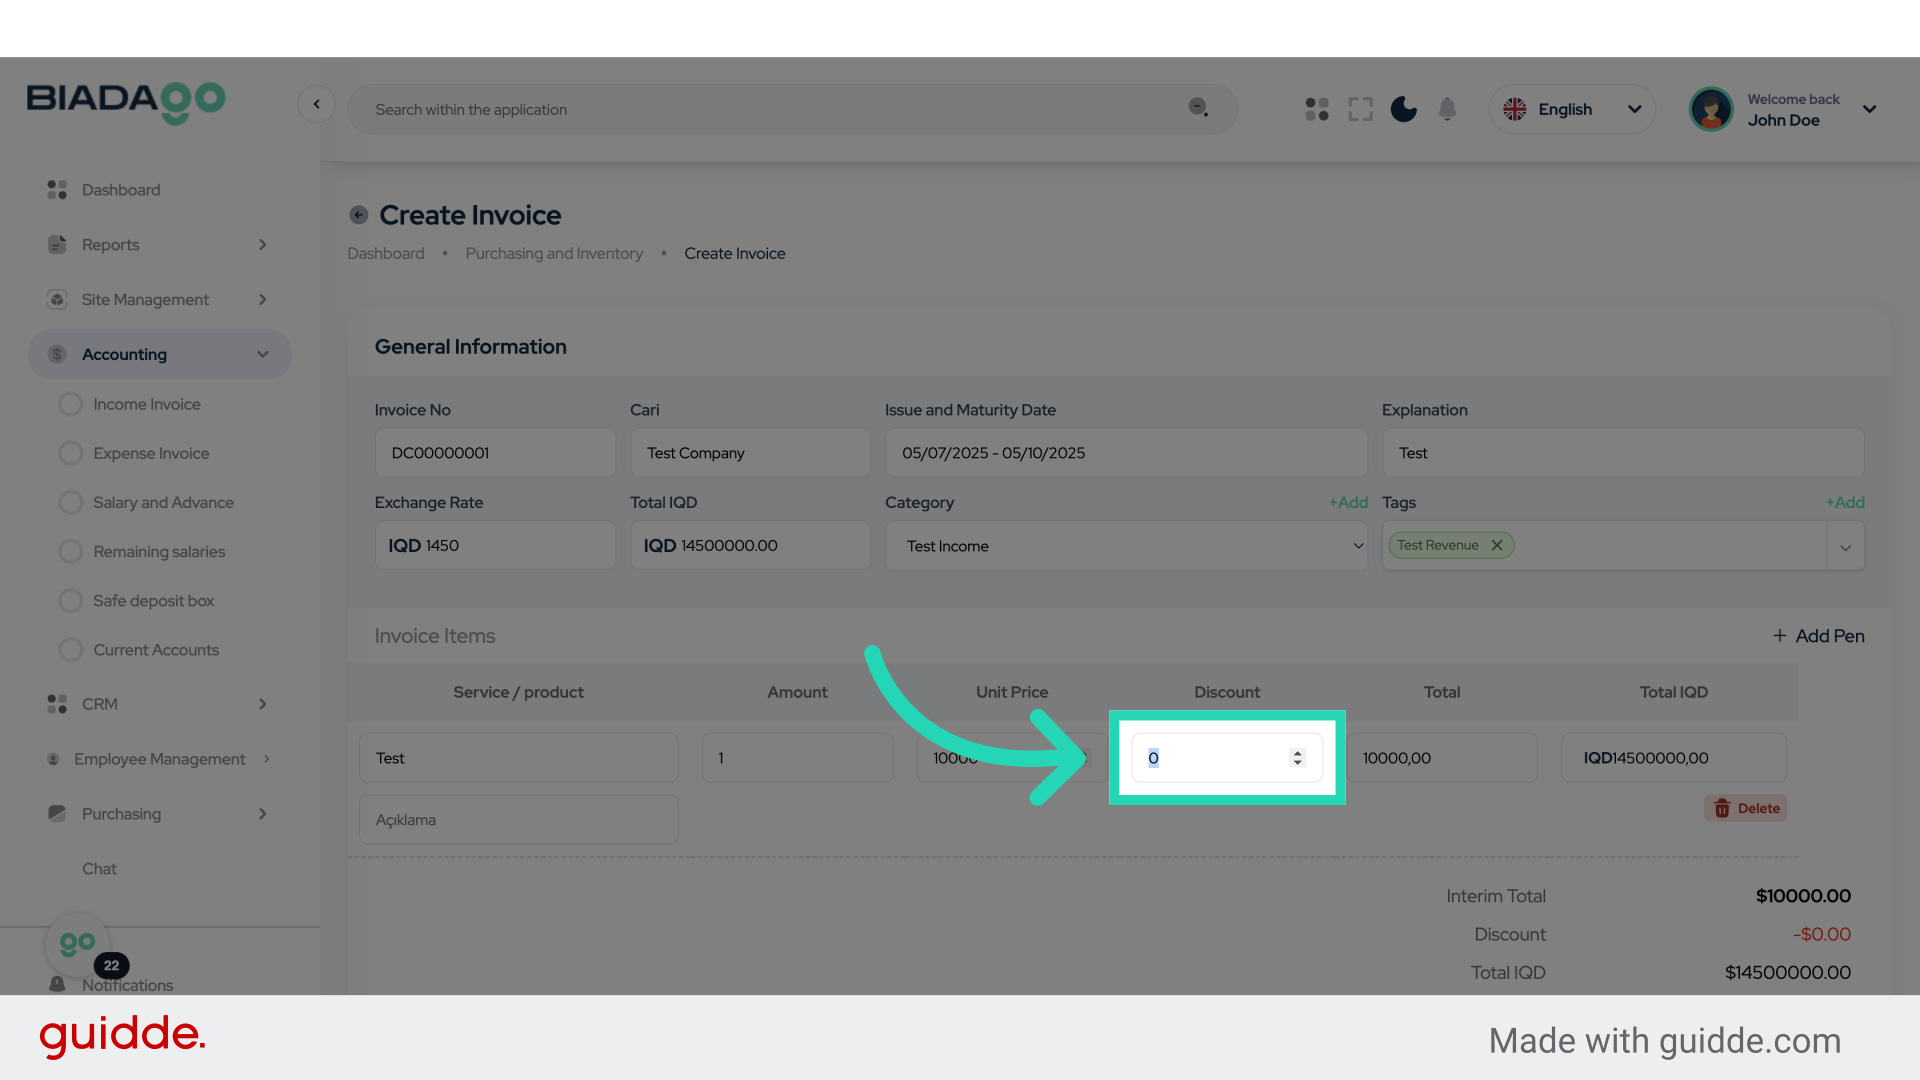
26. Go here
Navigate to the specified location.
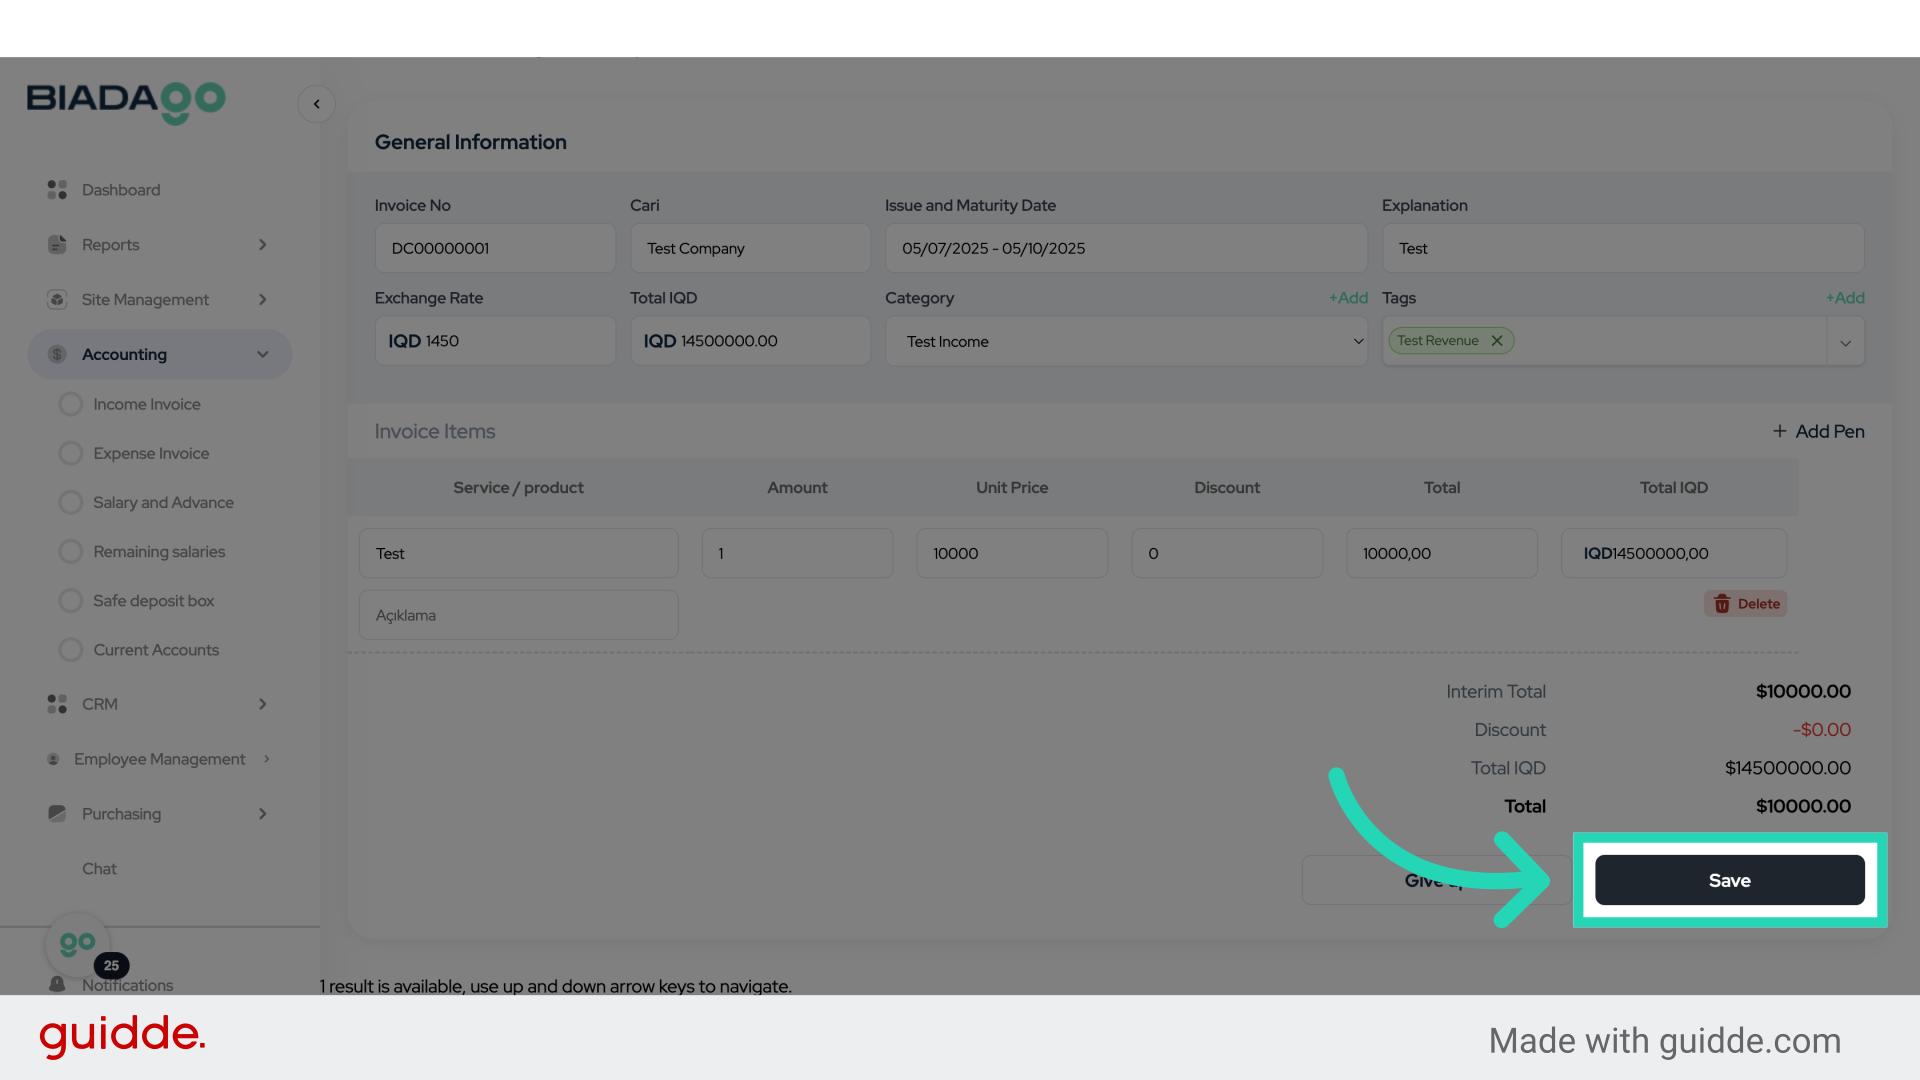
27. Click “Save”
Save the changes made.
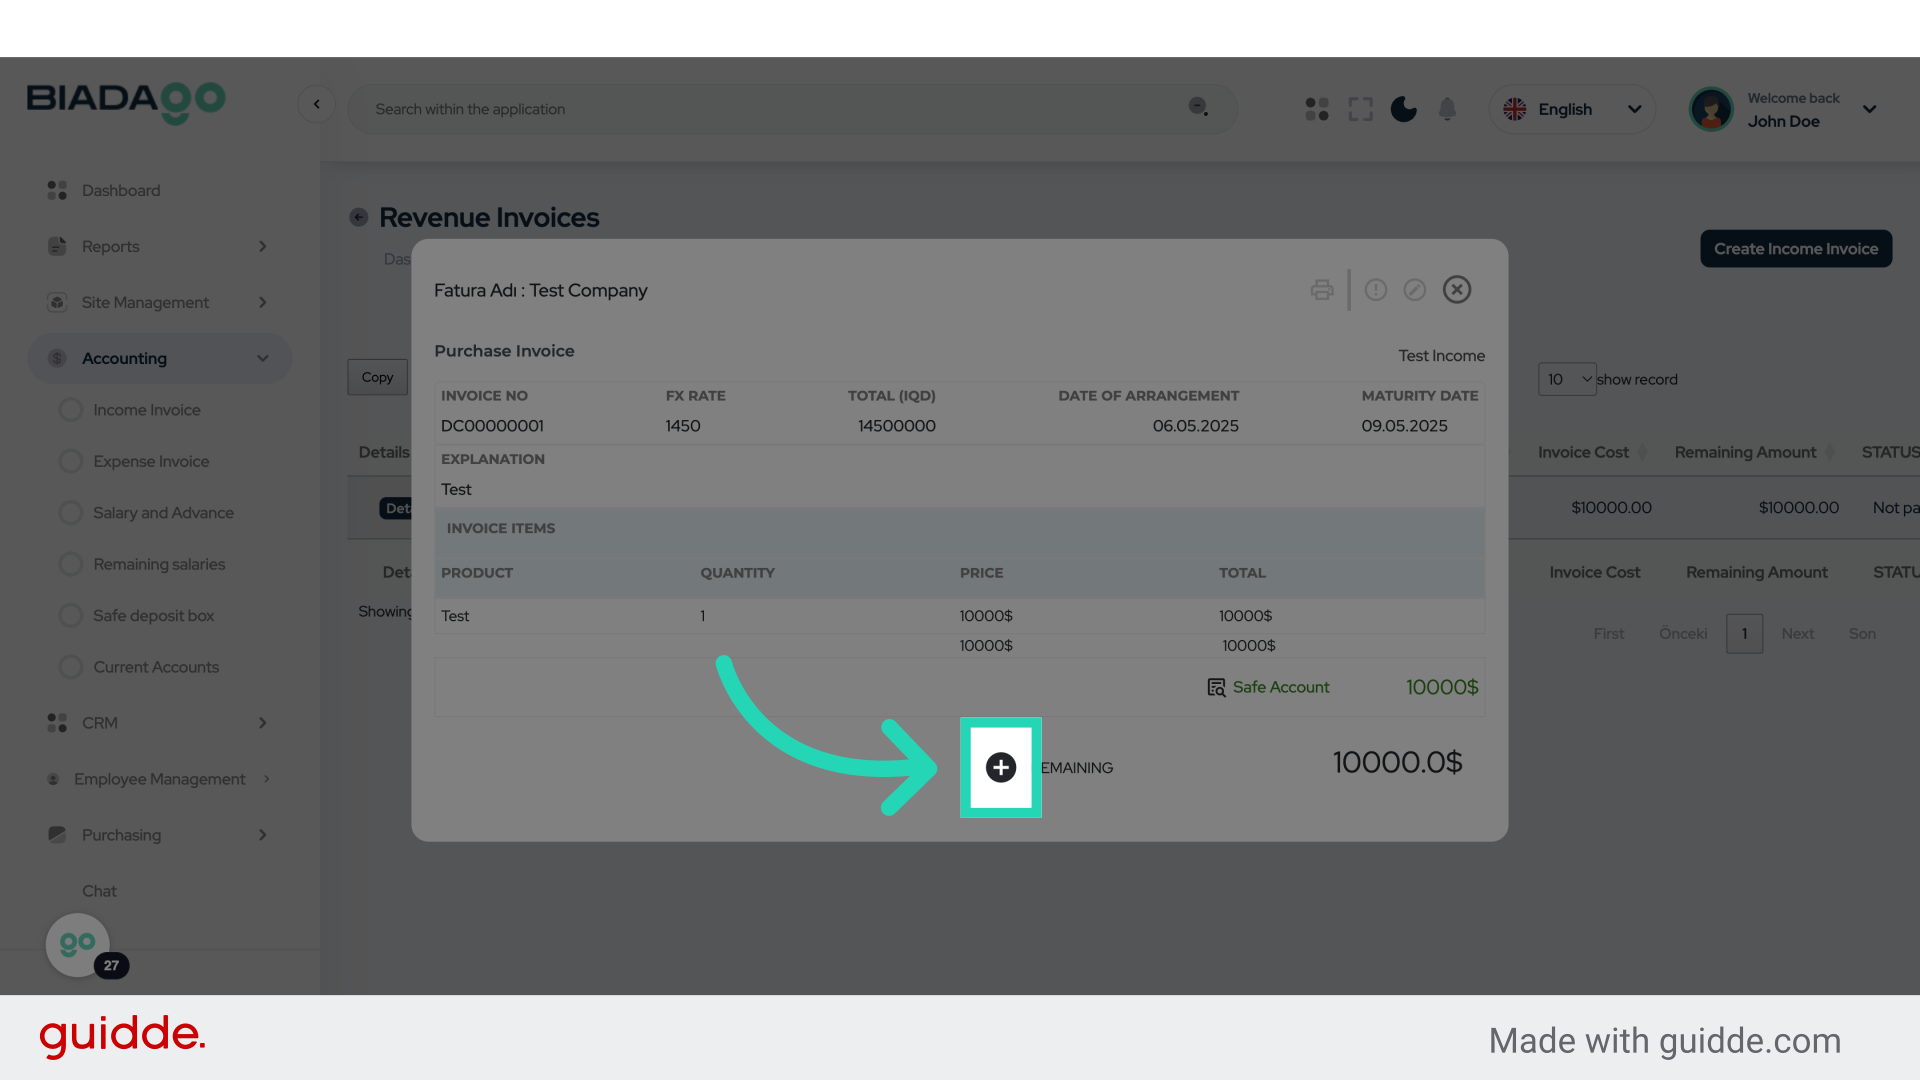
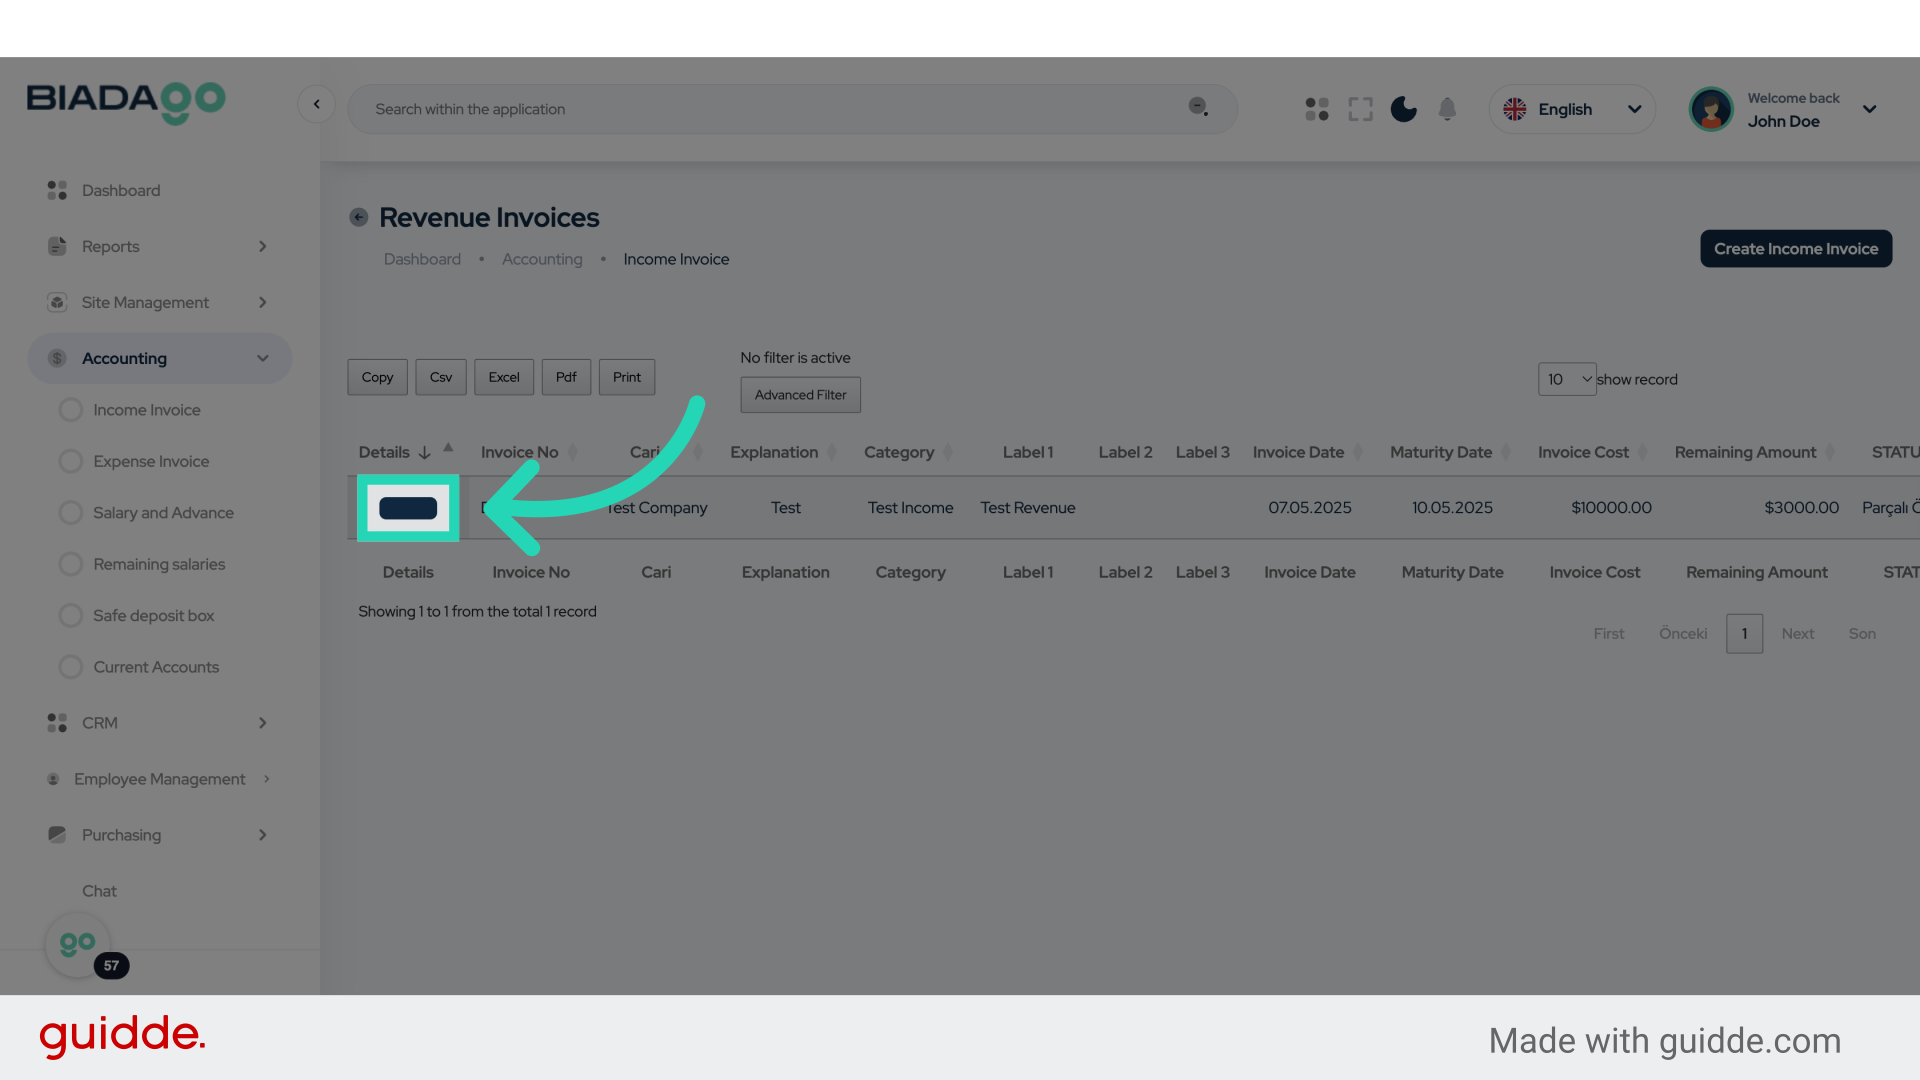
28. Click “Details”
Access the “Details” section.

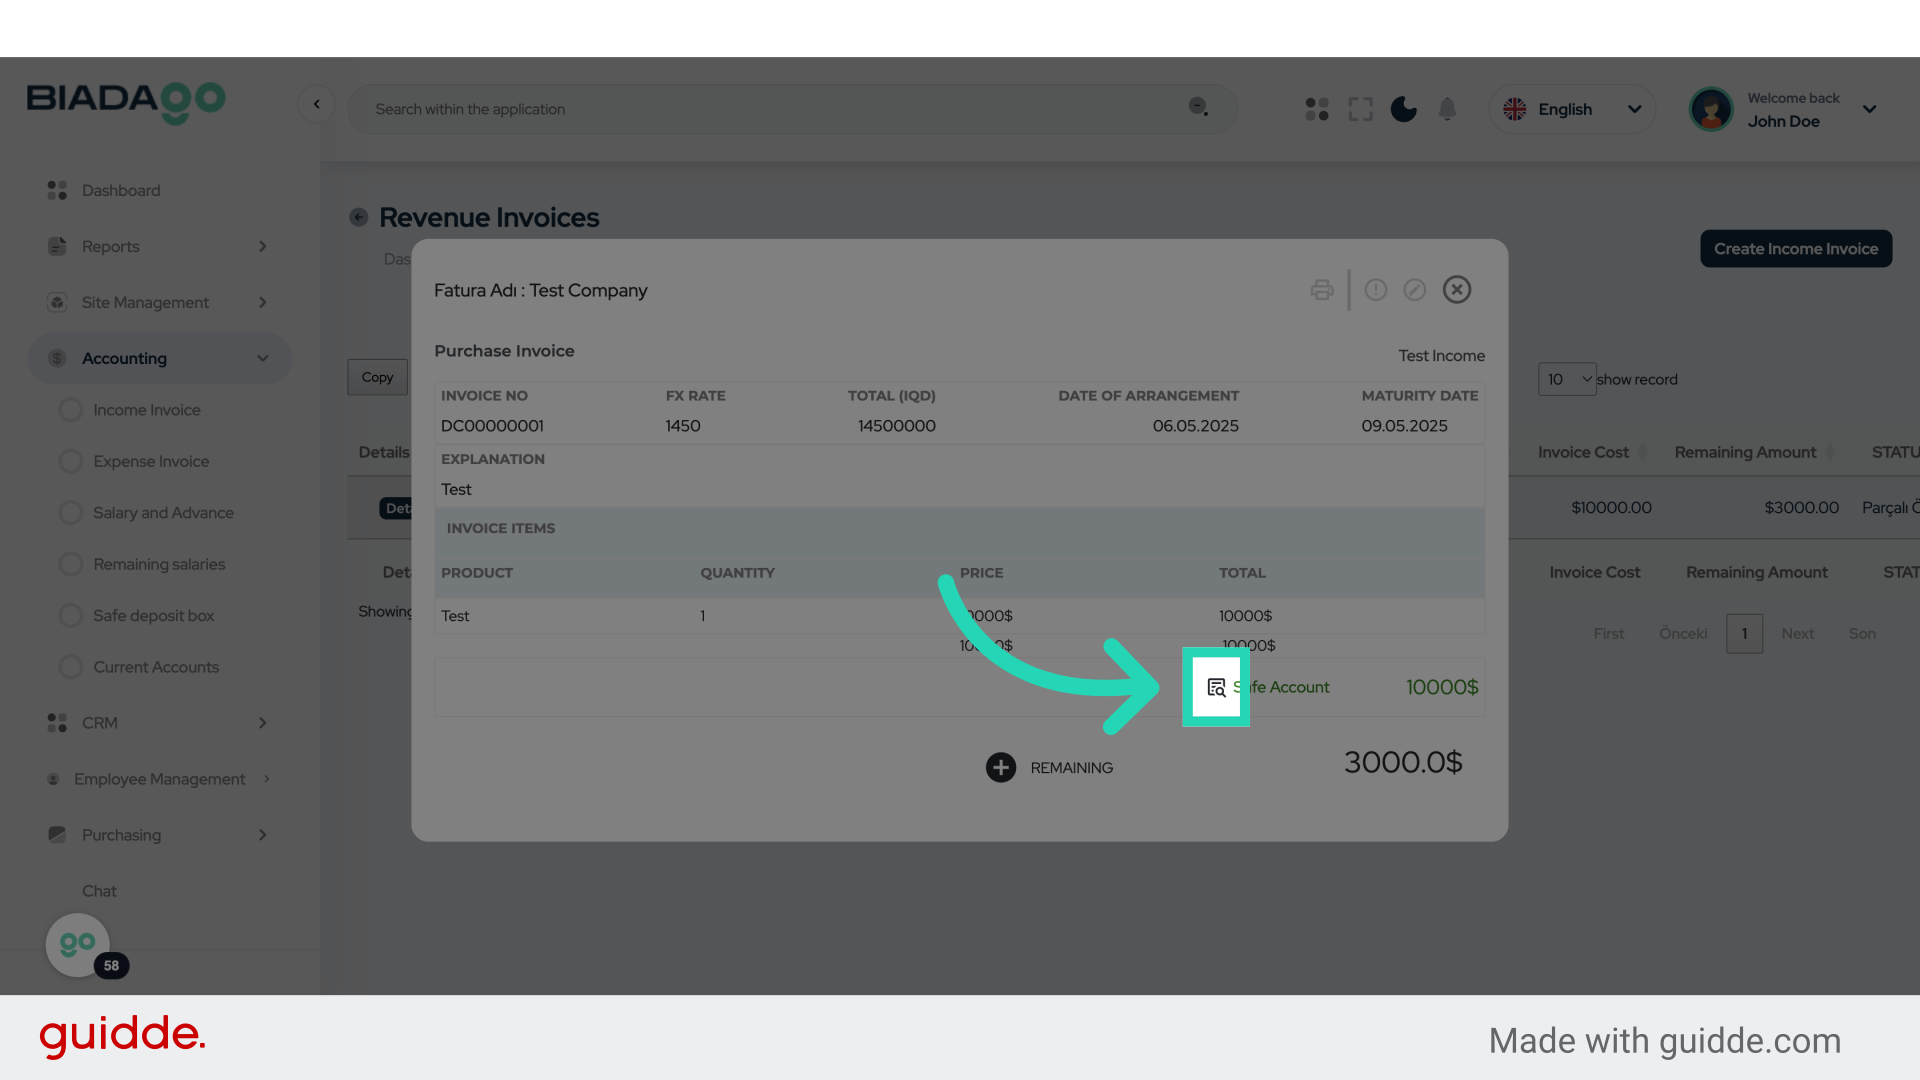
29. Click here
Click on the designated location.
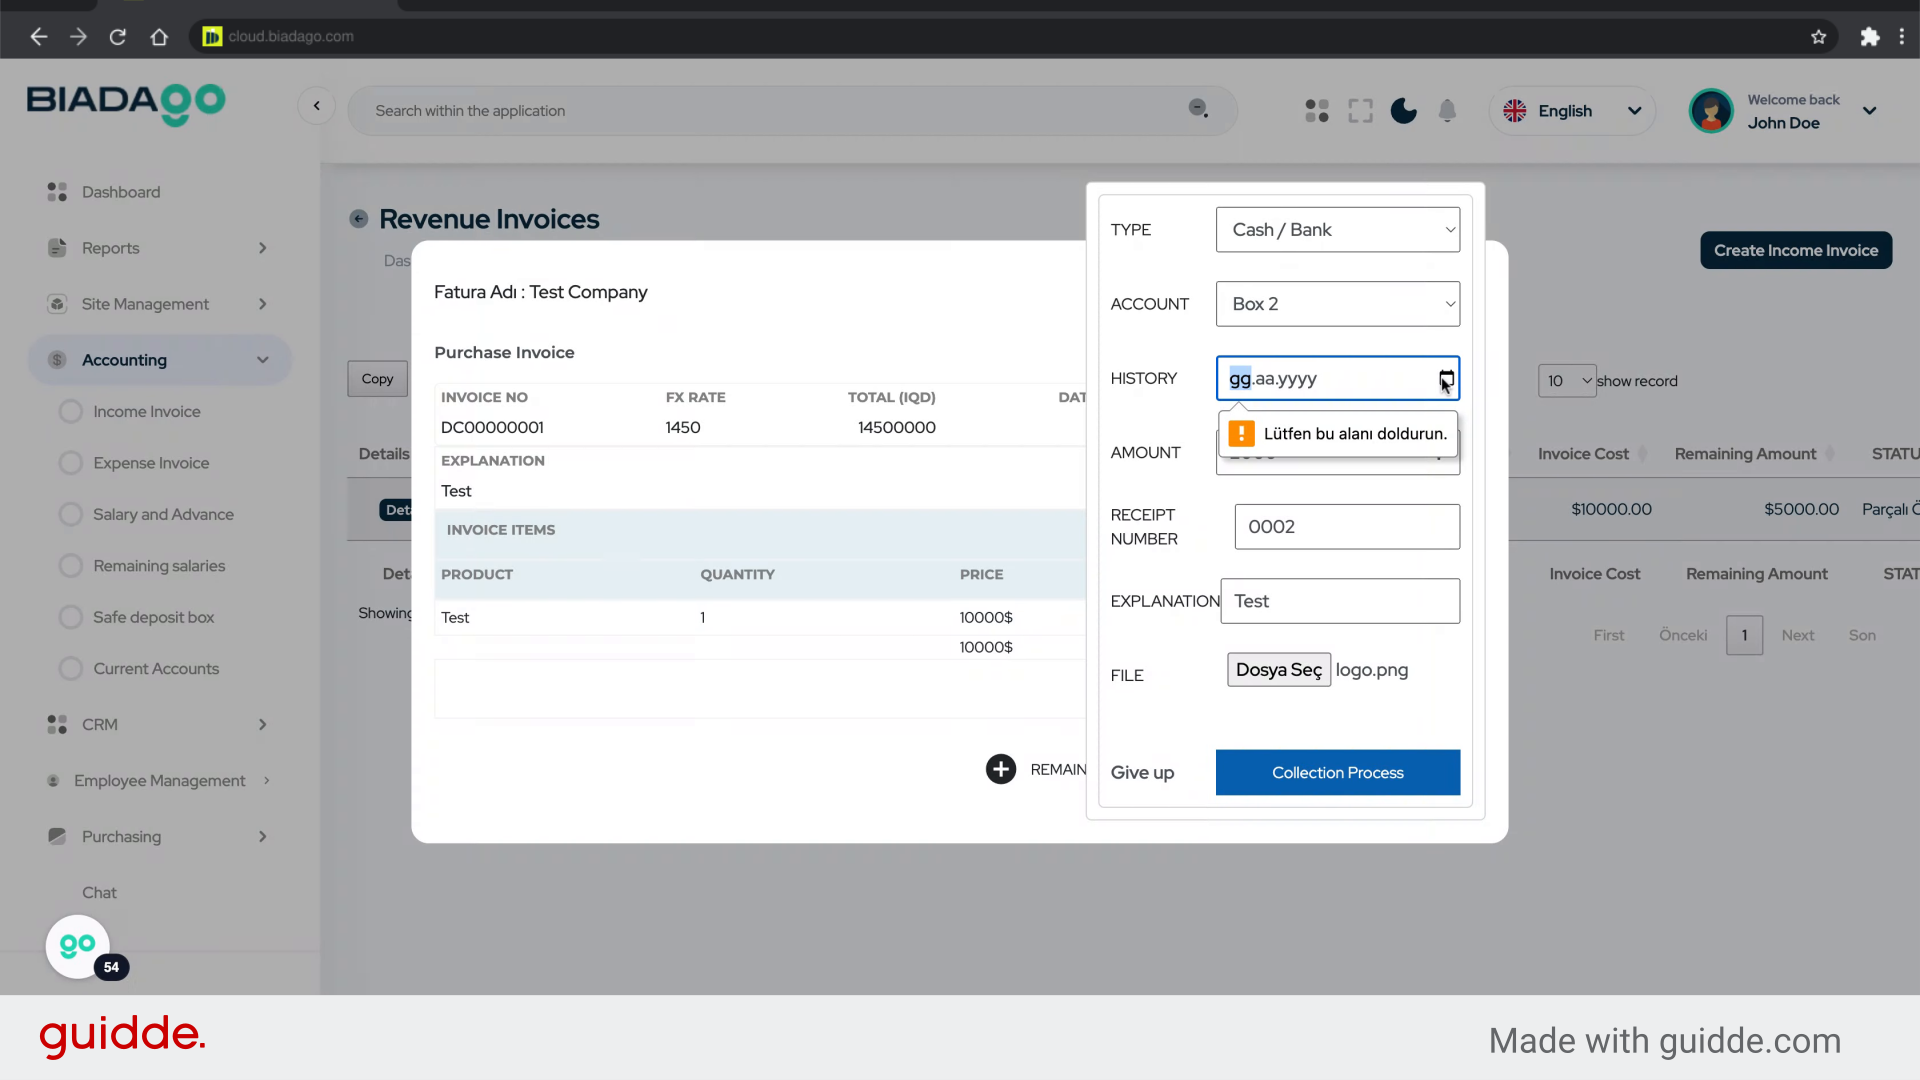
30. Click “Box 1
Box 2″
Select the options labeled “Box 1” and “Box 2”.

31. Click here
Click on the designated location.
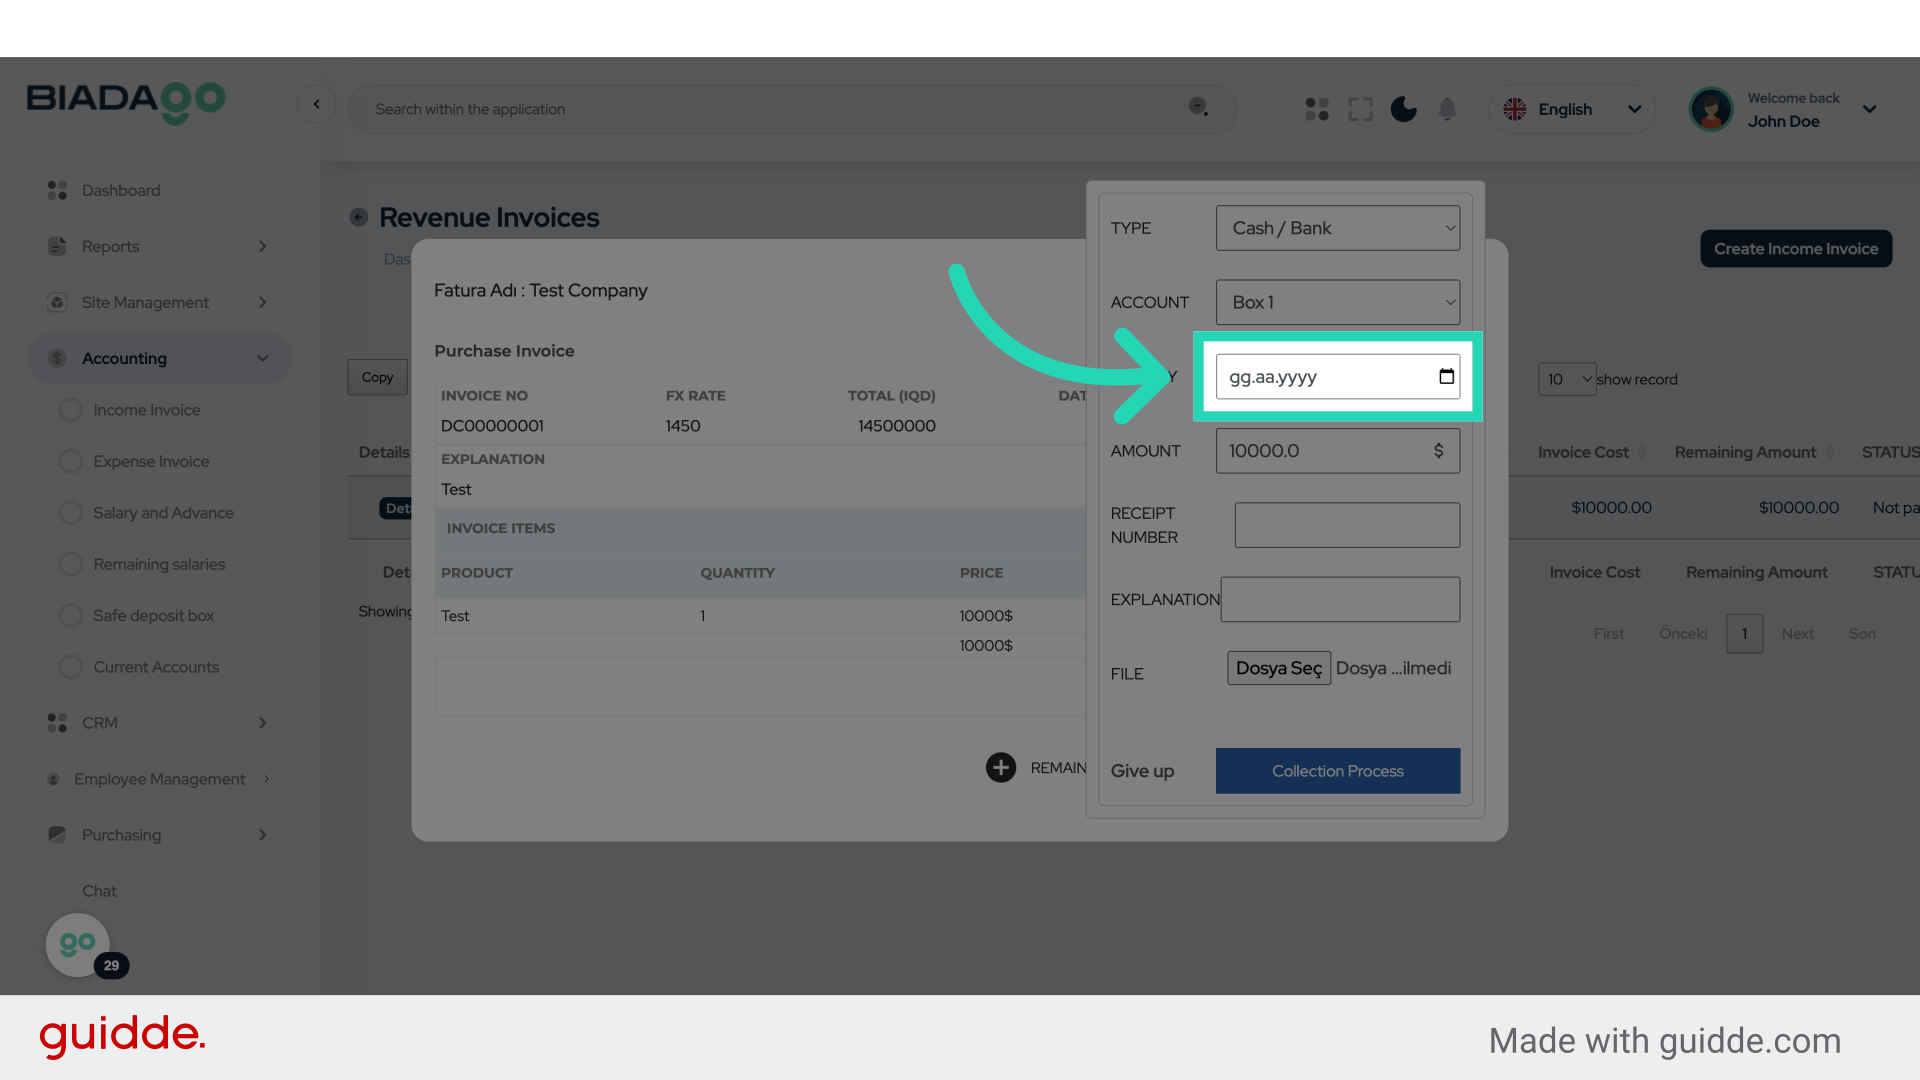
32. Fill “2025-05-05”
Submit “2025-05-05” in the appropriate field

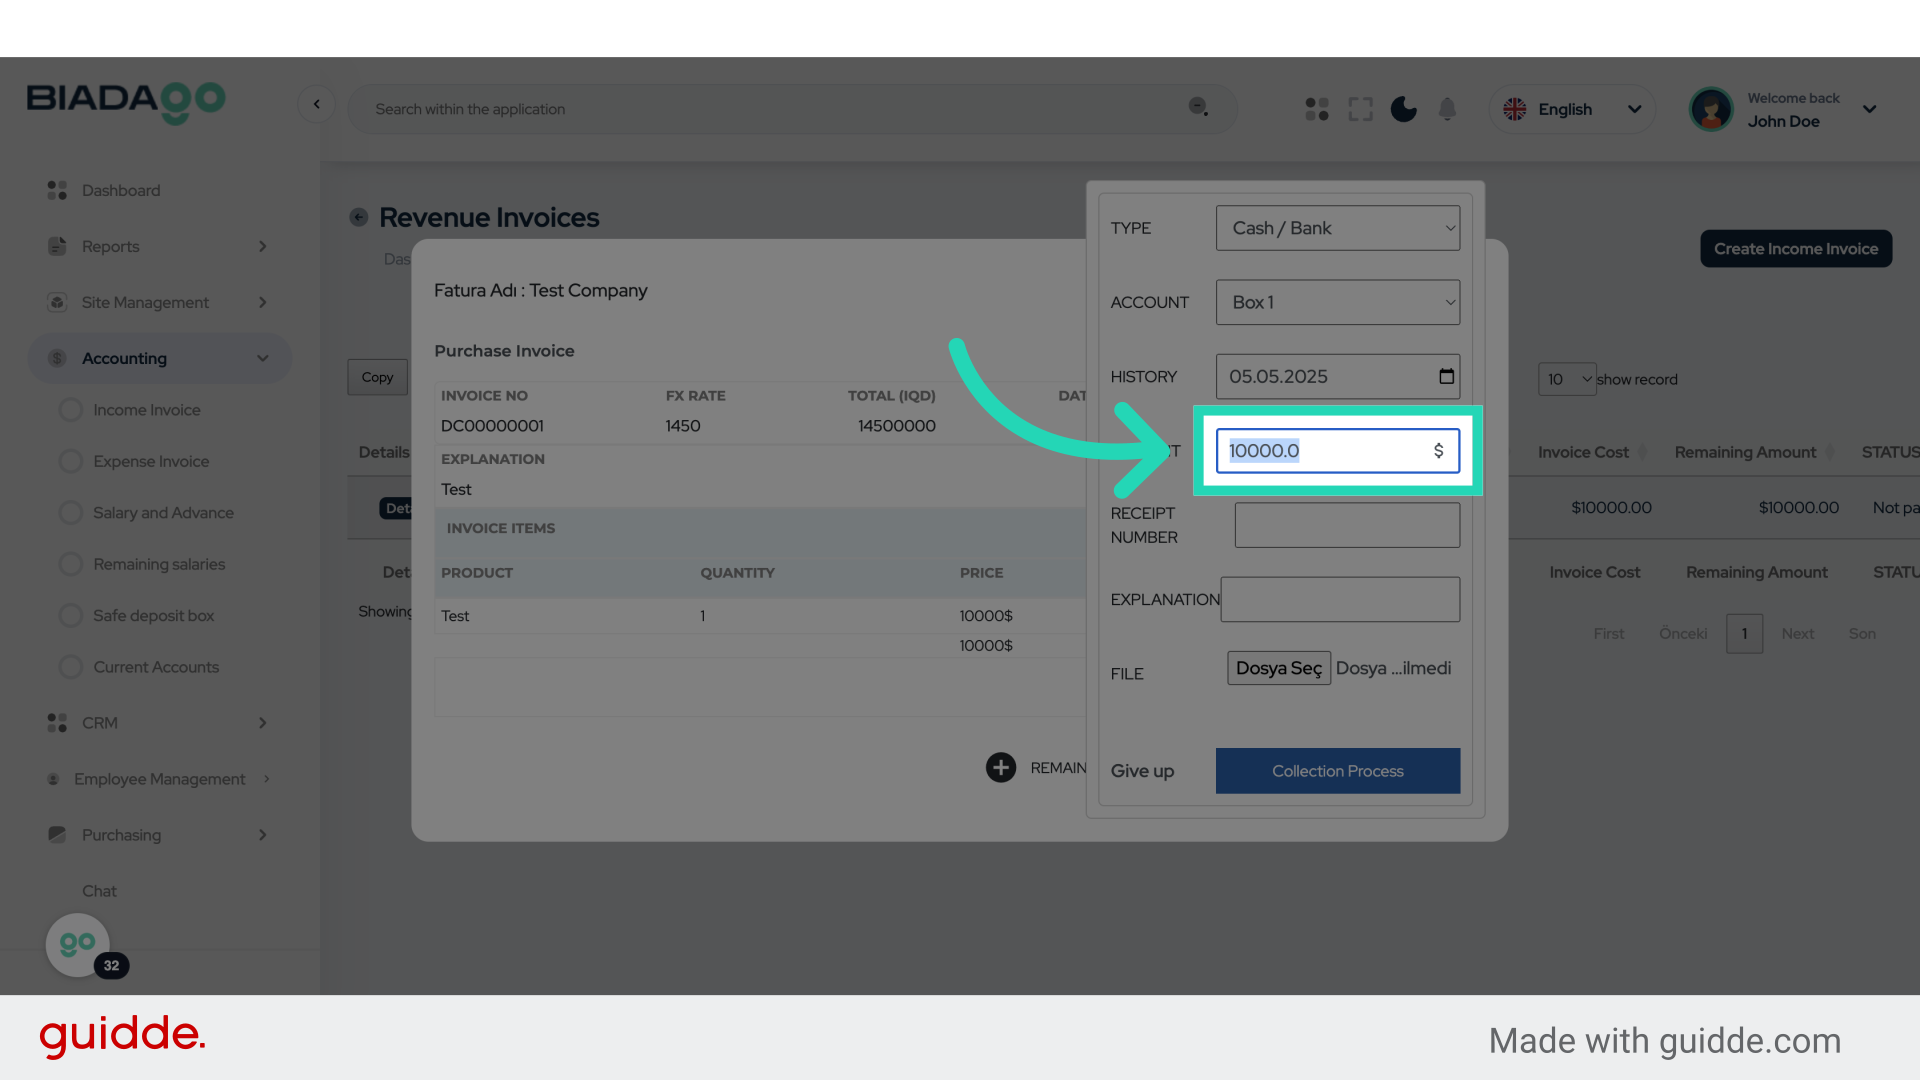
33. Click “10000.0”
Click on the amount “10000.0”.
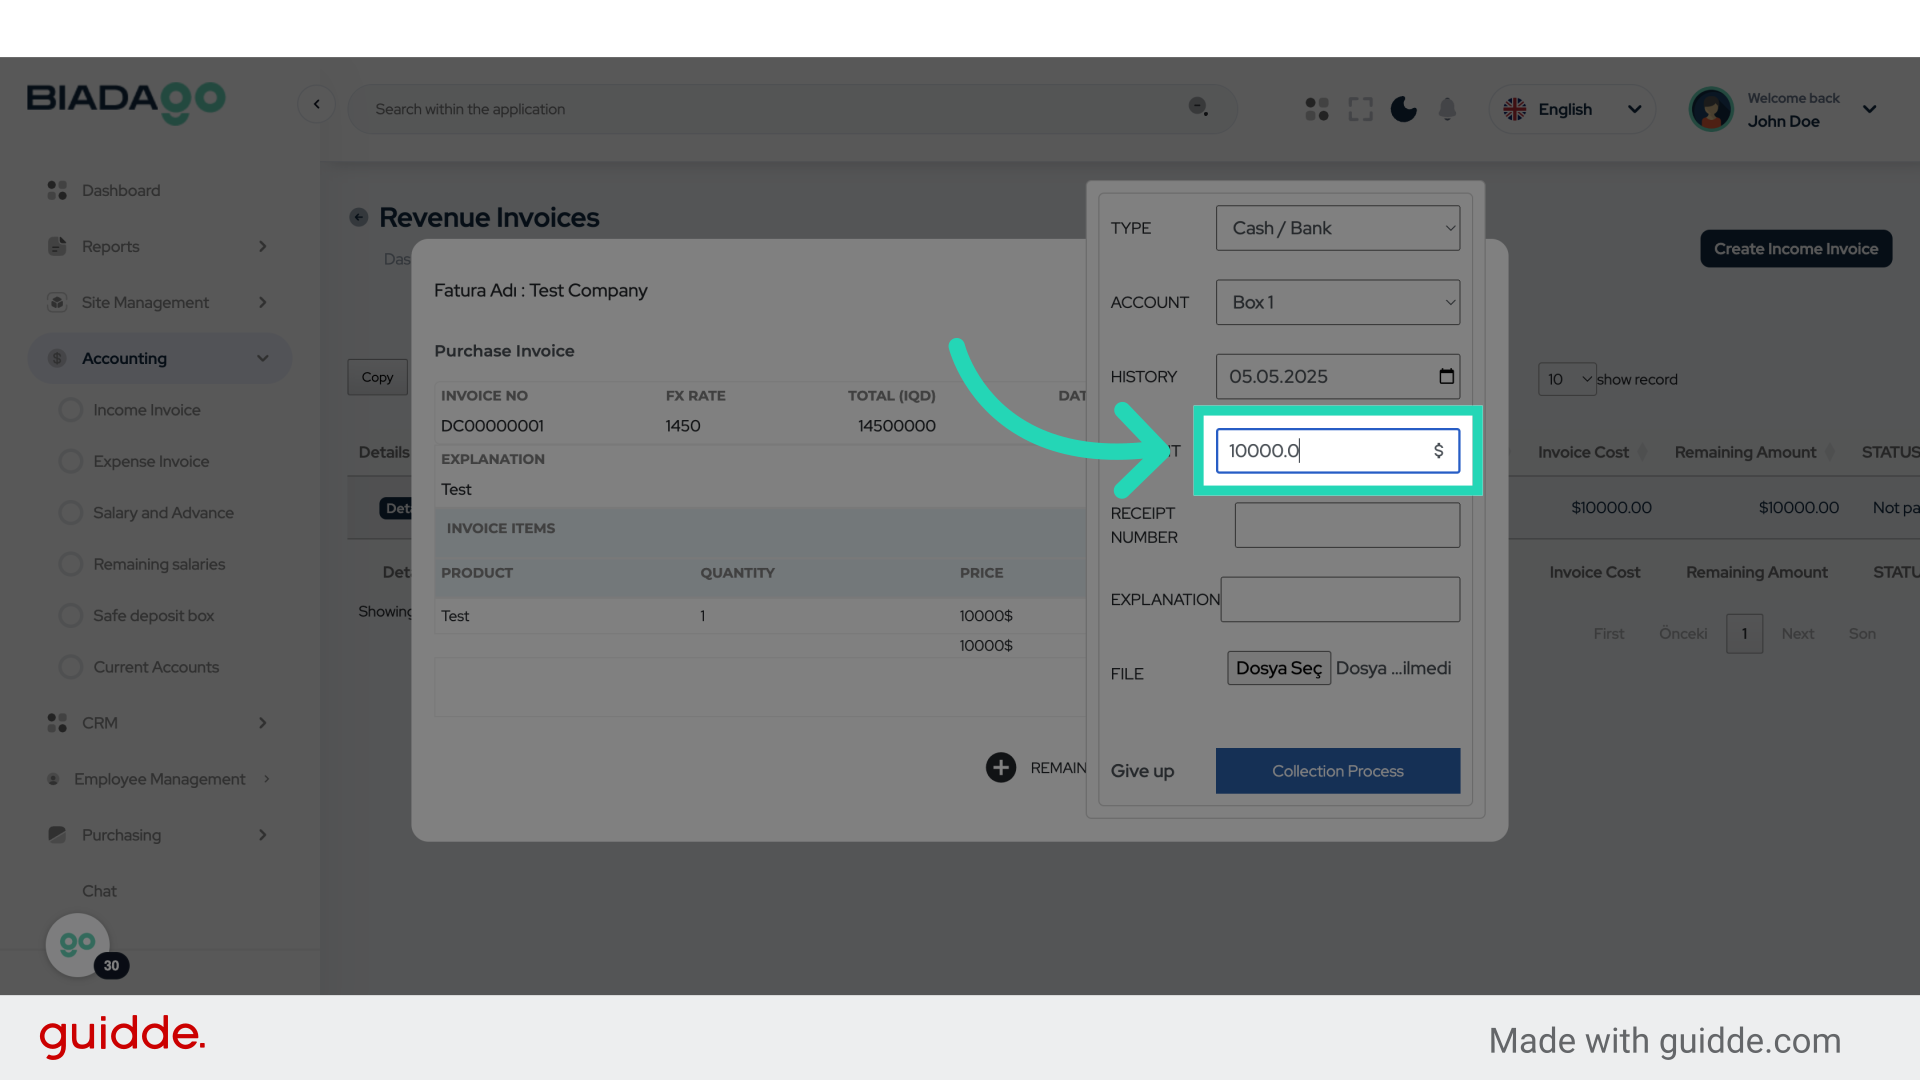
34. Click “10000.0”
Click on the amount “10000.0”.
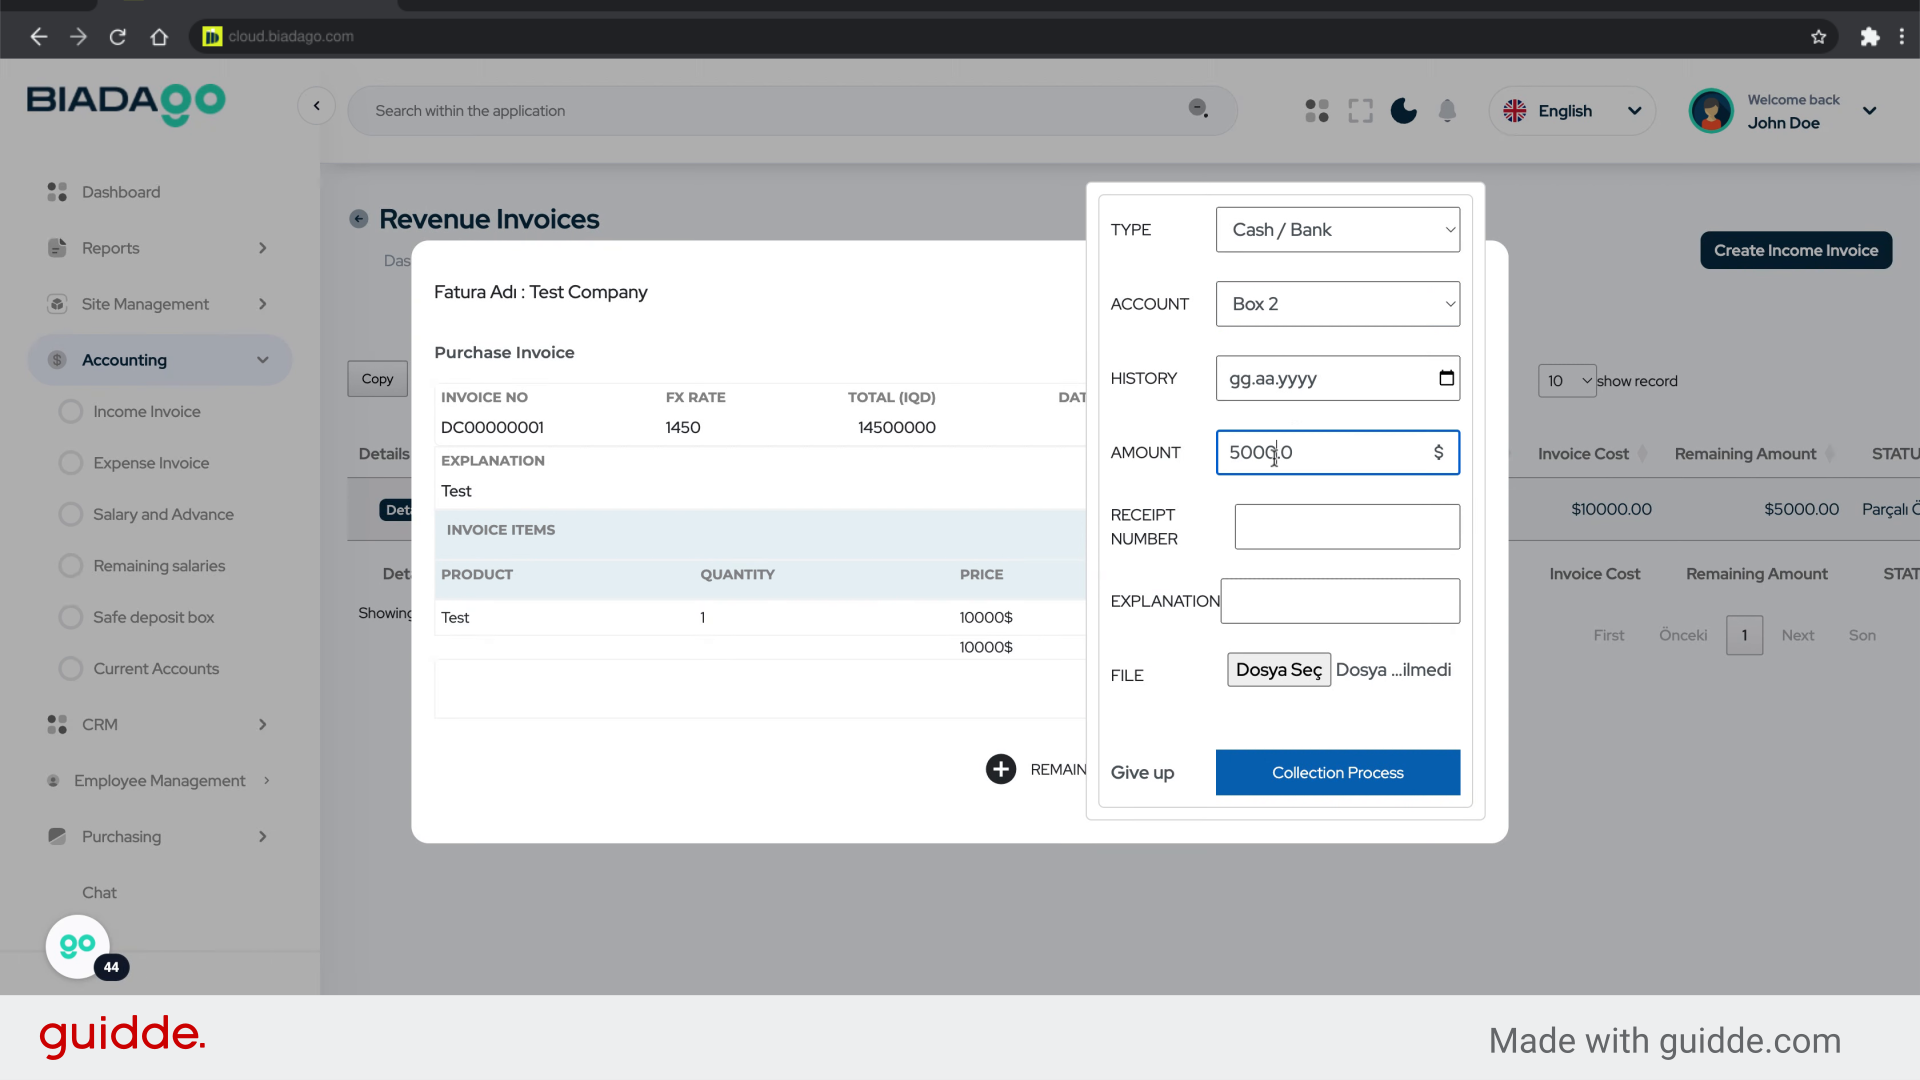
35. Fill “5000”
Input the desired text

36. Click here
Click on the designated location.

37. Fill “0001”
Write your desired text.

38. Click here
Click on the designated location.
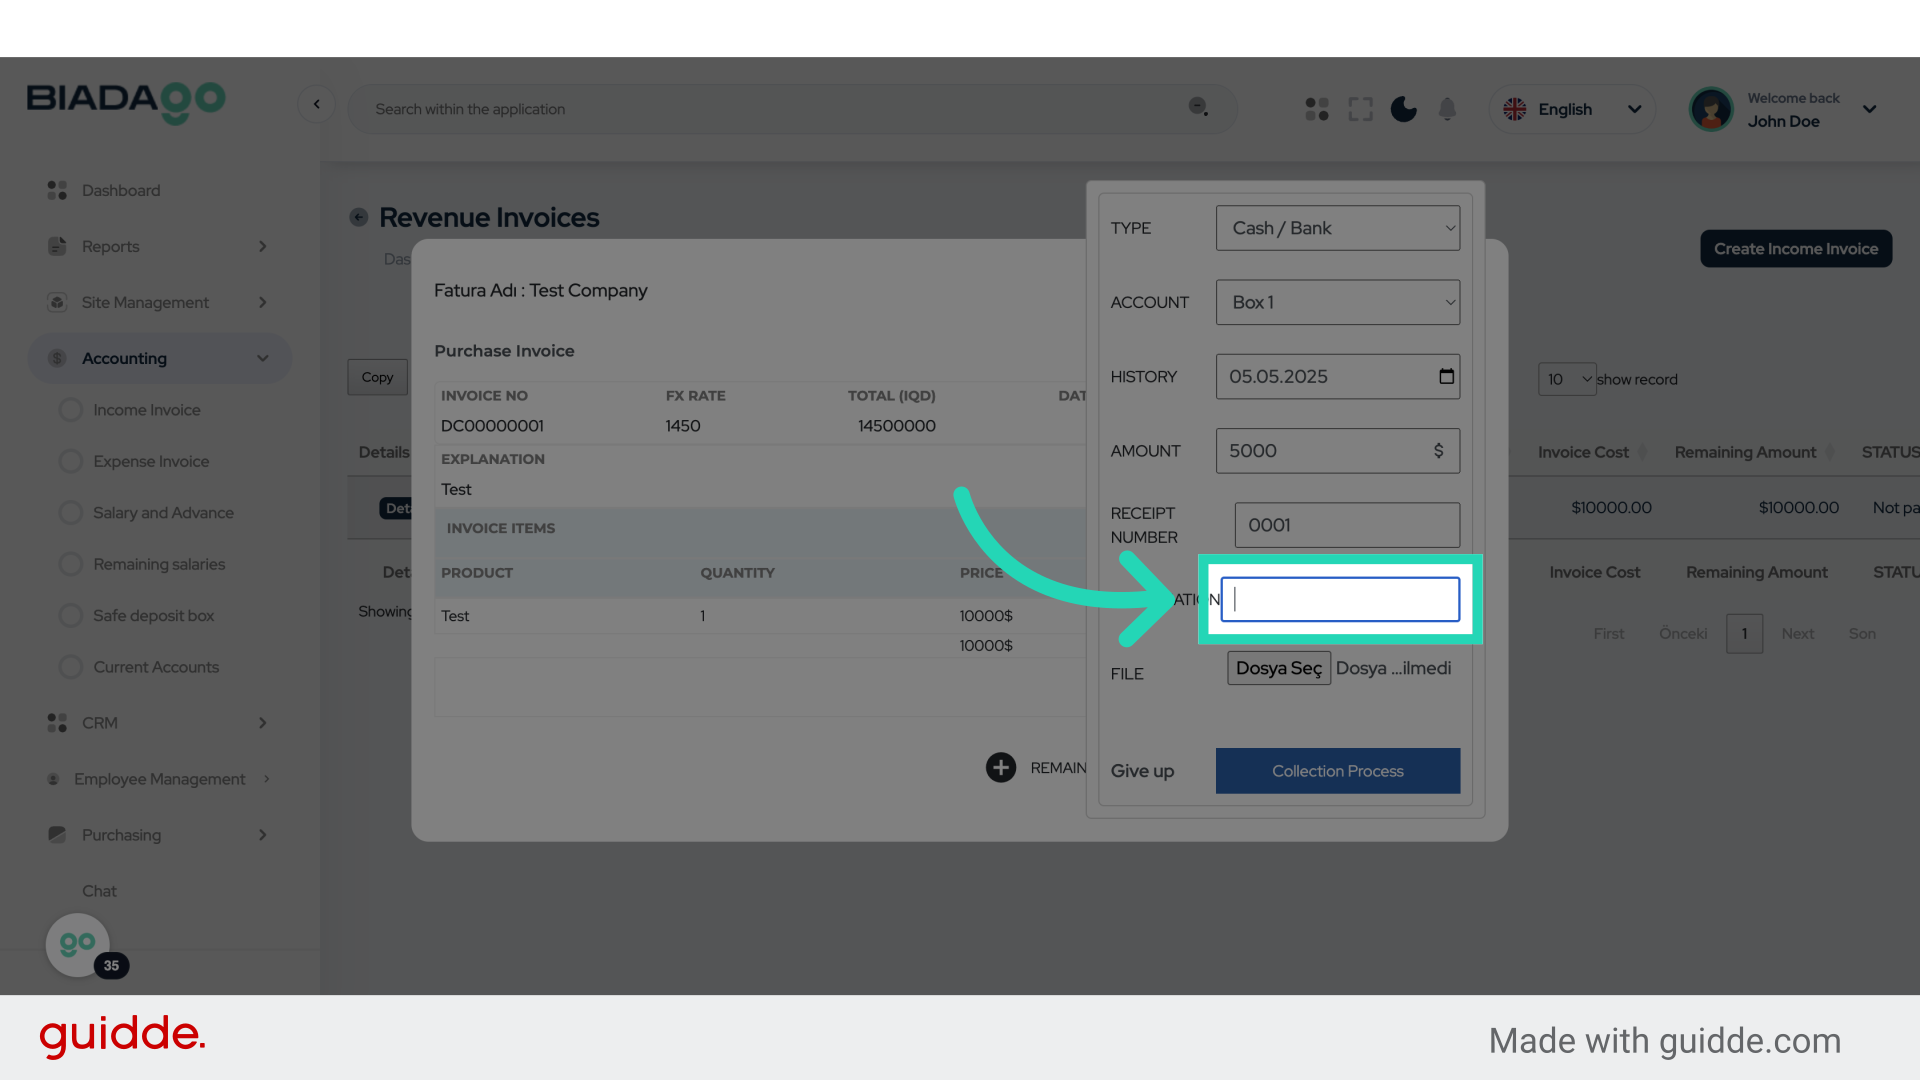
39. Fill “Test”
Fill in “Test”

40. Click here
Click on the designated location.

41. Fill “C:\fakepath\logo.png”
Enter “C:\fakepath\logo.png” in the provided field

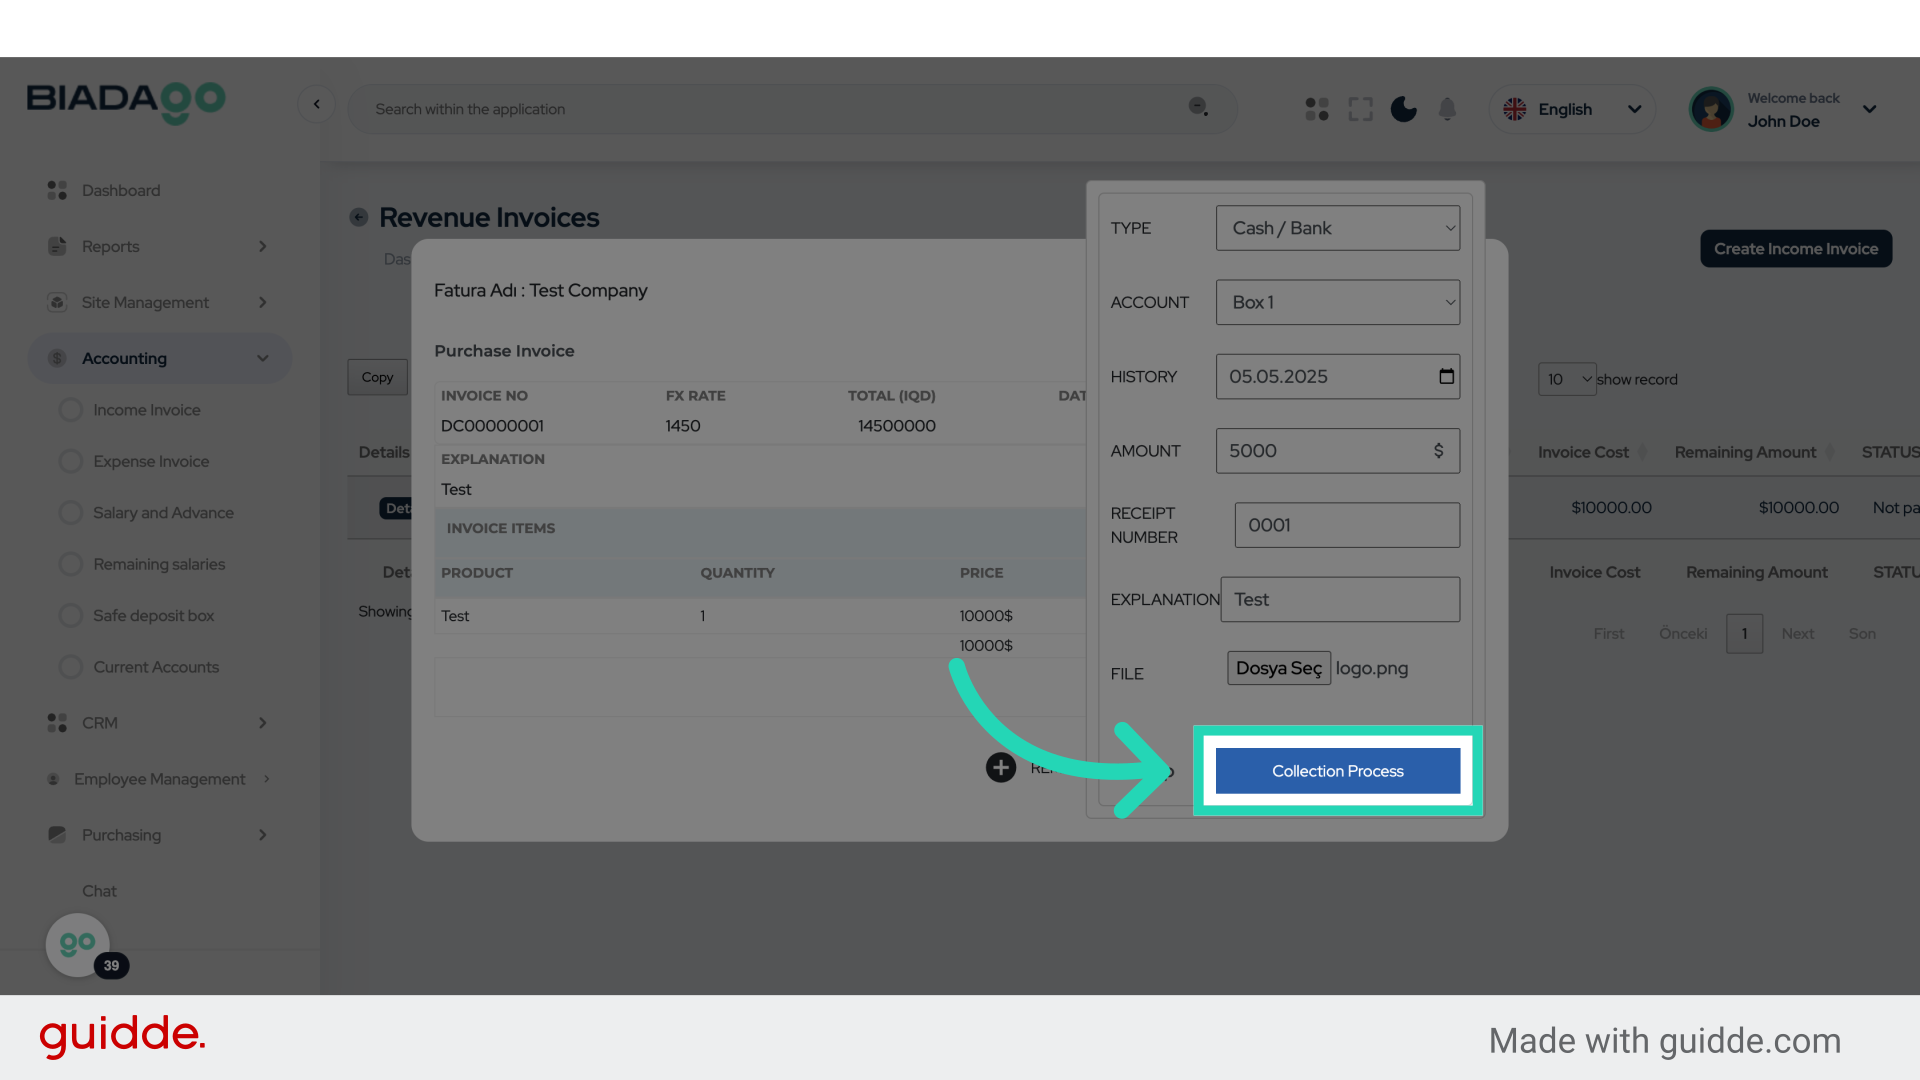
42. Click “Collection Process”
Initiate the collection process.
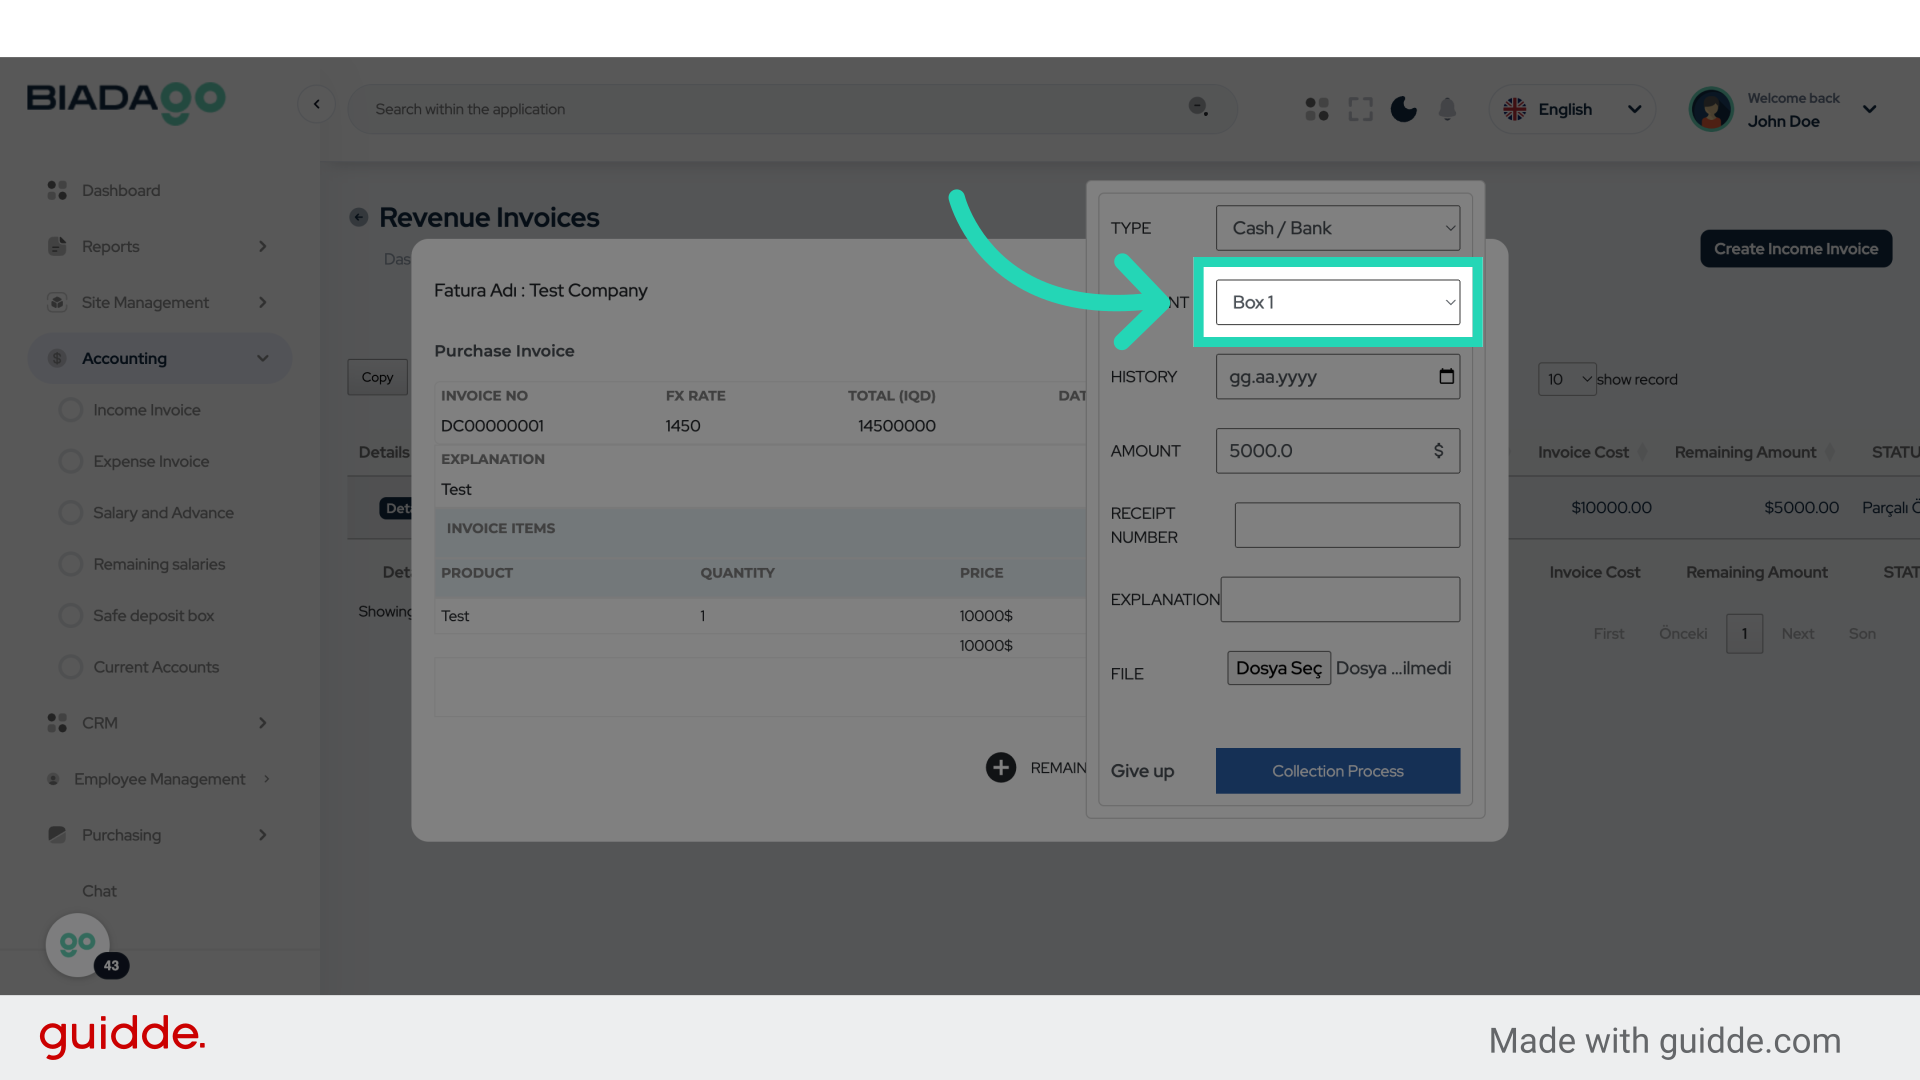
43. Click “Details”
Access the “Details” section.

44. Click here
Click on the designated location.

45. Click “Box 1
Box 2″
Select the options labeled “Box 1” and “Box 2”.
46. Fill “Box 1
Box 2″
Fill in the text box with “Box 1Box 2”

47. Click “5000.0”
Click on the amount “5000.0”.

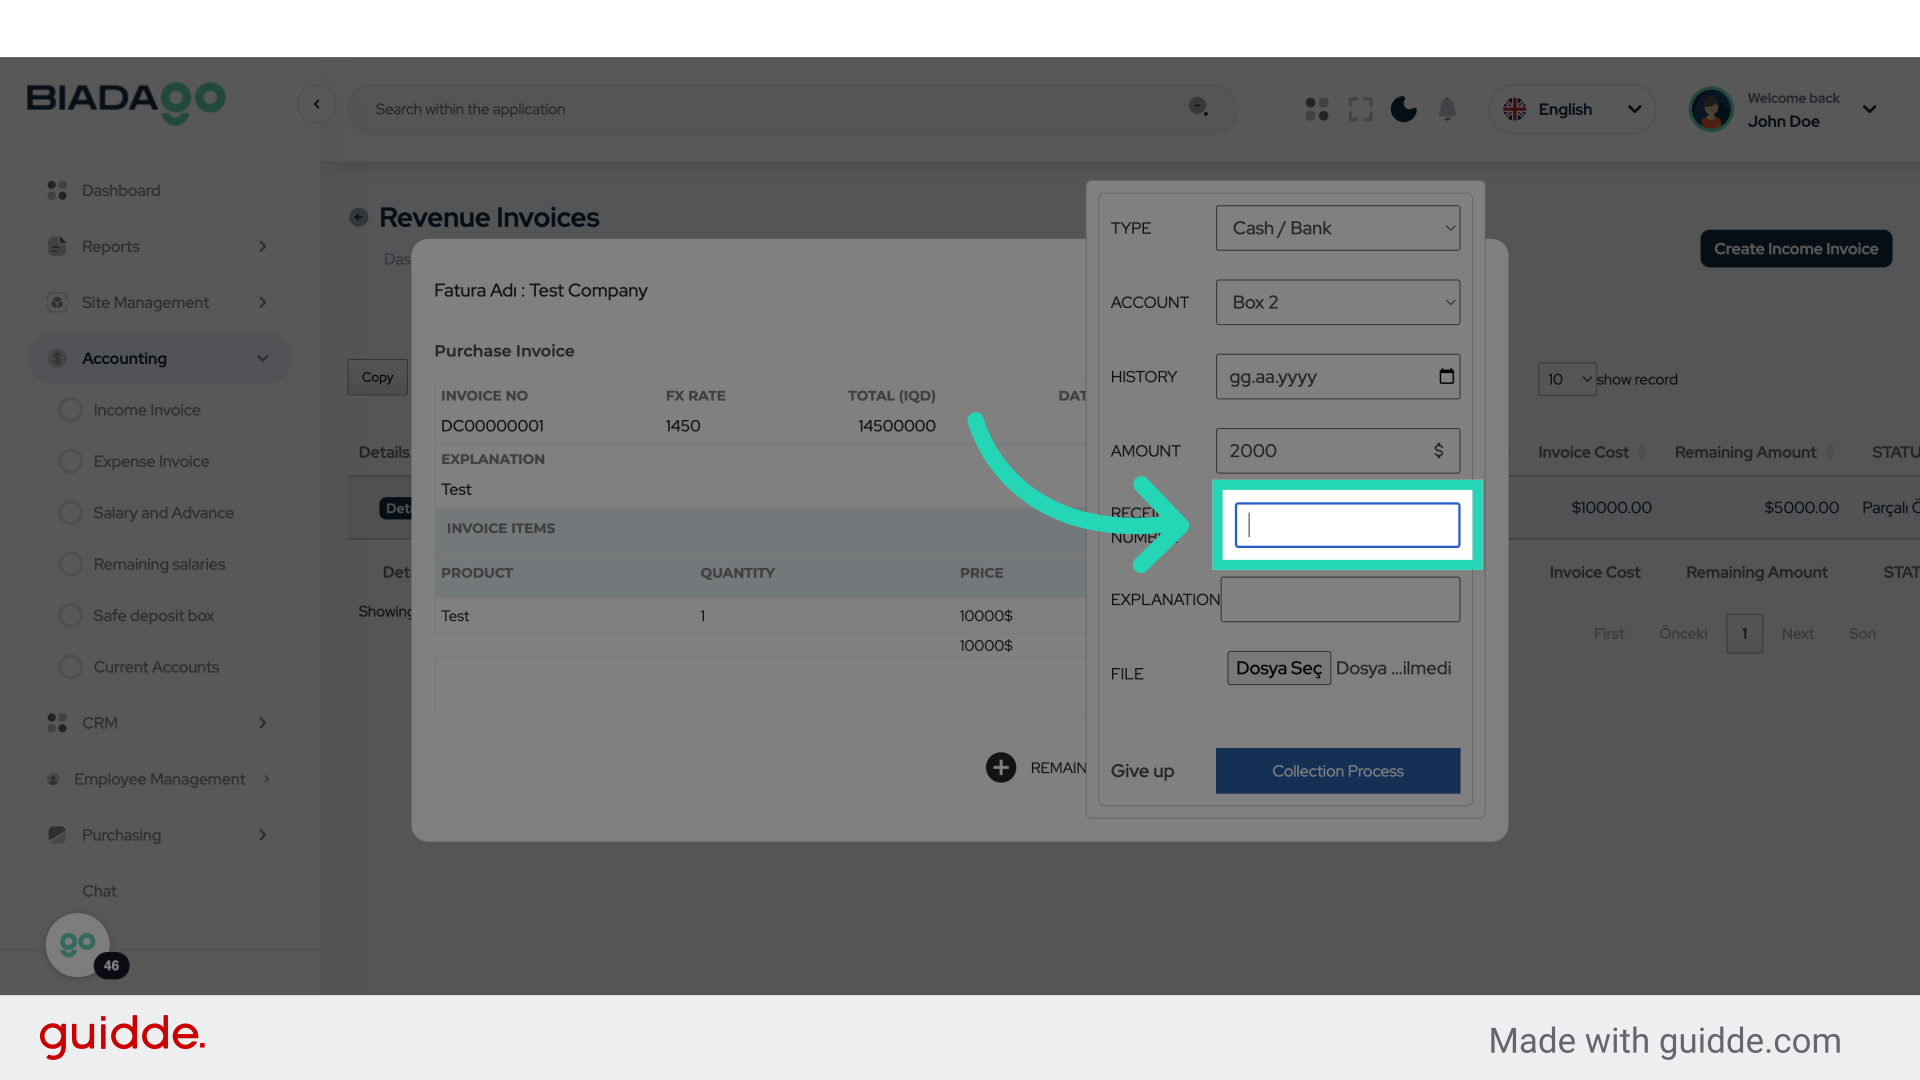
48. Fill “2000”
Enter the desired text.
49. Click here
Click on the designated location.
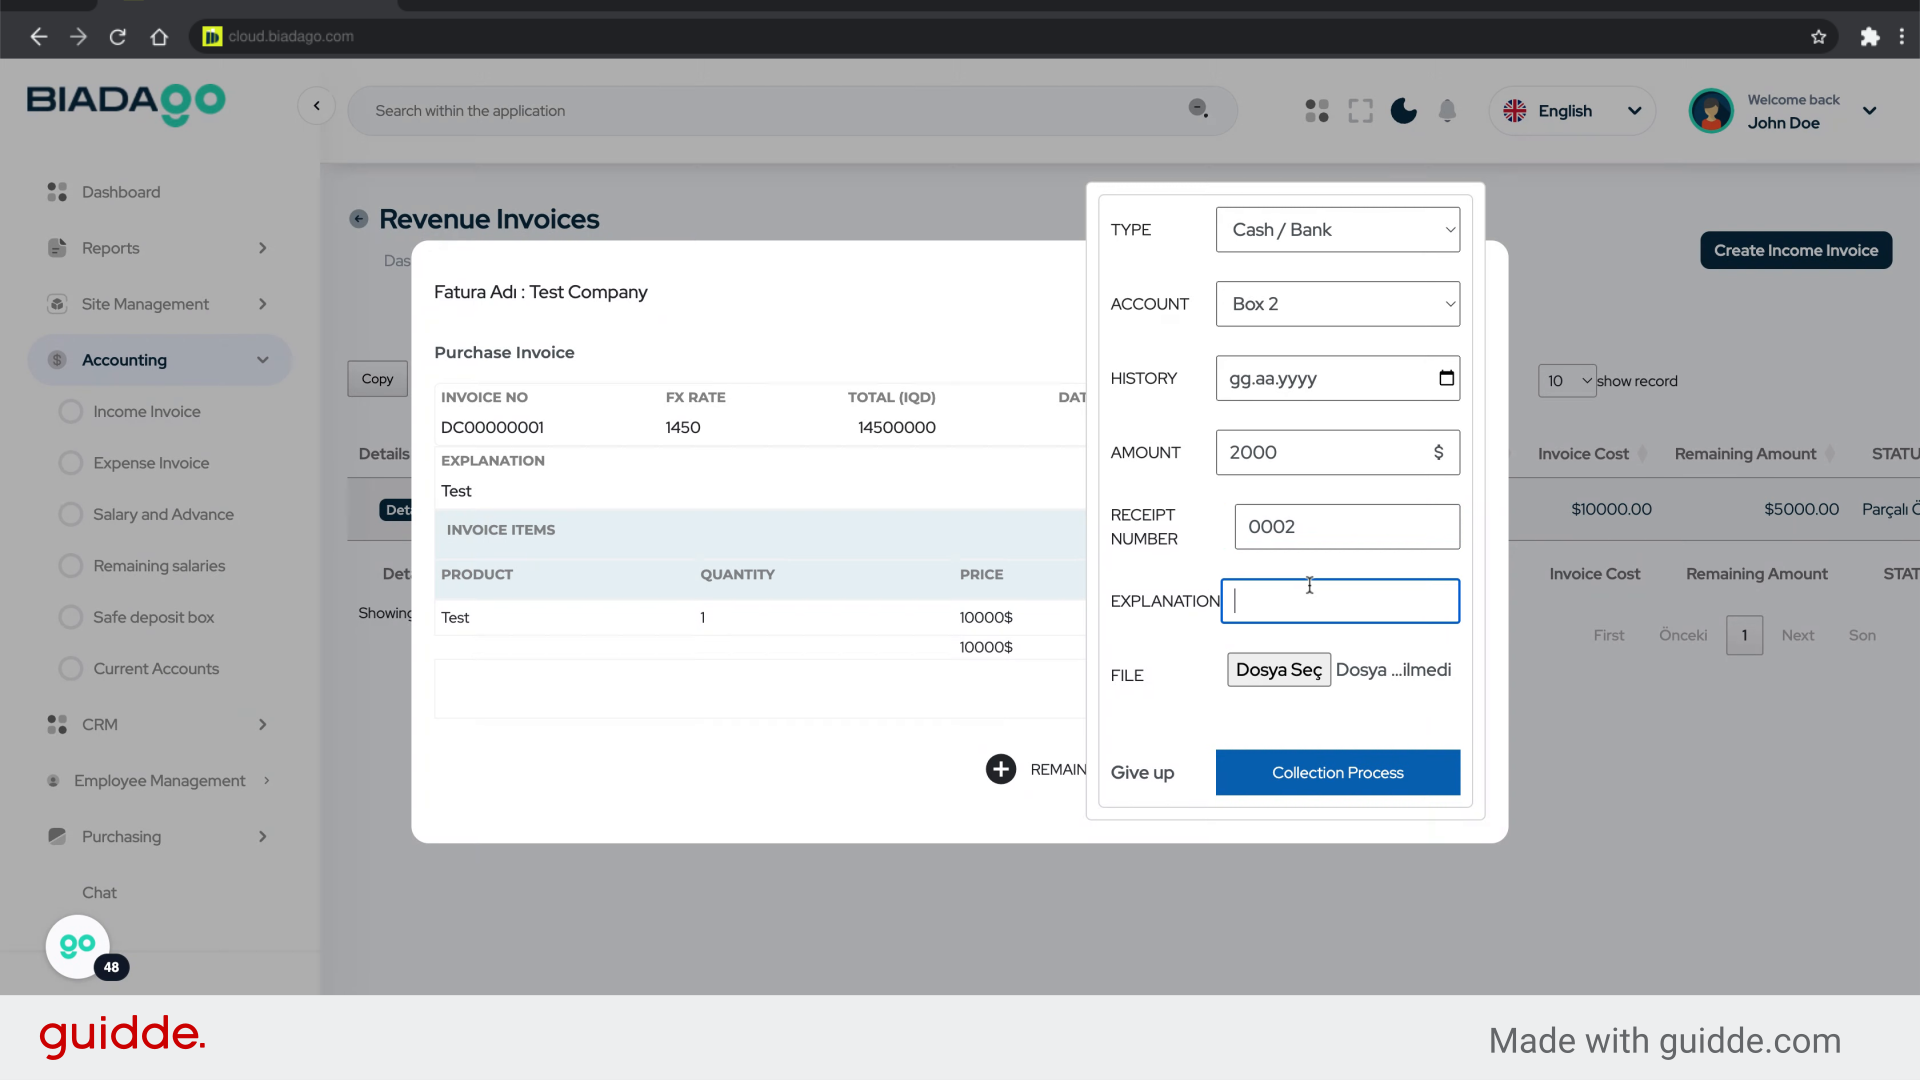
50. Fill “0002”
Type “0002” in the given field

51. Click here
Click on the designated location.

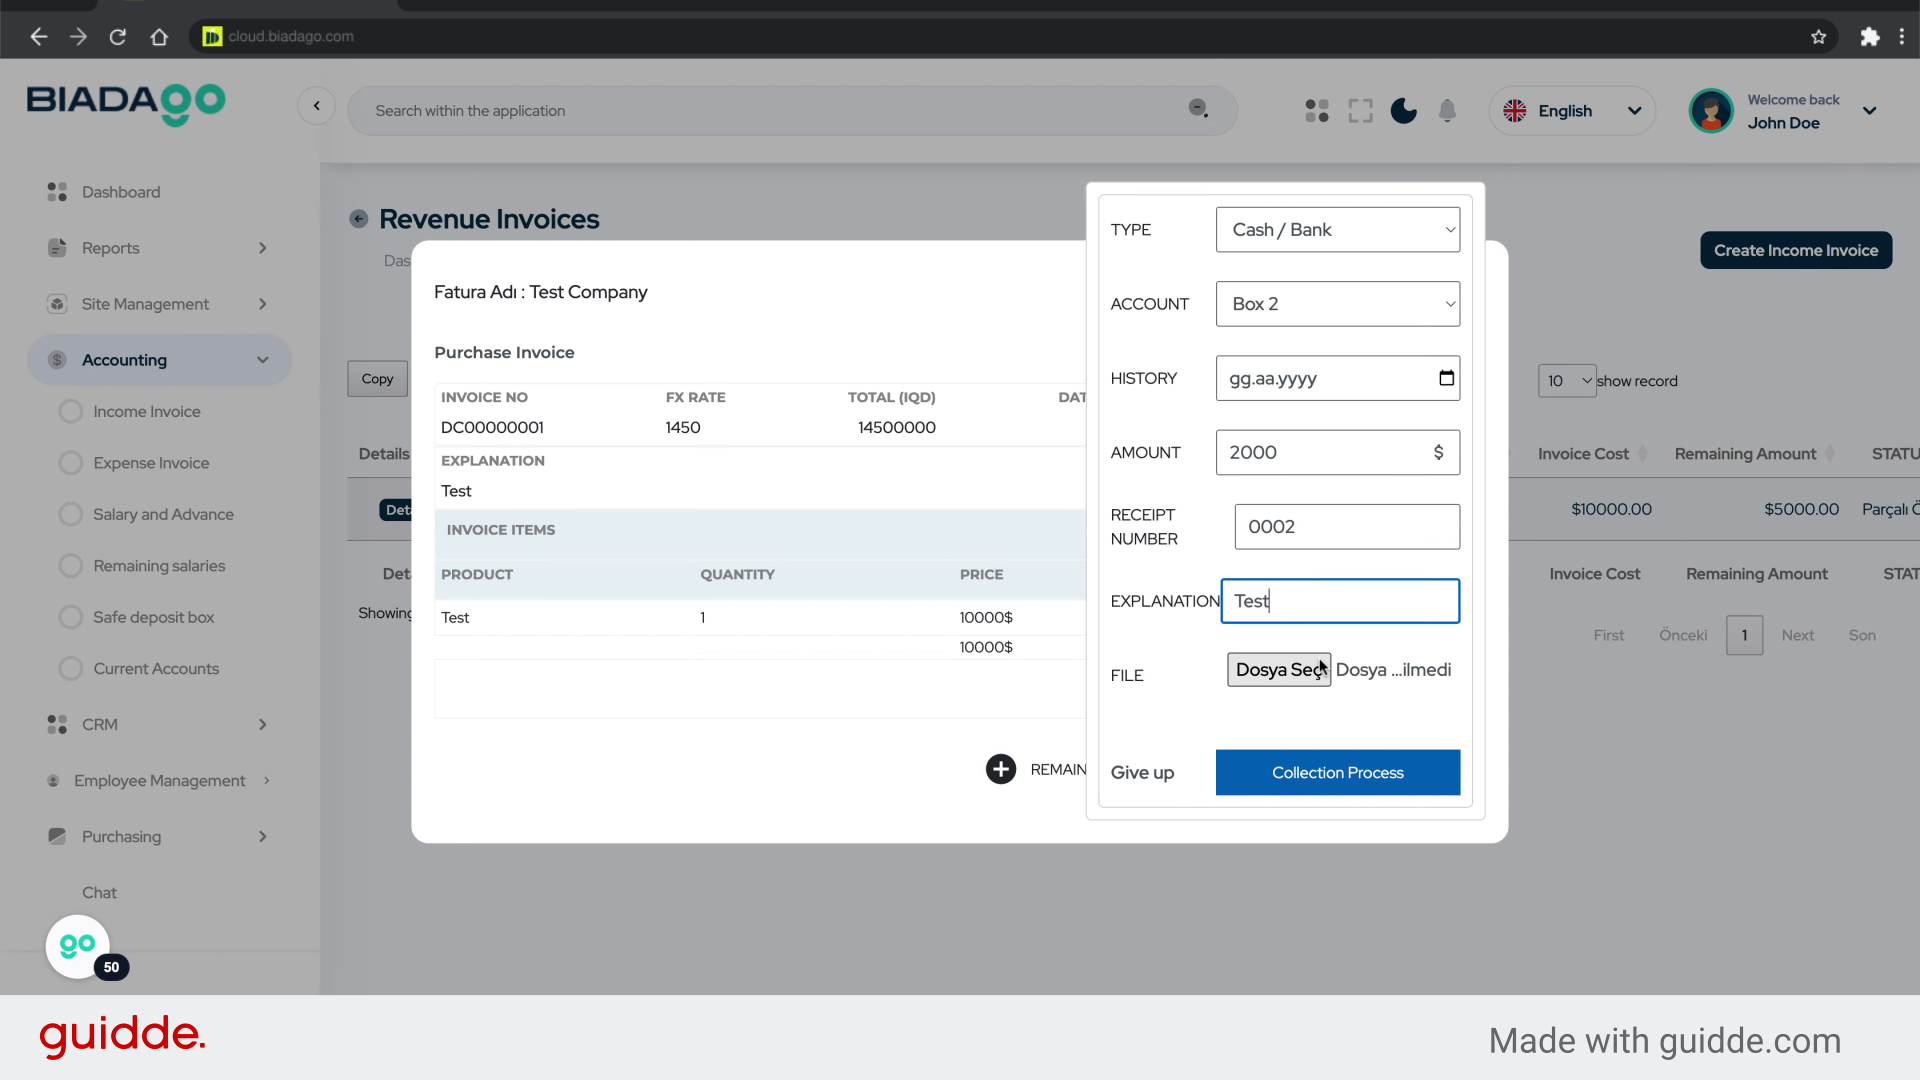
52. Fill “Test”
Input “Test” in the available field
53. Click here
Click on the designated location.

54. Fill “C:\fakepath\logo.png”
Write “C:\fakepath\logo.png” in the specified field
55. Click “Collection Process”
Initiate the collection process.

56. Click here
Click on the designated location.

57. Fill “2025-05-05”
Submit “2025-05-05” in the appropriate field
58. Click “Collection Process”
Initiate the collection process.

59. Click “Details”
Access the “Details” section.
60. Click here
Click on the designated location.
61. Click “DELETE”
Select the option to “DELETE”.
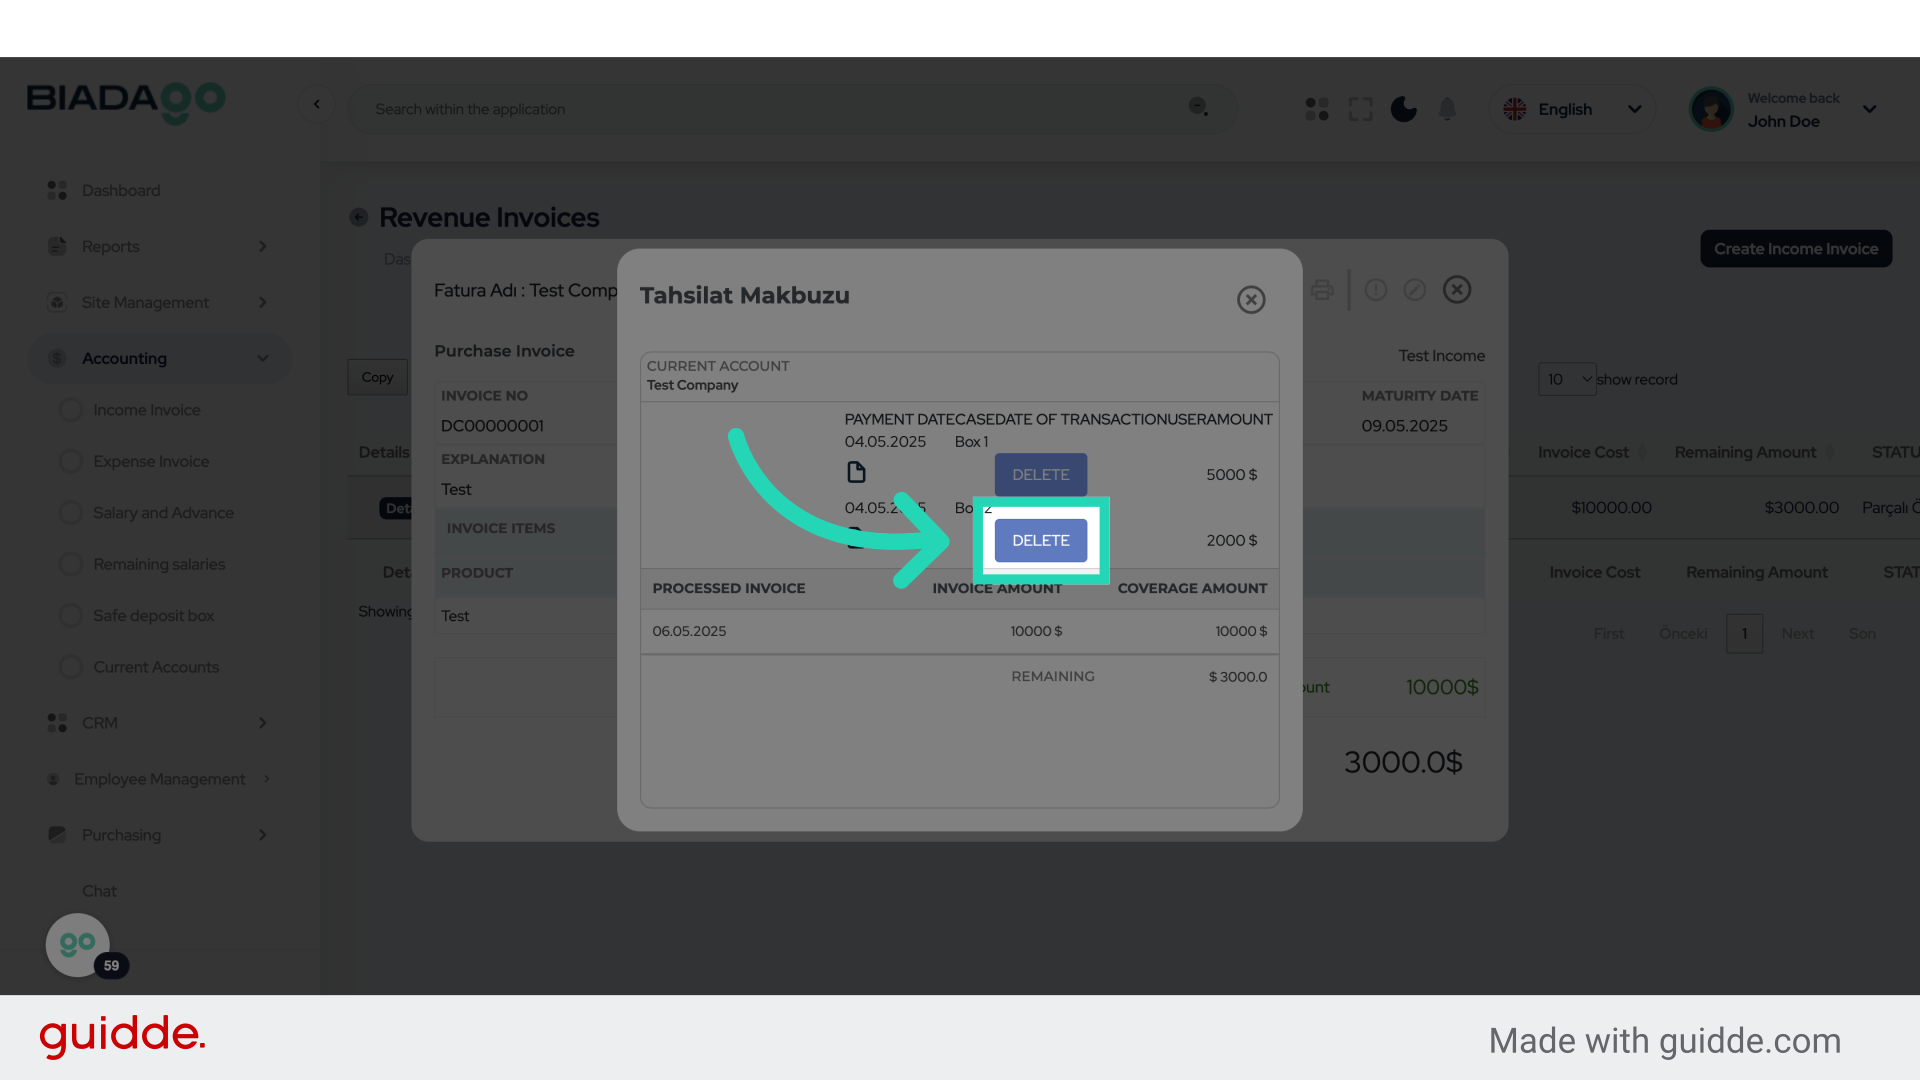
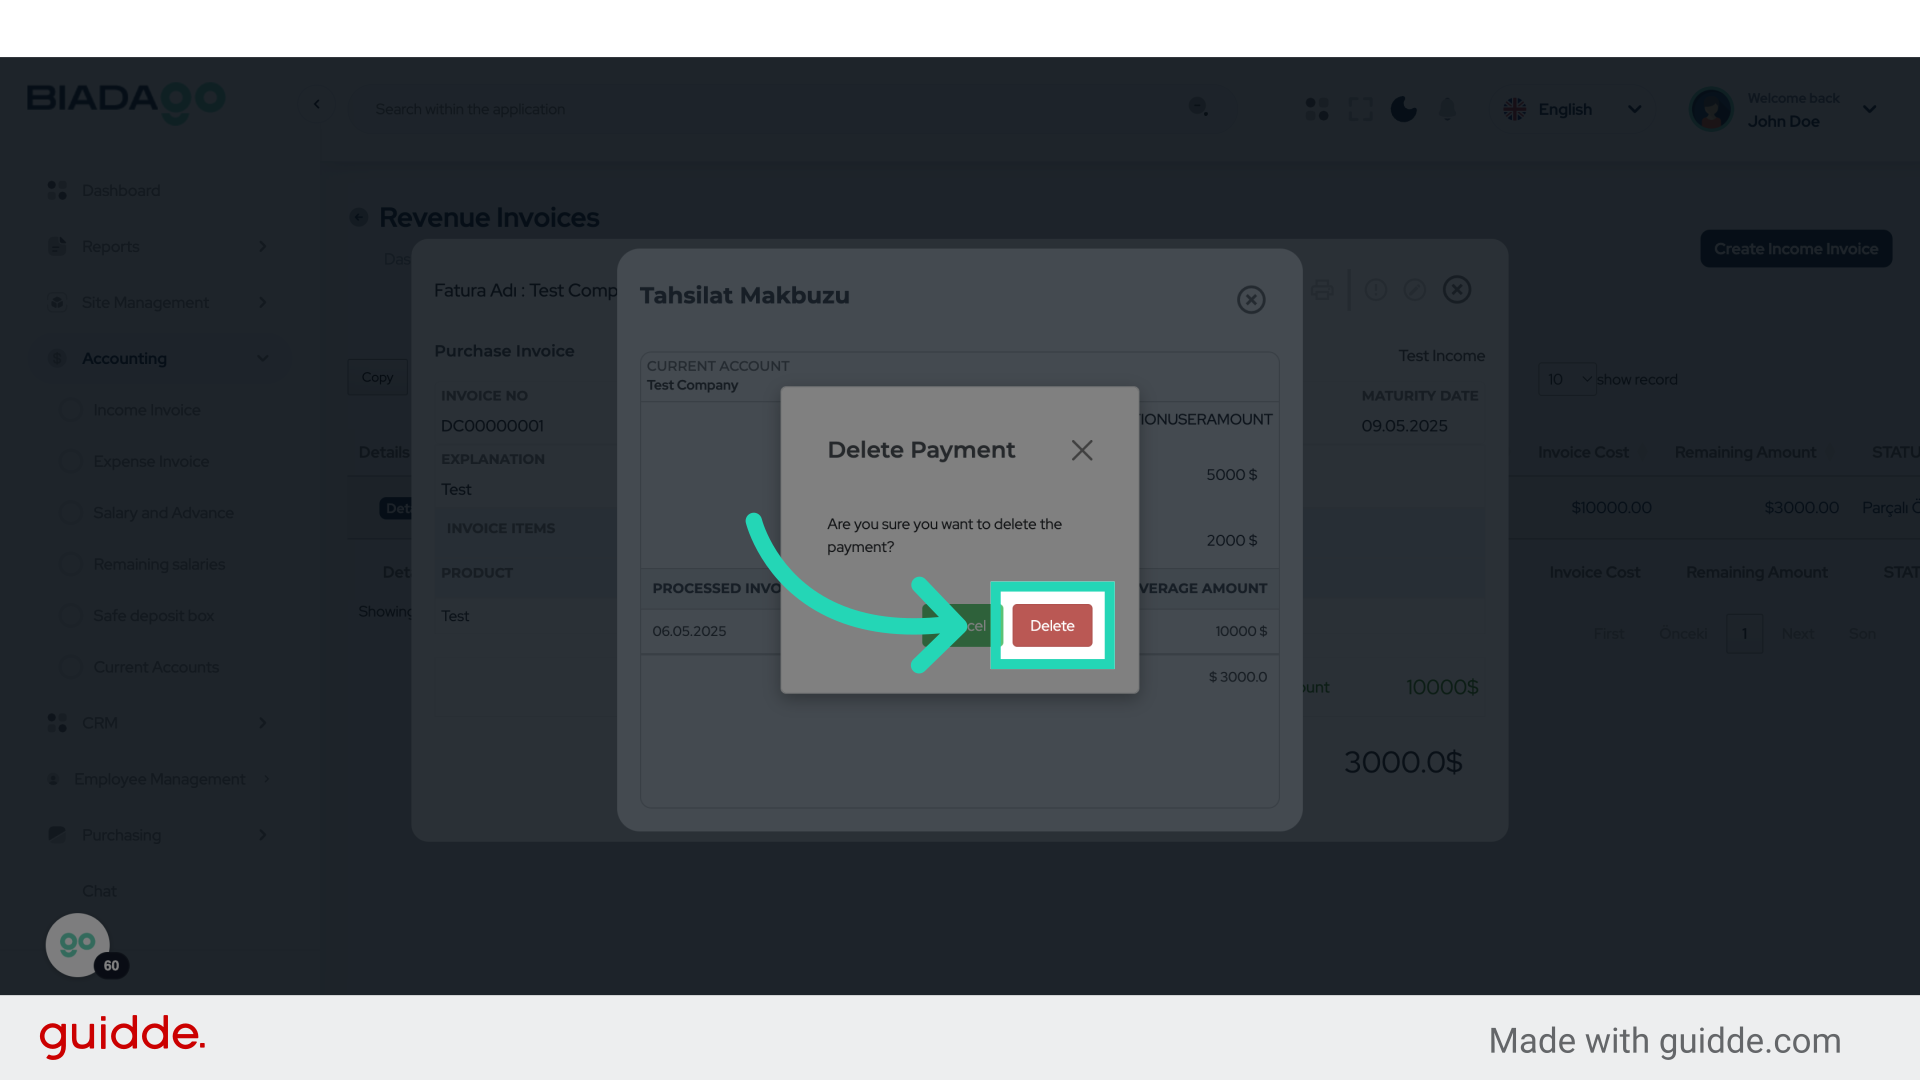
62. Click “Delete”
Click on the “Delete” button.
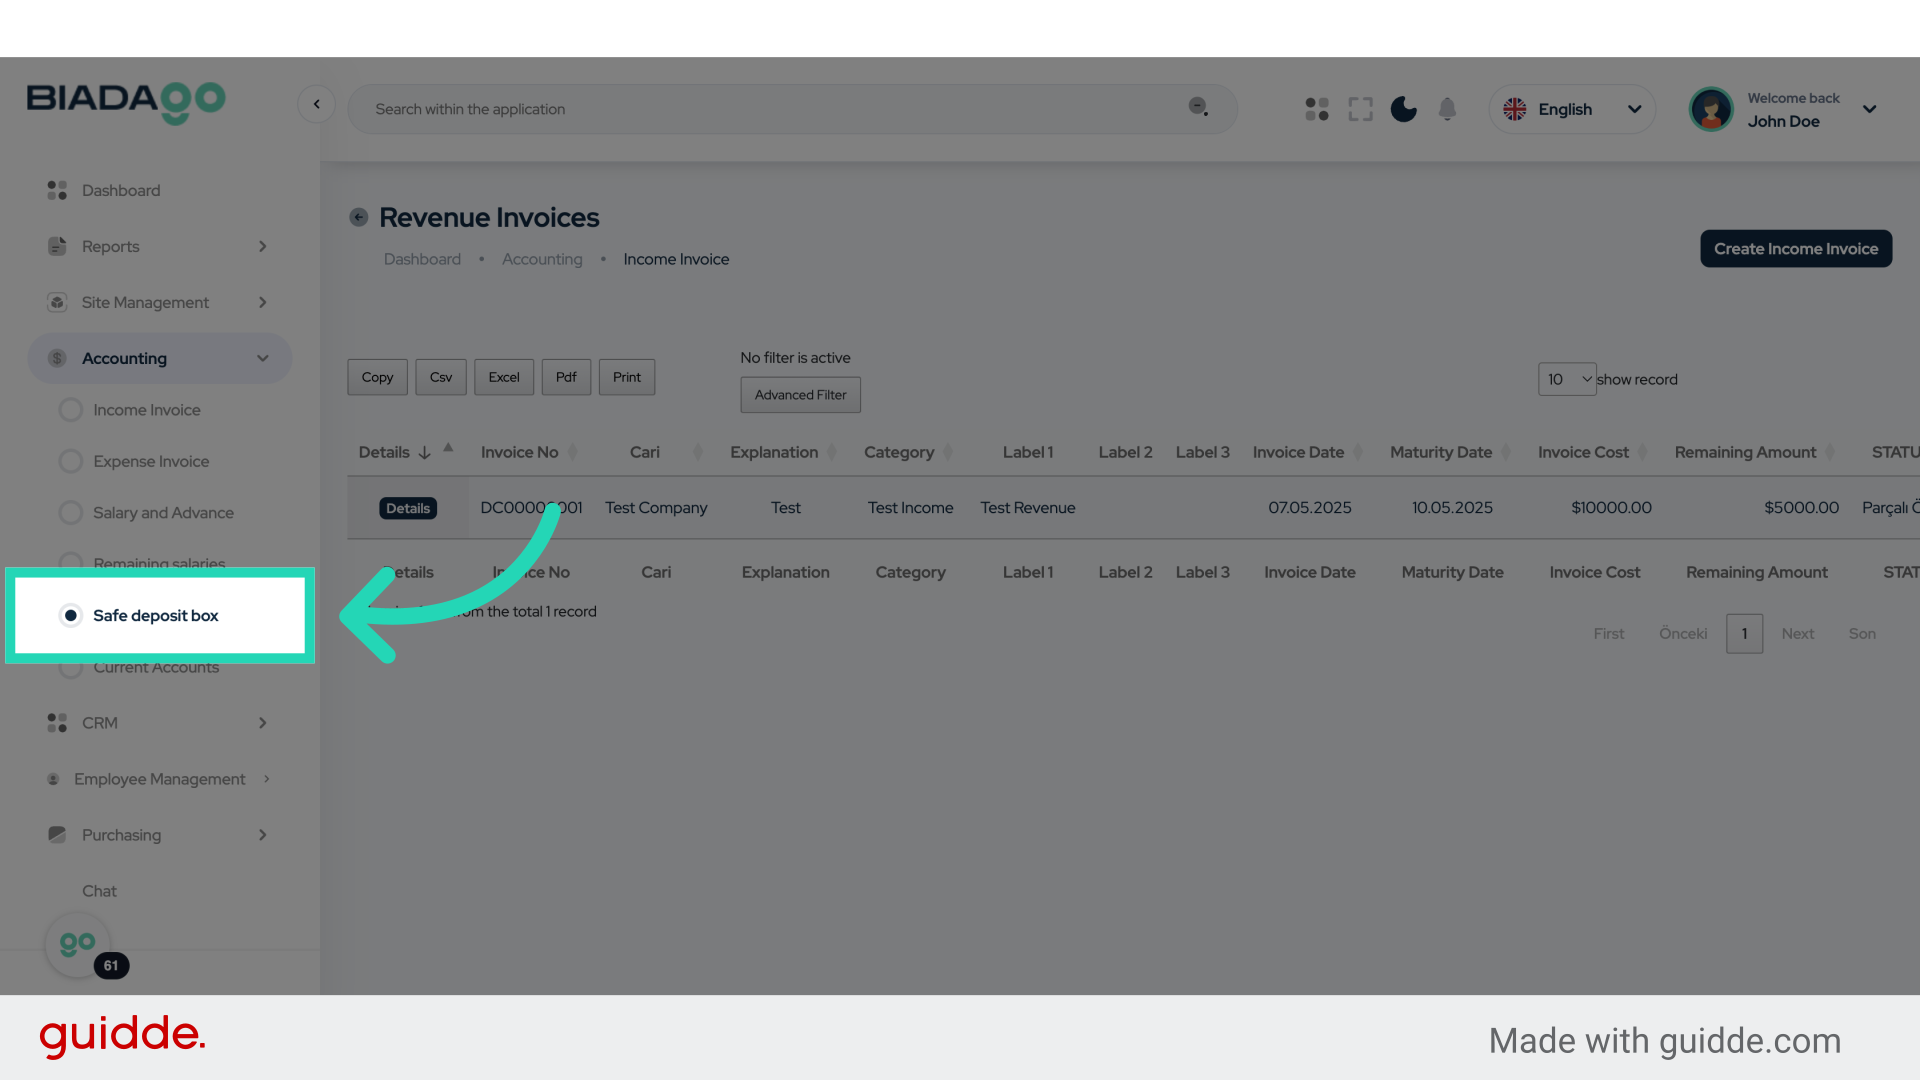
63. Click “Safe deposit box”
Access the “Safe deposit box” section.
The guide covered the detailed steps required in BiadaGO to create income invoices, record payments, and manage financial transactions efficiently. From initiating income invoices to accessing specific sections, this guide ensures a seamless navigation experience for employee training.