How to Add and Manage Project Layers in BiadaGO
How to Add and Manage Project Layers in BiadaGO
This guide will walk you through adding and managing project layers in BiadaGO
Go to cloud.biadago.com
1. Introduction
By following these instructions, you will be able to efficiently create, upload files, and save project layers for enhanced organization and collaboration.
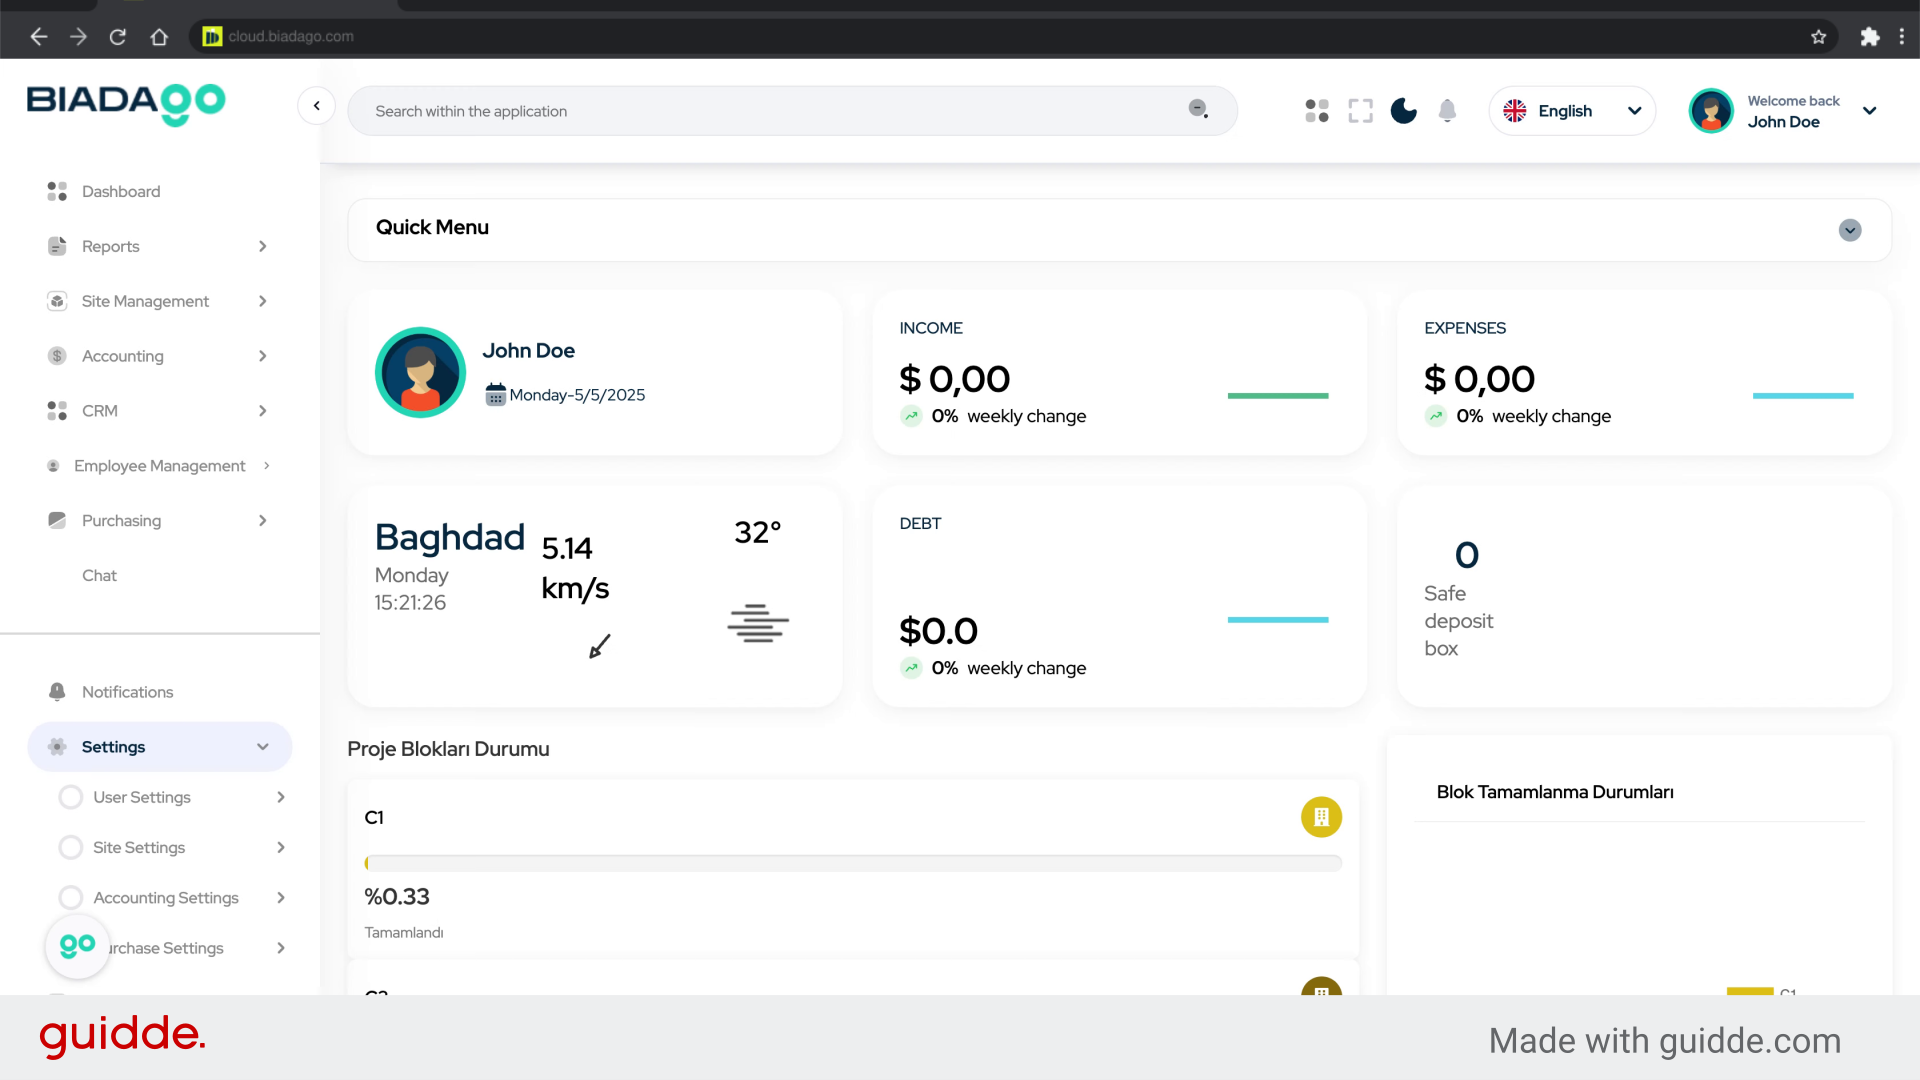
2. Click “Site Settings”
Access the site settings.
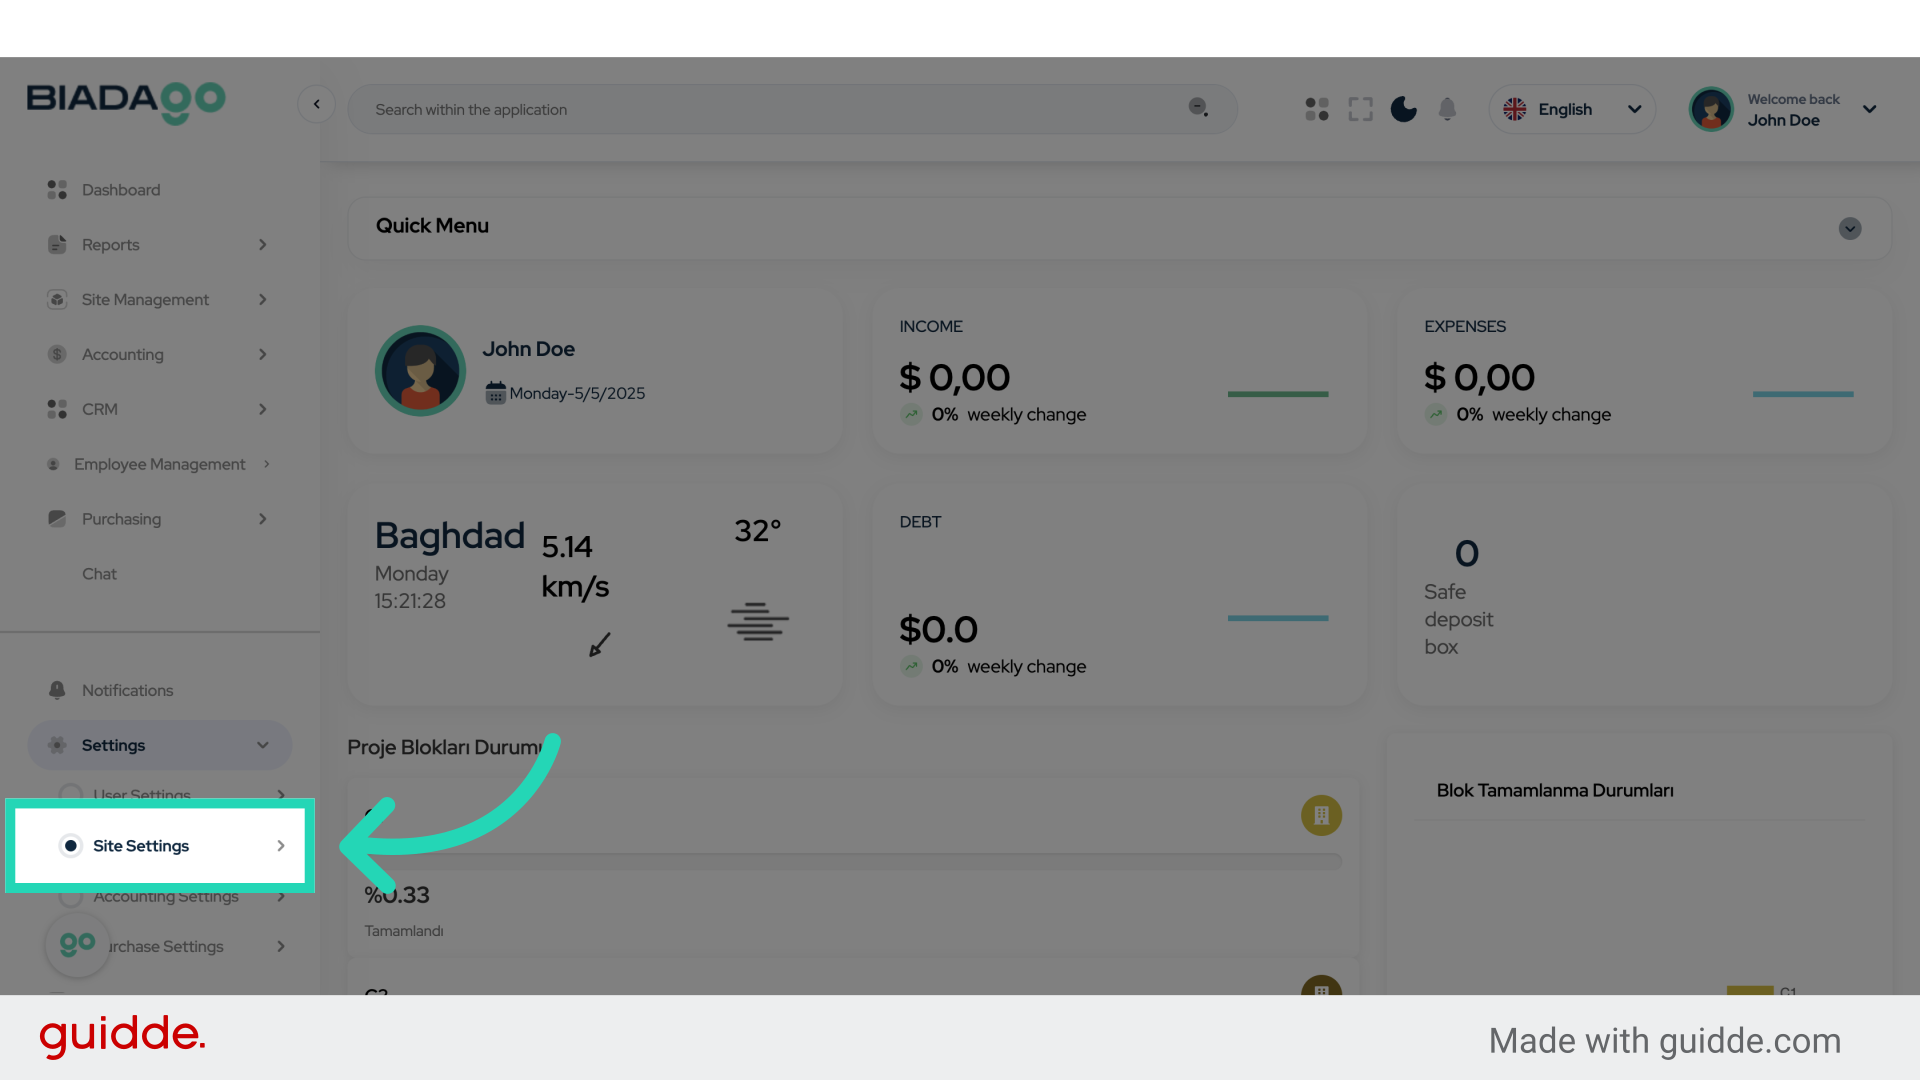
3. Click “Plan Layer”
Navigate to the plan layer section.
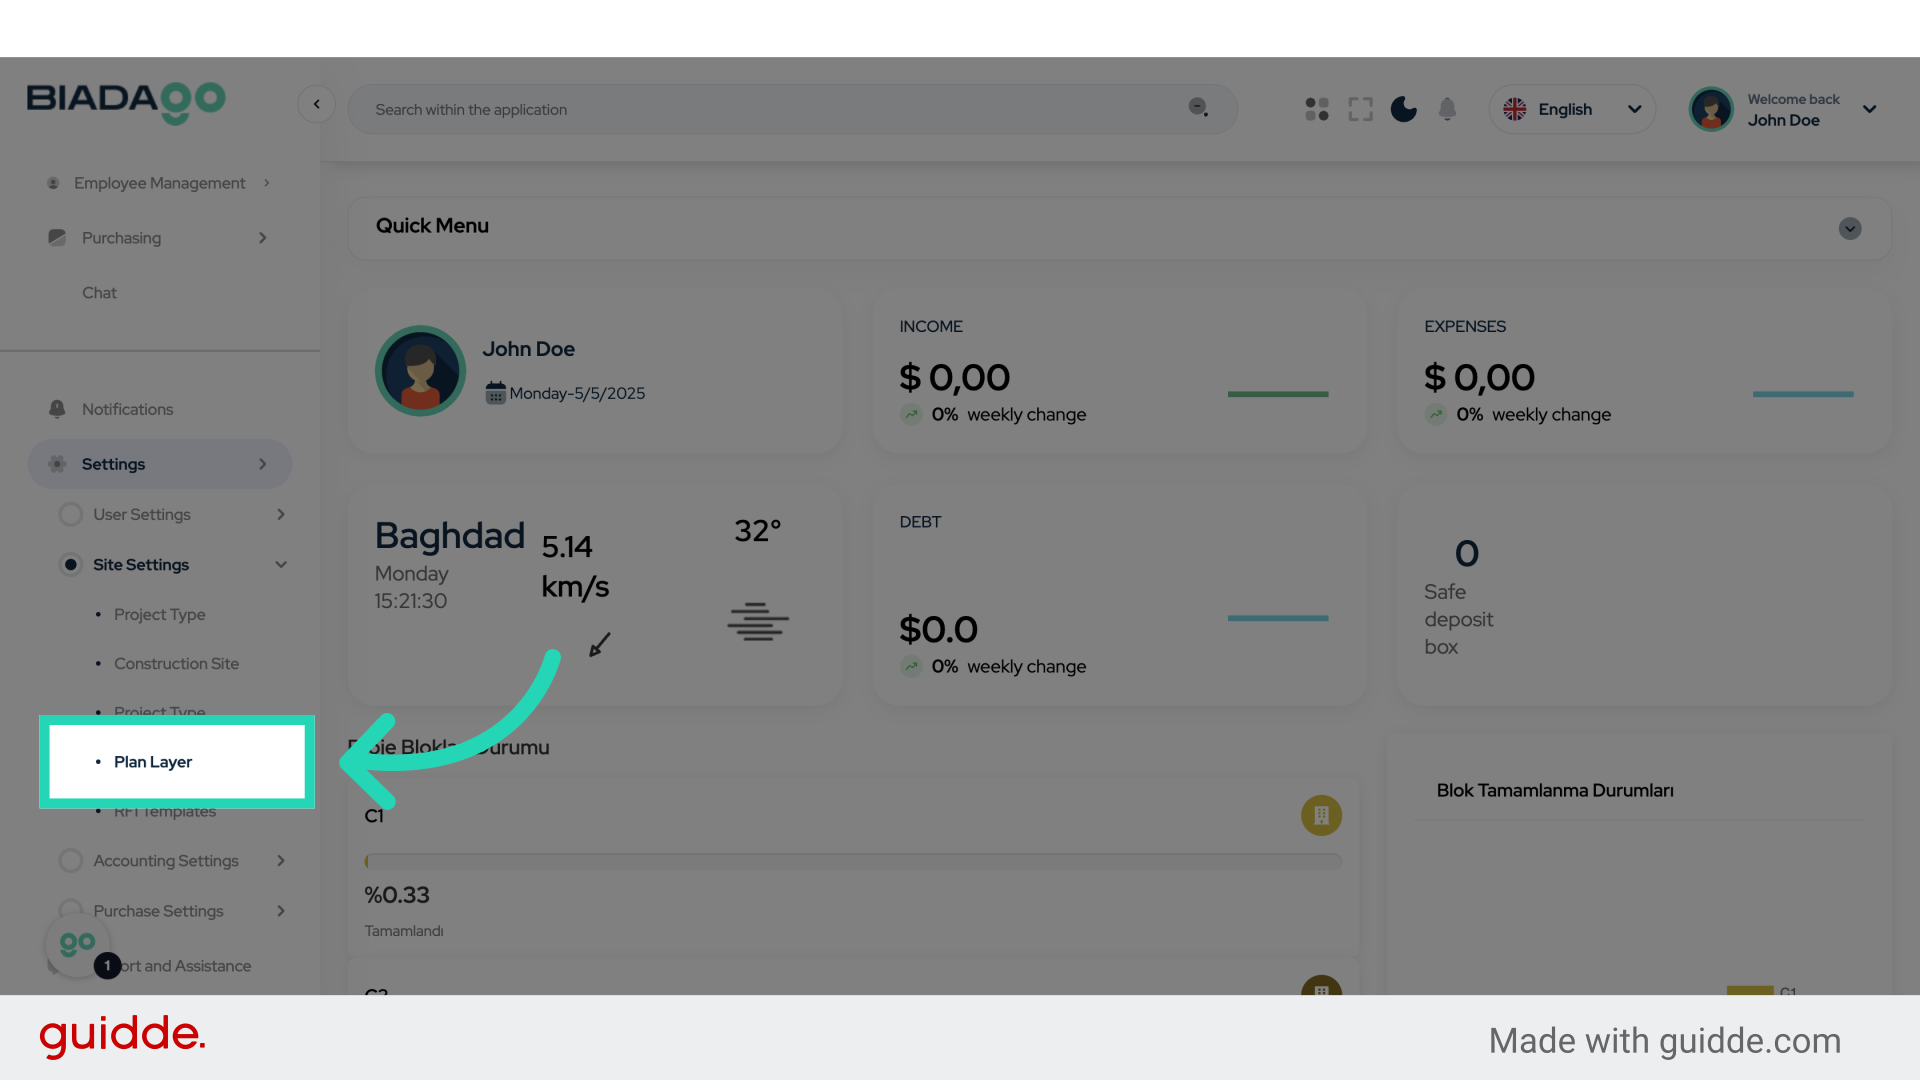
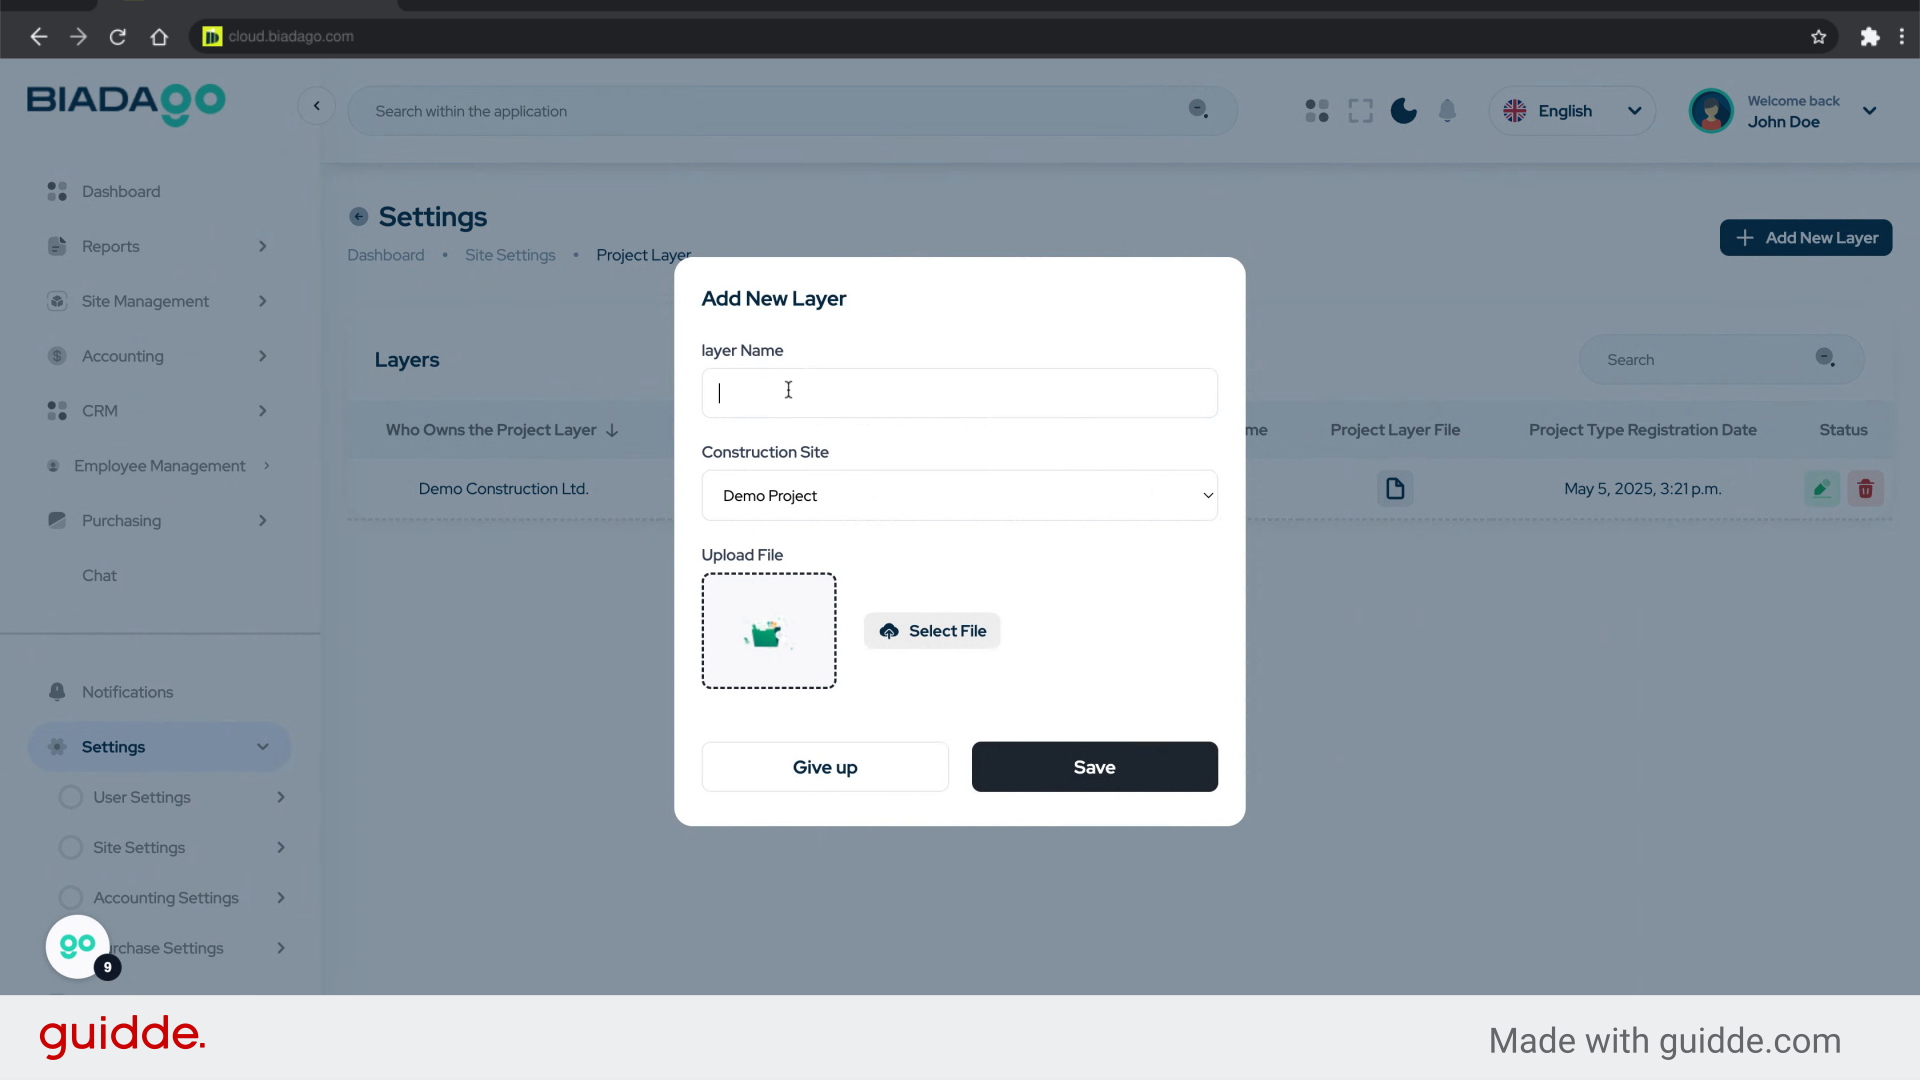
4. Click “Add New Layer”
Create a new layer for the project.
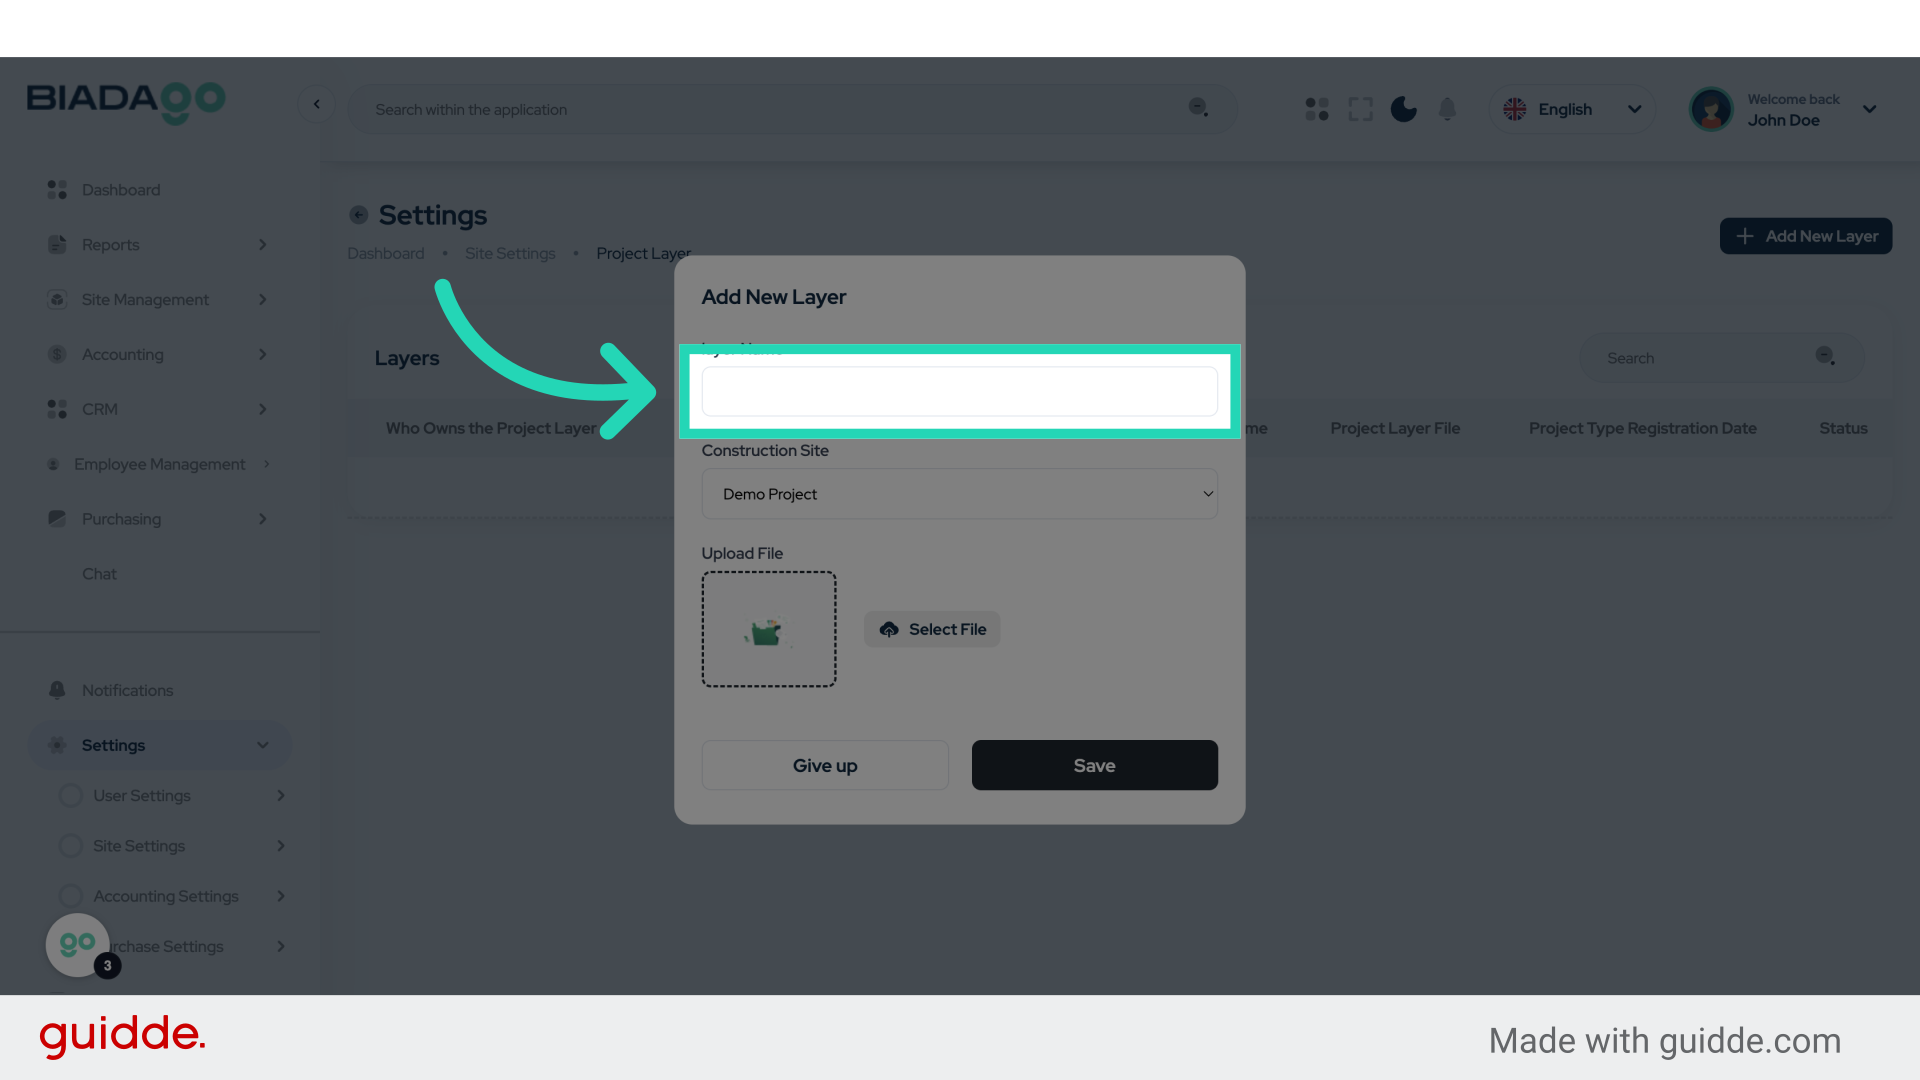
5. Click “layer Name”
Enter the name of the layer.
6. Fill “Demo Project”
Fill in “Demo Project”

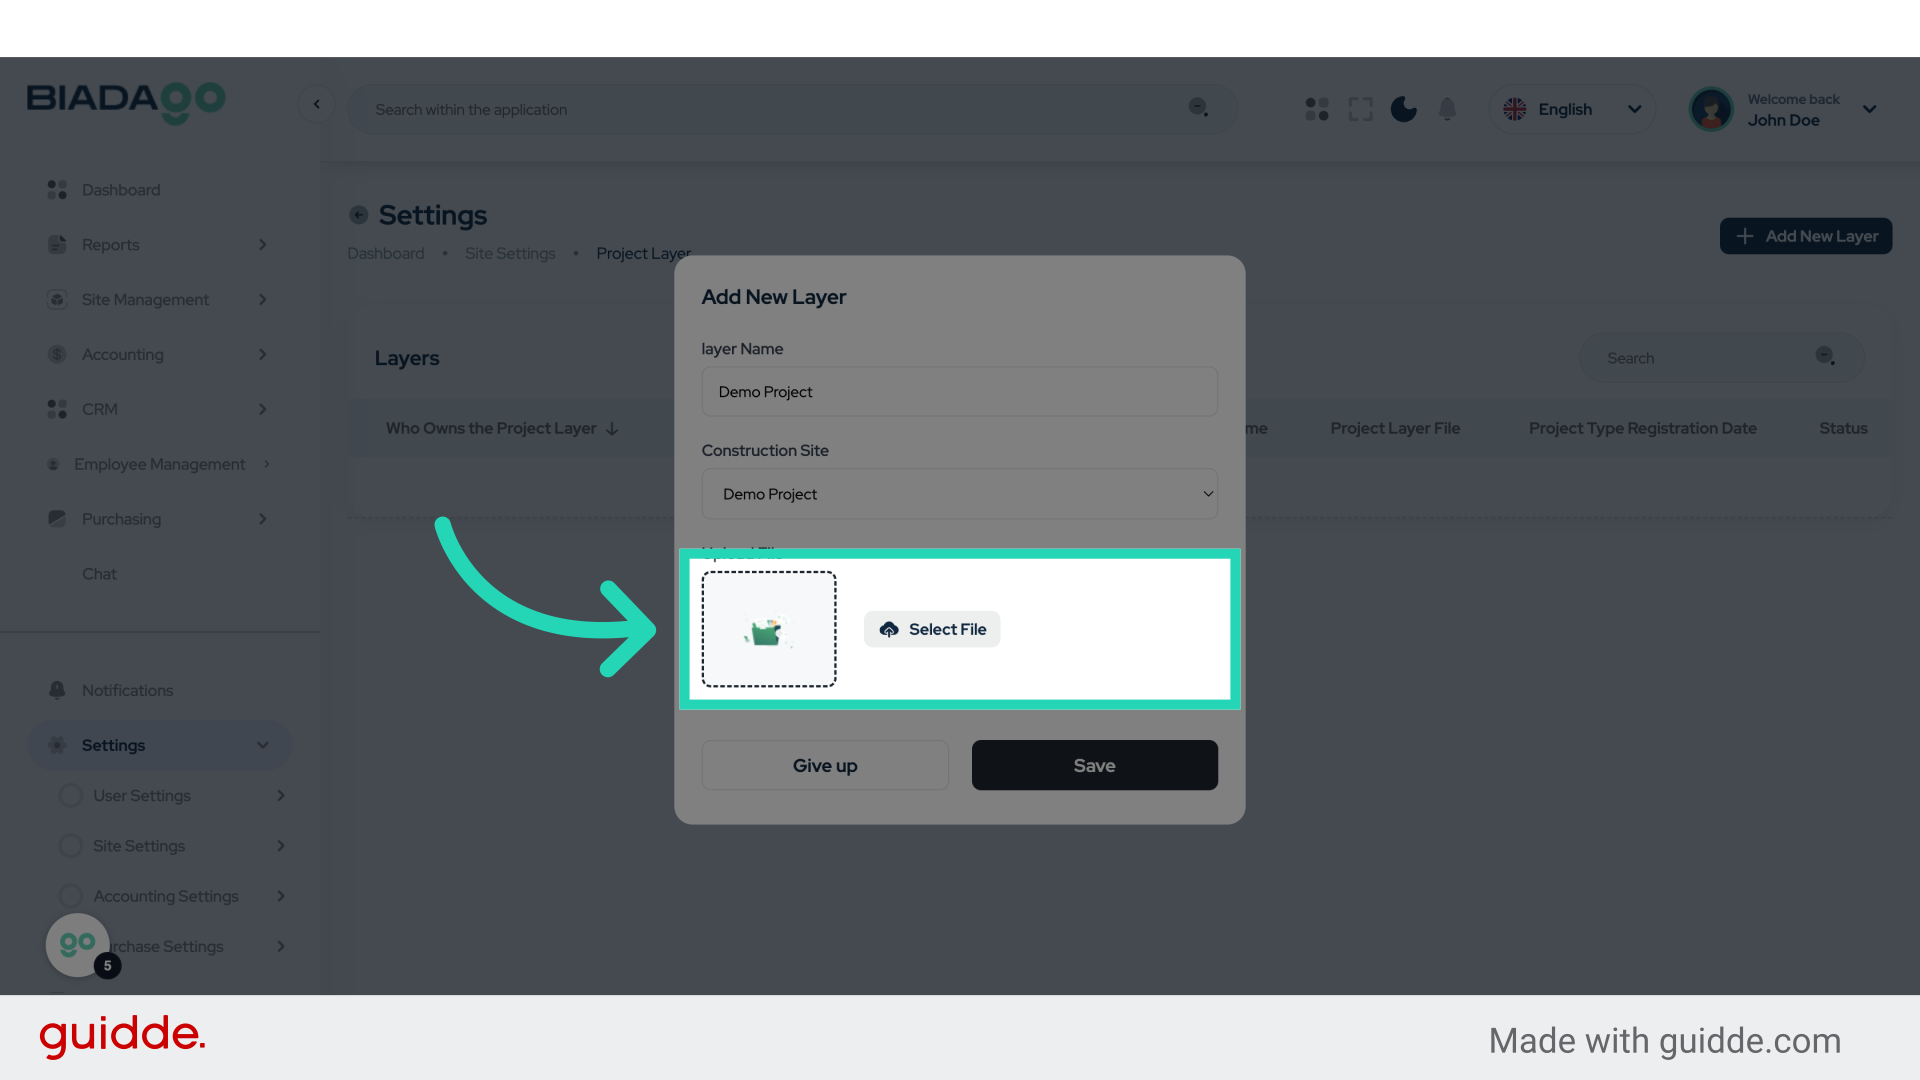
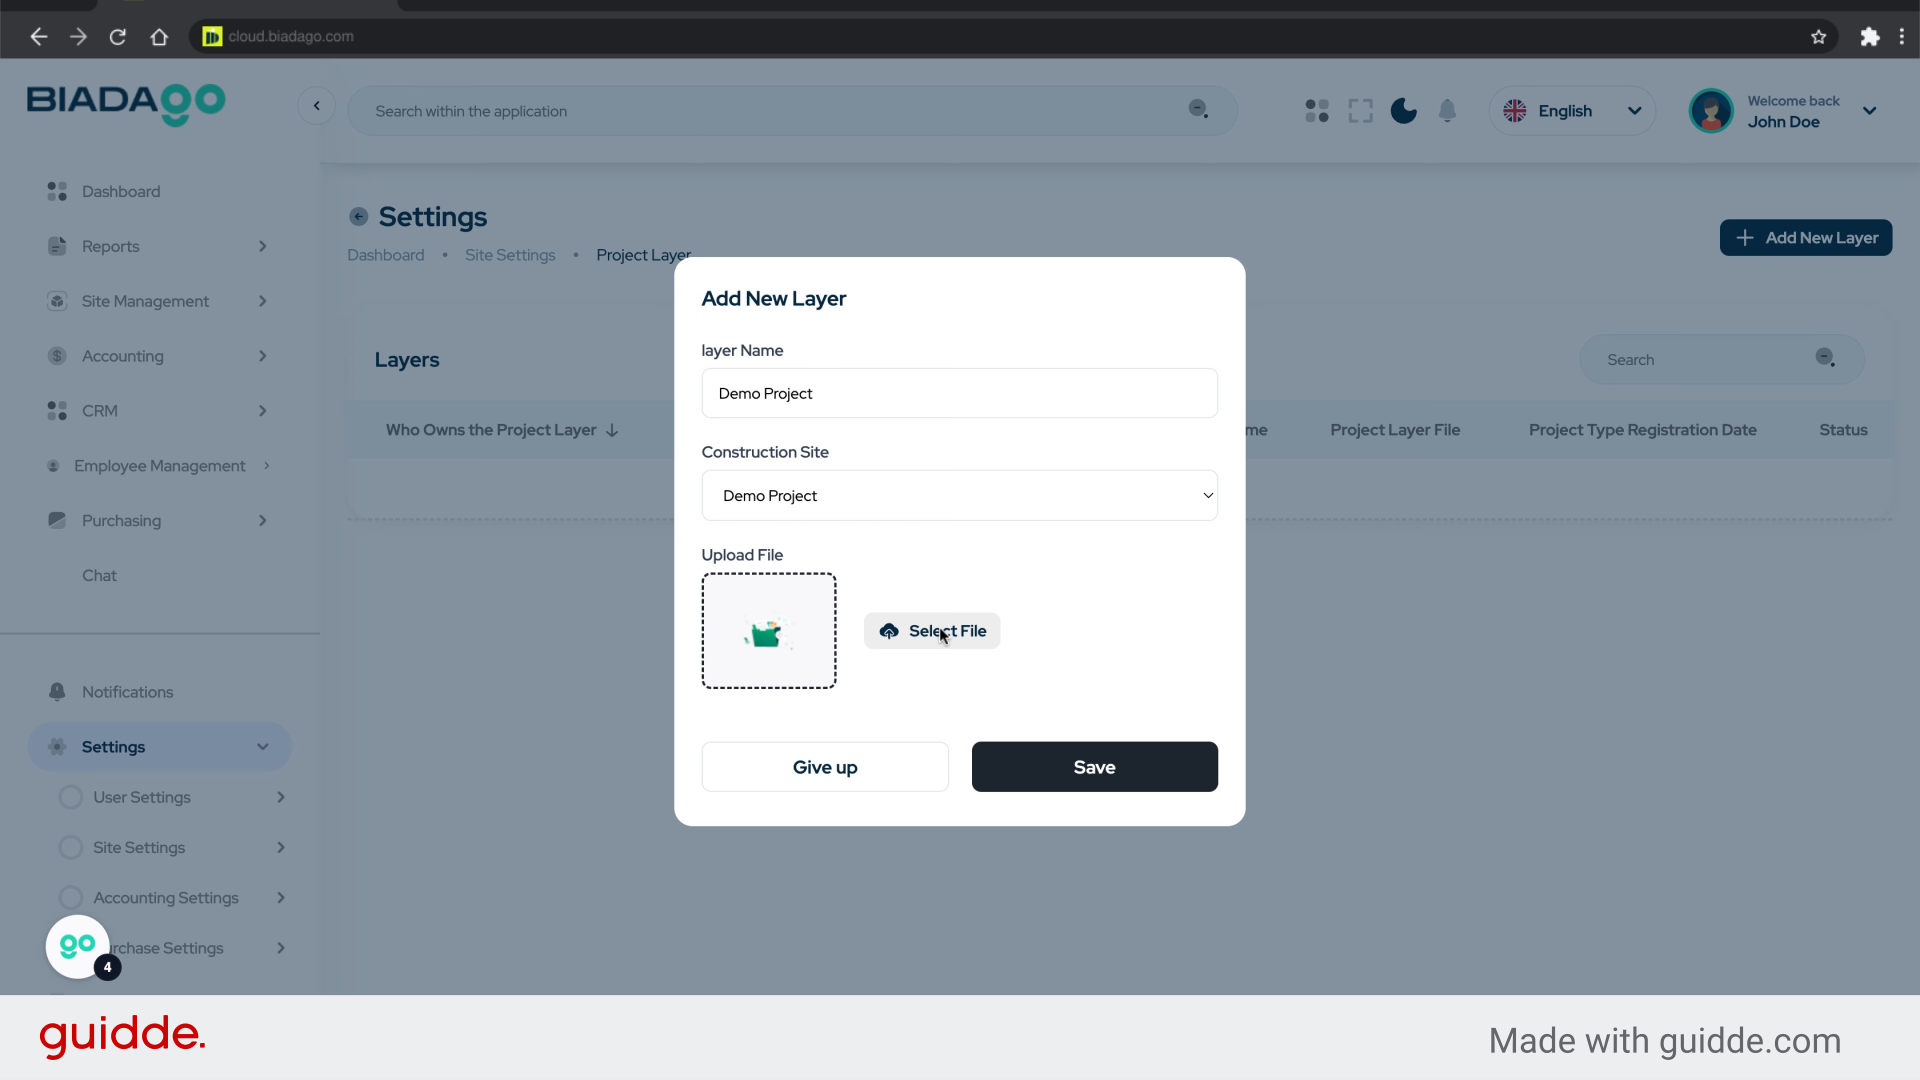
7. Click “Upload File”
Upload a file to the layer.
8. Fill “C:\fakepath\demo-project”
Enter “C:\fakepath\demo-project” in the provided field
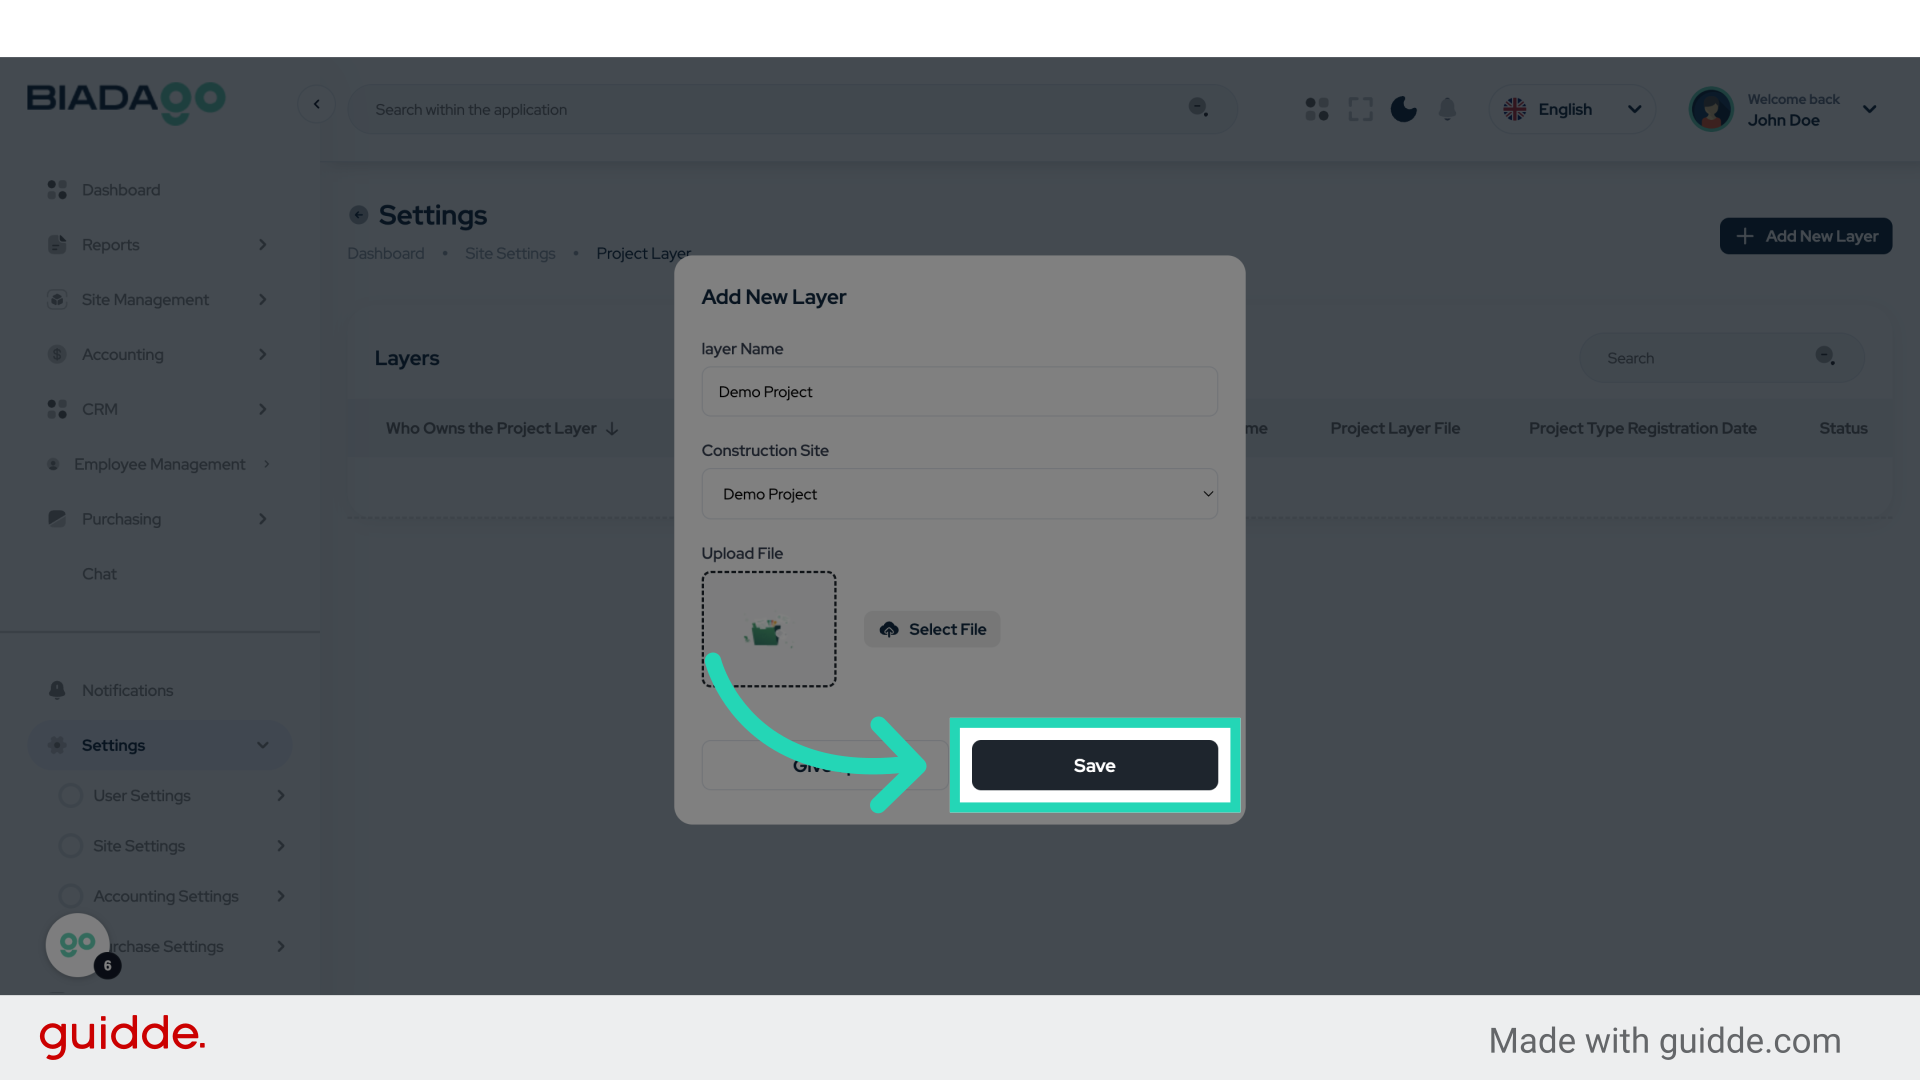
9. Click “Save”
Save the changes made.
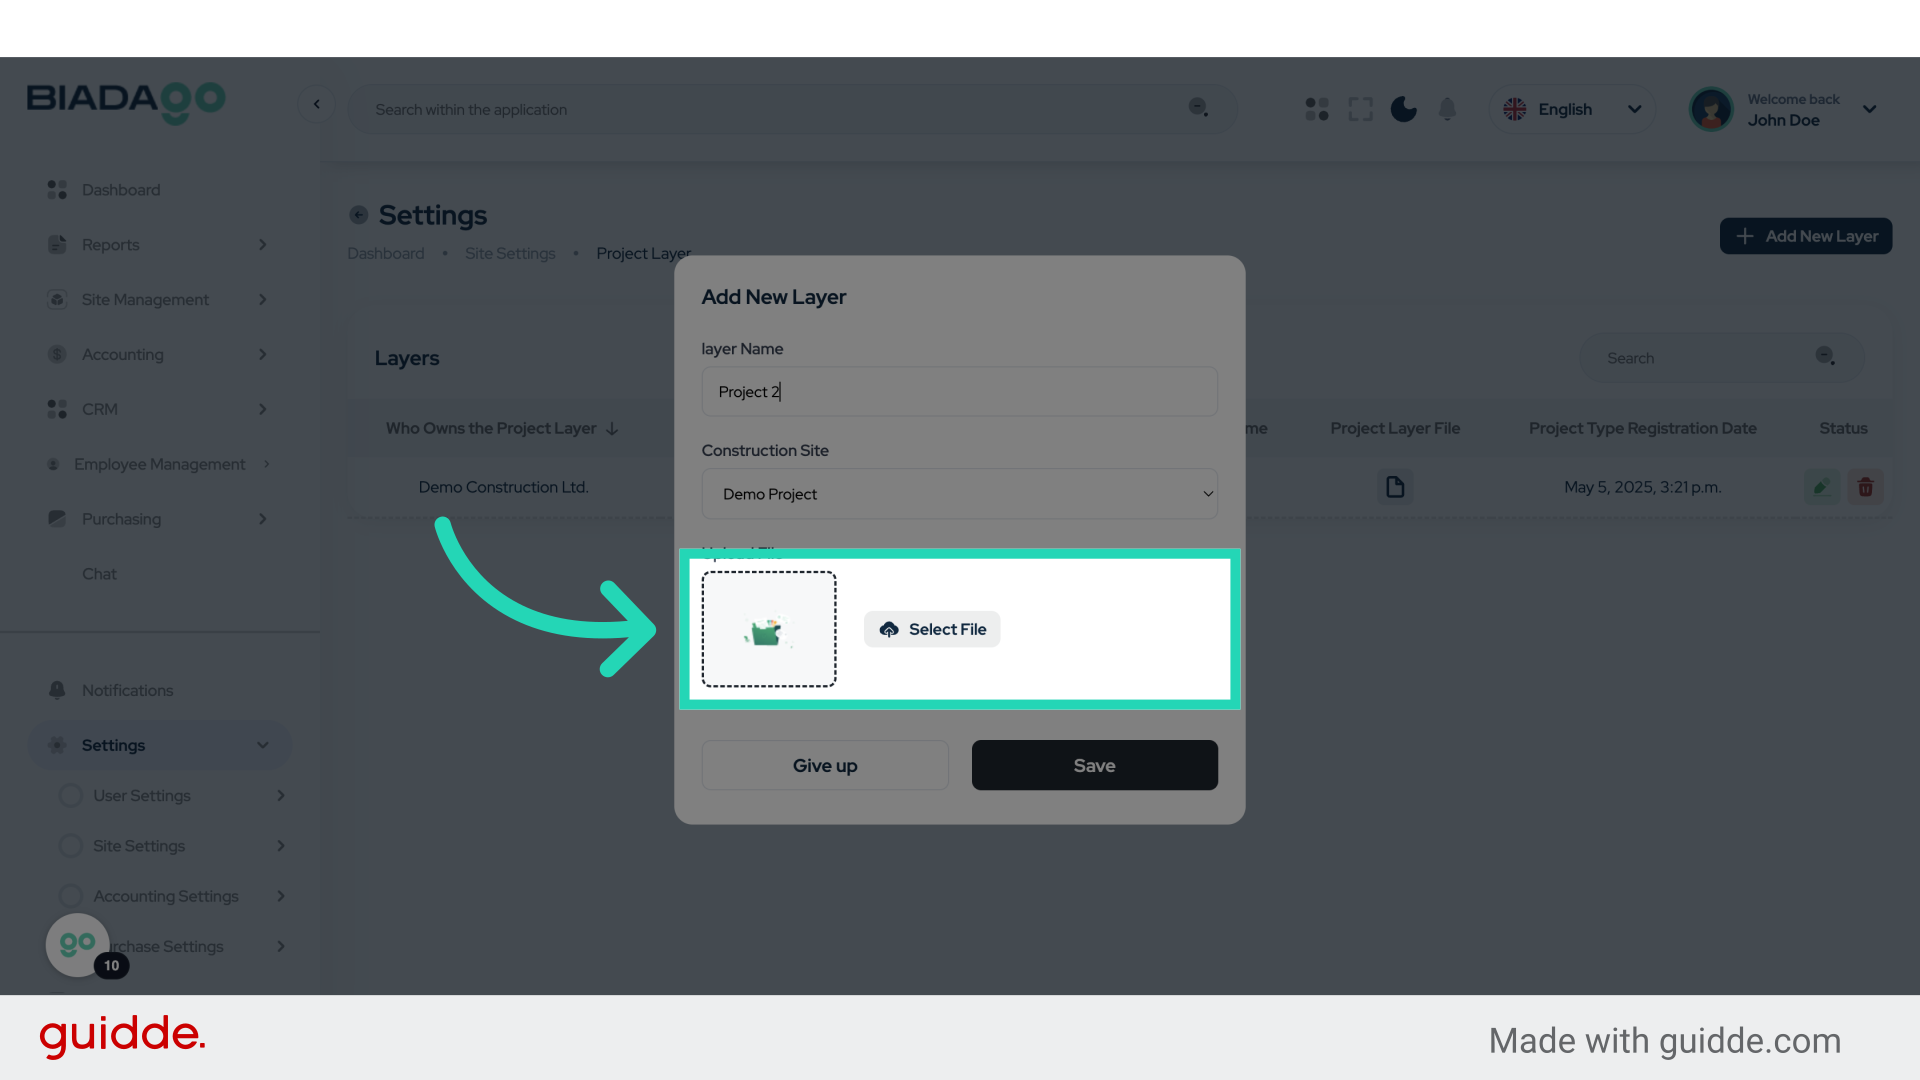
10. Click “Add New Layer”
Add another new layer to the project.

11. Click “layer Name”
Input the name of the new layer.

12. Fill “Project 2”
Fill in the text box with “Project 2”
13. Click “Upload File”
Upload a file to the new layer.
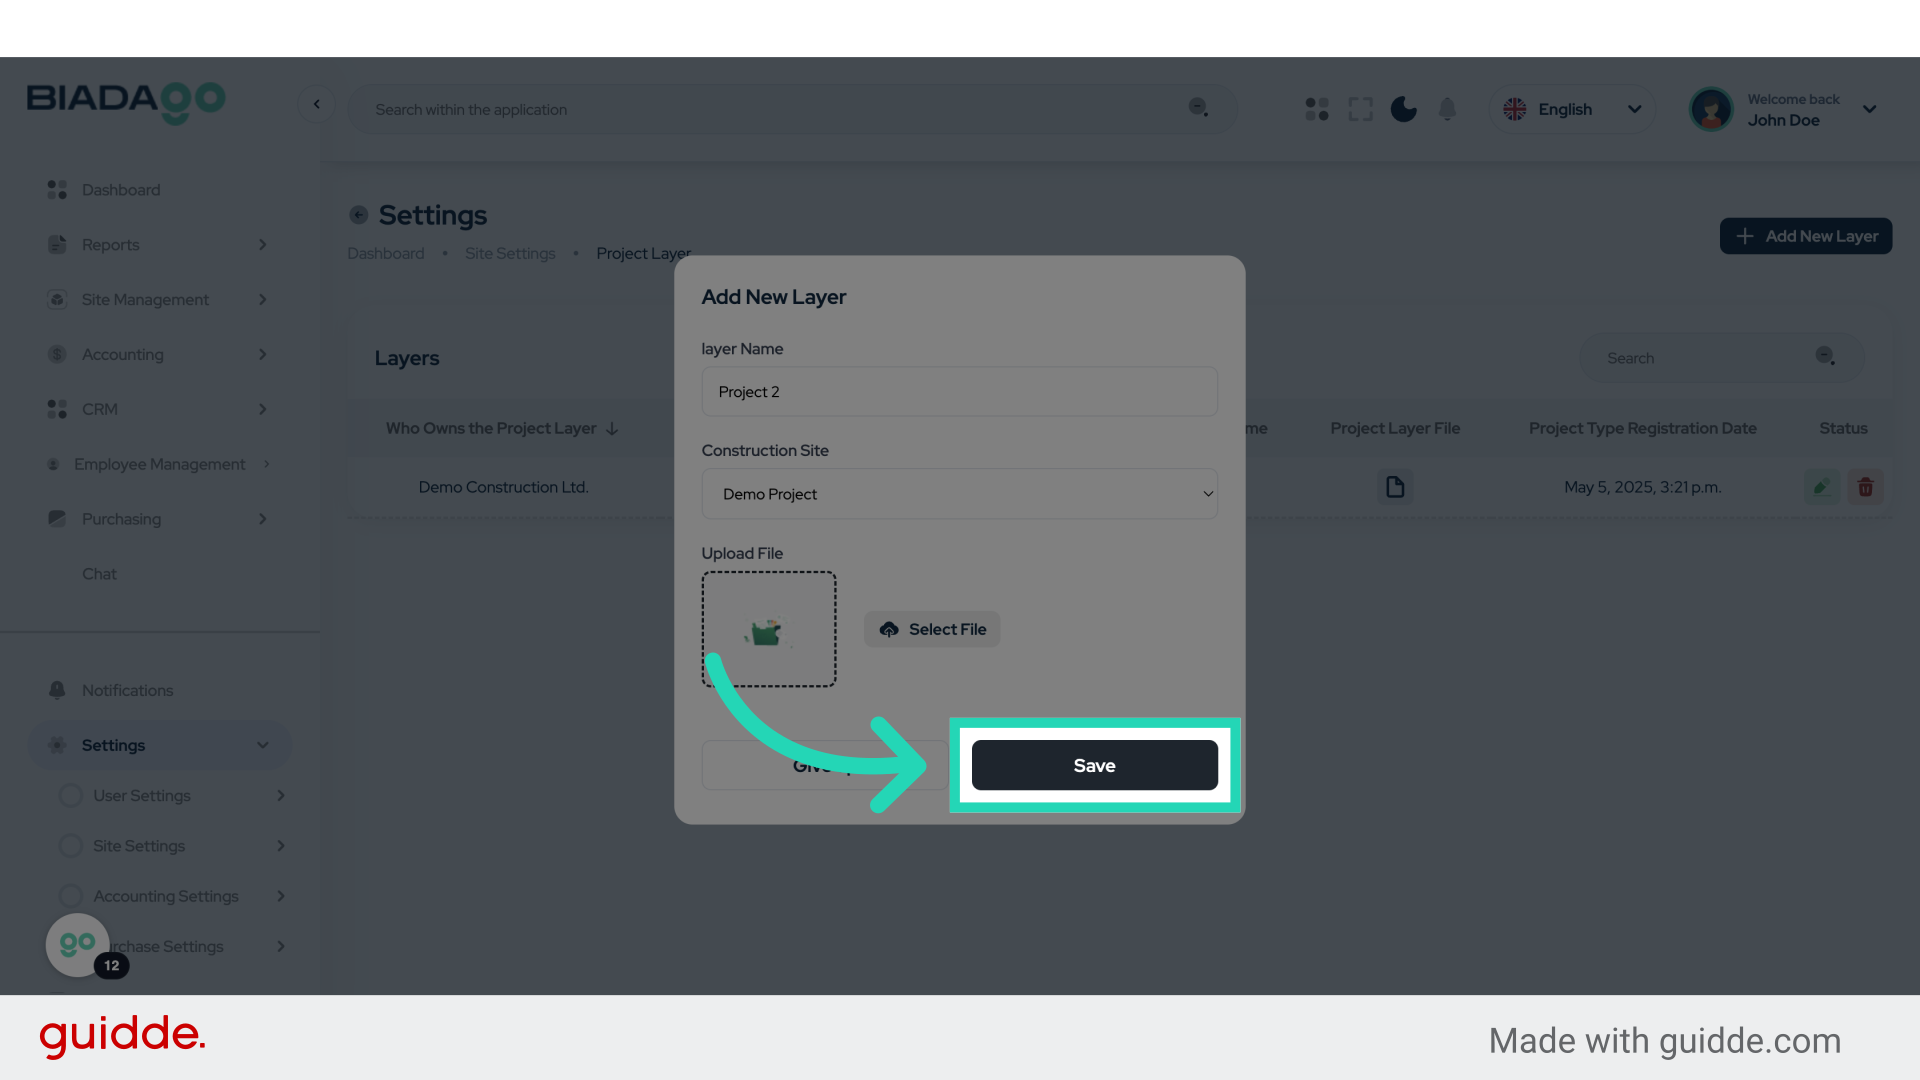
14. Fill “C:\fakepath\demo-project”
Enter the desired text.

15. Click “Save”
Save the changes made to the new layer.
The guide covered accessing site settings, navigating to plan layers, creating new layers, naming layers, uploading files, and saving changes in BiadaGO for seamless project management.