How to Add Income & Expense Invoices in BiadaGO
How to Add Income & Expense Invoices in BiadaGO
In BiadaGO, managing income and expense invoices is crucial for financial tracking
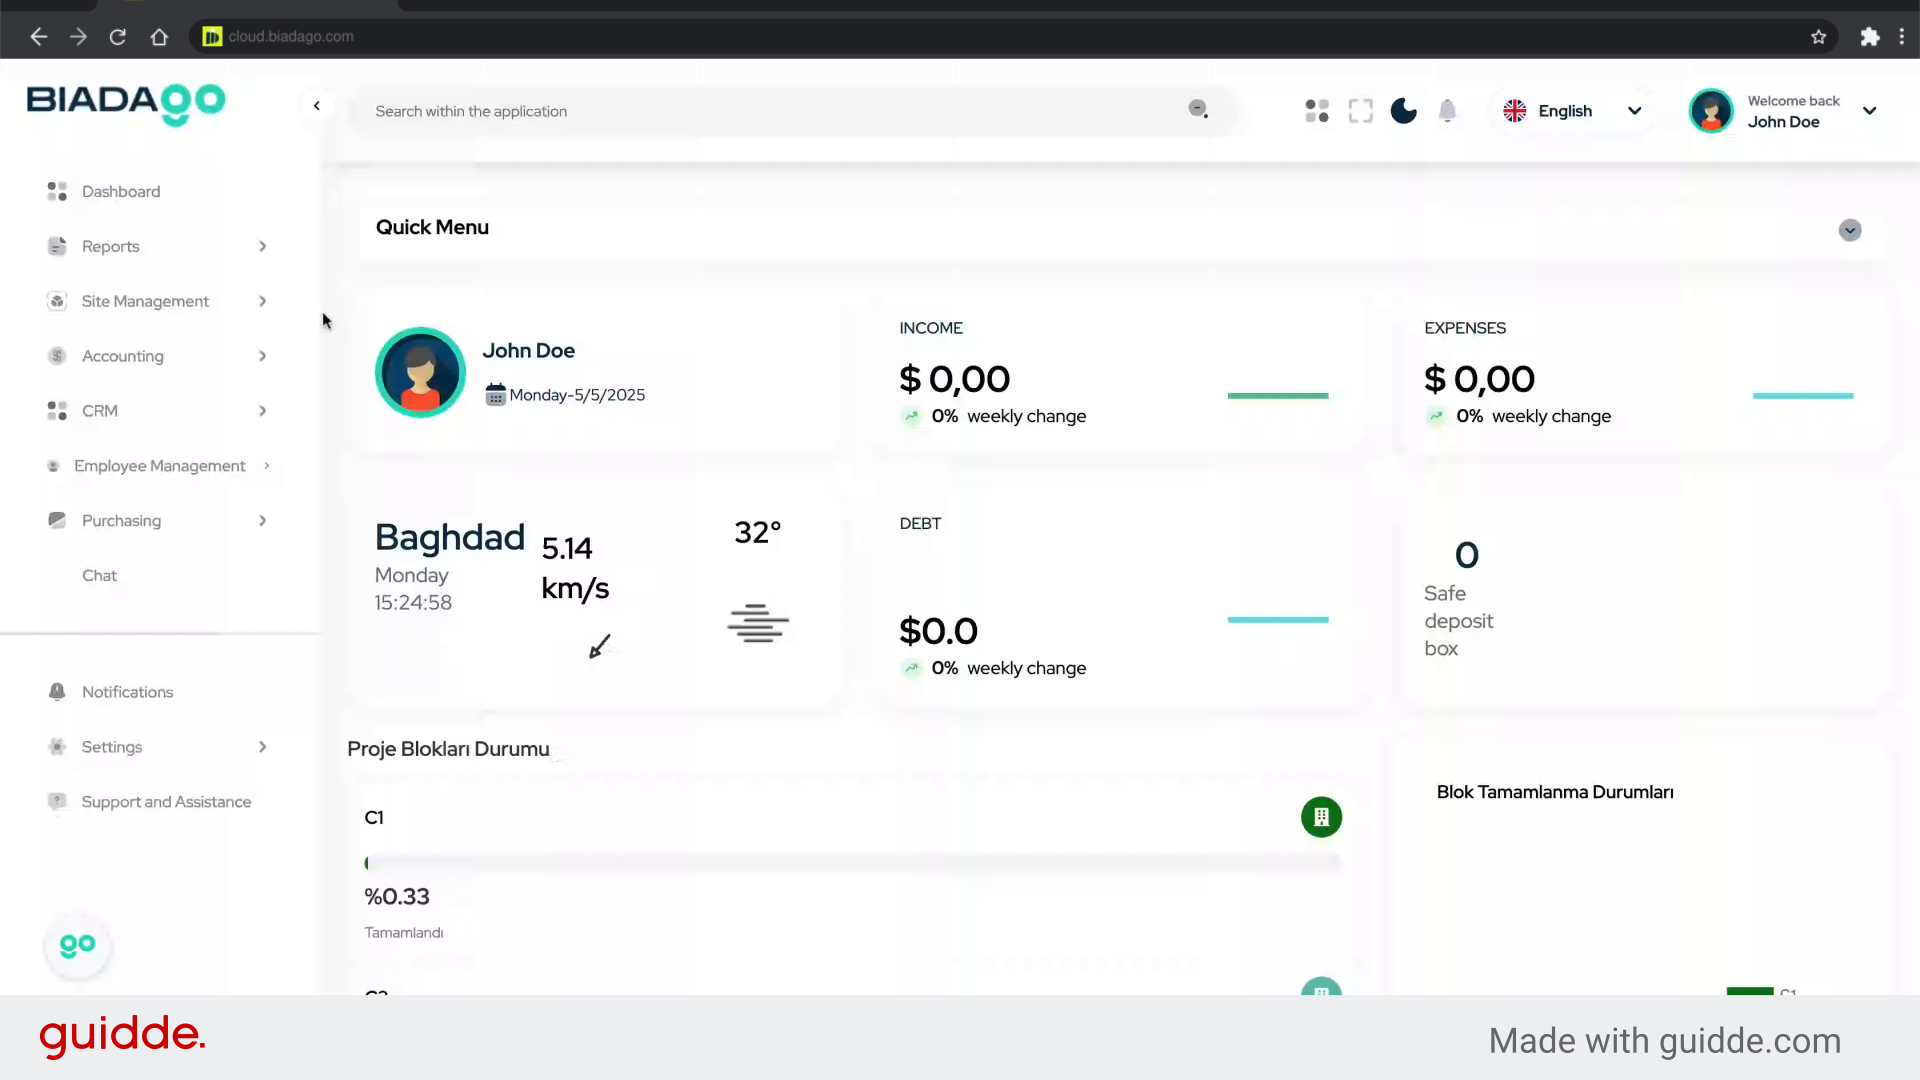
Go to cloud.biadago.com
1. Introduction
This guide will walk you through the process of adding income and expense invoices efficiently, ensuring accurate record-keeping and financial transparency.
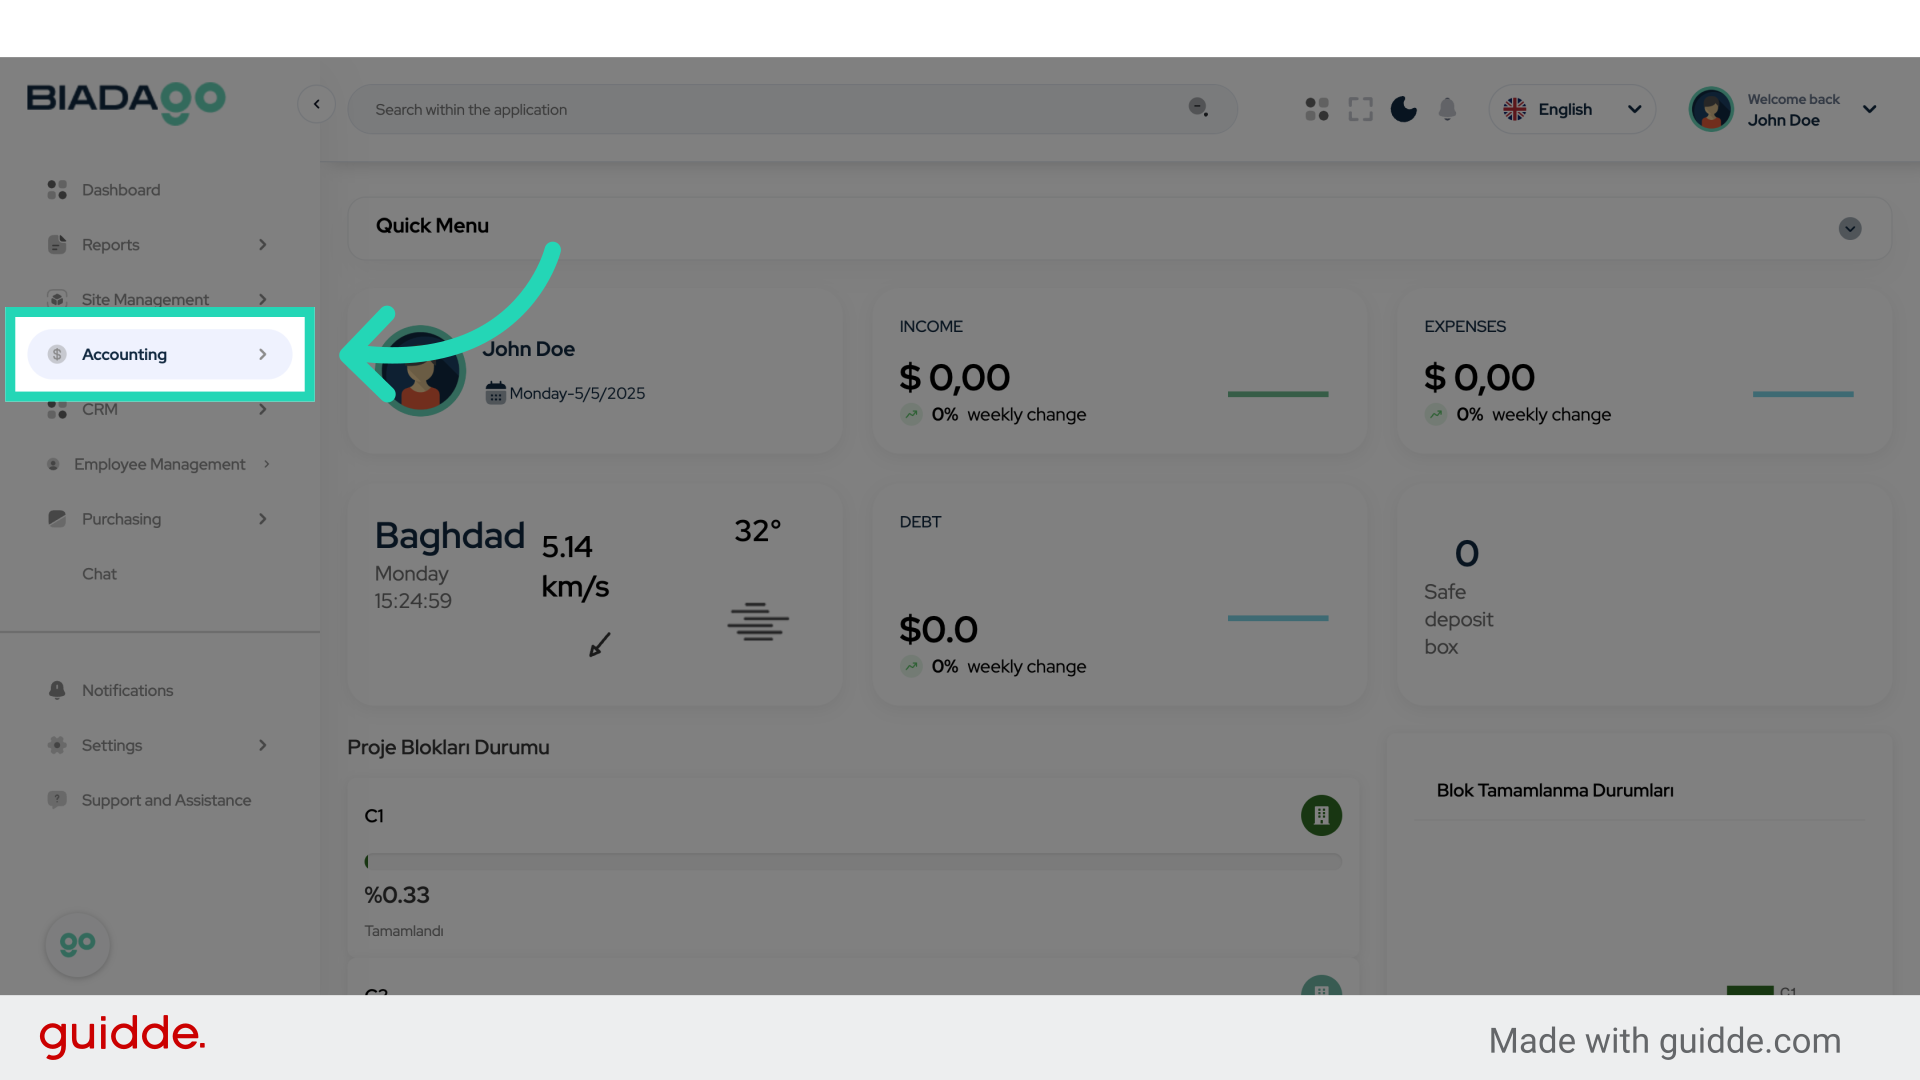
2. Click “Accounting”
Navigate to the Accounting section.
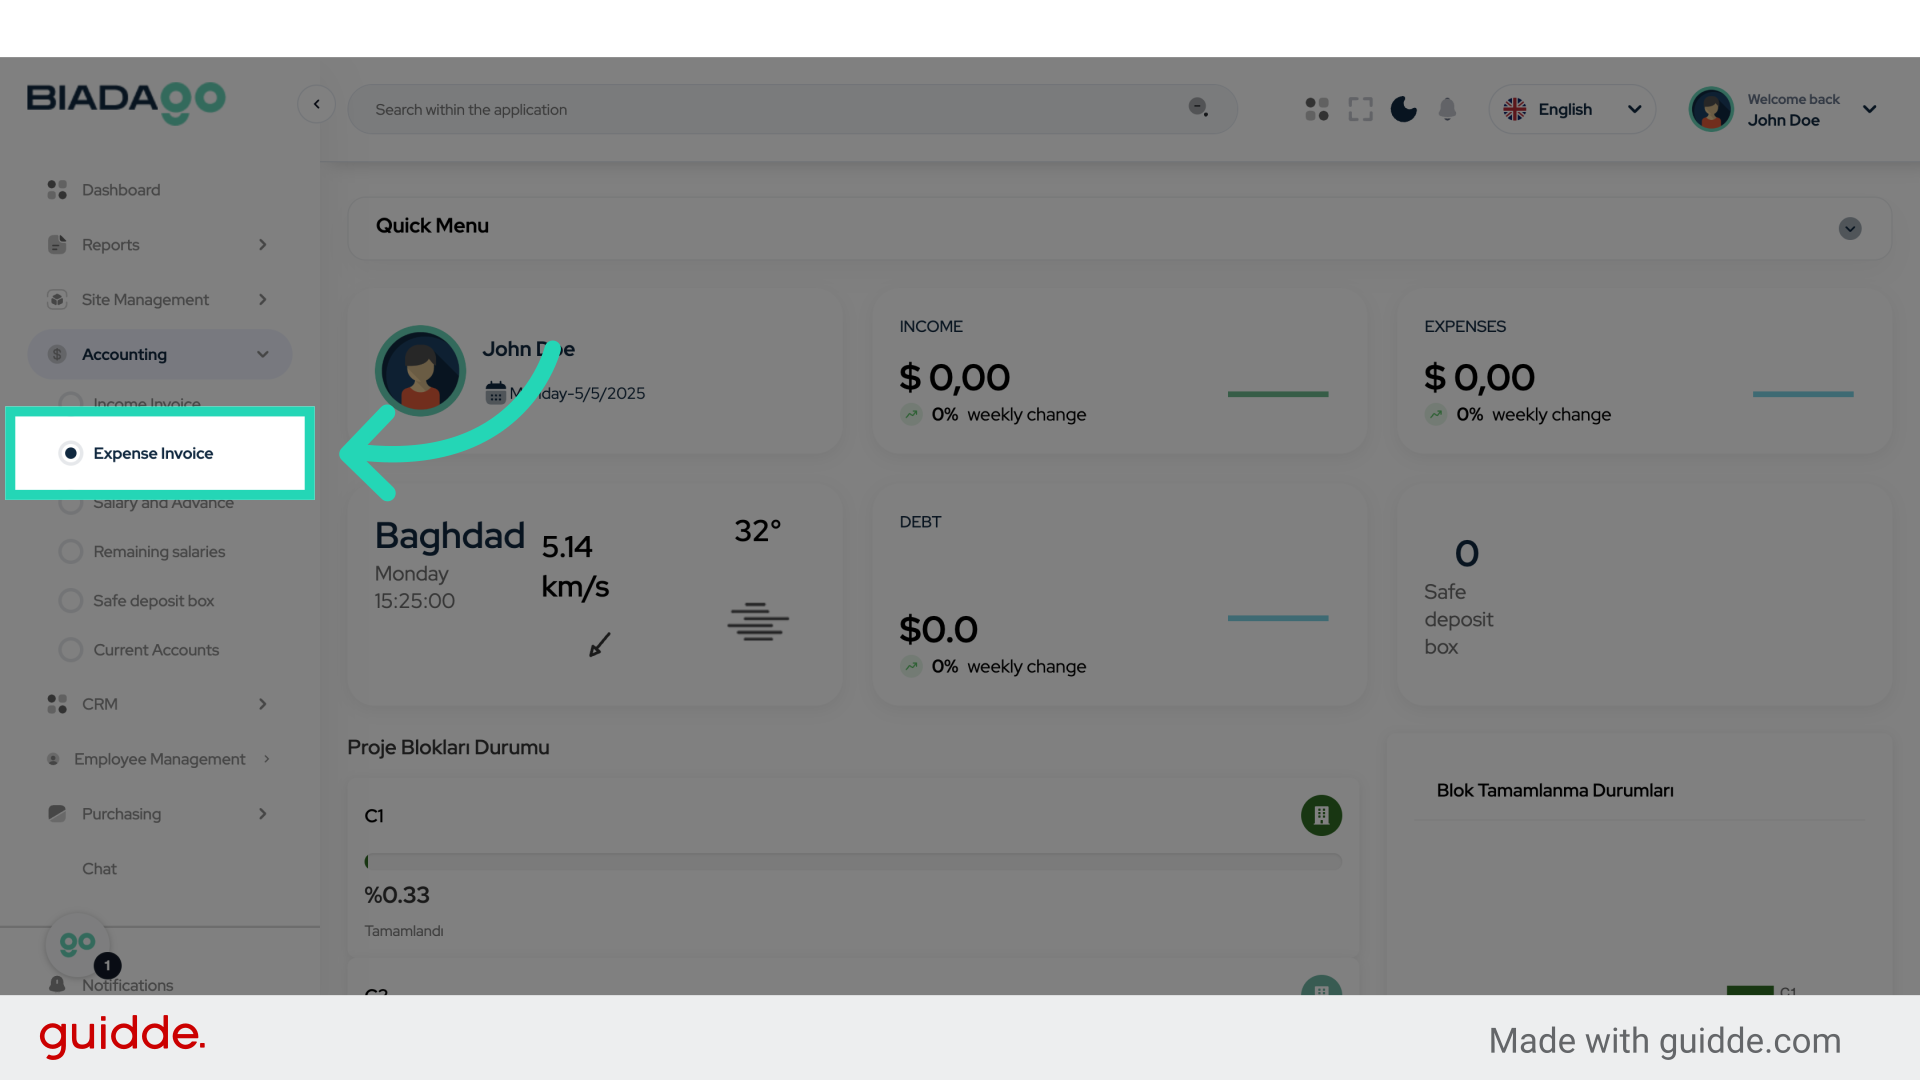
3. Click “Expense Invoice”
Select the Expense Invoice option.
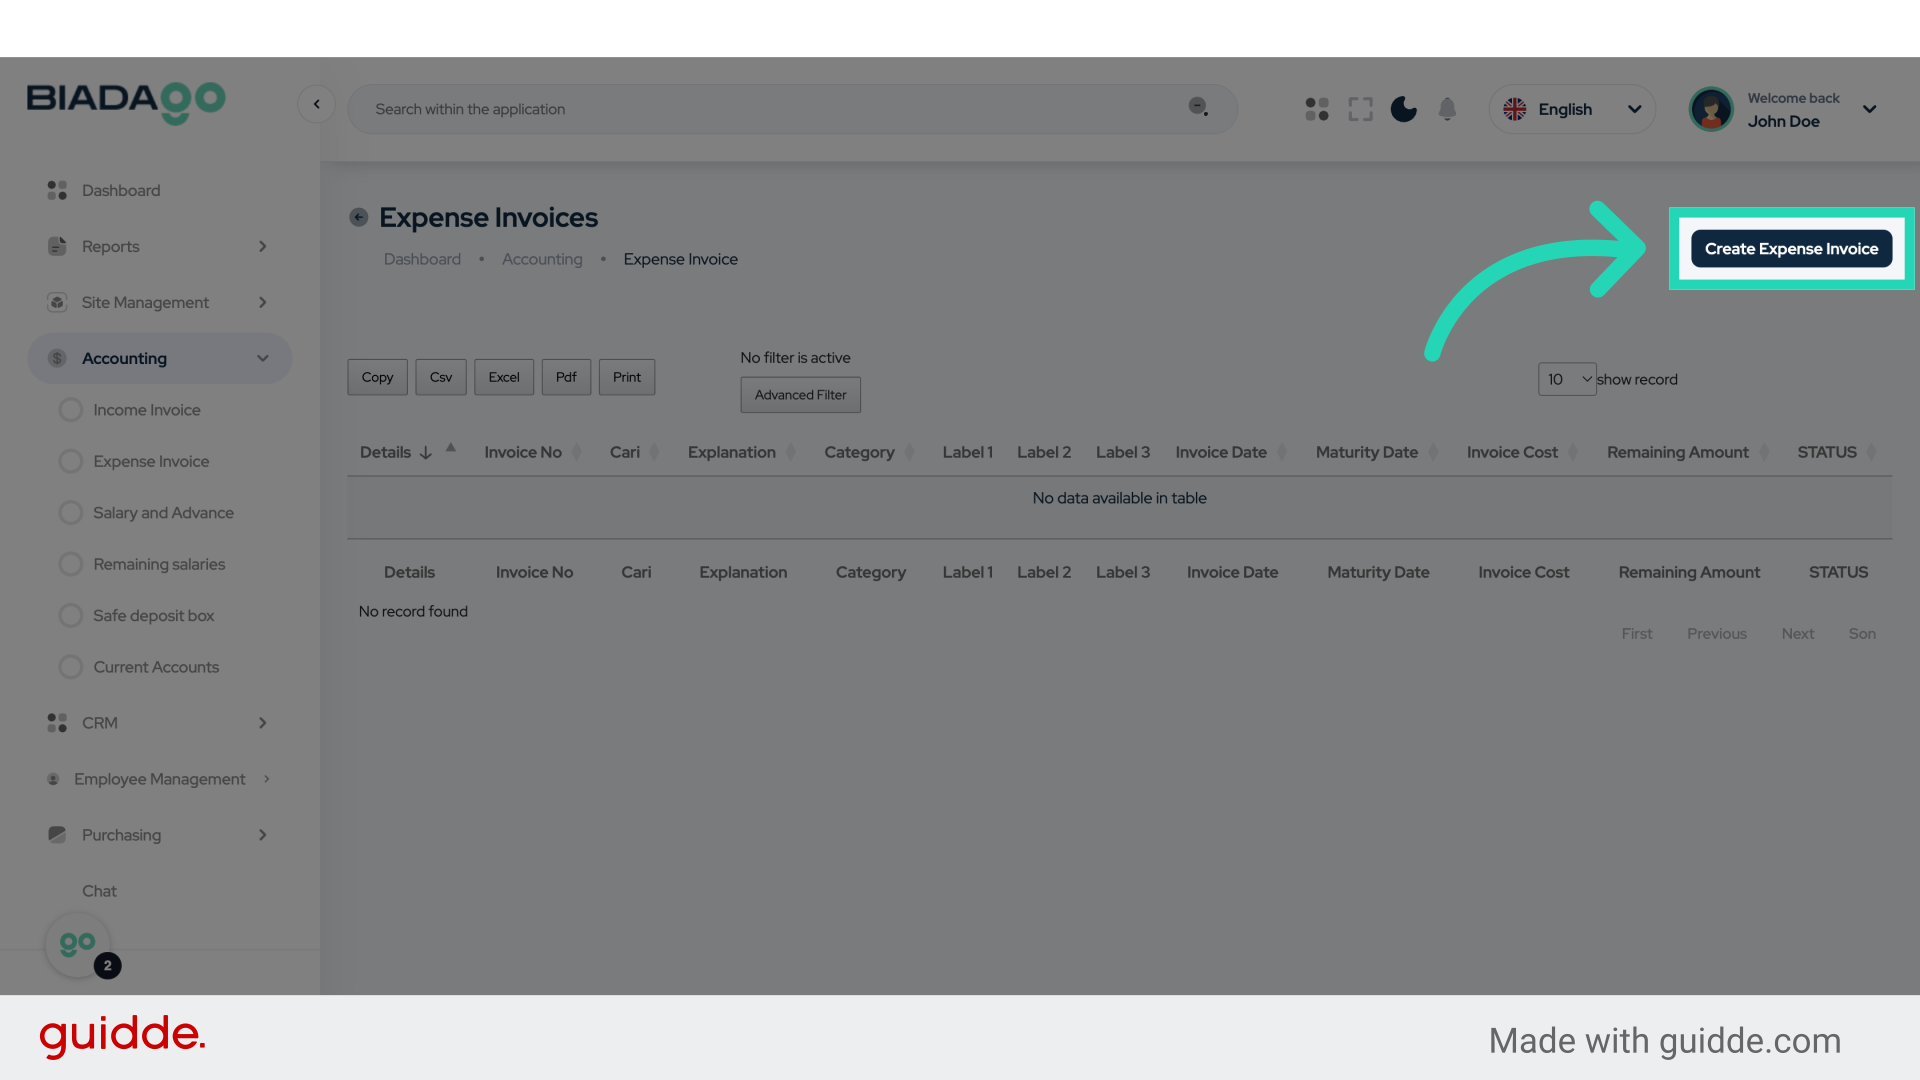
4. Click “Create Expense Invoice”
Initiate the creation of a new Expense Invoice.
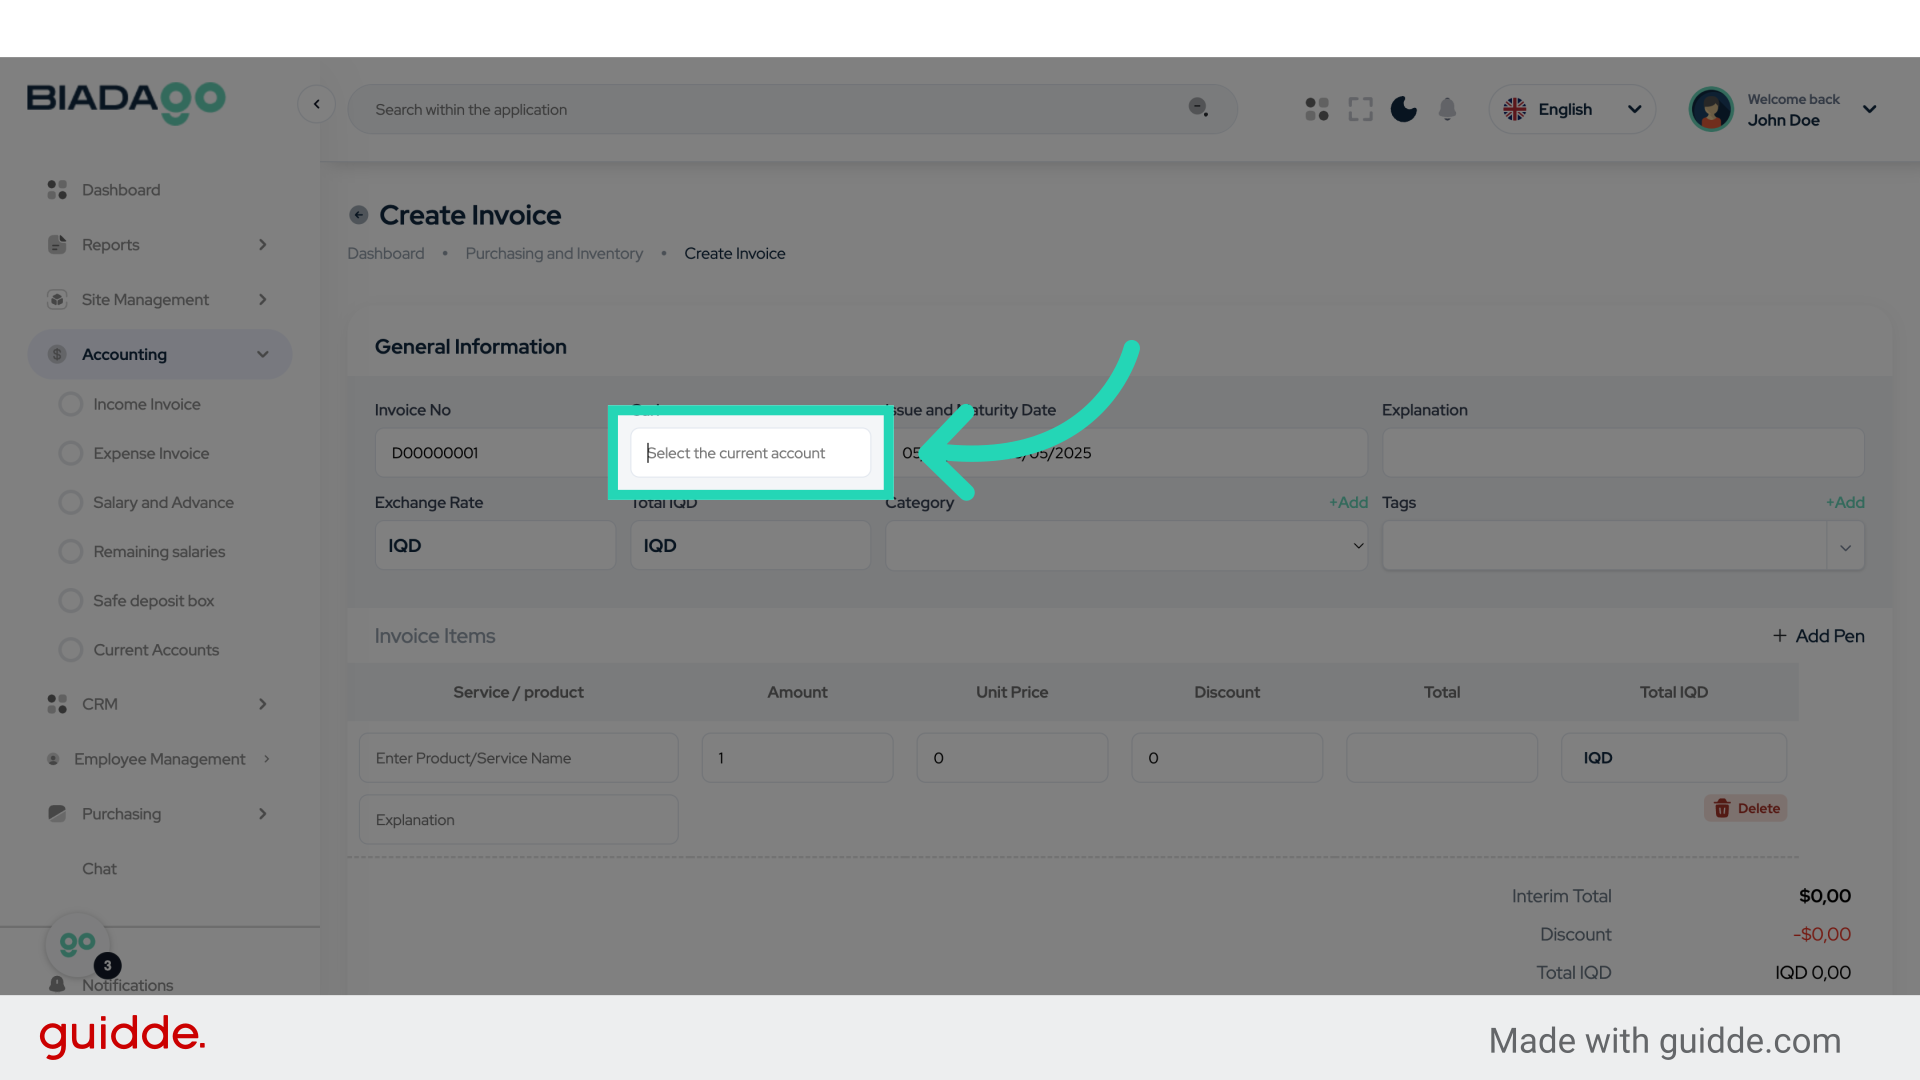
5. Click “Select the current account”
Choose the current account for the transaction.
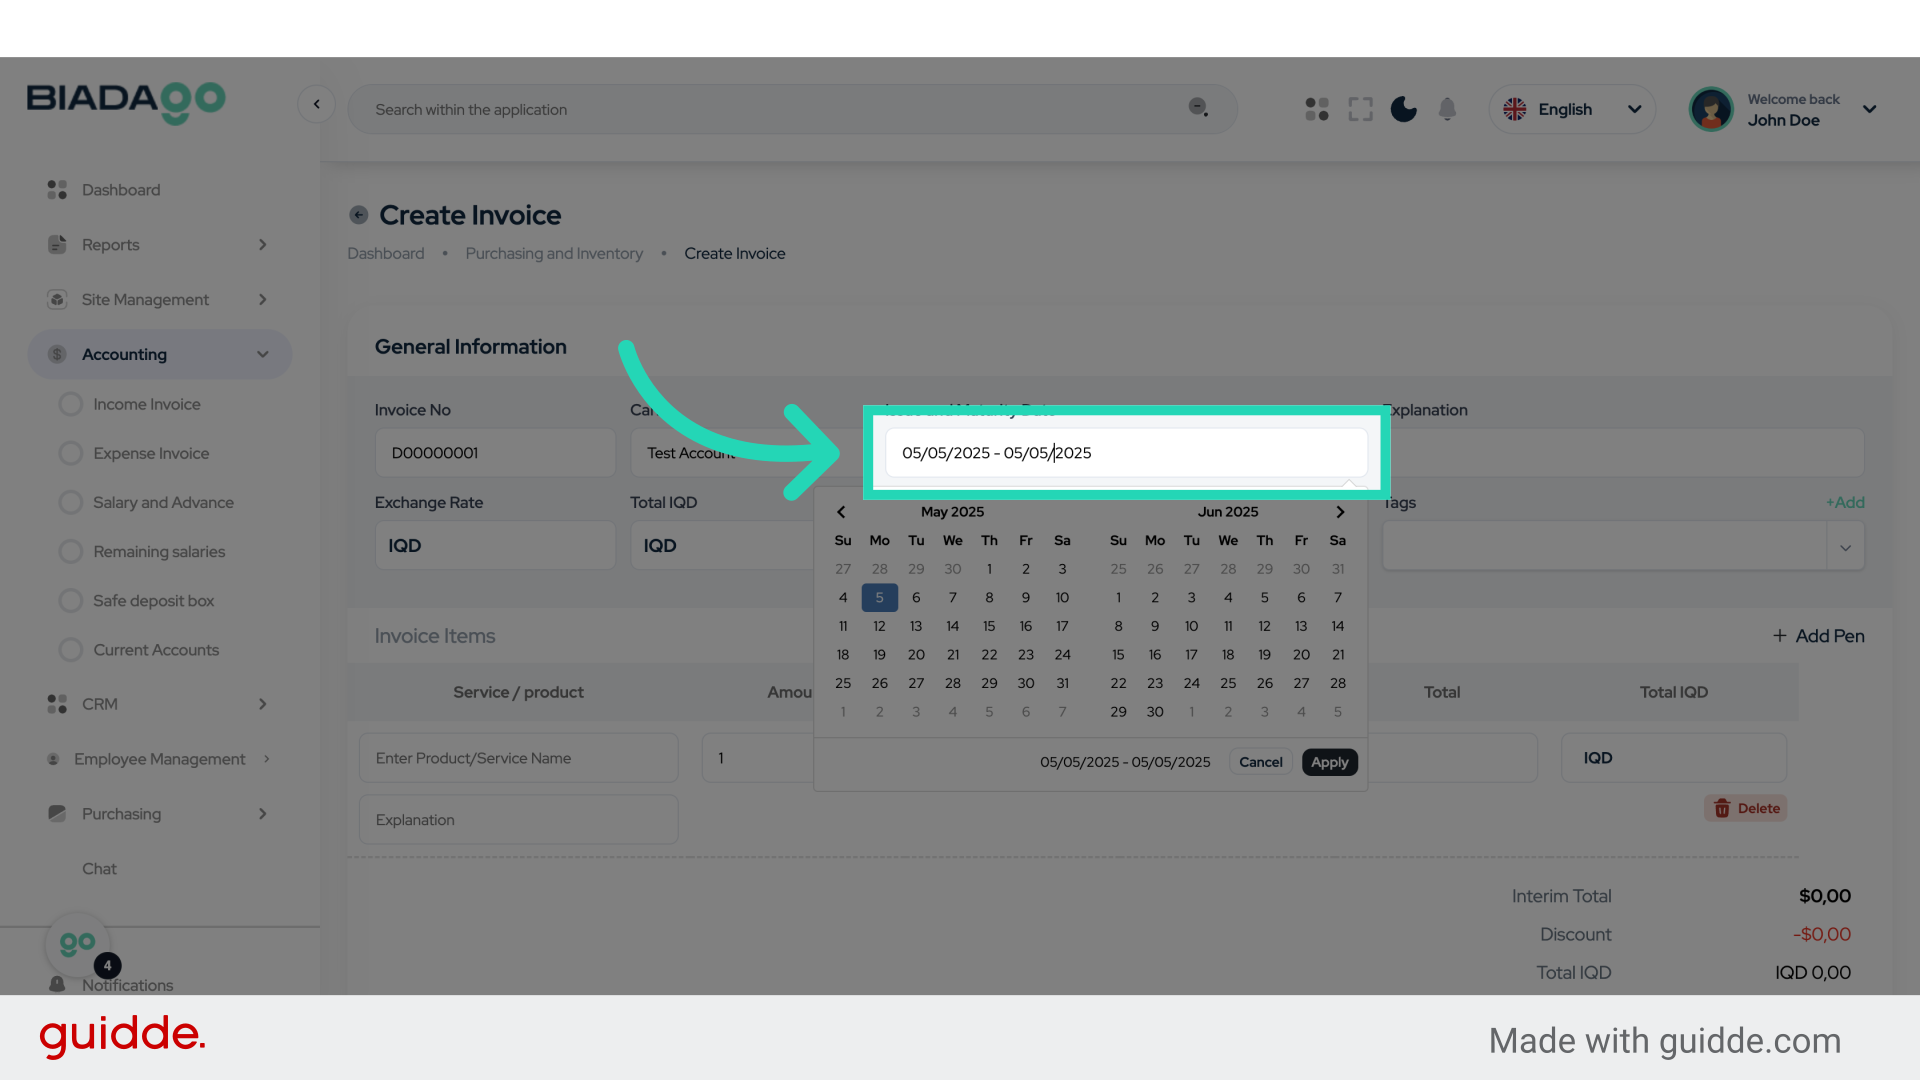
6. Fill “Test Account”
Fill in “Test Account”

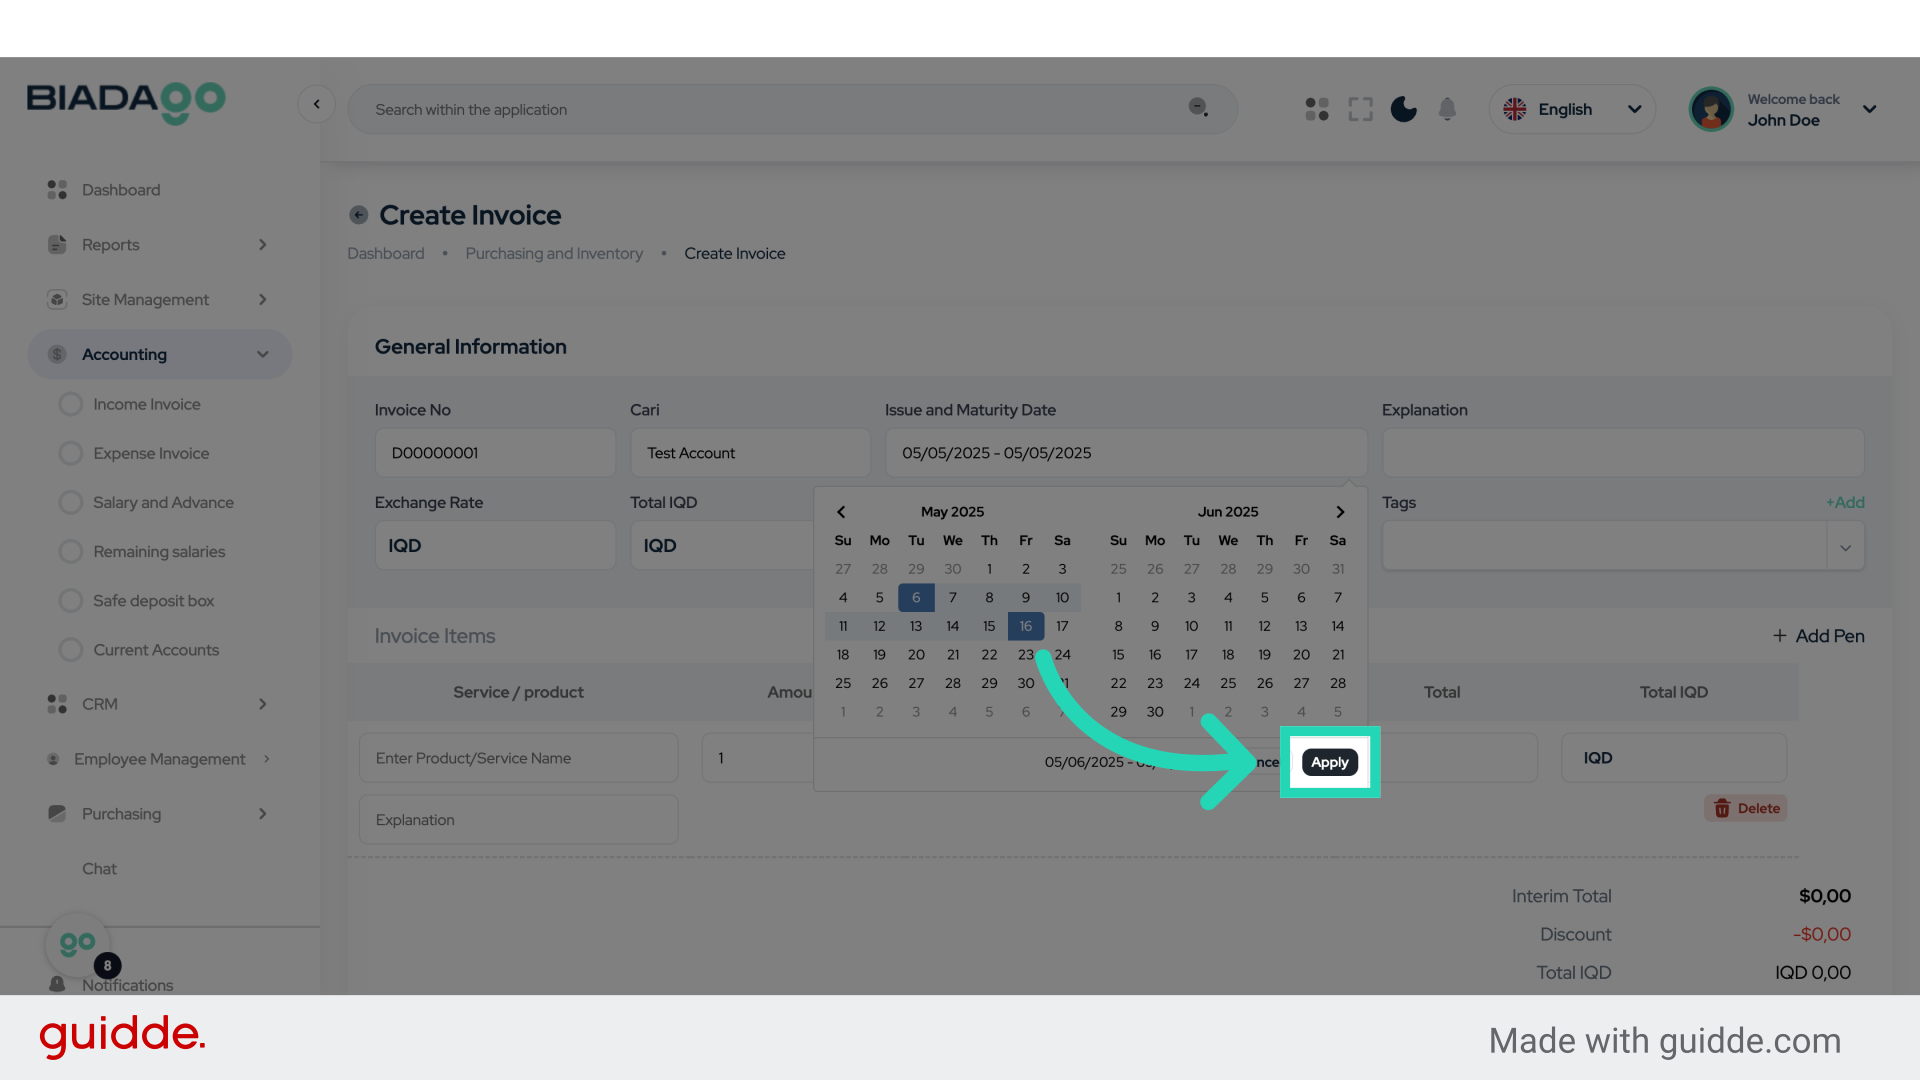
7. Click “Issue and Maturity Date”
Set the Issue and Maturity Date for the invoice.
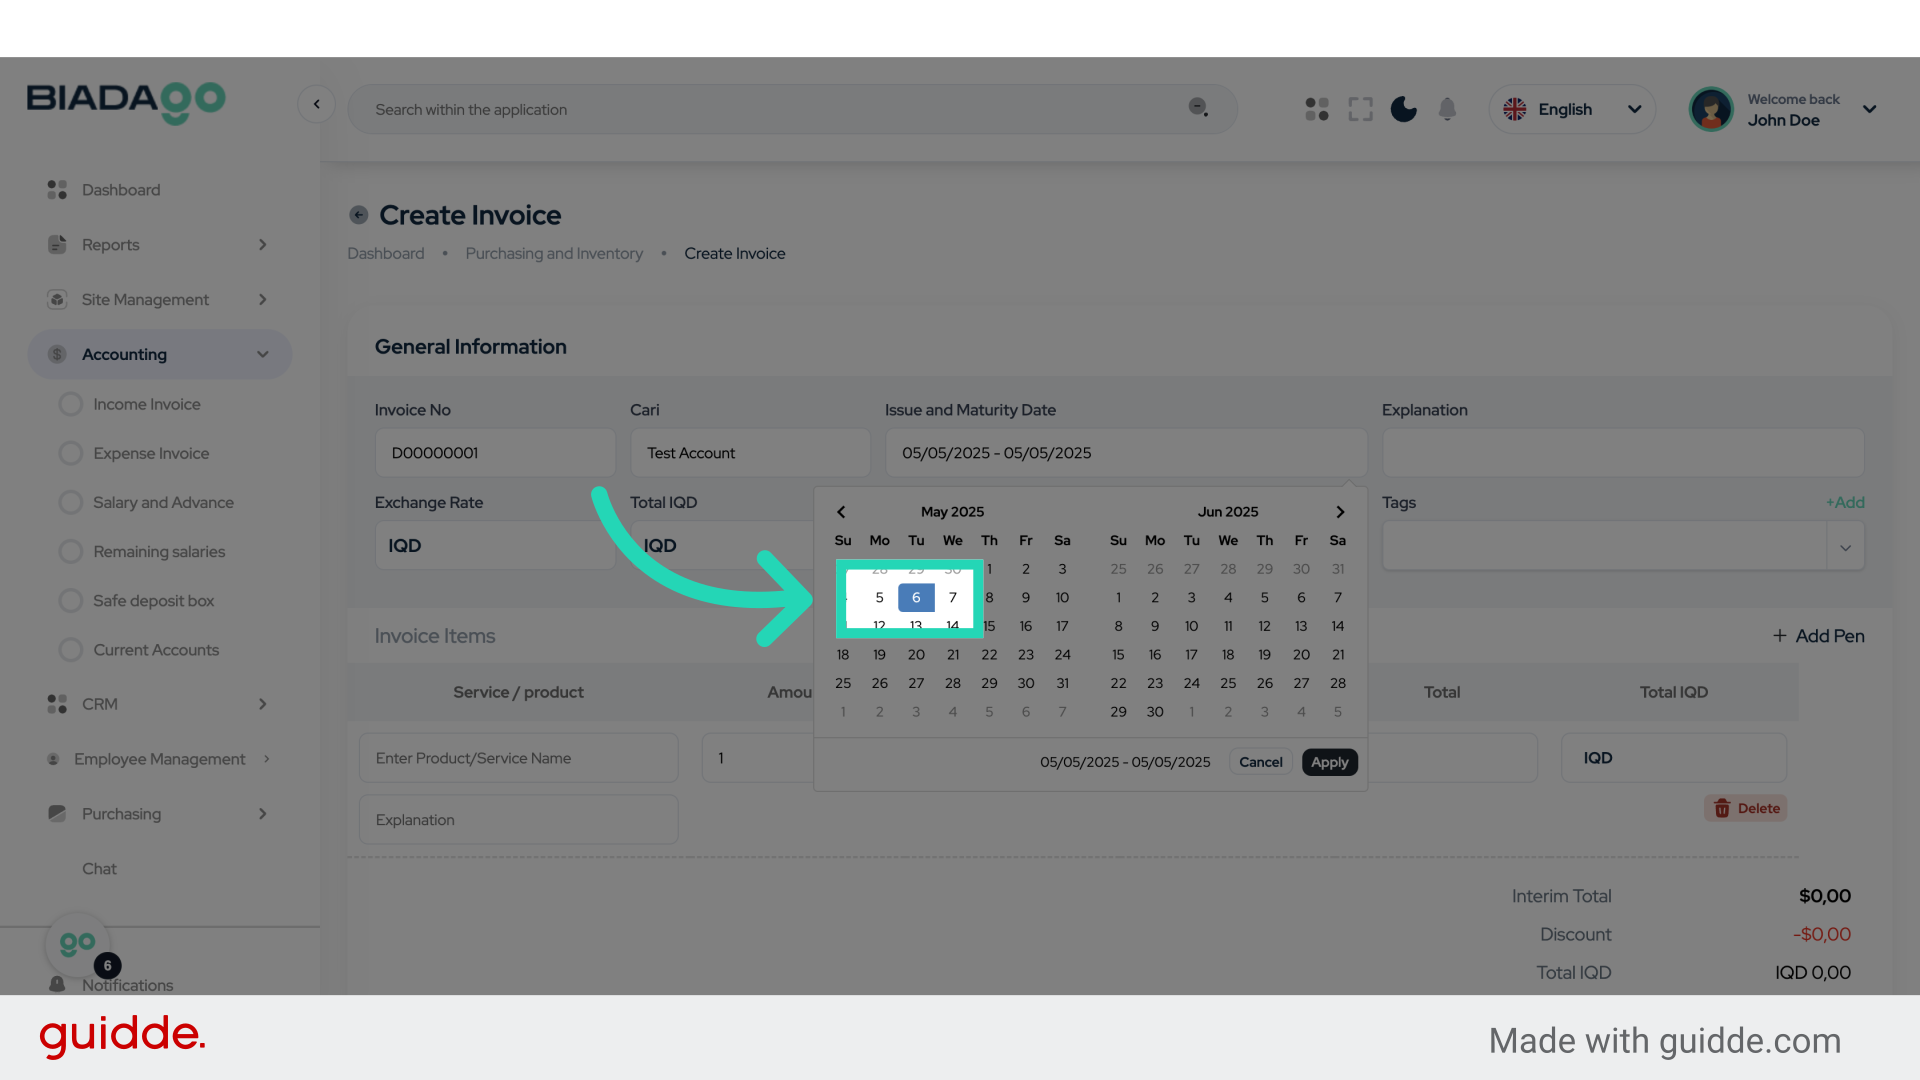
8. Click “6”
Fill in the relevant field with the number “6”.
9. Click “16”
Enter the number “16” in the specified field.
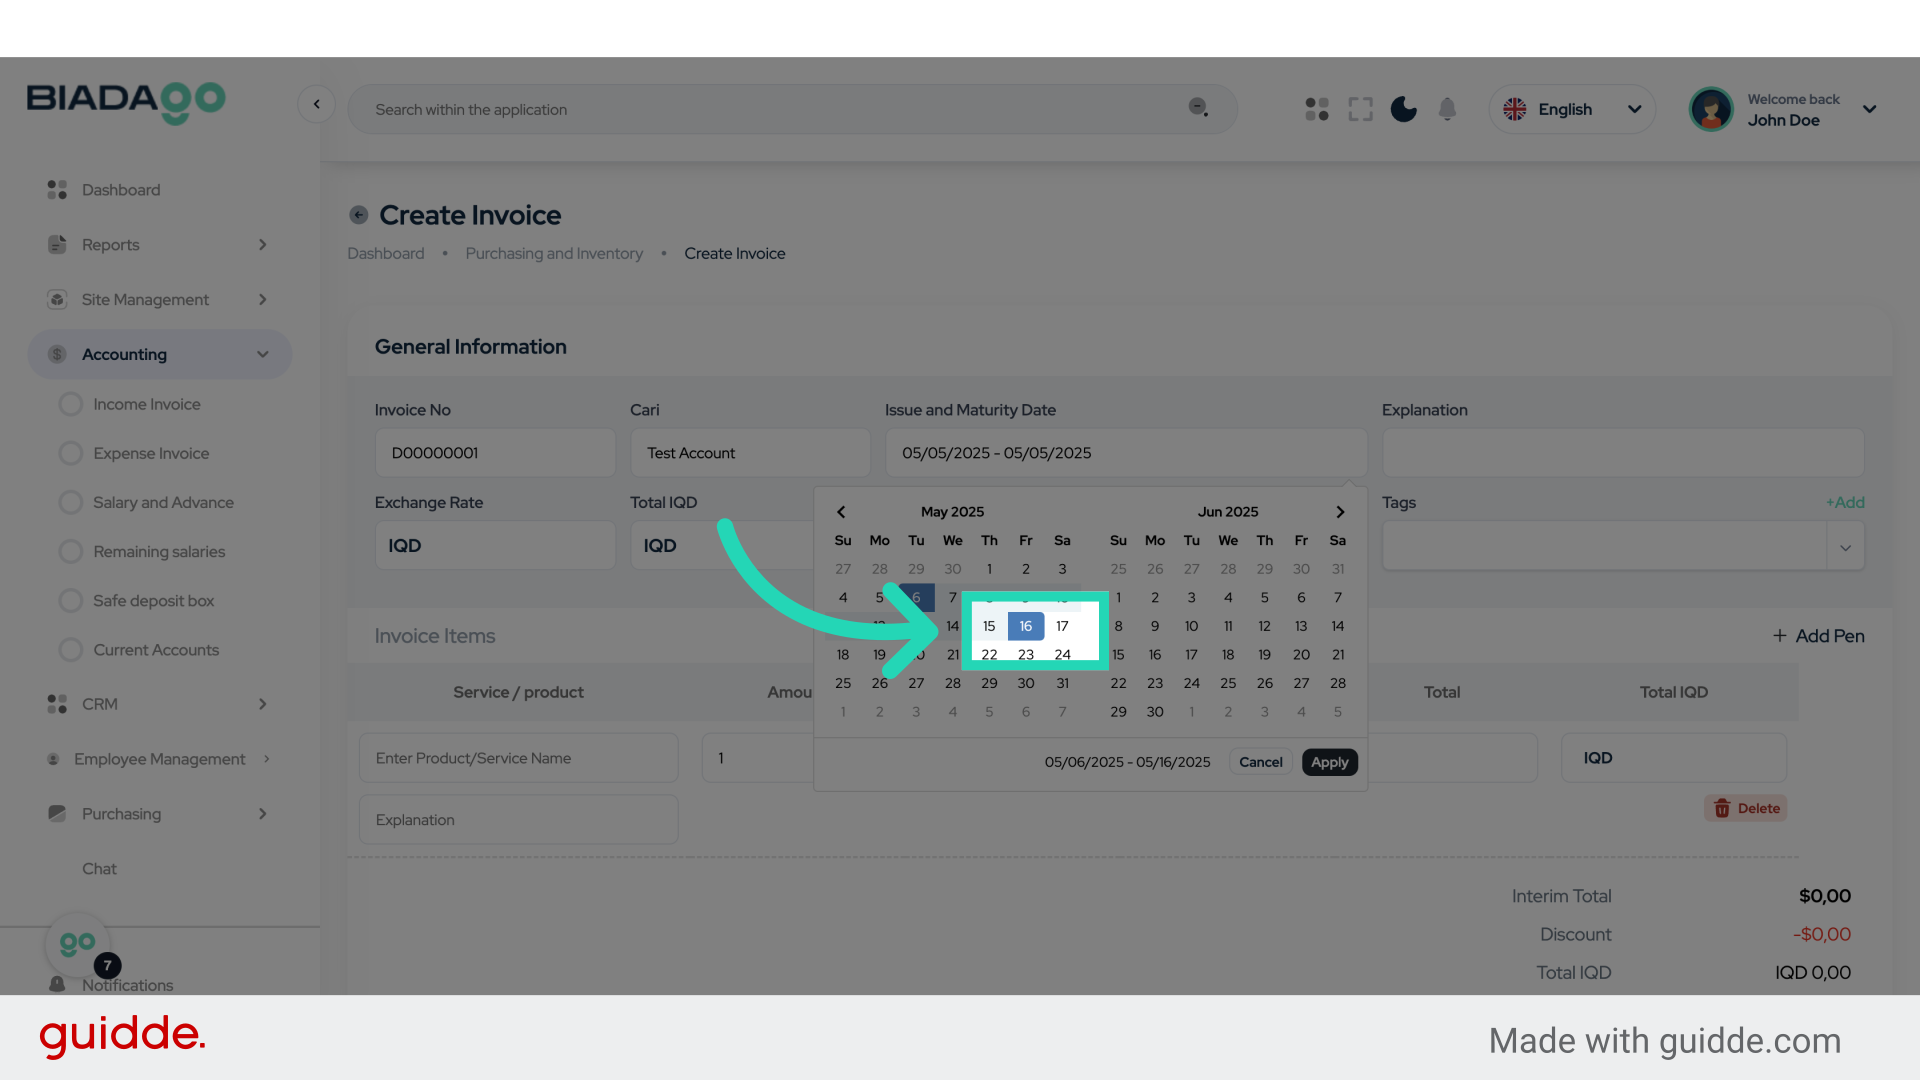
10. Click “Apply”
Apply the changes made.
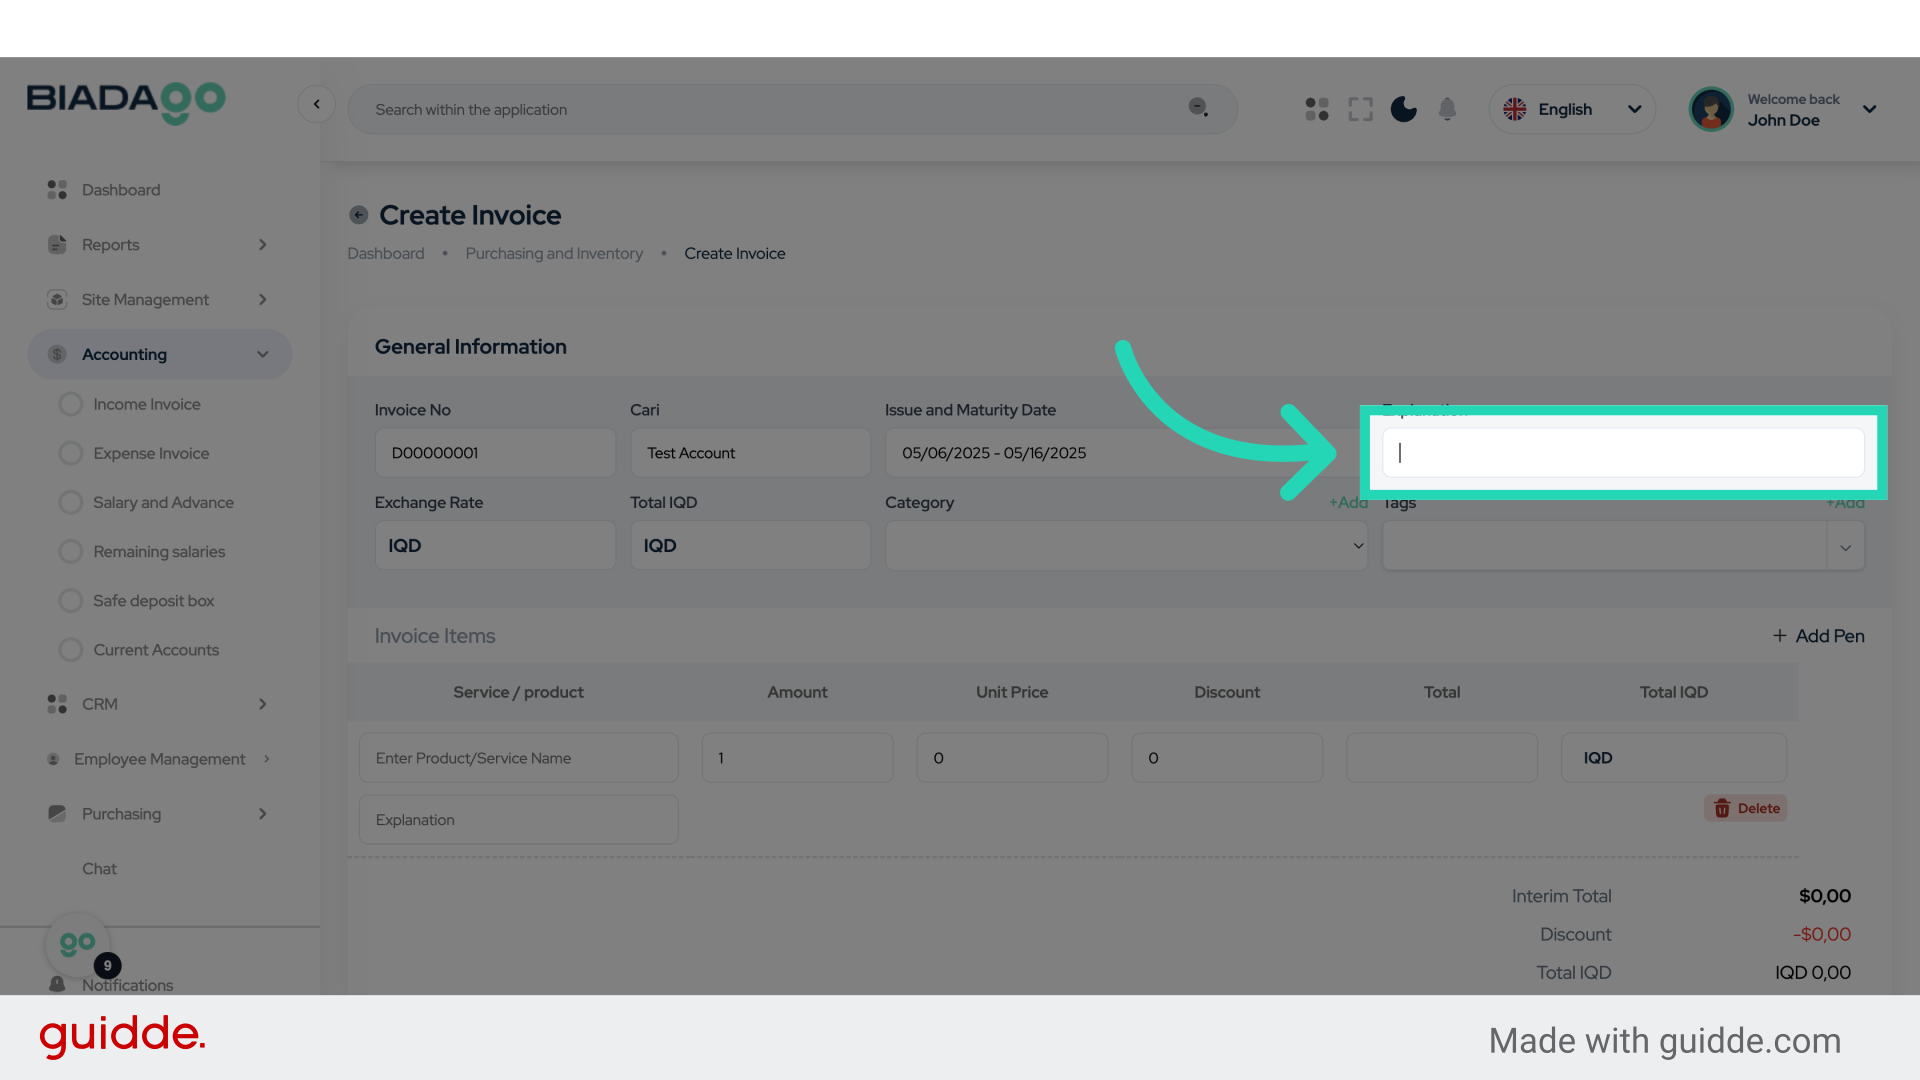
11. Click “Explanation”
Provide an explanation or description for the transaction.
12. Fill “Test”
Enter “Test” in the provided field

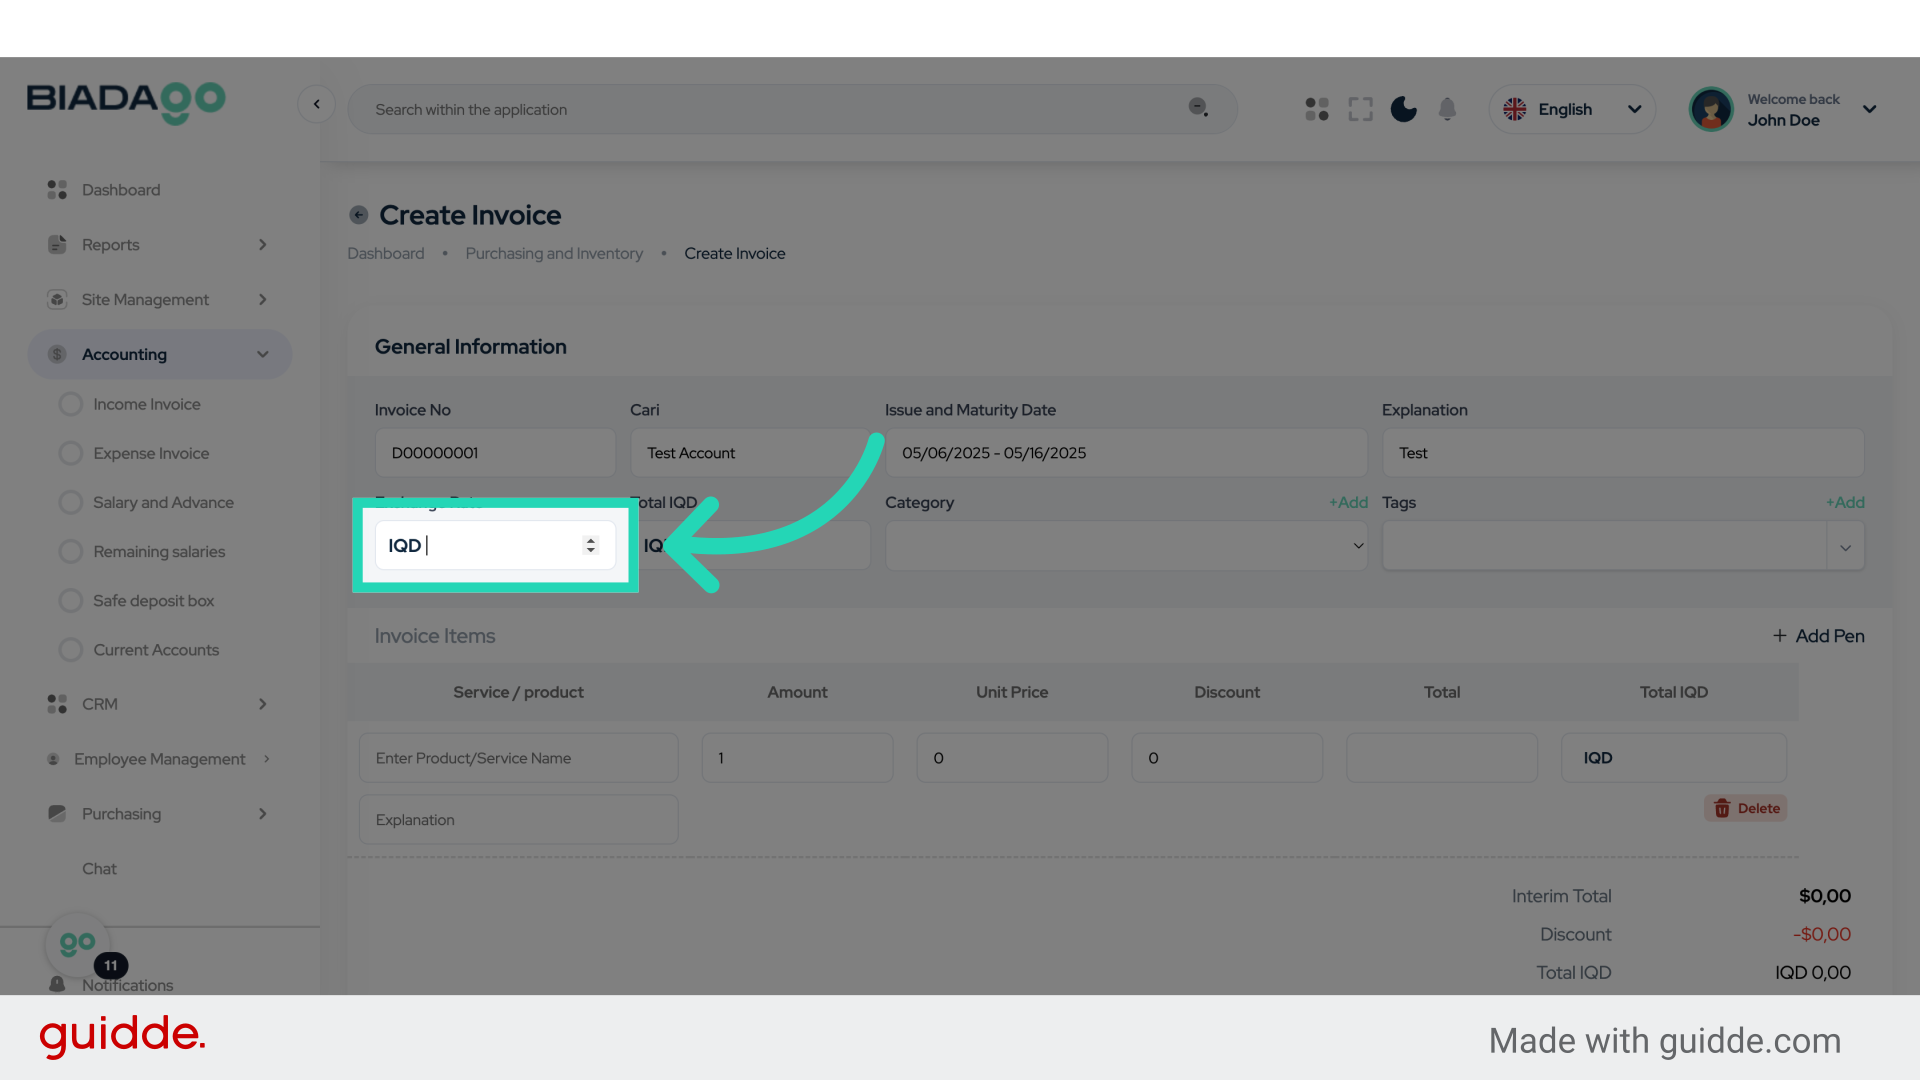
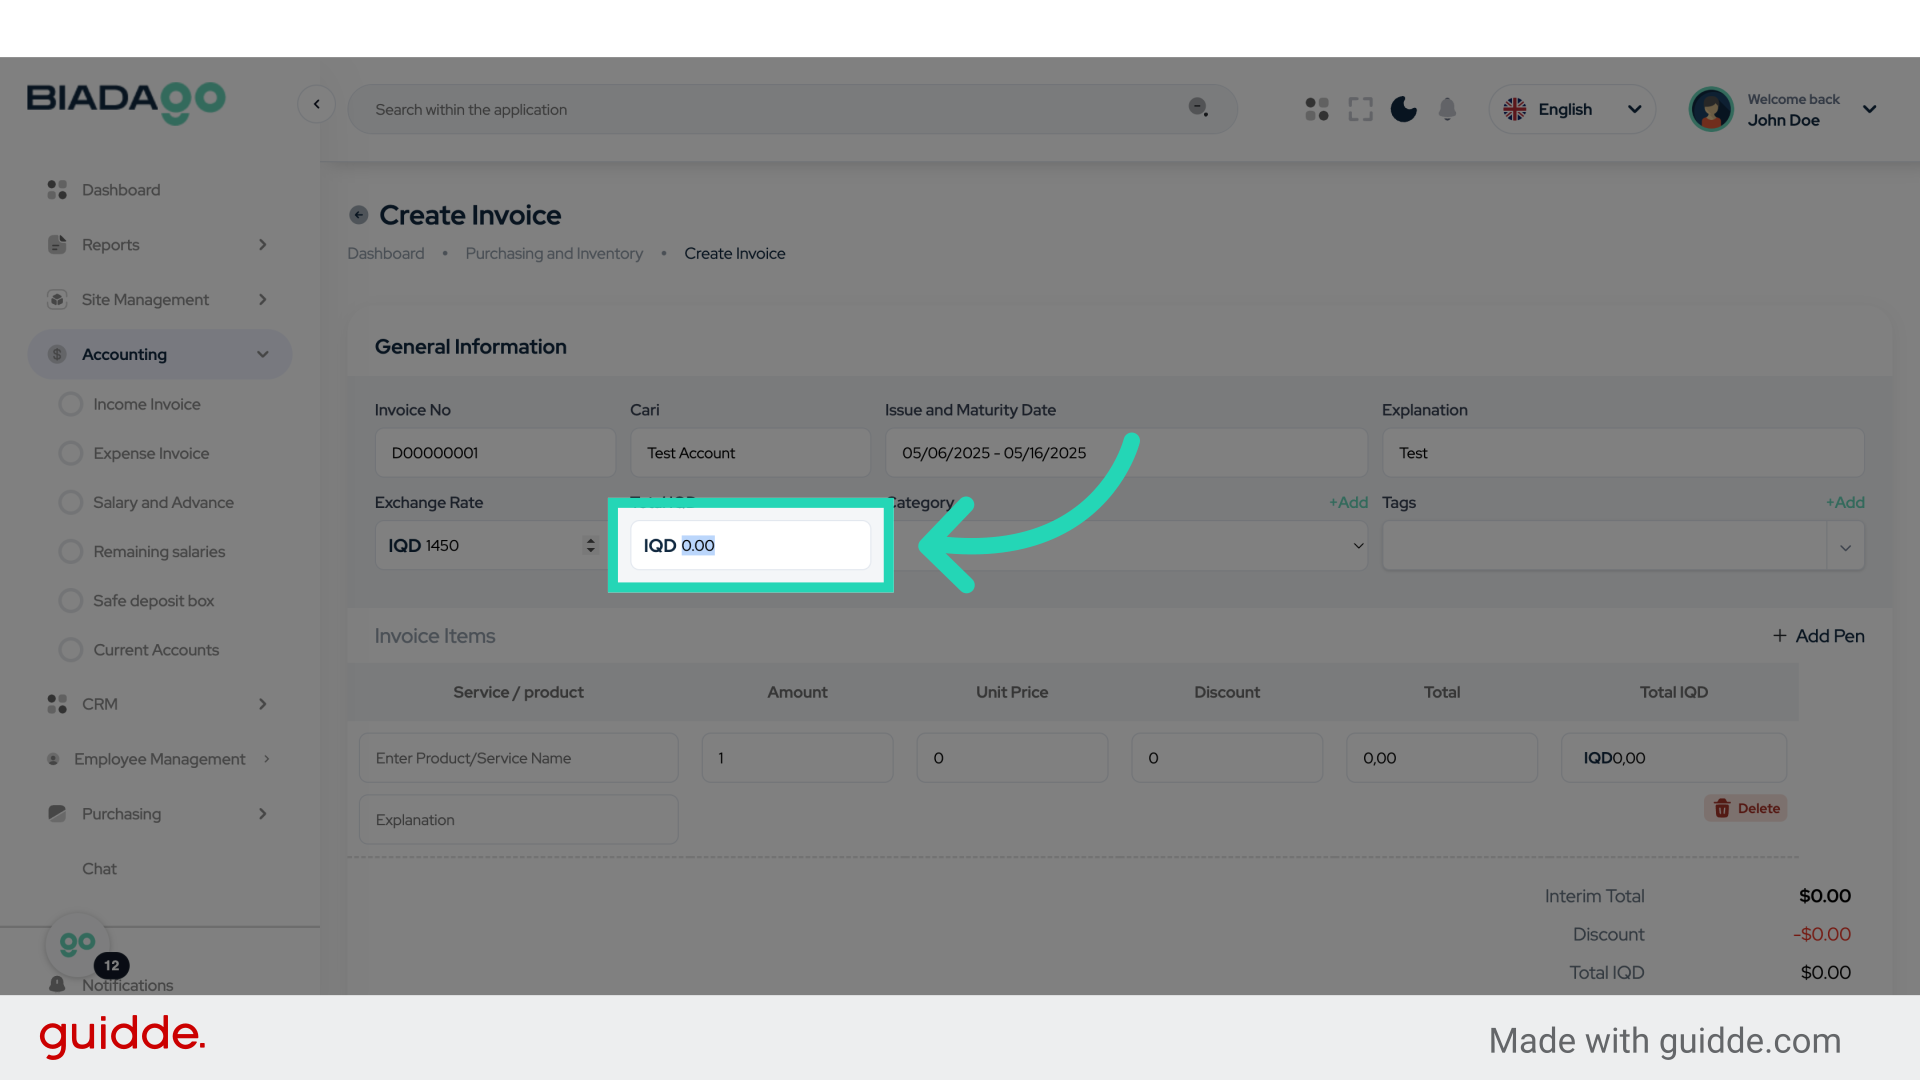
13. Click “Exchange Rate”
Enter the Exchange Rate for the transaction.
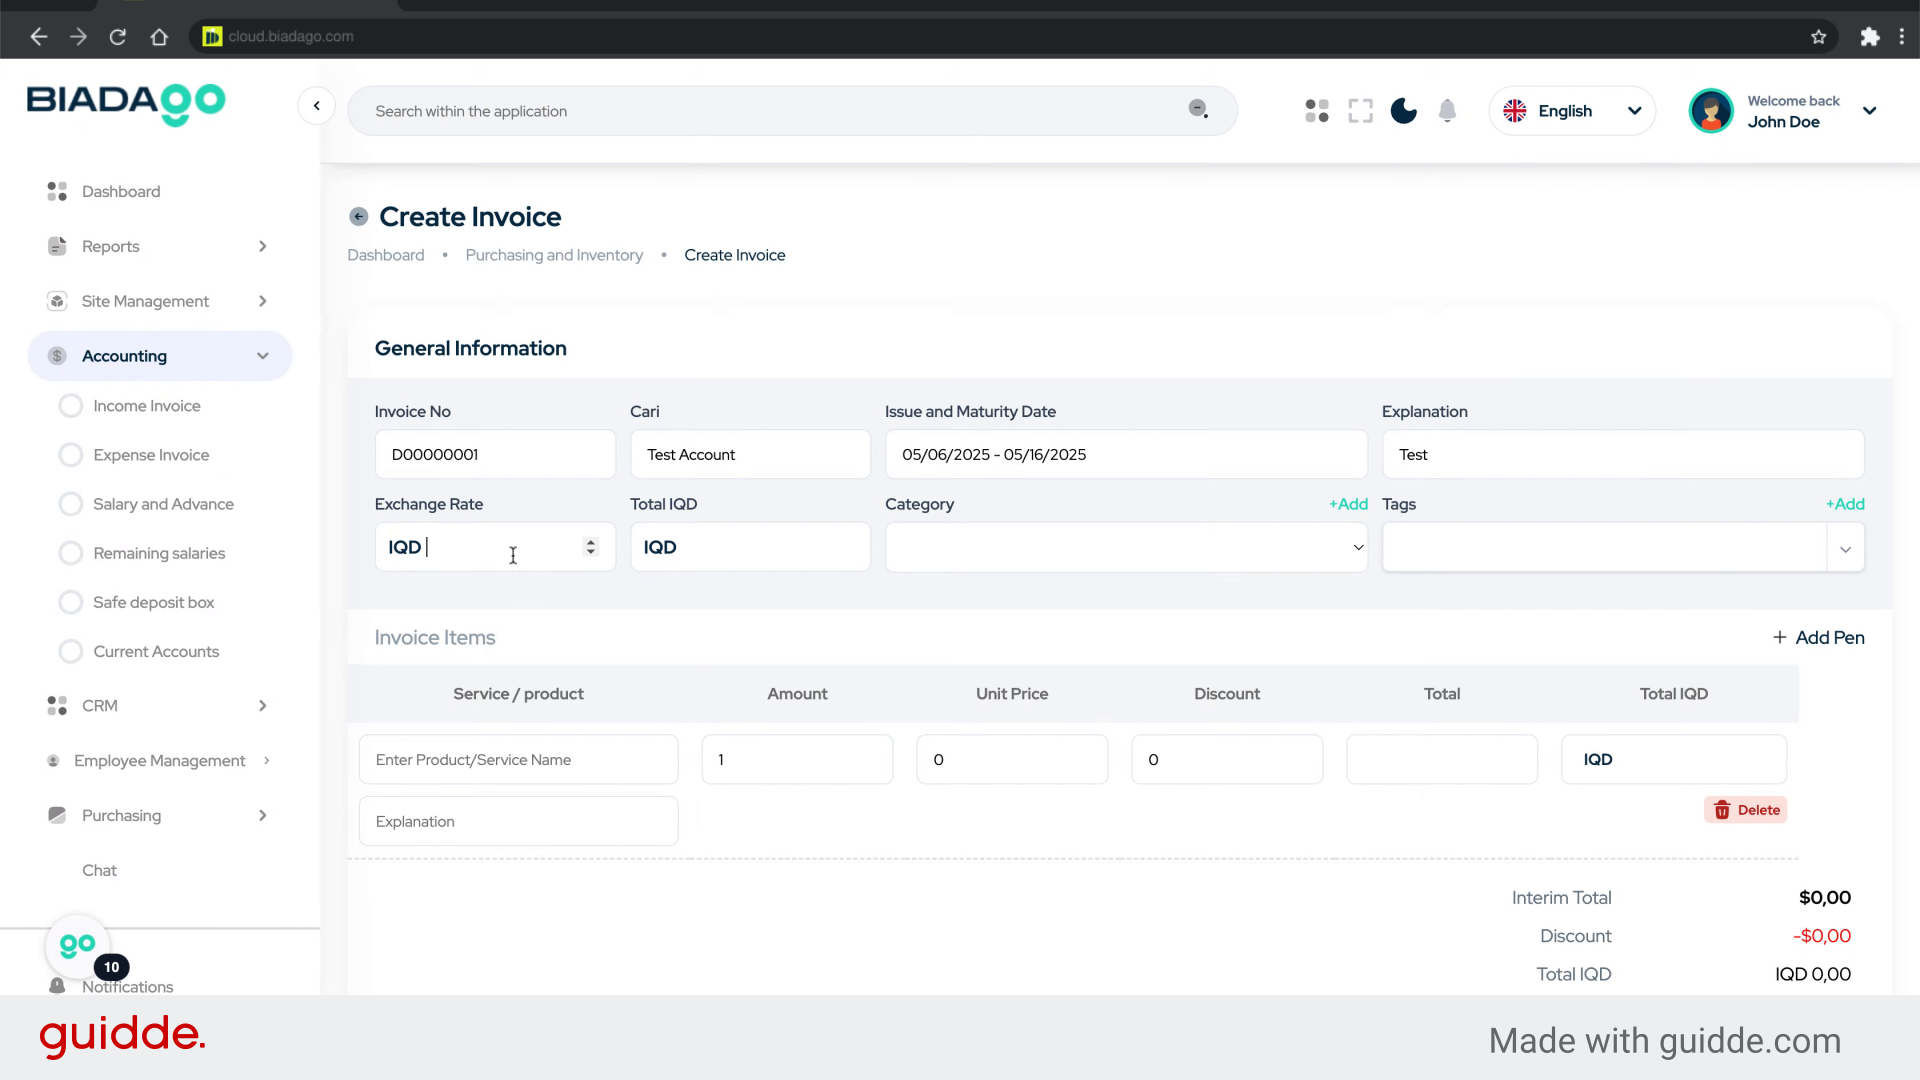
14. Fill “1450”
Fill in the text box with “1450”
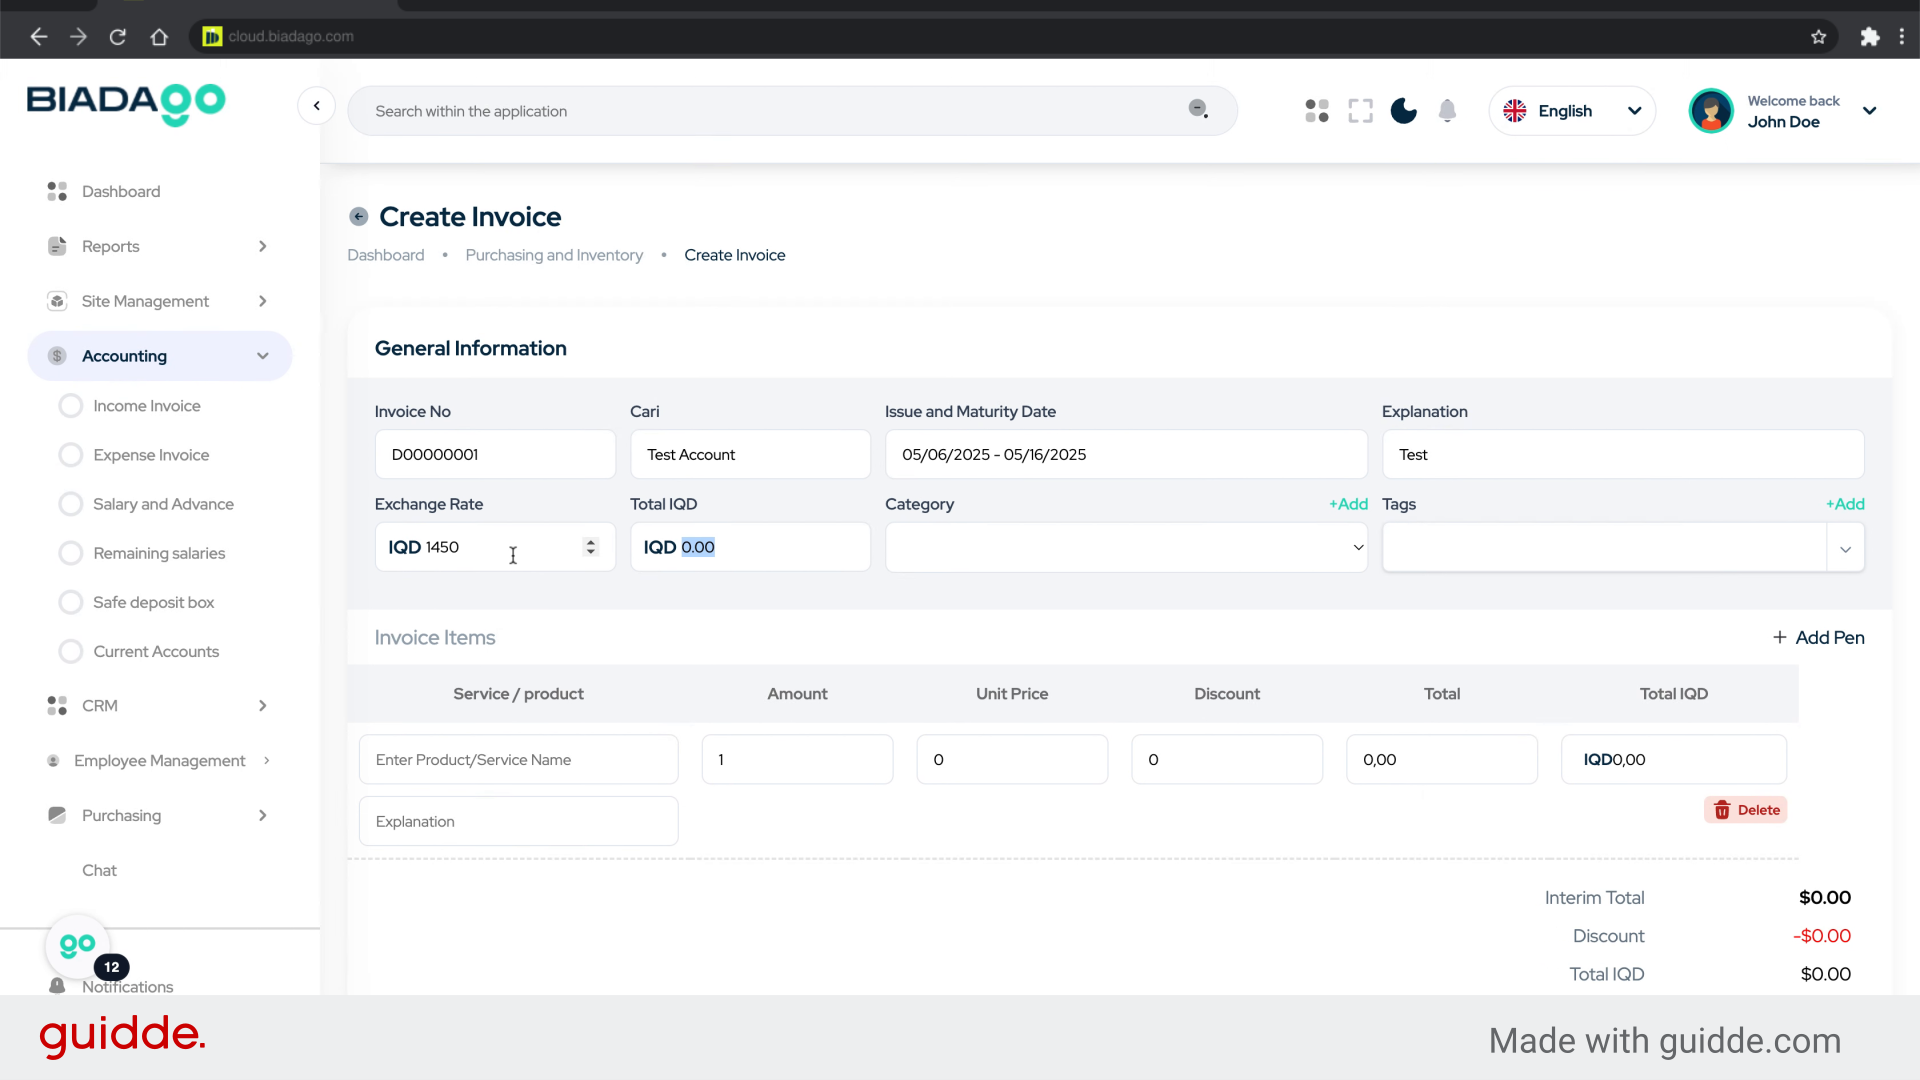
15. Go here
Navigate to the designated location.
16. Fill “Test Expense”
Enter the desired text.
17. Click here
Click on the indicated area.
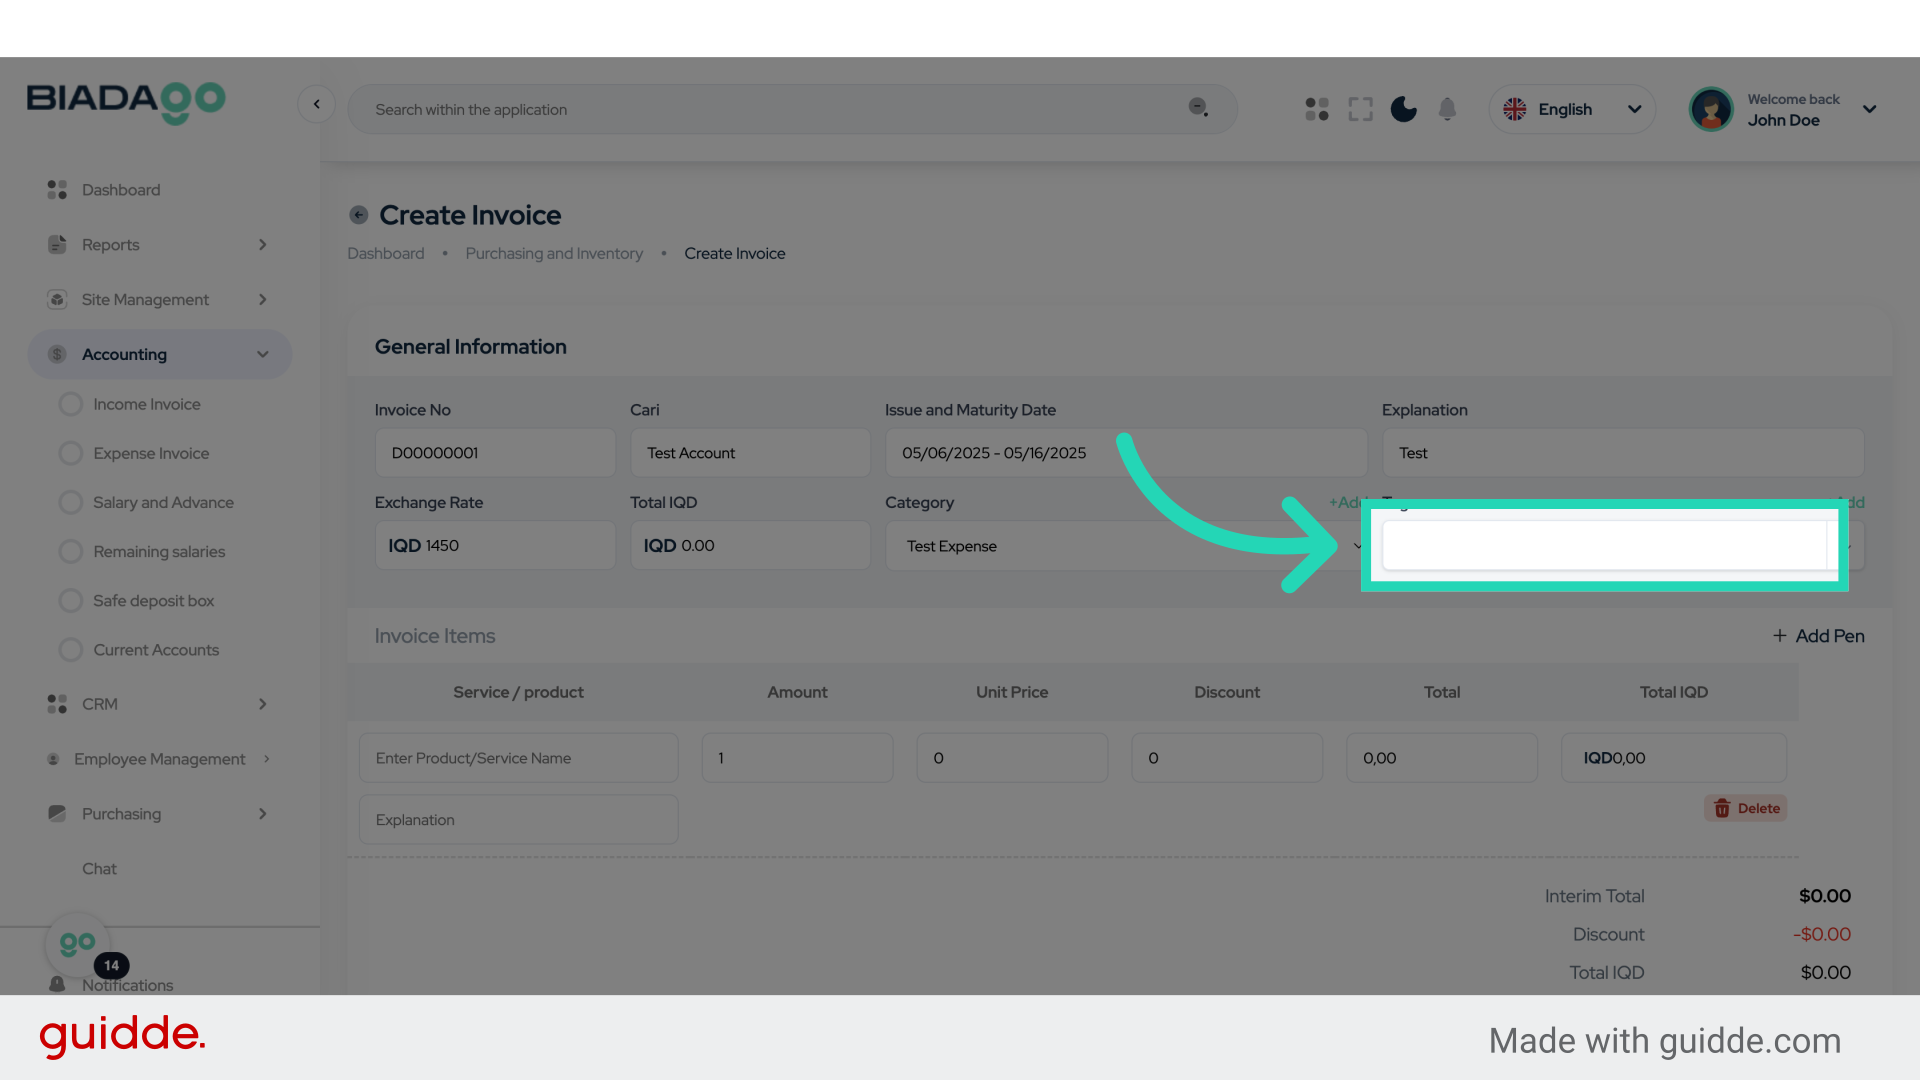
18. Click here
Select the specified location.
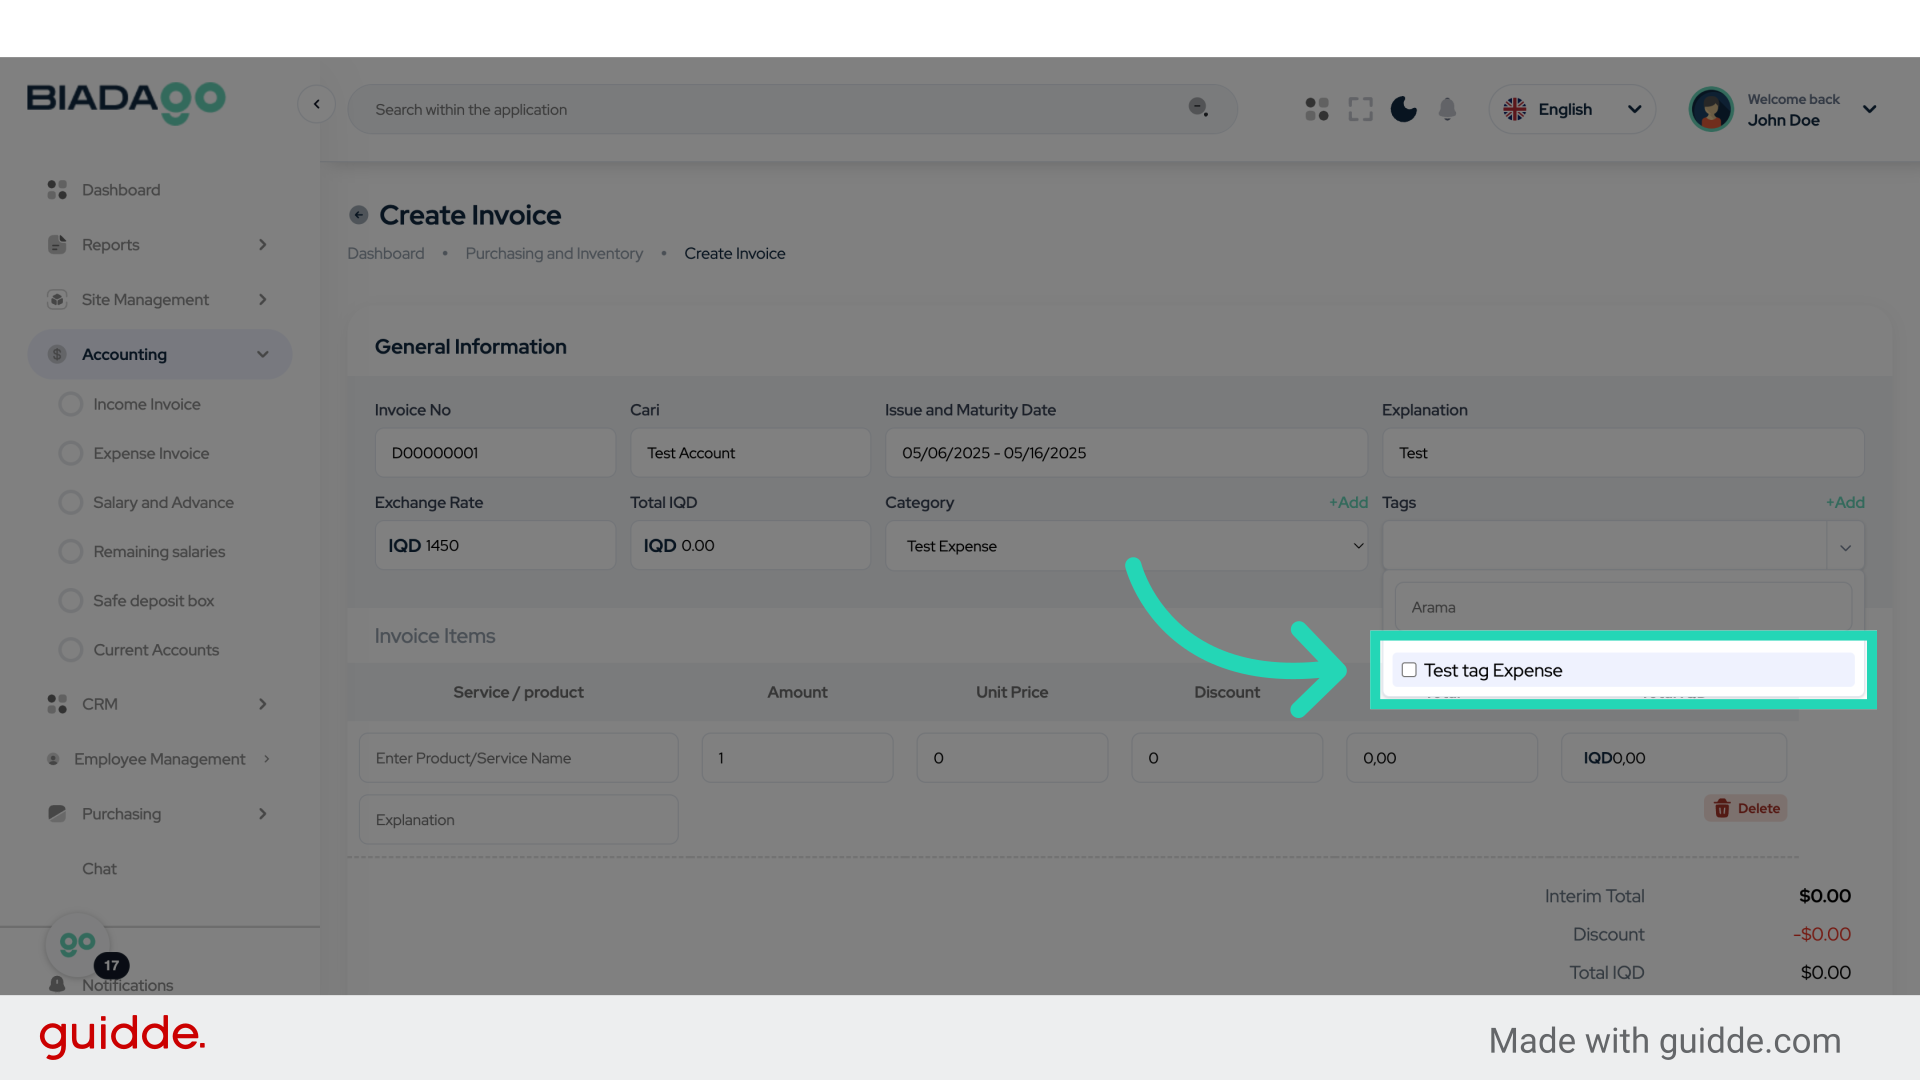
19. Click “Test tag Expense”
Choose the “Test tag Expense” option.
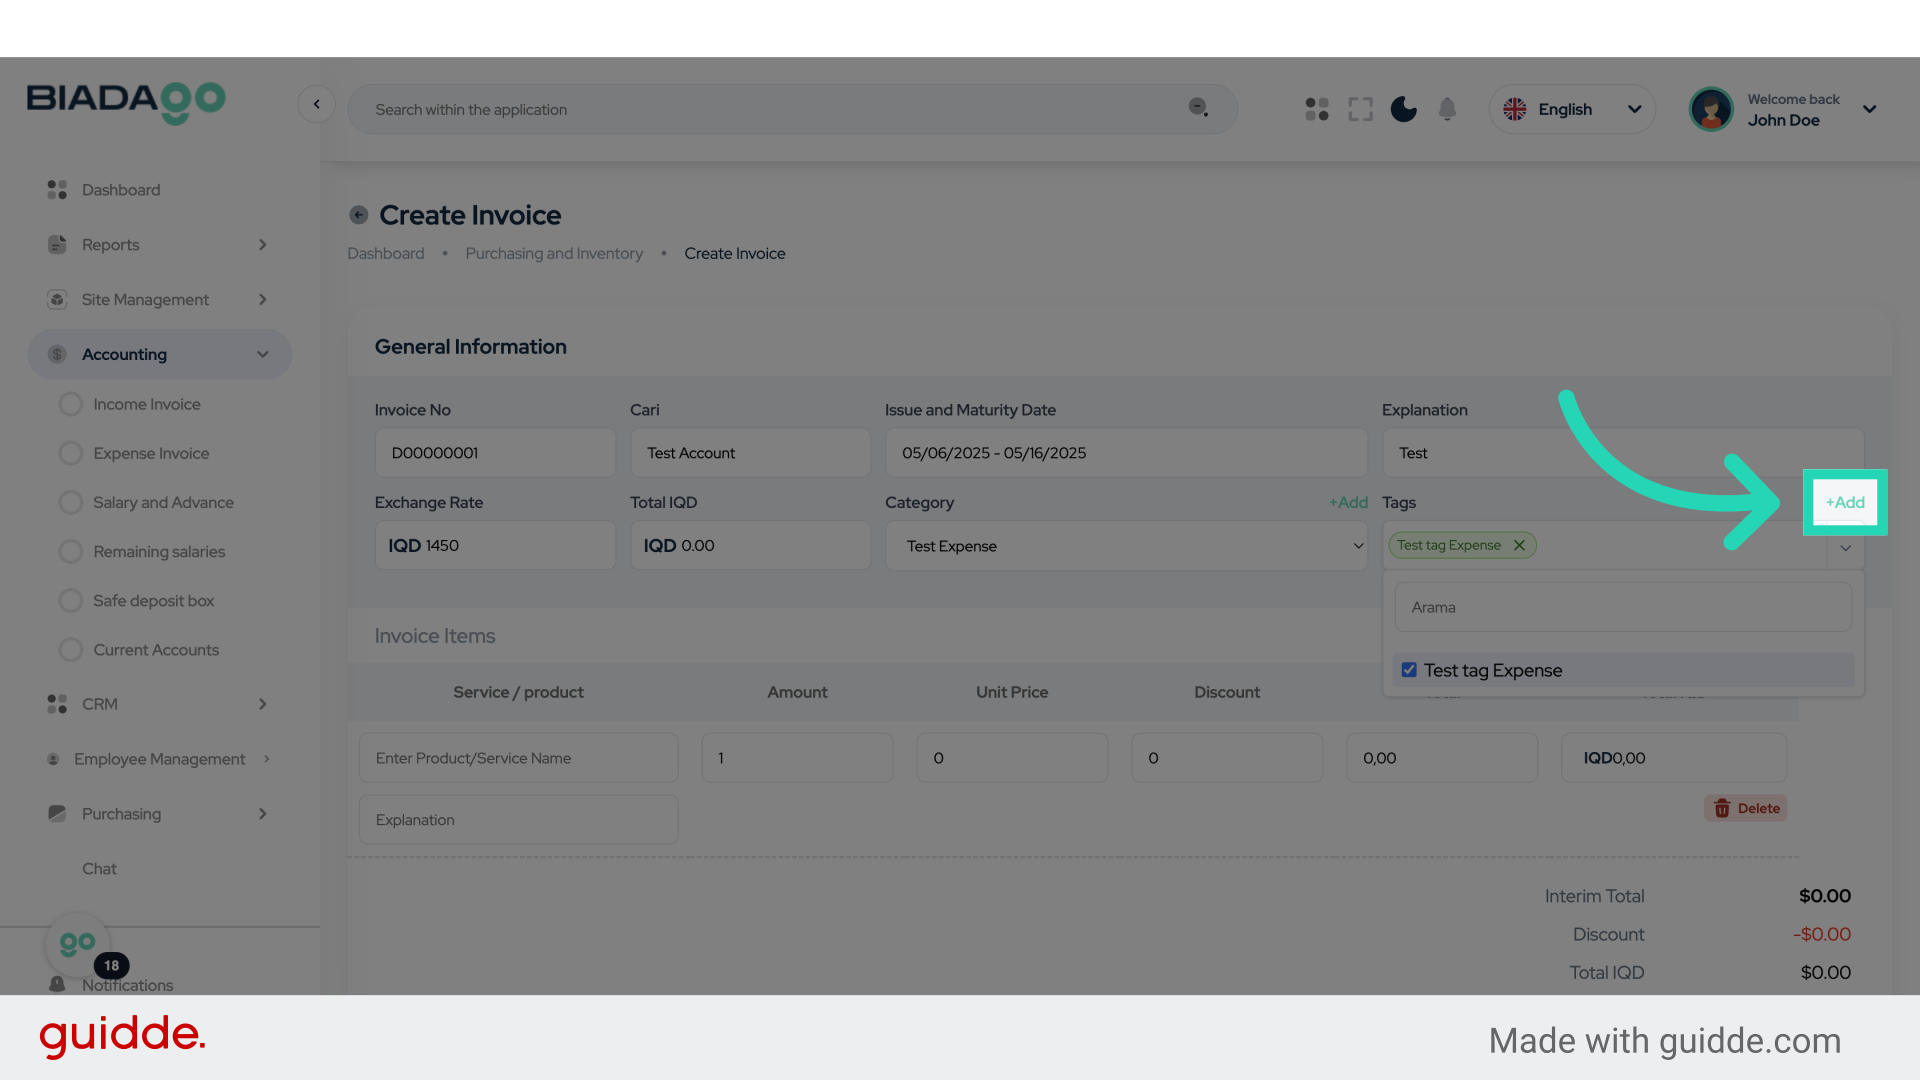
20. Click “+Add”
Click on the “Add” button to include additional details.
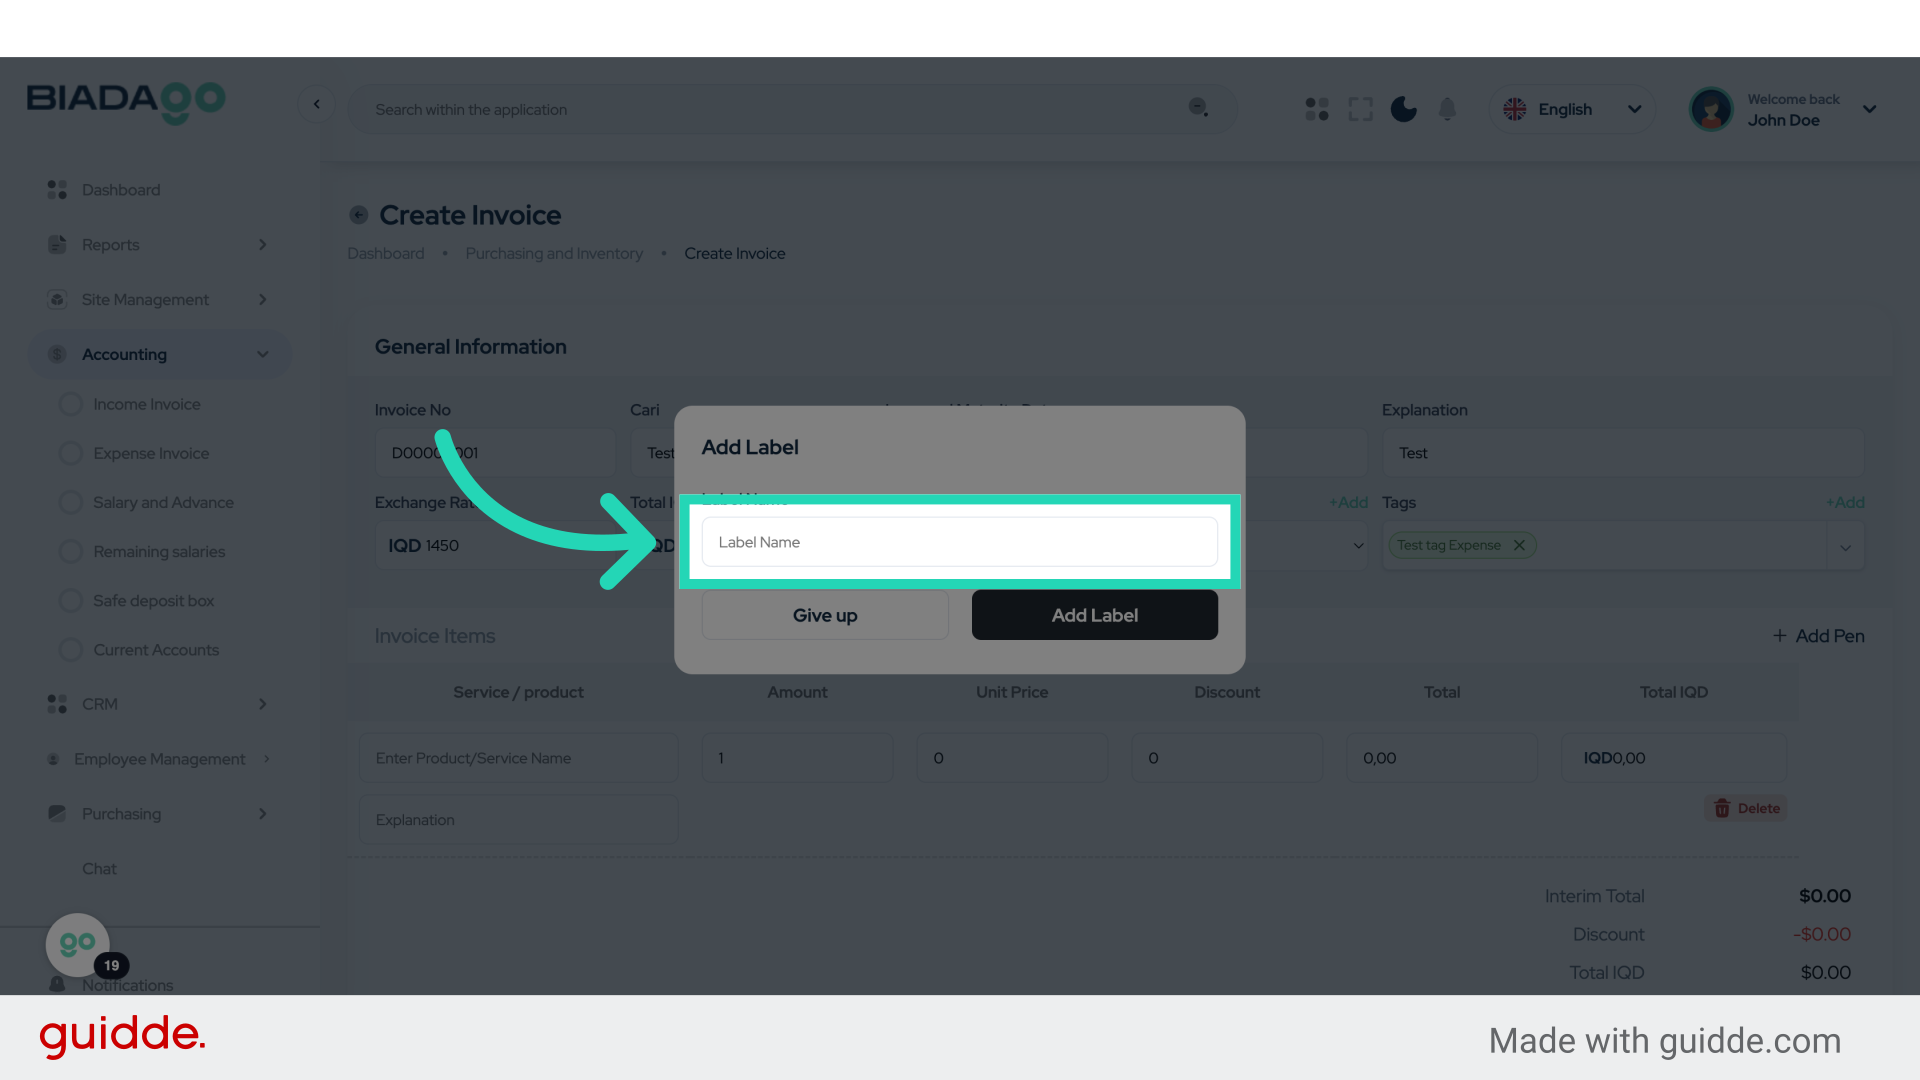
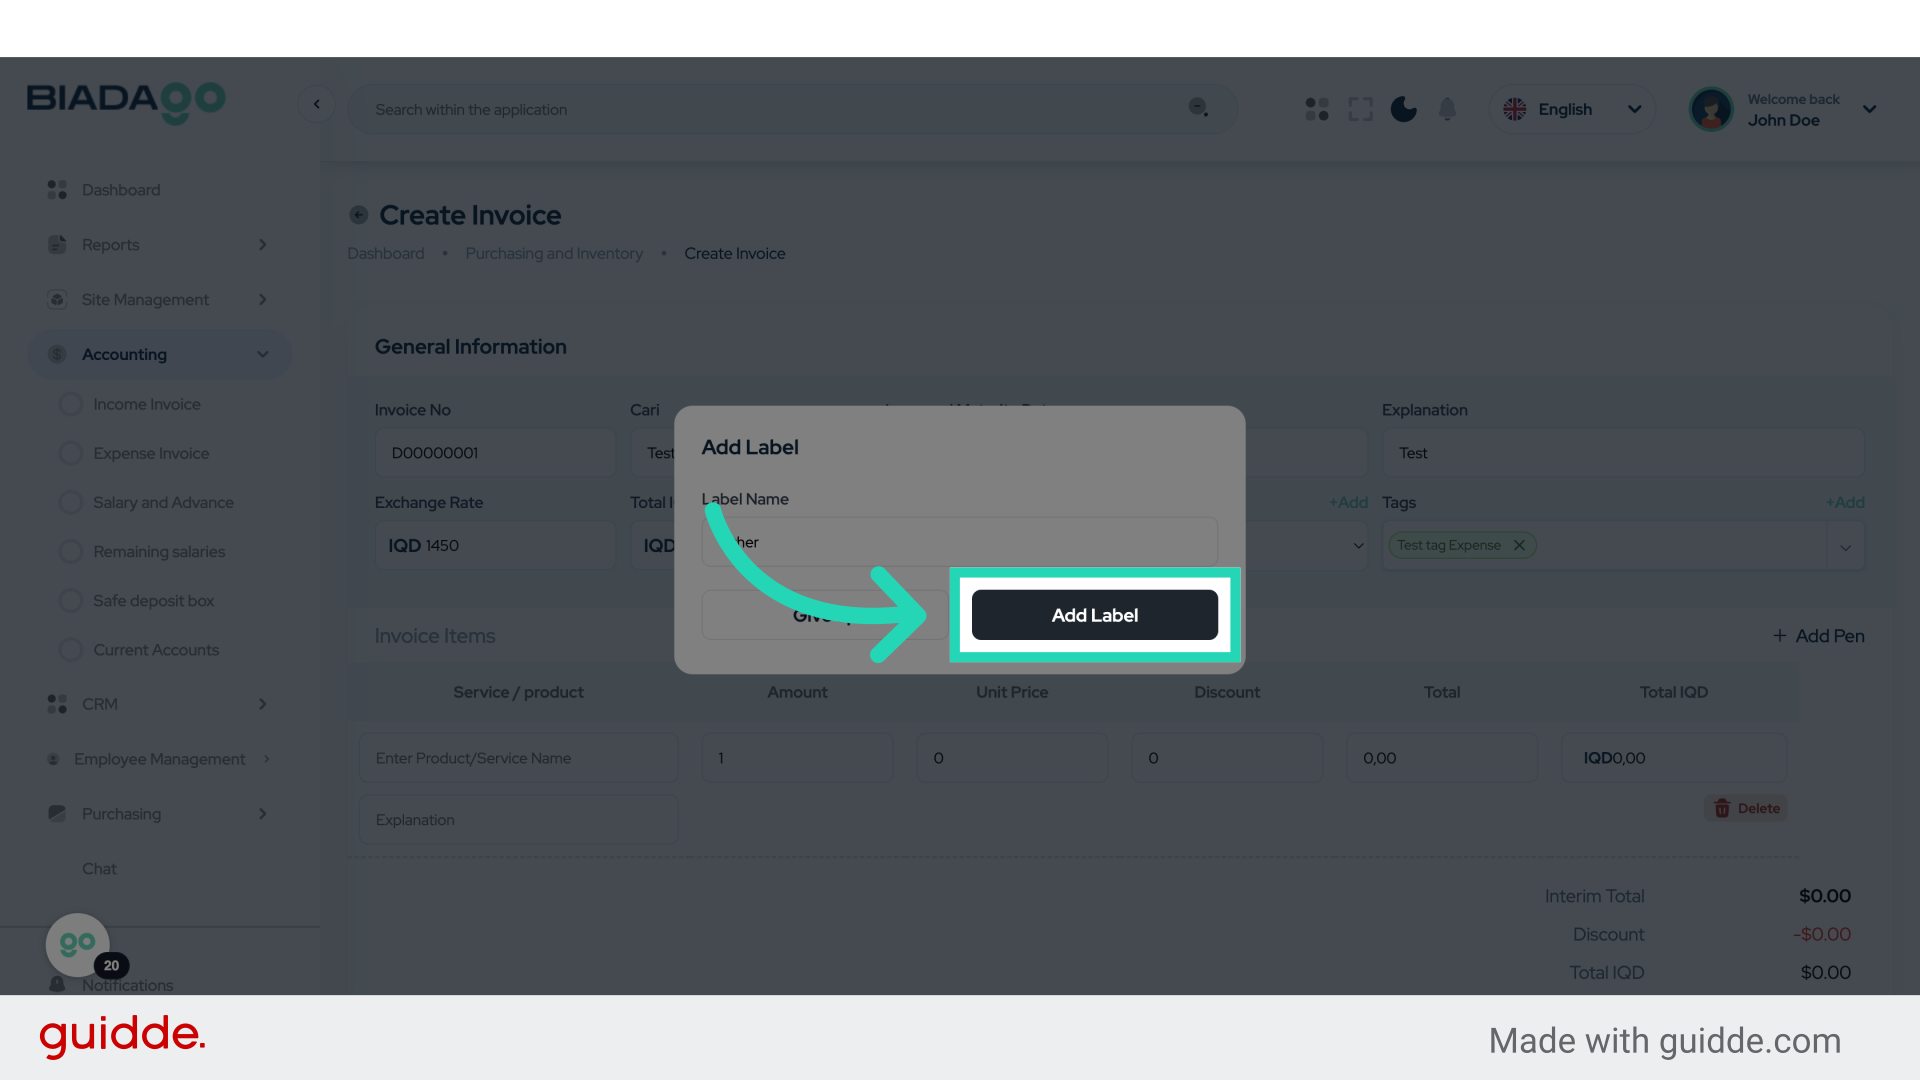
21. Click “Label Name”
Enter the Label Name for categorization.
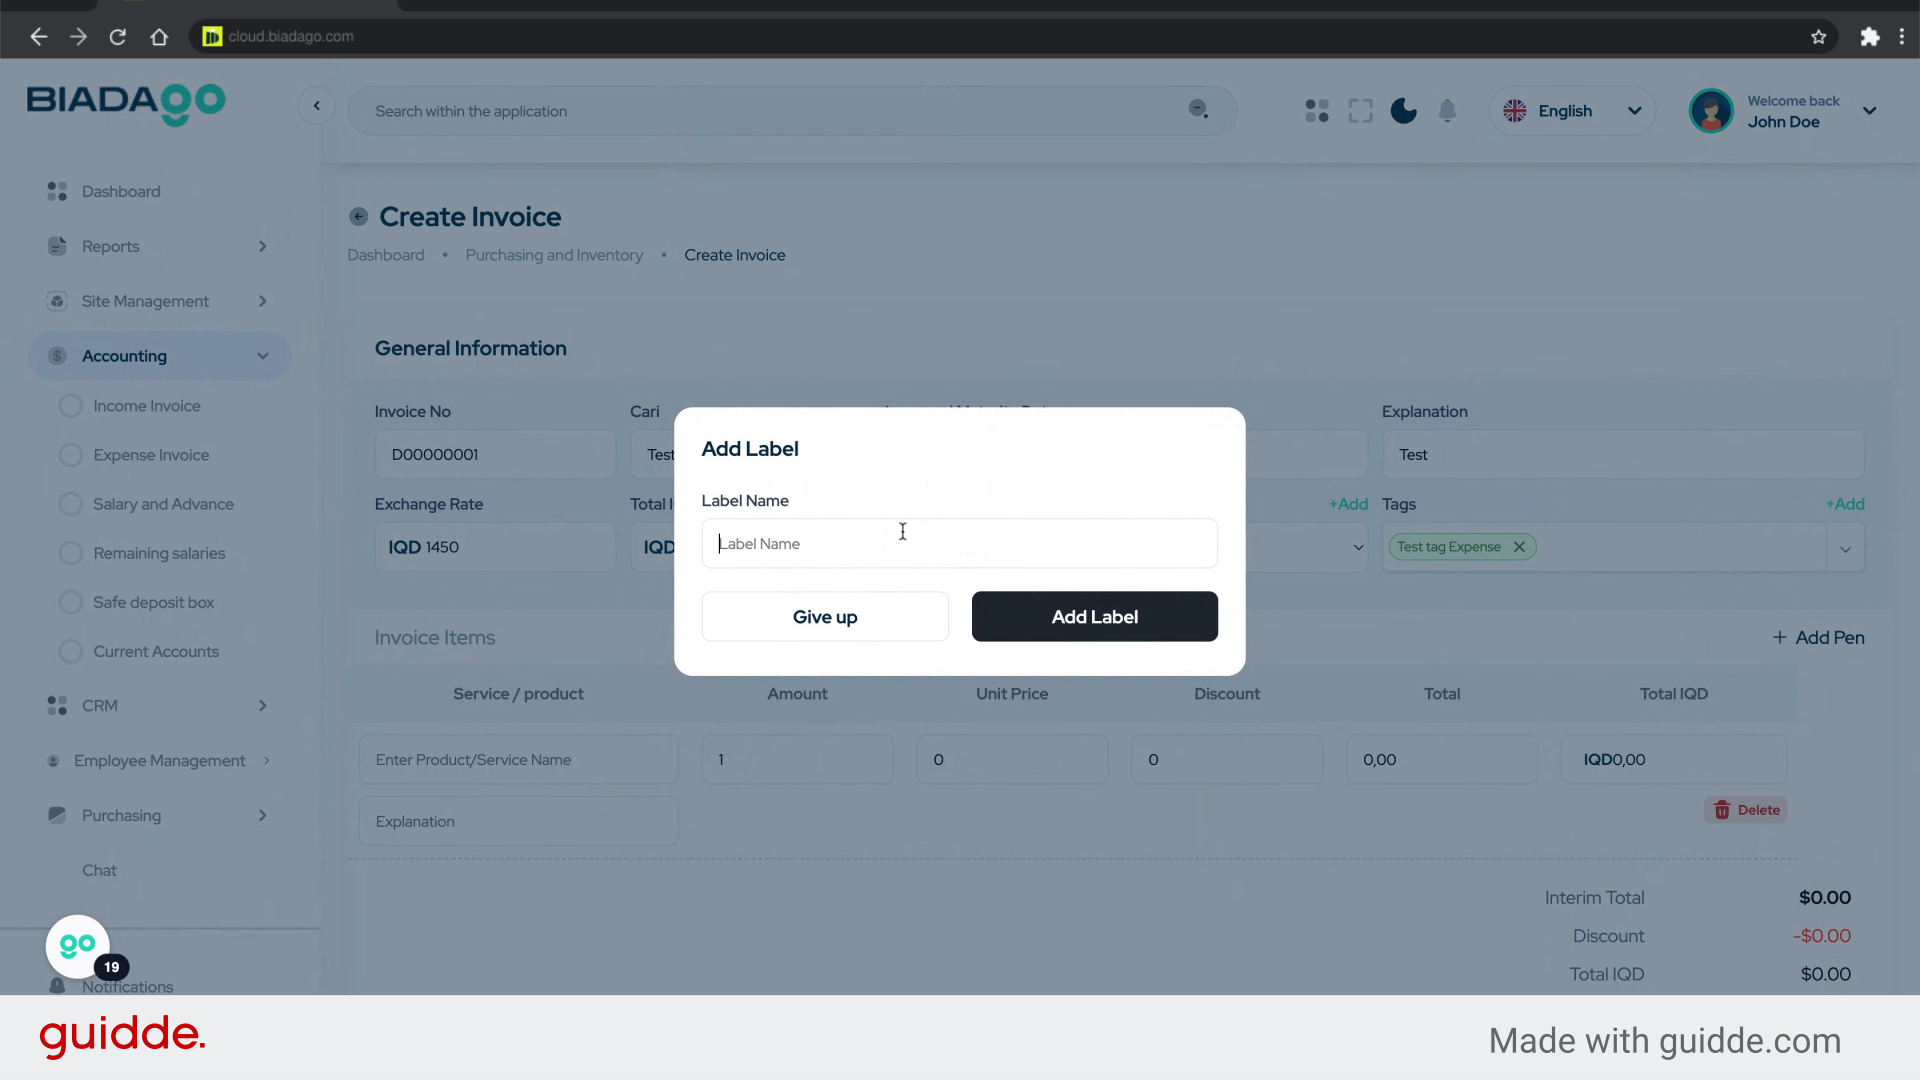
22. Fill “Other”
Type “Other” in the given field
23. Click “Add Label”
Add the Label to the transaction for organization.
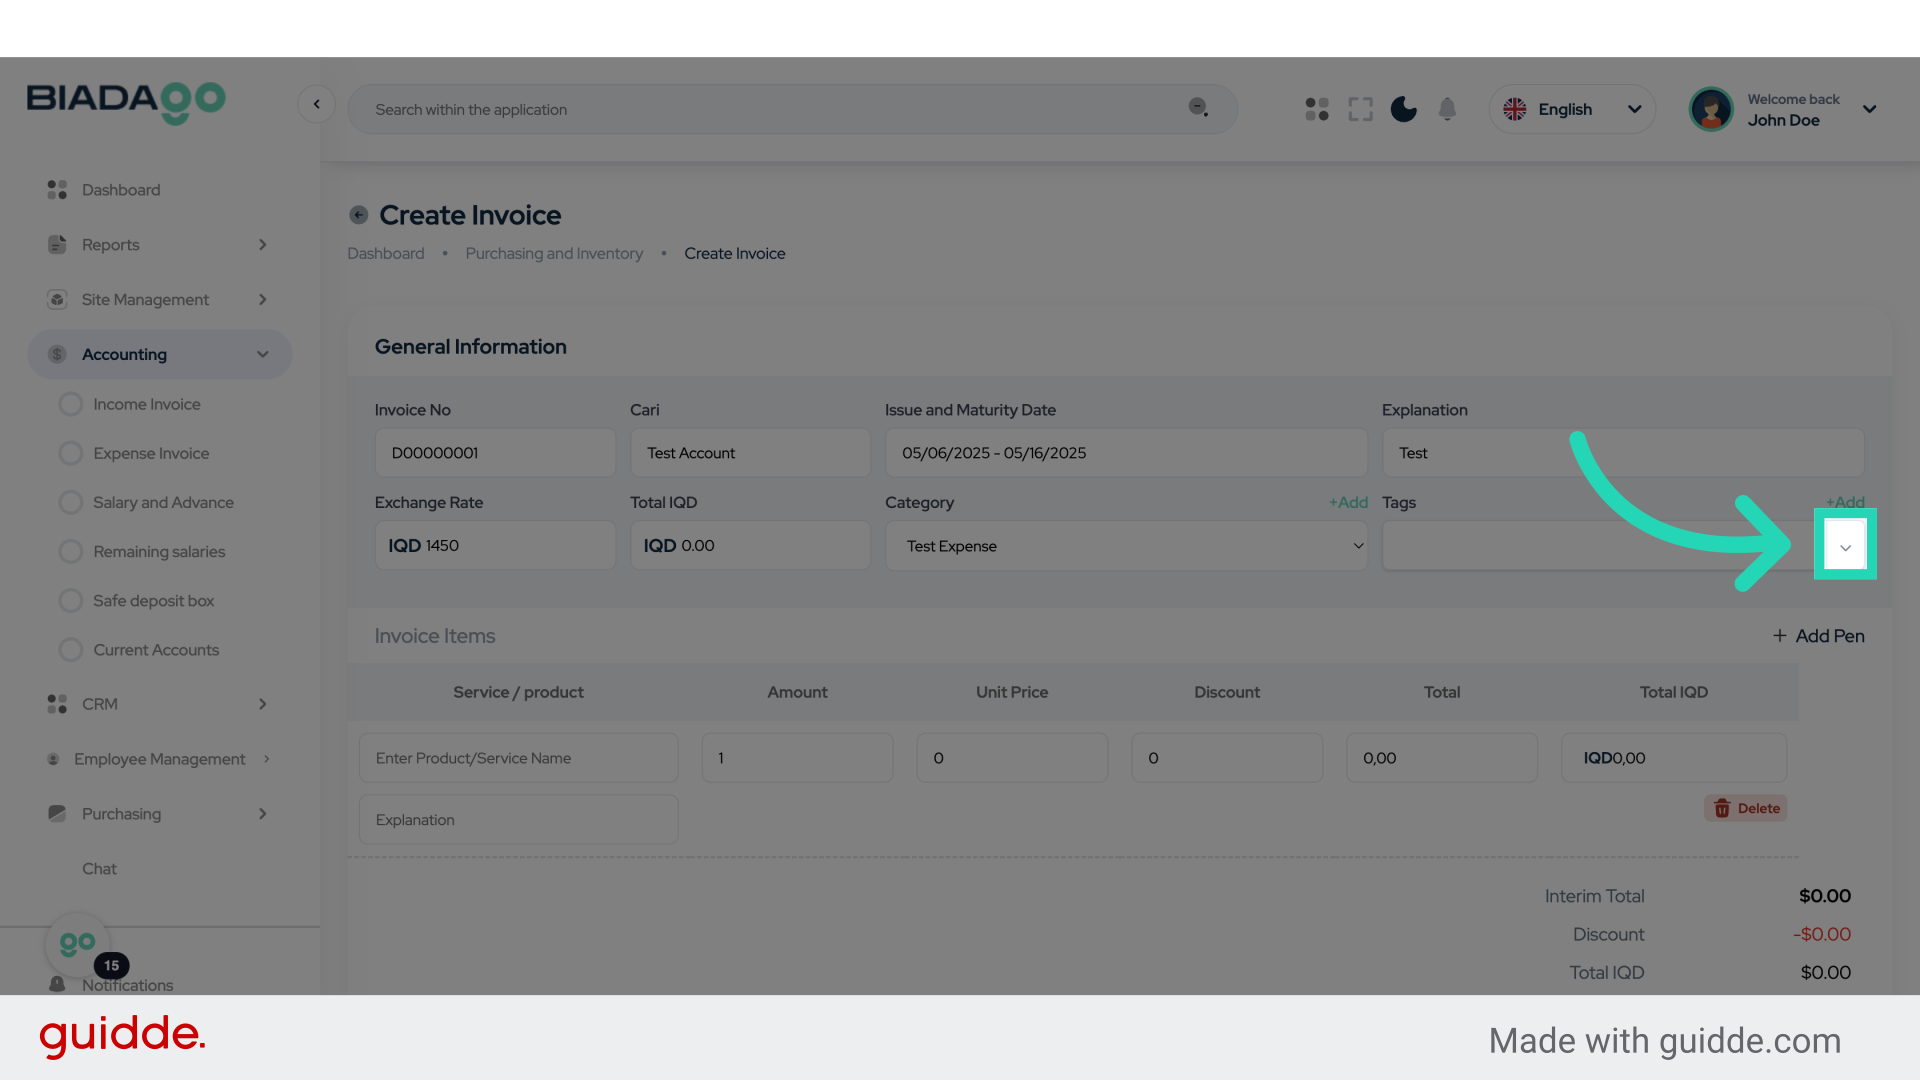
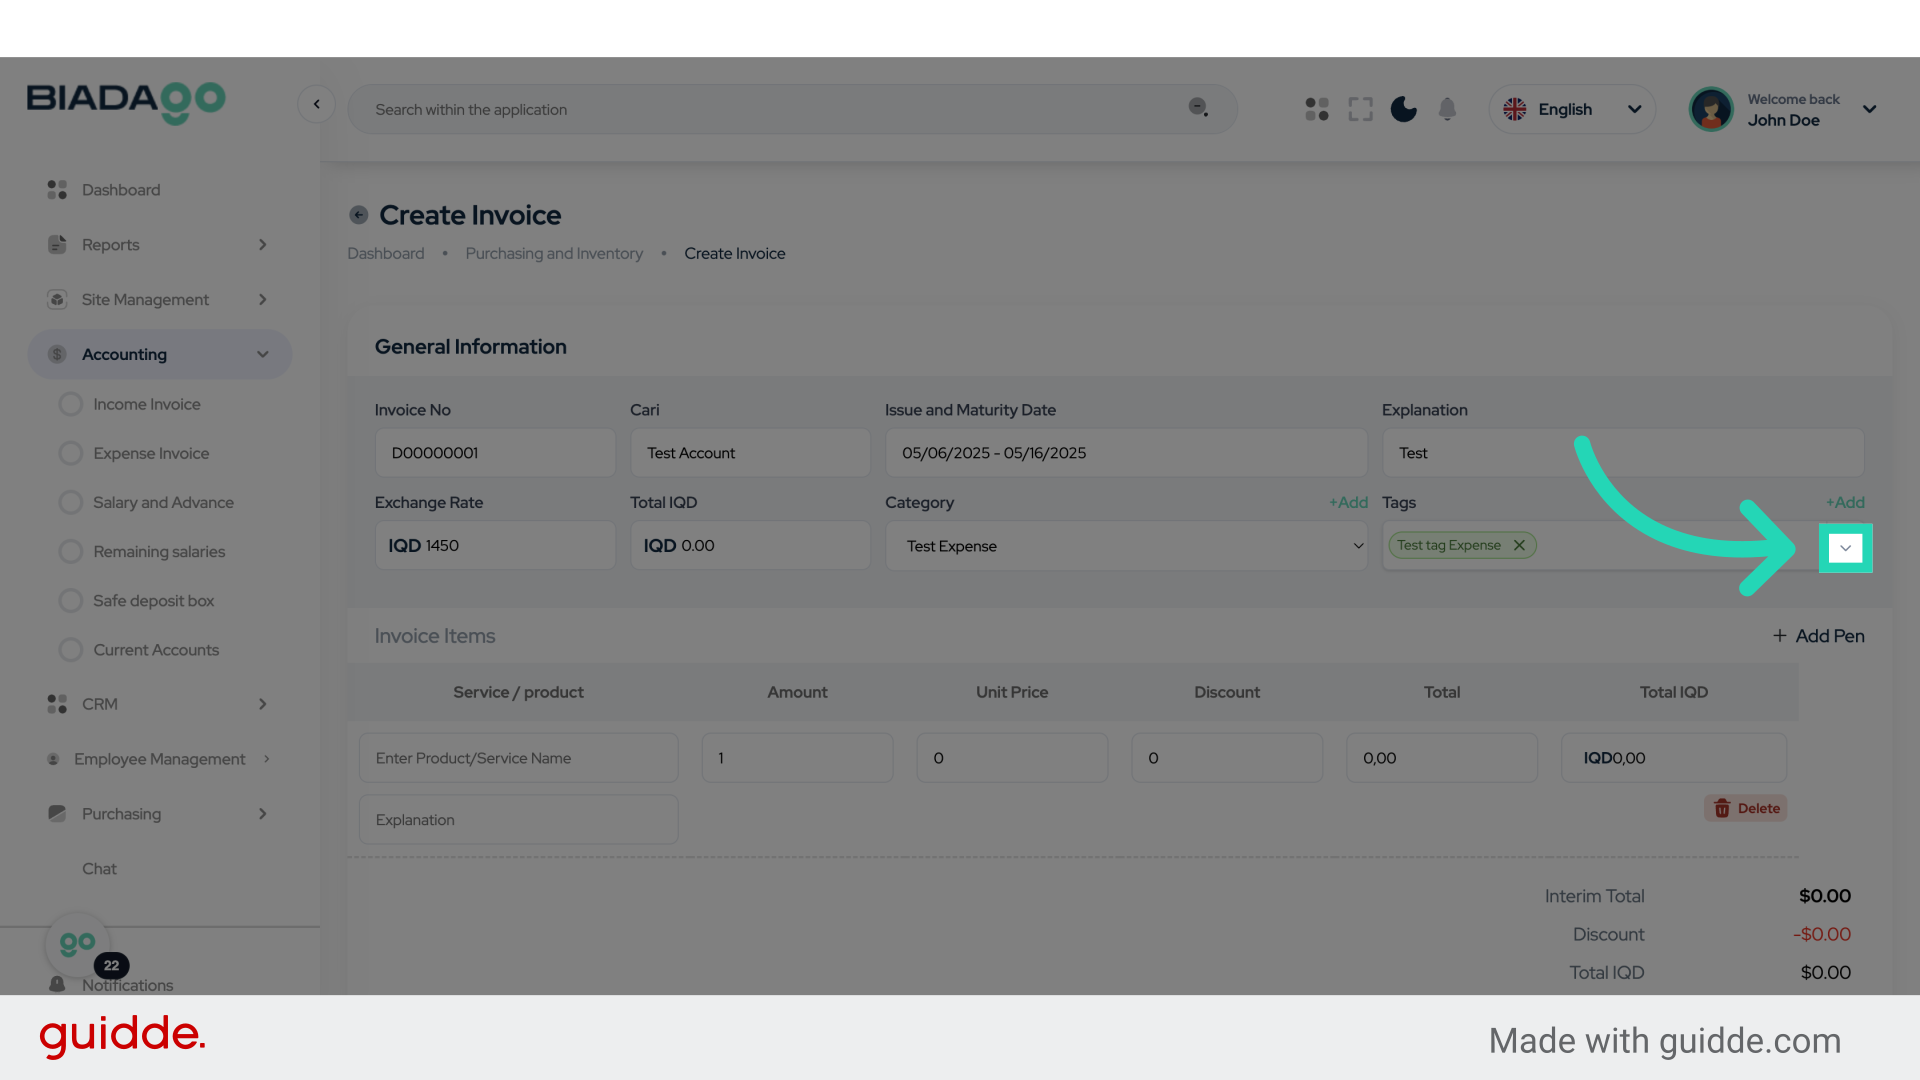
24. Click here
Select the specified location.
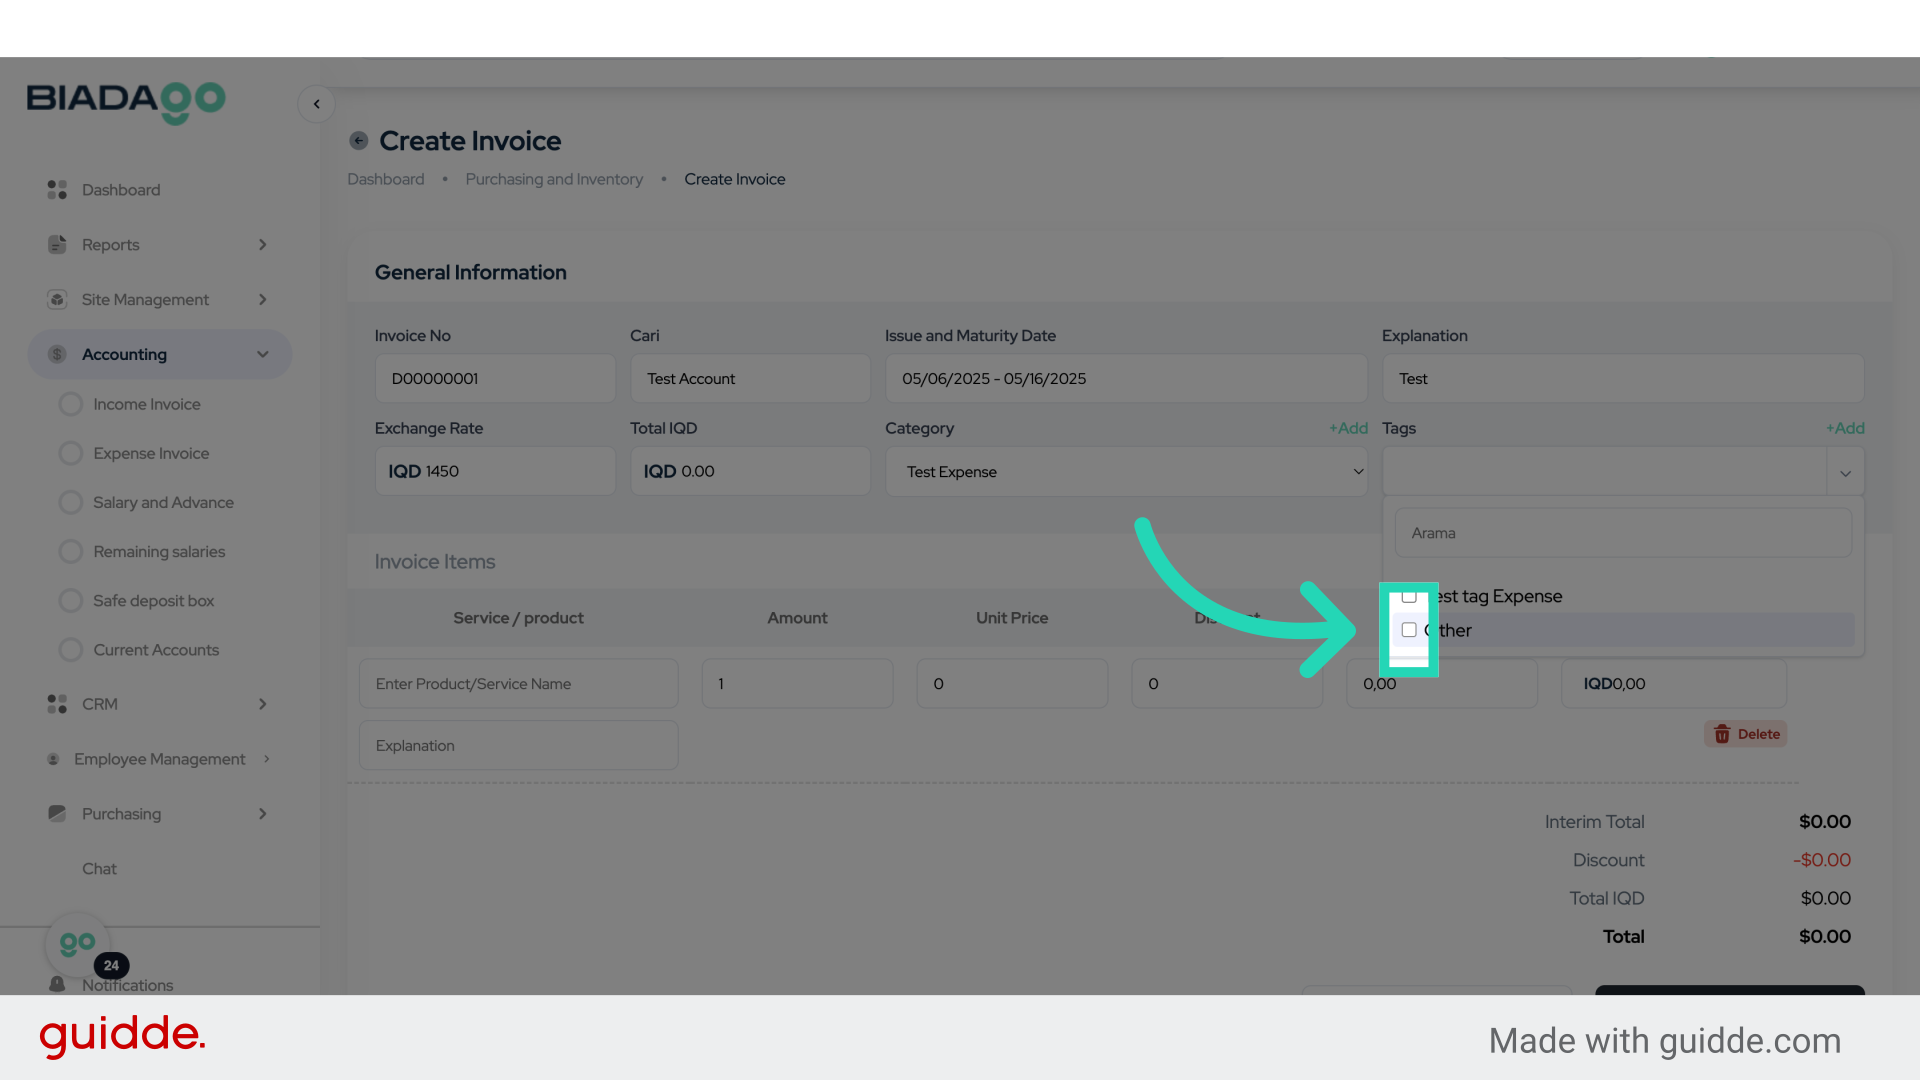
25. Click here
Navigate to the indicated area.

26. Click “on”
Select the option “on” for a specific setting.
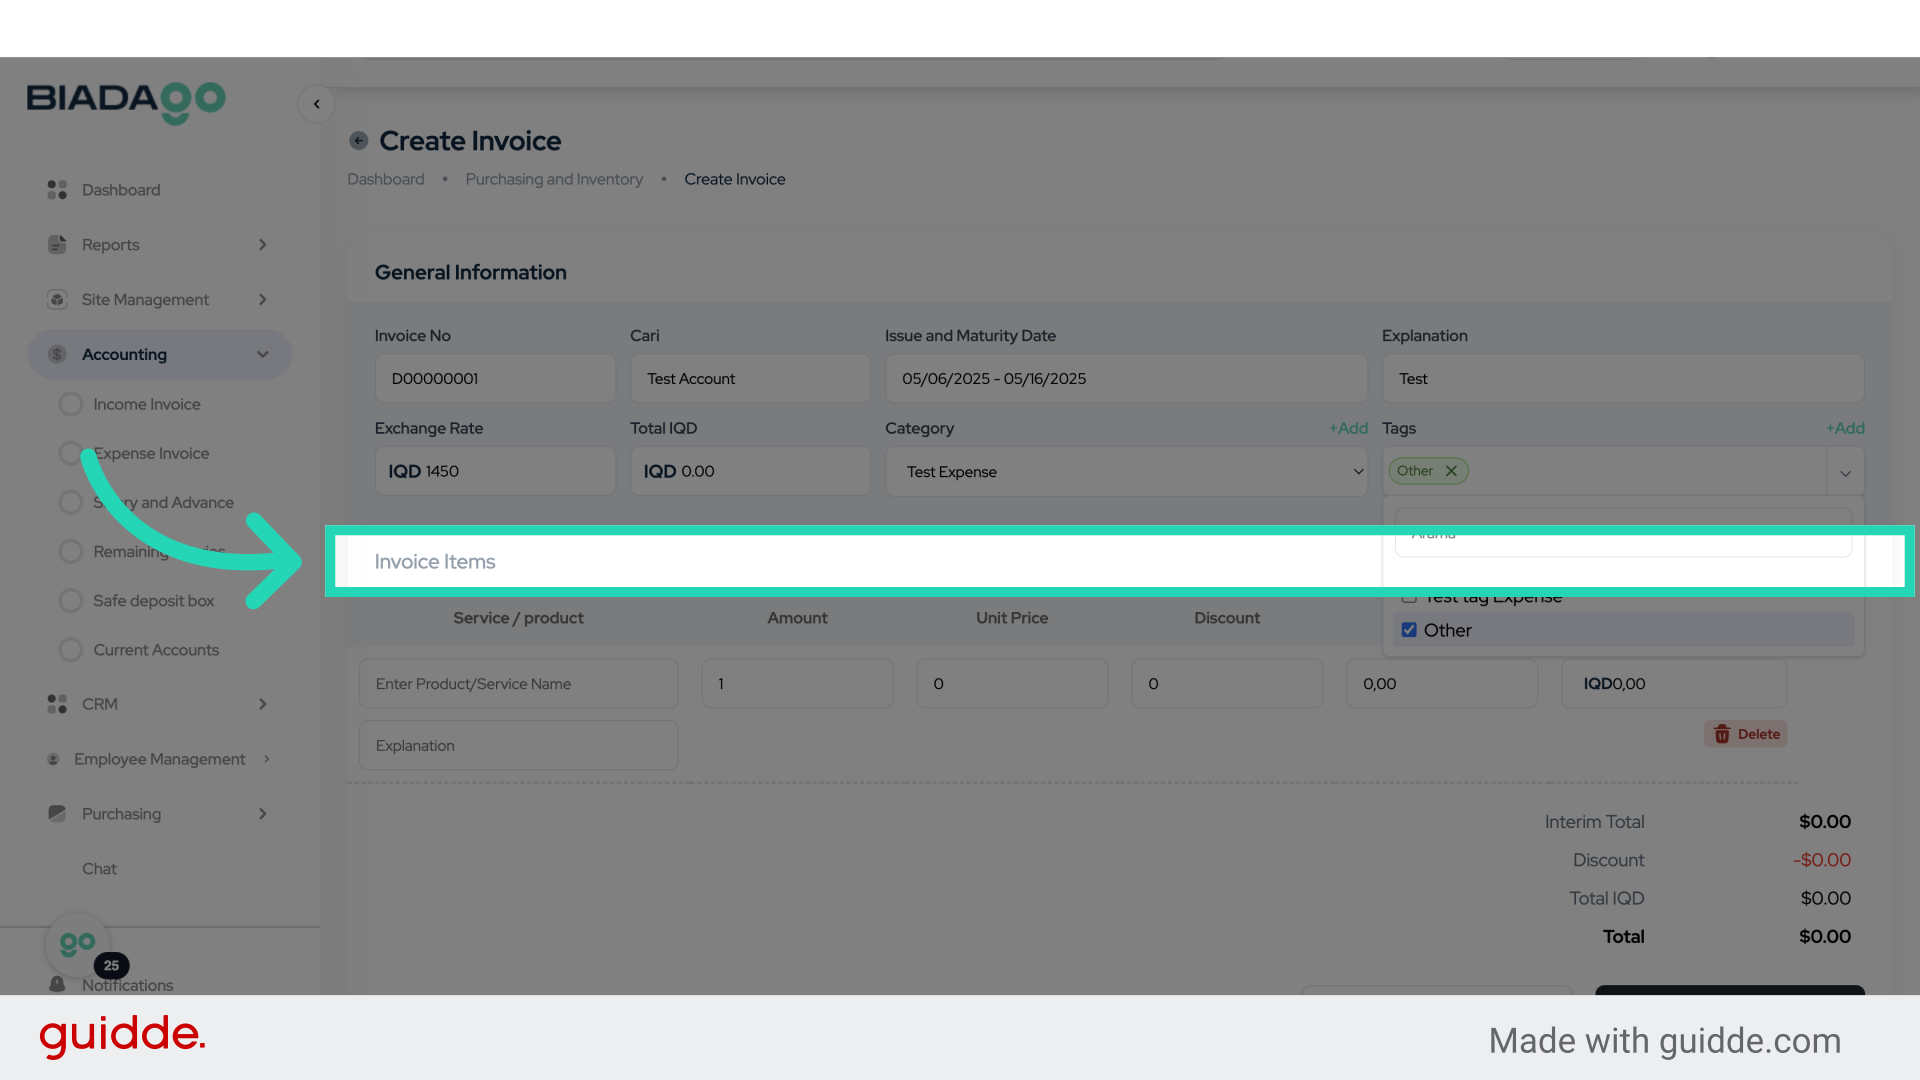
27. Click “Invoice Items
Add Pen”
Include the item “Add Pen” in the Invoice Items.
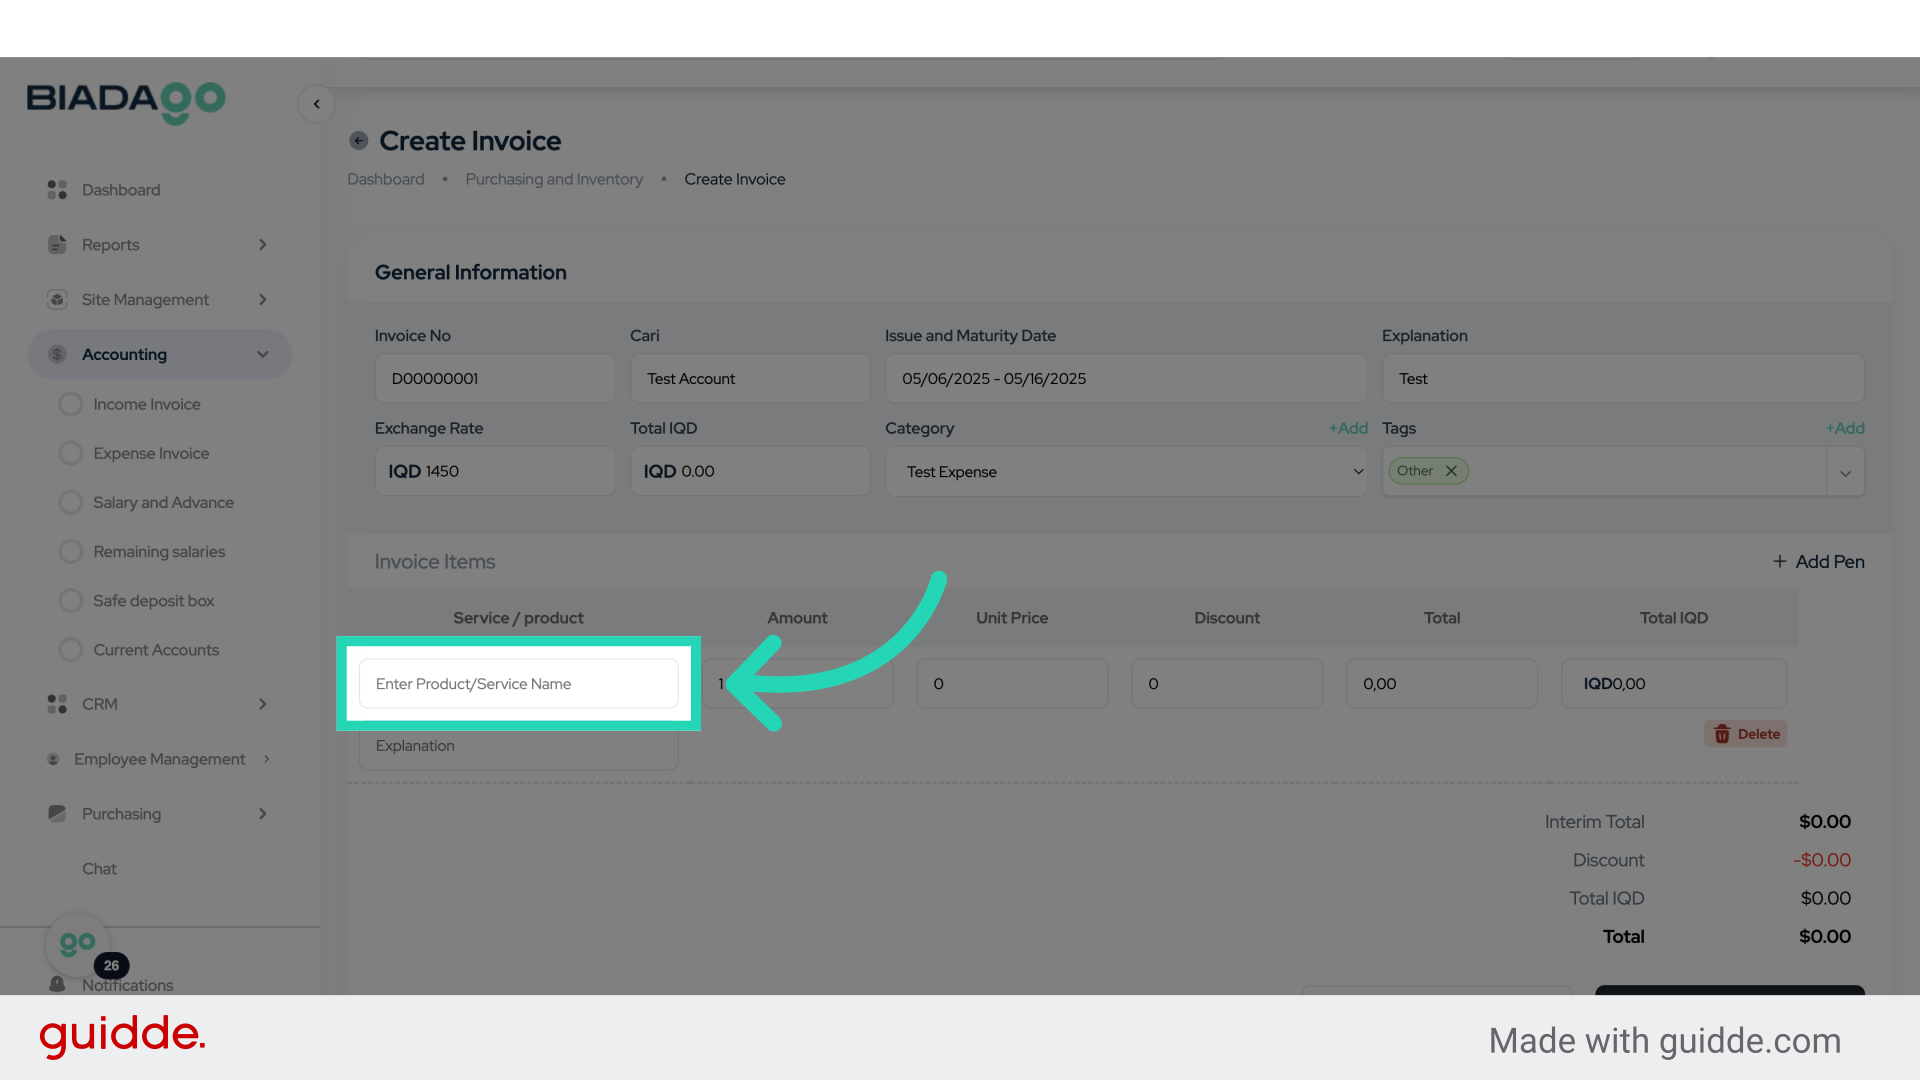
28. Click “Enter Product/Service Name”
Input the Product or Service Name for the transaction.
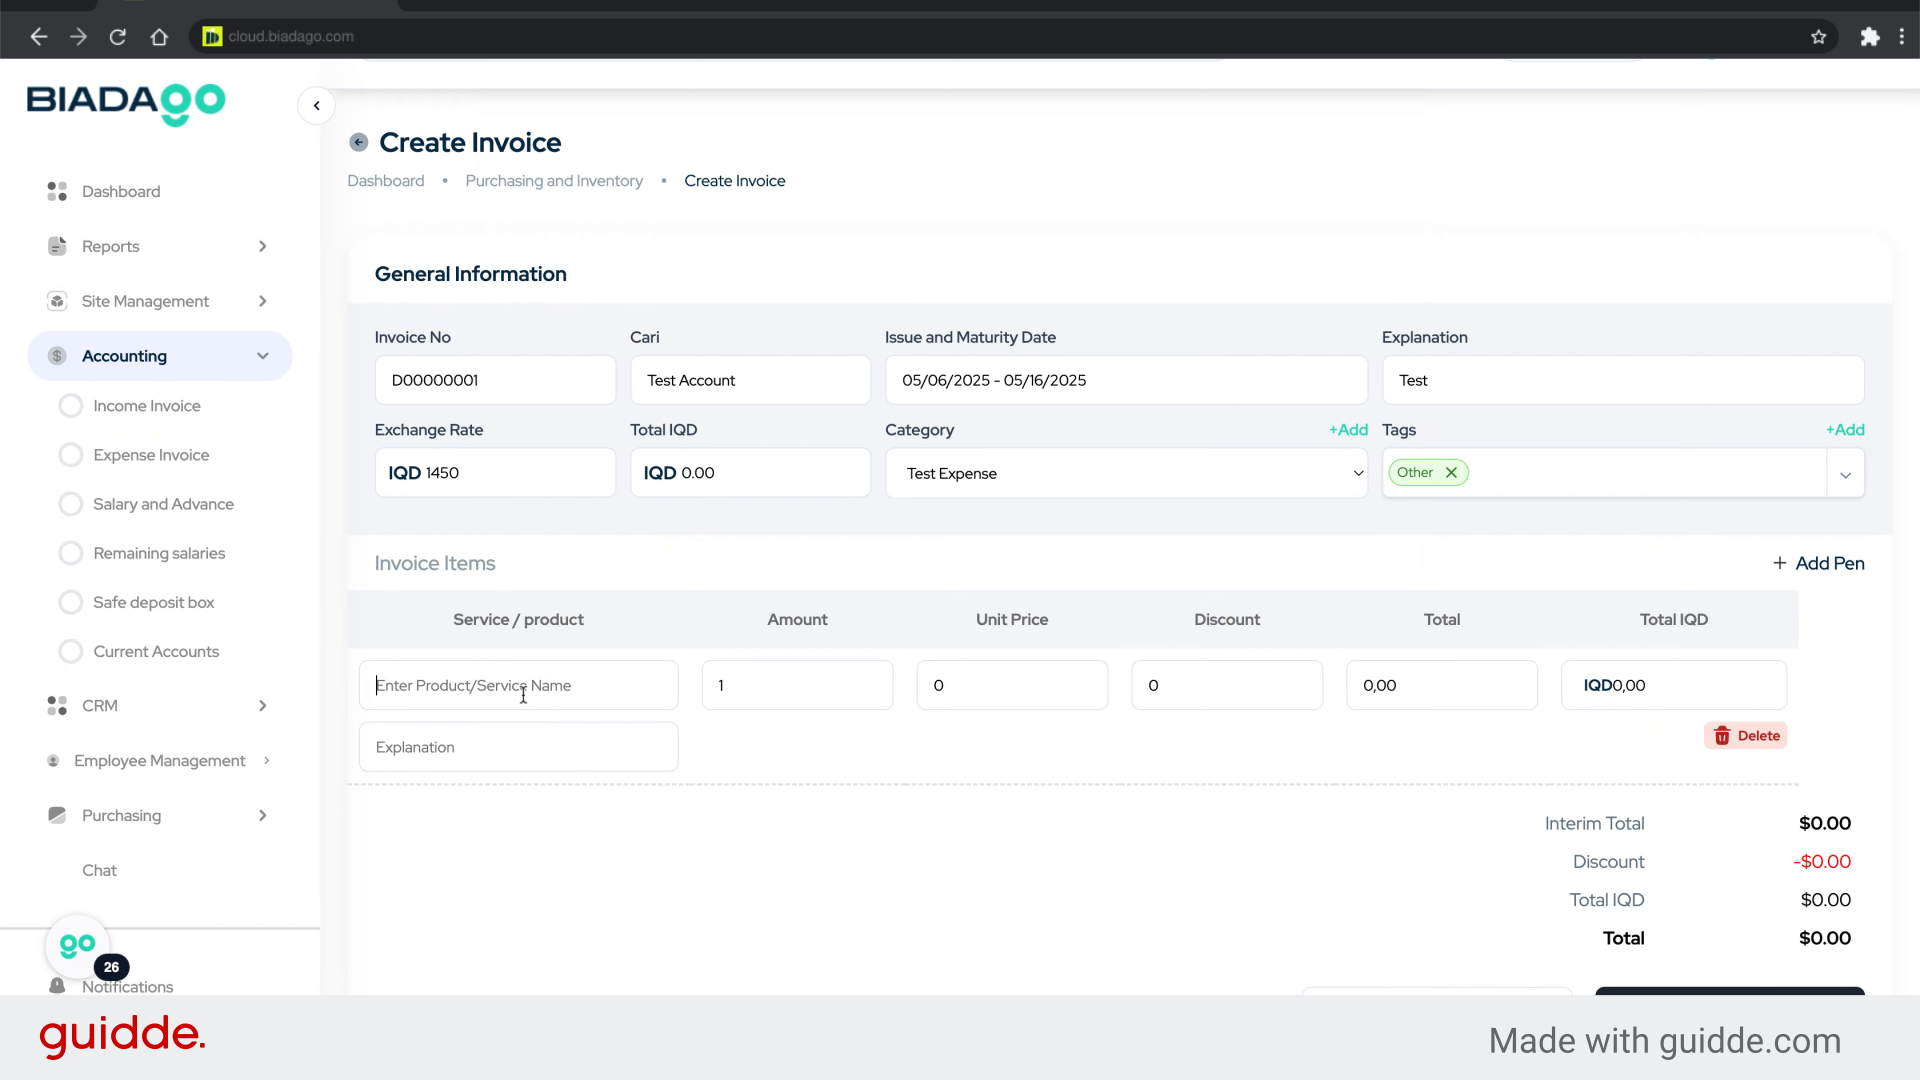
29. Fill “Test Product”
Input “Test Product” in the available field
30. Click “Test Product 50 USD”
Select the item “Test Product 50 USD”.

31. Go here
Navigate to the designated location.
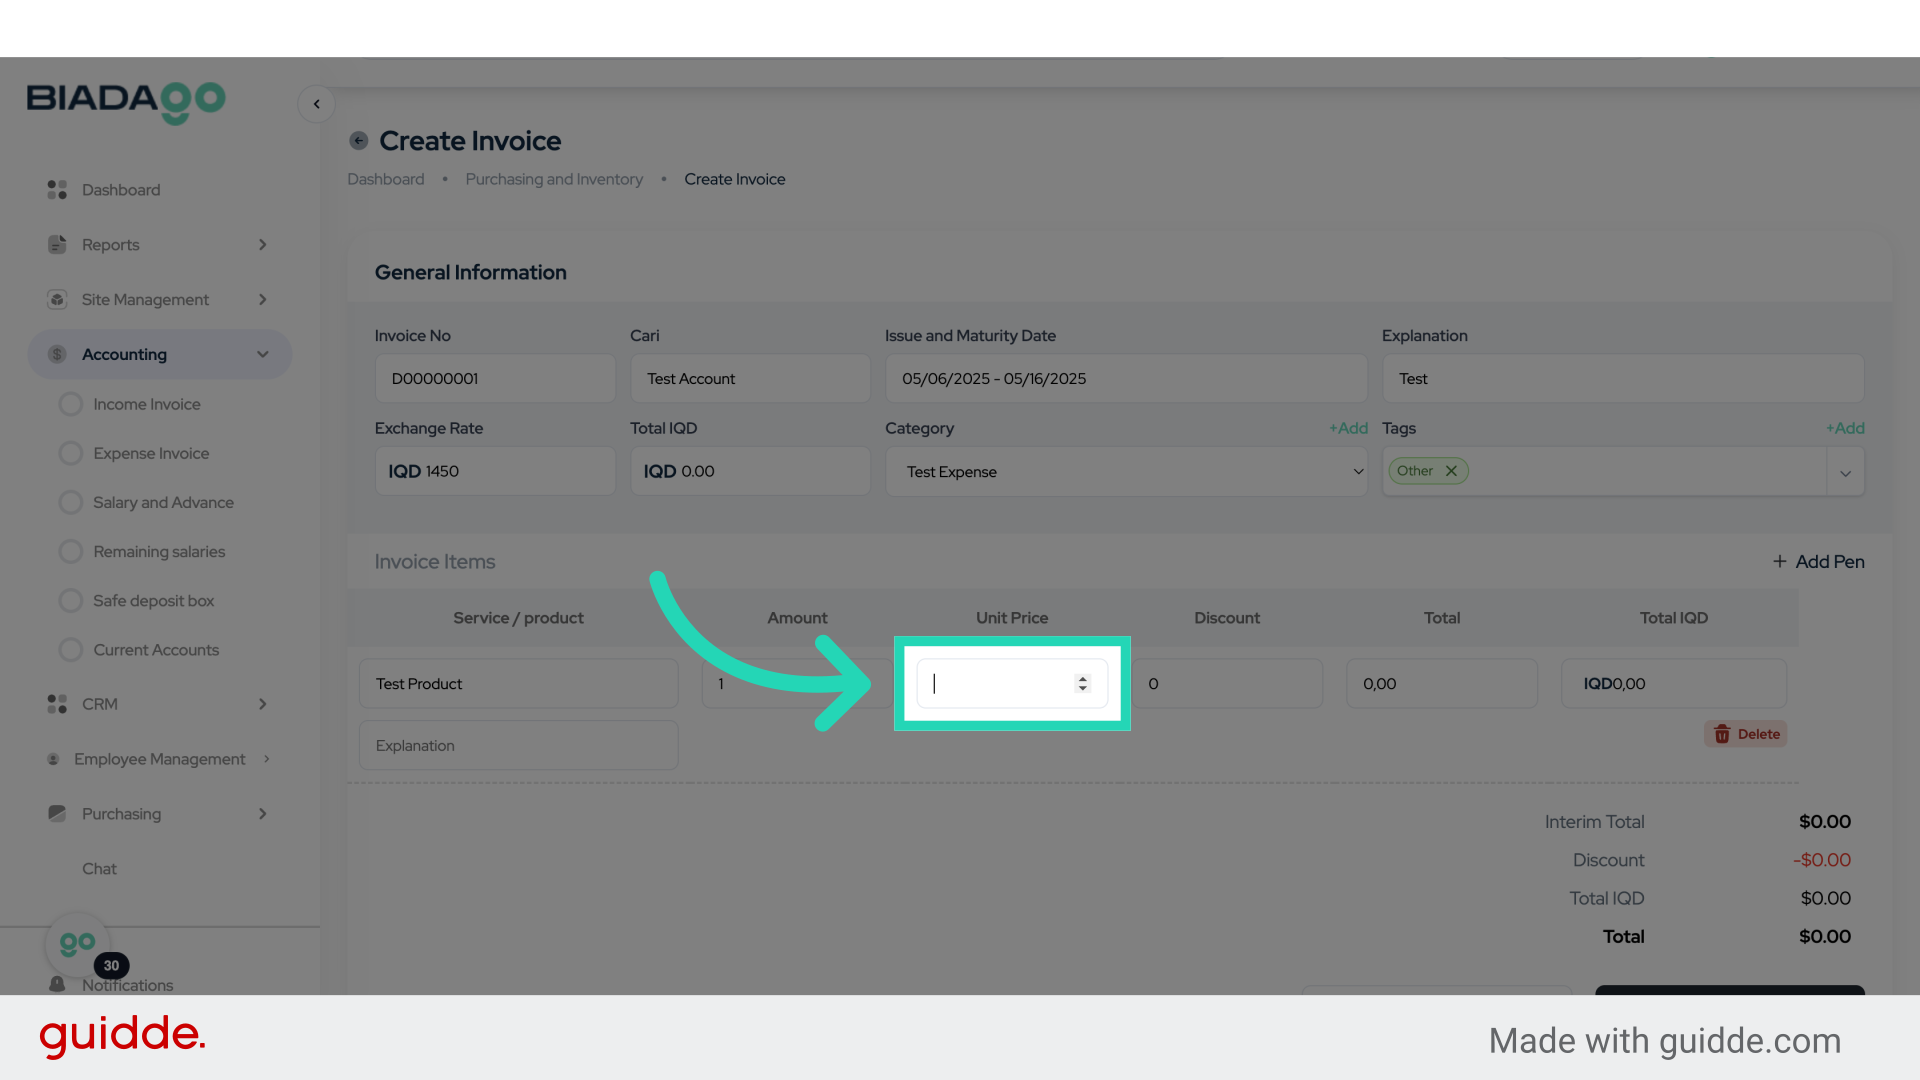
32. Click here
Click on the specified area.
33. Fill “150”
Write “150” in the specified field
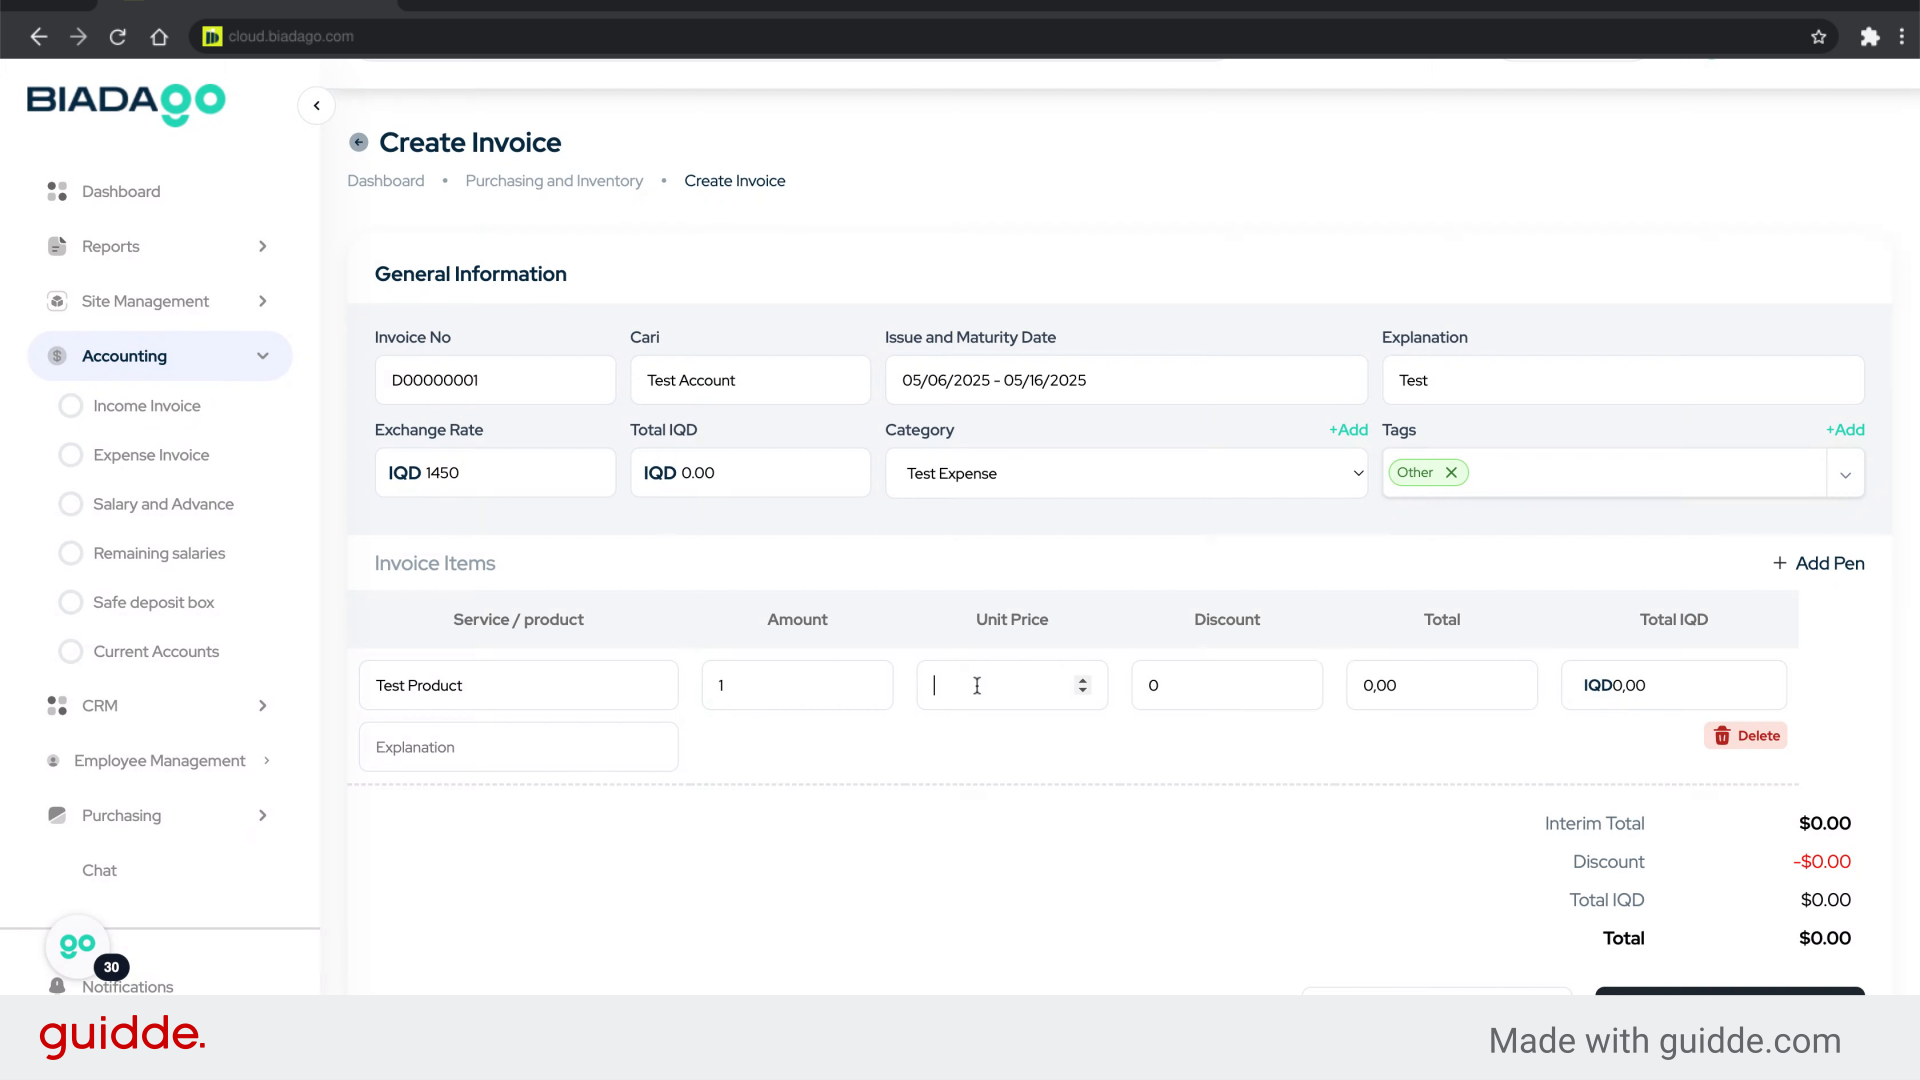
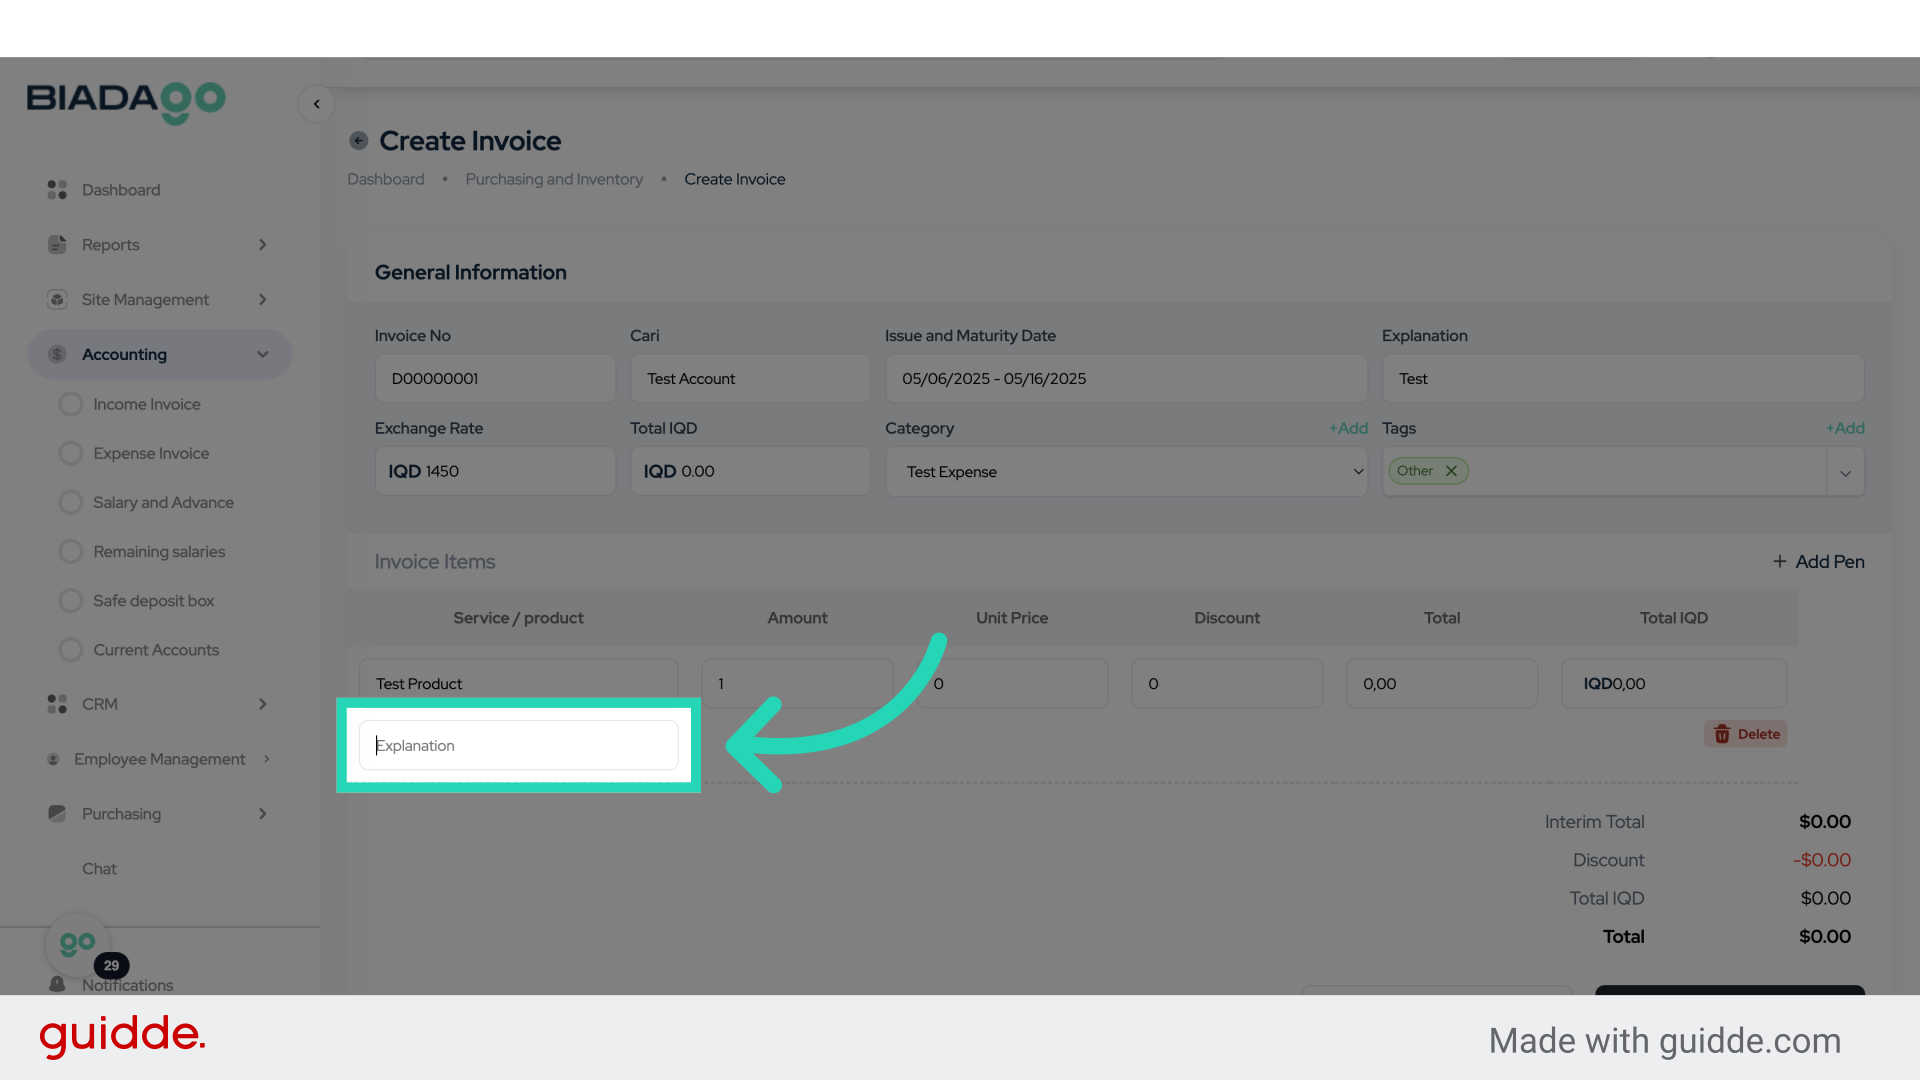
34. Click “Explanation”
Provide an explanation or description for the transaction.
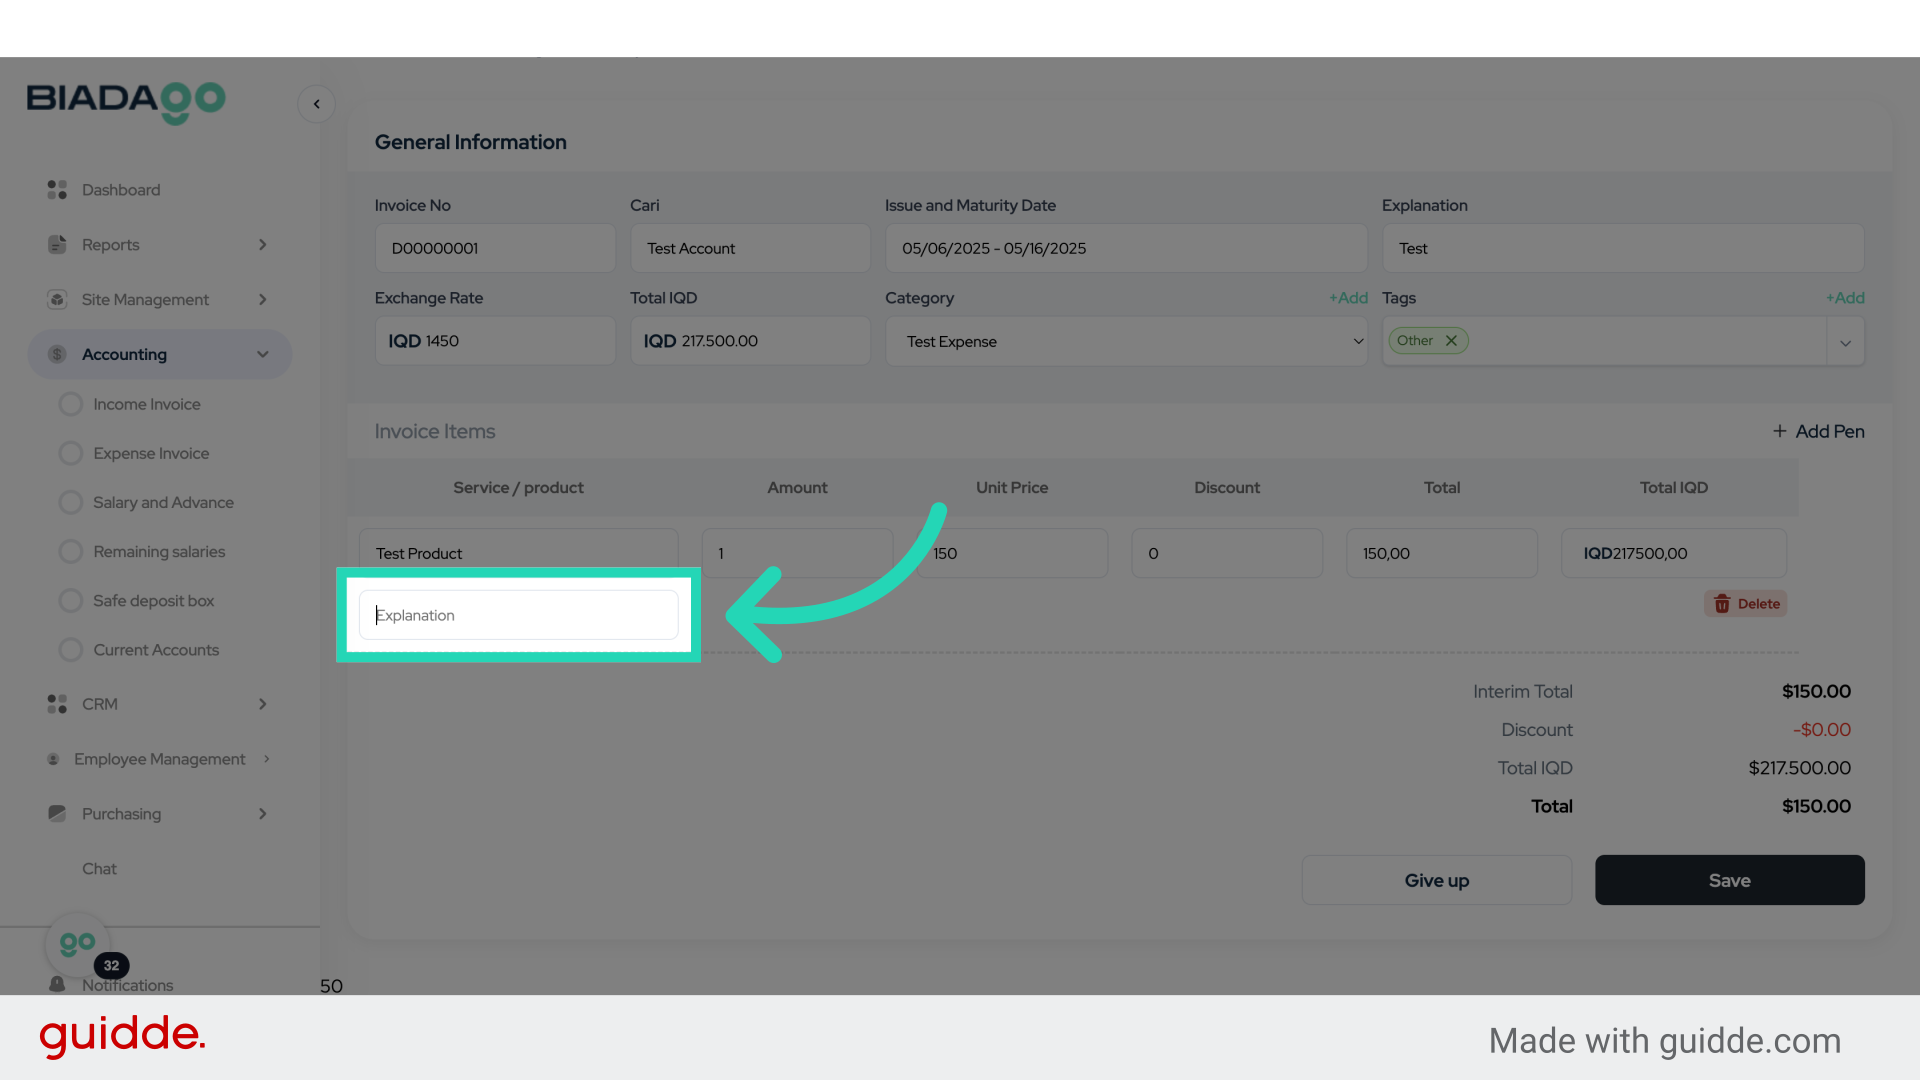
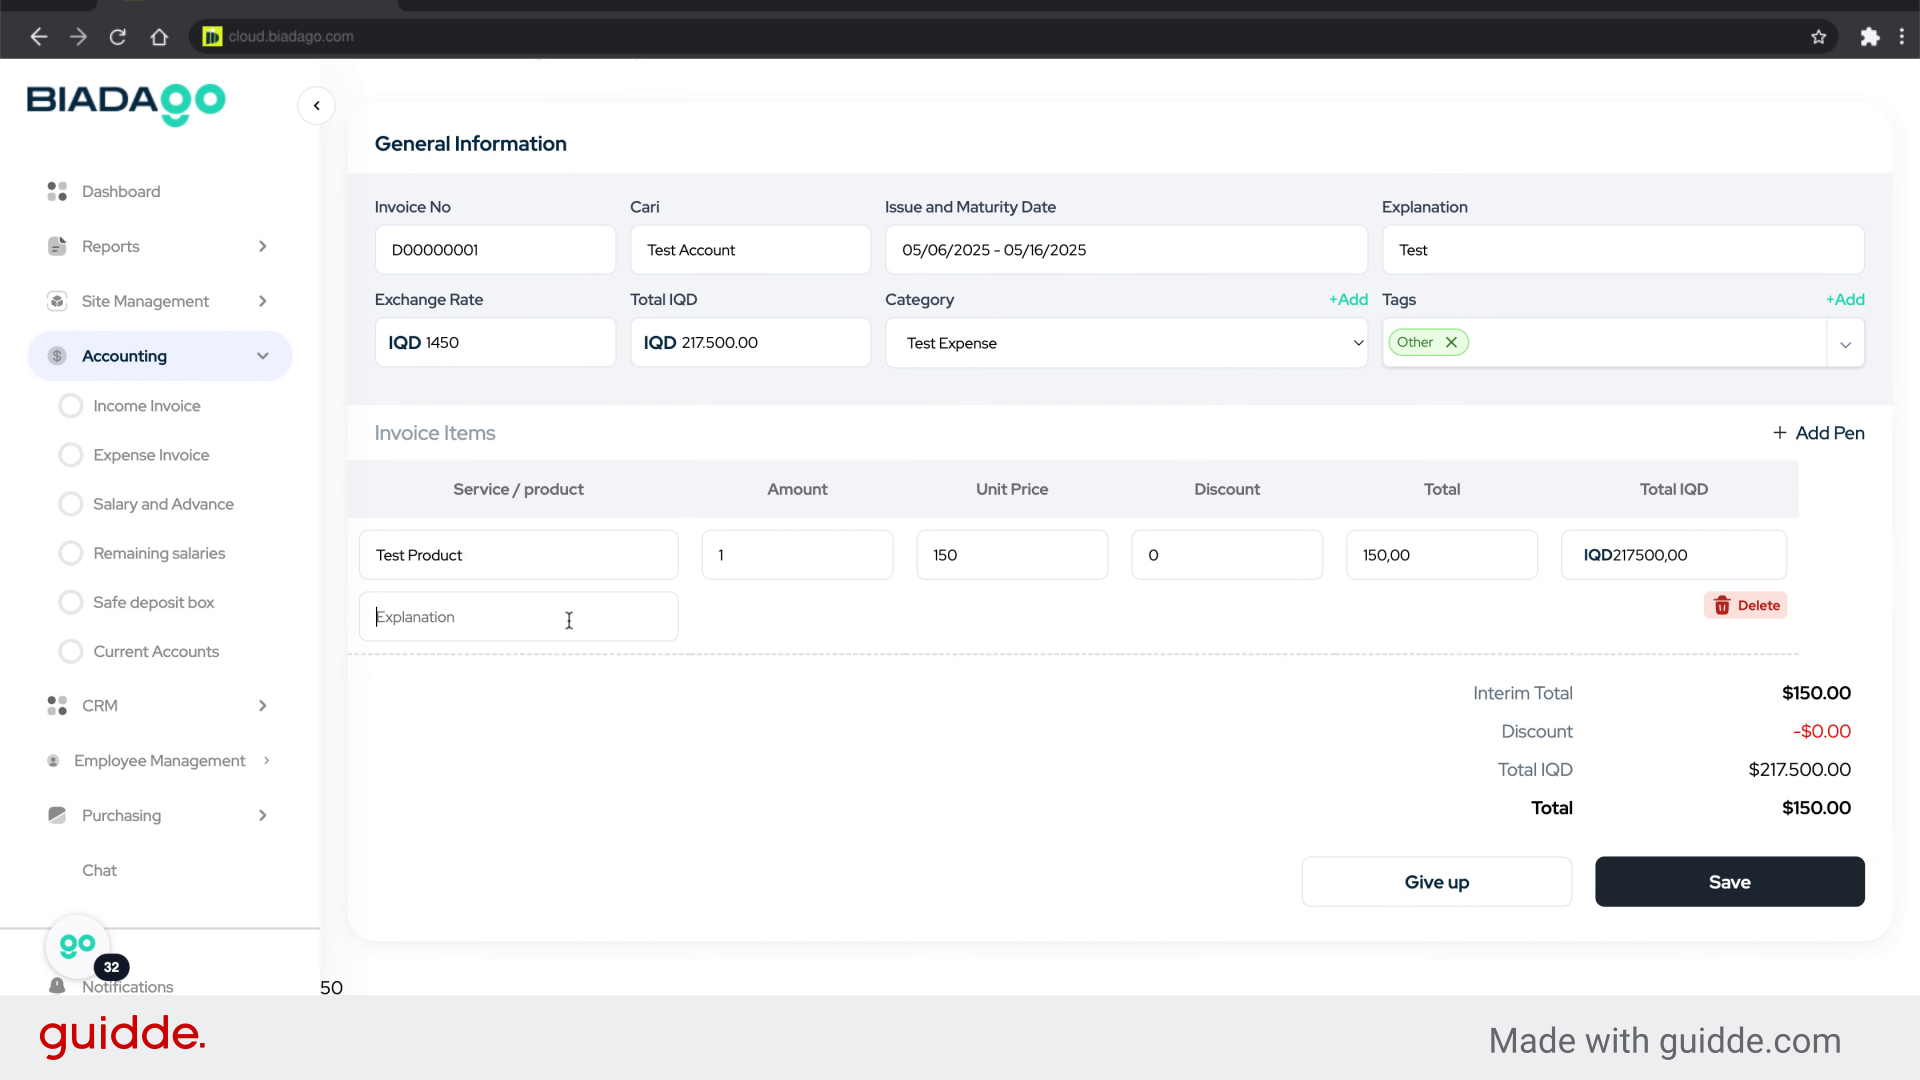
35. Fill “Test”
Submit “Test” in the appropriate field
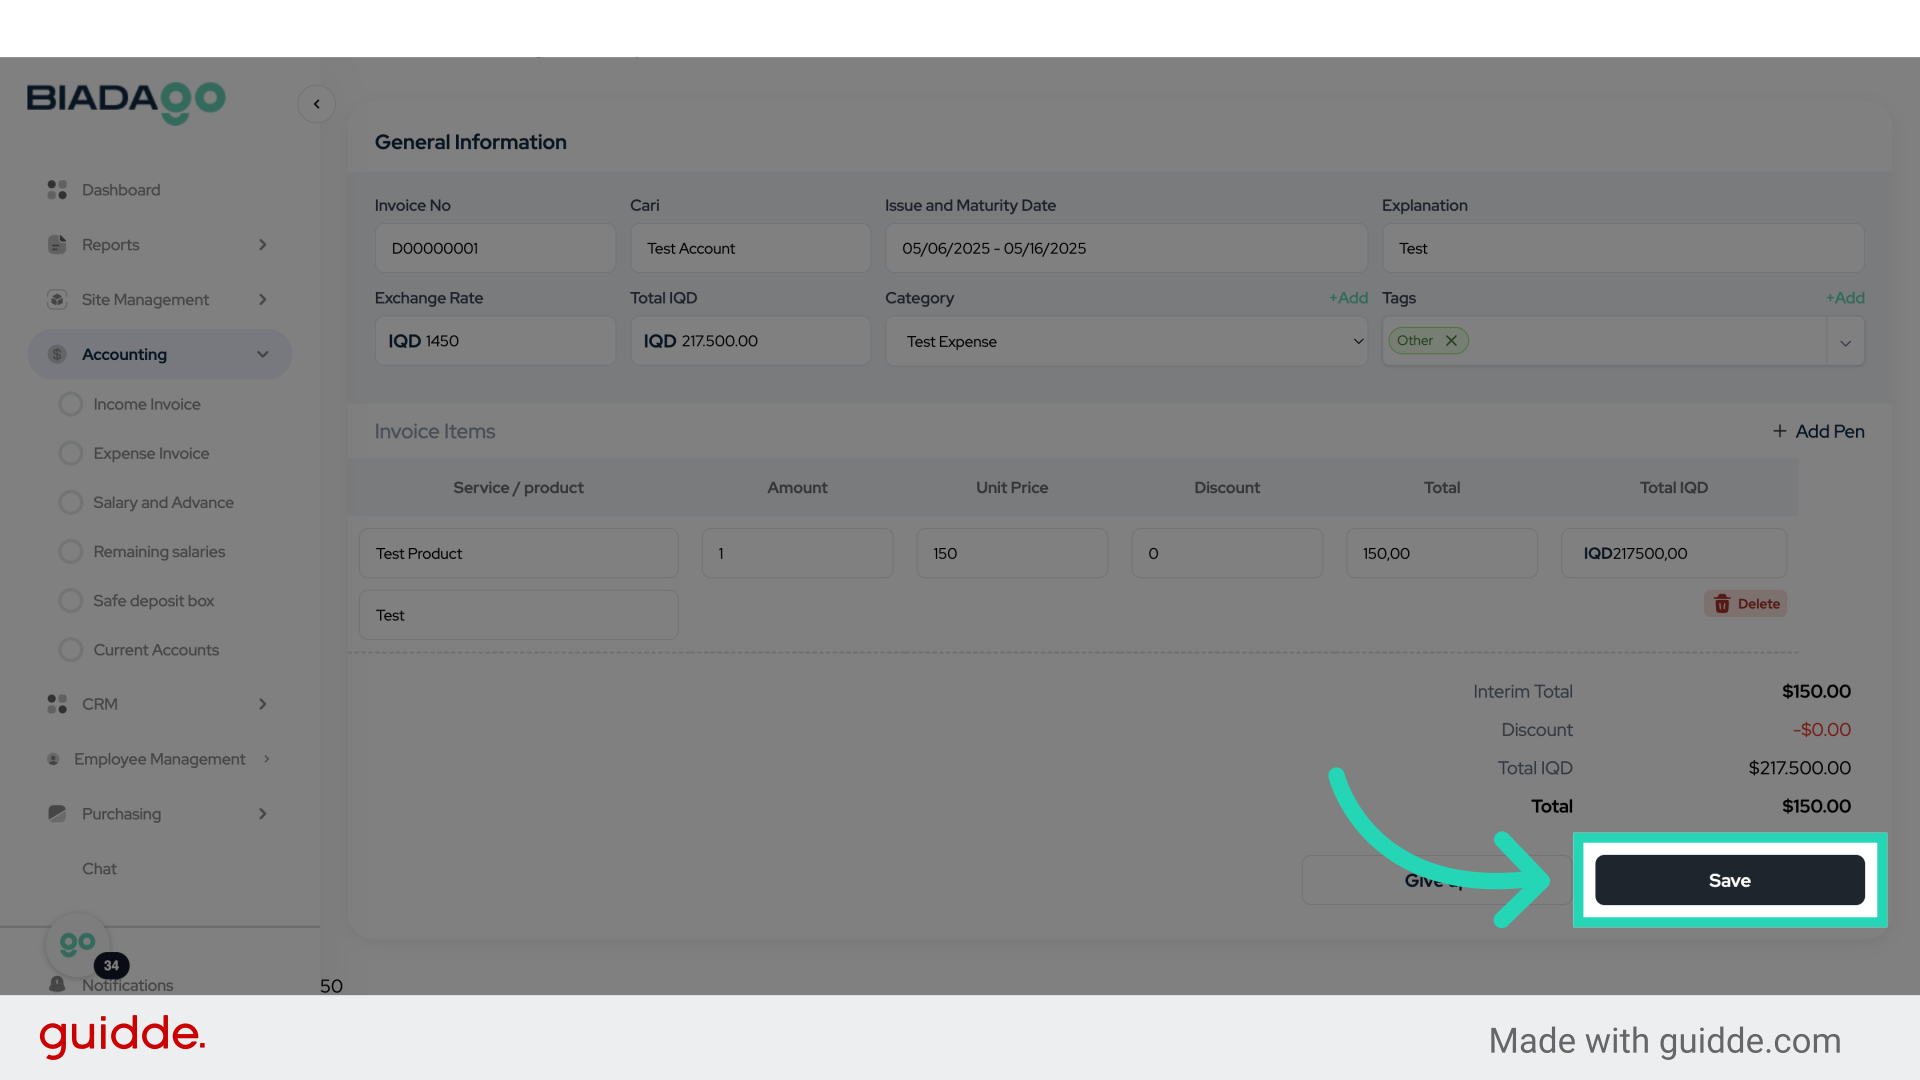
36. Click “Save”
Save the changes made.
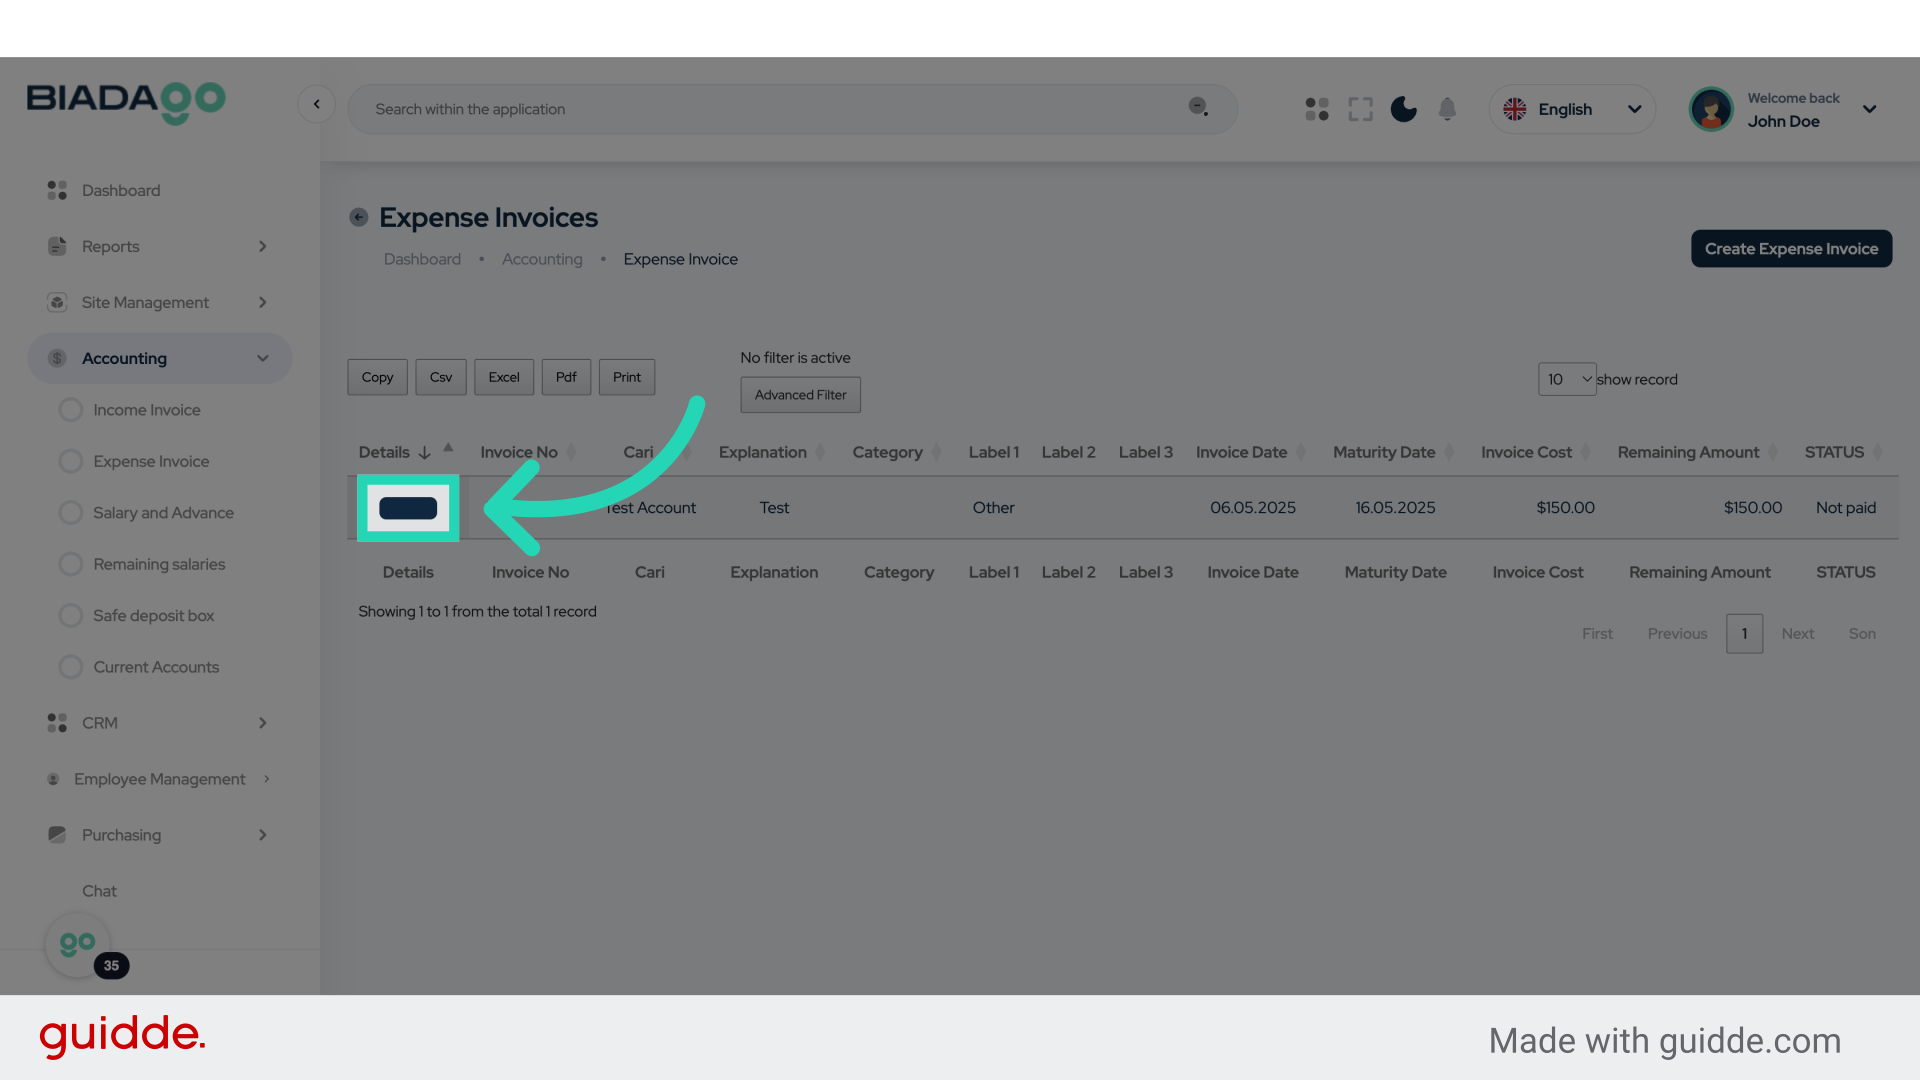
37. Click “Details”
Access the detailed information section.
This guide provided detailed instructions on adding income and expense invoices in BiadaGO. From creating expense invoices to entering product/service details, you can now effectively manage your financial transactions with precision.