How to Create Income and Expense Tags and Categories in BiadaGO
How to Create Income and Expense Tags and Categories in BiadaGO
Learn how to efficiently manage income and expenses in BiadaGO by creating tags and categories
Go to cloud.biadago.com
1. Introduction
Follow these engaging instructions to streamline your accounting processes, enhance organization, and maximize productivity.
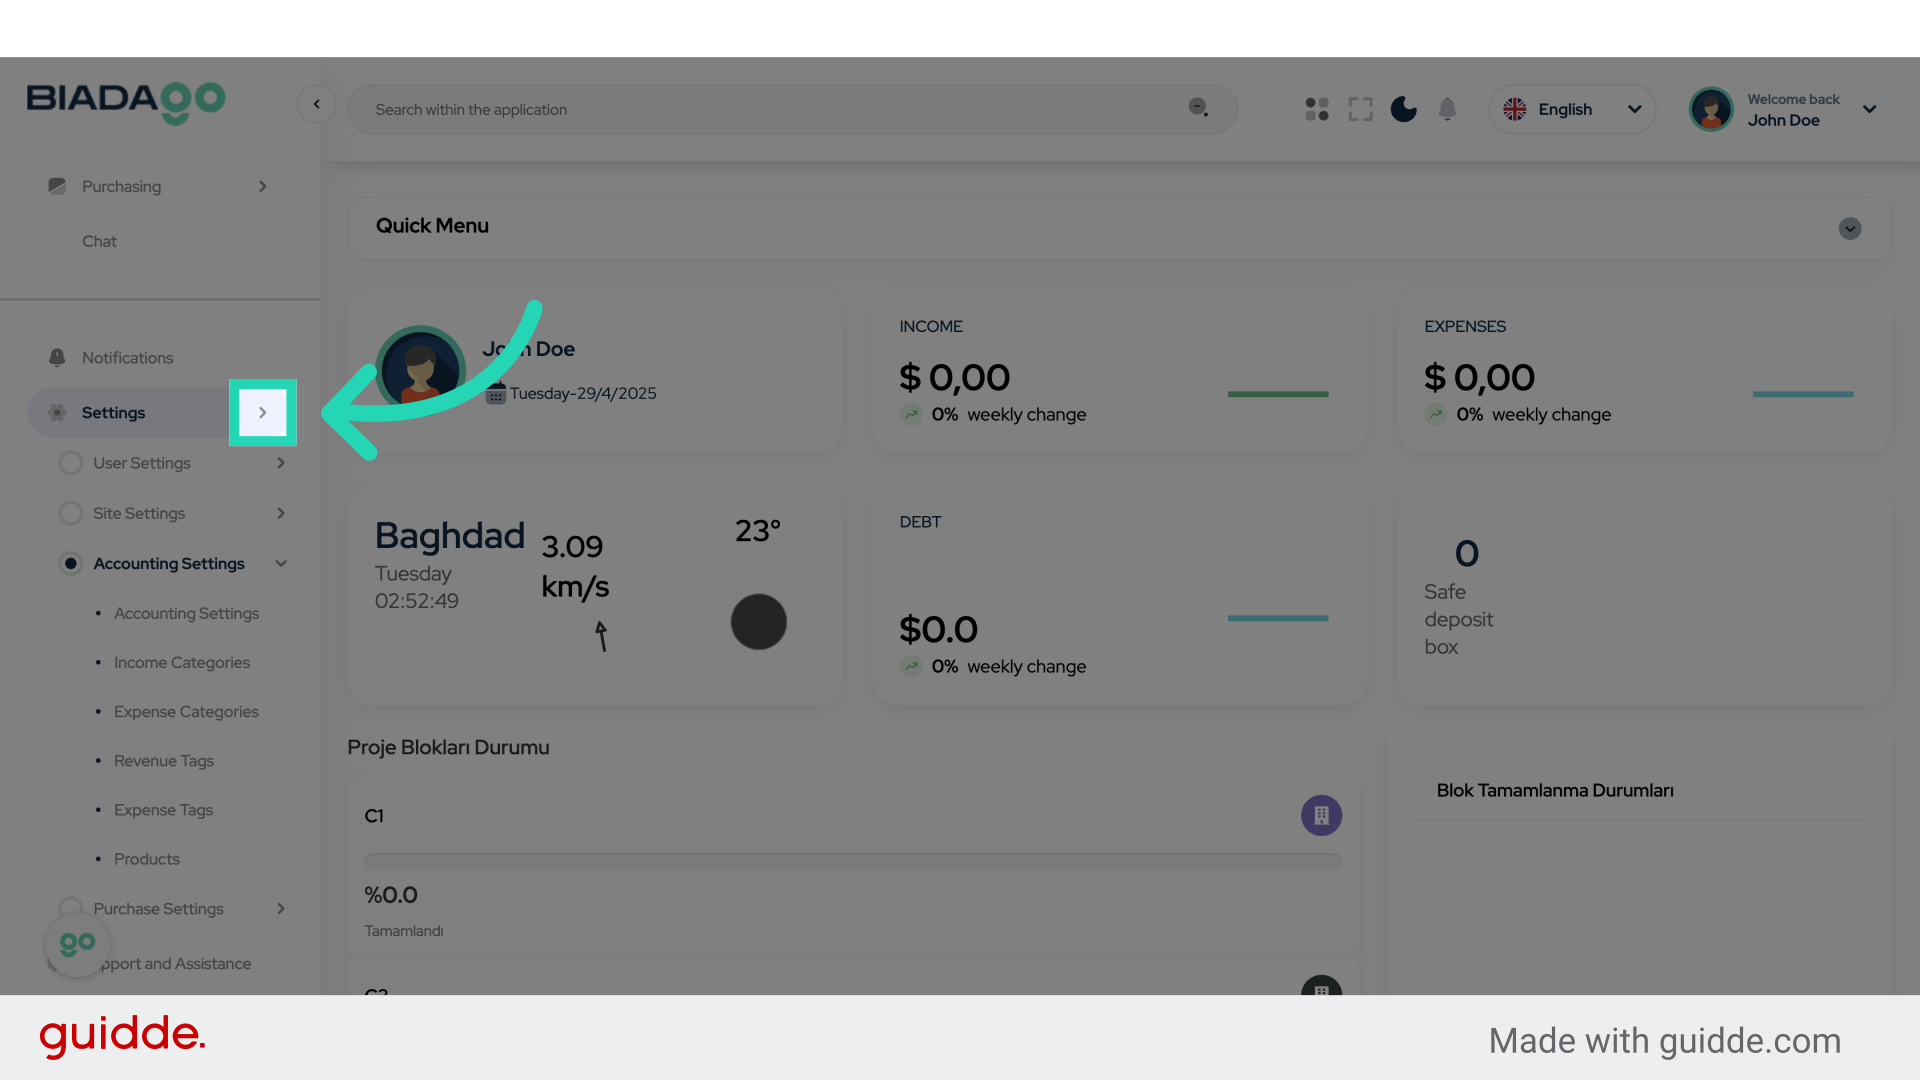
2. Click here
Click on the specific area to proceed.
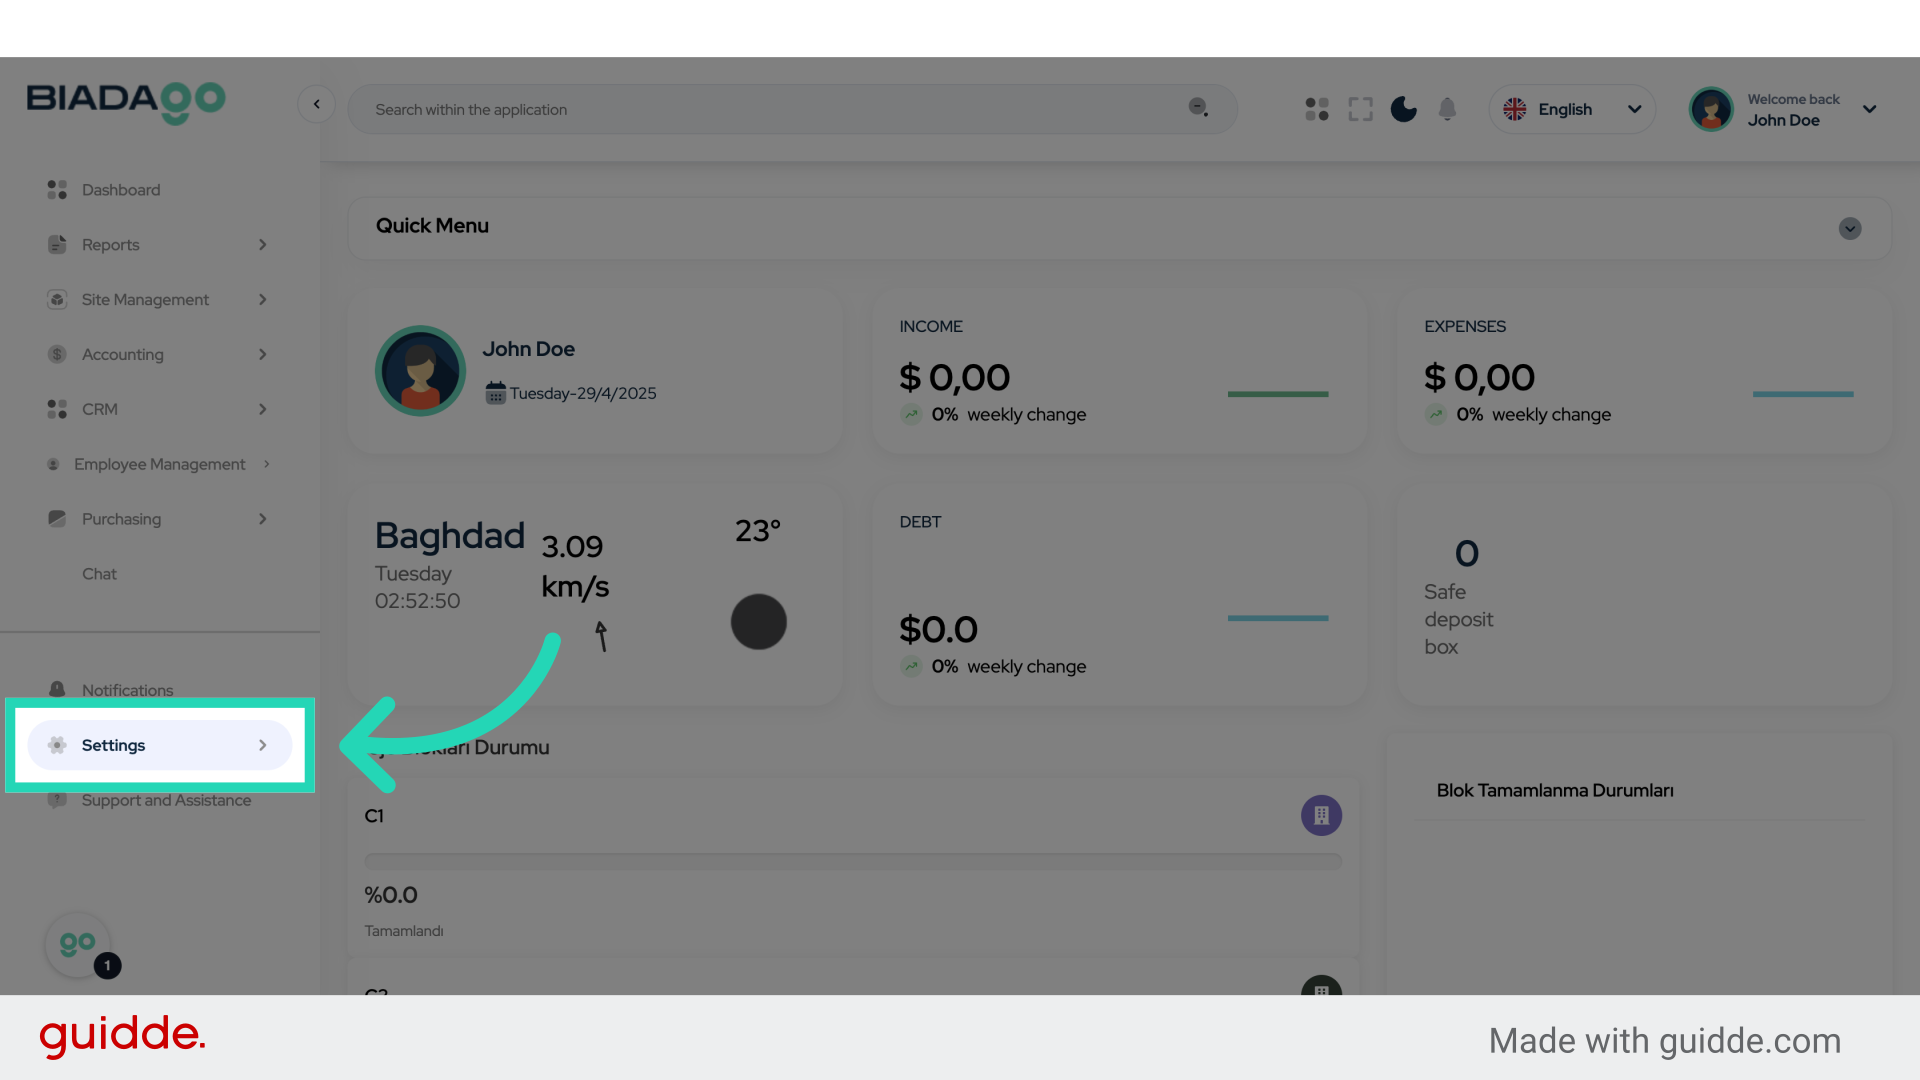
3. Click “Settings”
Access the settings menu.
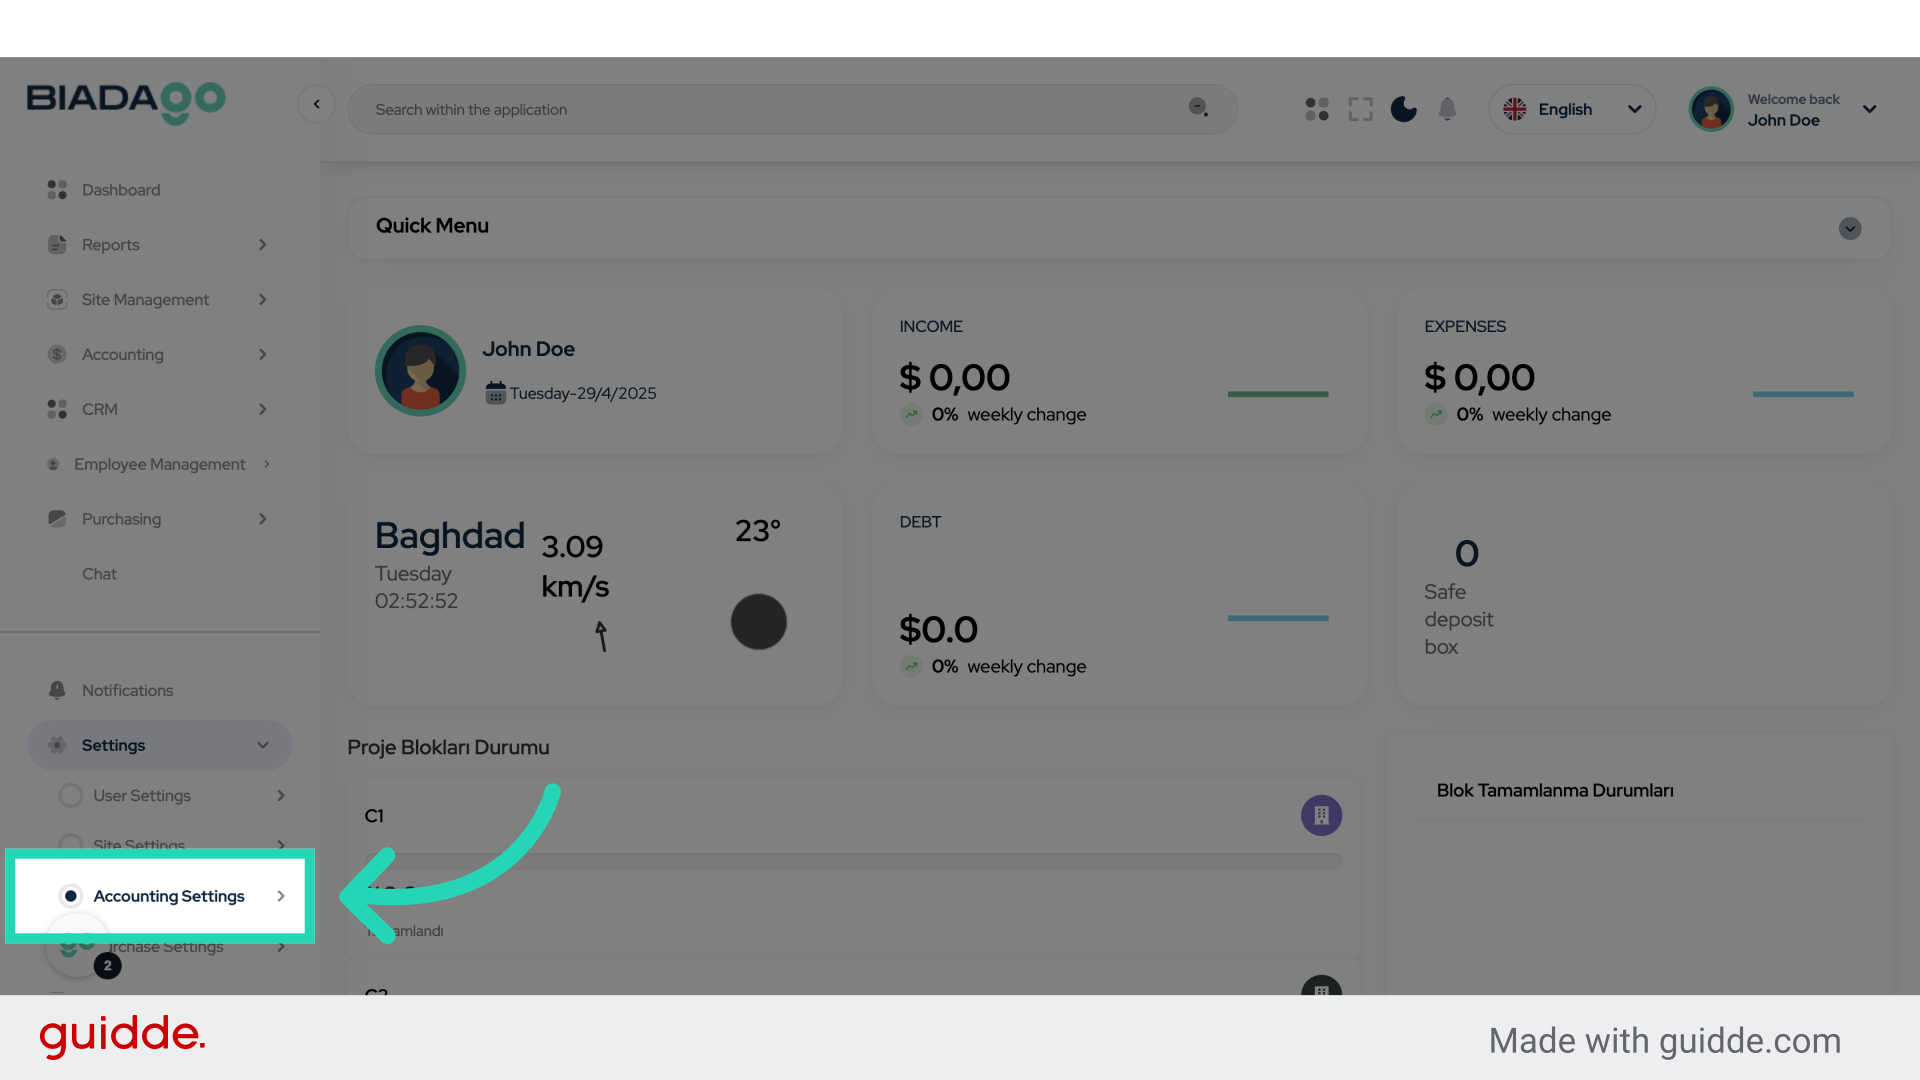
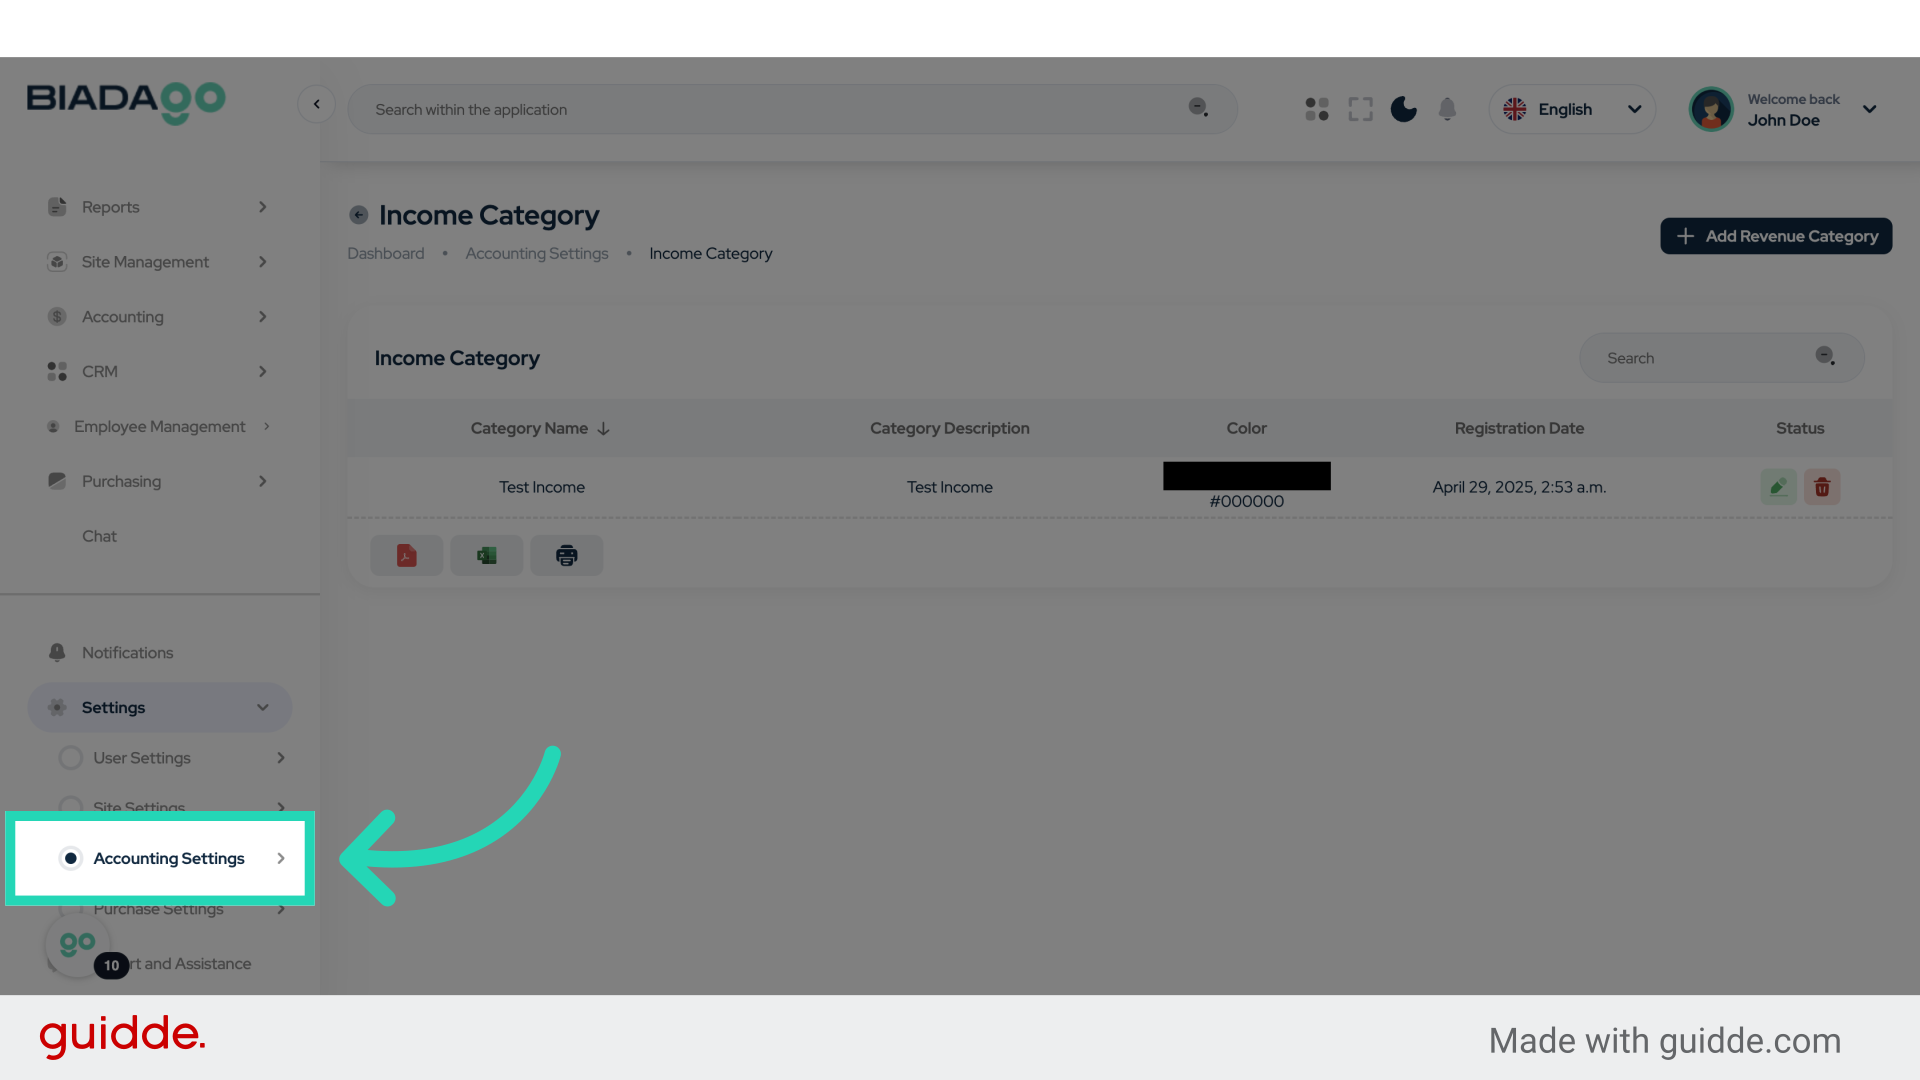
4. Click “Accounting Settings”
Navigate to the accounting settings section.
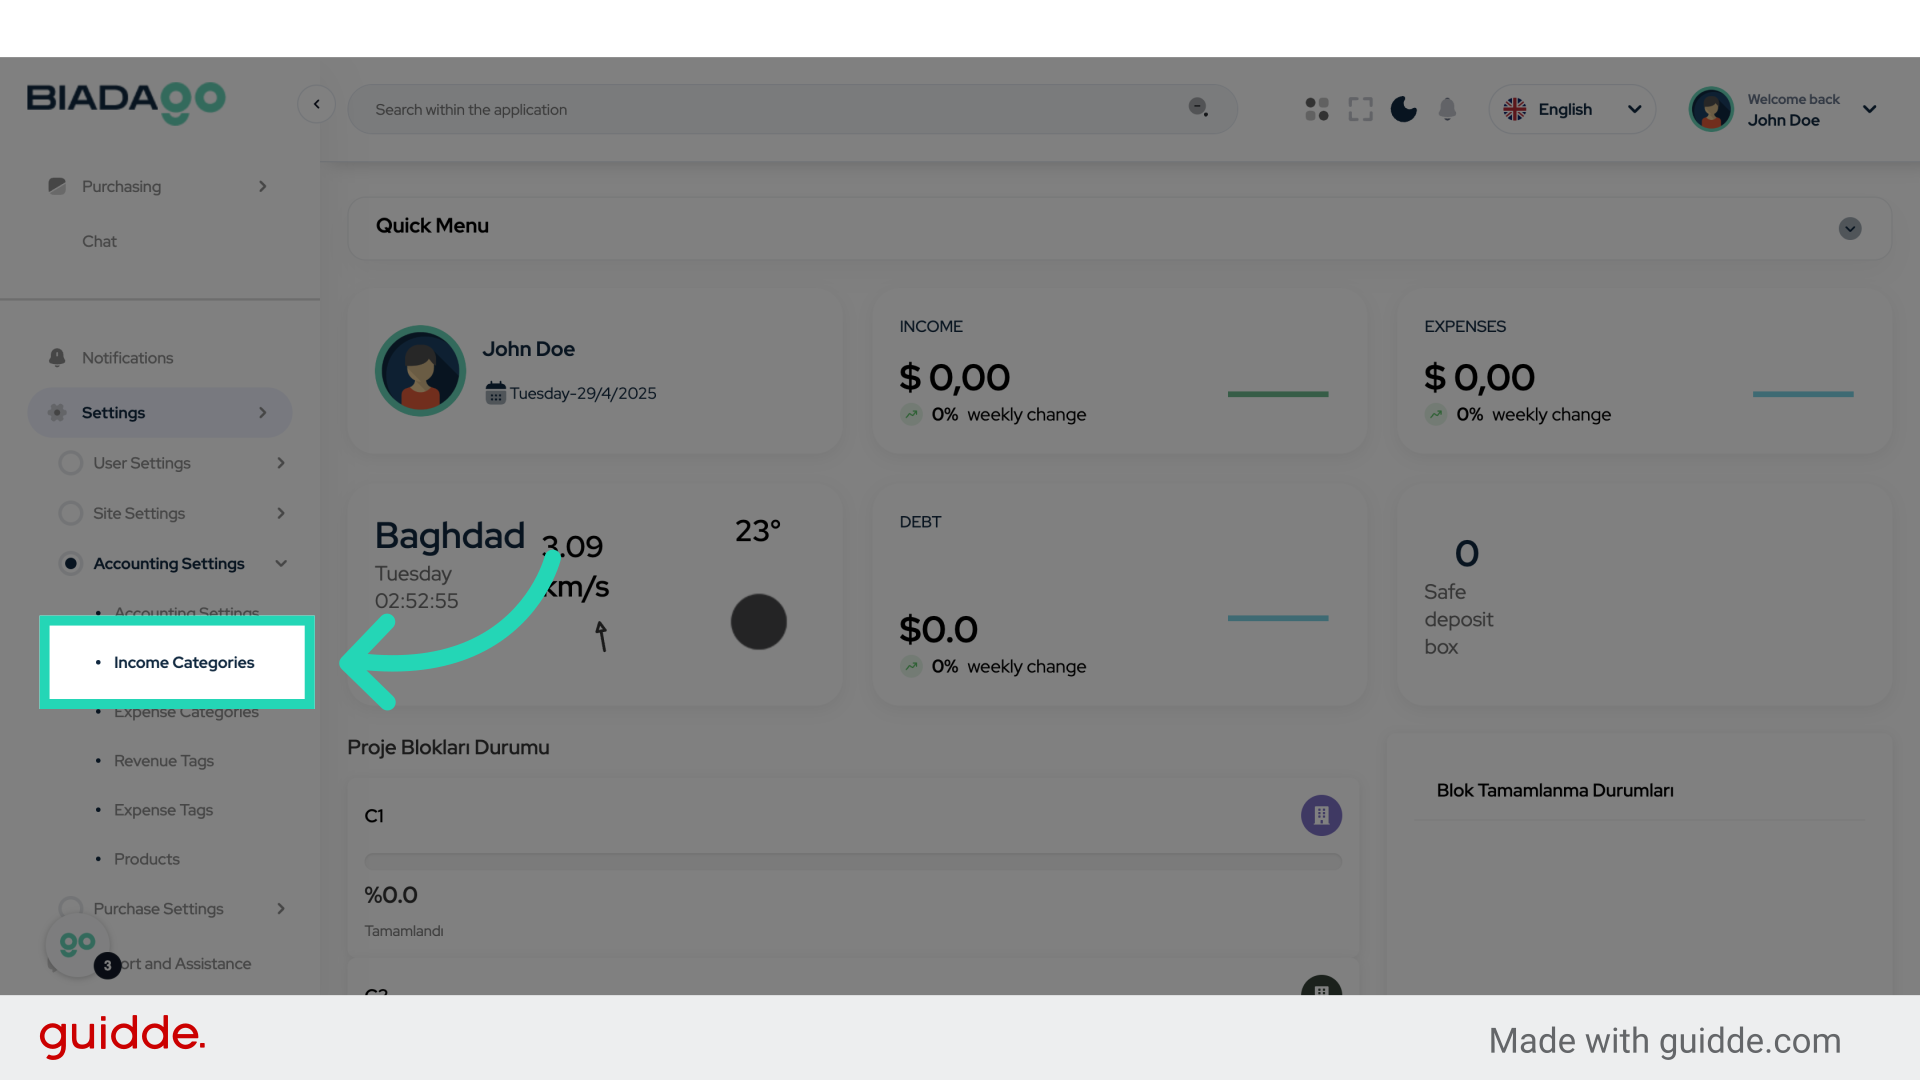
5. Click “Income Categories”
Access the income categories section.
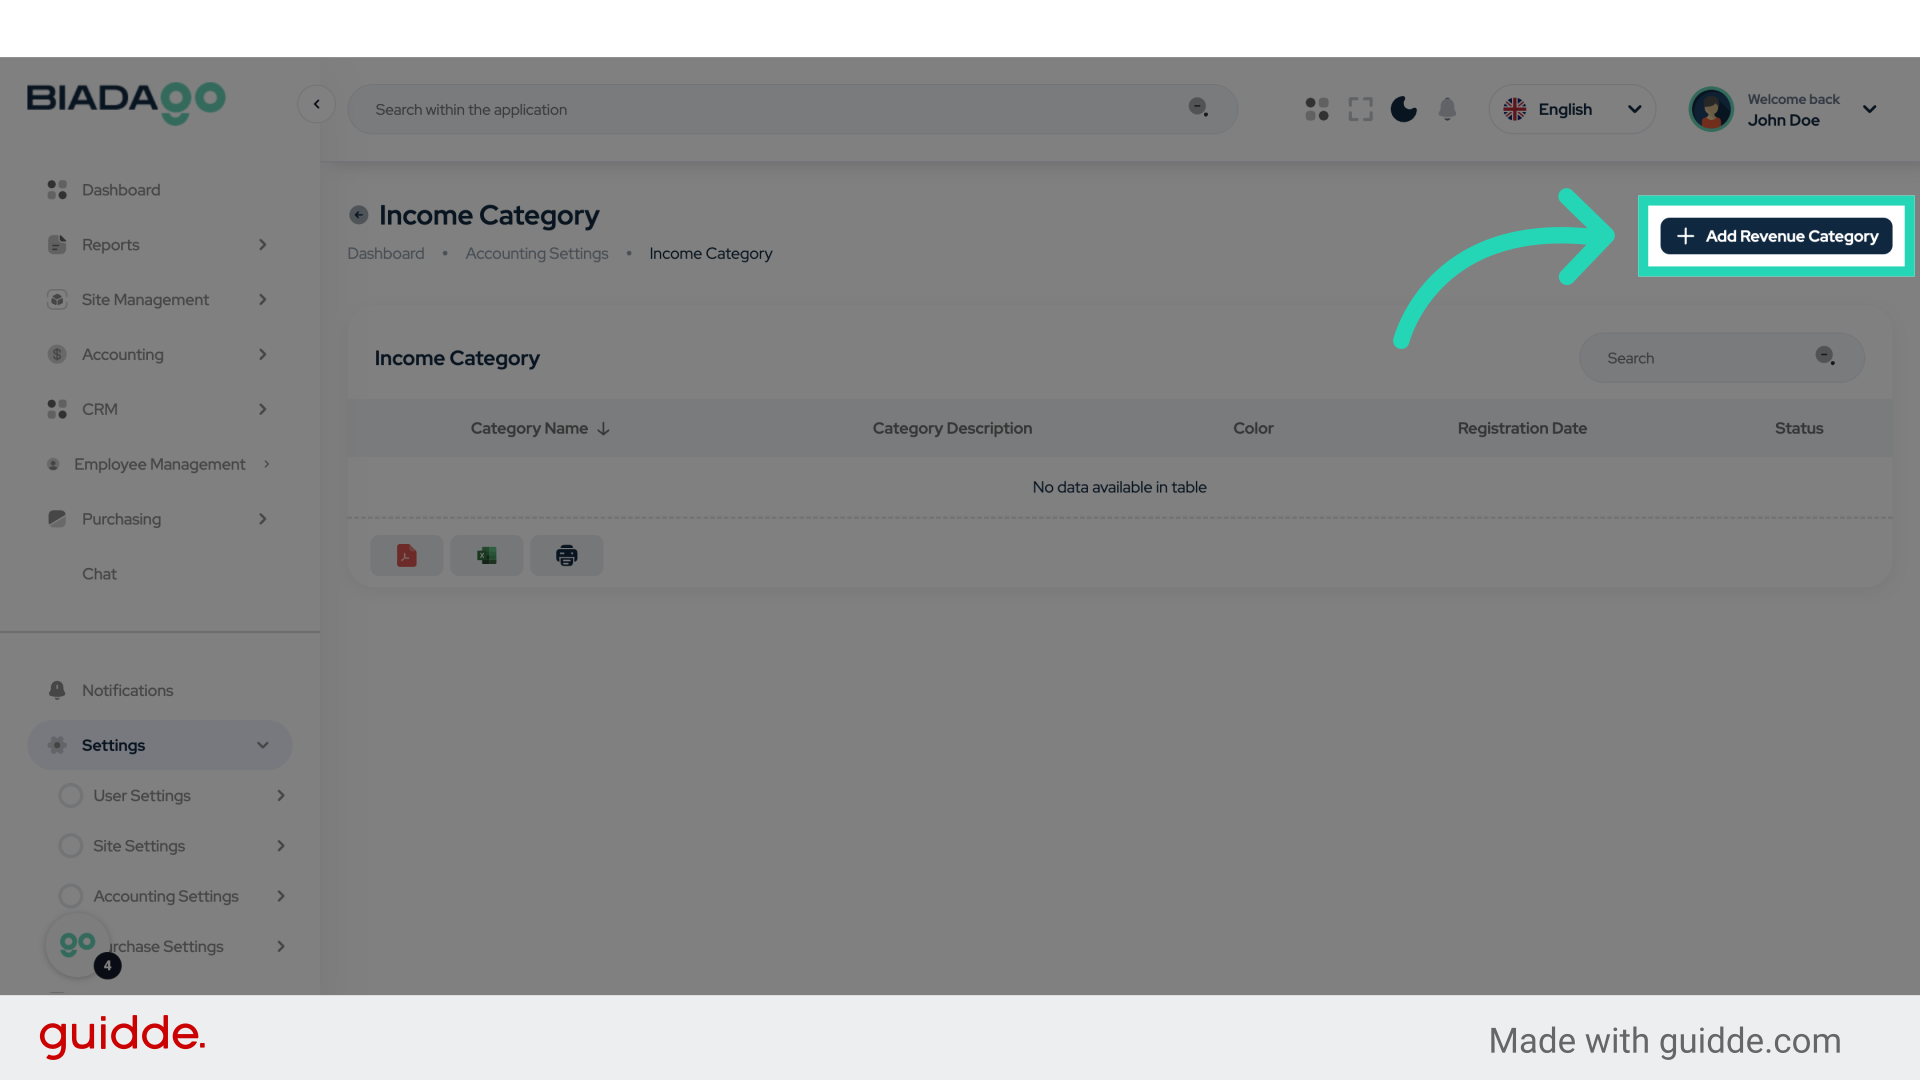
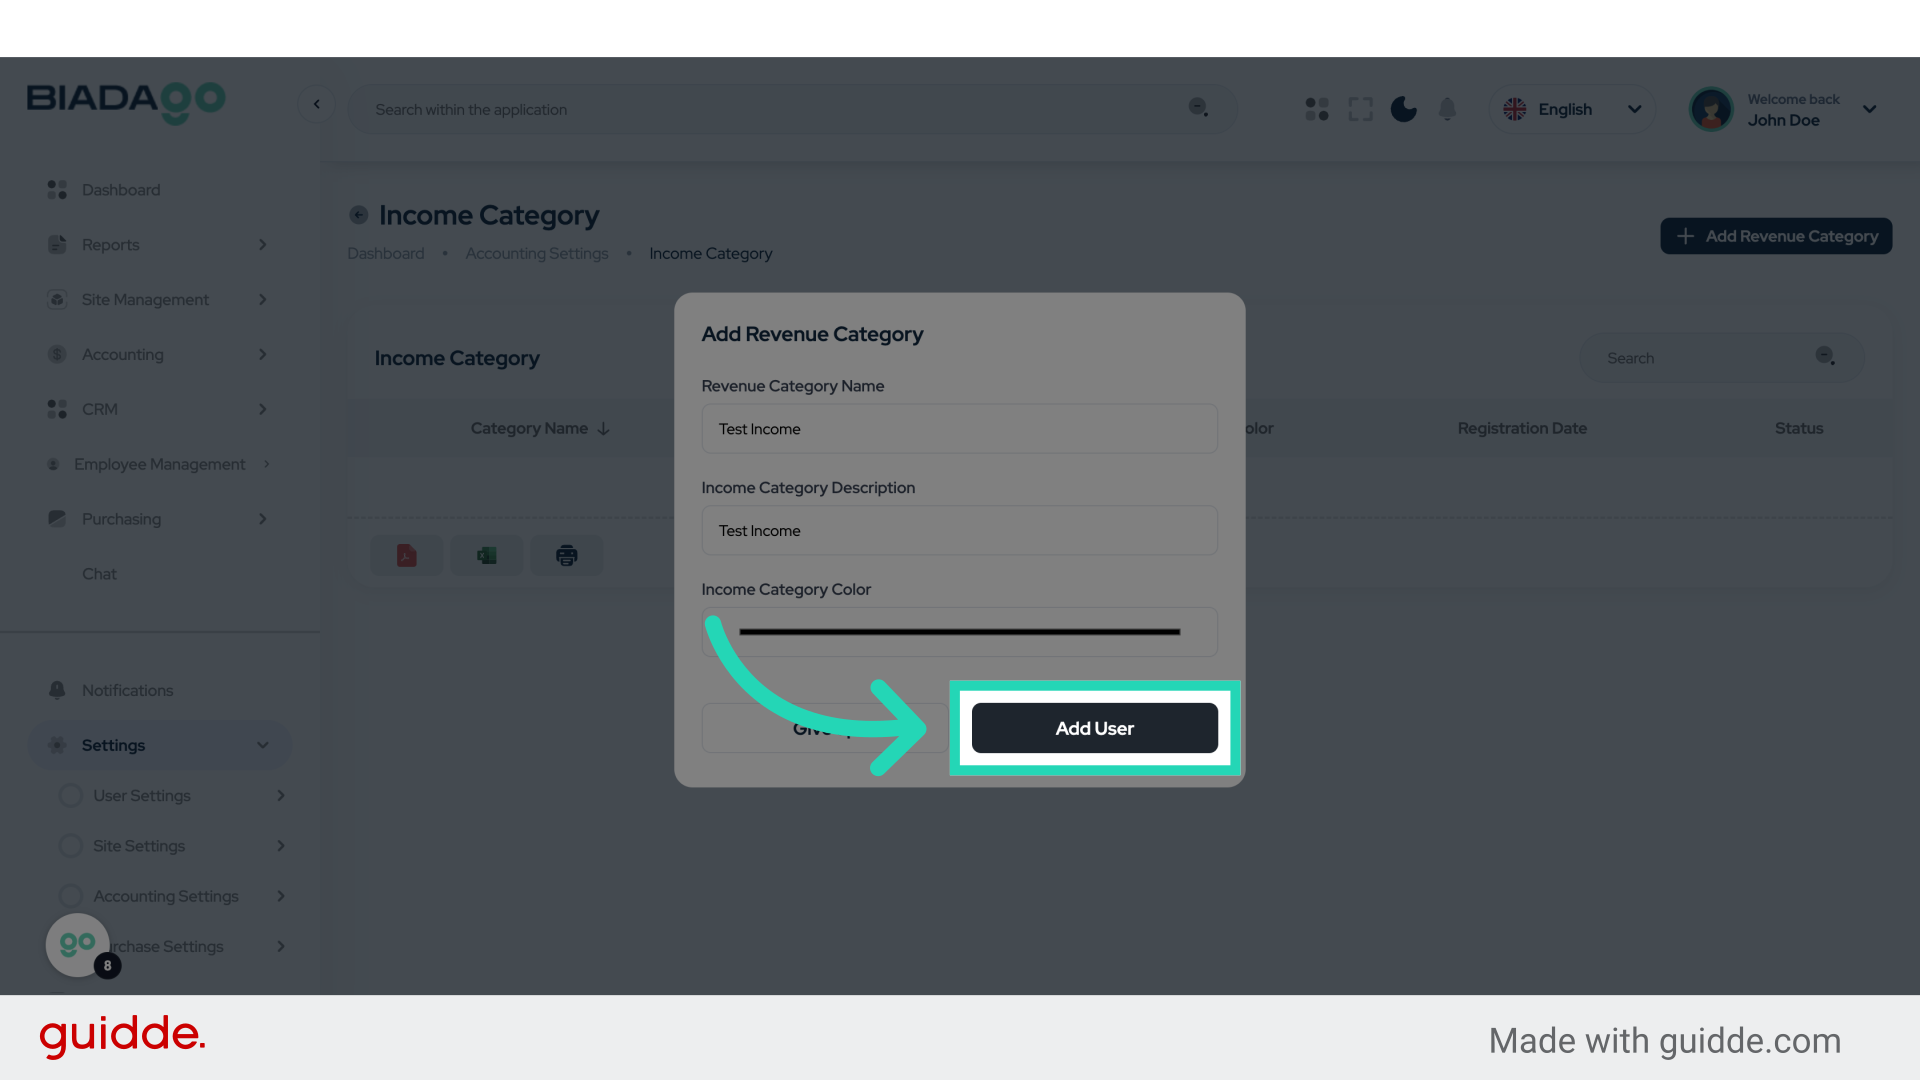
6. Click “Add Revenue Category”
Create a new revenue category.
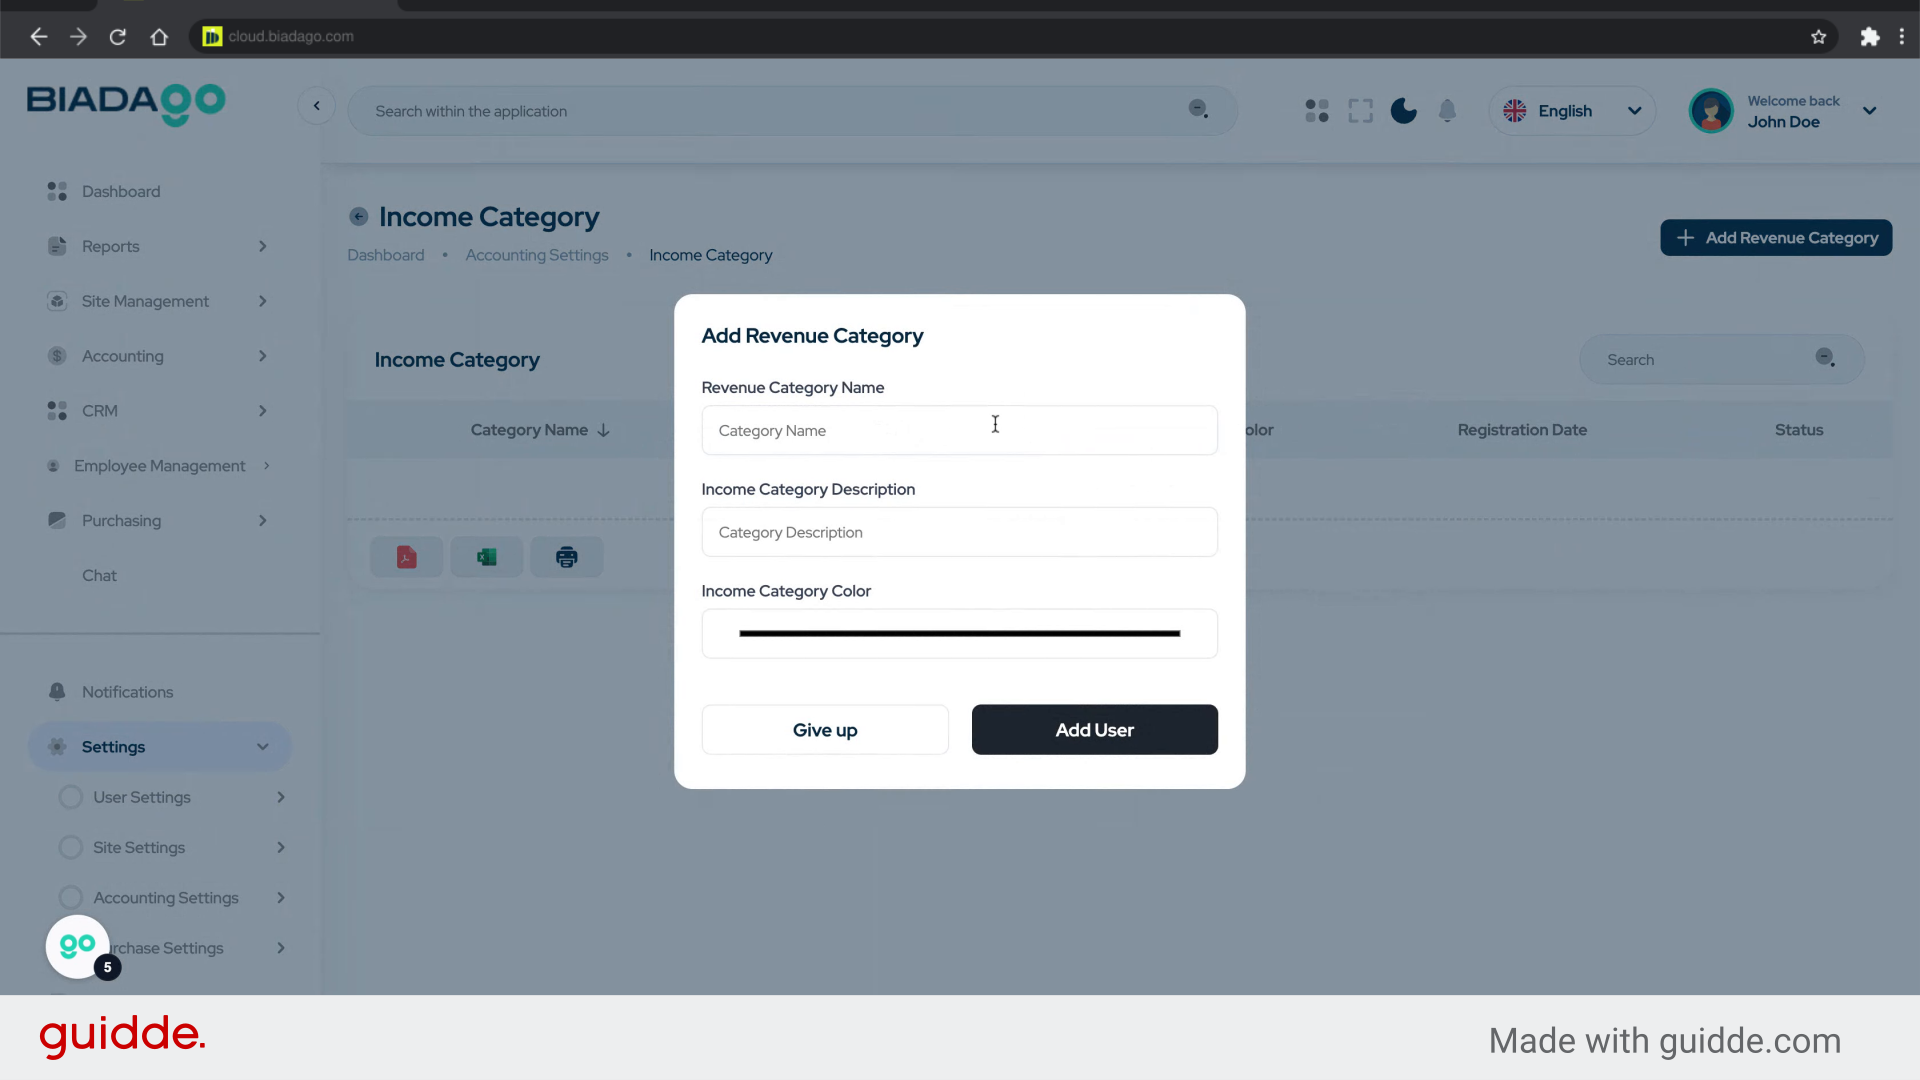
7. Click “Revenue Category Name”
Assign a name to the revenue category.

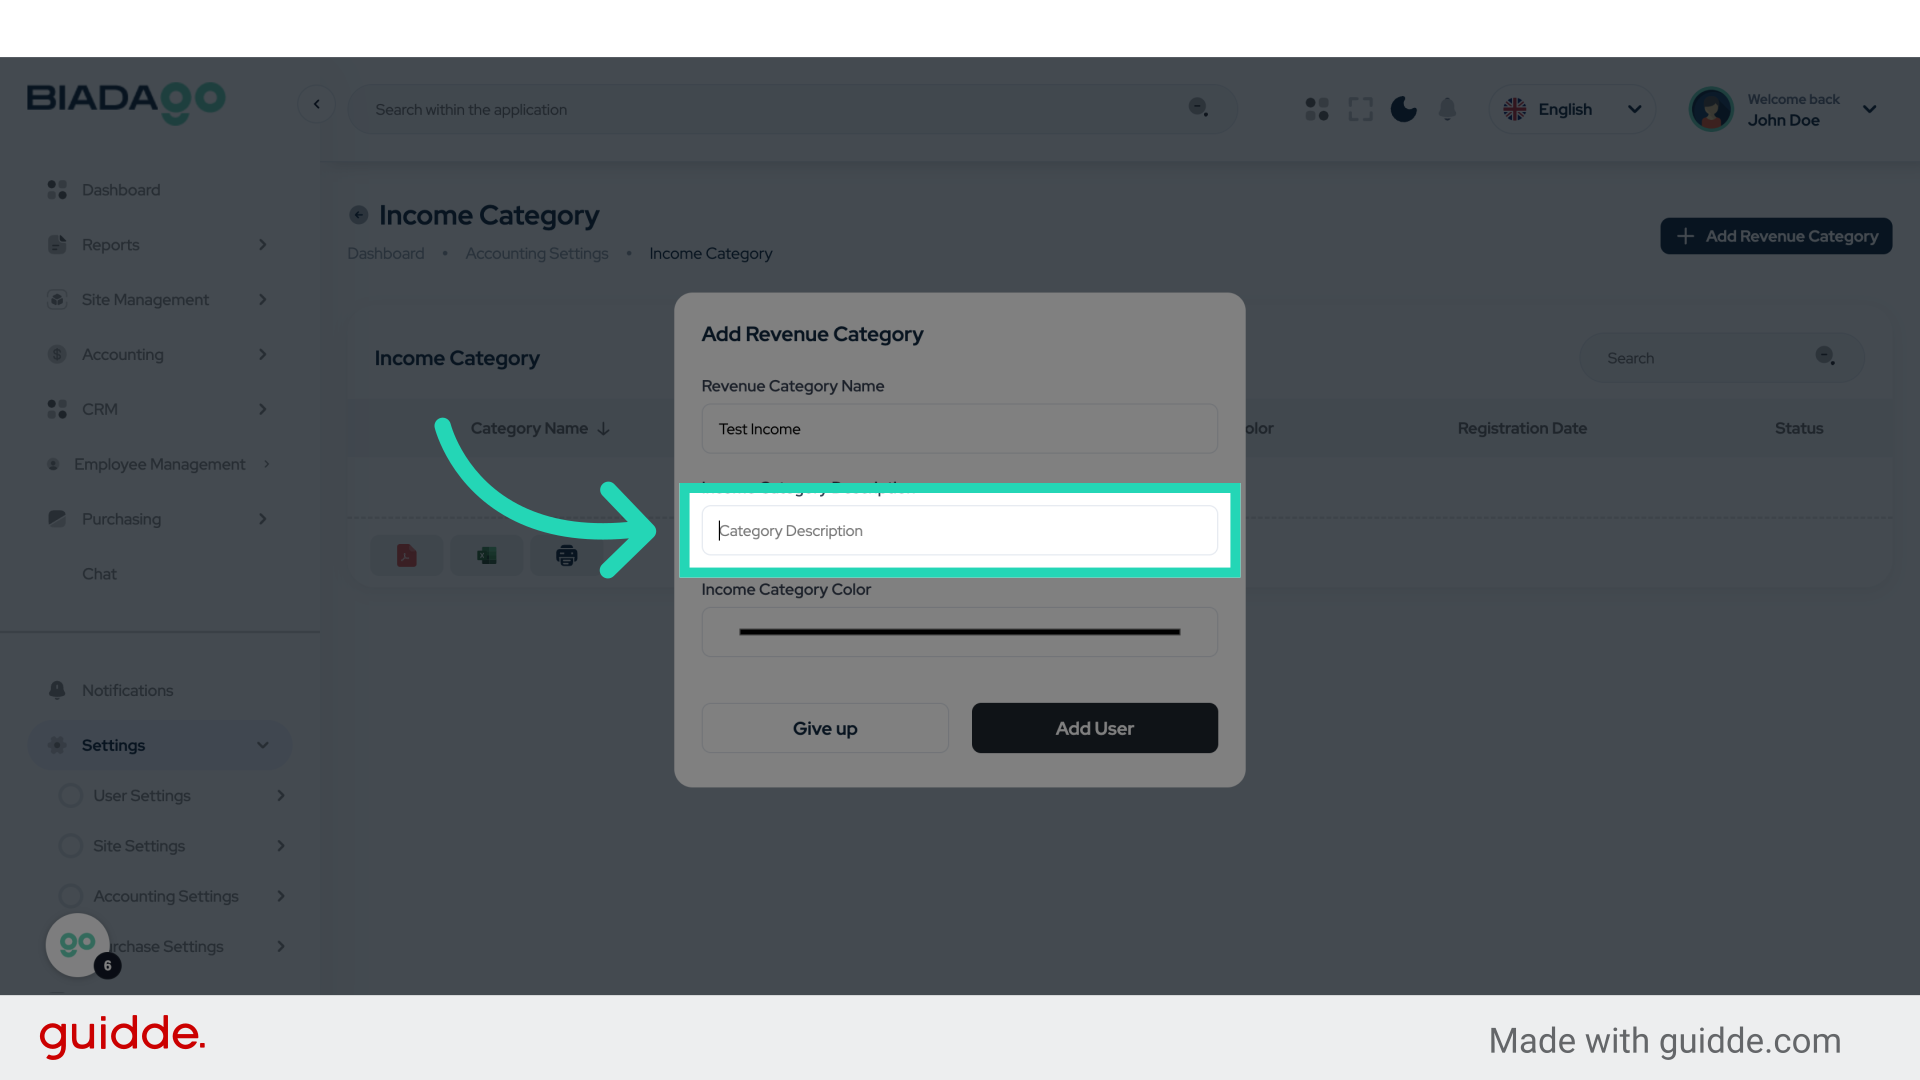
8. Fill “Test Income”
Fill in “Test Income”
9. Go here
Navigate to a specific location.
10. Fill “Test Income”
Enter “Test Income” in the provided field

11. Click “Add User”
Add a new user to the system.
12. Click “Accounting Settings”
Access the accounting settings again.
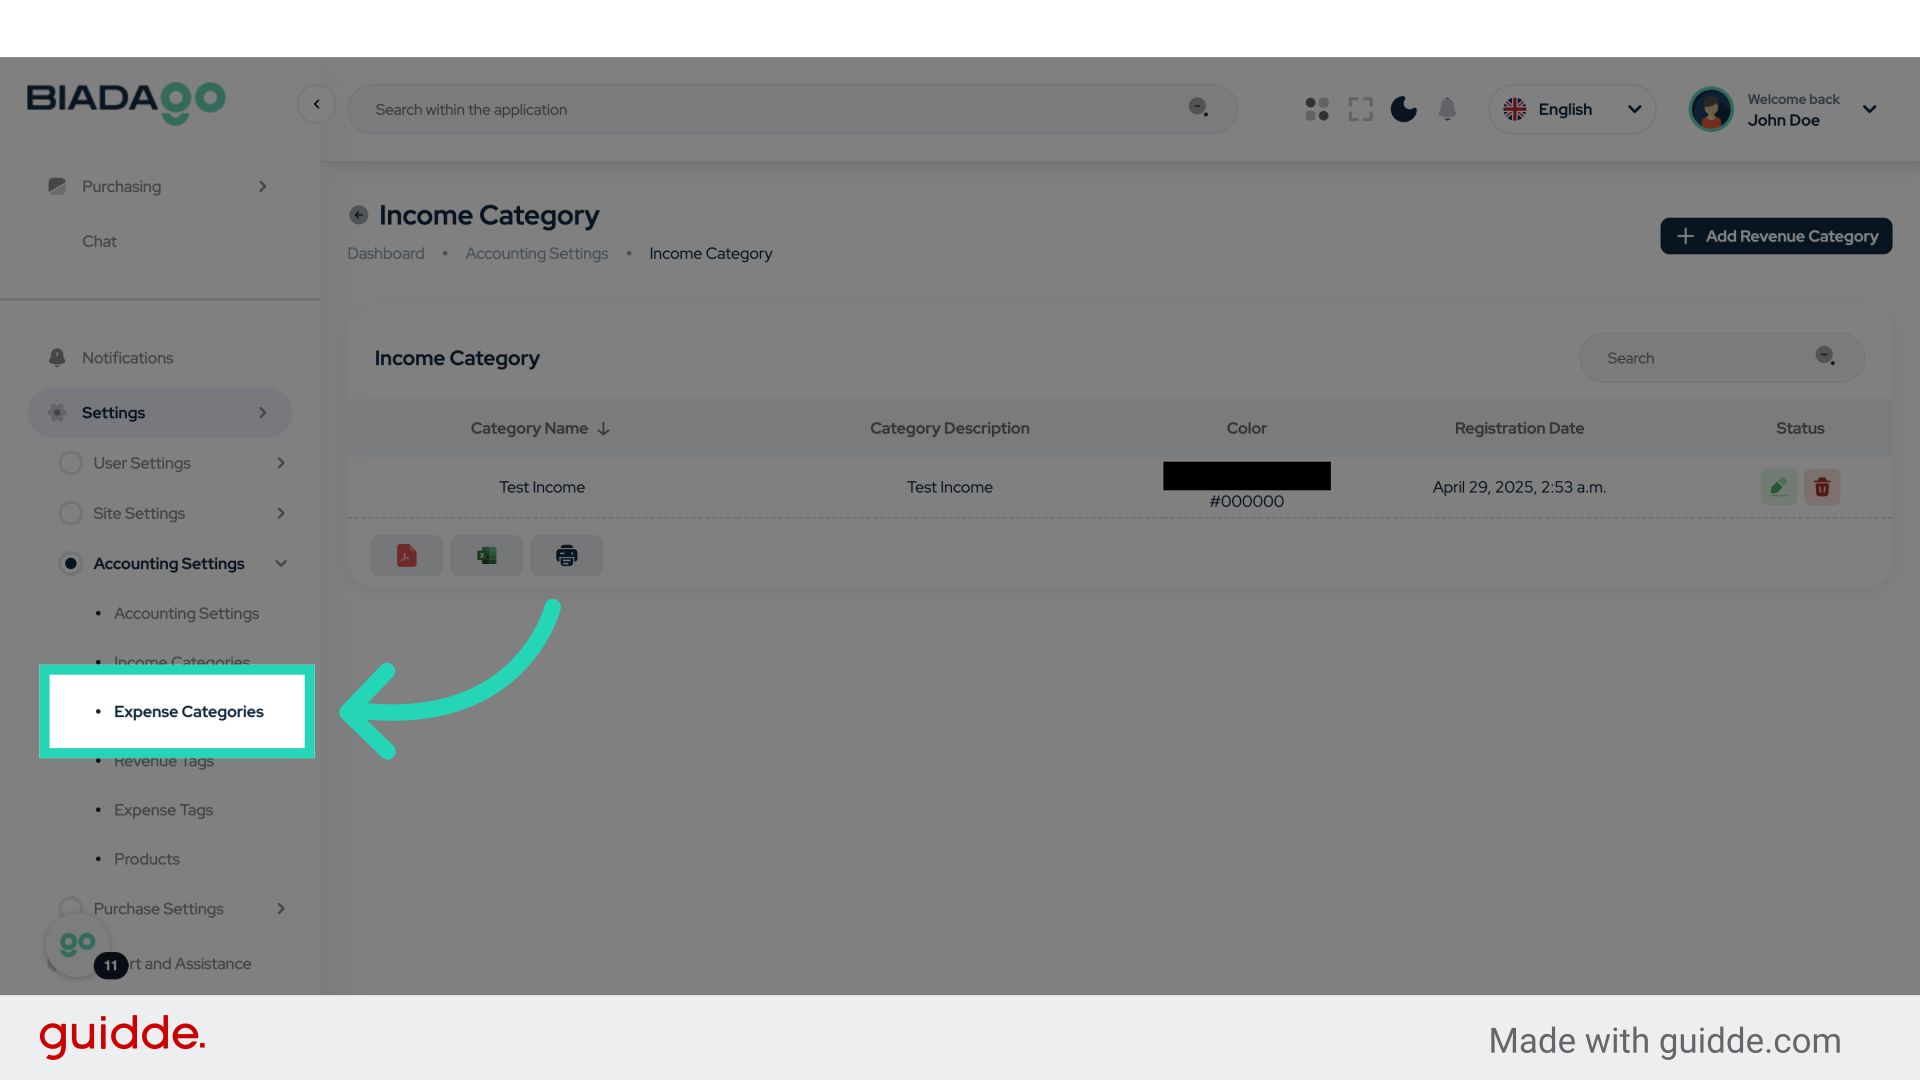
13. Click “Expense Categories”
Access the expense categories section.
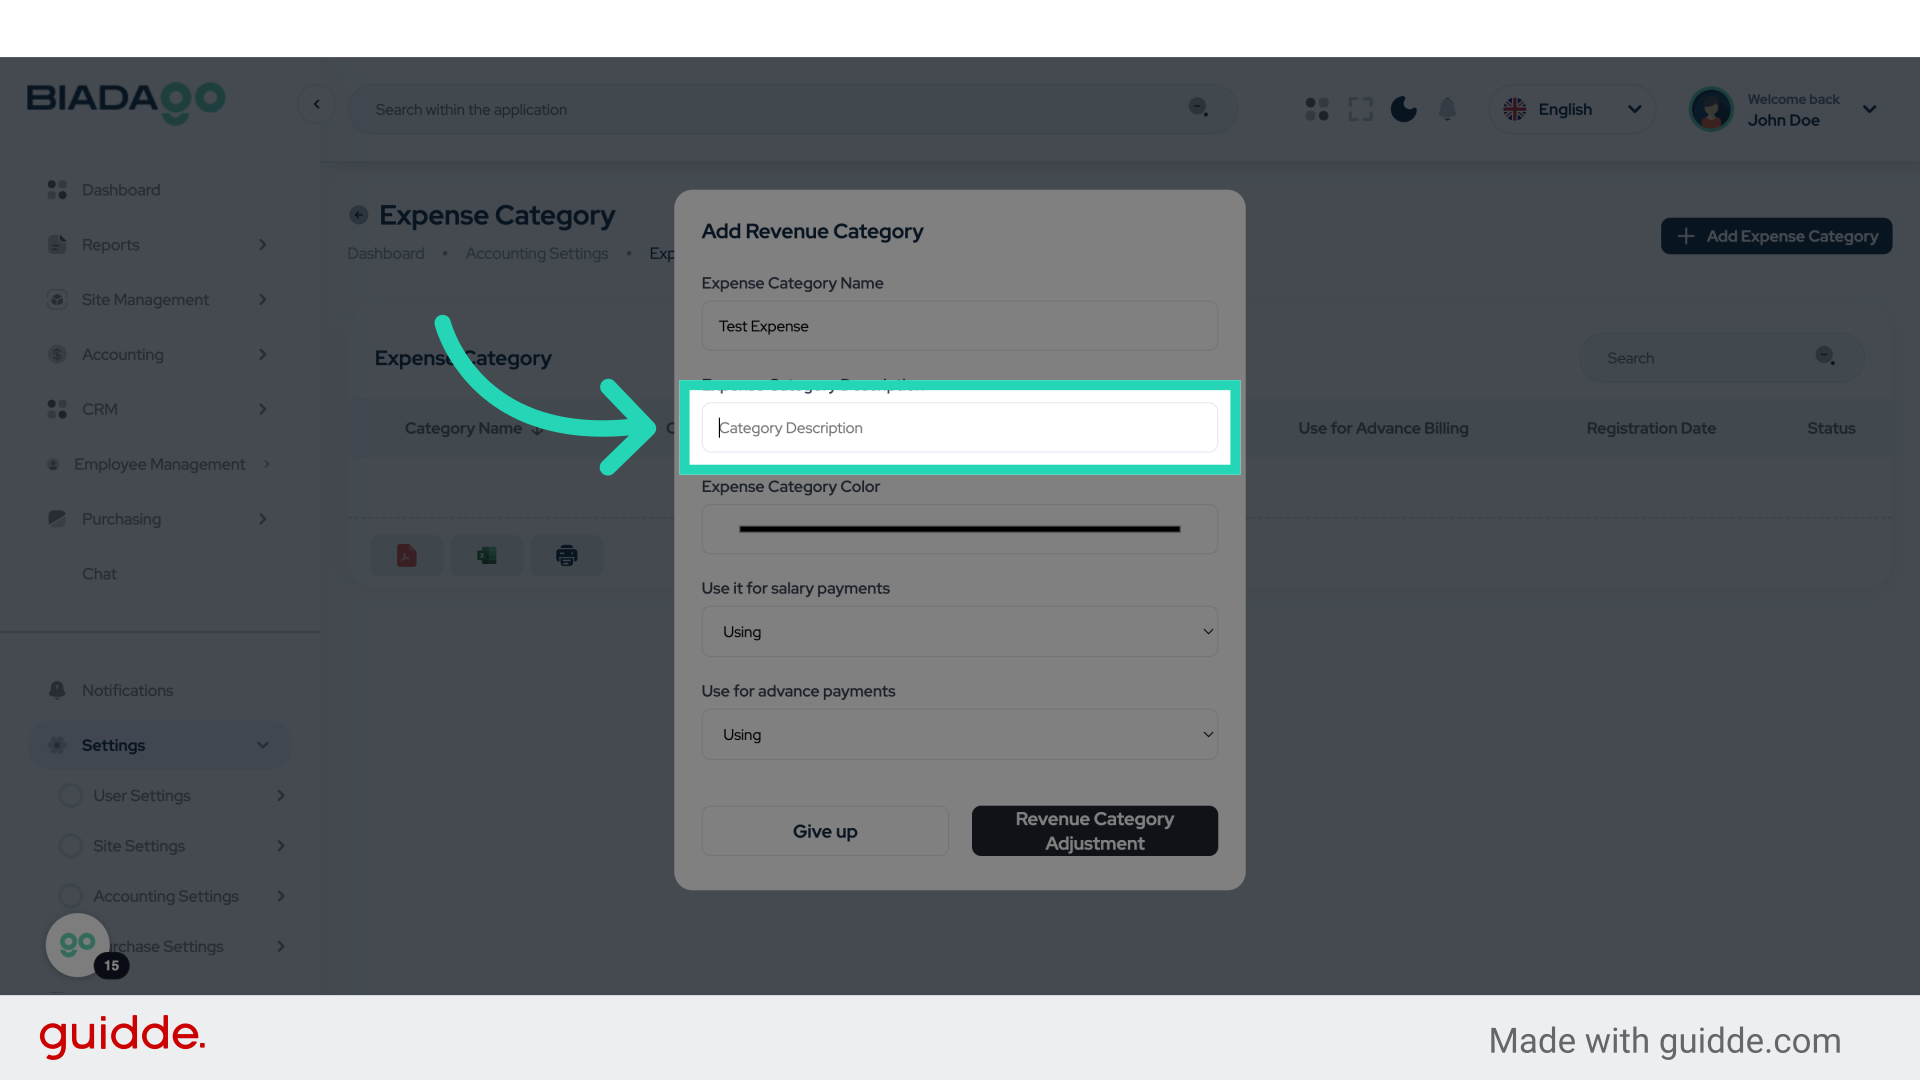
14. Click “Add Expense Category”
Create a new expense category.

15. Click “Expense Category Name”
Name the new expense category.

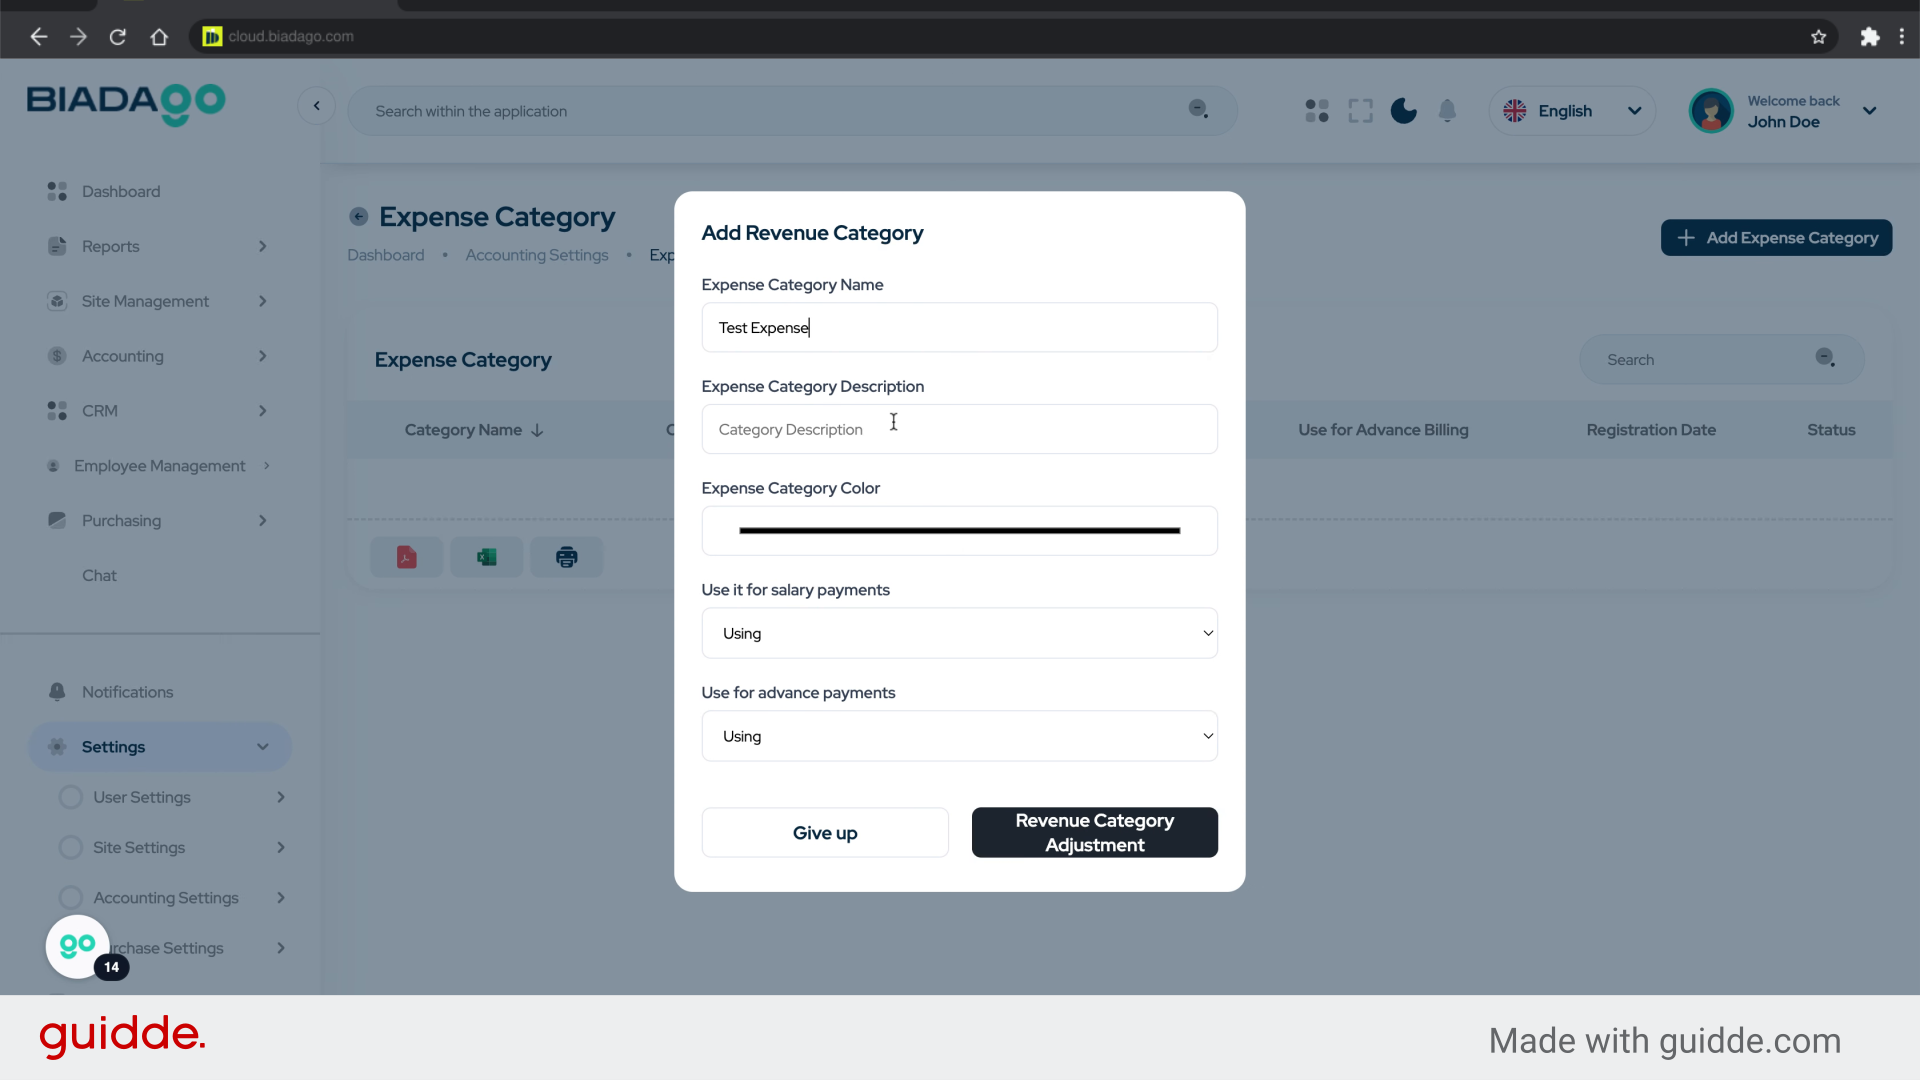
16. Fill “Test Expense”
Fill in the text box with “Test Expense”

17. Click “Expense Category Name”
Specify the name of the expense category.
18. Fill “Test Expense”
Enter the desired text.
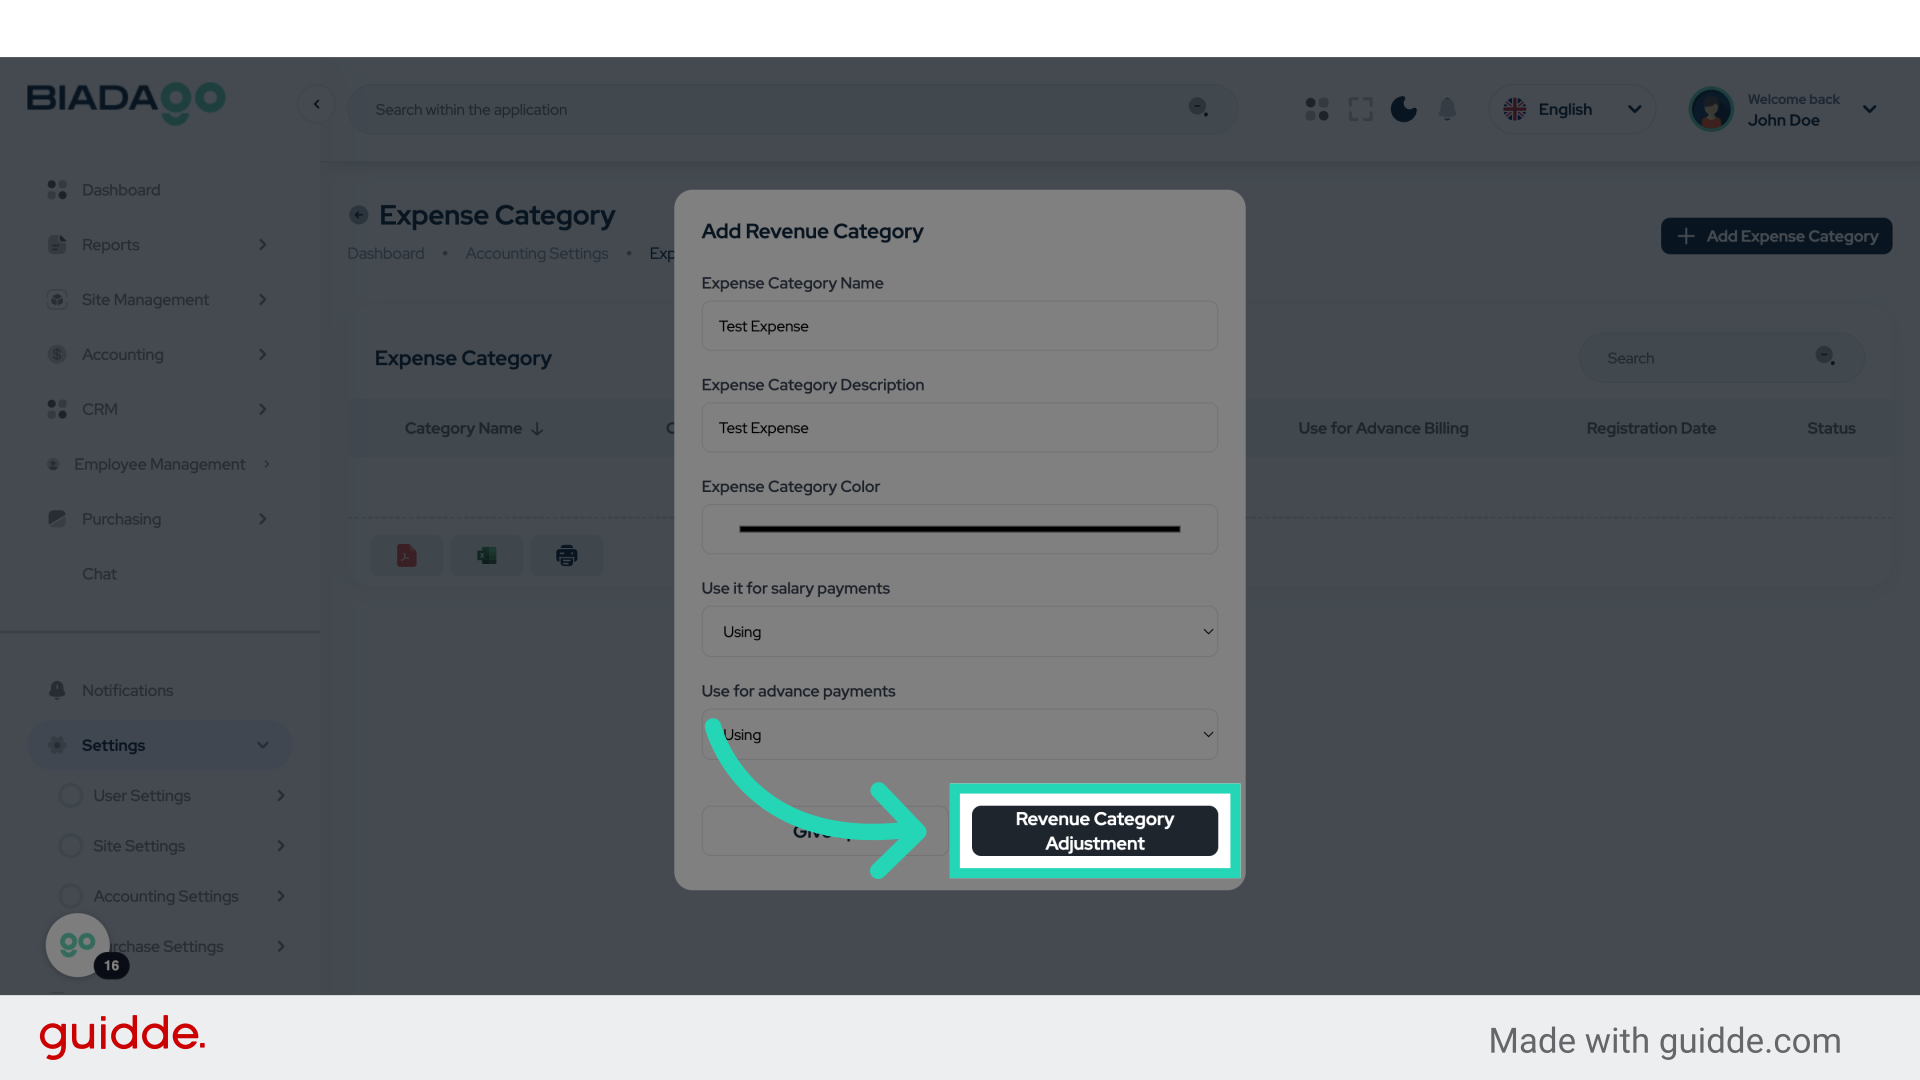
19. Click “Revenue Category Adjustment”
Adjust the revenue category settings.
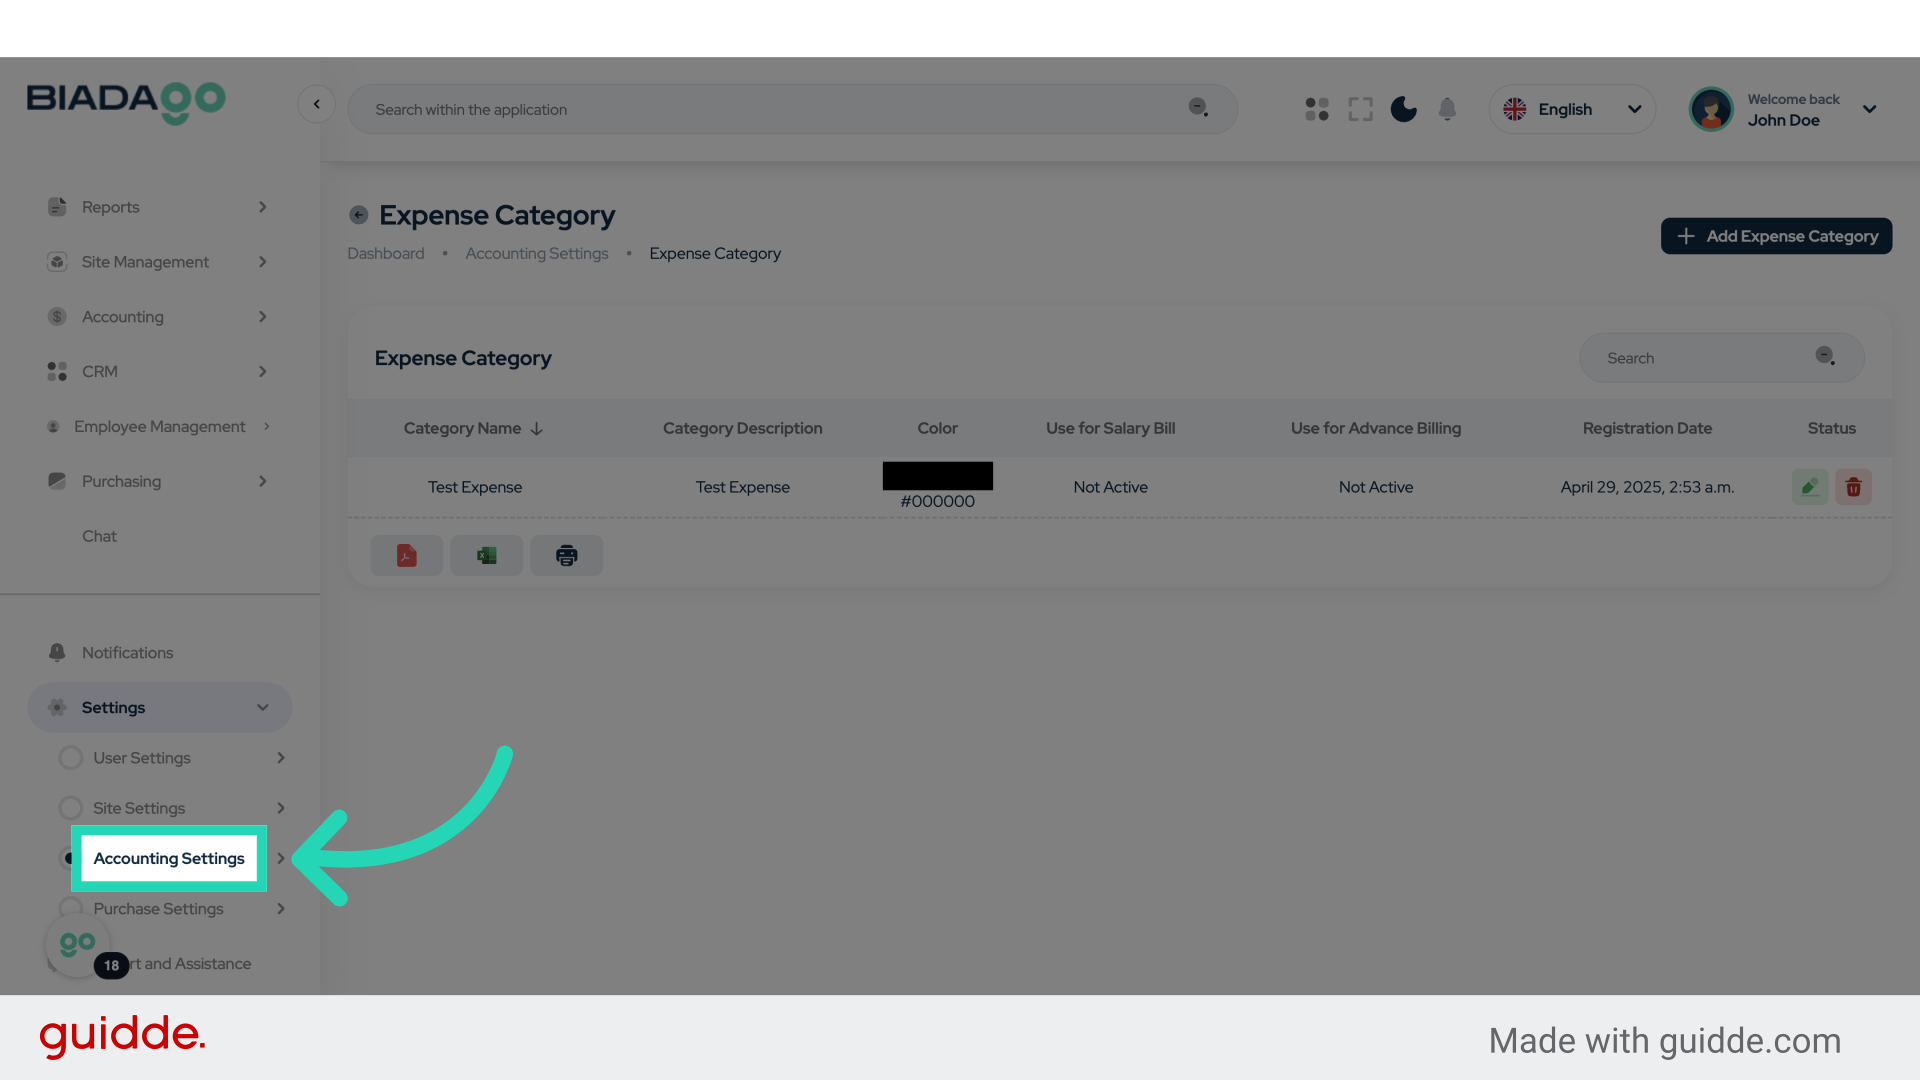
20. Click “Accounting Settings”
Access the accounting settings once more.
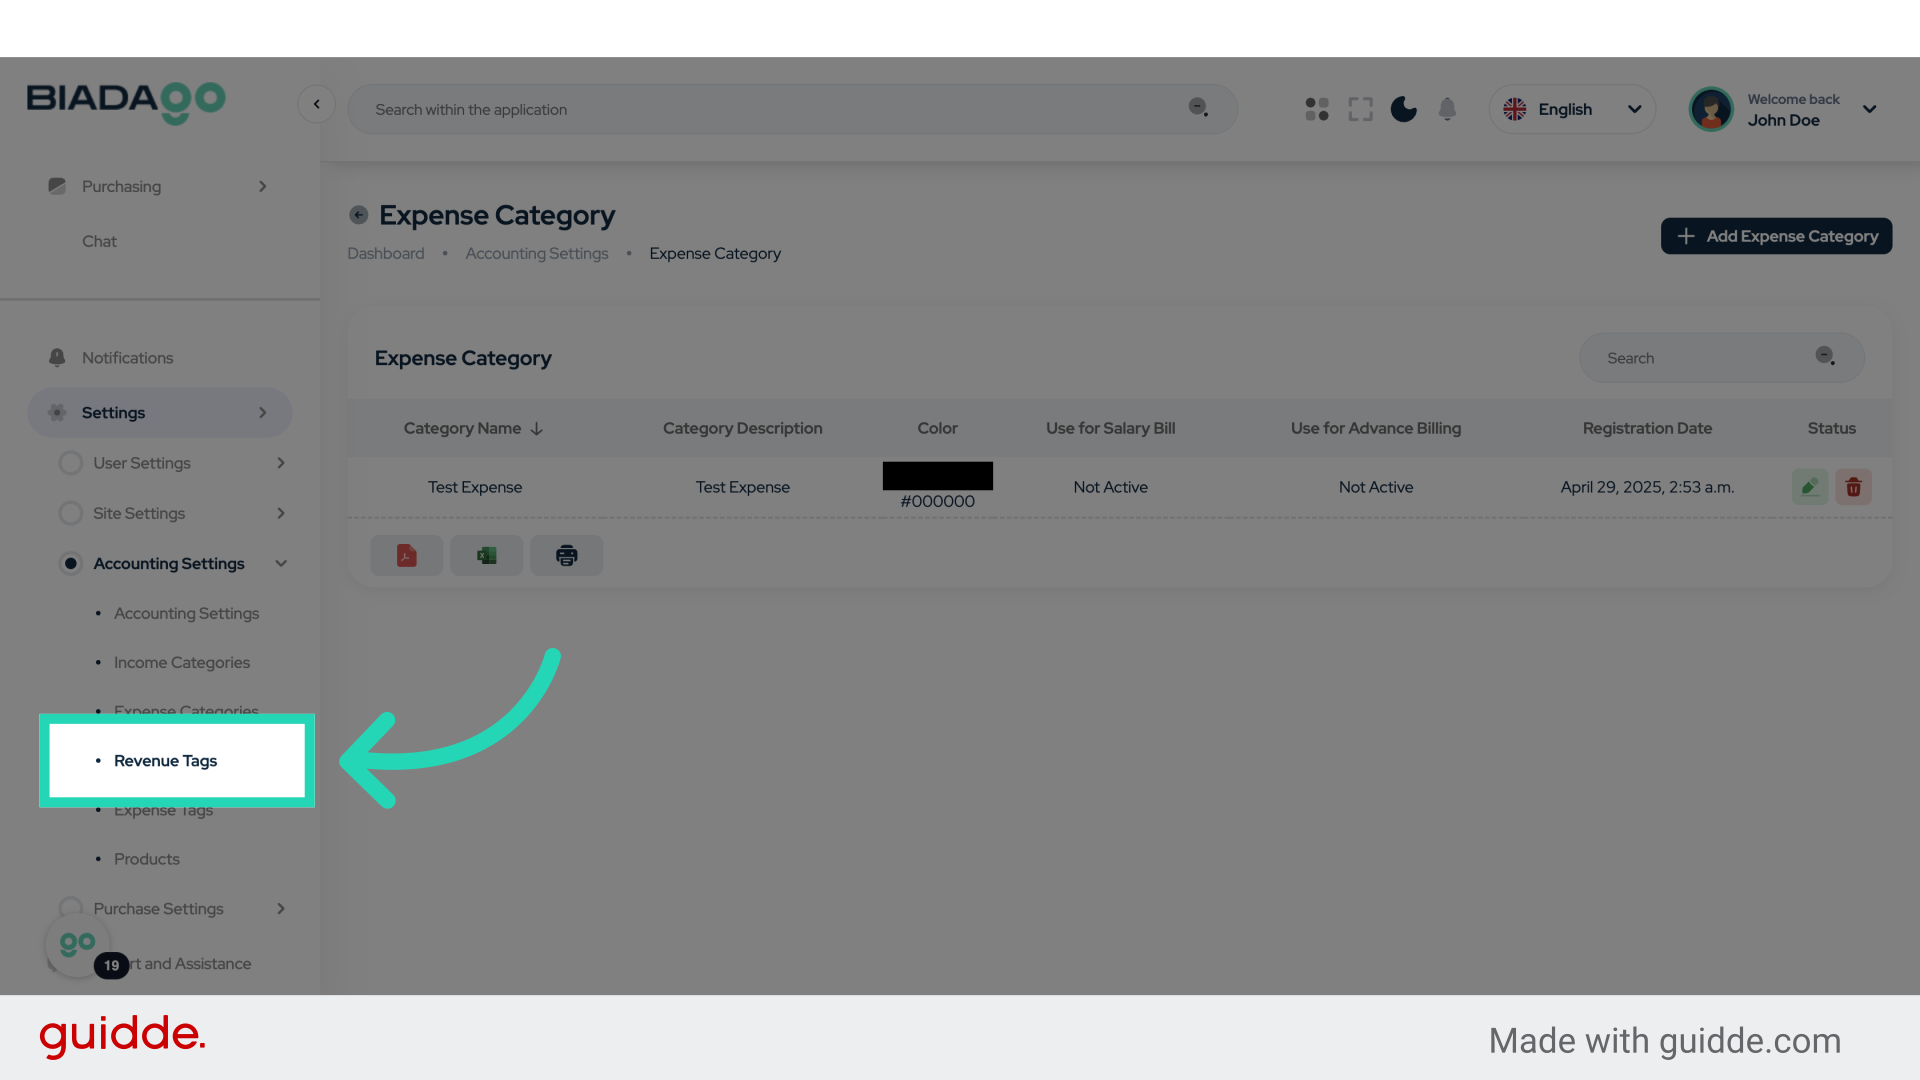
21. Click “Revenue Tags”
Access the revenue tags section.
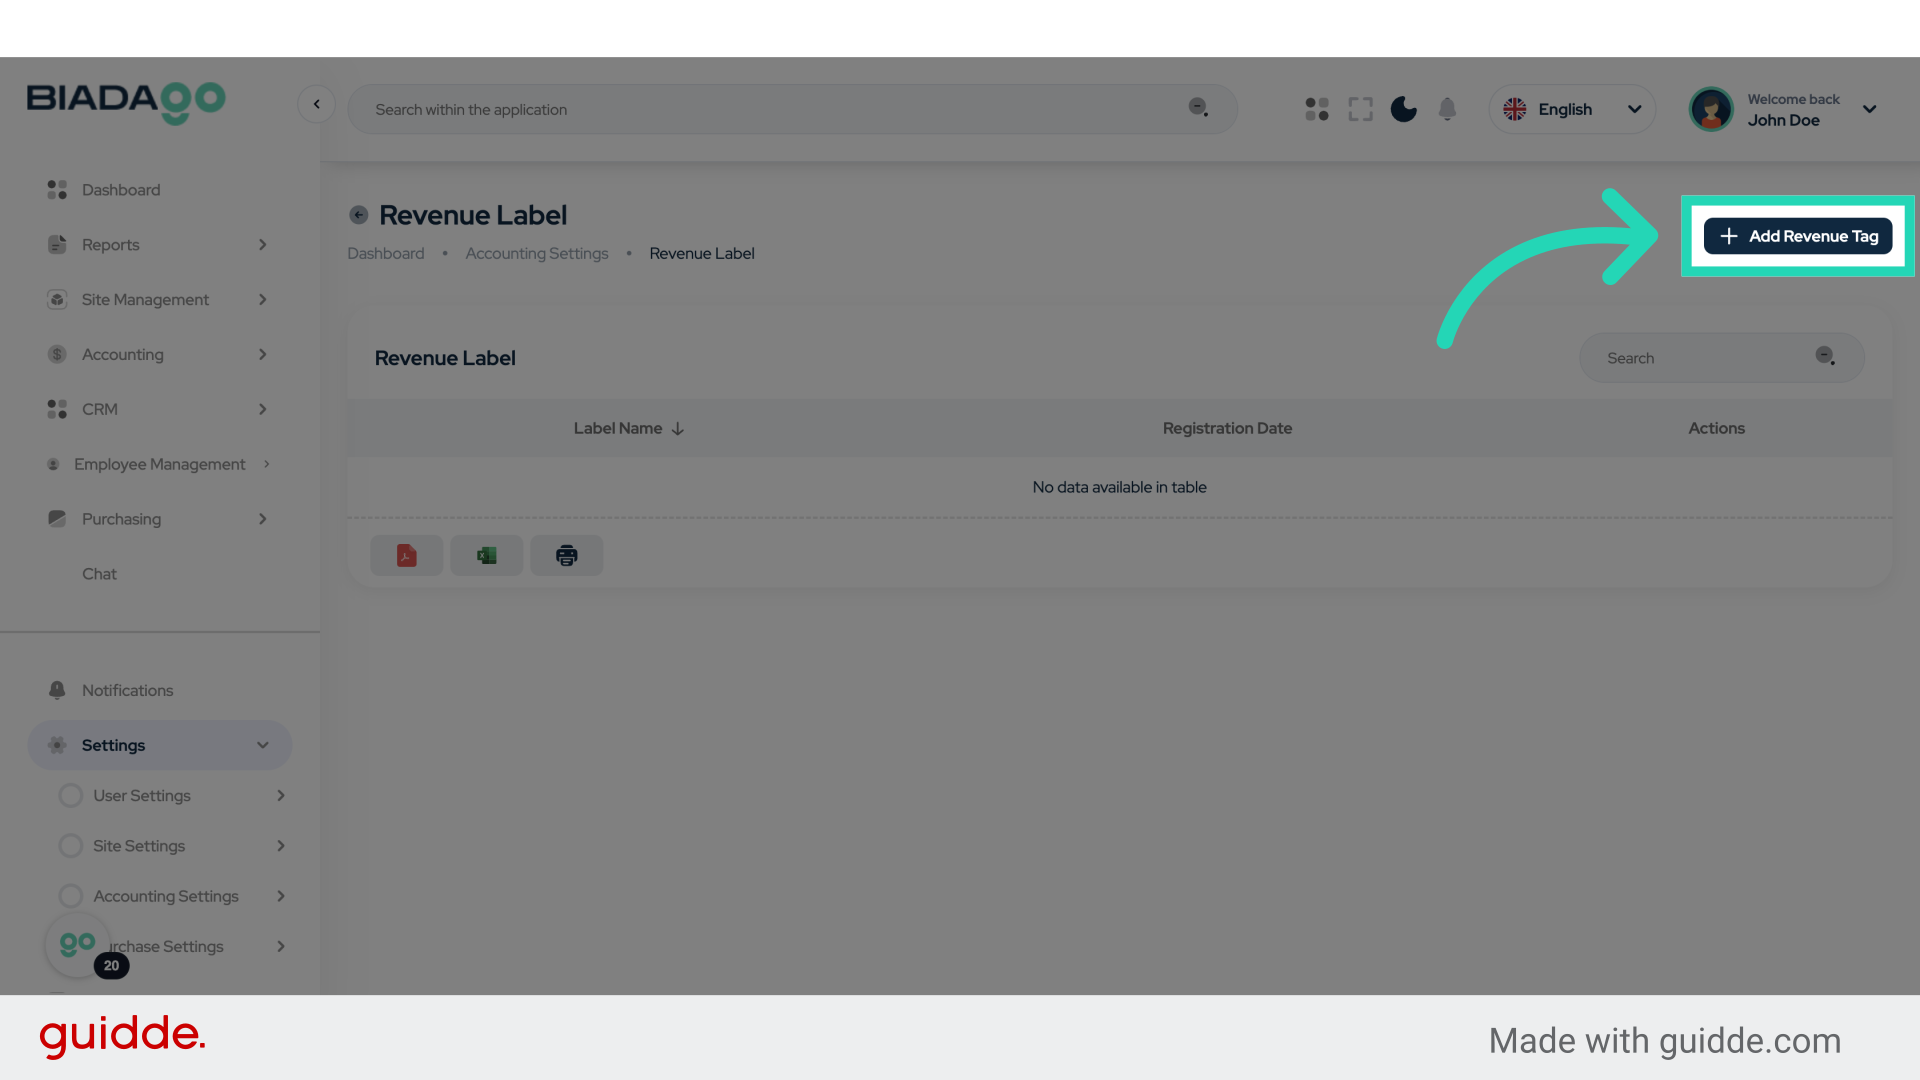
22. Click “Add Revenue Tag”
Create a new revenue tag.
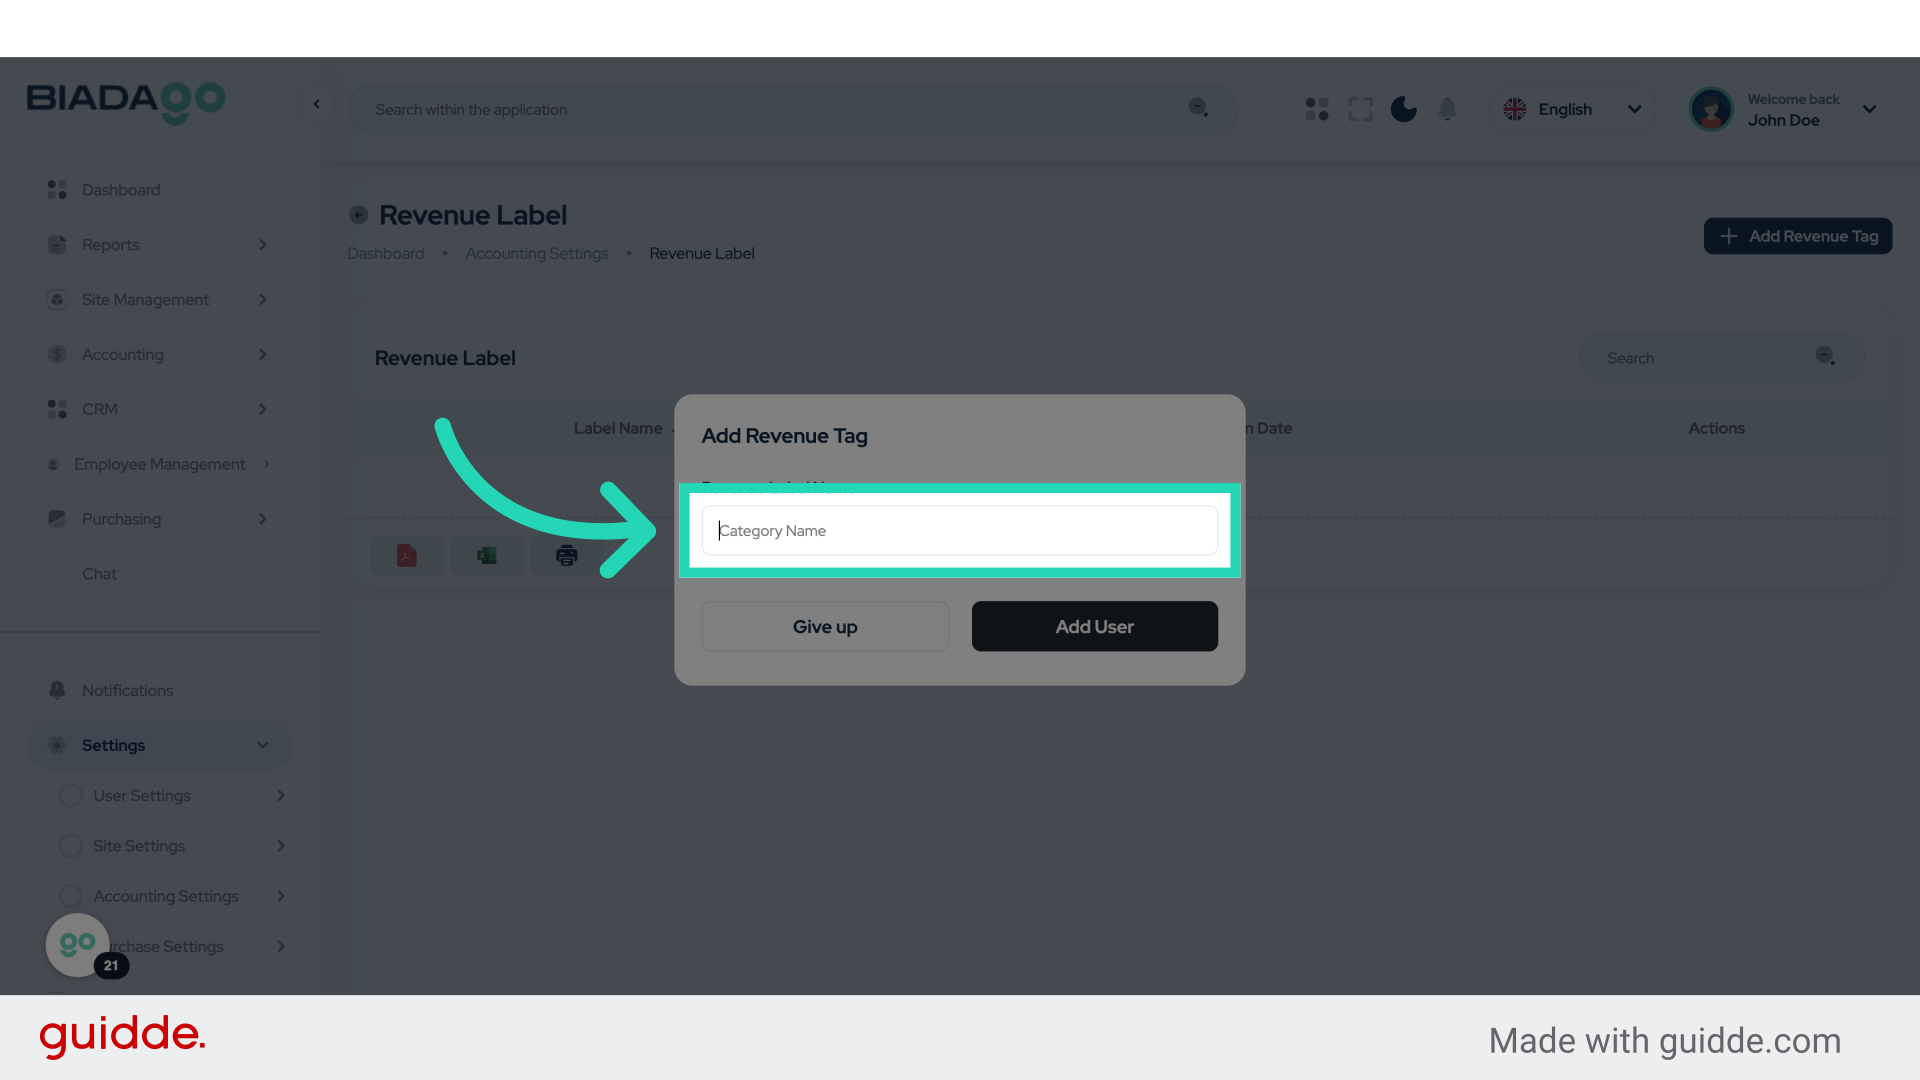
23. Click “Revenue Label Name”
Assign a name to the revenue tag.
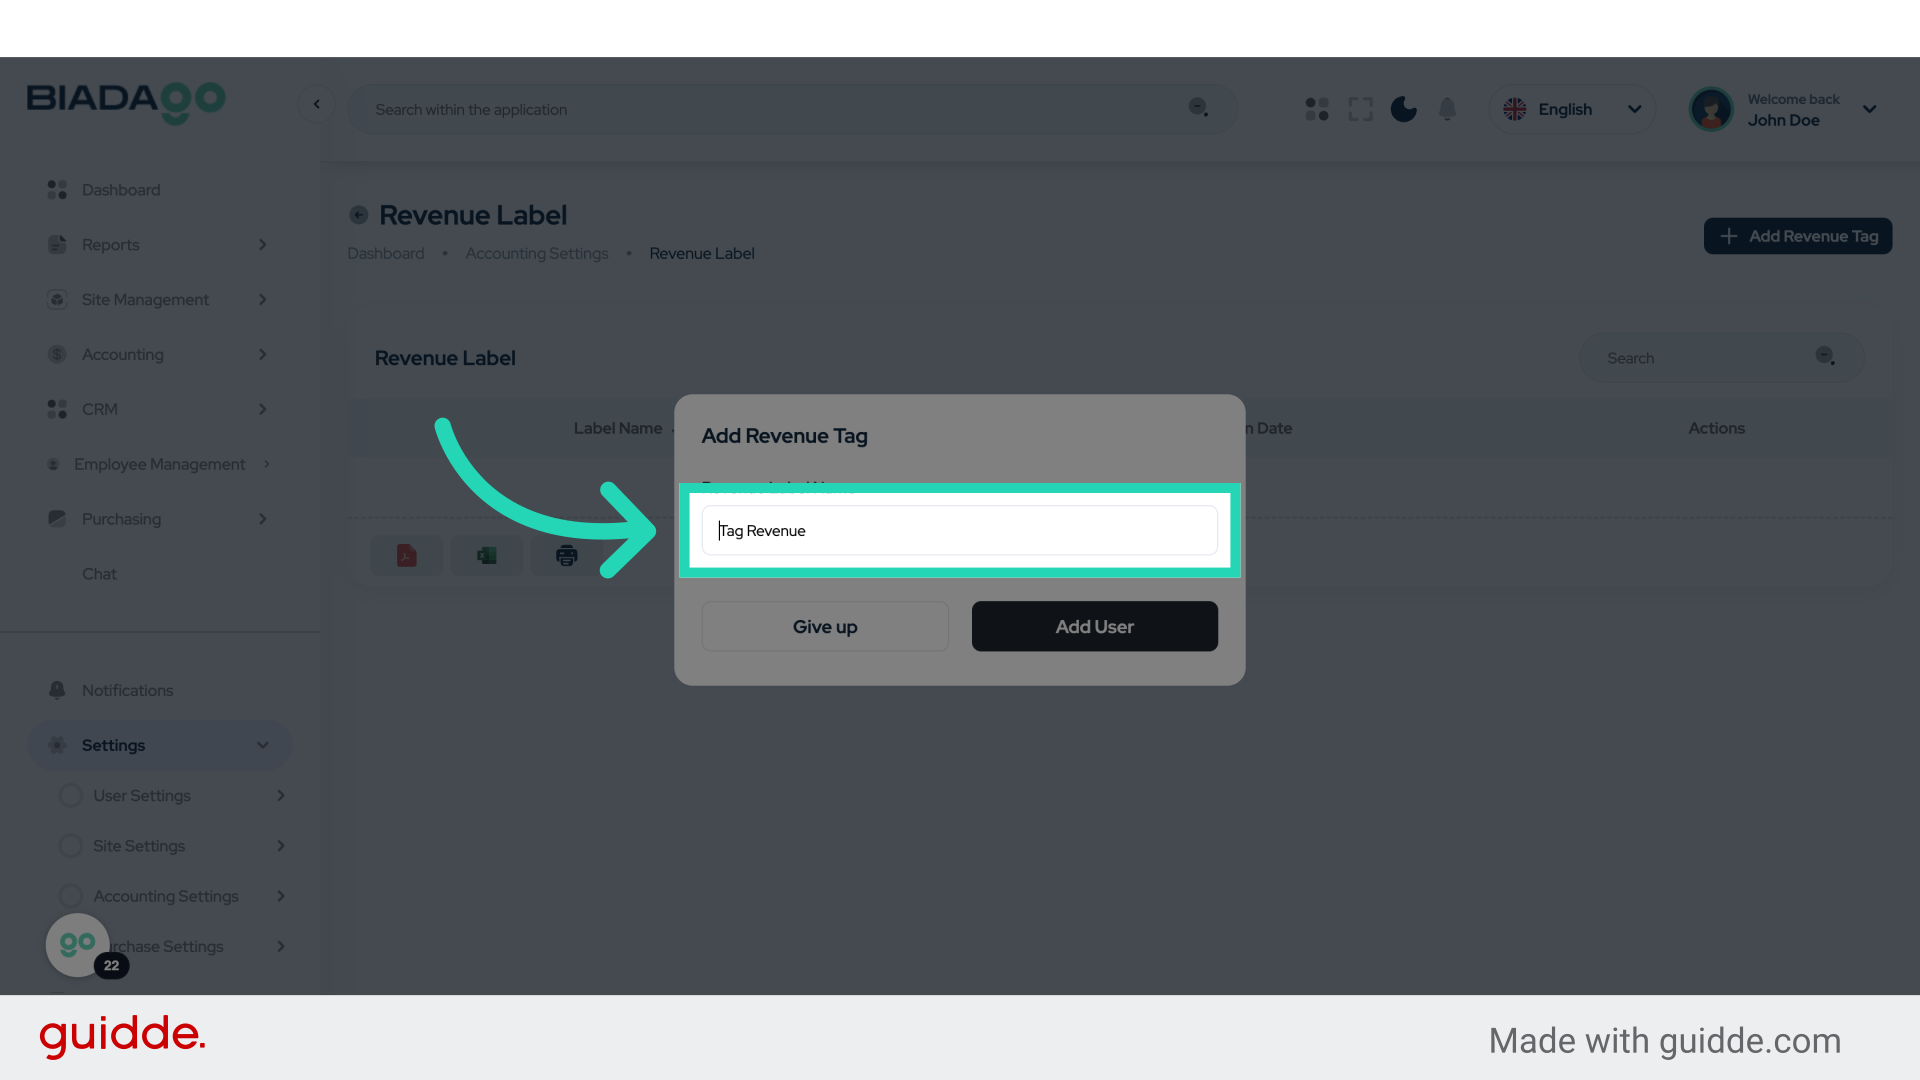
24. Fill “Tag Revenue”
Type “Tag Revenue” in the given field
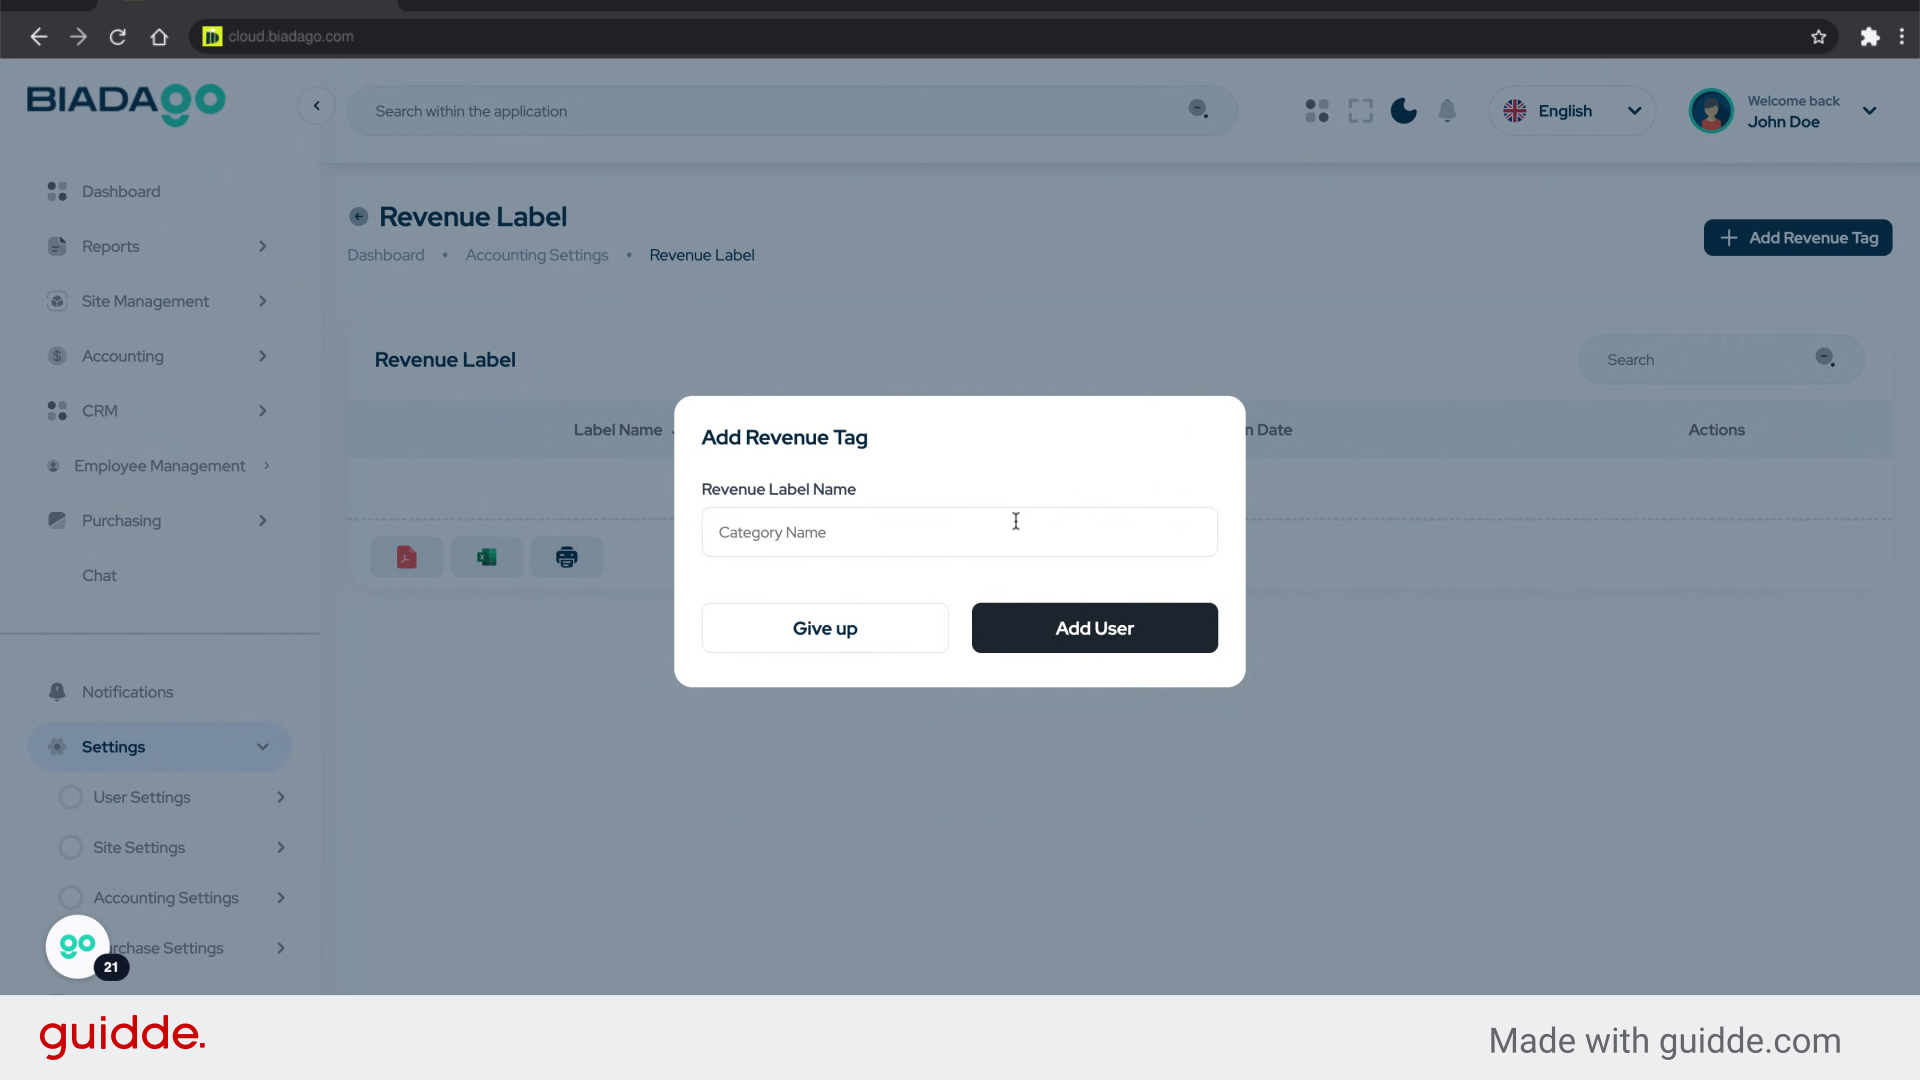
25. Click “Revenue Label Name”
Specify the name for the revenue tag.
26. Click “Revenue Label Name”
Name the new revenue tag.

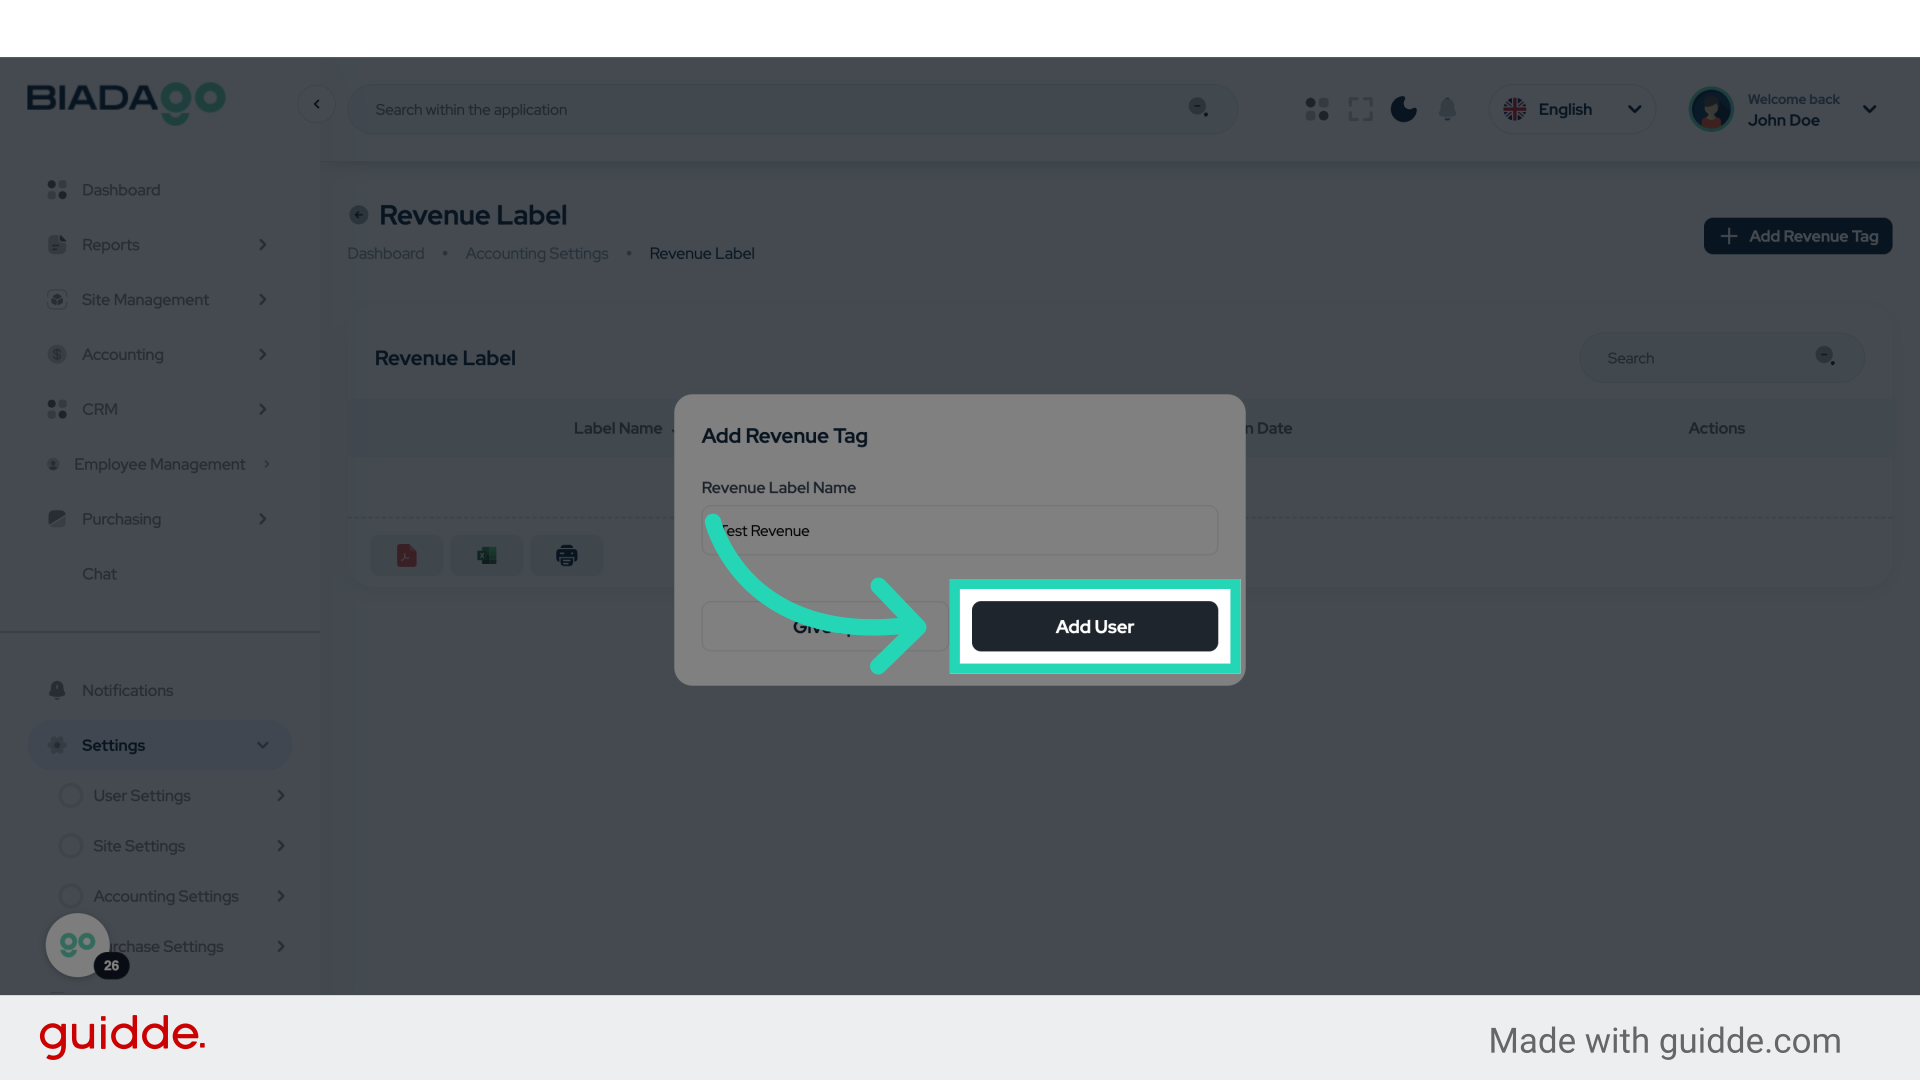
27. Fill “Test Revenue”
Input “Test Revenue” in the available field

28. Click “Add User”
Add another user to the system.
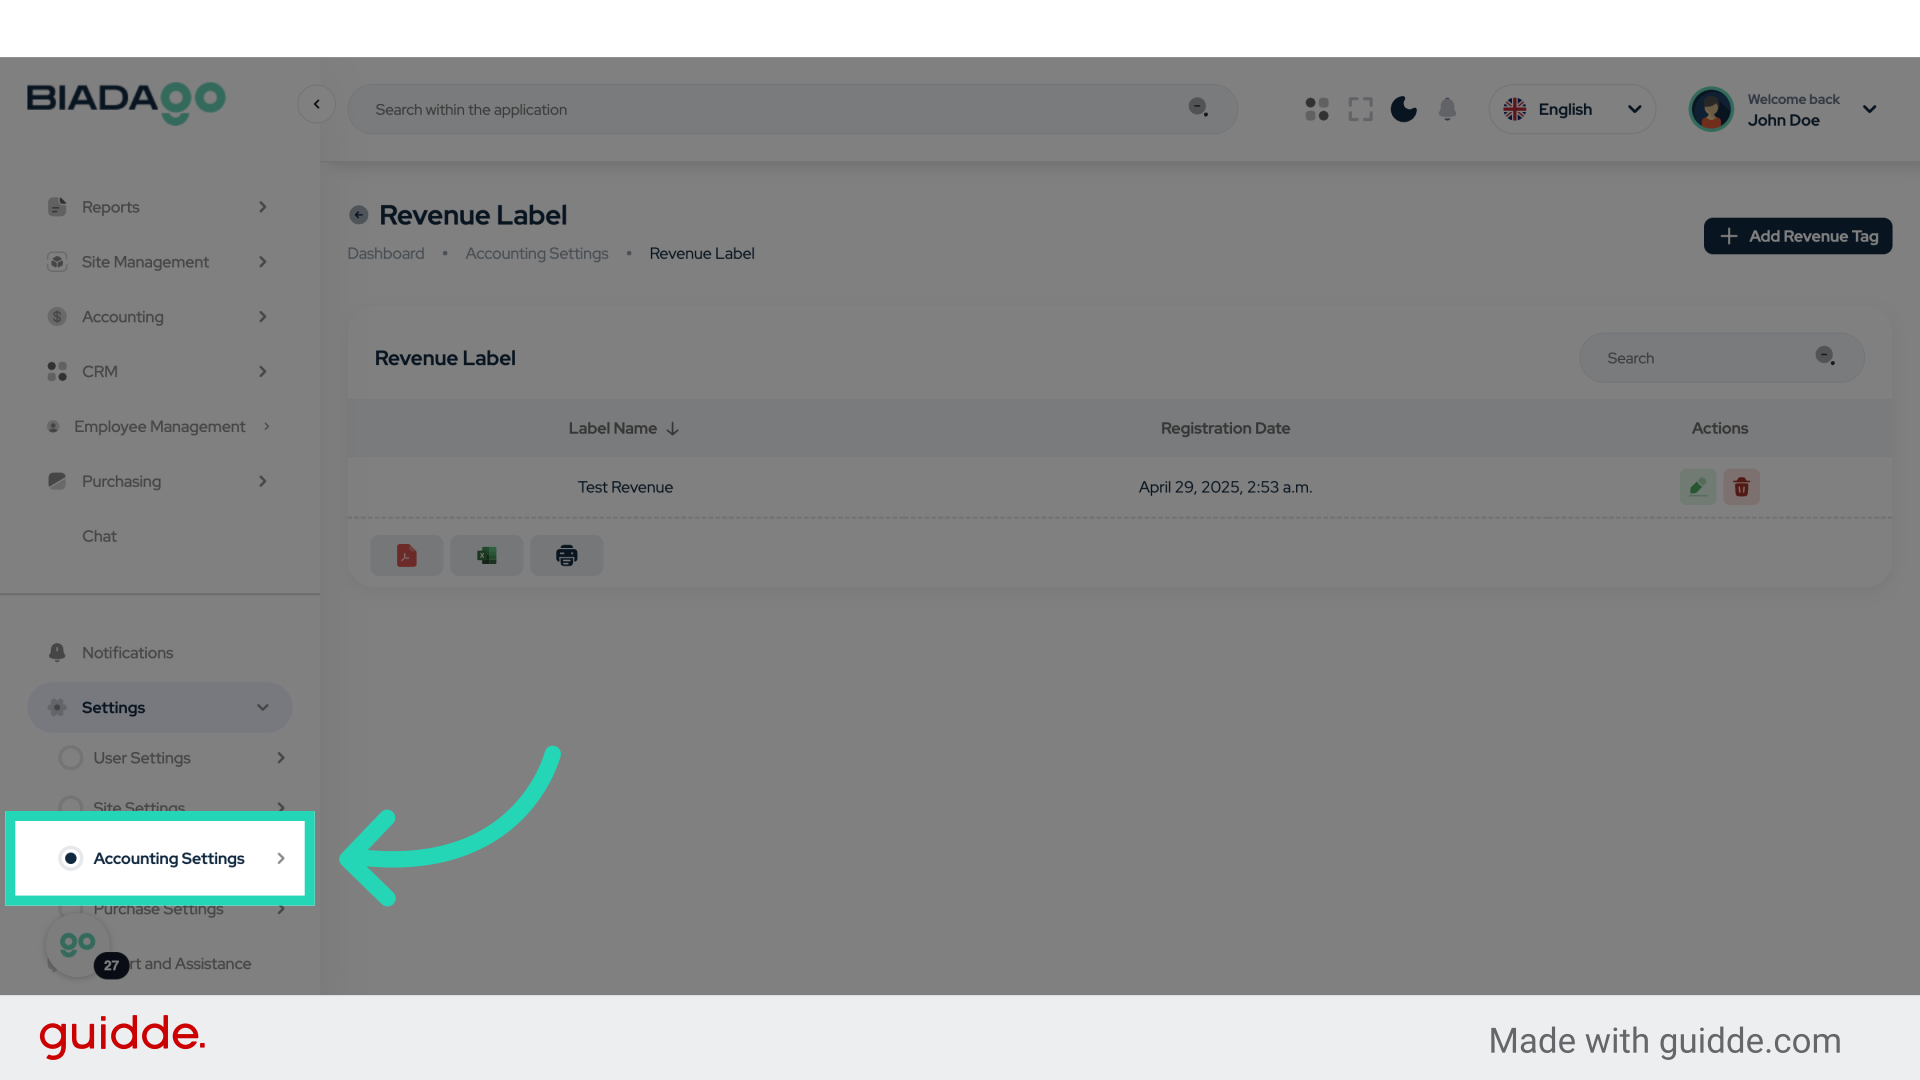
29. Click “Accounting Settings”
Access the accounting settings.
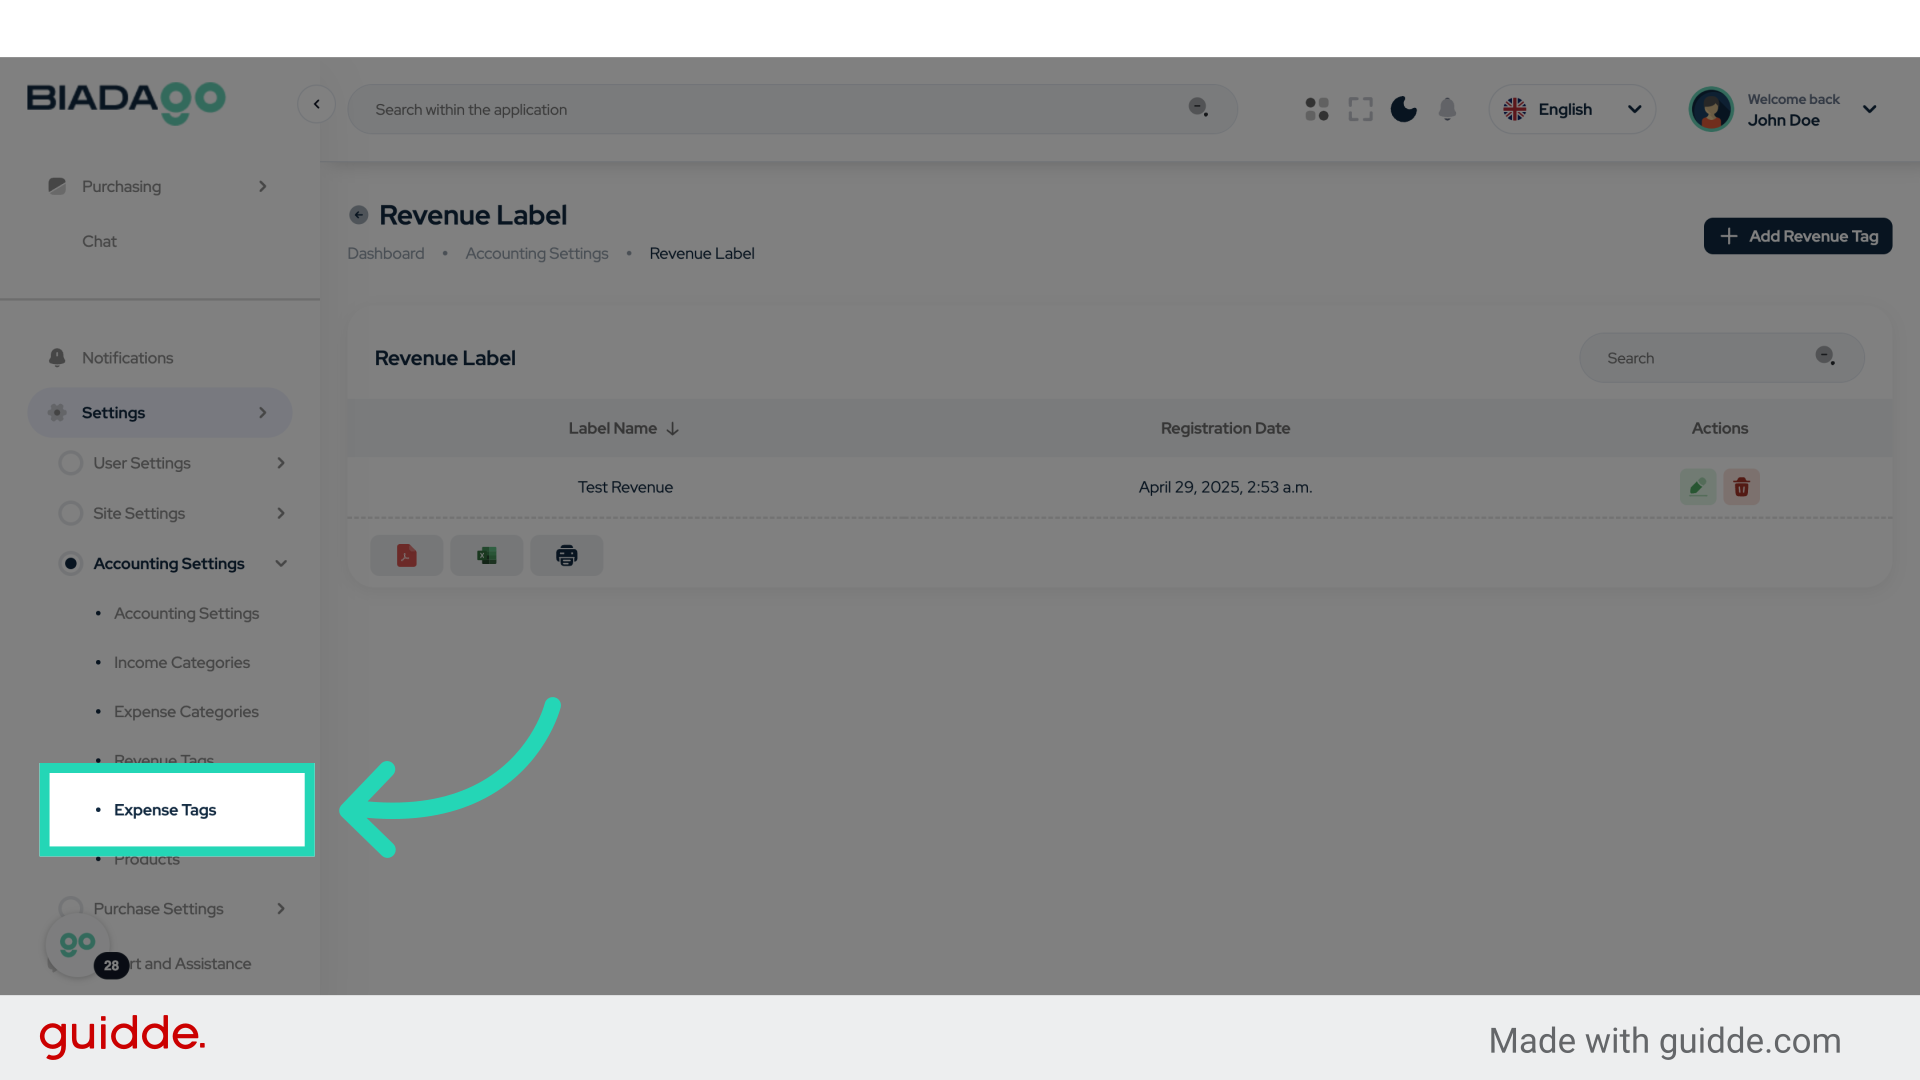
30. Click “Expense Tags”
Access the expense tags section.
31. Click “Add Expense Tag”
Create a new expense tag.

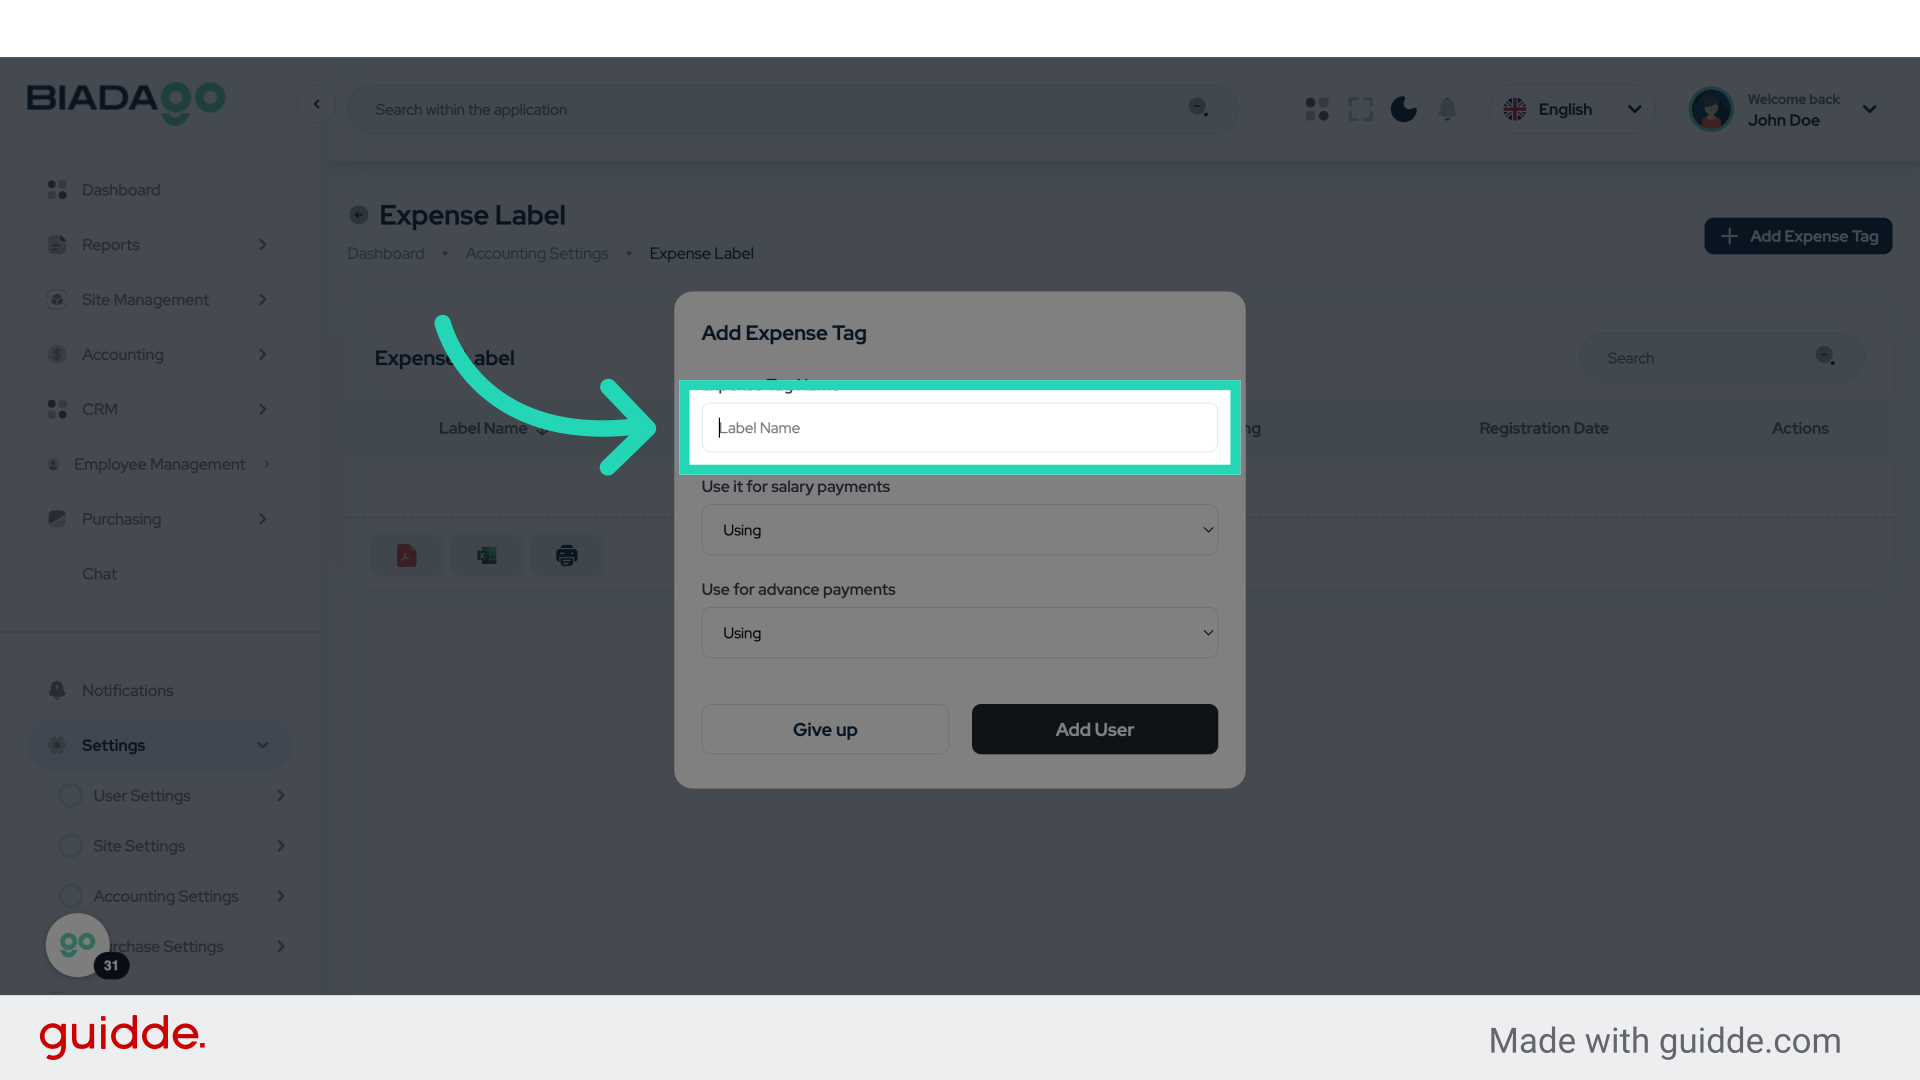
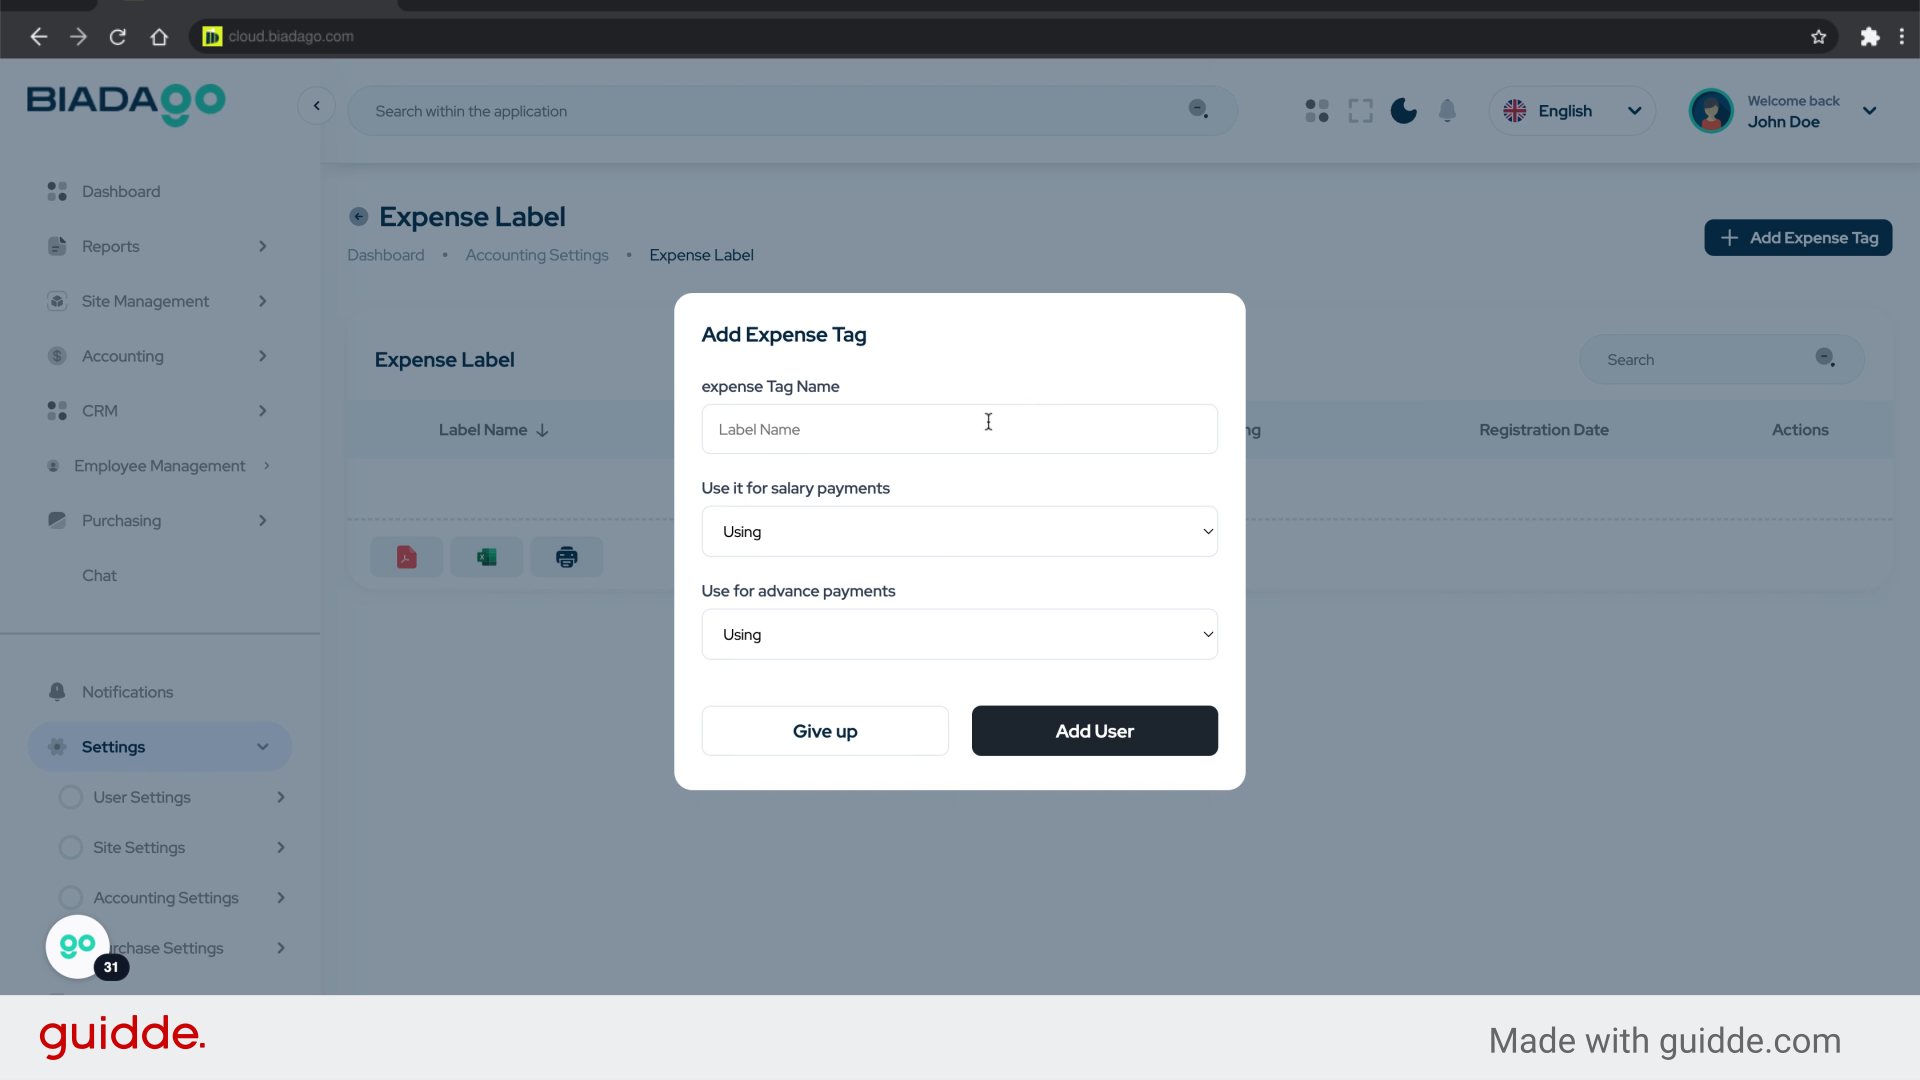
32. Click “expense Tag Name”
Name the new expense tag.
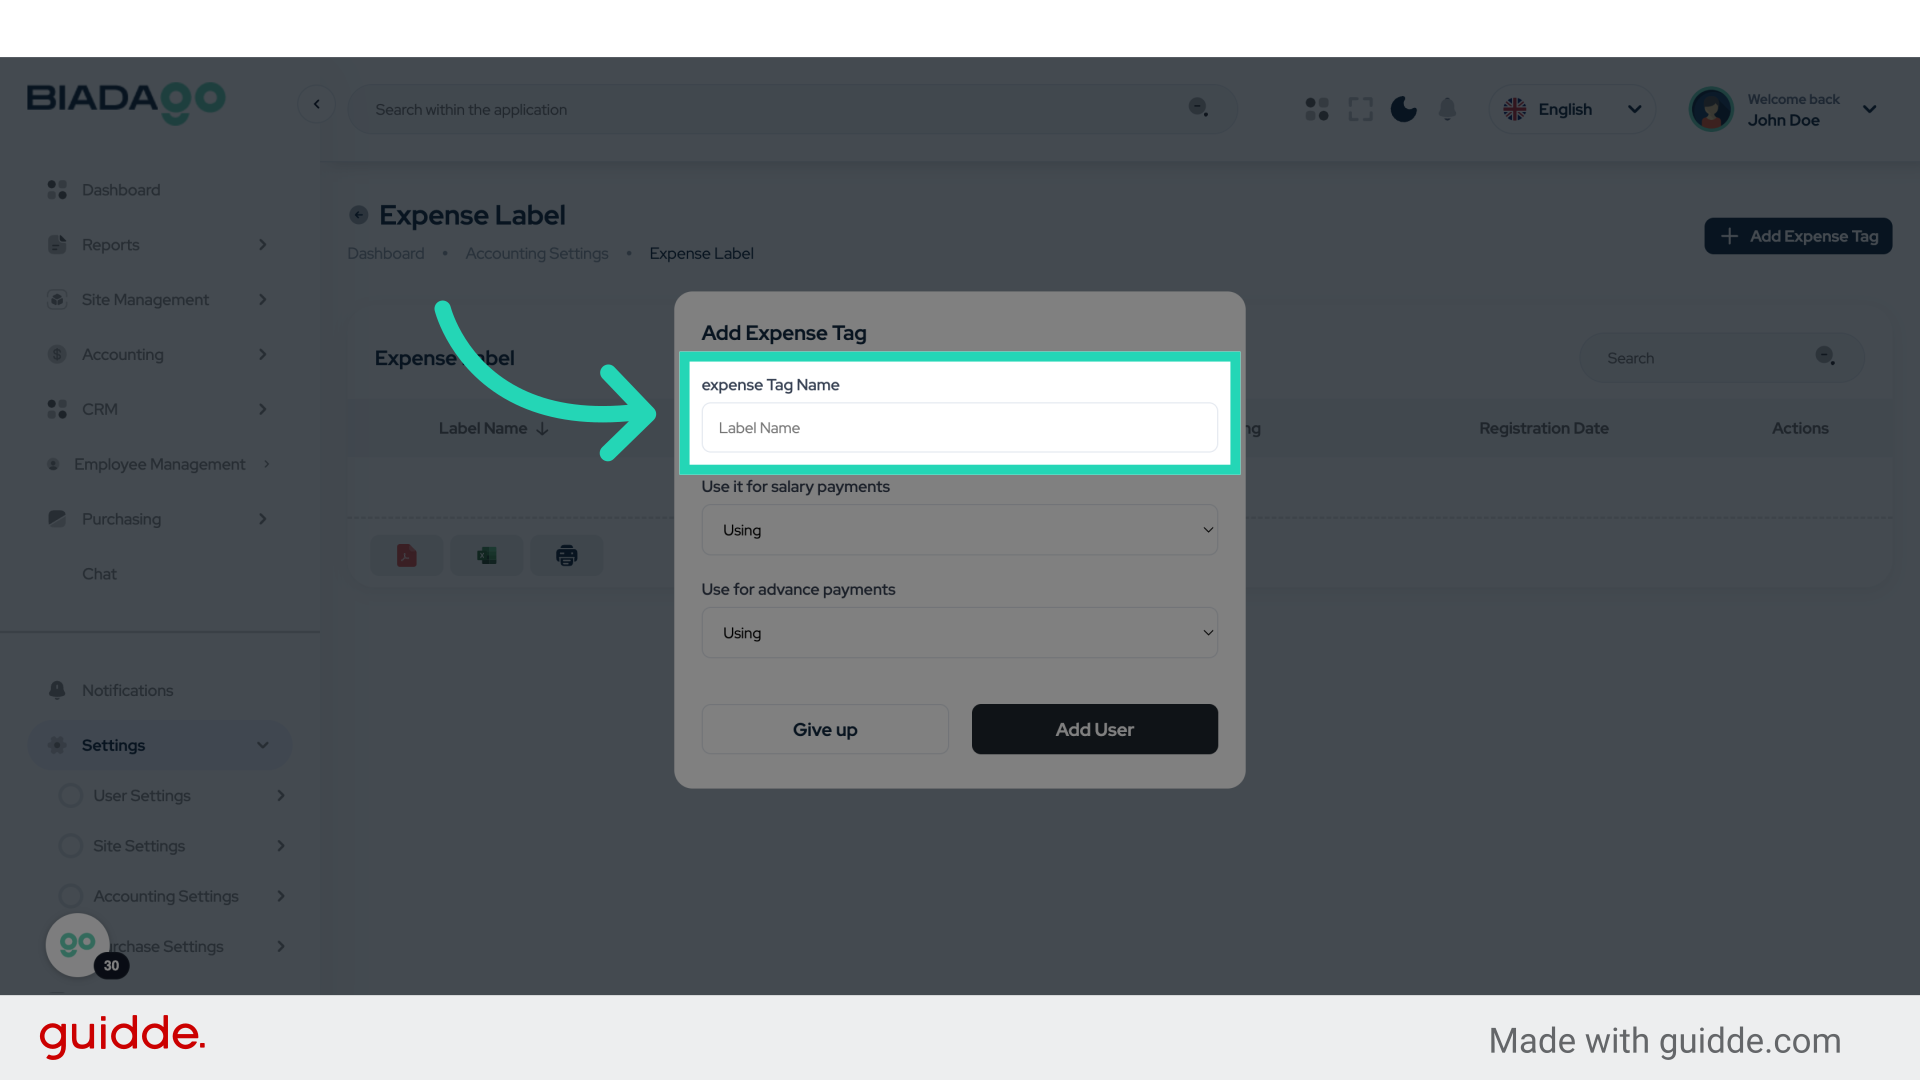
33. Click “expense Tag Name”
Specify the name for the expense tag.
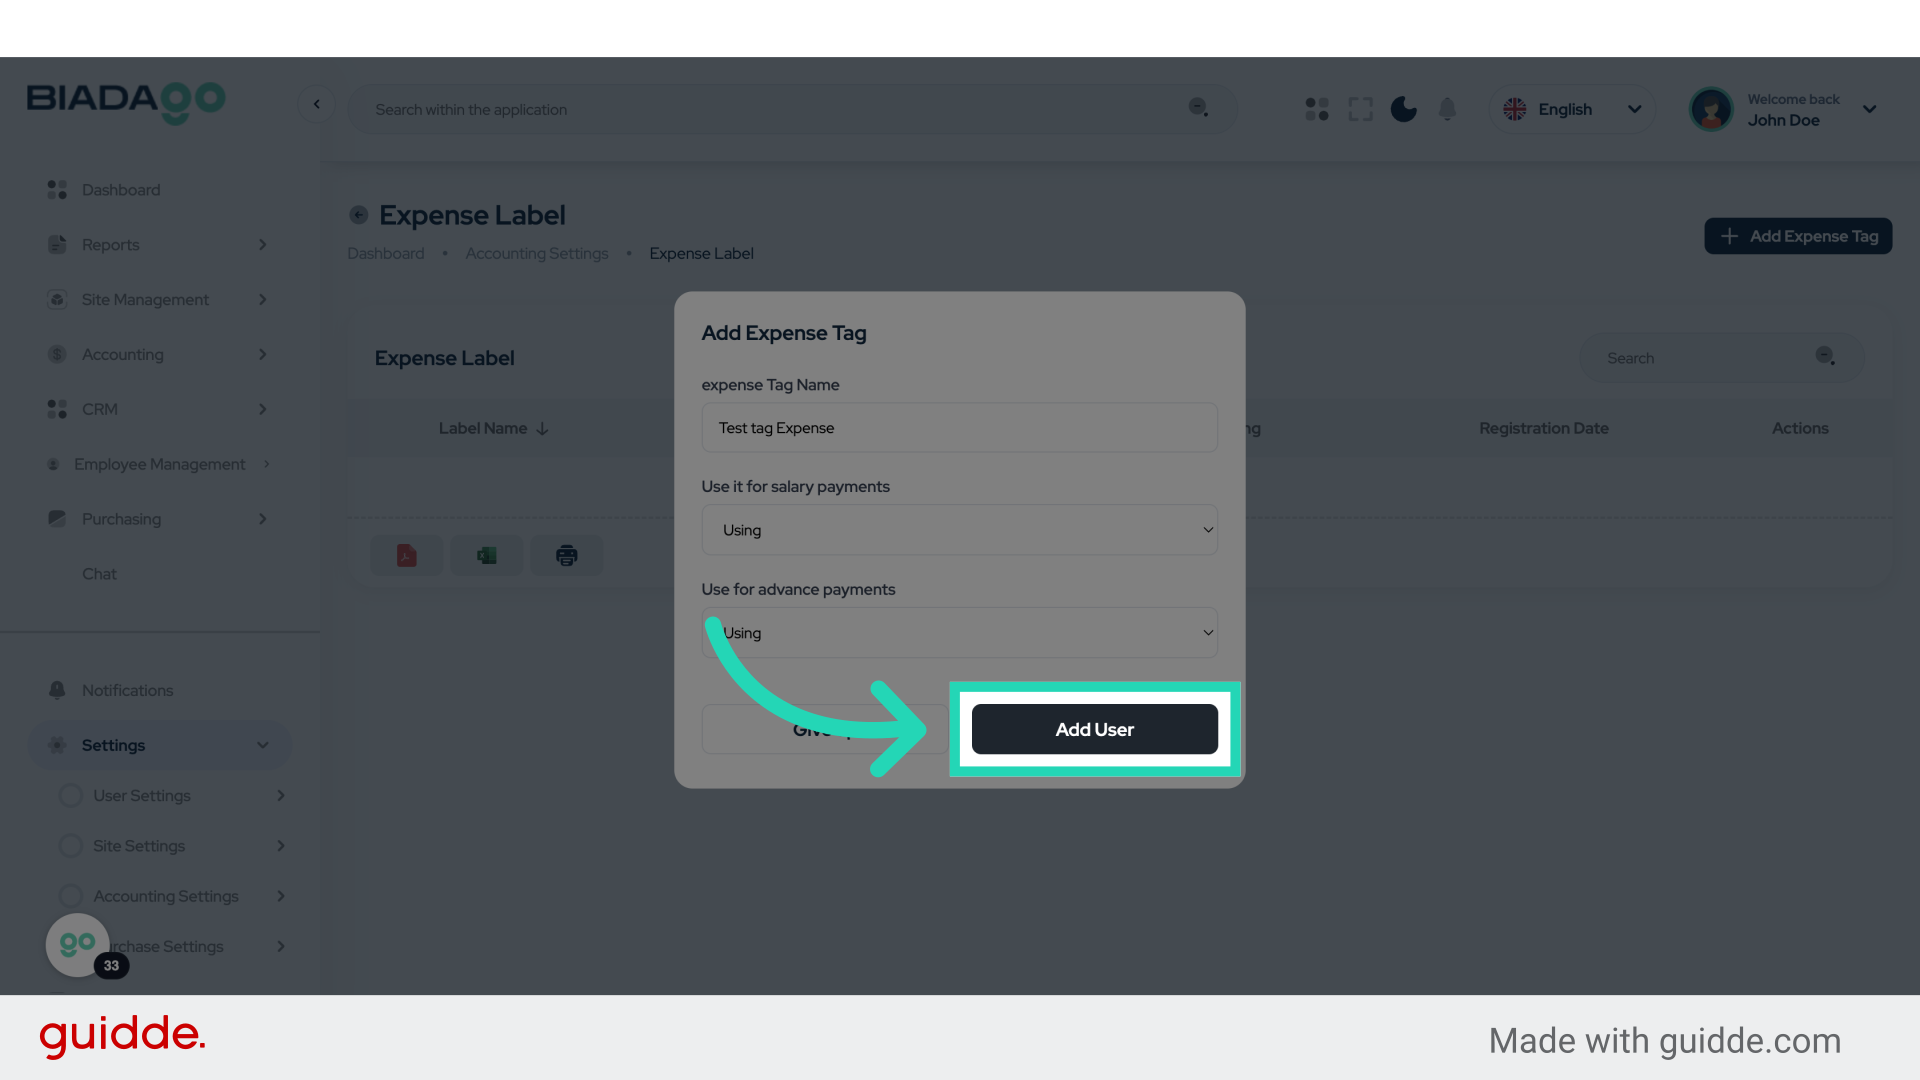
34. Fill “Test tag Expense”
Write “Test tag Expense” in the specified field
35. Click “Add User”
Add a new user to the system.
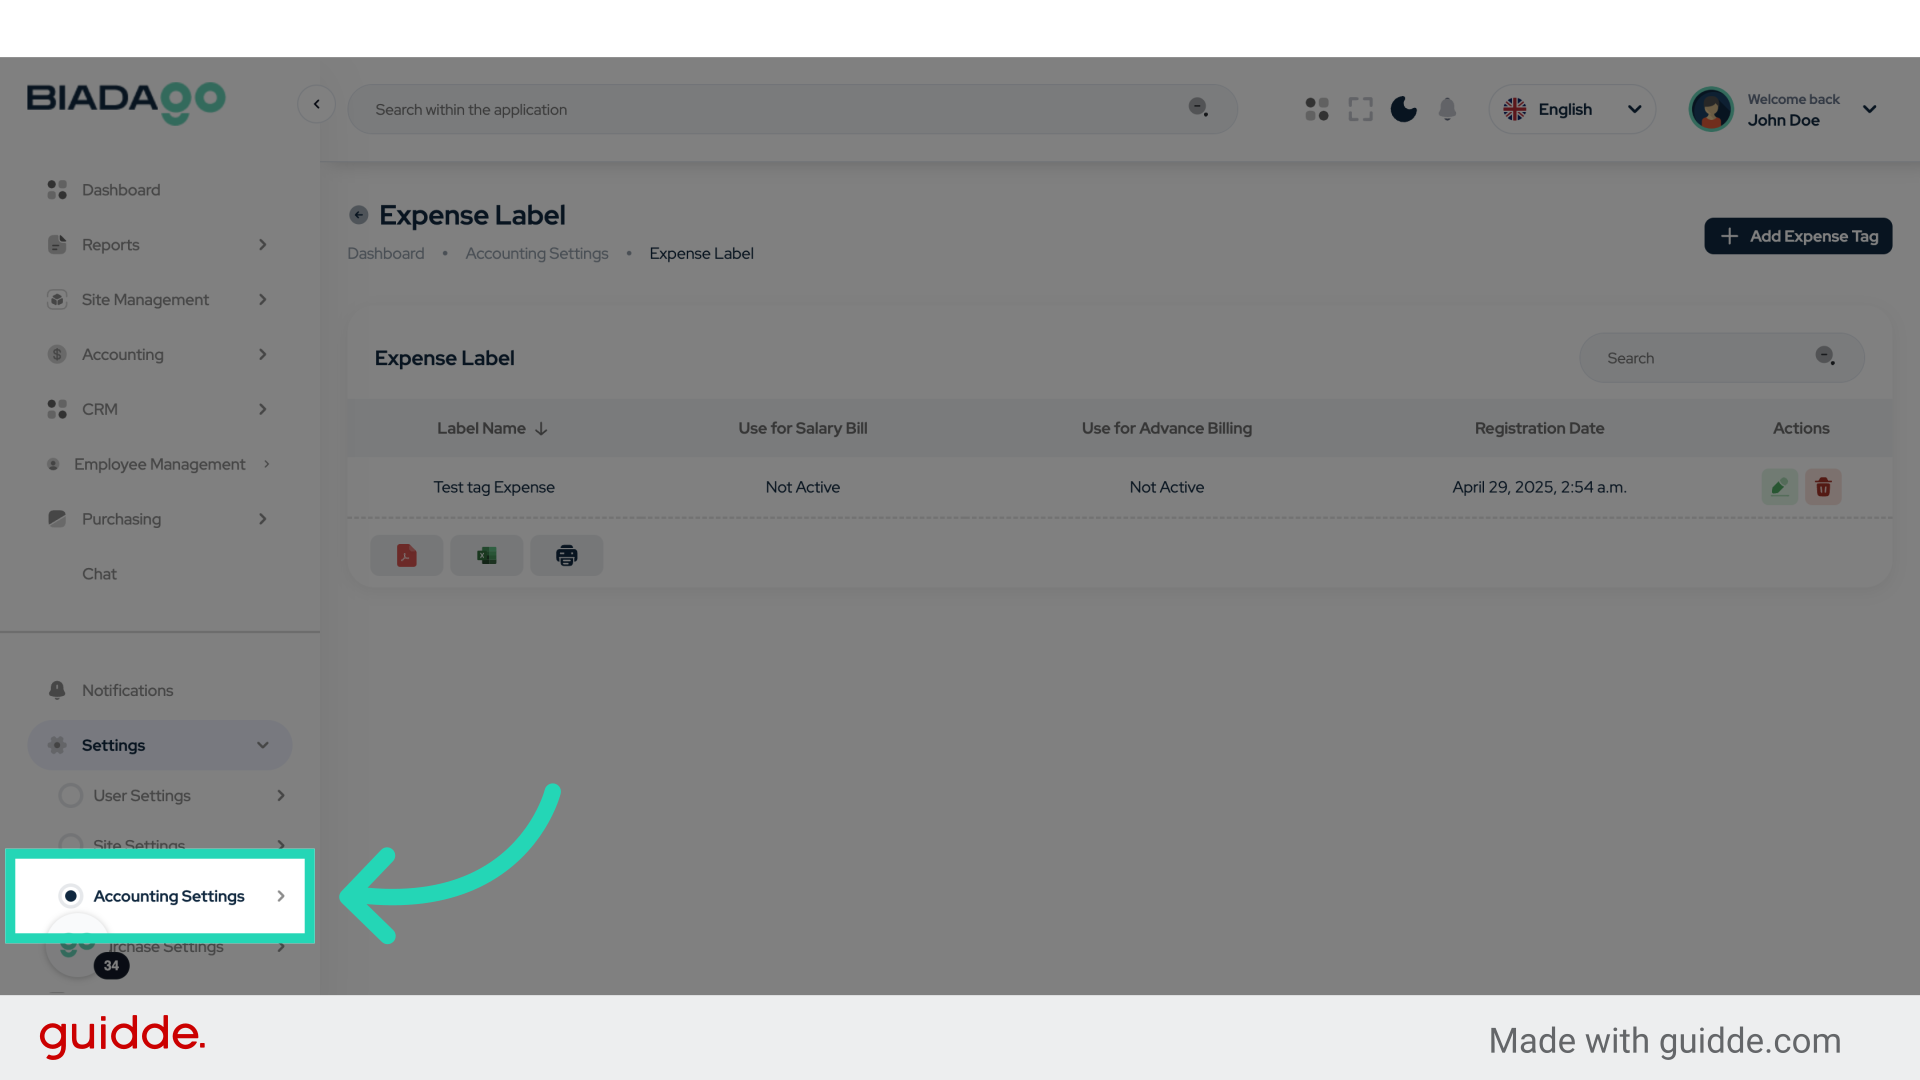
36. Click “Accounting Settings”
Access the accounting settings.
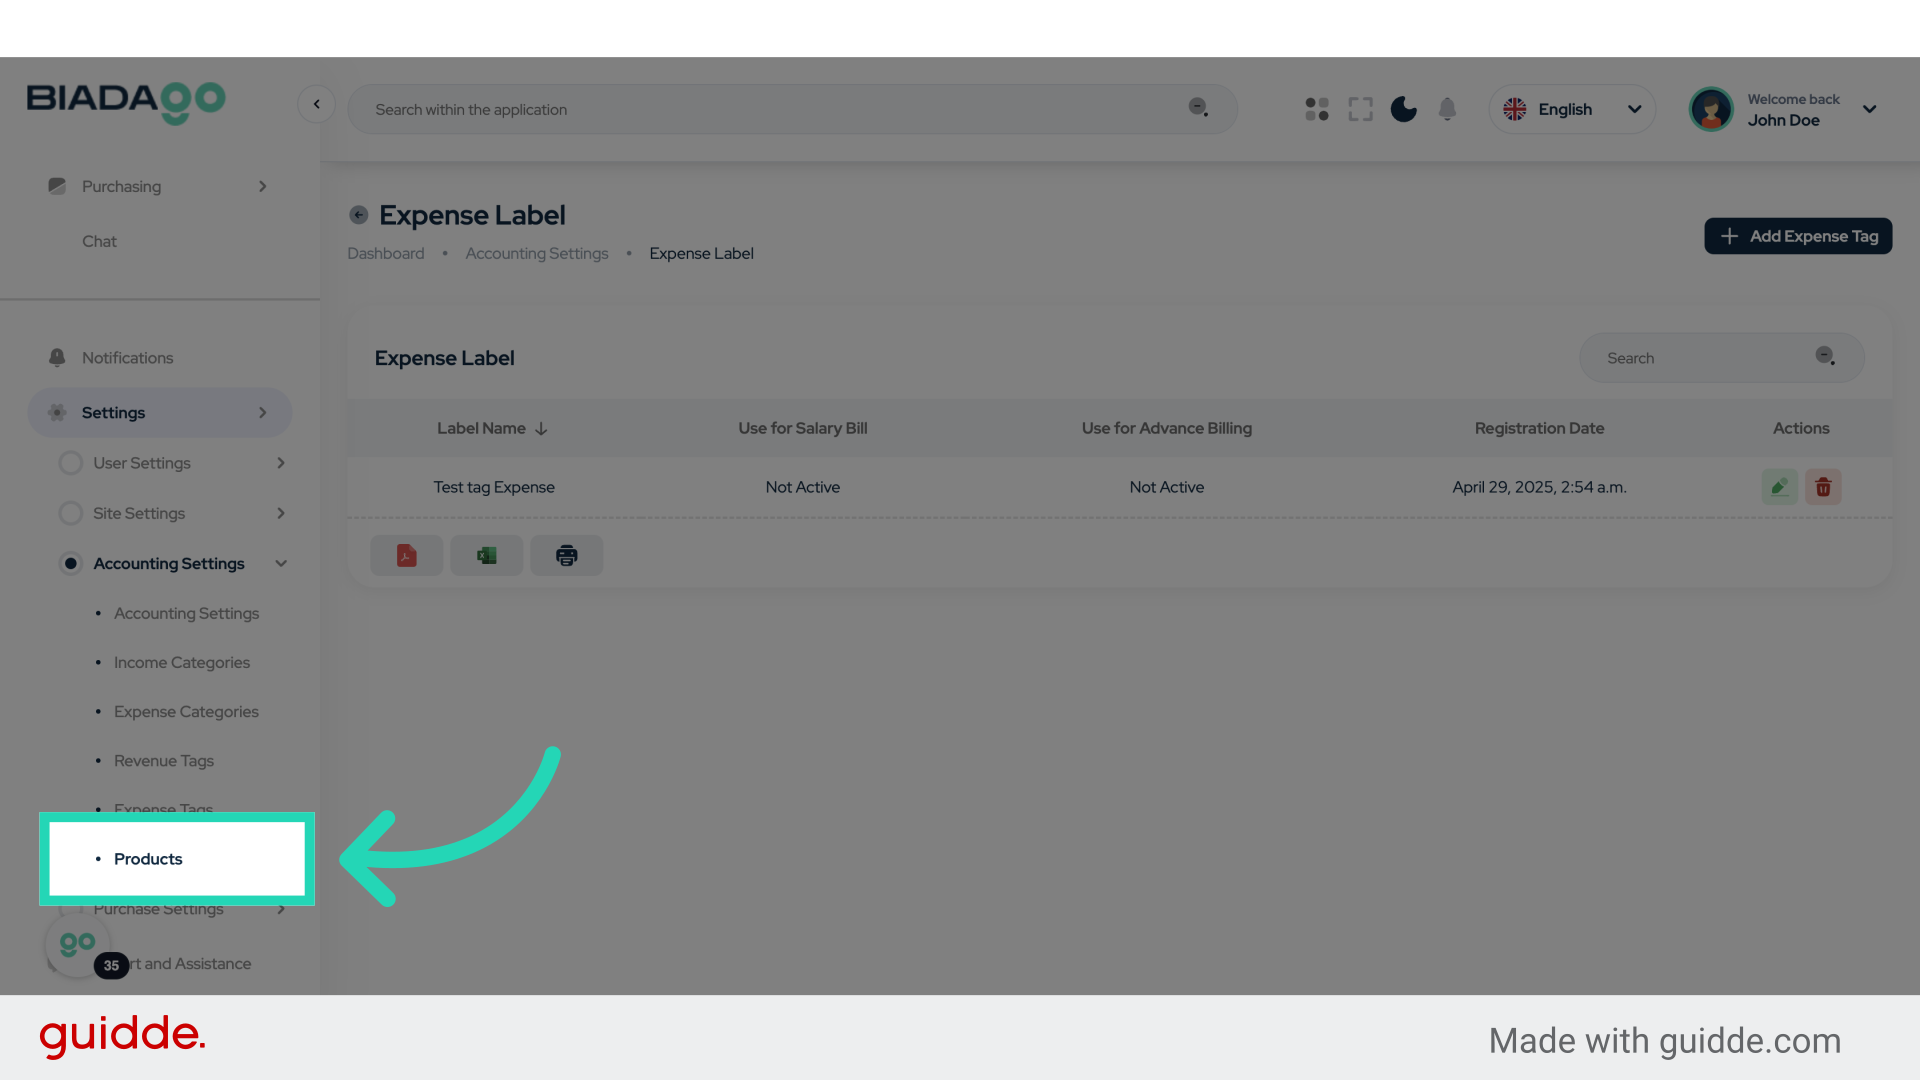
37. Click “Products”
Access the products section.
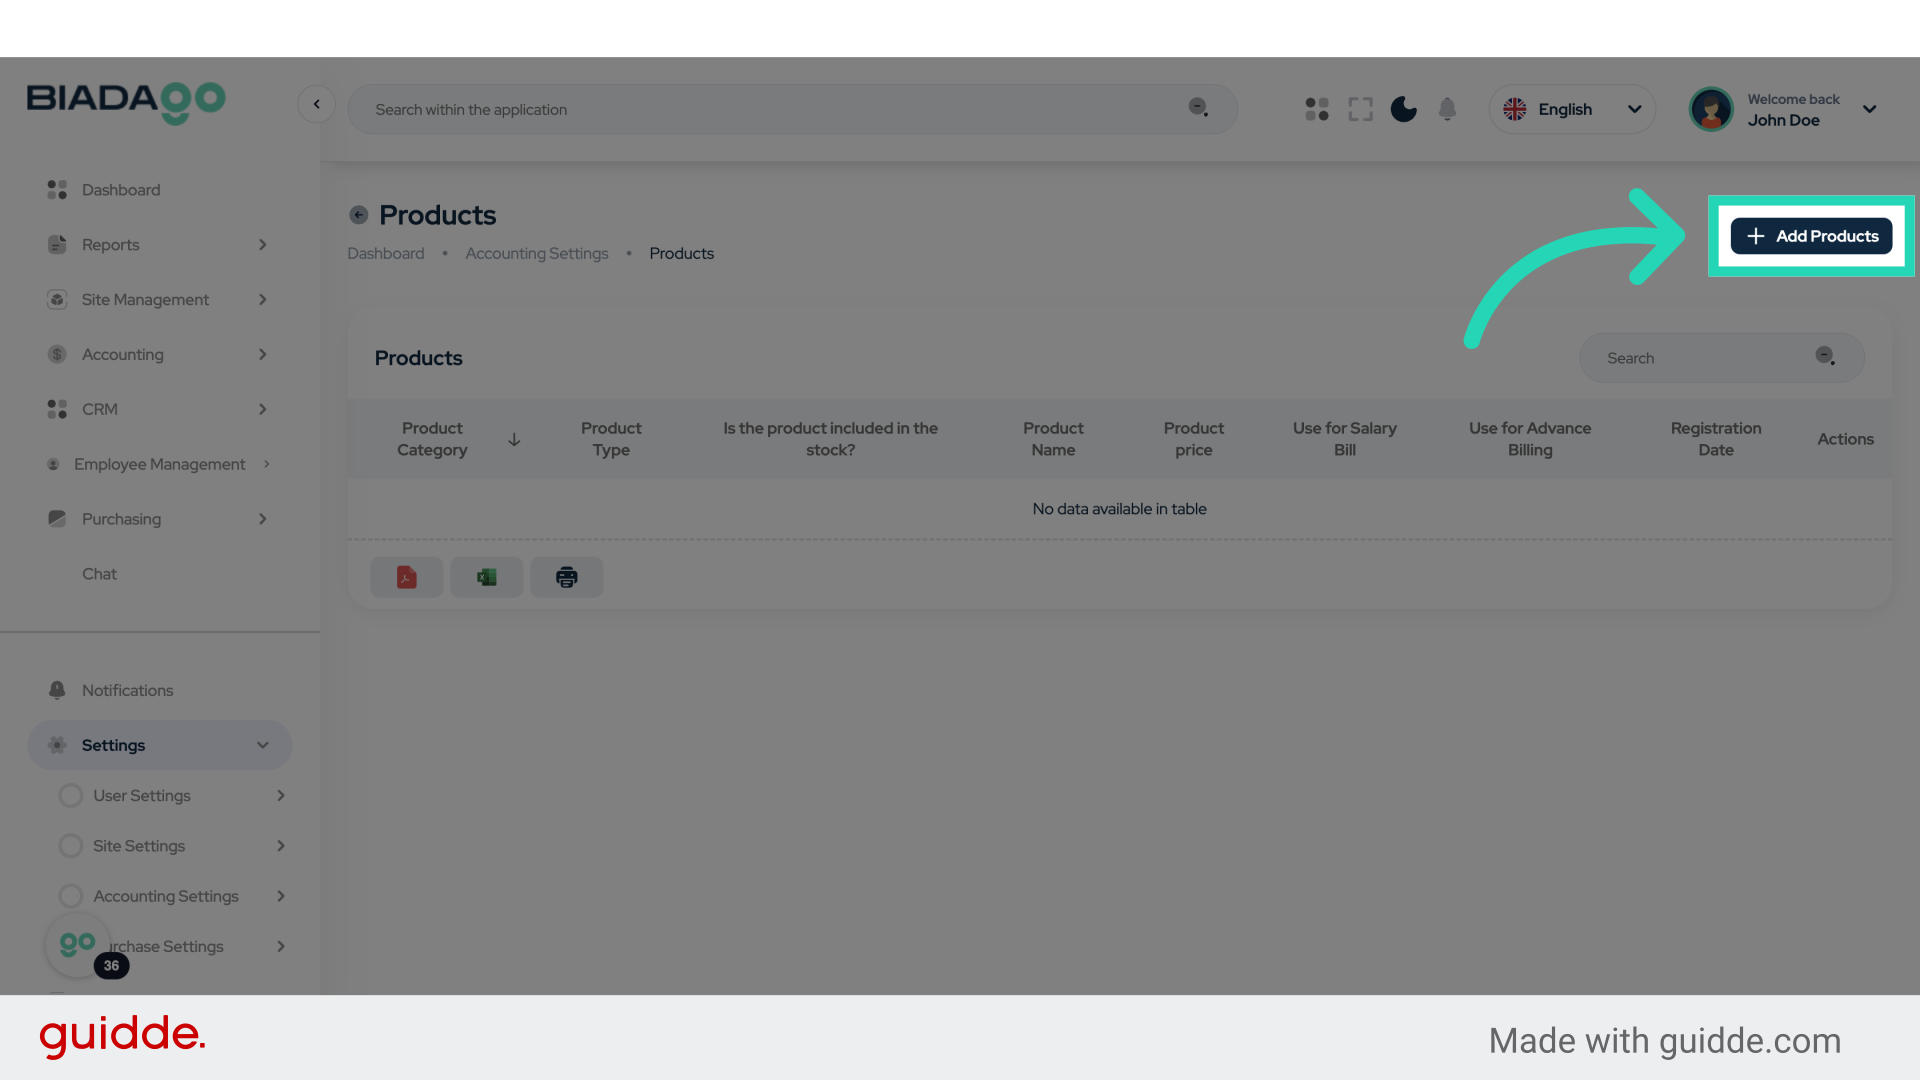
38. Click “Add Products”
Add new products to the system.
39. Click here
Navigate to a specific area.

40. Click here
Proceed to the next step.

41. Click here
Move forward with the process.

42. Click here
Continue with the next action.

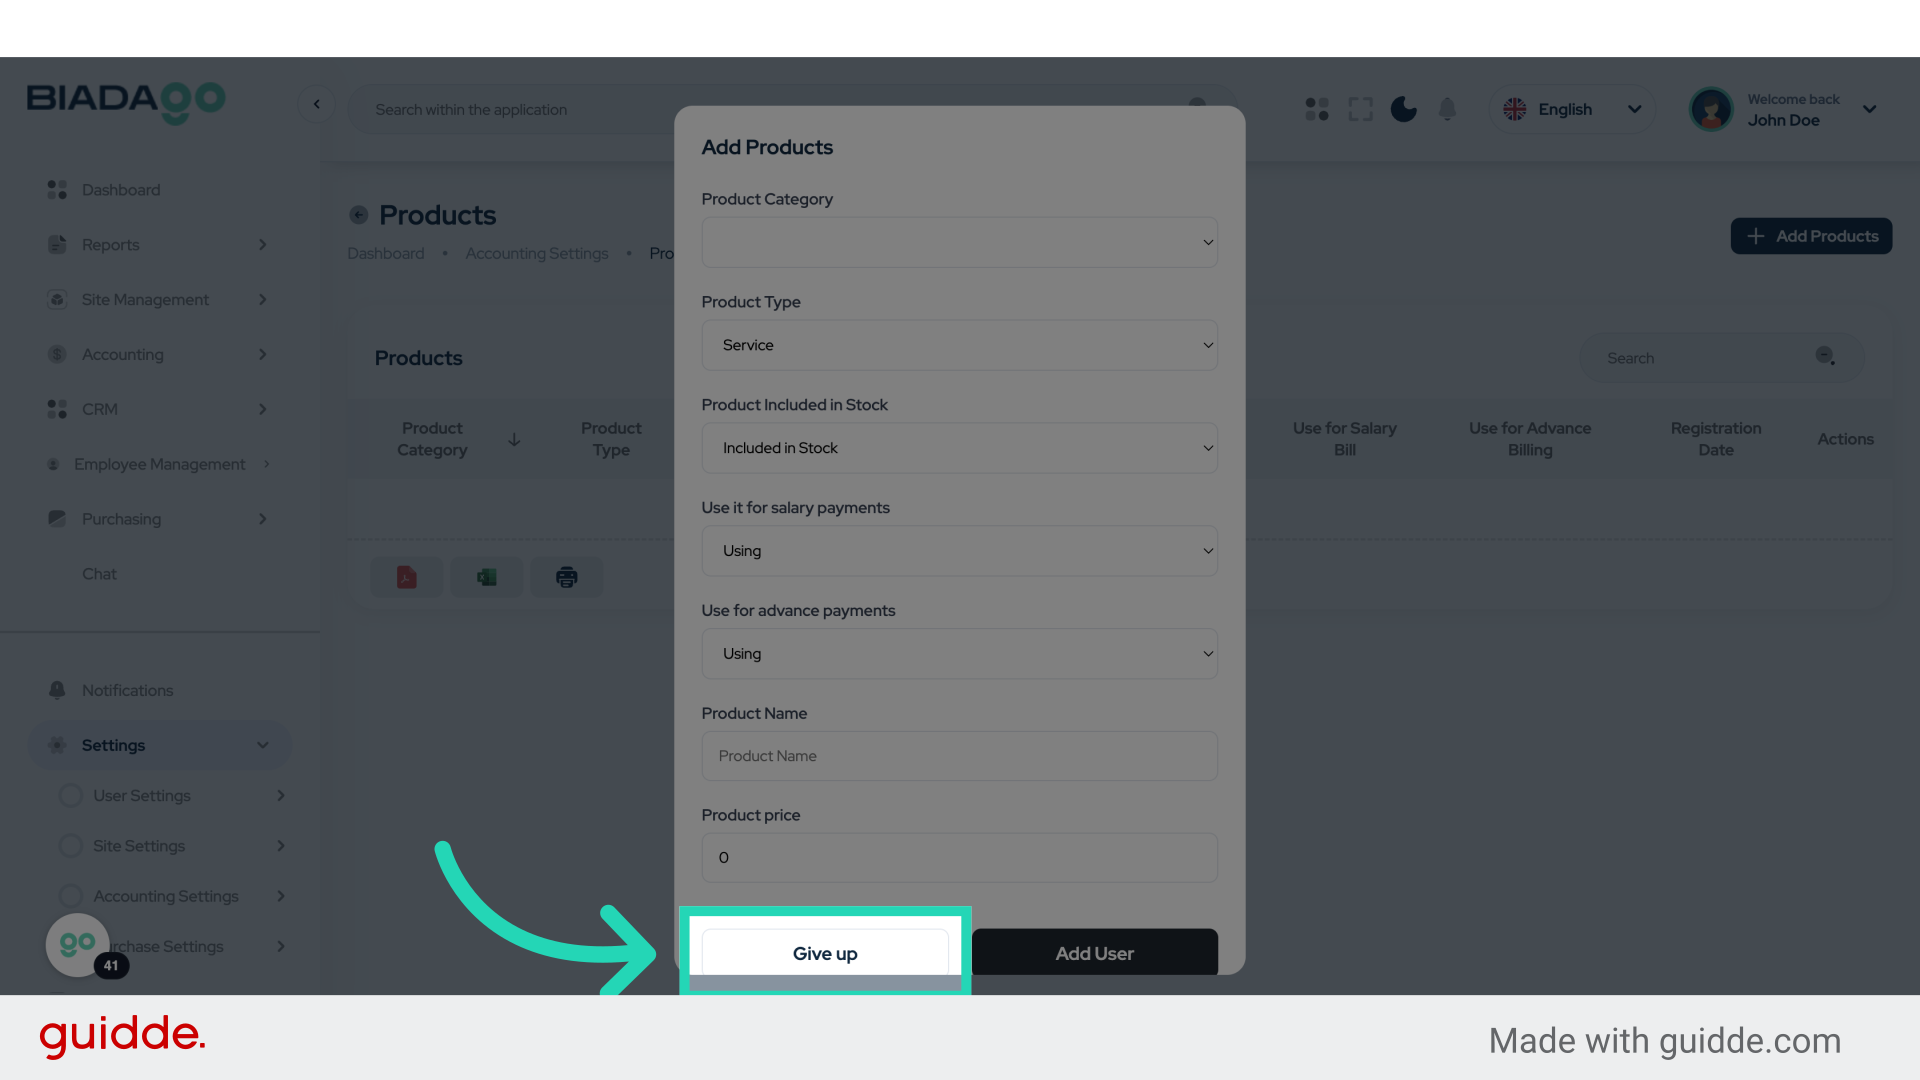
43. Click “Give up”
Cancel the current operation.
This comprehensive guide walked you through creating income and expense tags and categories in BiadaGO. By following these steps, you can effectively categorize your financial data for better management and analysis.