How to Define Subcontractors and Prime Contractors in BiadaGO
How to Define Subcontractors and Prime Contractors in BiadaGO
In BiadaGO, mastering employee training involves defining subcontractors and prime contractors efficiently
Go to cloud.biadago.com
1. Introduction
This guide will walk you through the necessary steps to set up subcontractors and top contractors within the BiadaGO platform seamlessly.
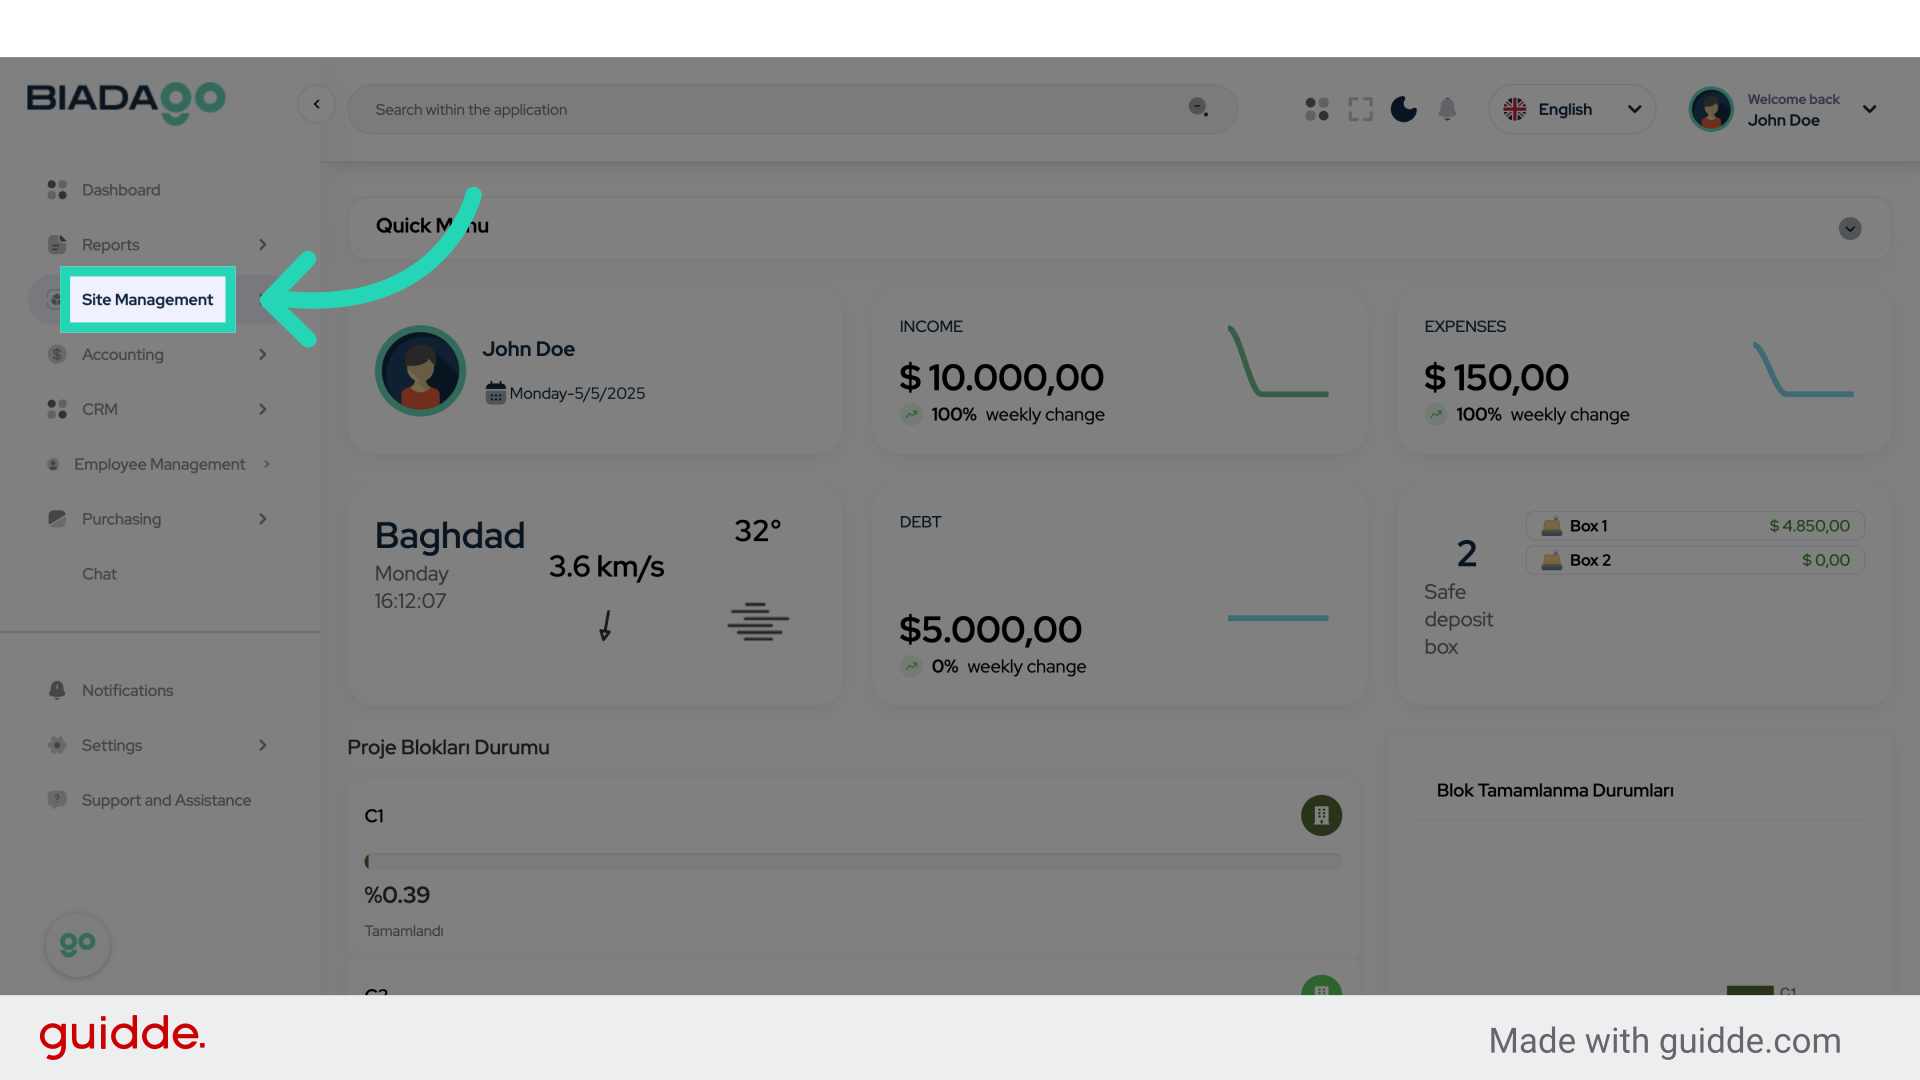
2. Click “Site Management”
Navigate to the “Site Management” section.
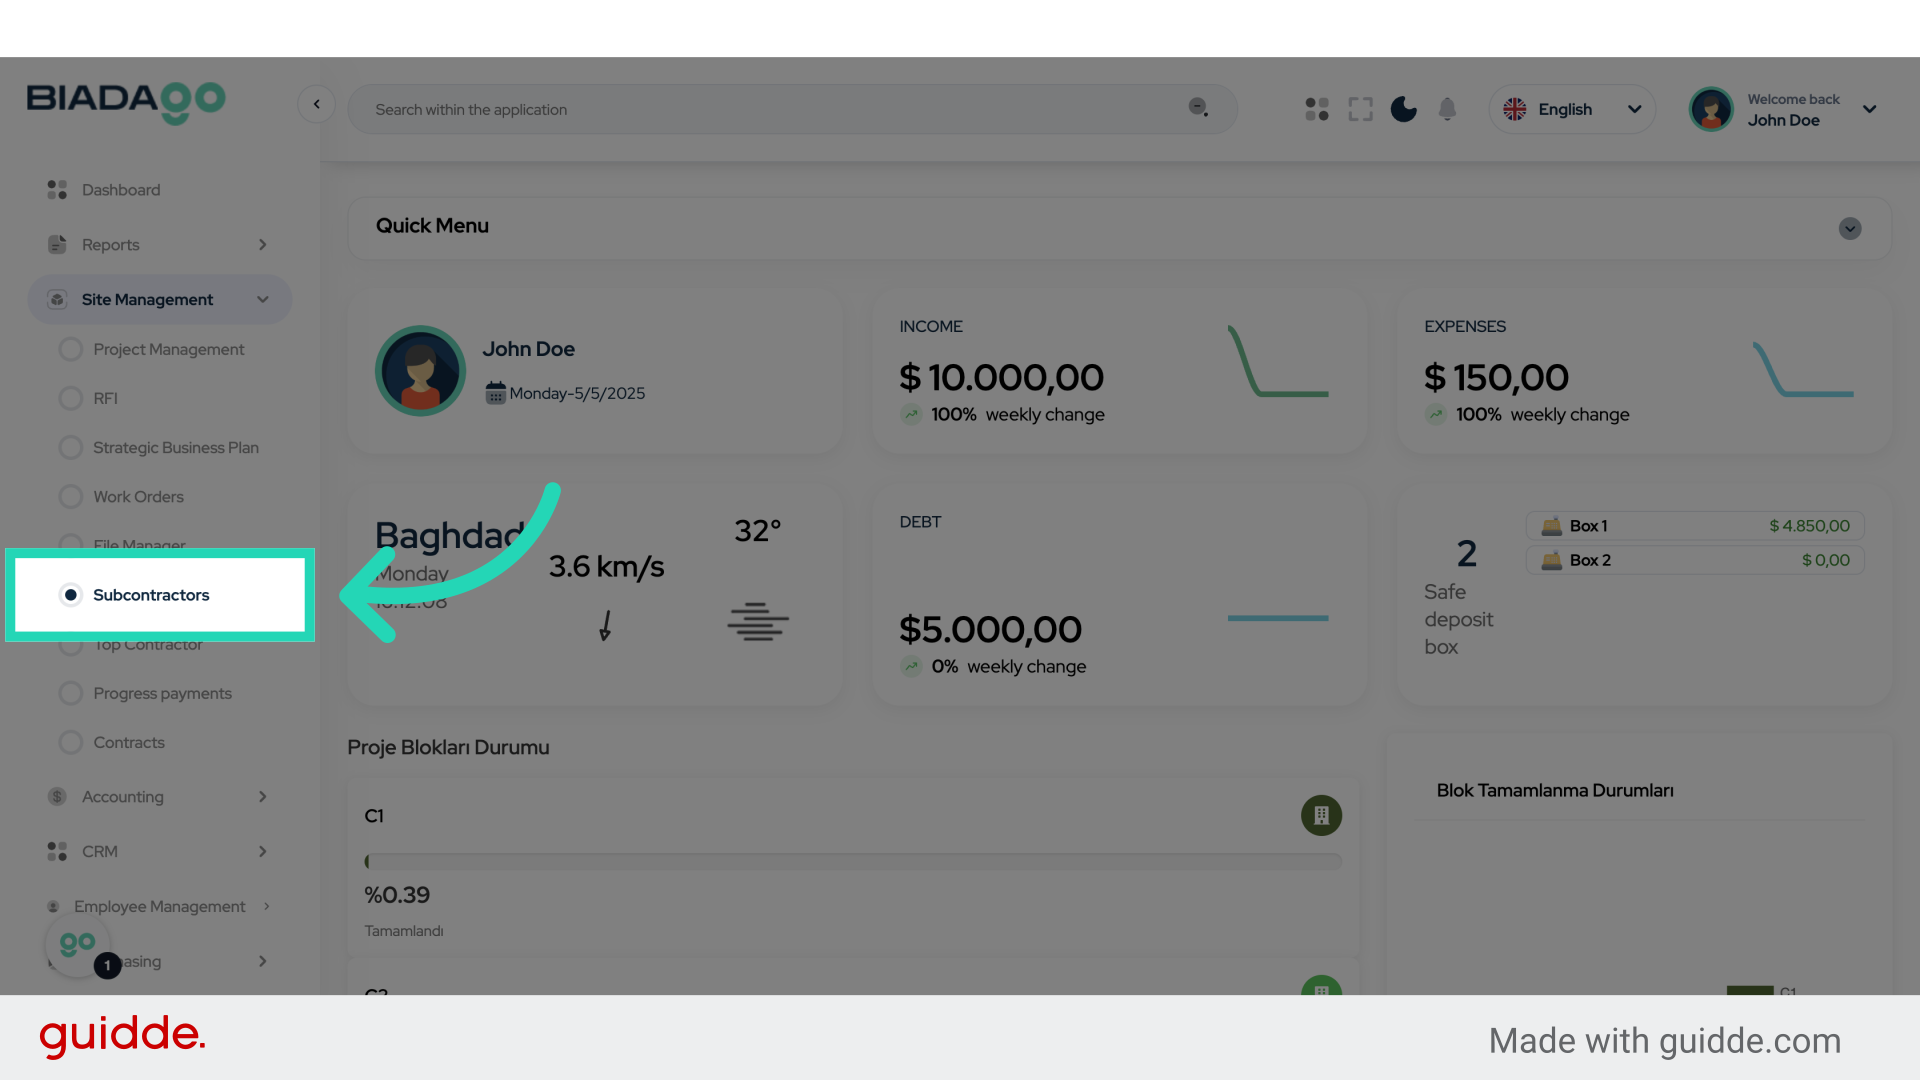
3. Click “Subcontractors”
Access the “Subcontractors” tab.
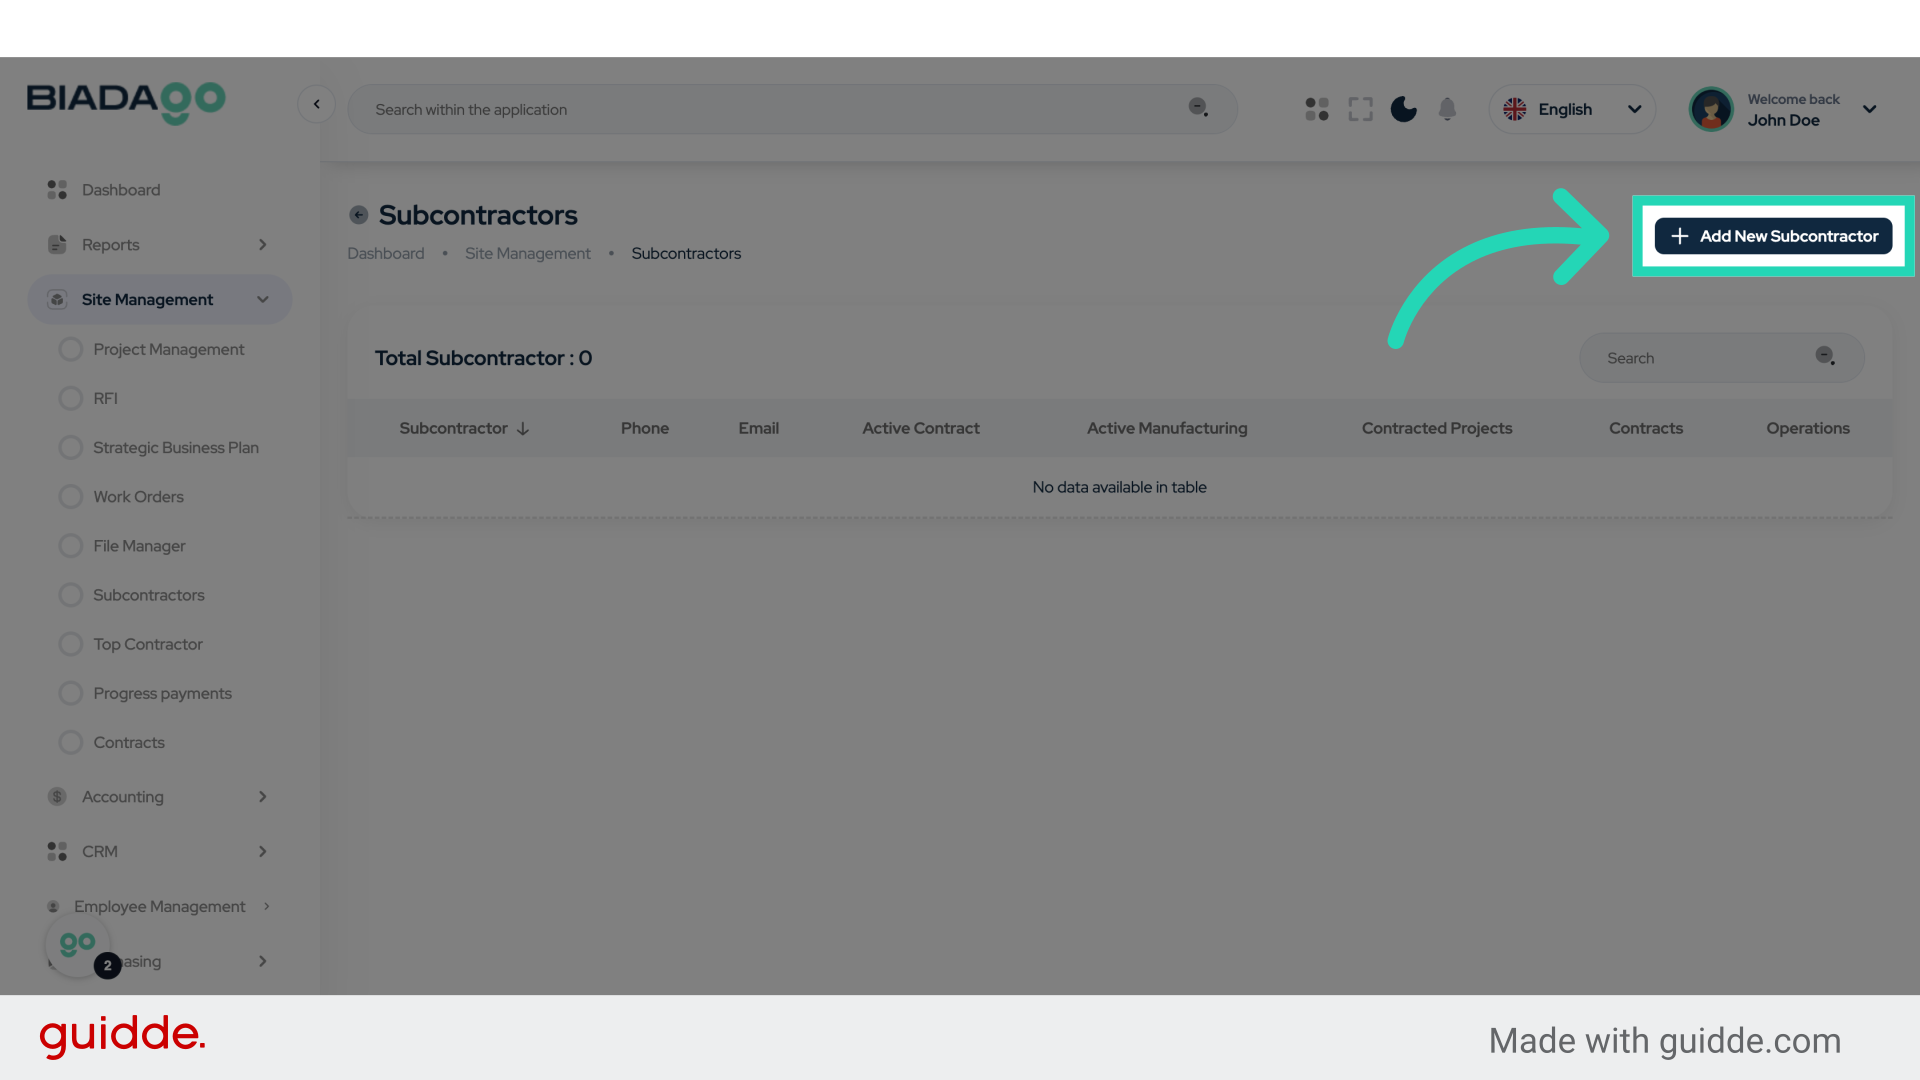
4. Click “Add New Subcontractor”
Select the option to add a new subcontractor.
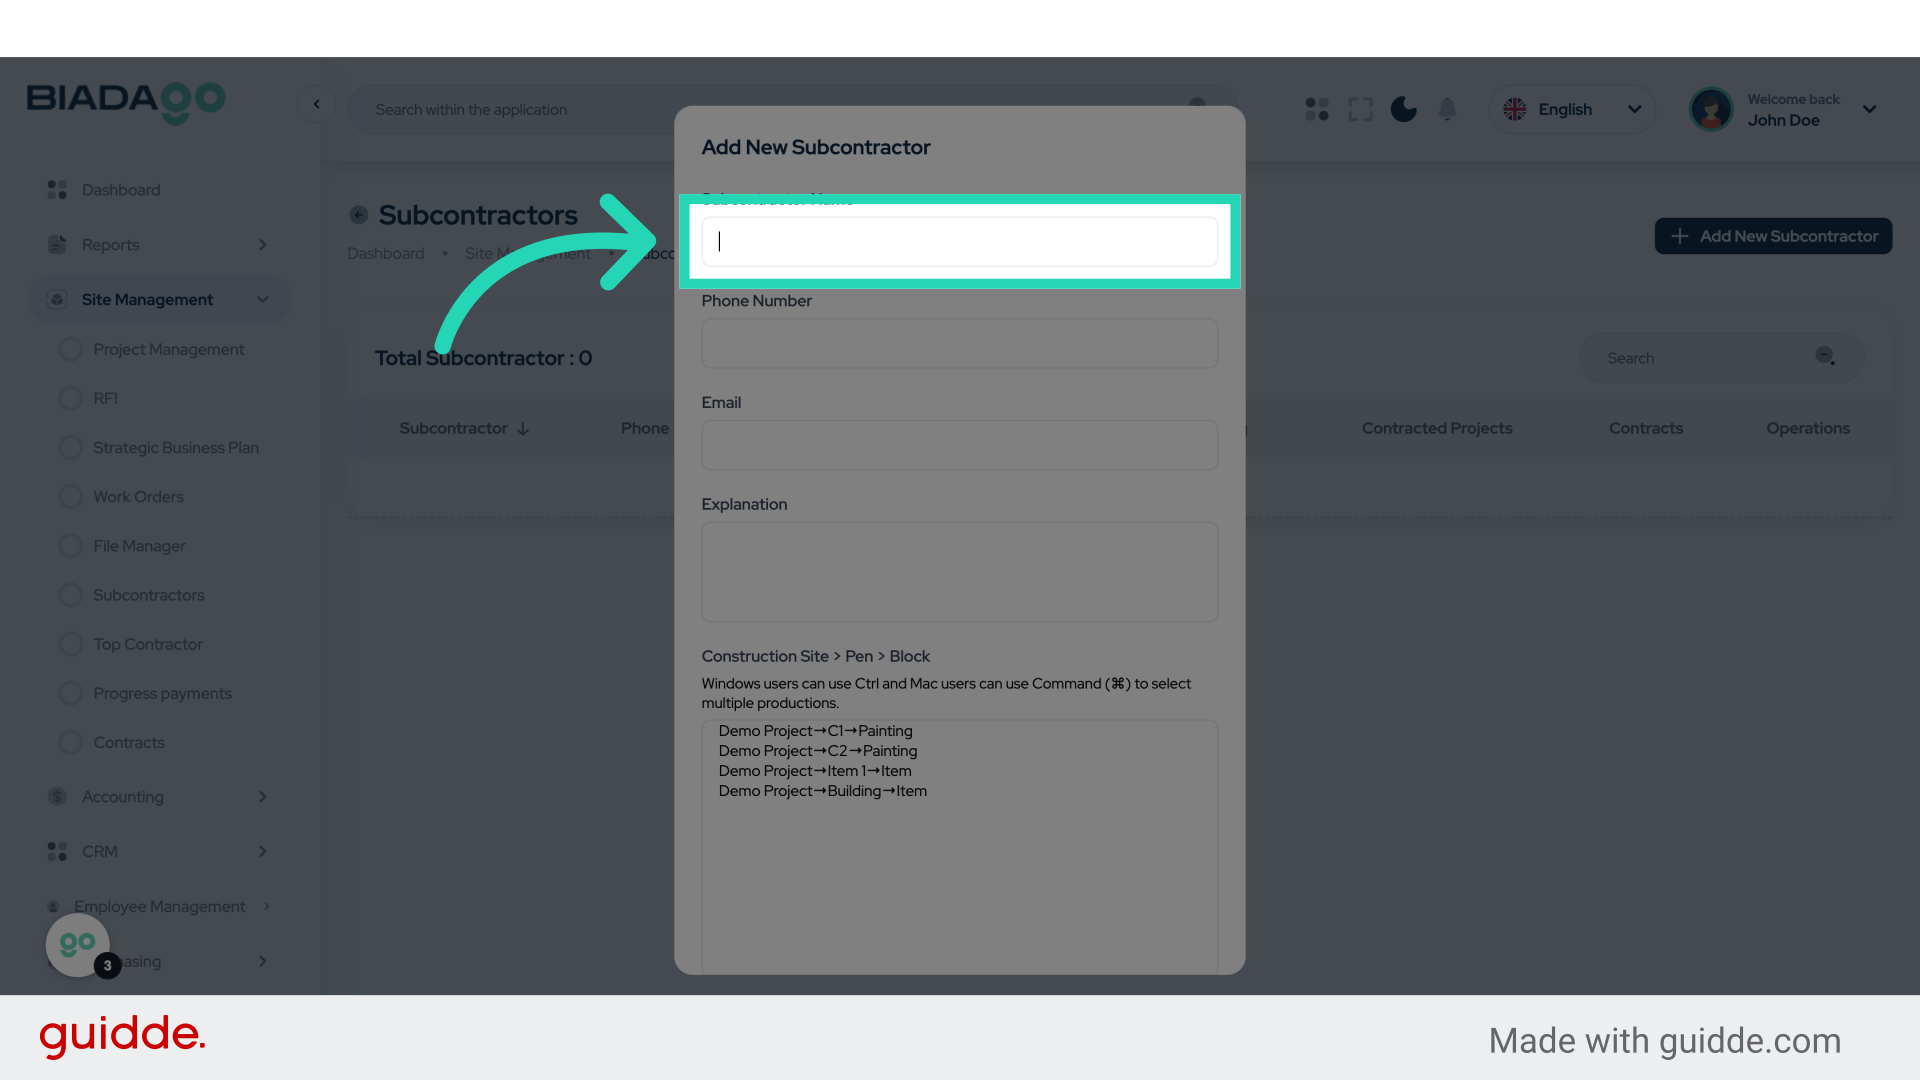
5. Click “Subcontractor Name”
Enter the subcontractor’s name.
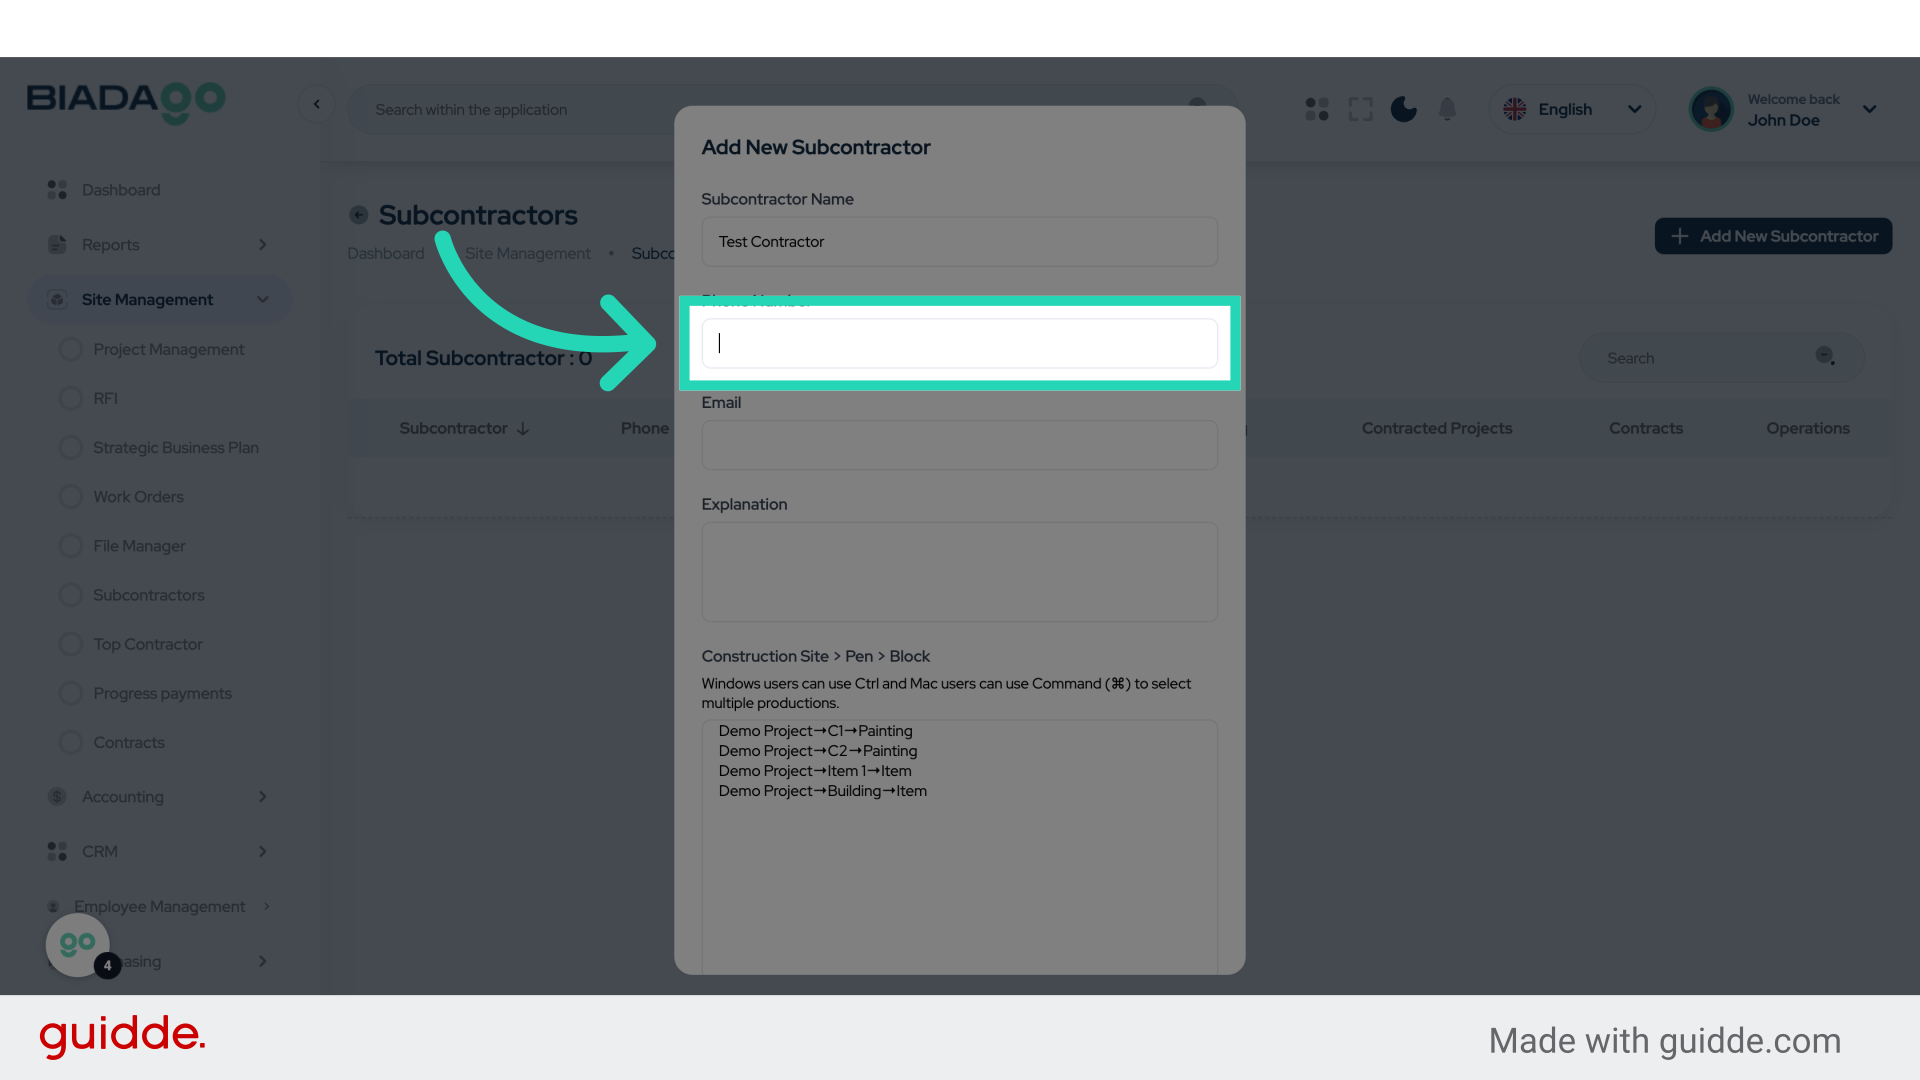
6. Fill “Test Contractor”
Fill in “Test Contractor”

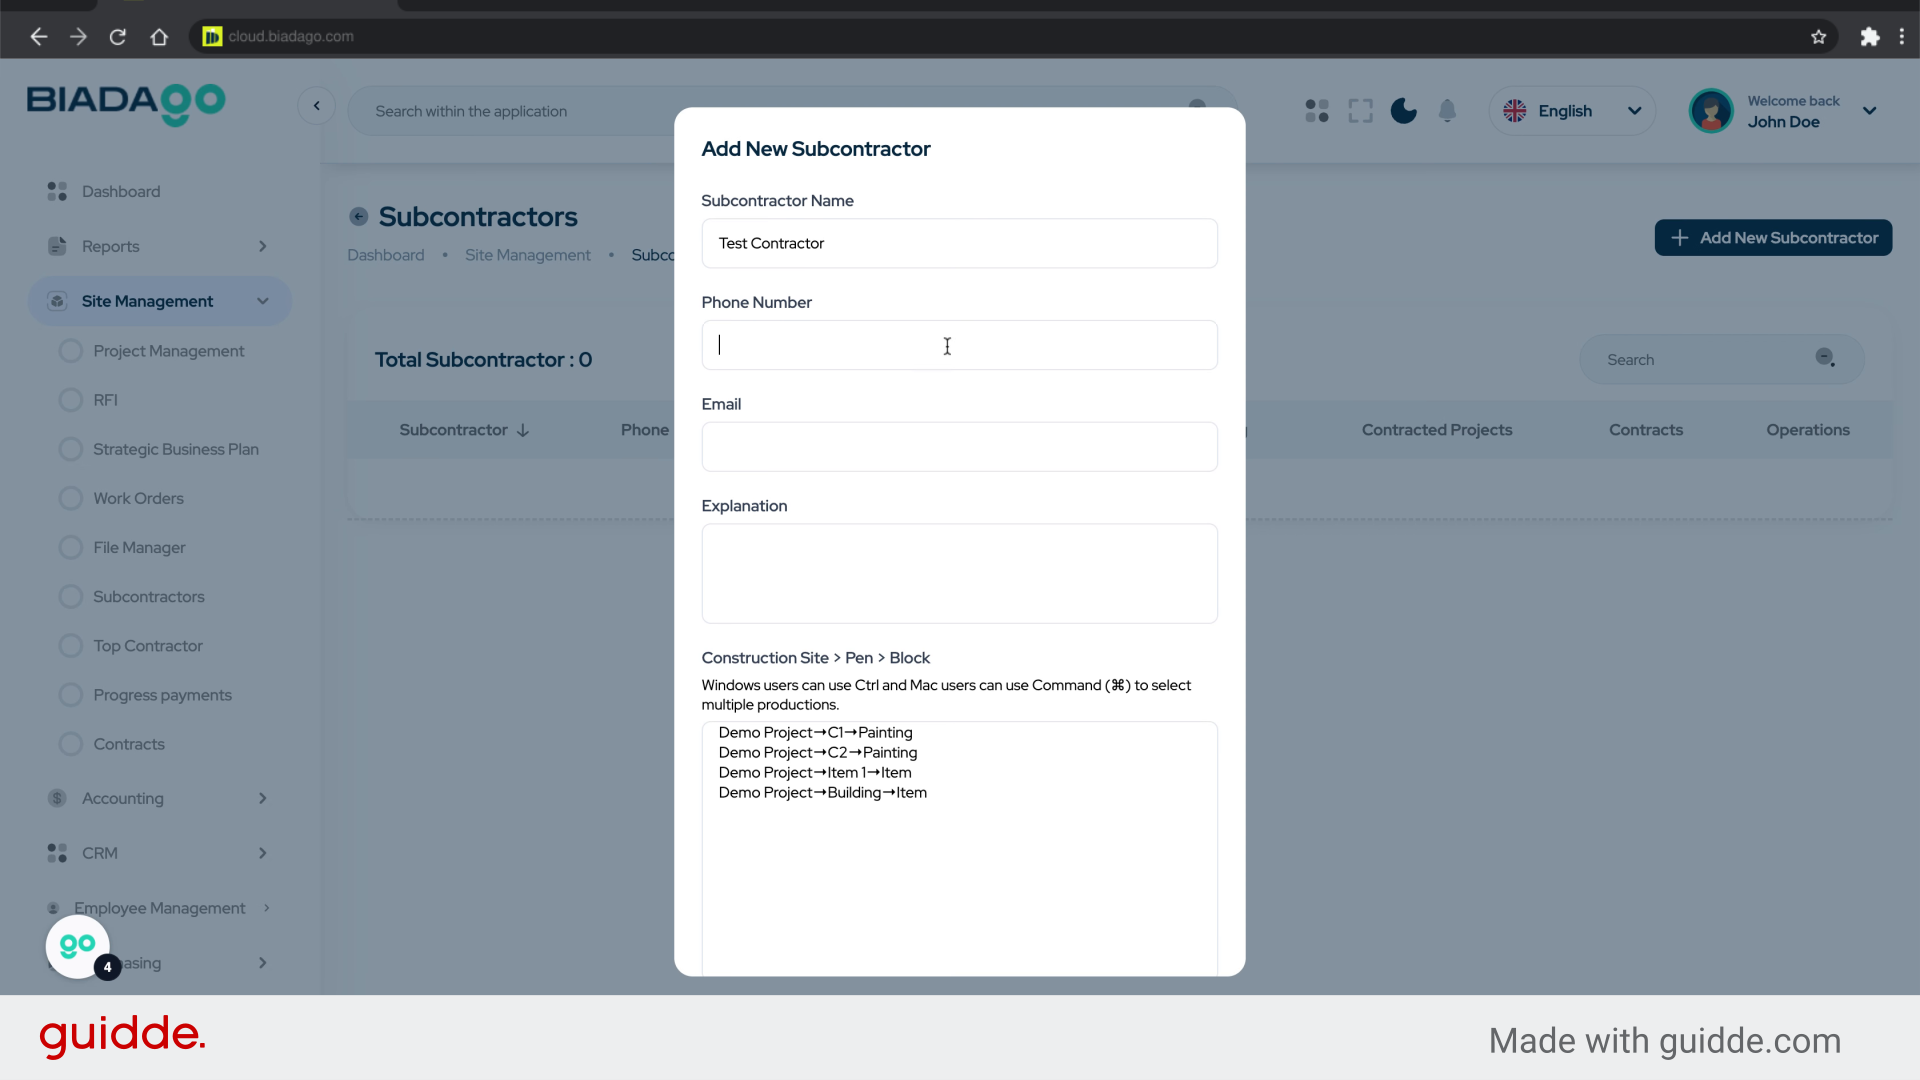
7. Click “Phone Number”
Provide the subcontractor’s phone number.
8. Fill “0000”
Enter “0000” in the provided field
9. Go here
Navigate to the specified location.
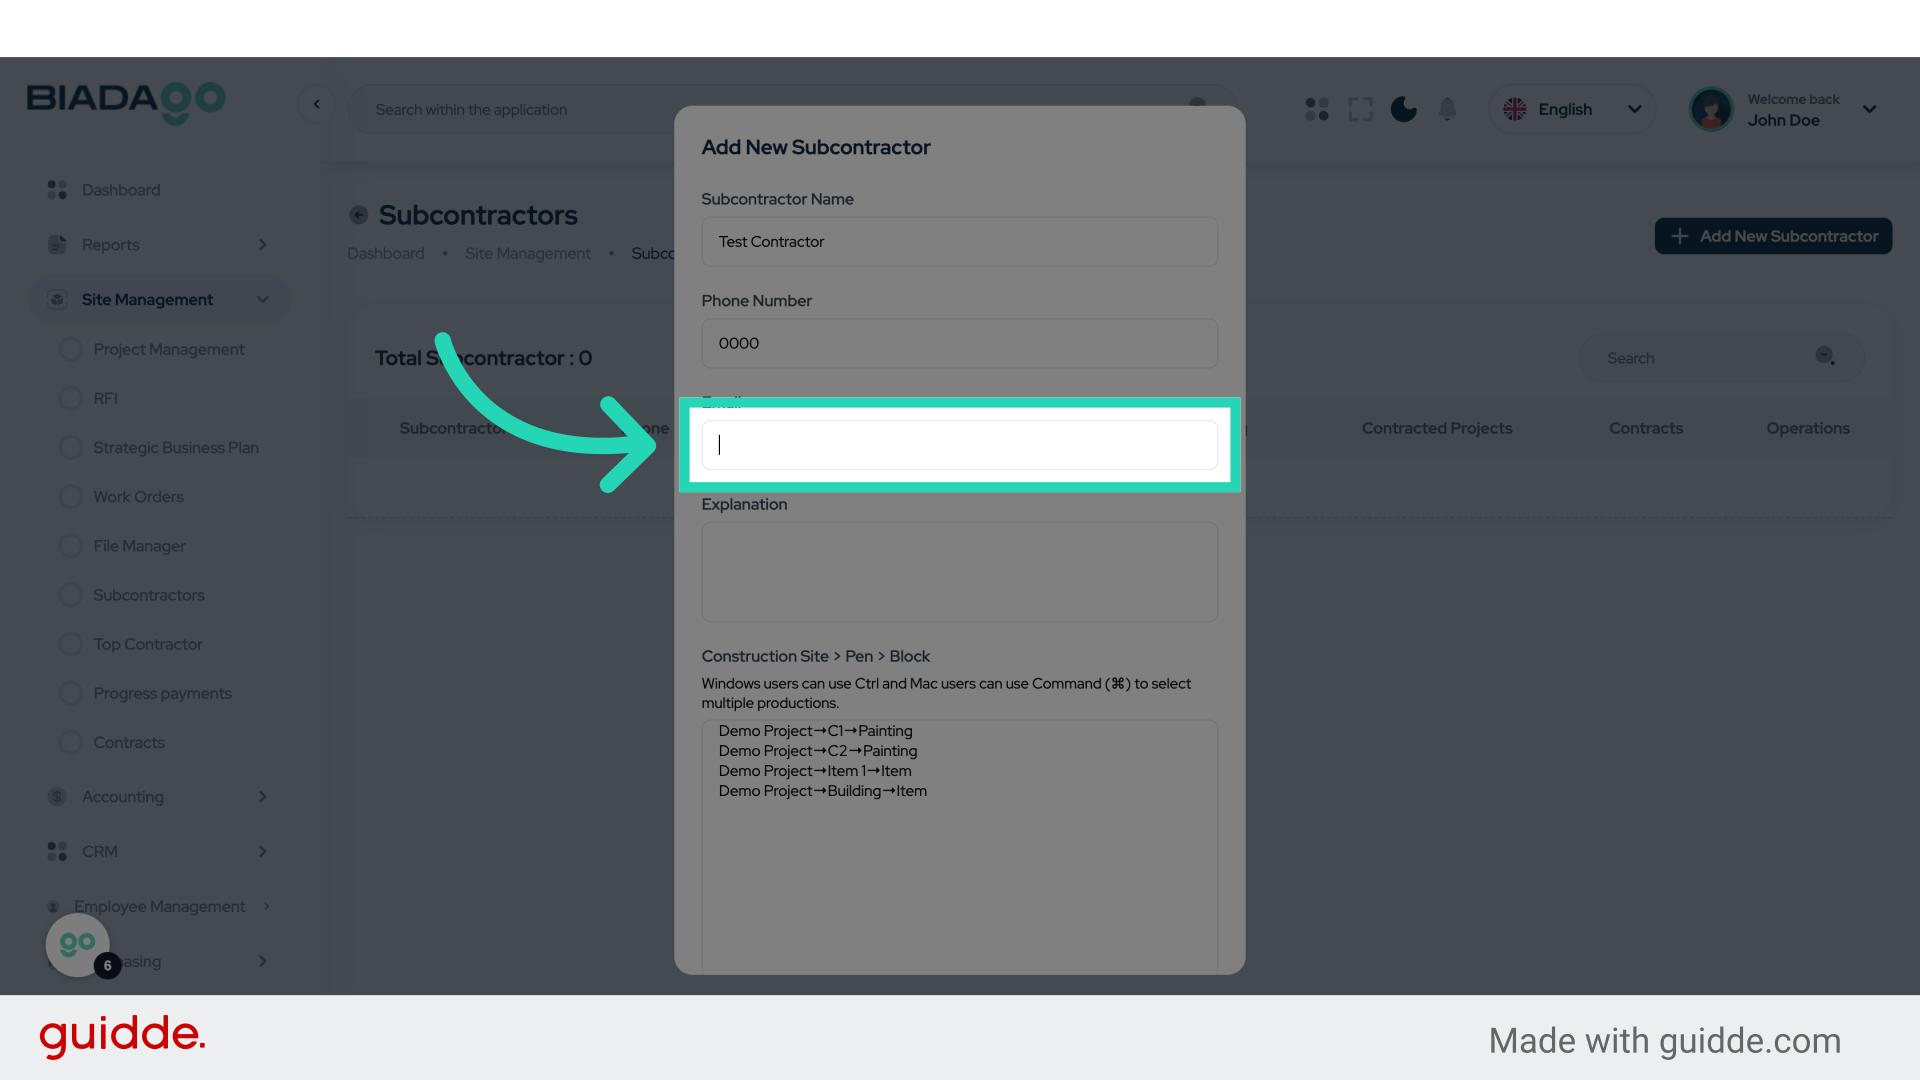
10. Fill “testcon@mail.com”
Fill in the text box with “testcon@mail.com”

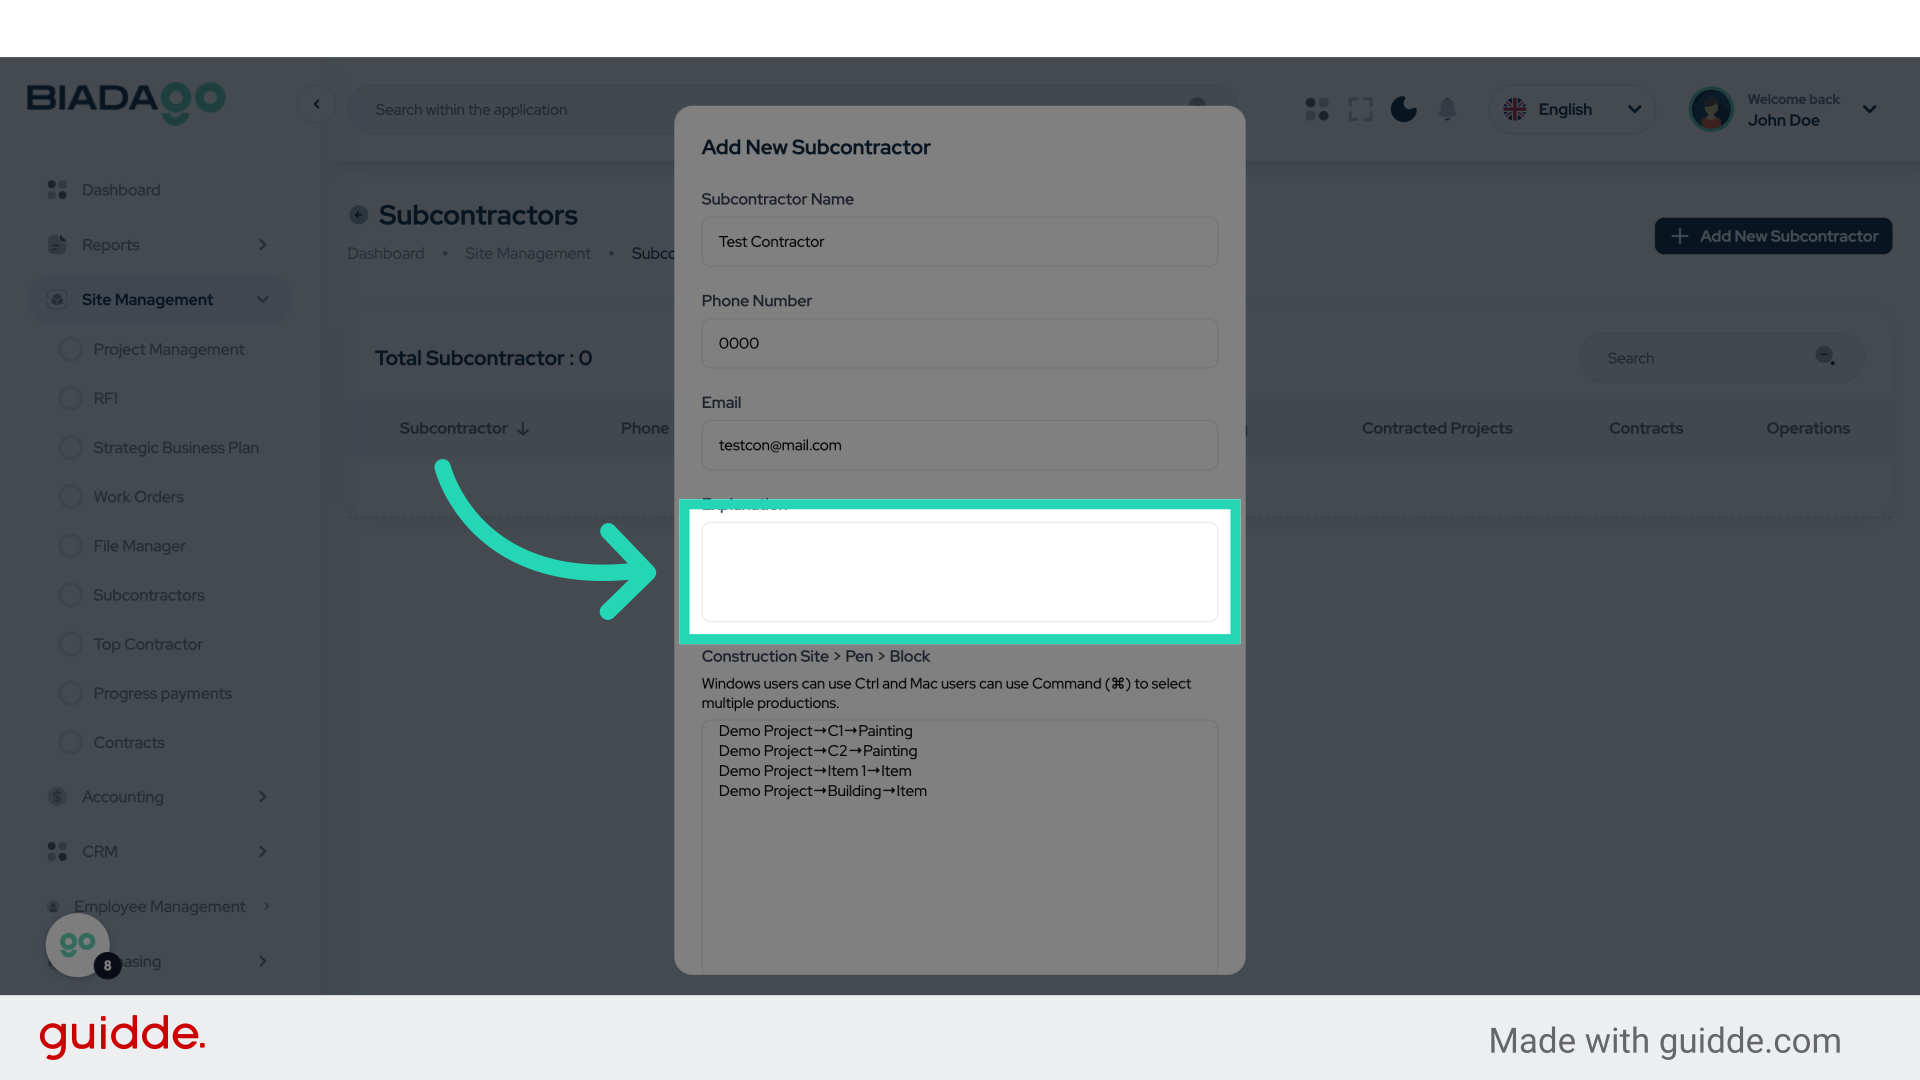
11. Click “Explanation”
Access the “Explanation” section.
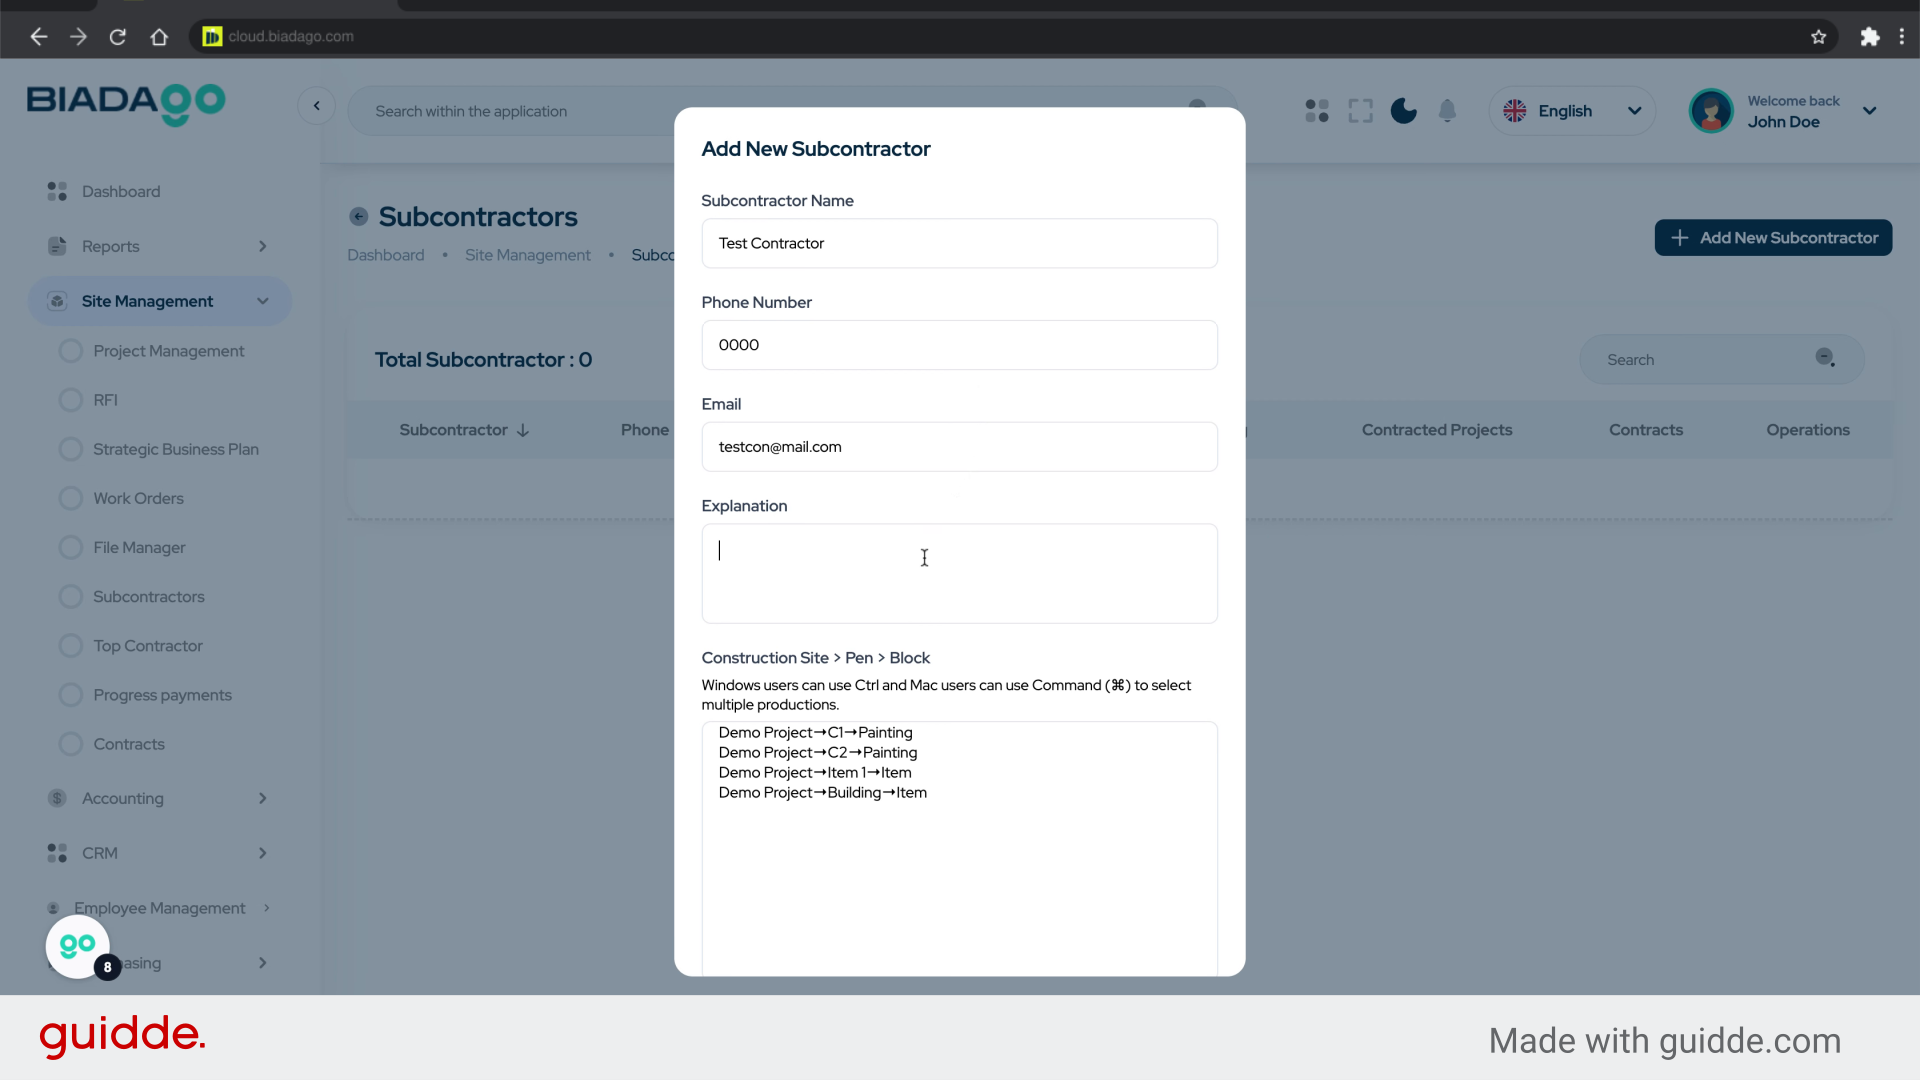
12. Fill “Test”
Enter the desired text.
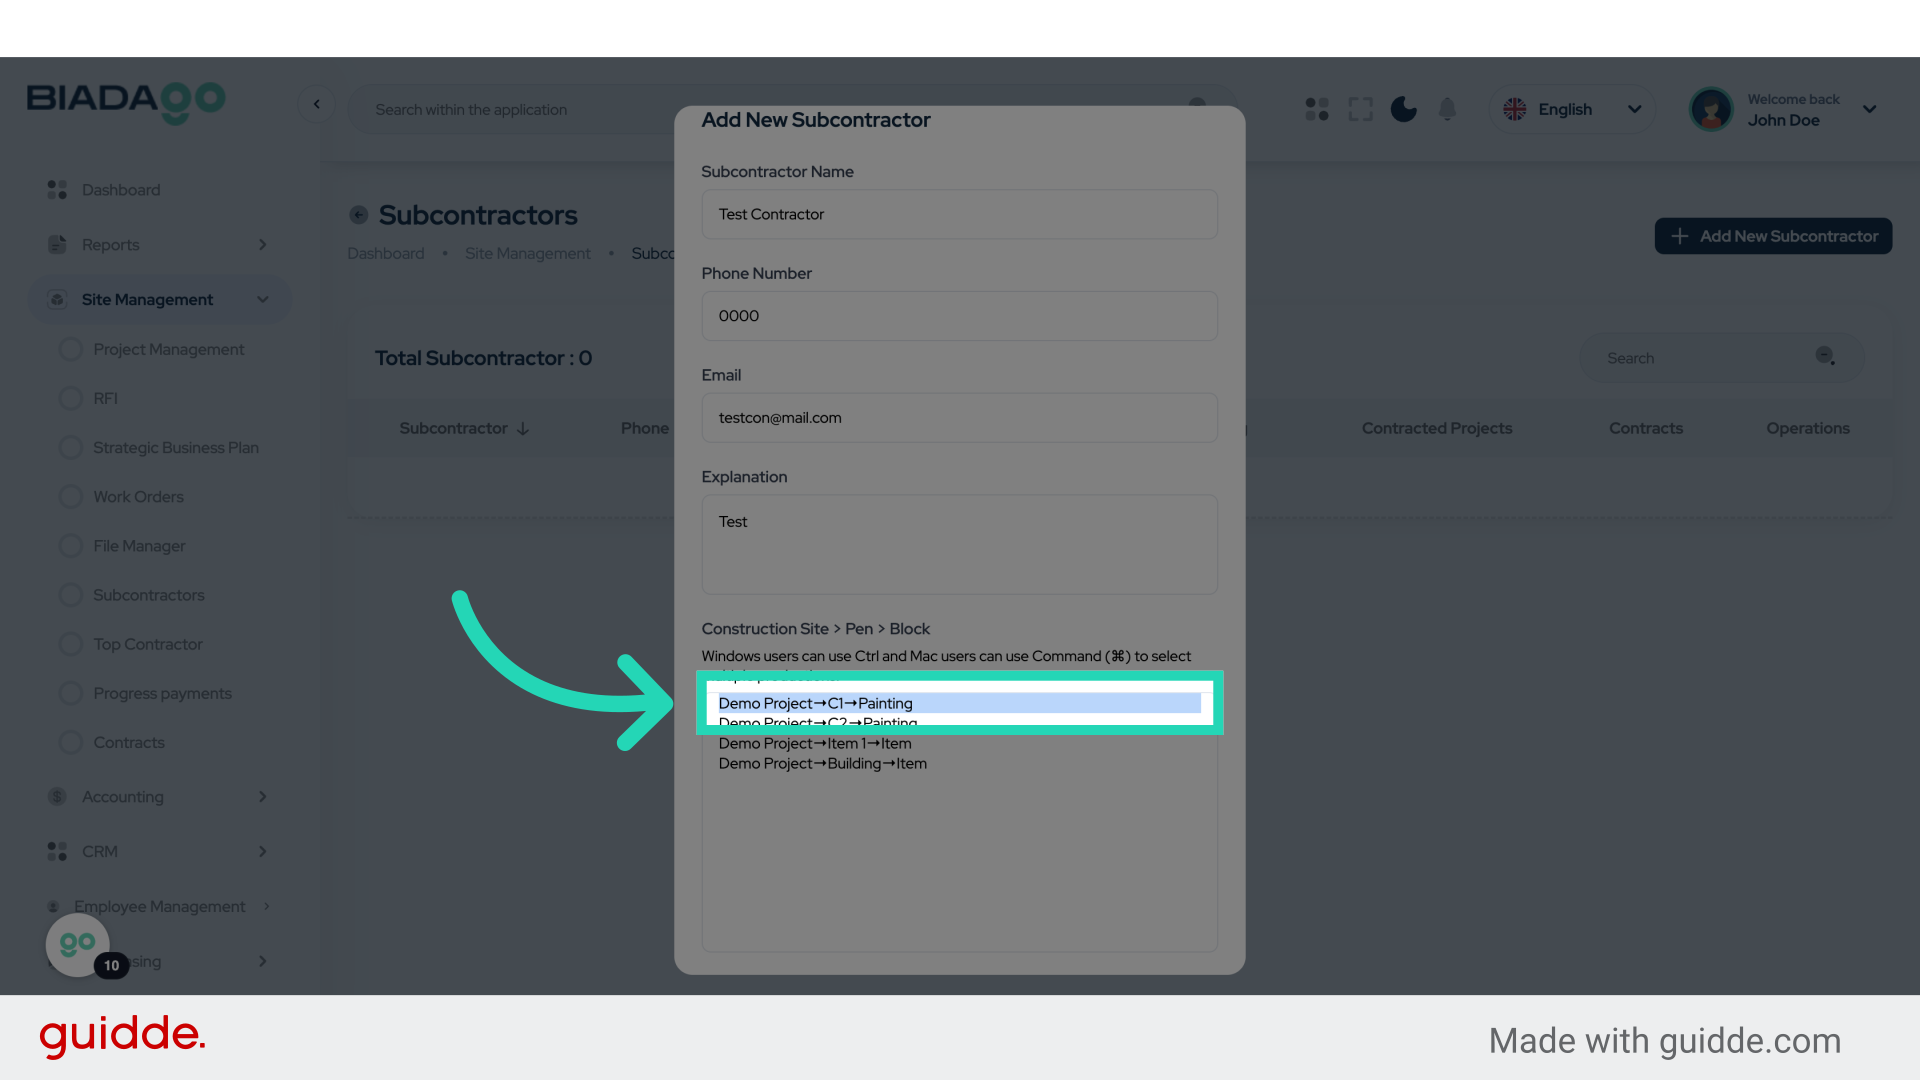
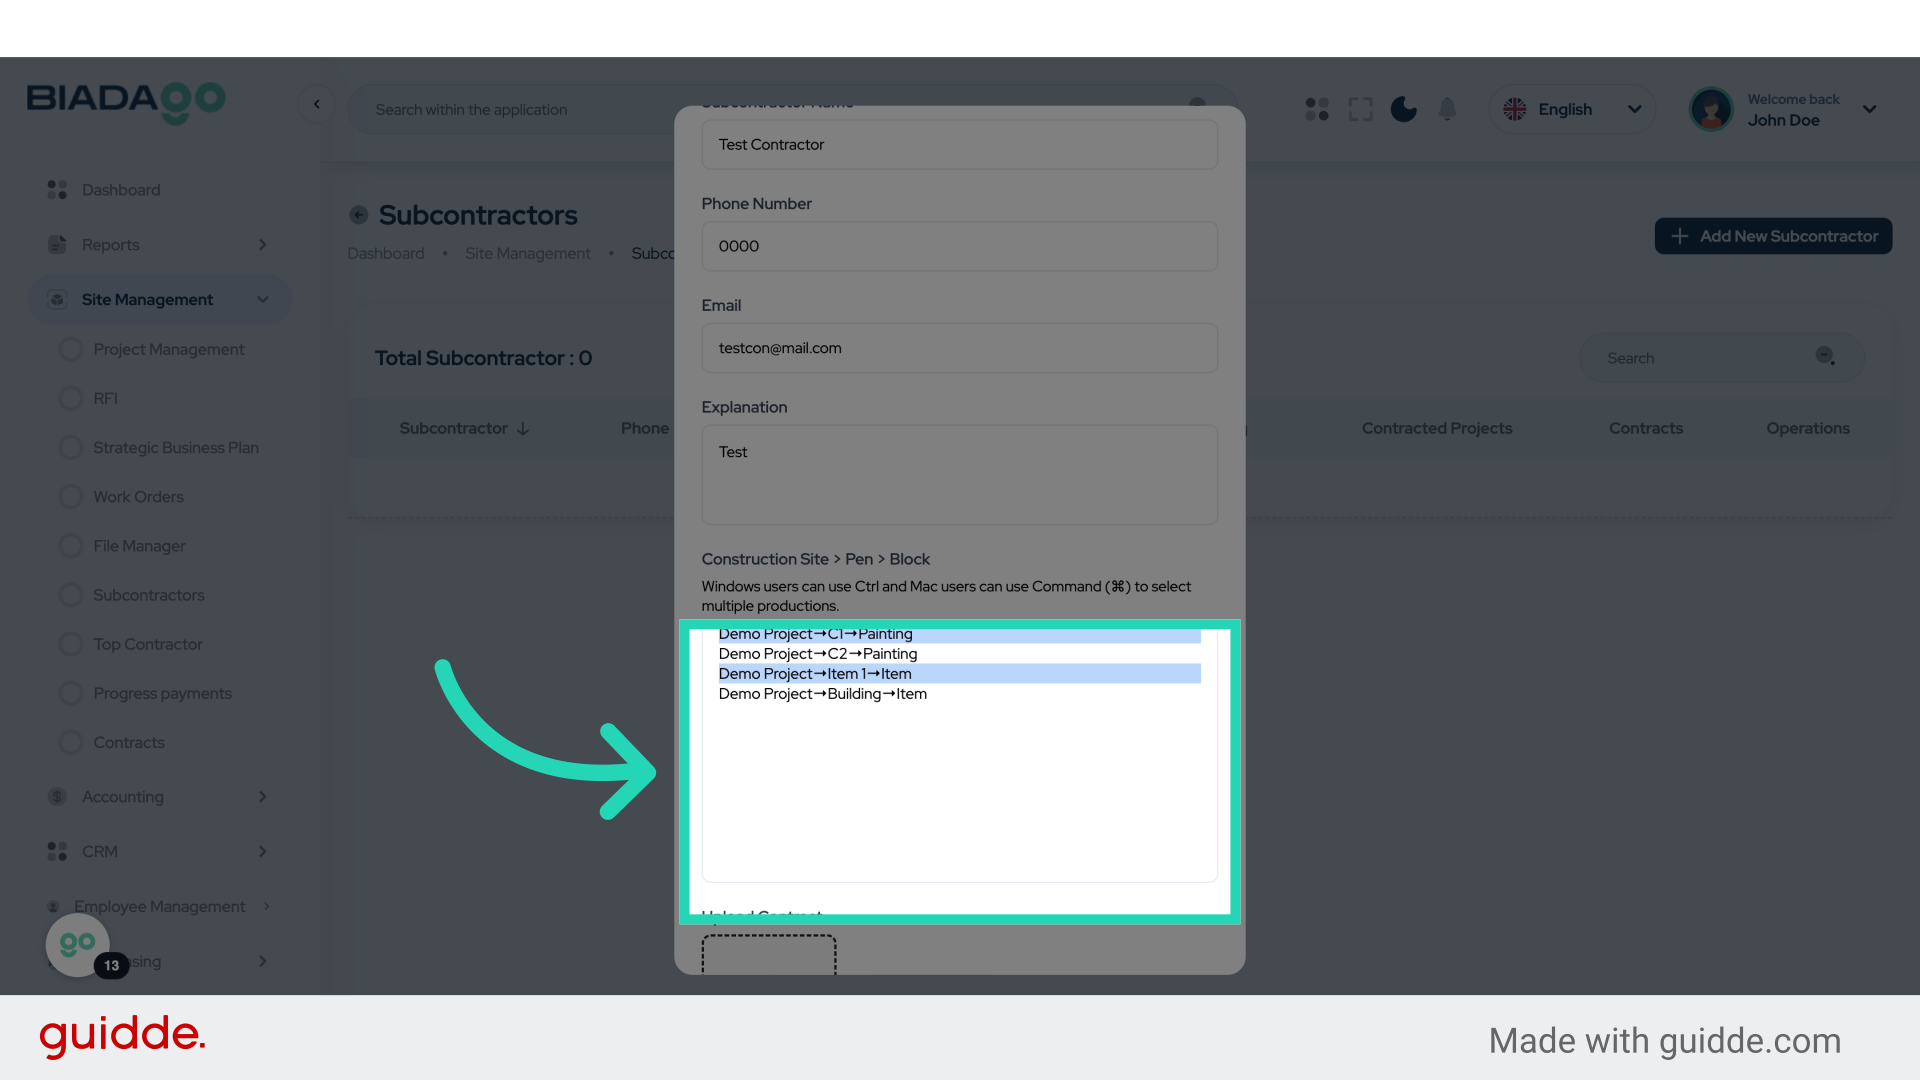
13. Click “Demo Project→C1→Painting”
Select “Demo Project→C1→Painting” from the options.
14. Fill “Demo Project→C1→PaintingDemo Project→C2→Painting
Demo Project→Item 1→ItemDemo Project→Building→Item”
Type “Demo Project→C1→PaintingDemo Project→C2→PaintingDemo Project→Item 1→ItemDemo Project→Building→Item” in the given field
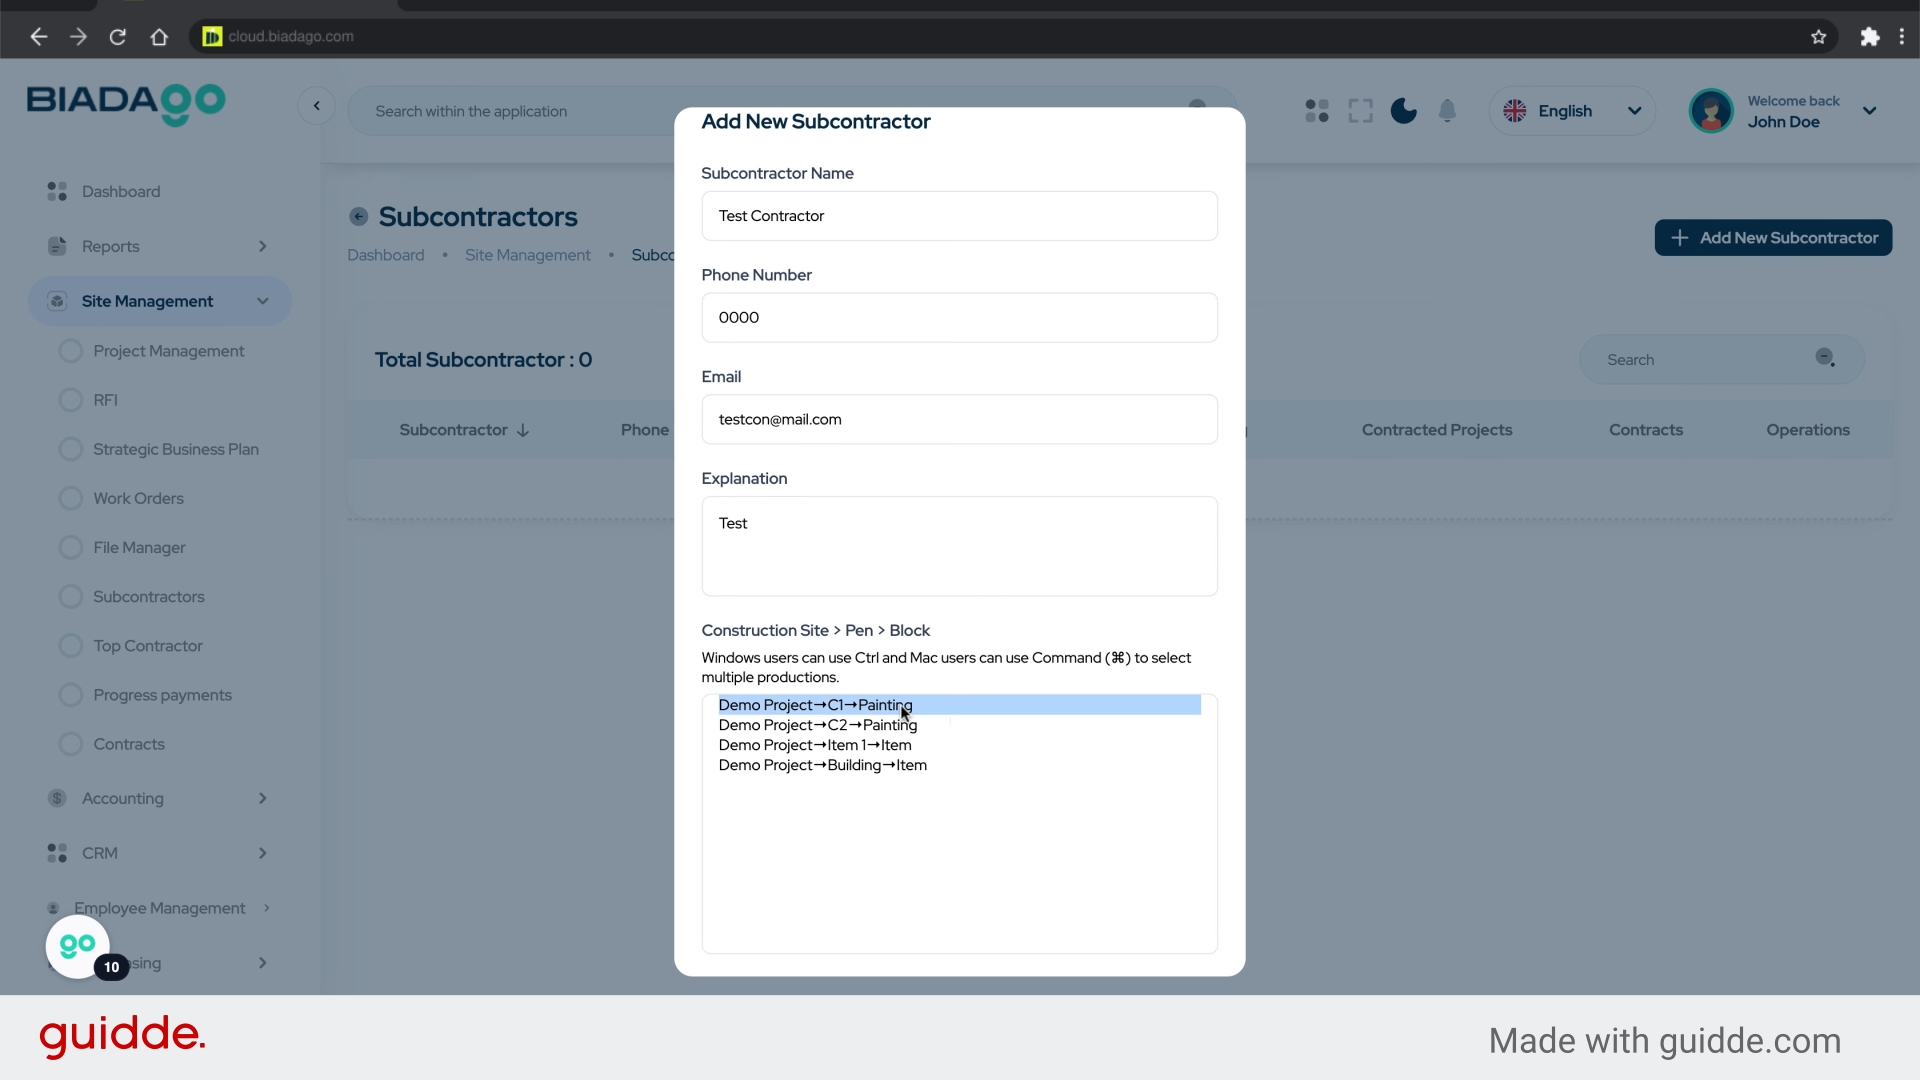
15. Fill “Demo Project→C1→PaintingDemo Project→C2→Painting
Demo Project→Item 1→ItemDemo Project→Building→Item”
Fill in the required details for the specified project items.
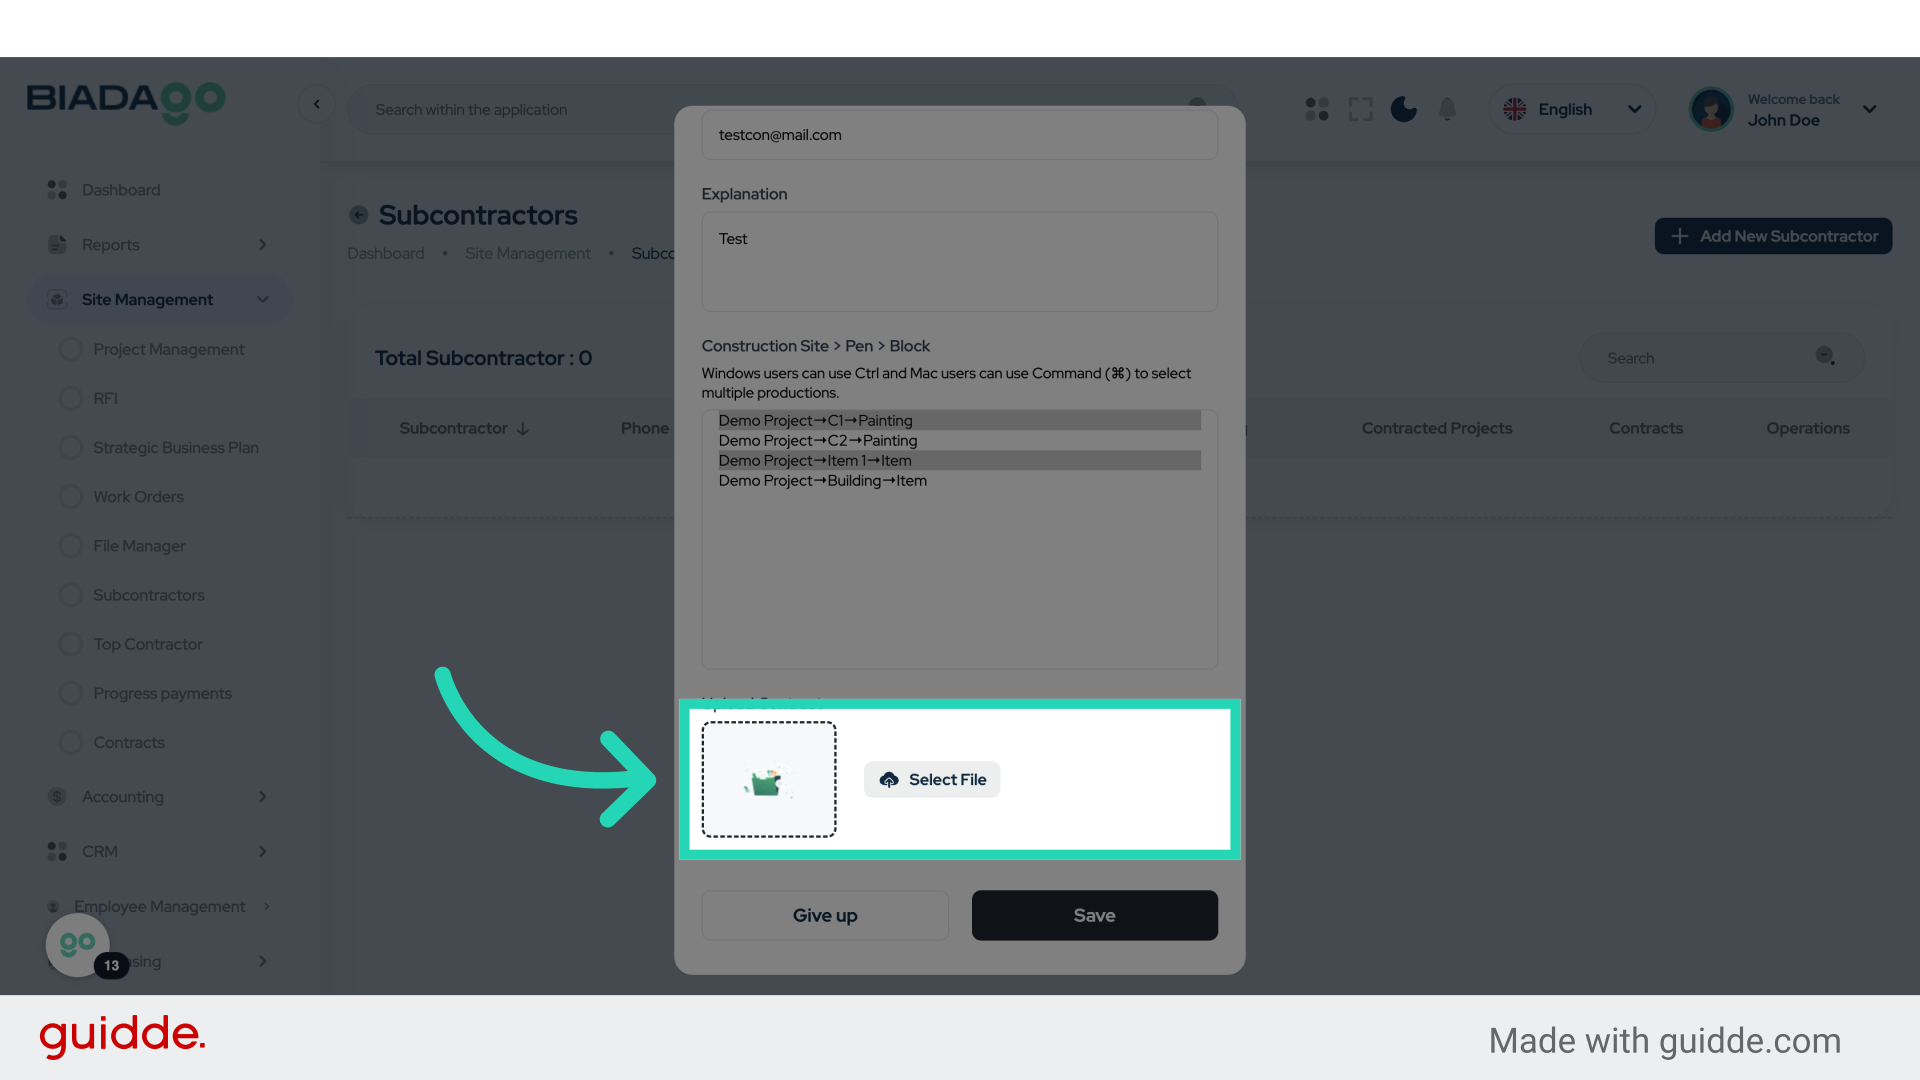
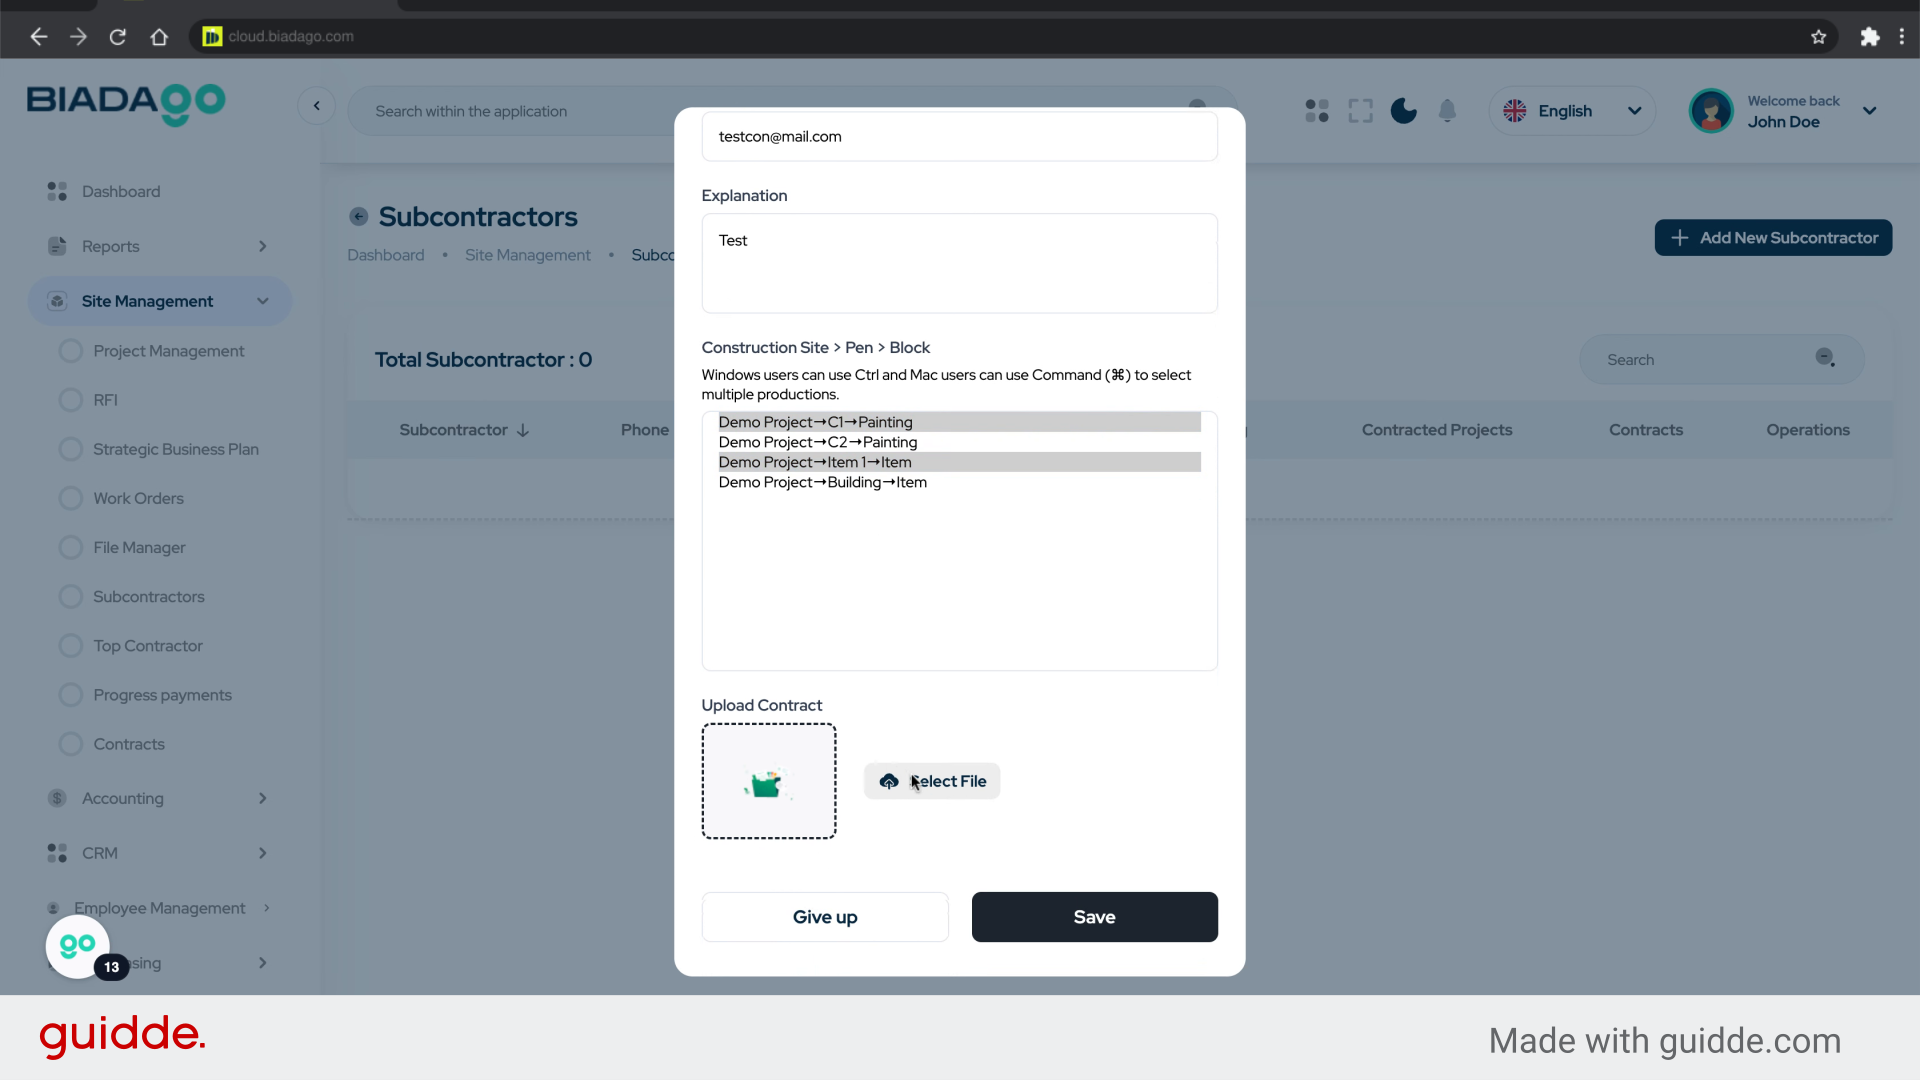
16. Click “Upload Contract”
Upload the subcontractor’s contract document.
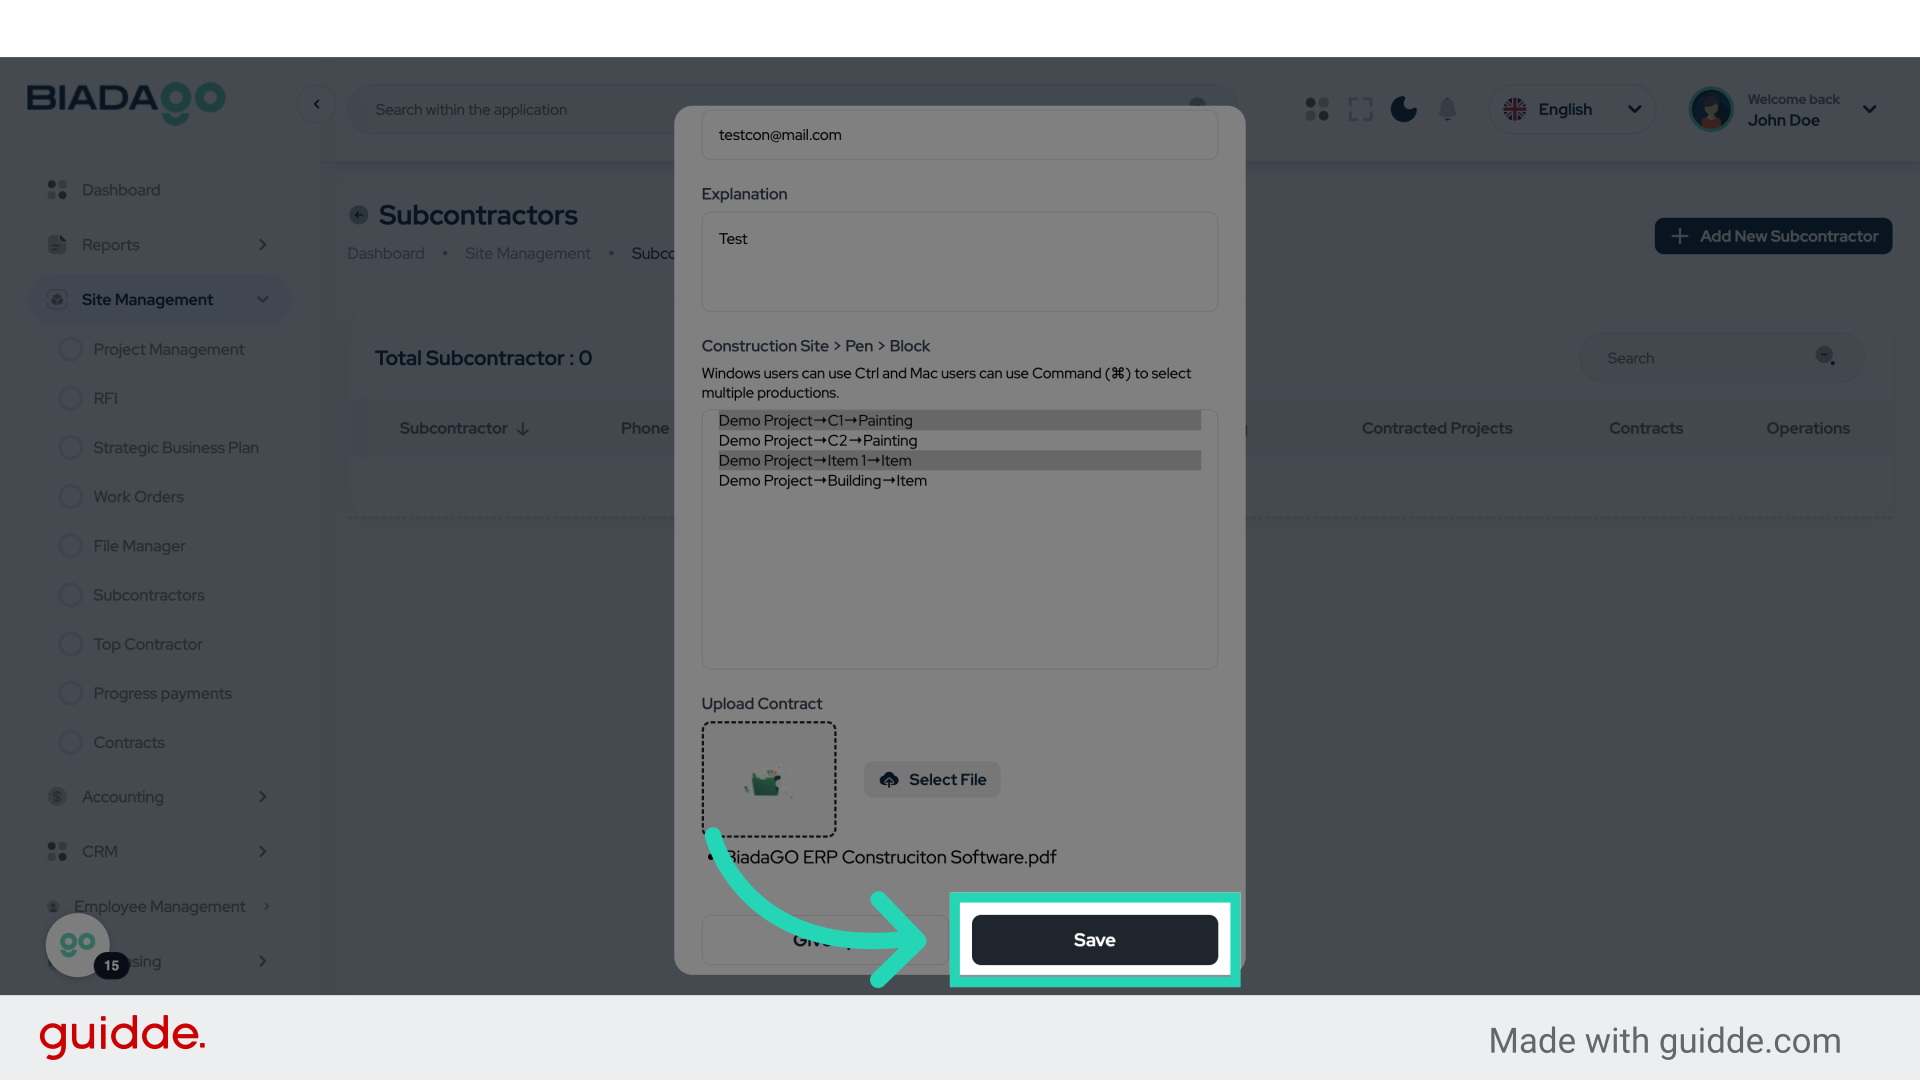
17. Fill “C:\fakepath\BiadaGO ERP Construciton Software.pdf”
Write “C:\fakepath\BiadaGO ERP Construciton Software.pdf” in the specified field
18. Click “Save”
Save the changes made.
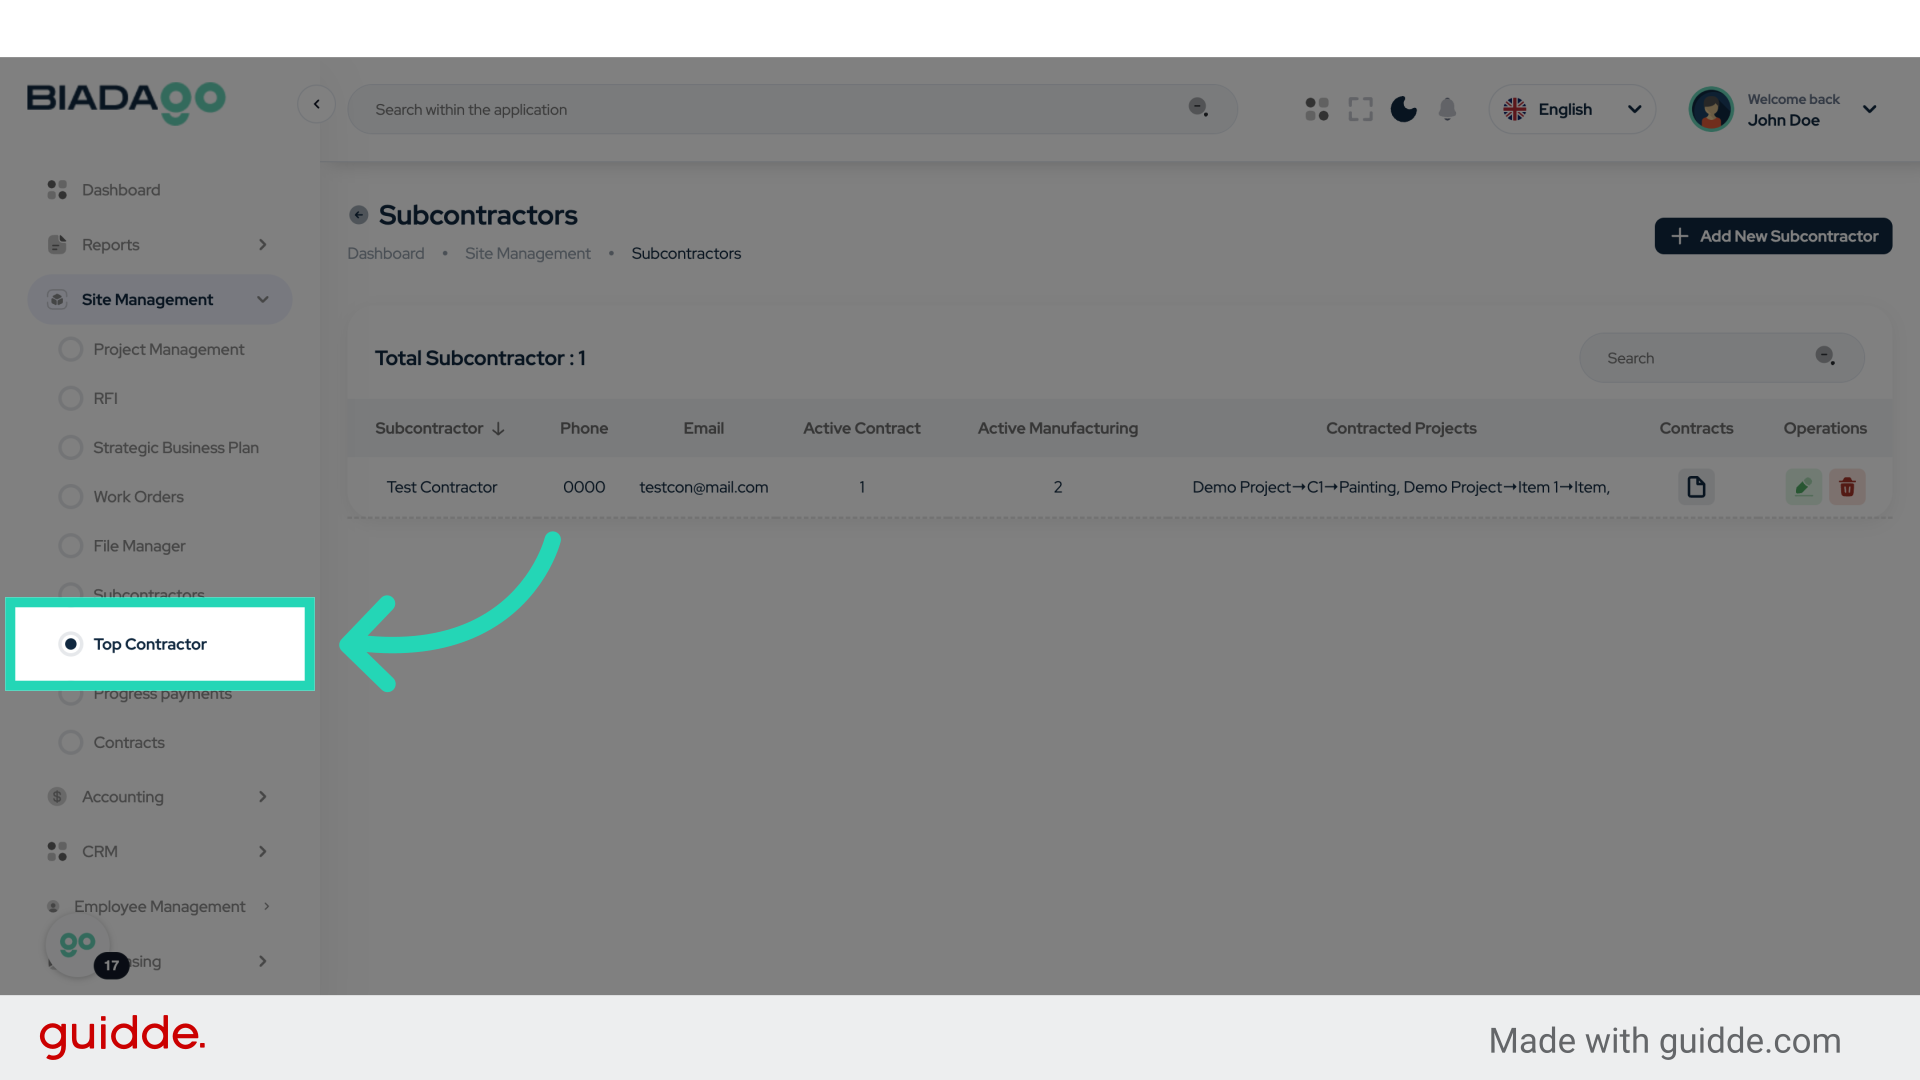
19. Click “Top Contractor”
Access the “Top Contractor” section.
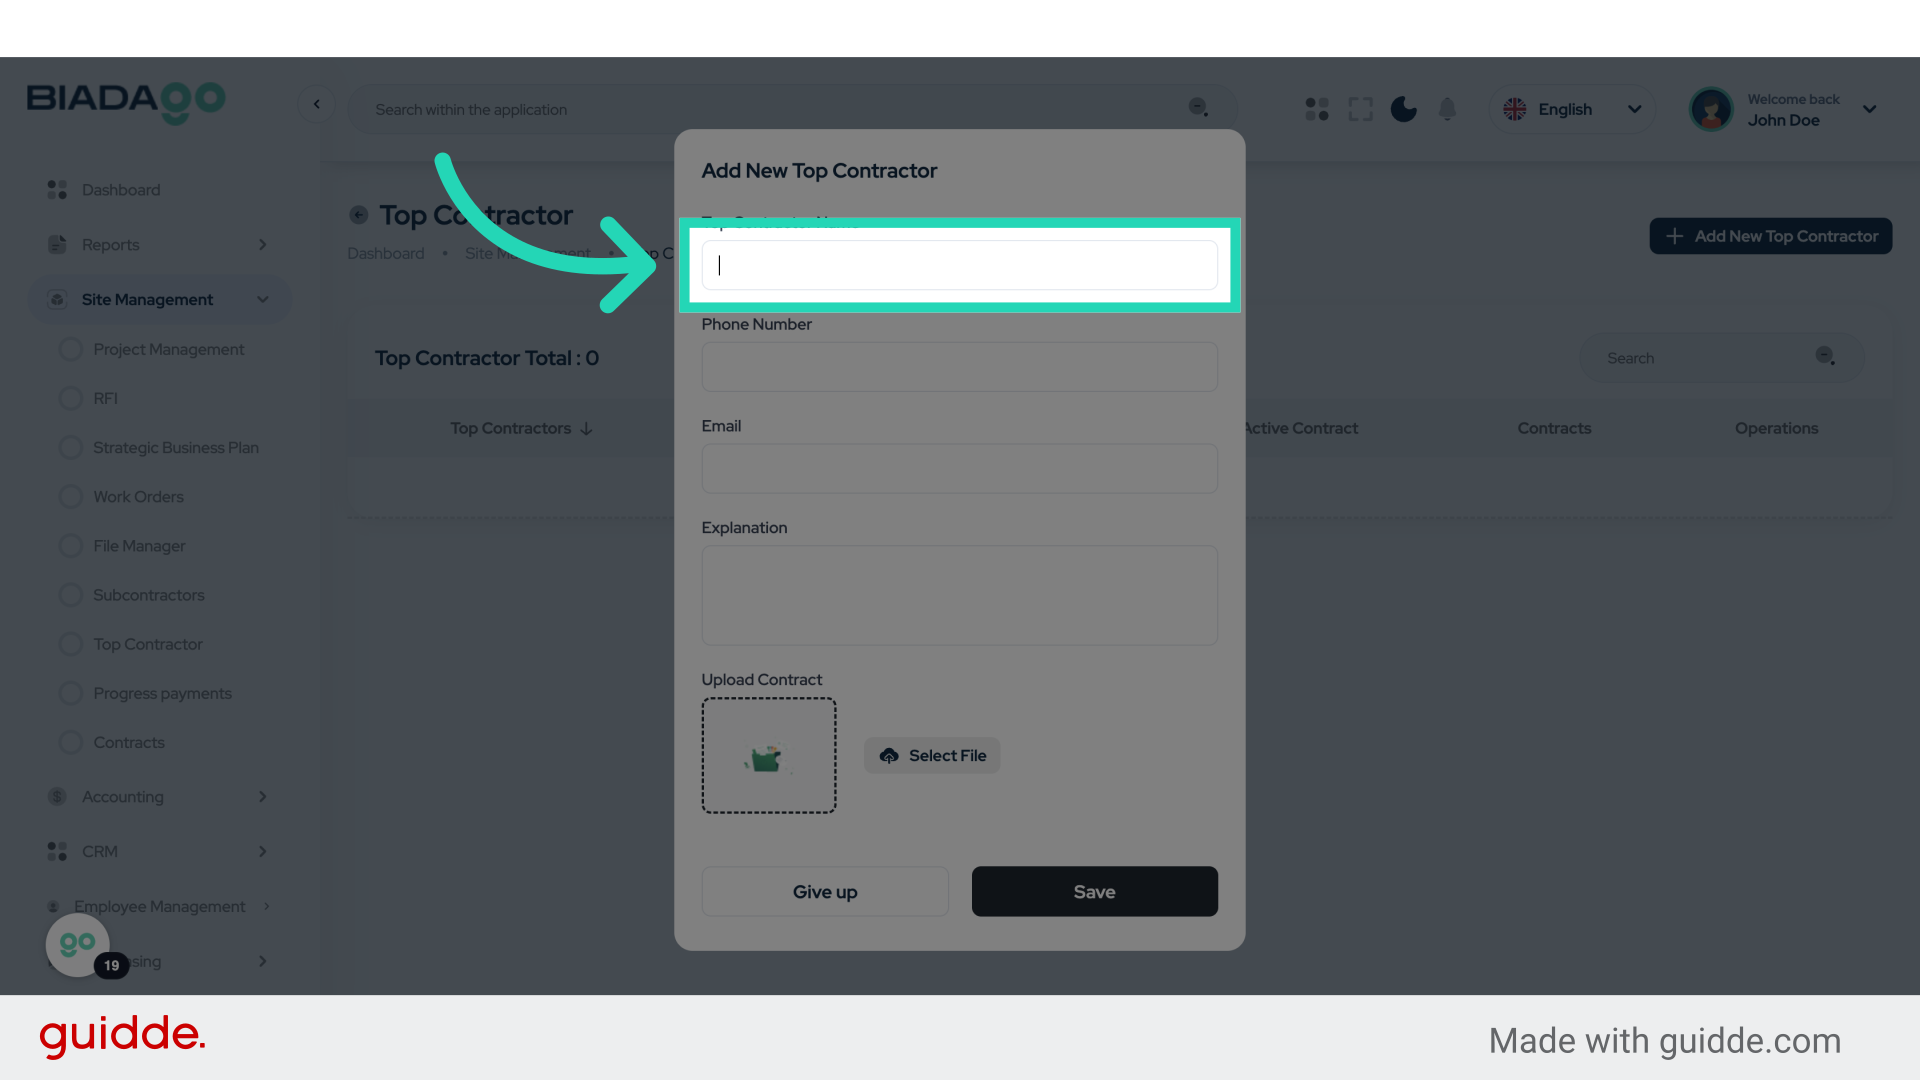
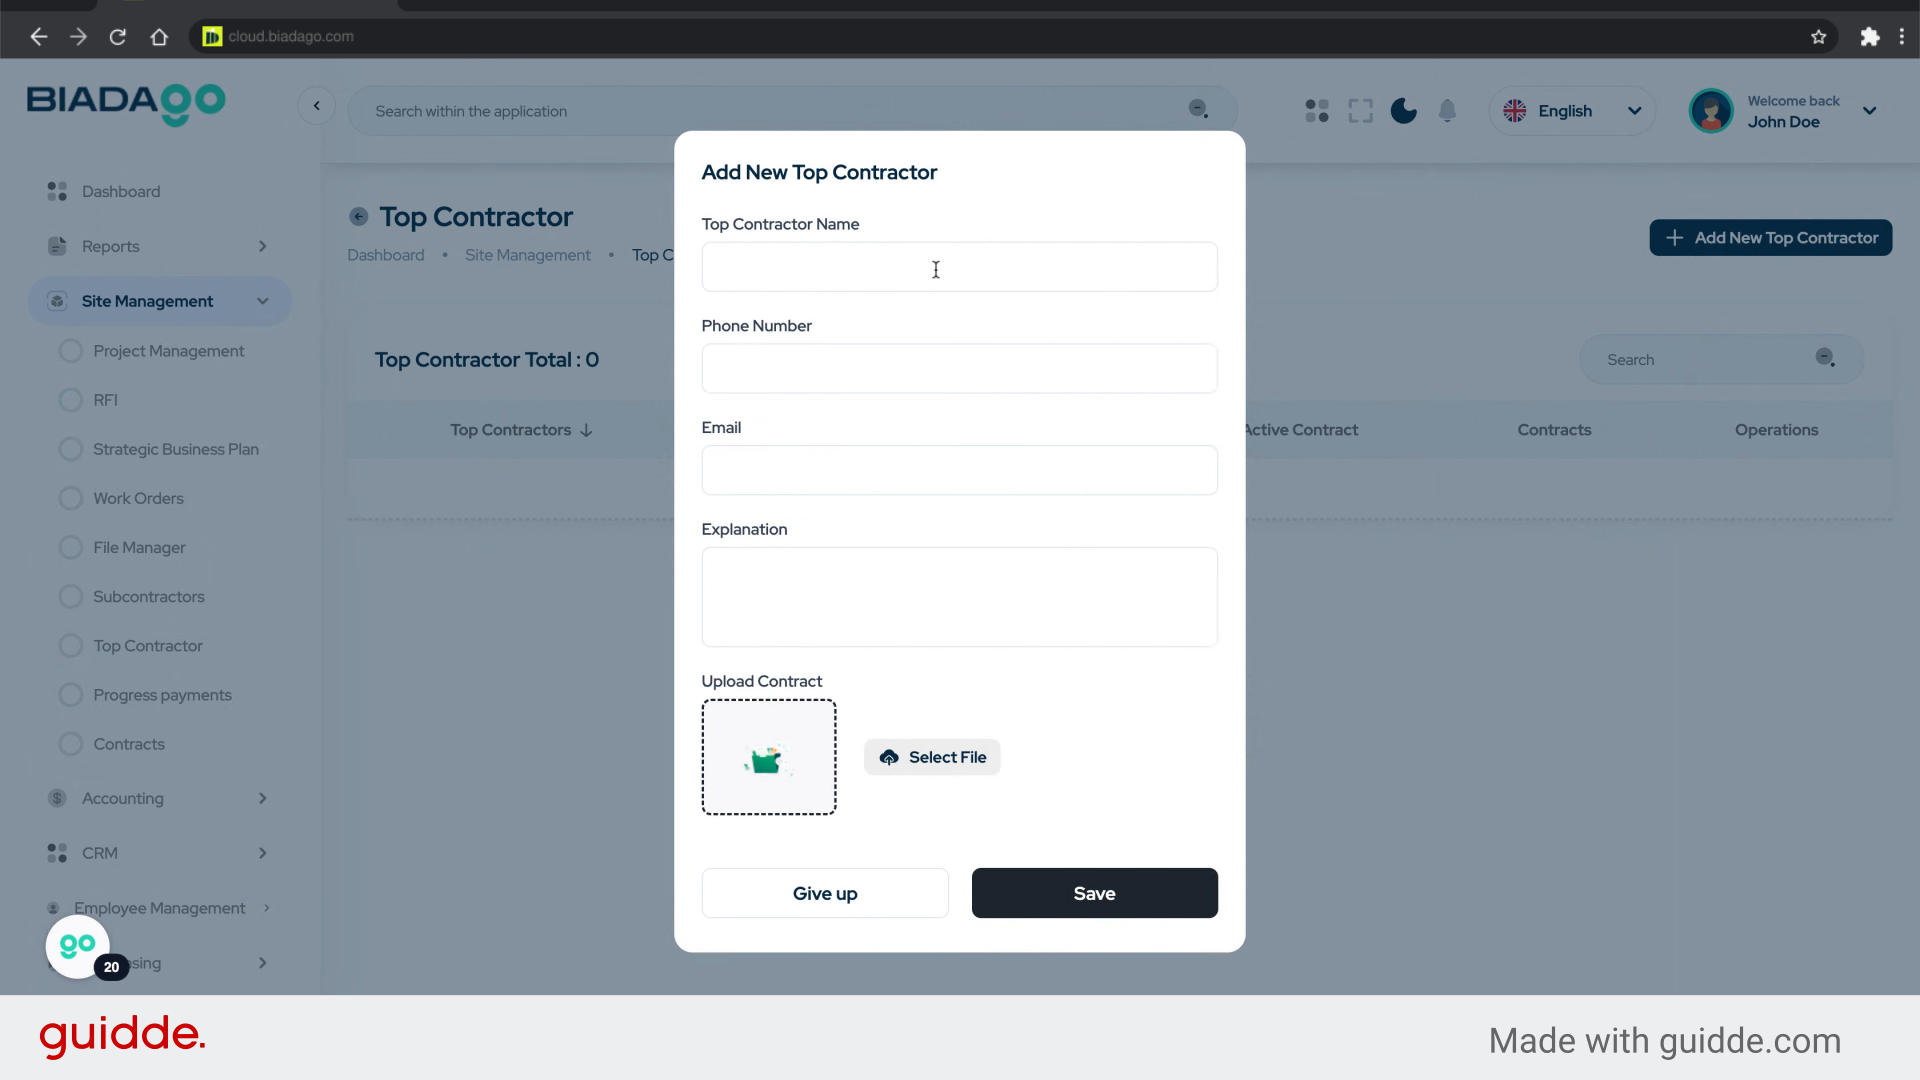
20. Click “Add New Top Contractor”
Select the option to add a new top contractor.

21. Click “Top Contractor Name”
Enter the top contractor’s name.
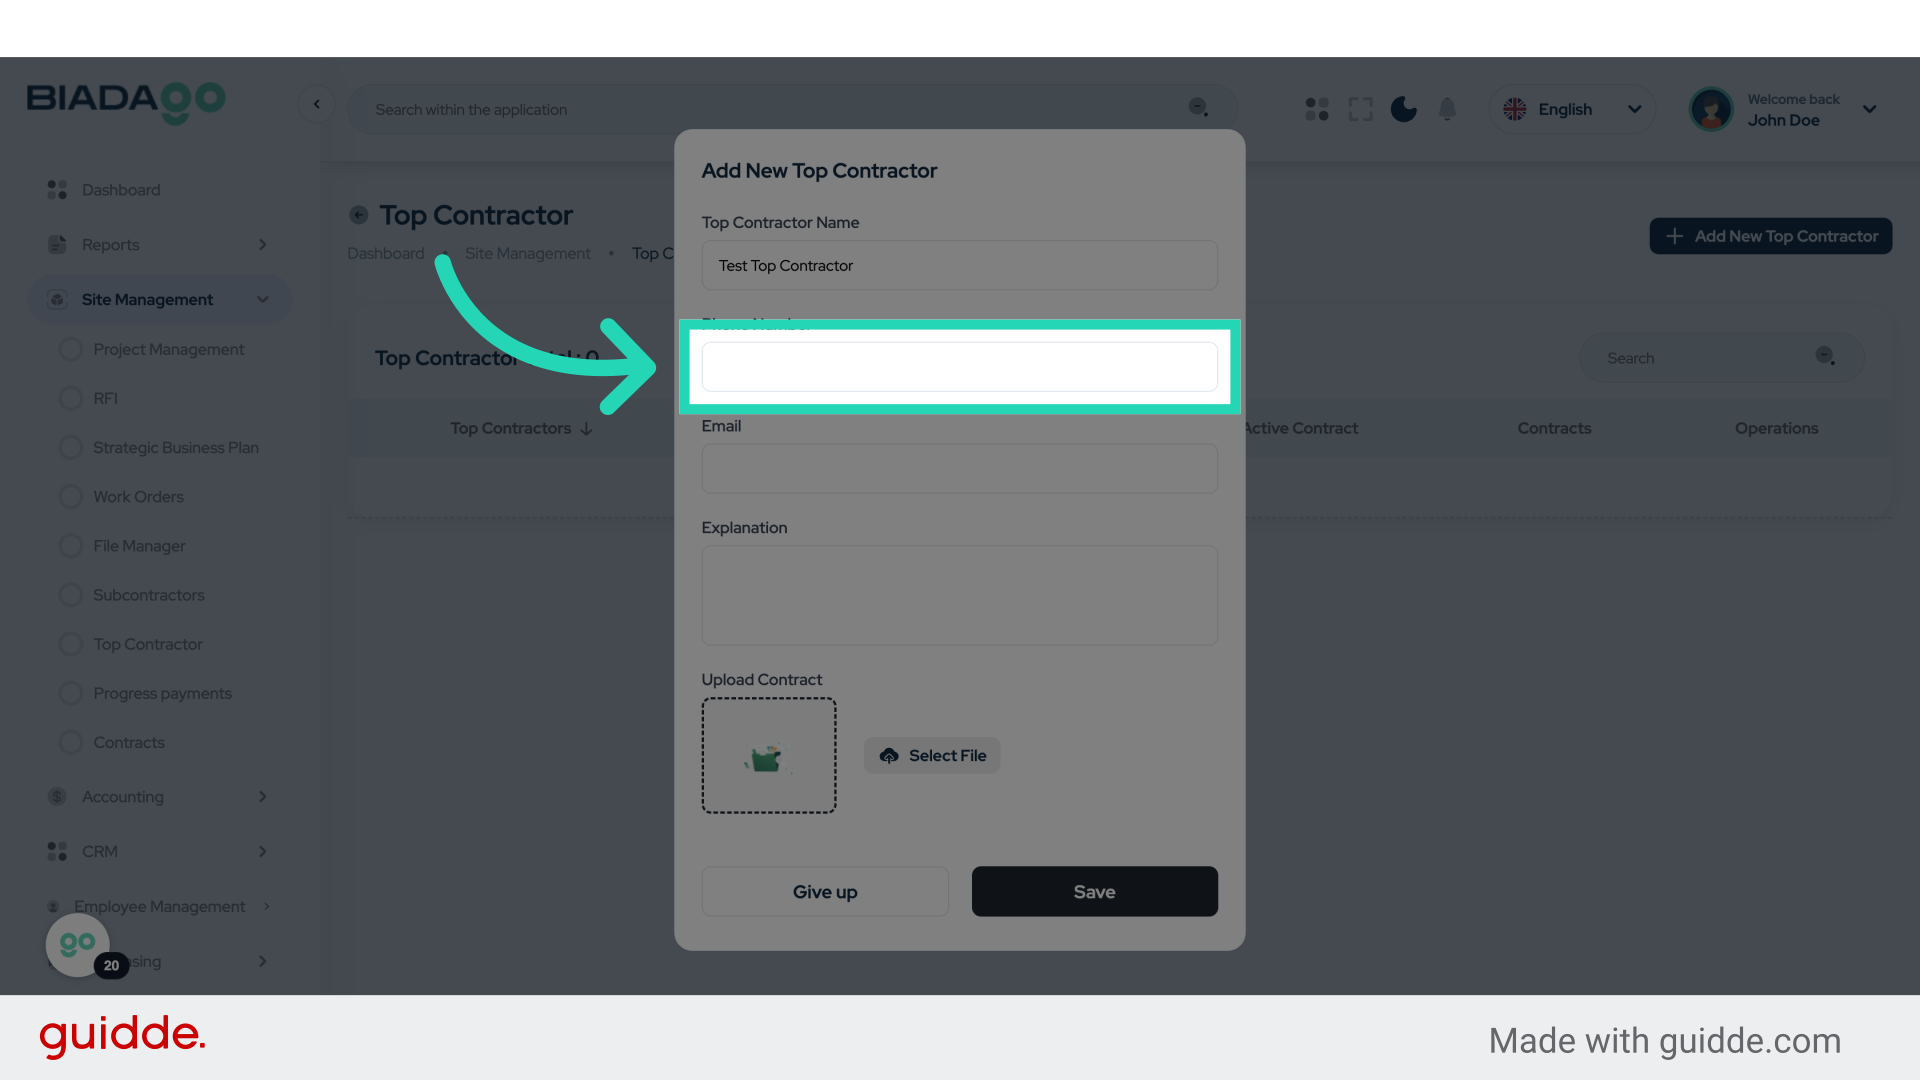
22. Fill “Test Top Contractor”
Submit “Test Top Contractor” in the appropriate field
23. Click “Phone Number”
Provide the top contractor’s phone number.
24. Fill “00003”
Input the desired text

25. Click “Email”
Enter the top contractor’s email address.
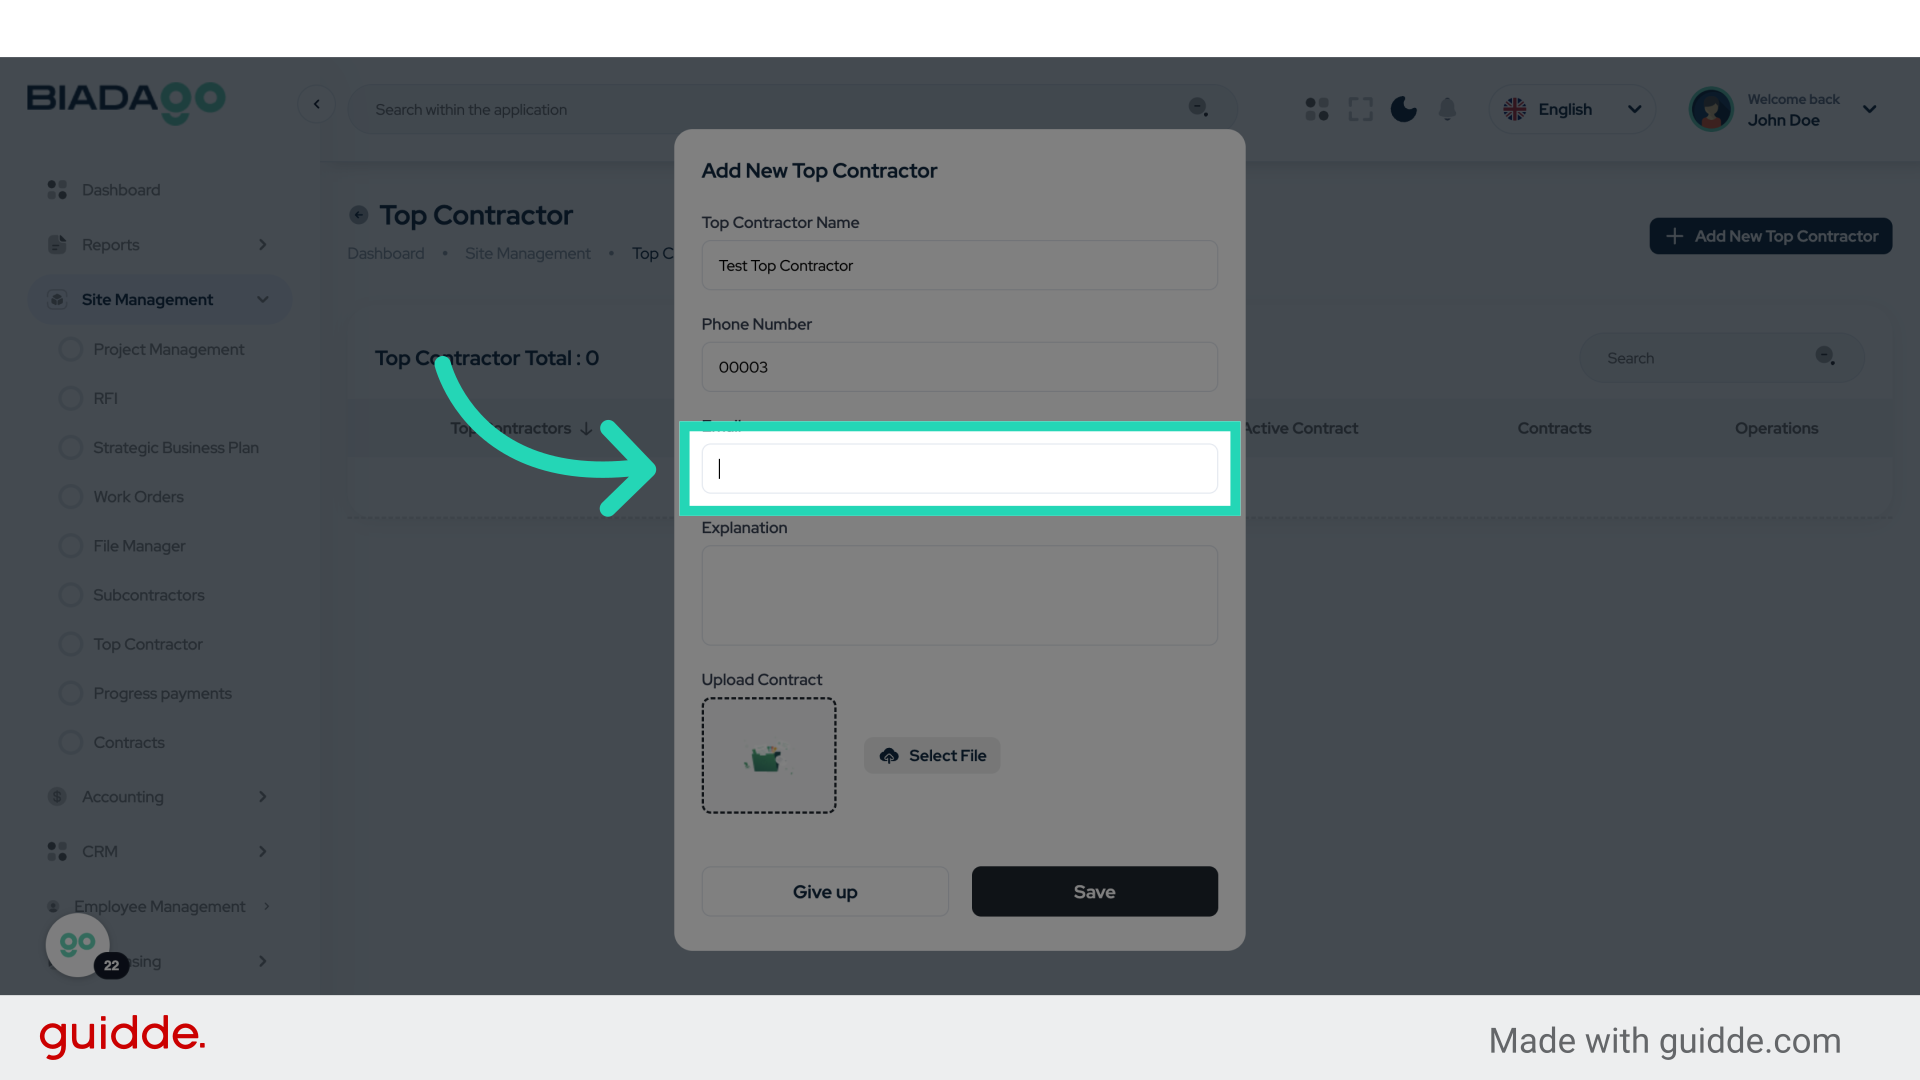
26. Fill “contractor@mail.com”
Write your desired text.

27. Click “Explanation”
Access the “Explanation” section for the top contractor.

28. Fill “Test”
Fill in “Test”

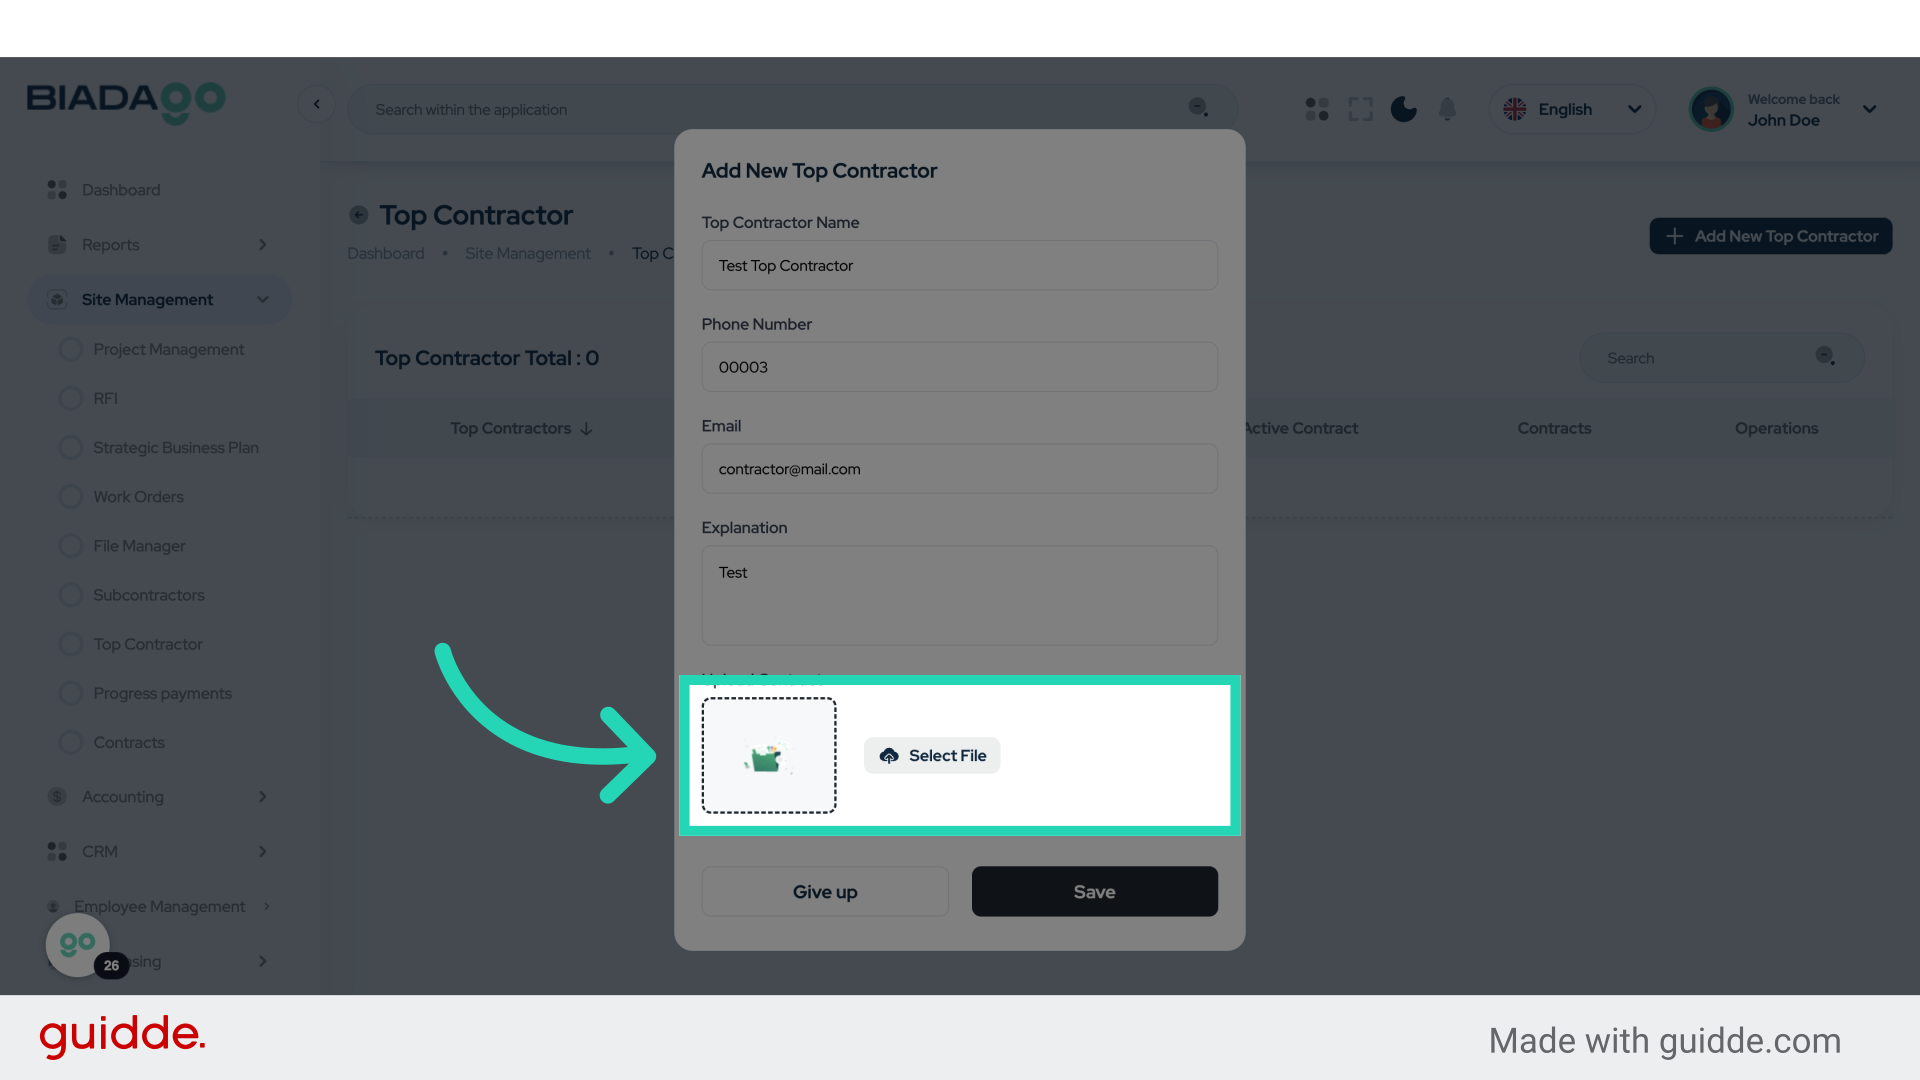
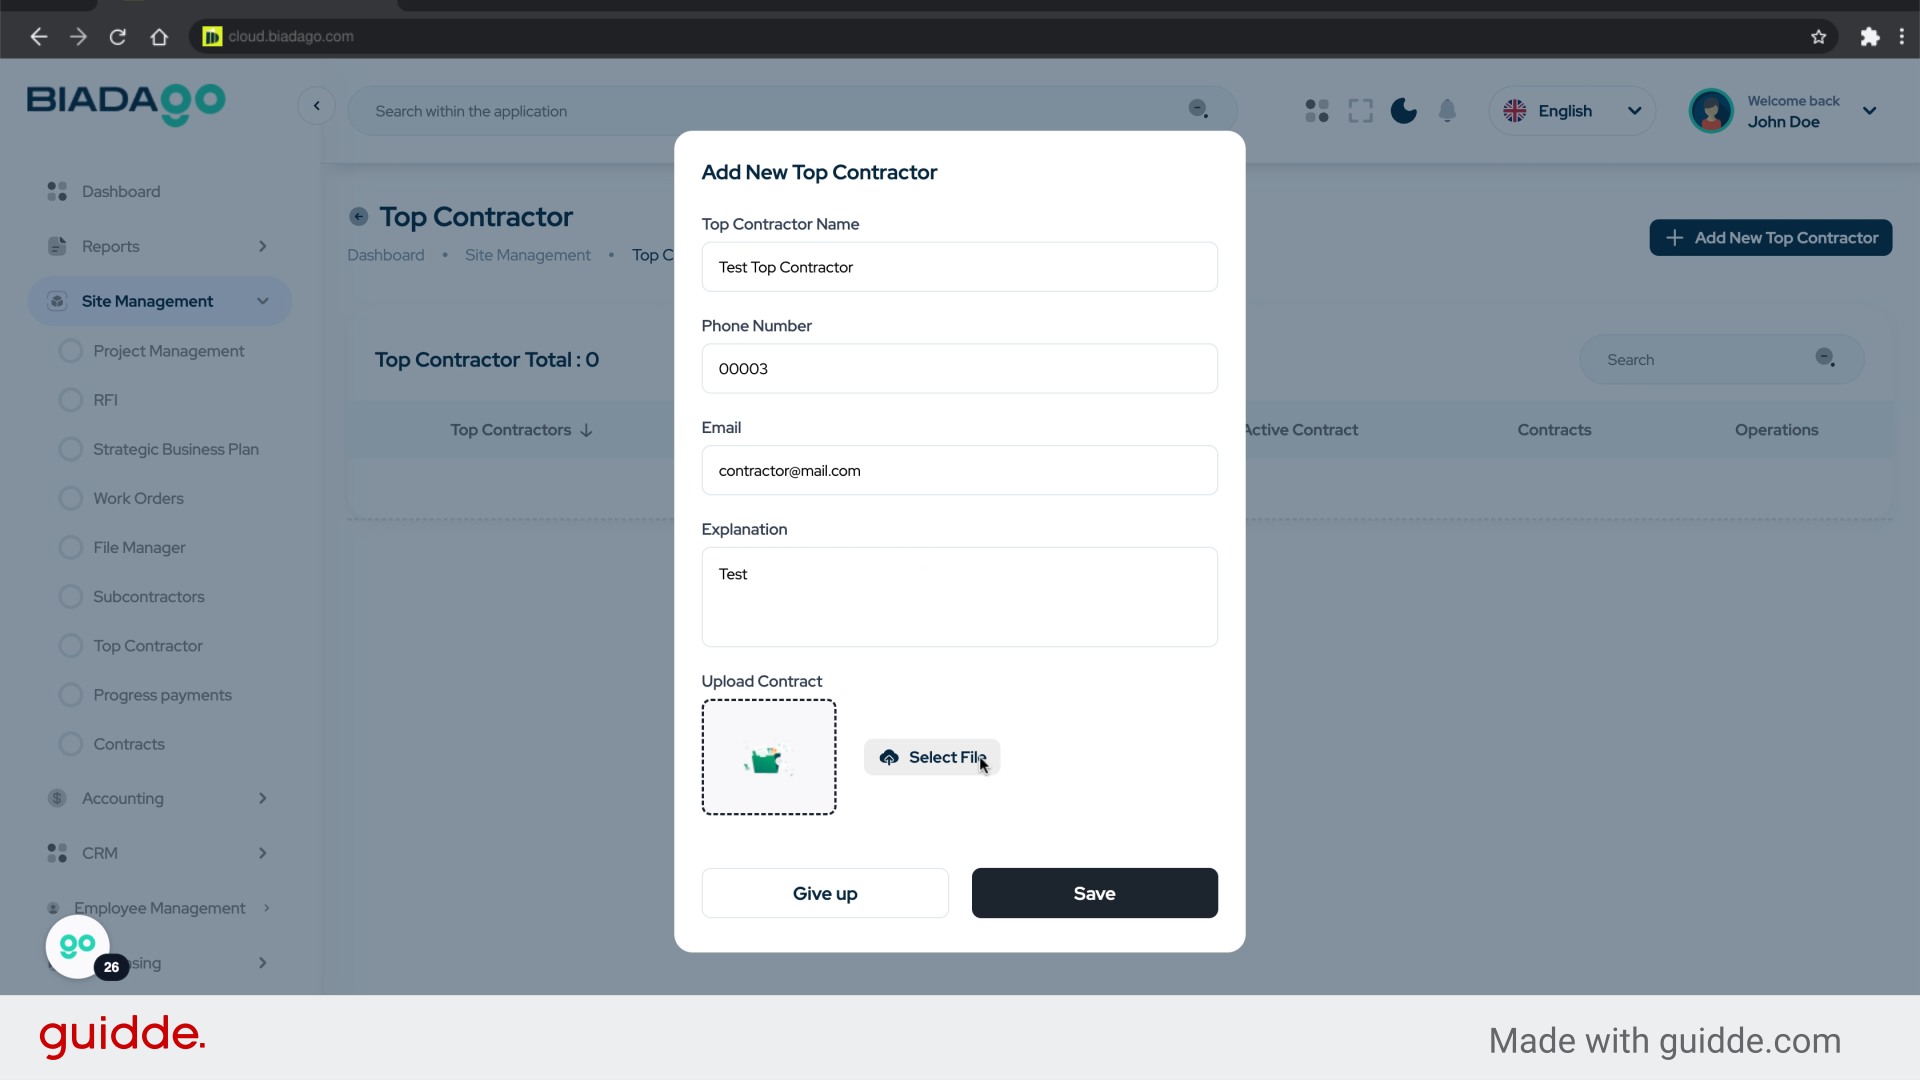
29. Click “Upload Contract”
Upload the top contractor’s contract document.
30. Fill “C:\fakepath\BiadaGO ERP Construciton Software.pdf”
Enter “C:\fakepath\BiadaGO ERP Construciton Software.pdf” in the provided field
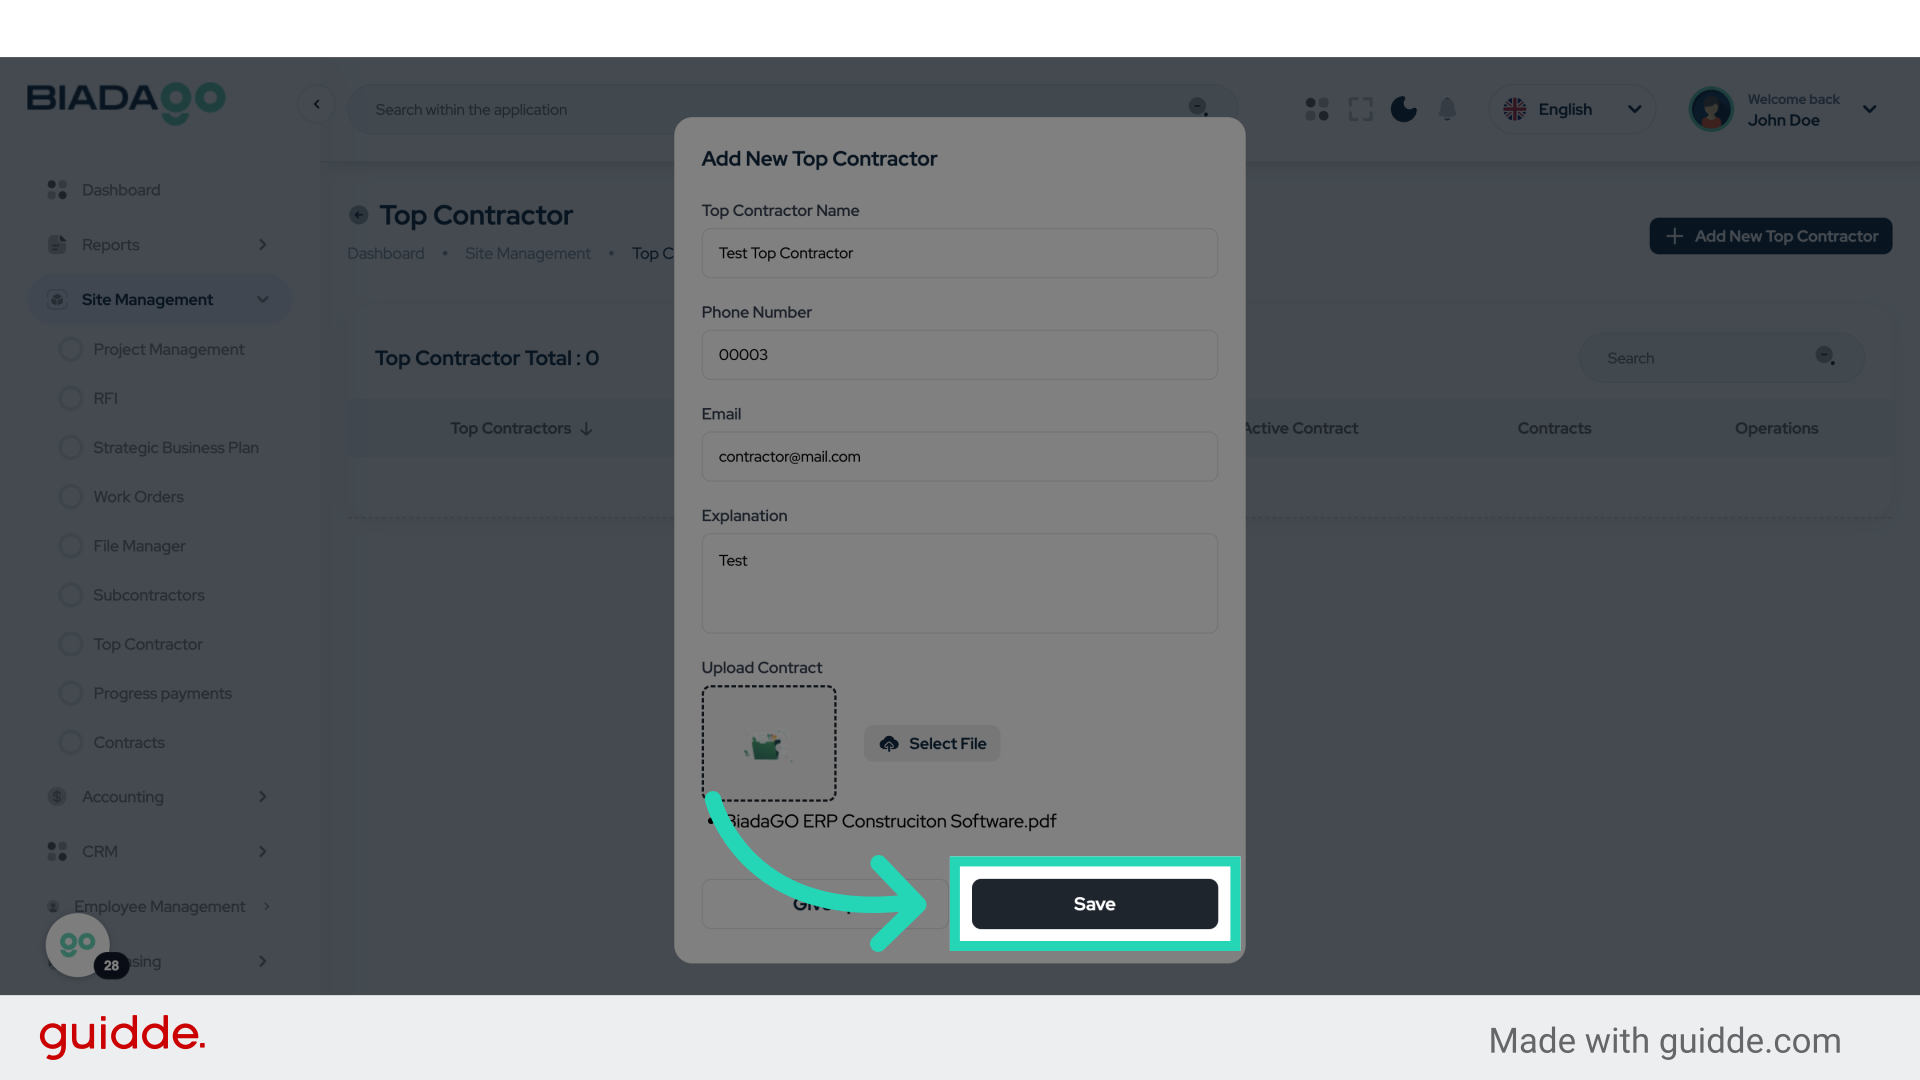
31. Click “Save”
Save the changes made for the top contractor.
This guide provided a comprehensive walkthrough on defining subcontractors and prime contractors in BiadaGO. From adding new subcontractors to uploading contracts and saving changes, you are now equipped to manage subcontractor and top contractor information effectively.