How to Register and Manage Contracts in BiadaGO
How to Register and Manage Contracts in BiadaGO
Learn how to efficiently register and manage contracts in BiadaGO with these straightforward instructions
Go to cloud.biadago.com
1. Introduction
From creating new contracts to uploading documents and setting their status, this guide will walk you through the essential steps for effective contract management.
2. Click here
Access the registration page.
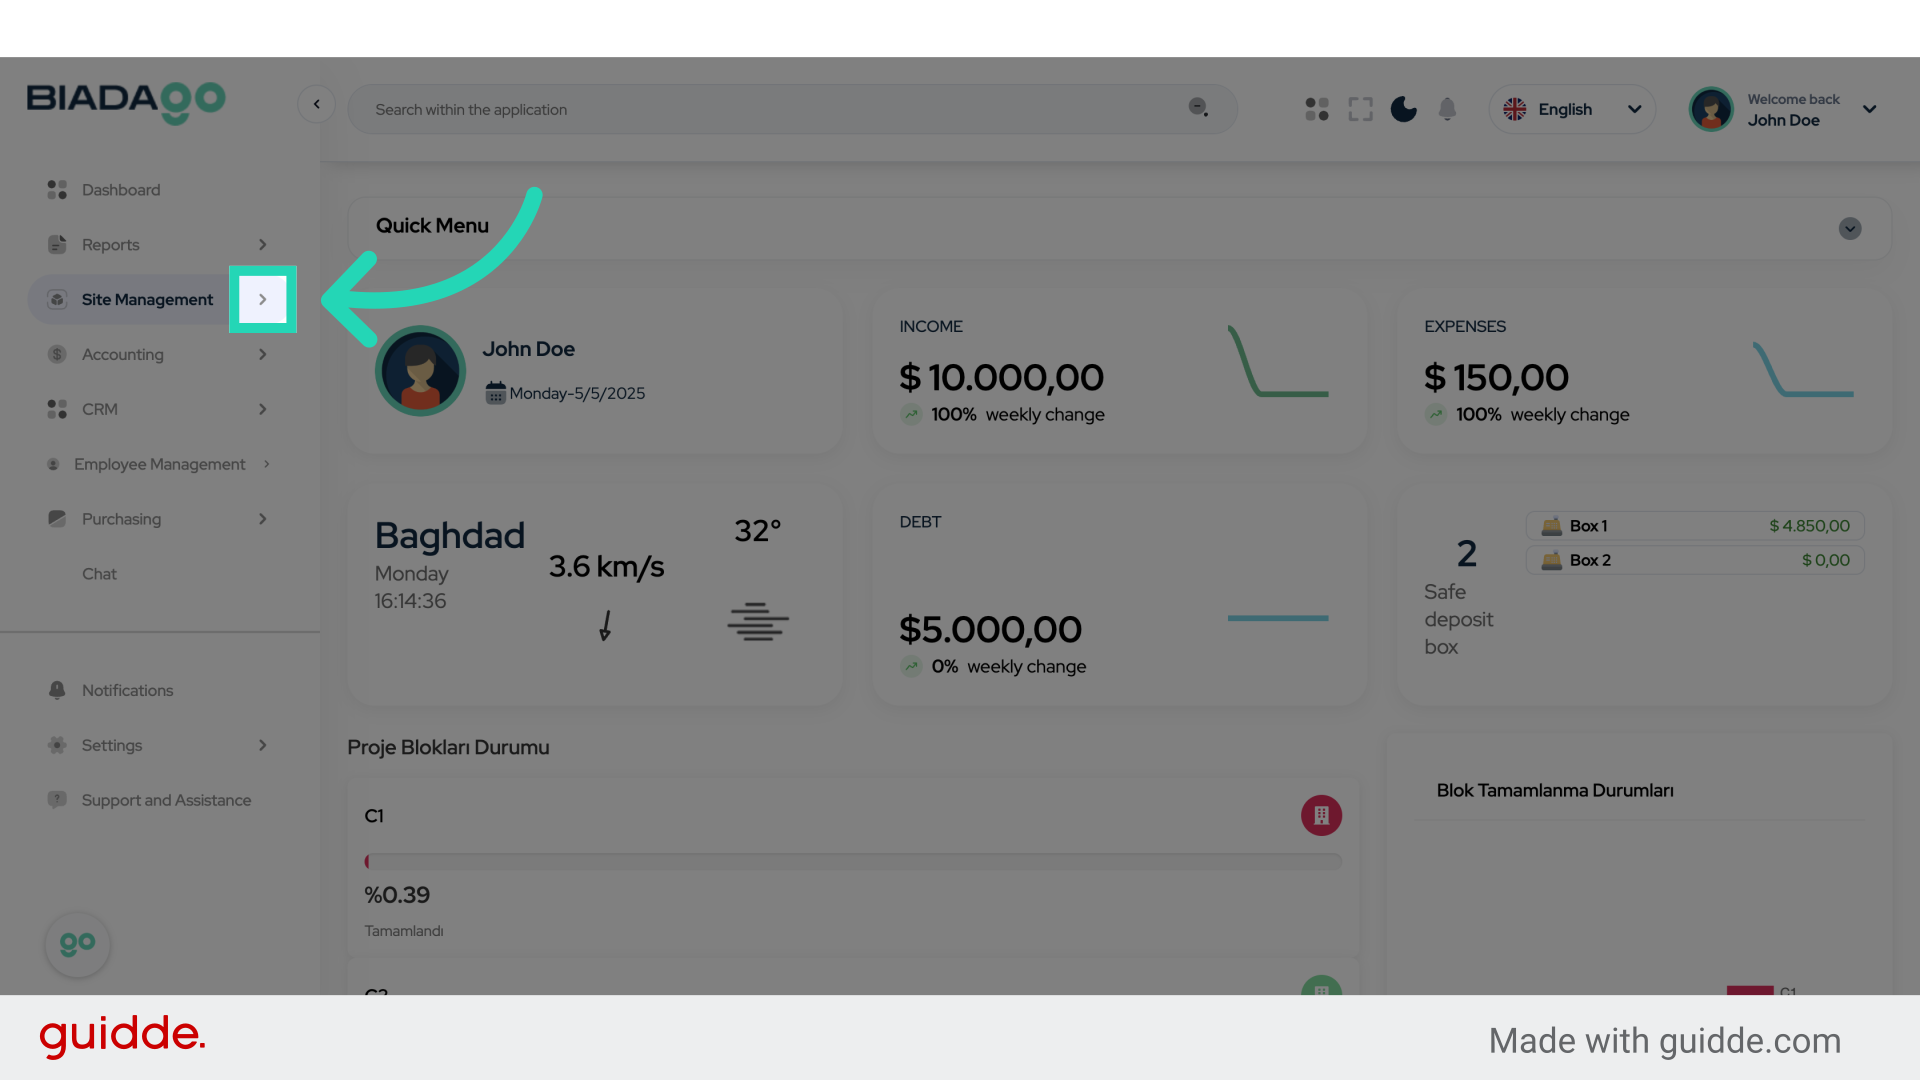
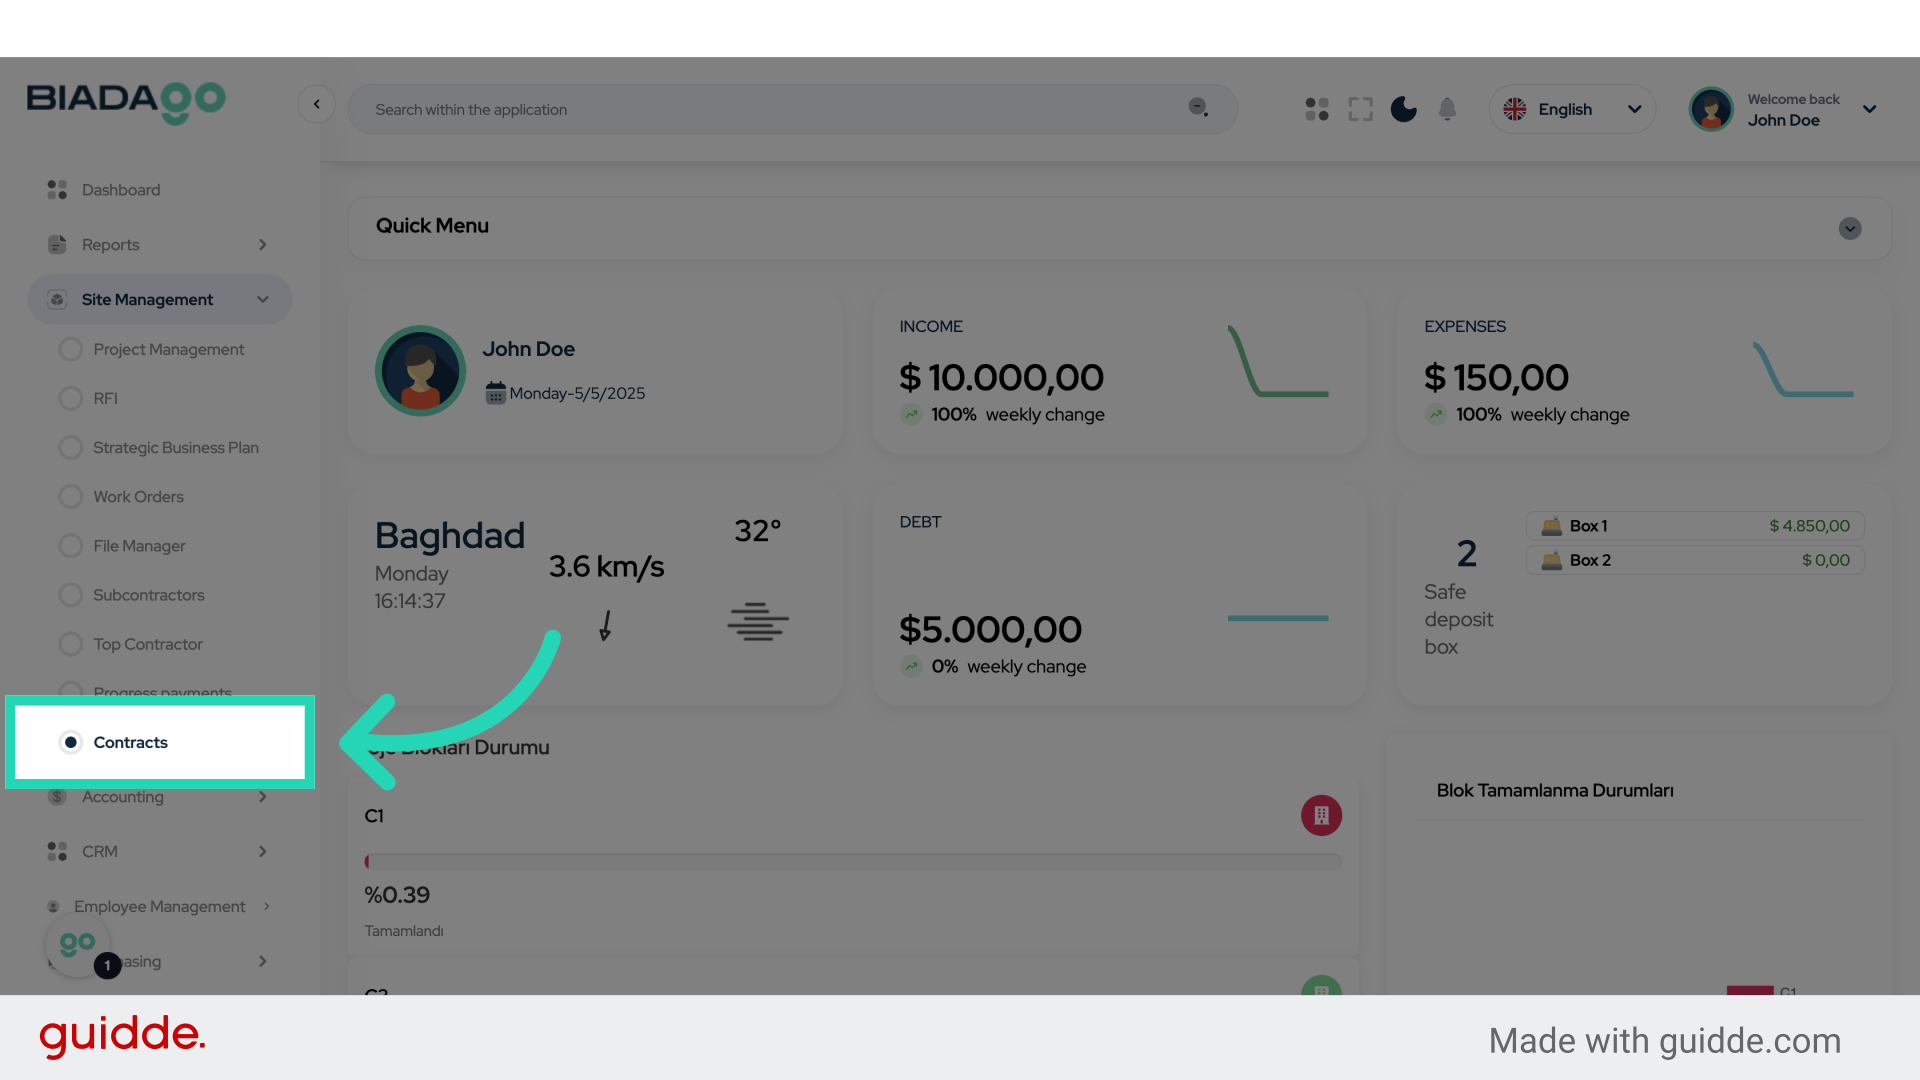
3. Click “Contracts”
Navigate to the contracts section.
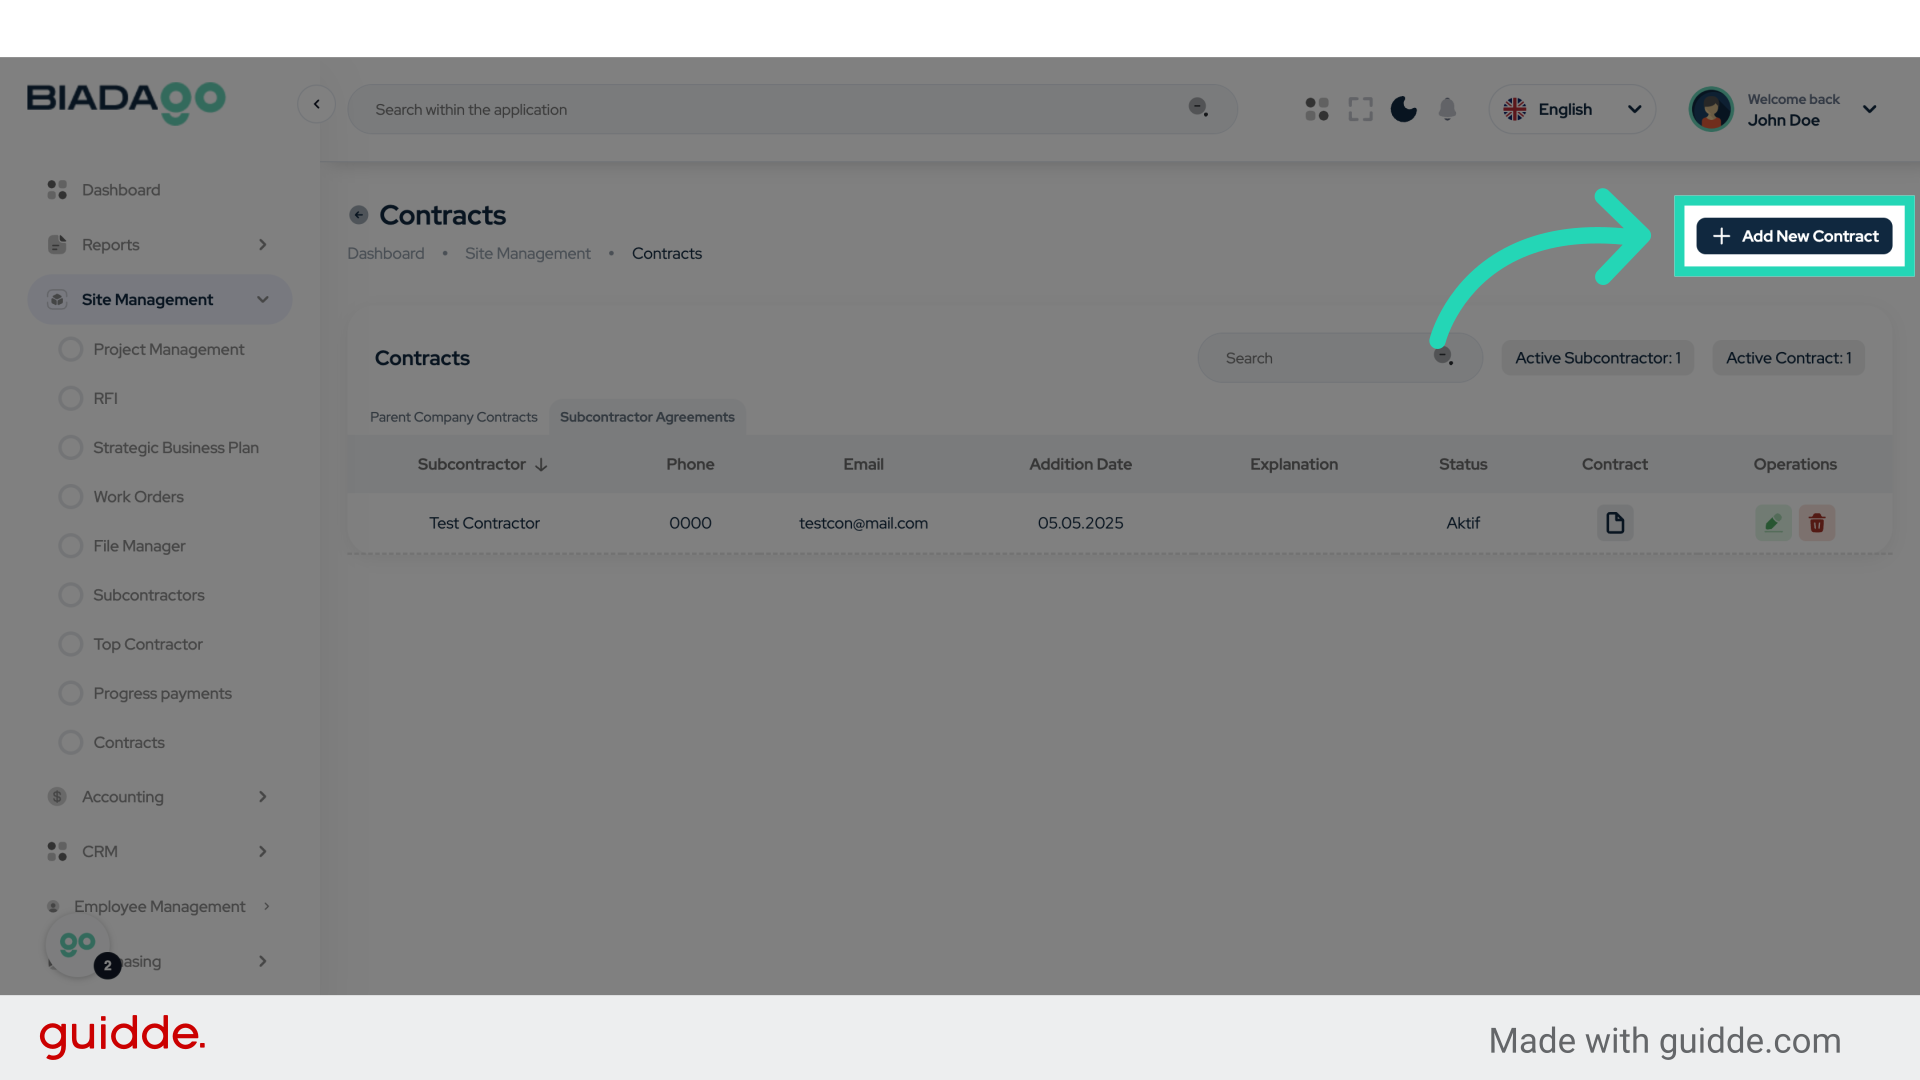
4. Click “Add New Contract”
Initiate the contract creation process.
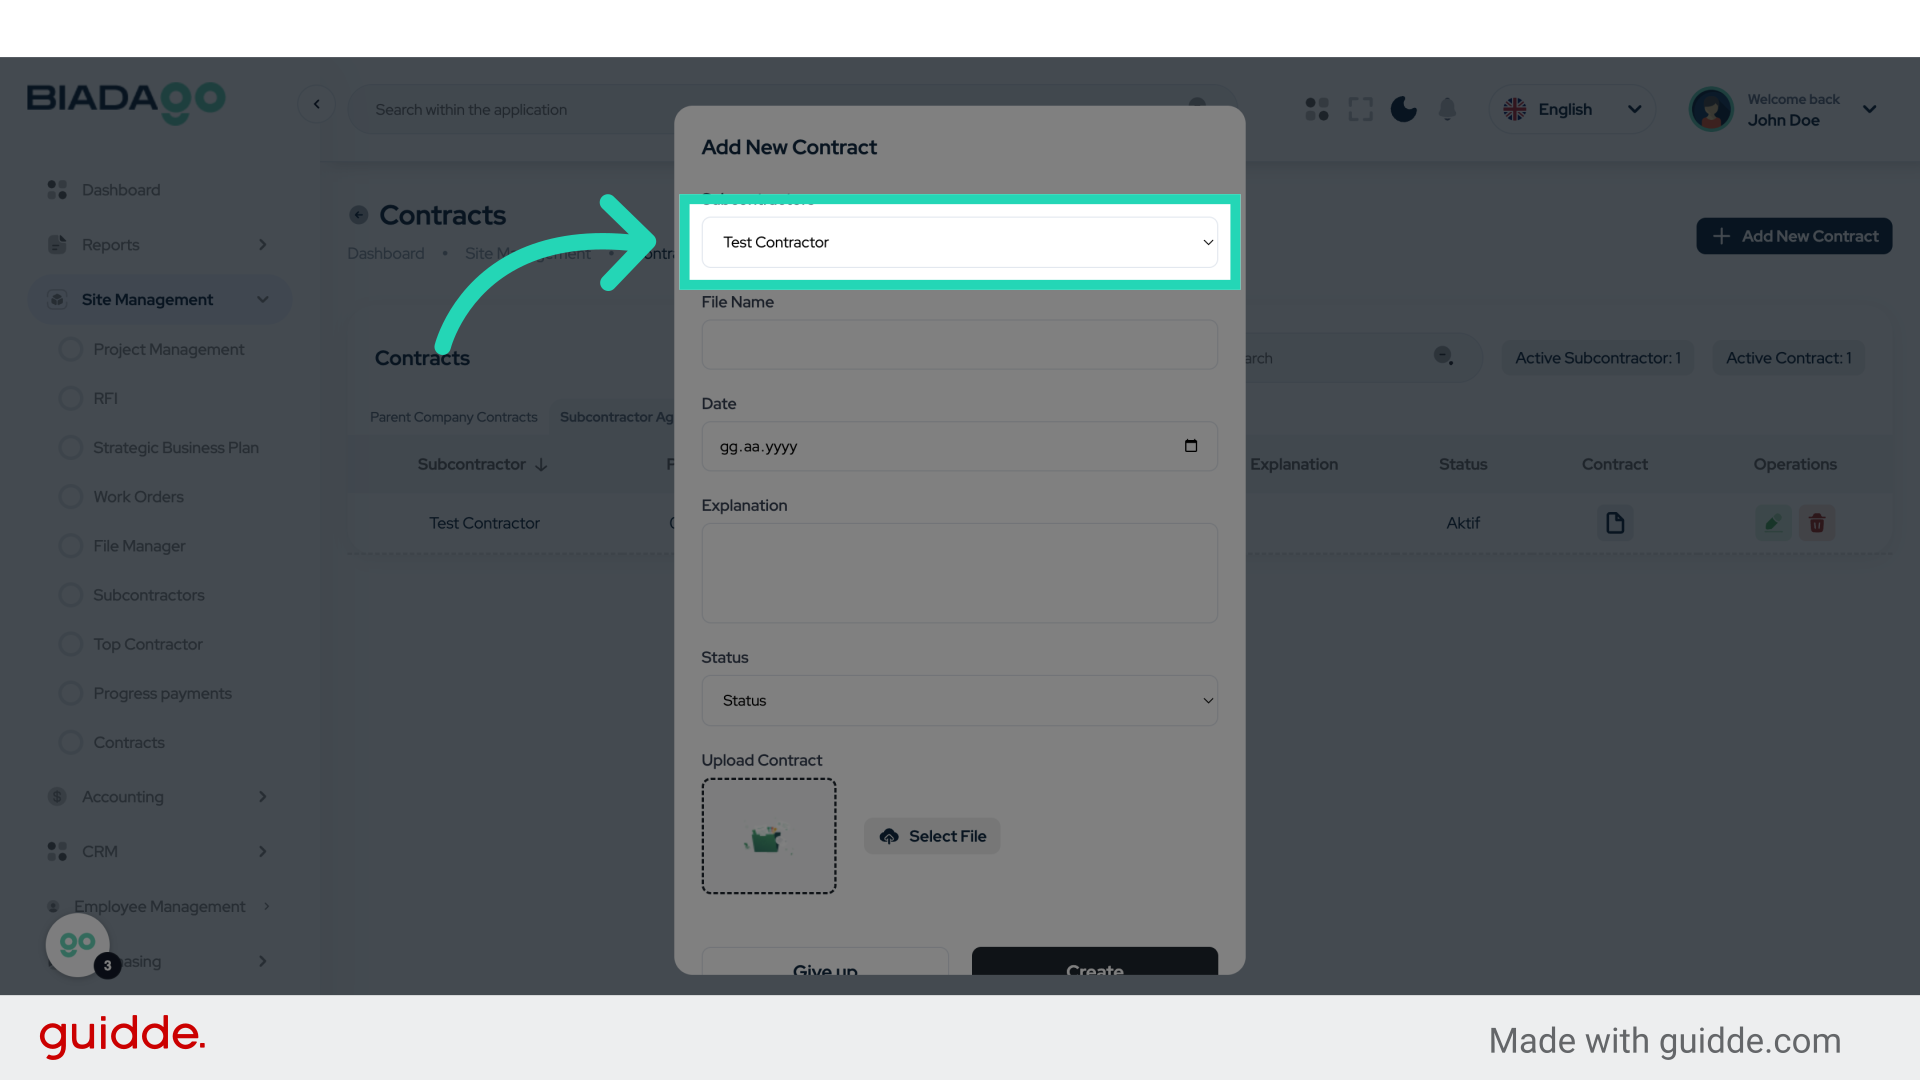
5. Click “Test Contractor”
Select the contractor for the contract.
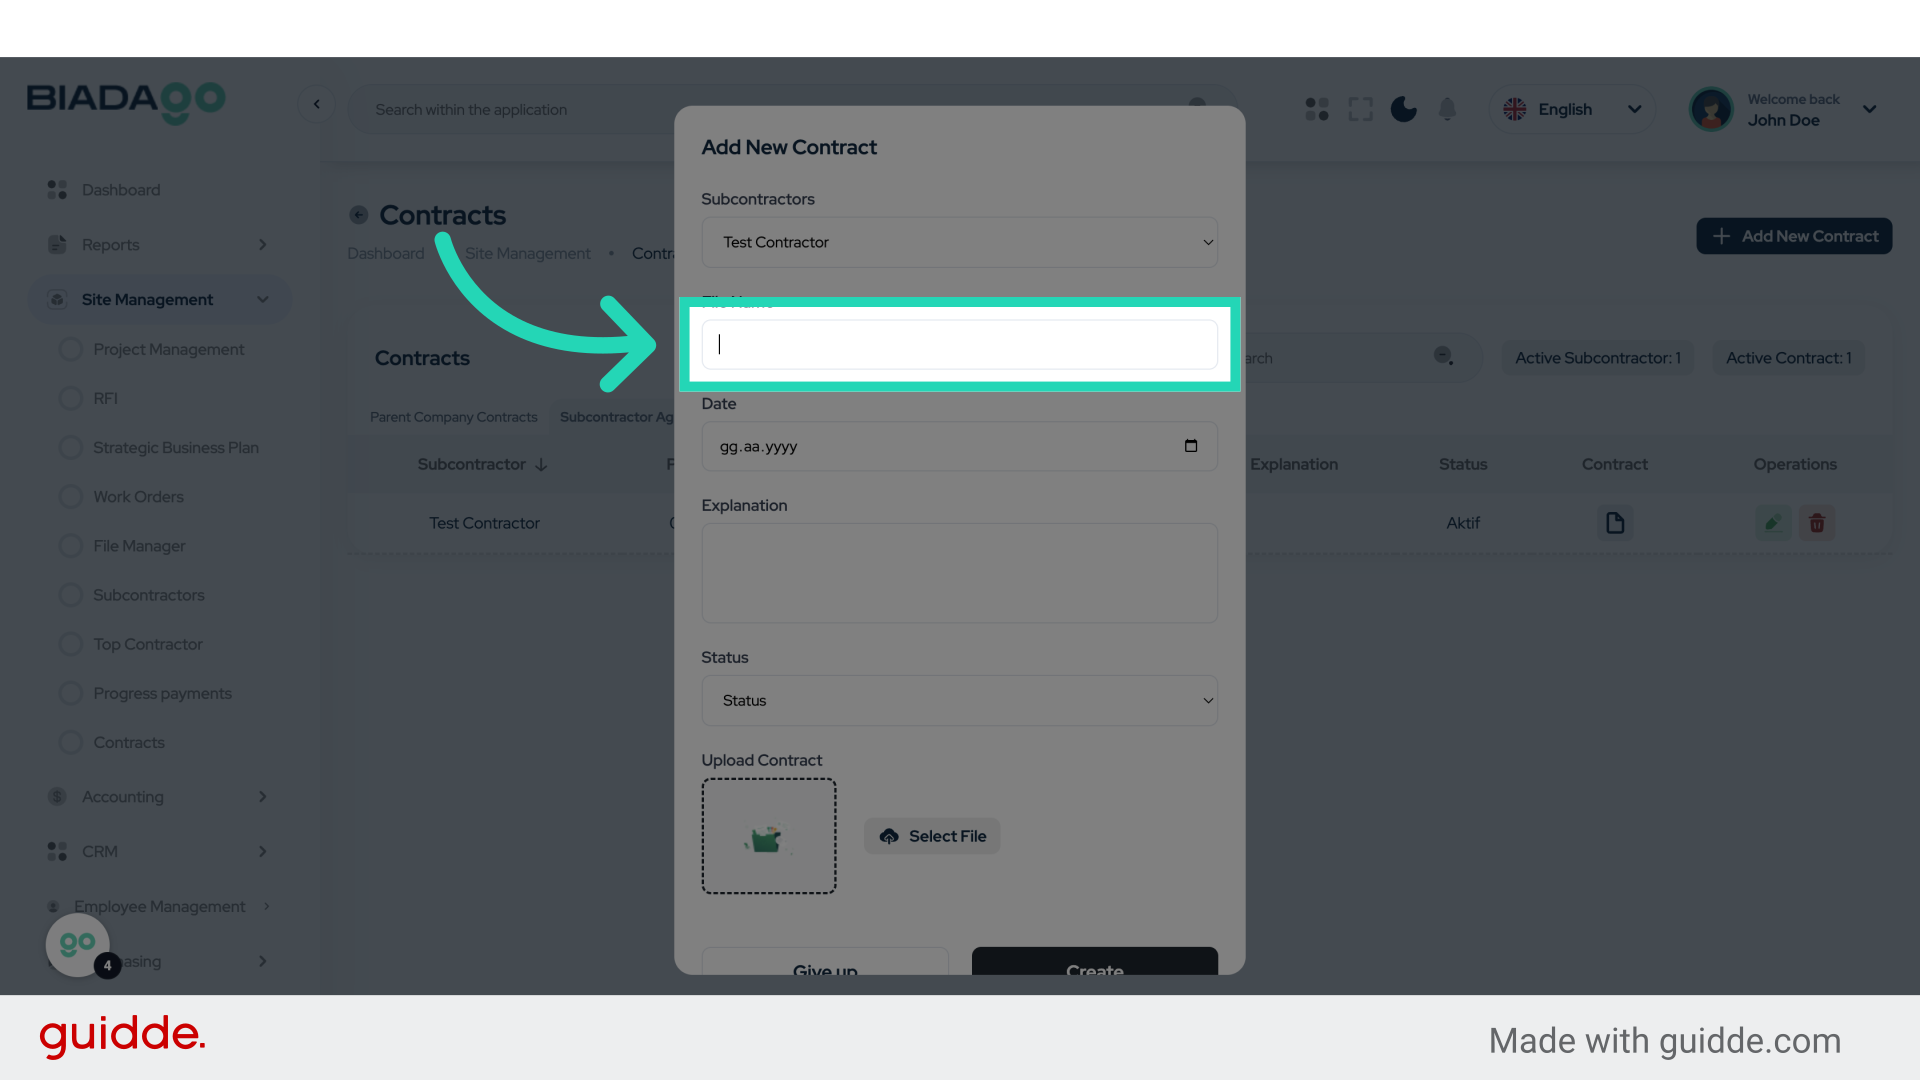
6. Click “File Name”
Enter the file name for the contract.
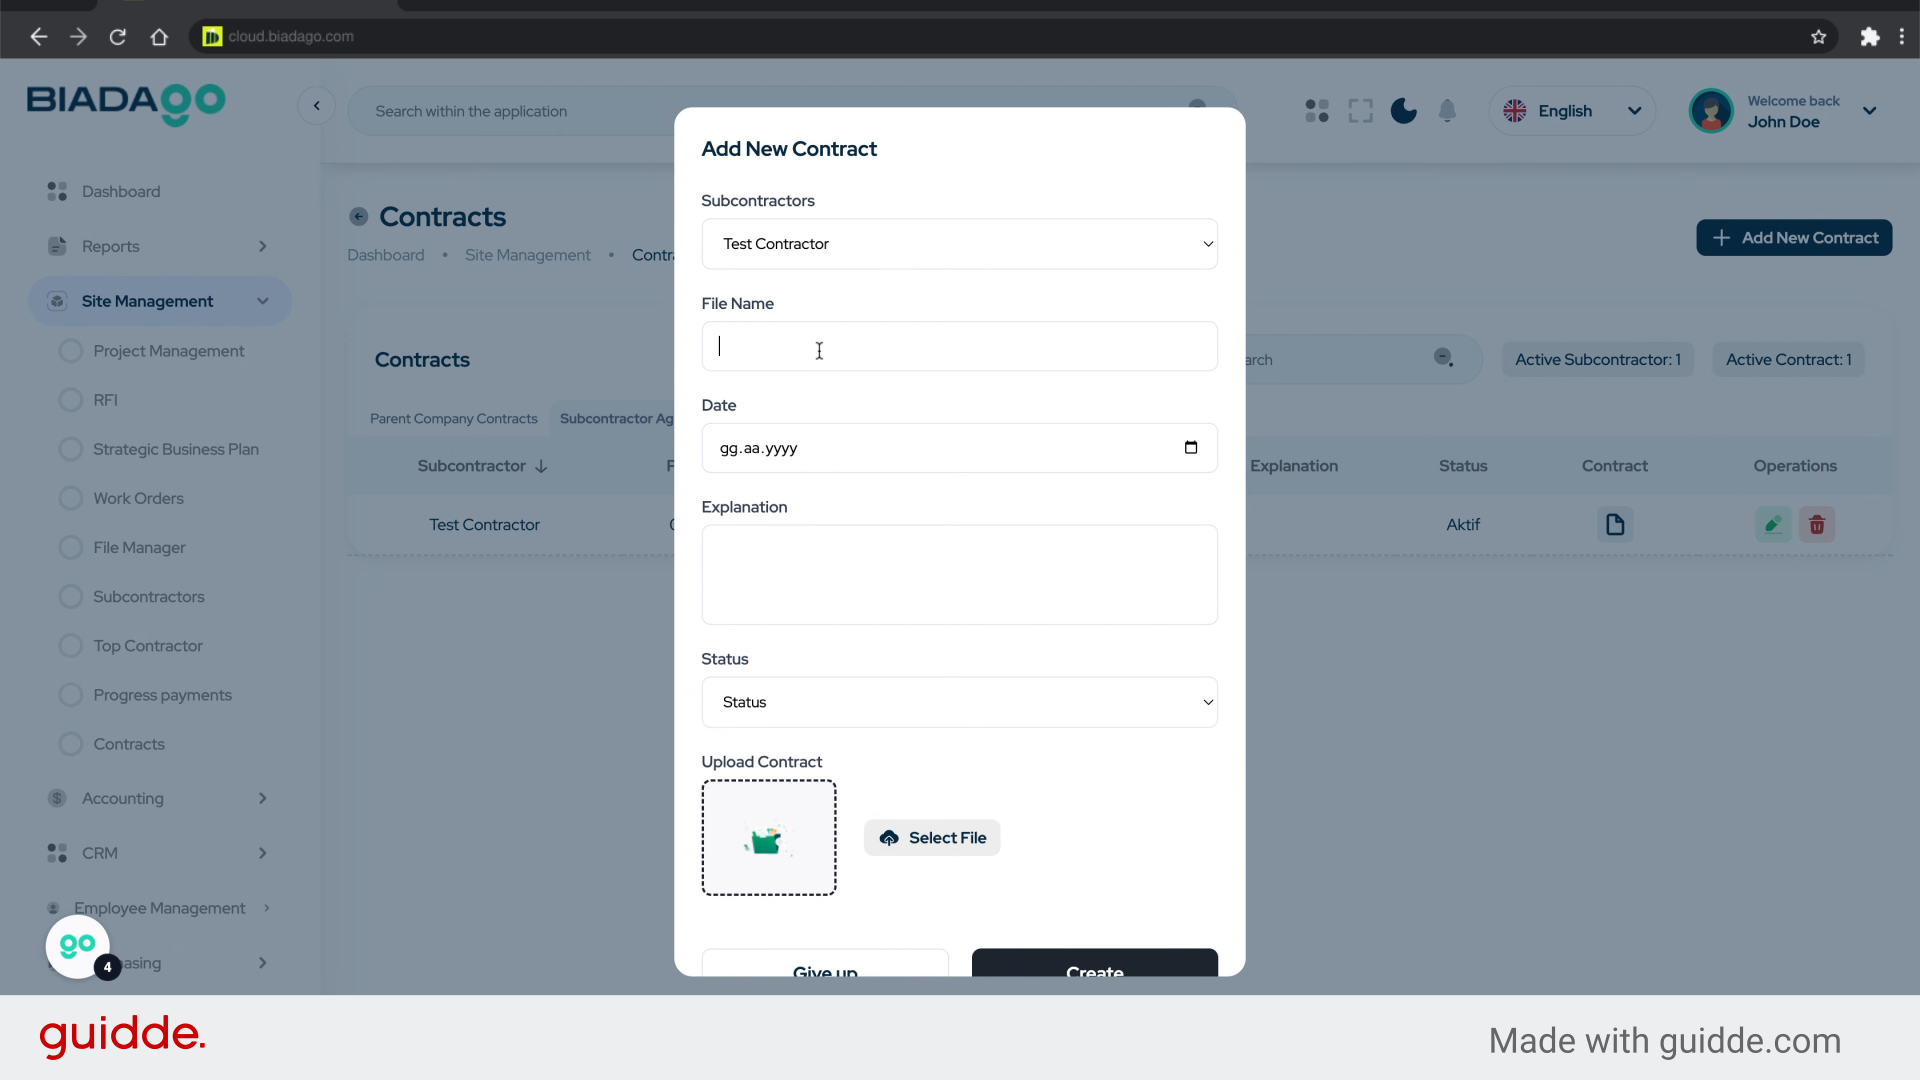
7. Fill “Test Document”
Fill in “Test Document”
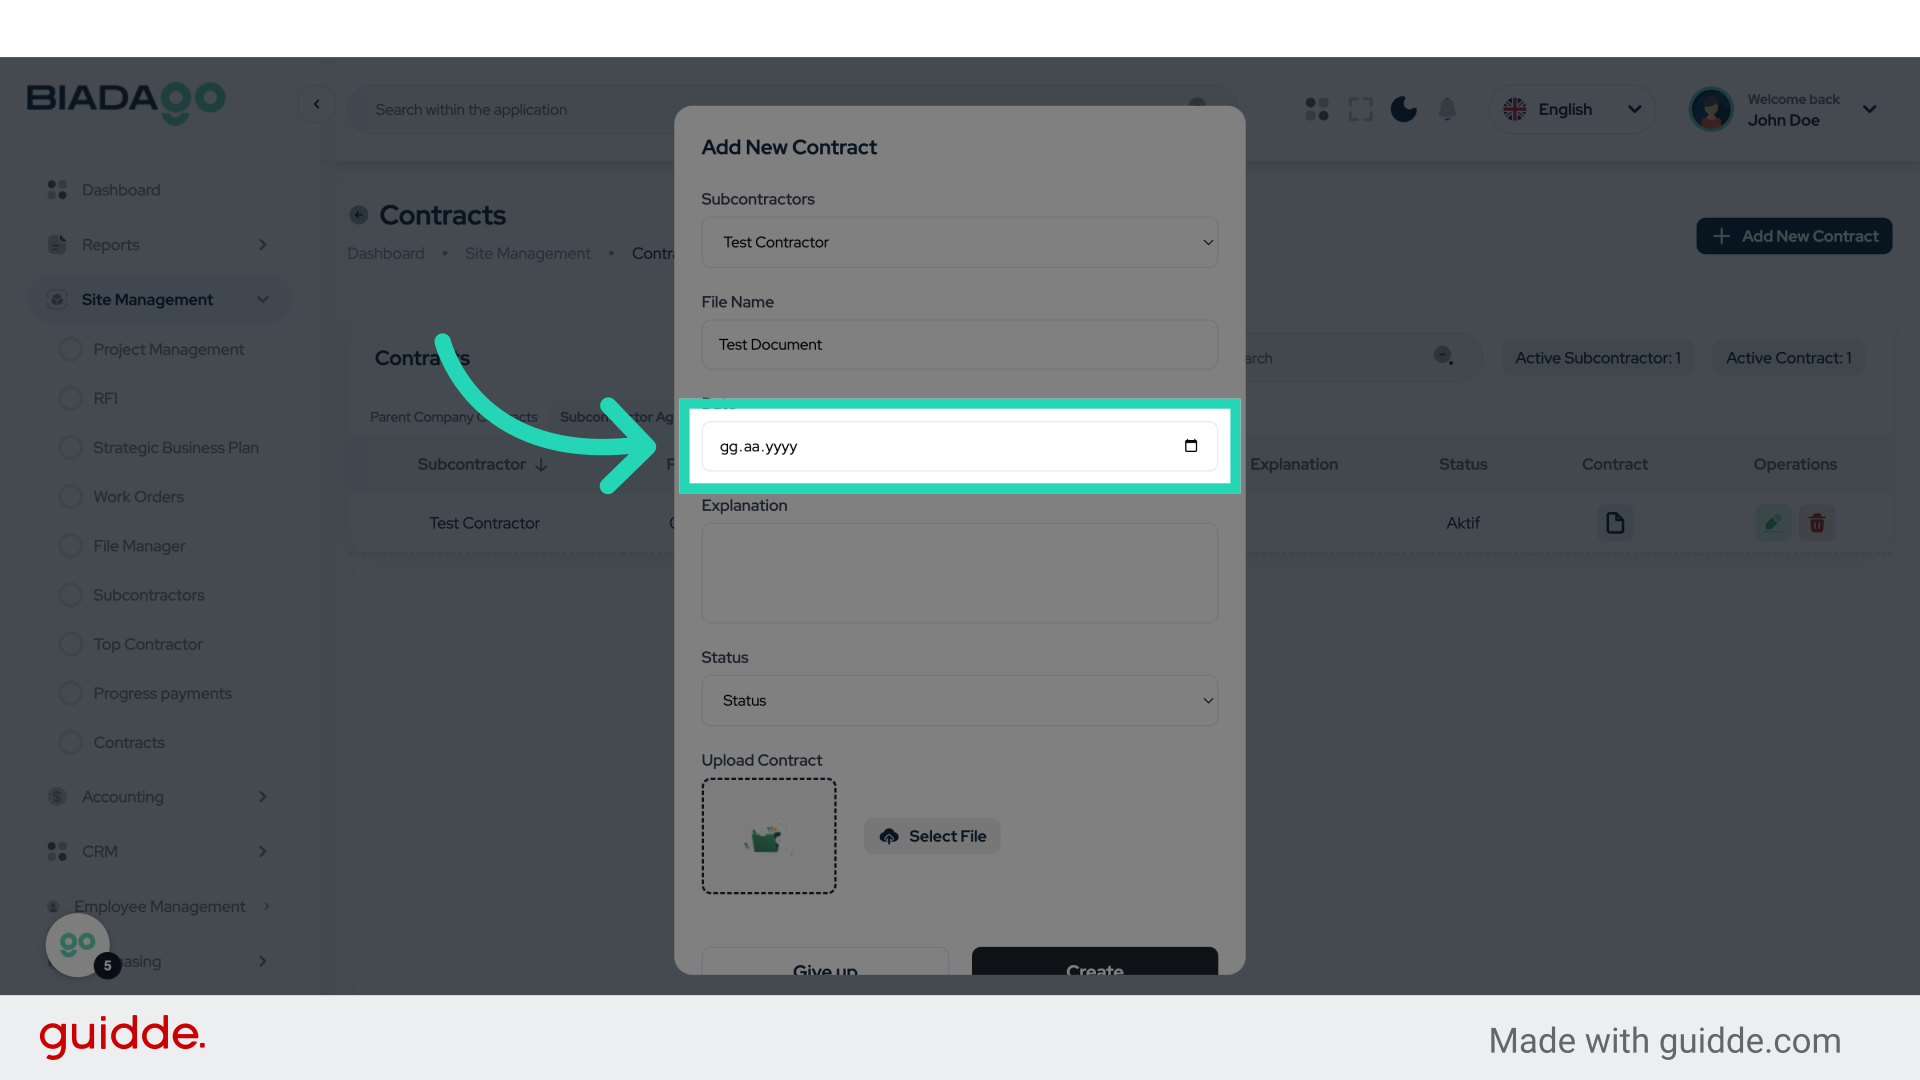
8. Click “Date”
Specify the date of the contract.
9. Fill “2025-05-05”
Enter “2025-05-05” in the provided field

10. Click “Explanation”
Provide a brief explanation of the contract.
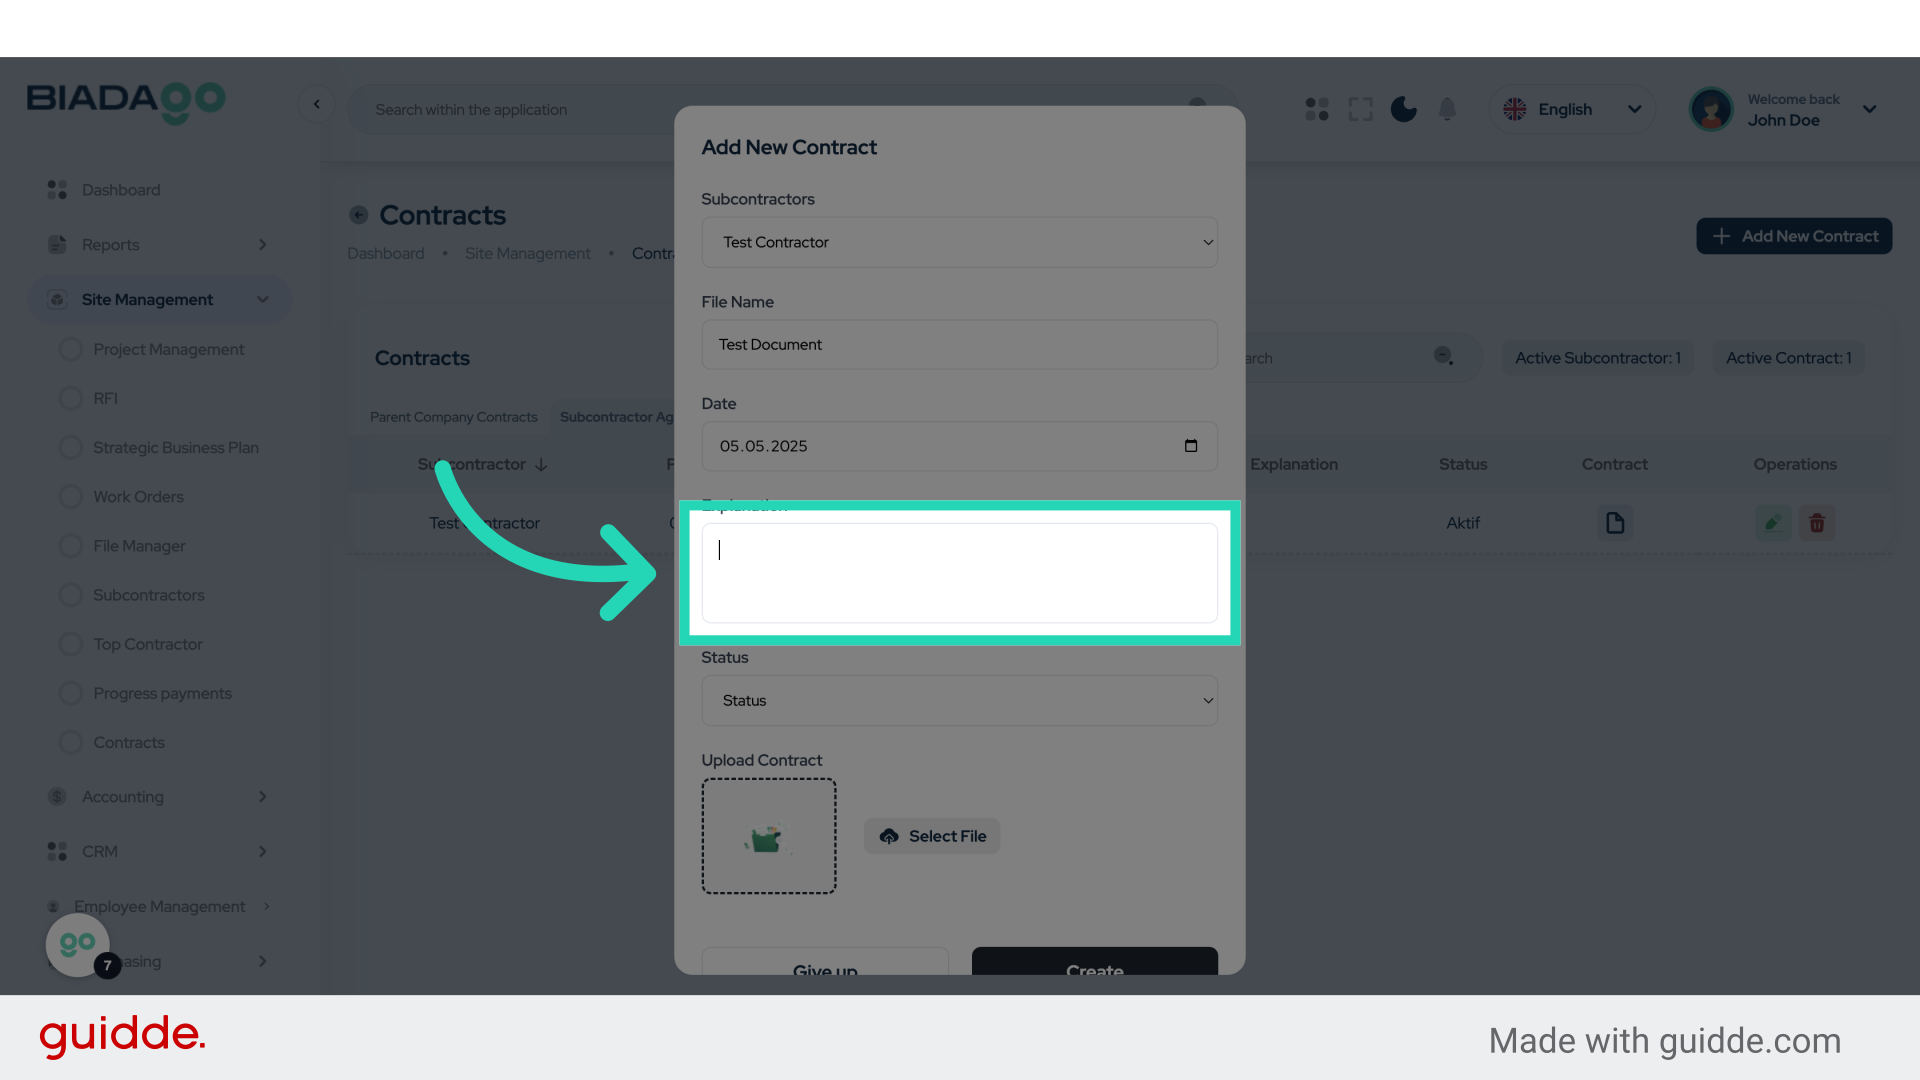
11. Fill “Test”
Fill in the text box with “Test”

12. Click “Status
Active
Block”
Set the status of the contract to Active or Block.

13. Fill “Status
Active
Block”
Enter the desired text.

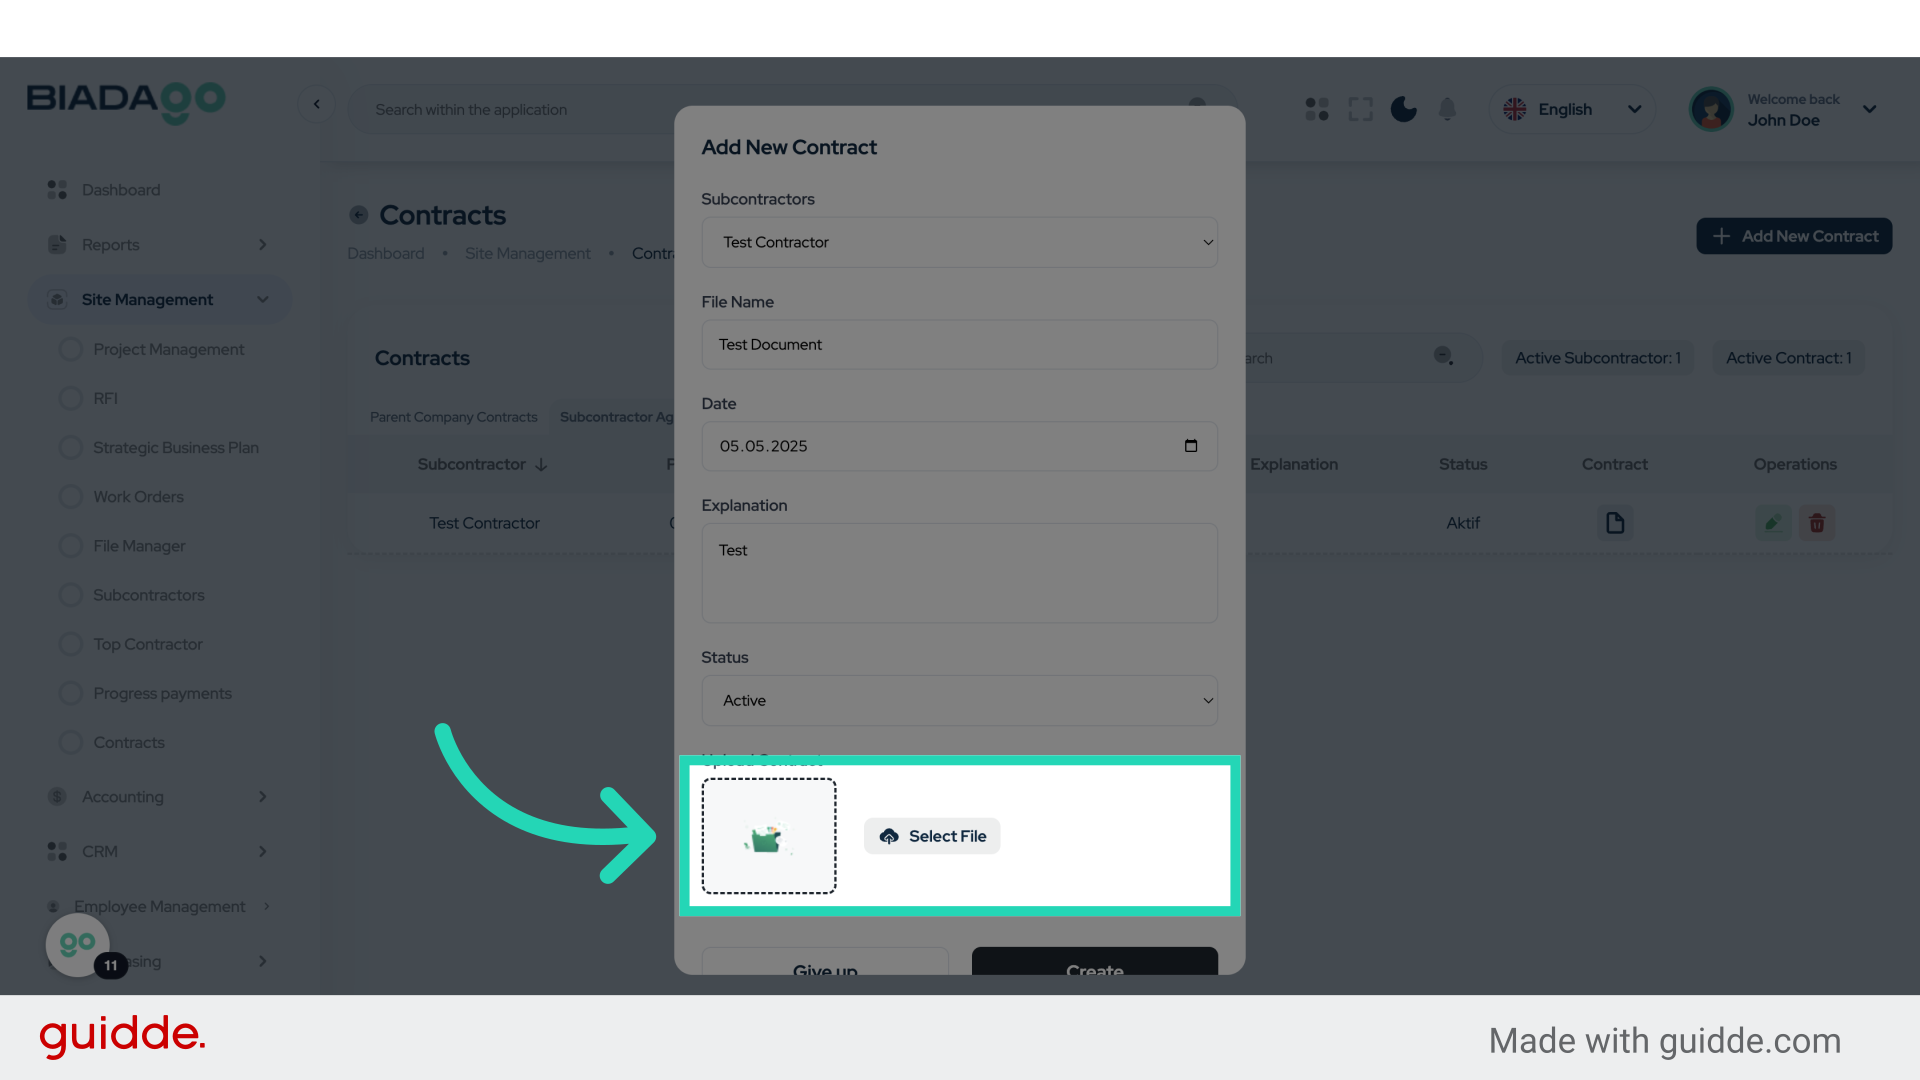
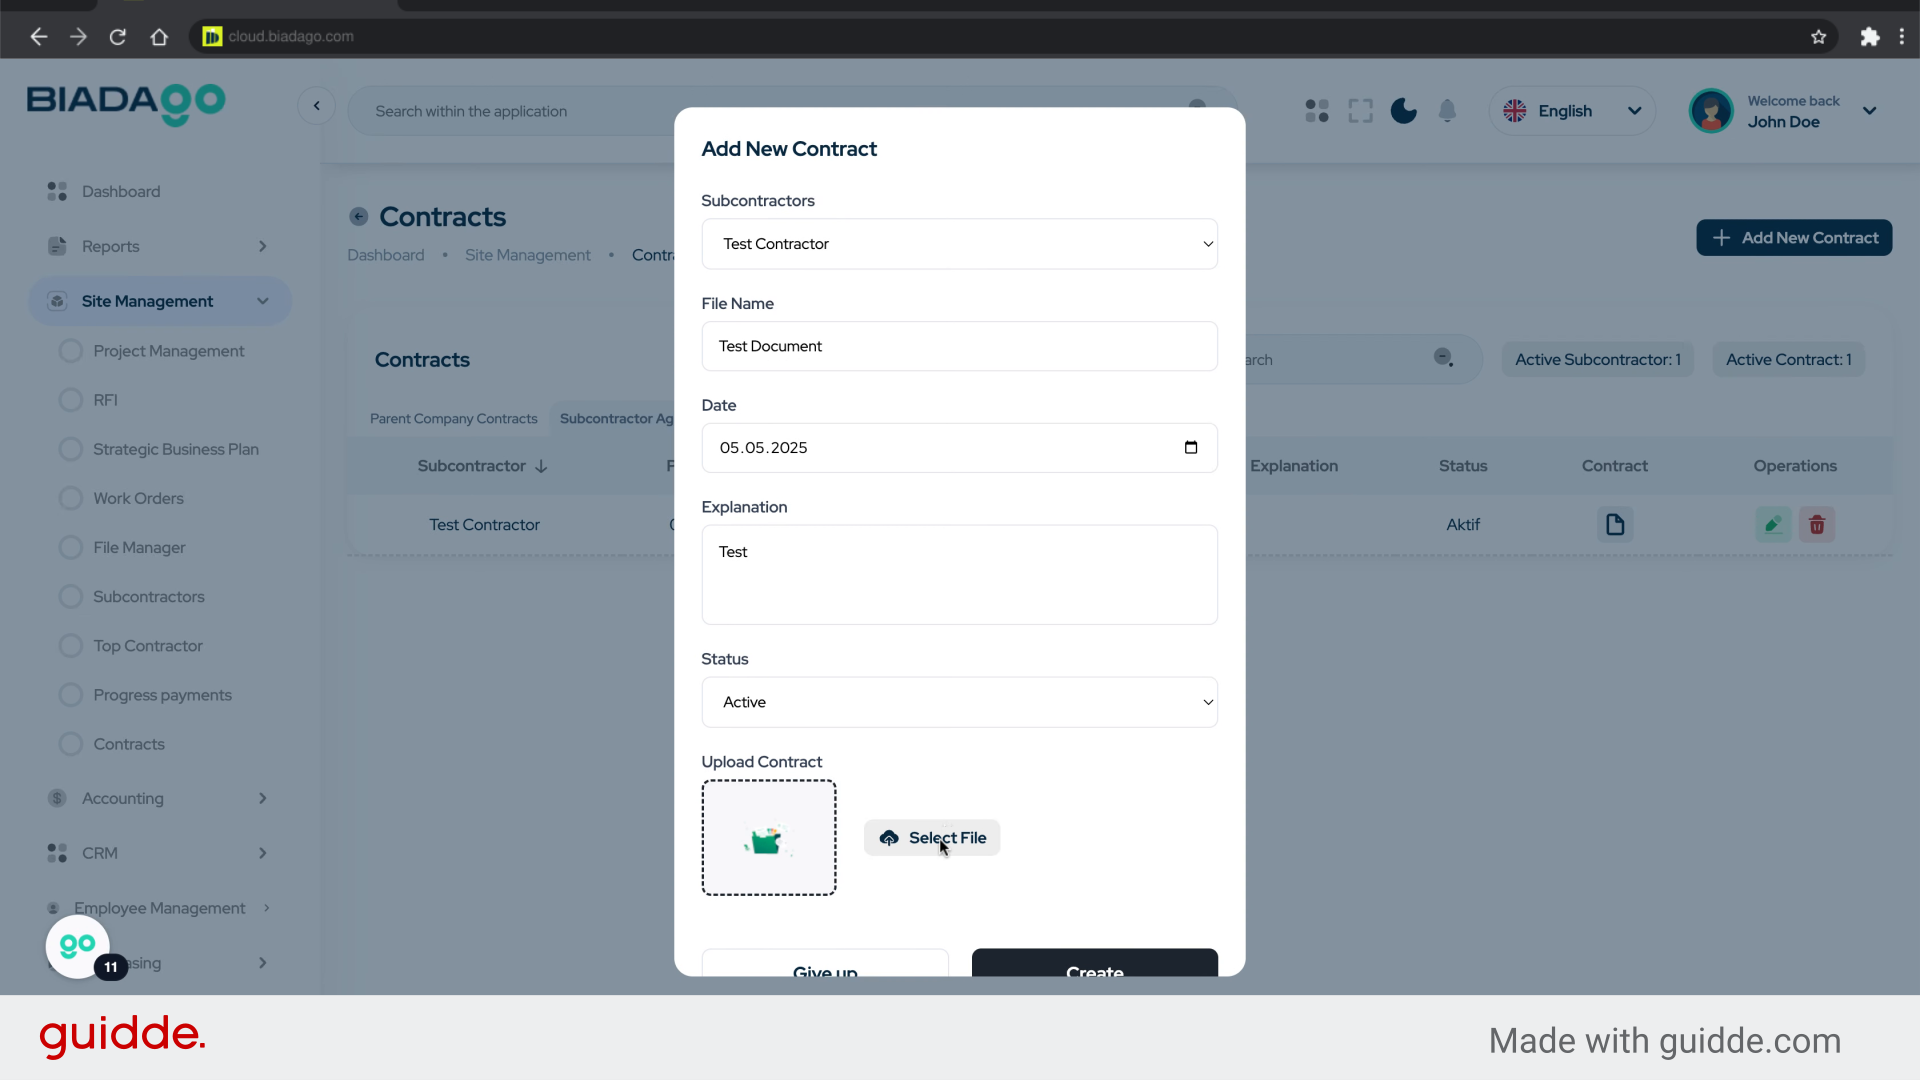
14. Click “Upload Contract”
Attach the contract document.
15. Fill “C:\fakepath\BiadaGO ERP Construciton Software.pdf”
Type “C:\fakepath\BiadaGO ERP Construciton Software.pdf” in the given field
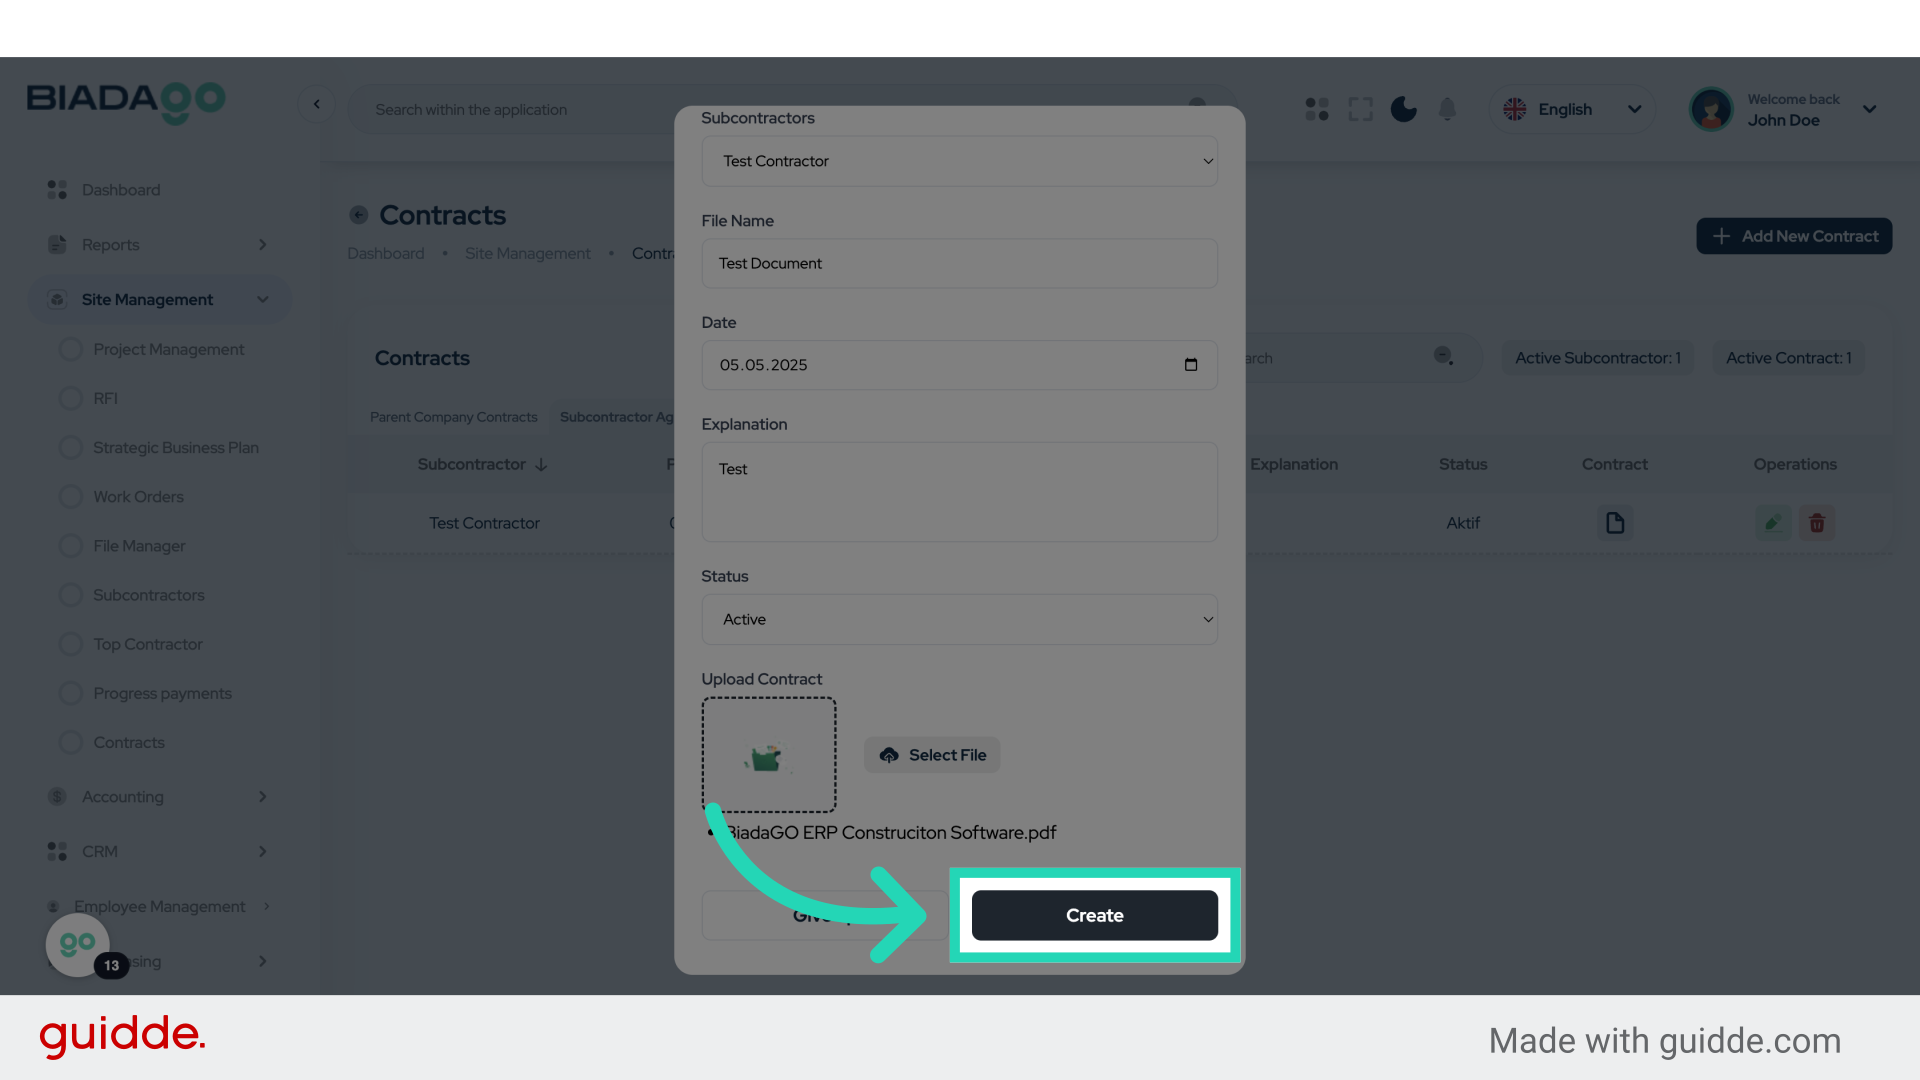
16. Click “Create”
Finalize and save the contract.
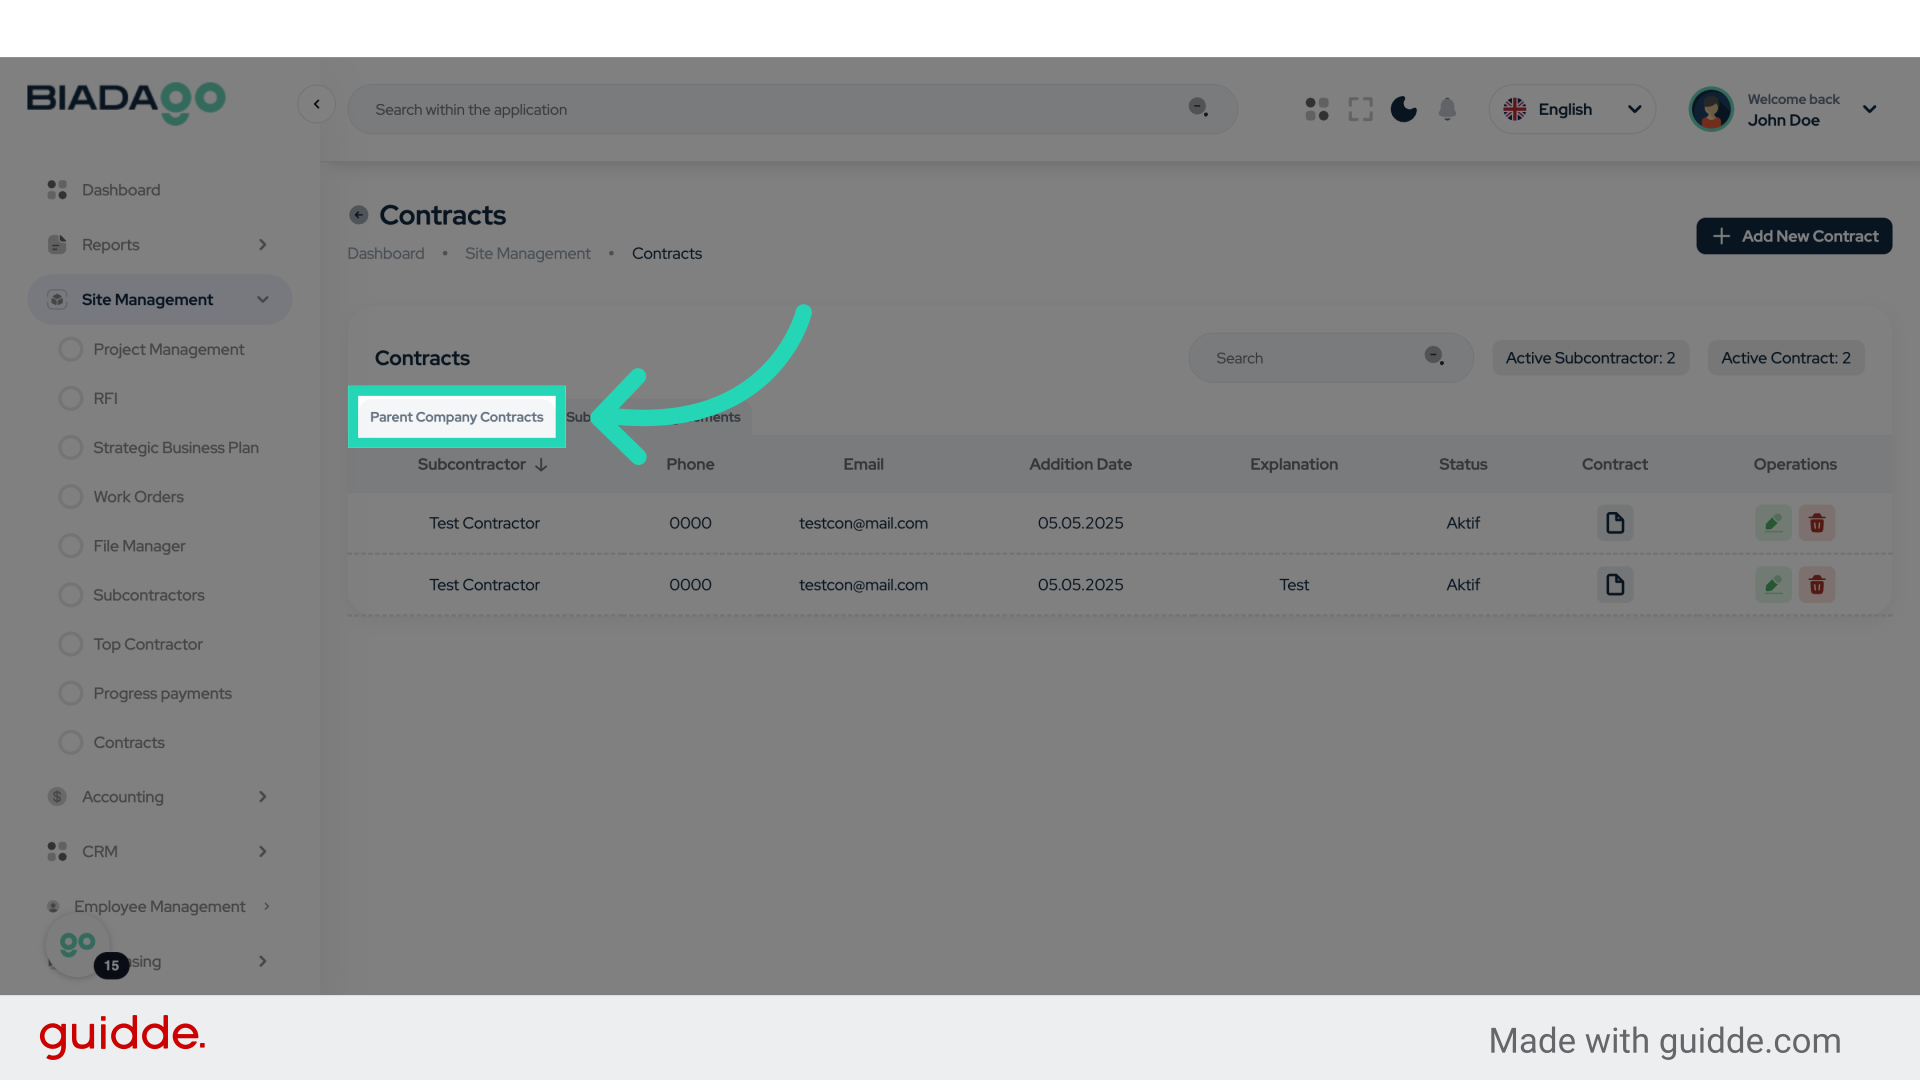
17. Click “Parent Company Contracts”
View contracts associated with the parent company.
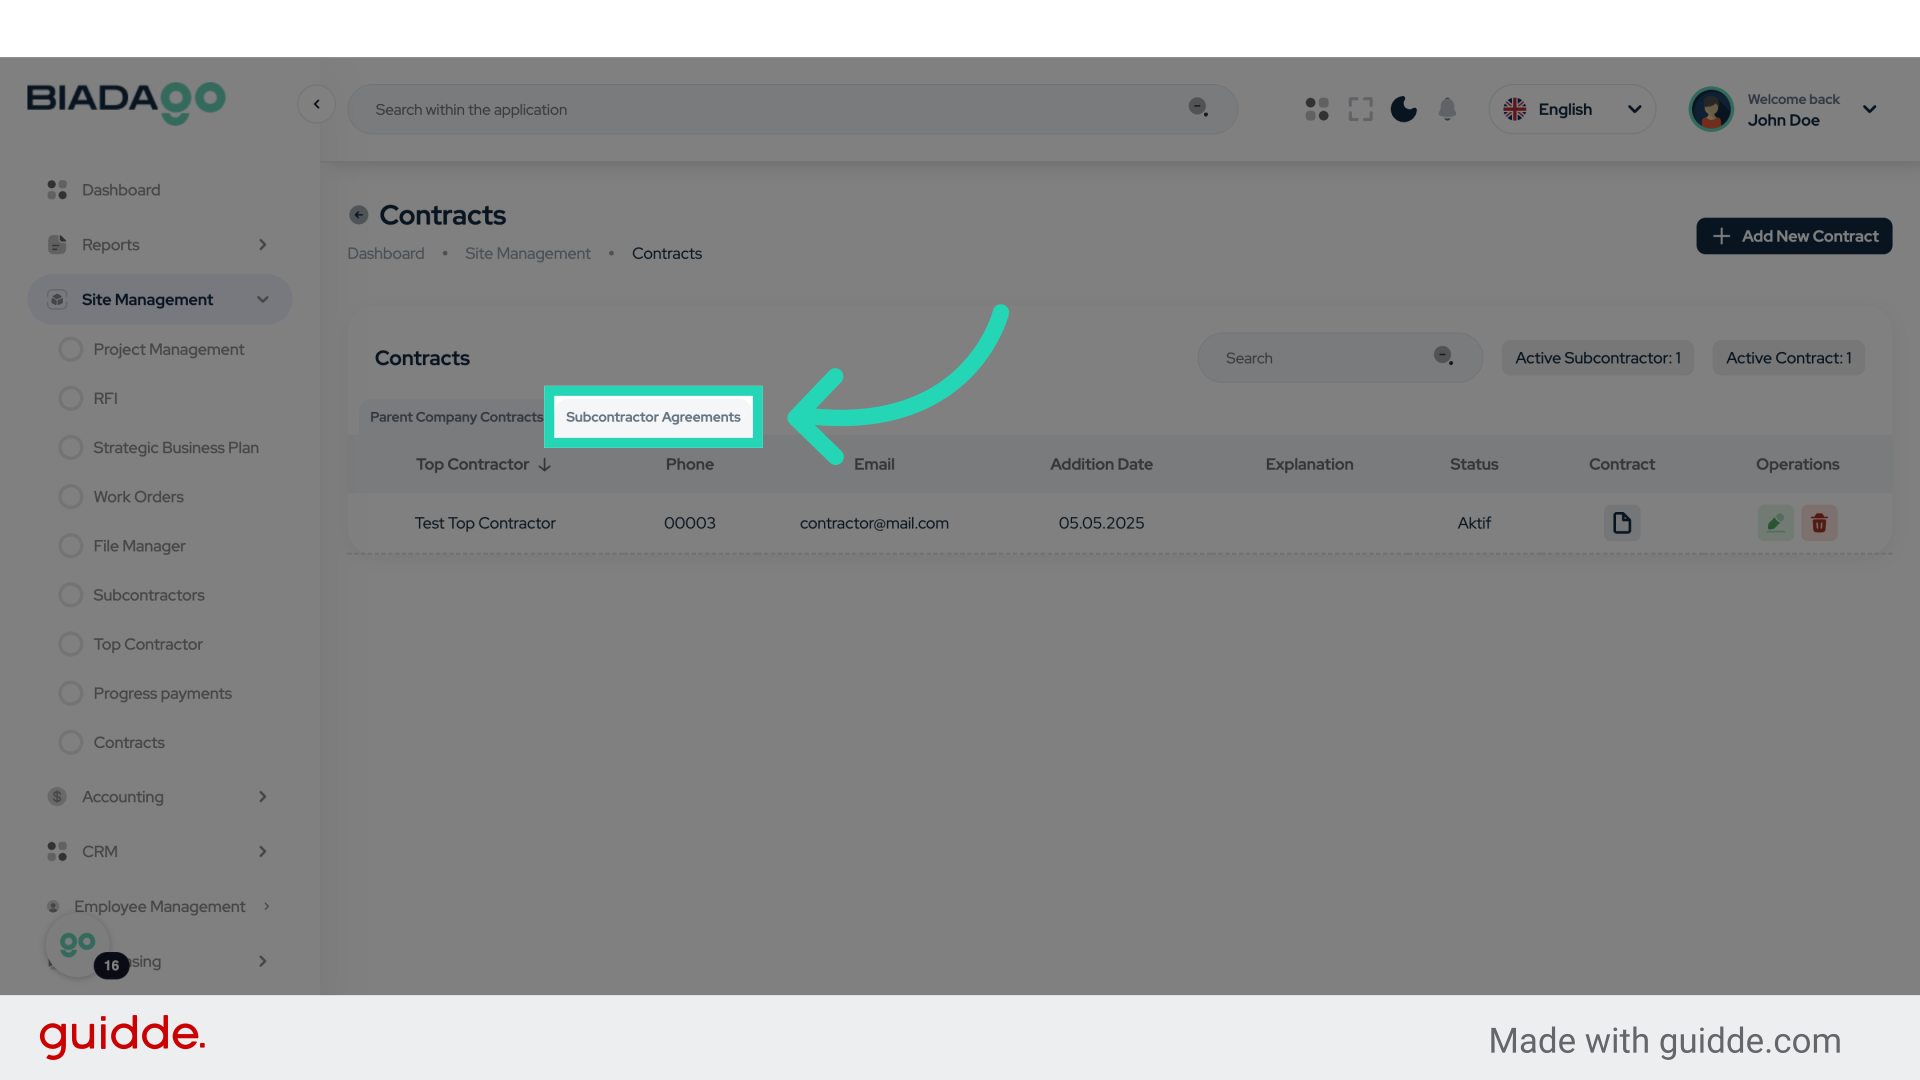
18. Click “Subcontractor Agreements”
Access subcontractor agreements.
This guide covered the process of registering and managing contracts in BiadaGO, including creating new contracts, uploading documents, setting statuses, and accessing parent company contracts and subcontractor agreements. Follow these steps to streamline your contract management process effectively.