Step-by-Step Progress Payment Entry and Approval Workflow | BiadaGO
Step-by-Step Progress Payment Entry and Approval Workflow | BiadaGO
This guide will walk you through the process of entering and approving (Progress Payment) workflows efficiently in BiadaGO
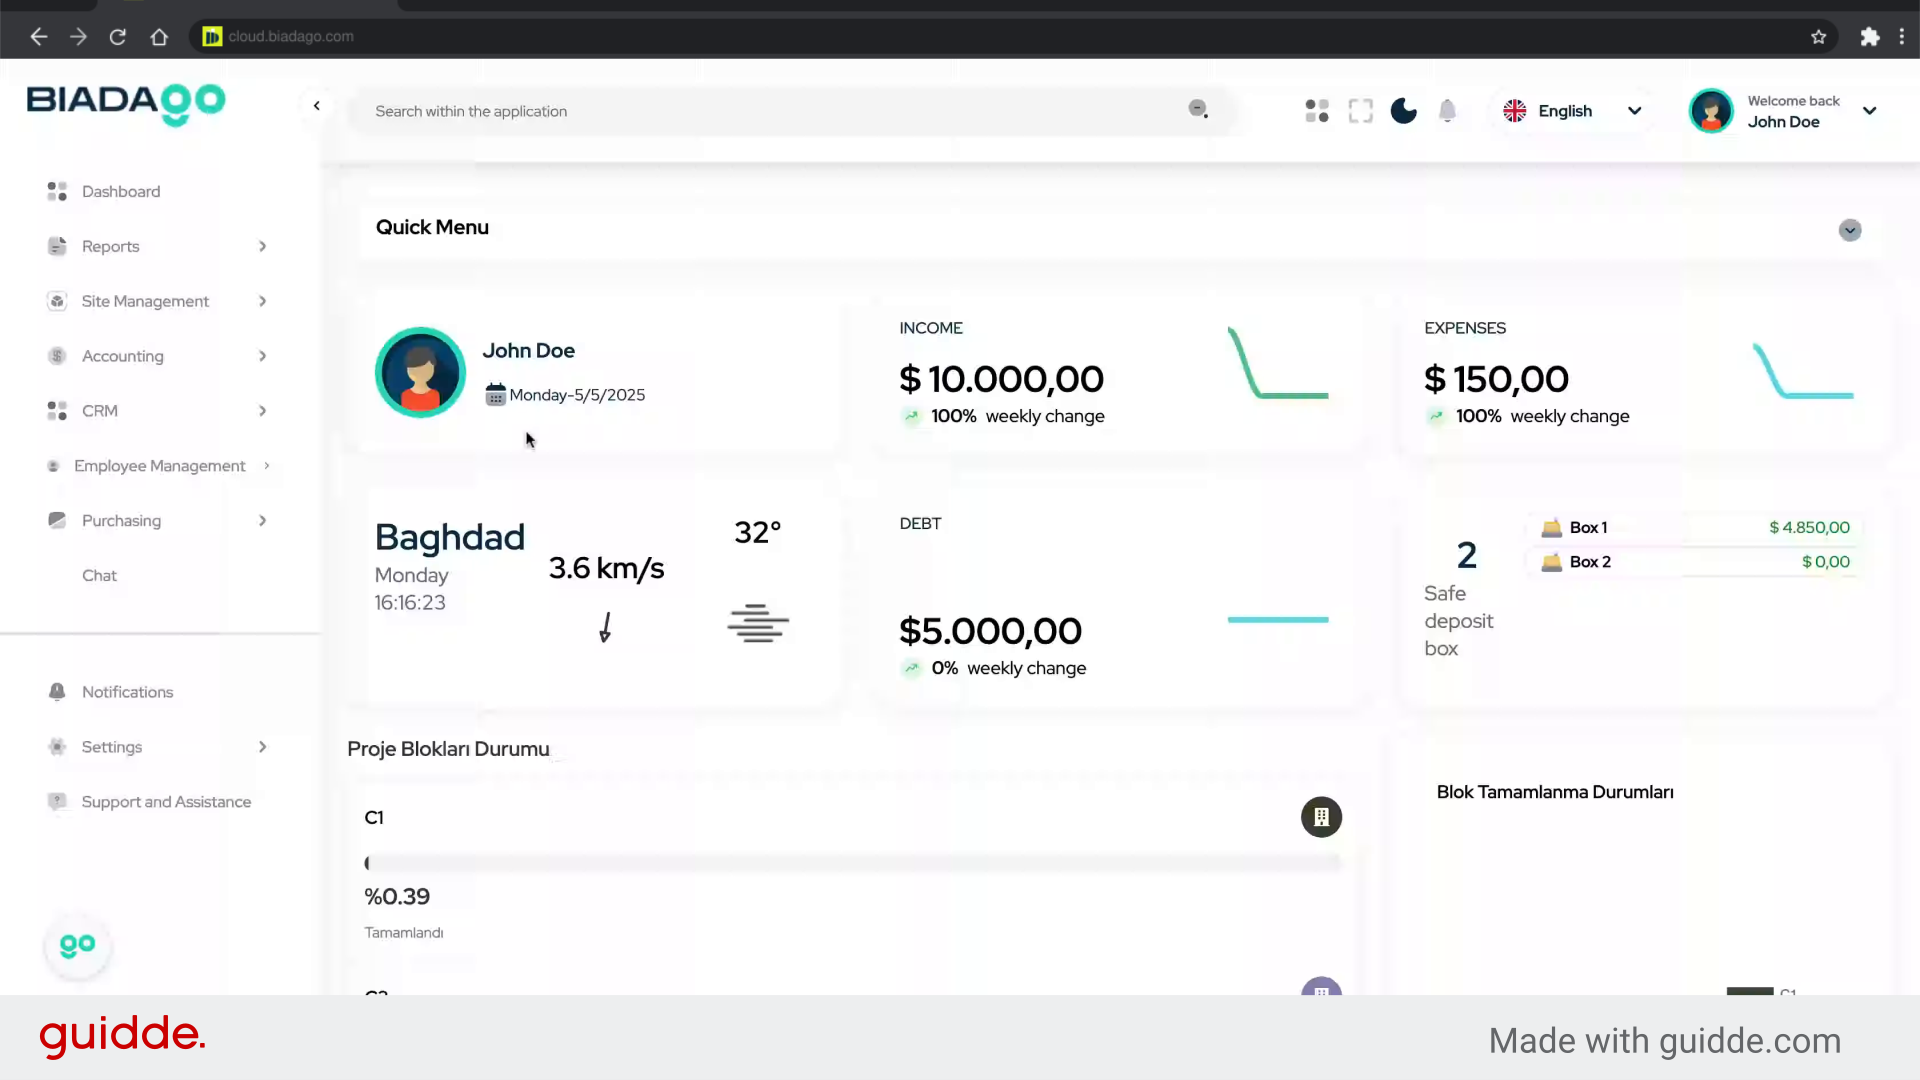
Go to cloud.biadago.com
1. Introduction
From creating expense invoices to uploading documents, follow these engaging instructions to streamline your employee training.
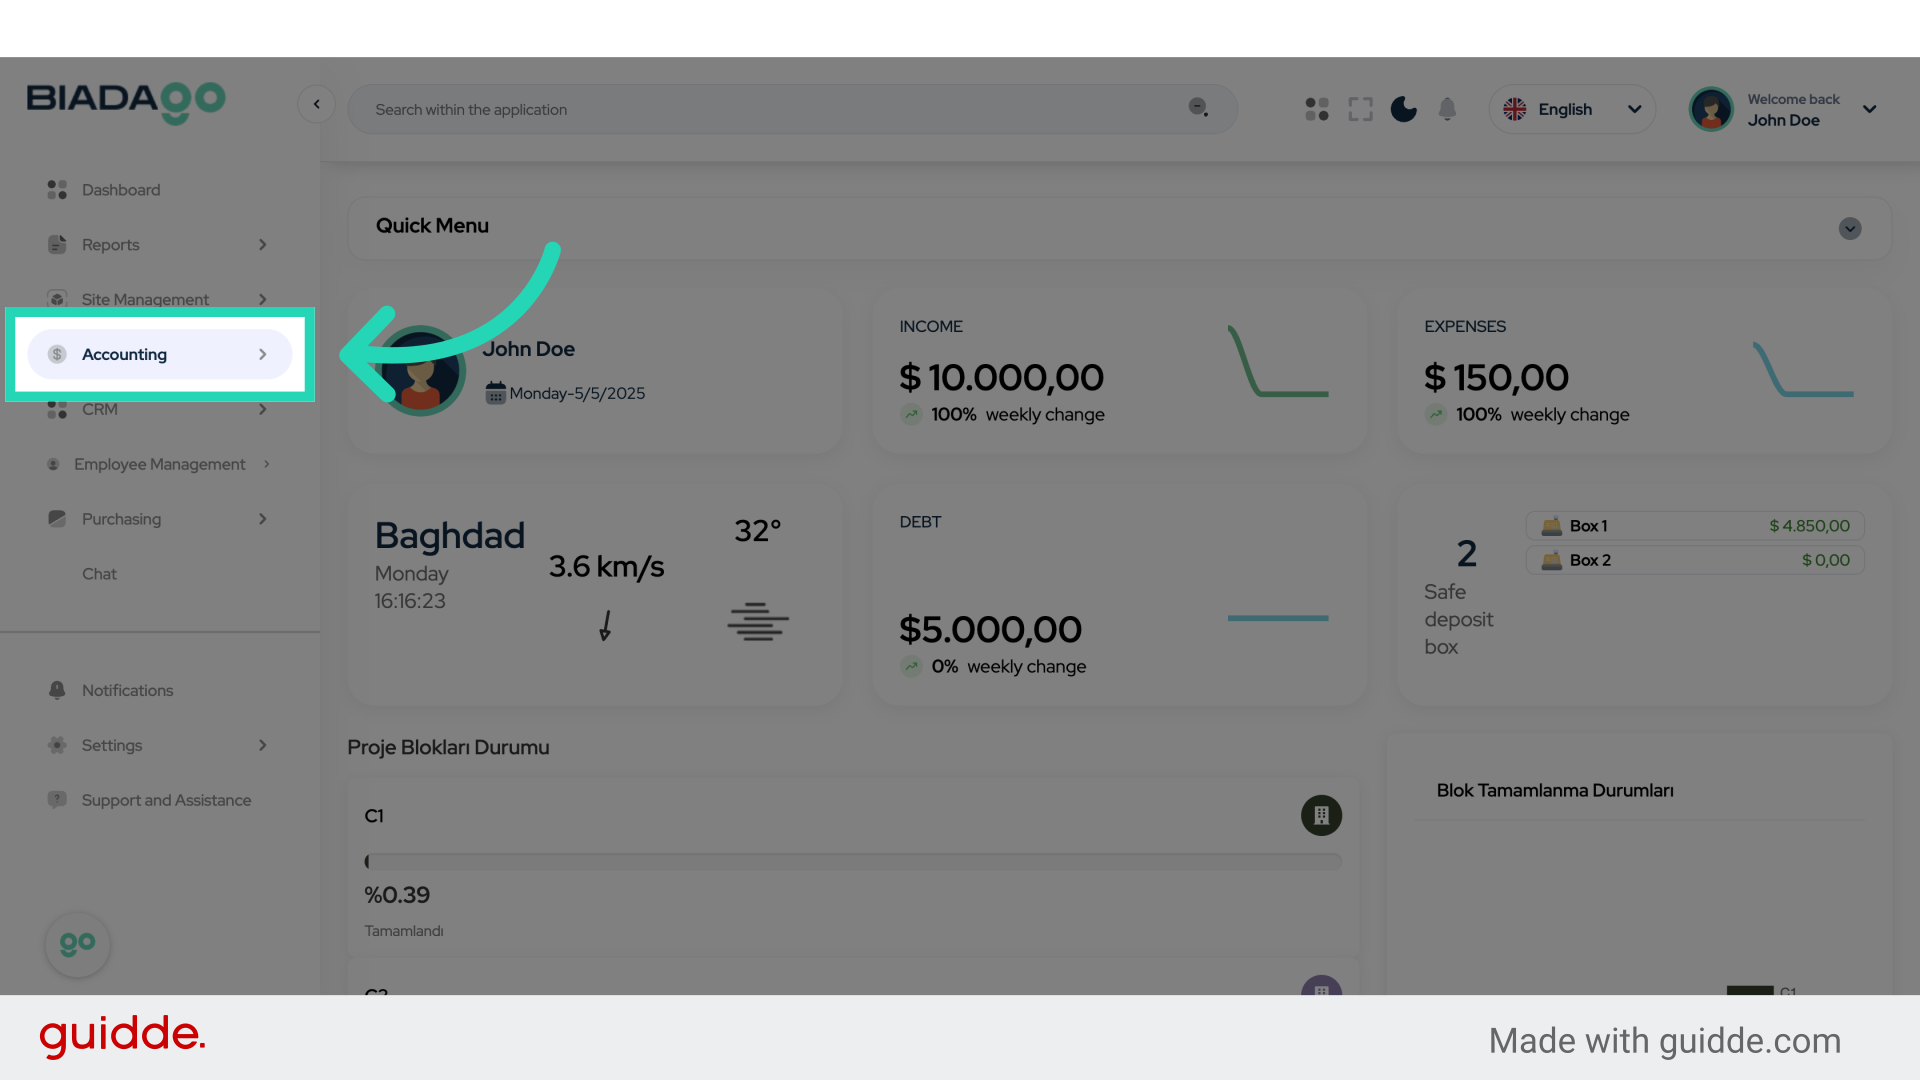
2. Click “Accounting”
Navigate to the Accounting section.
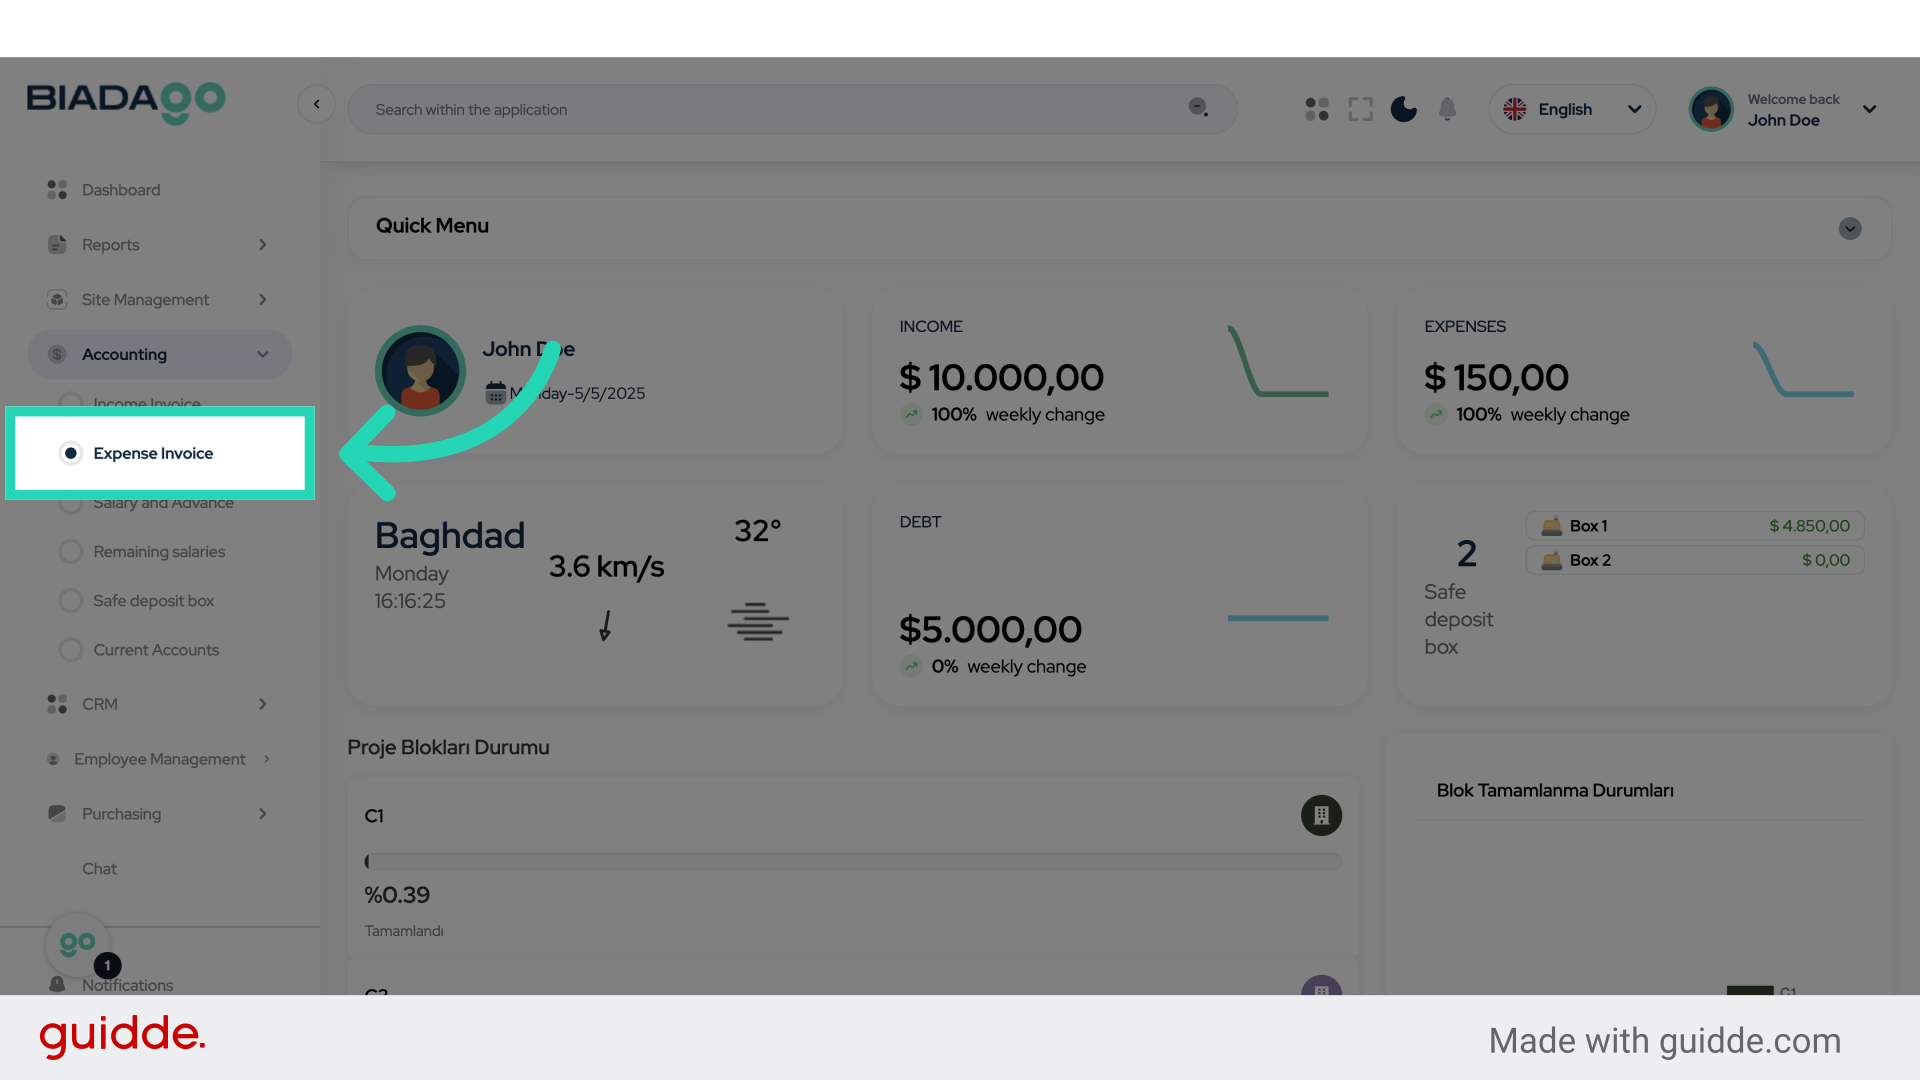
3. Click “Expense Invoice”
Access the Expense Invoice tab.
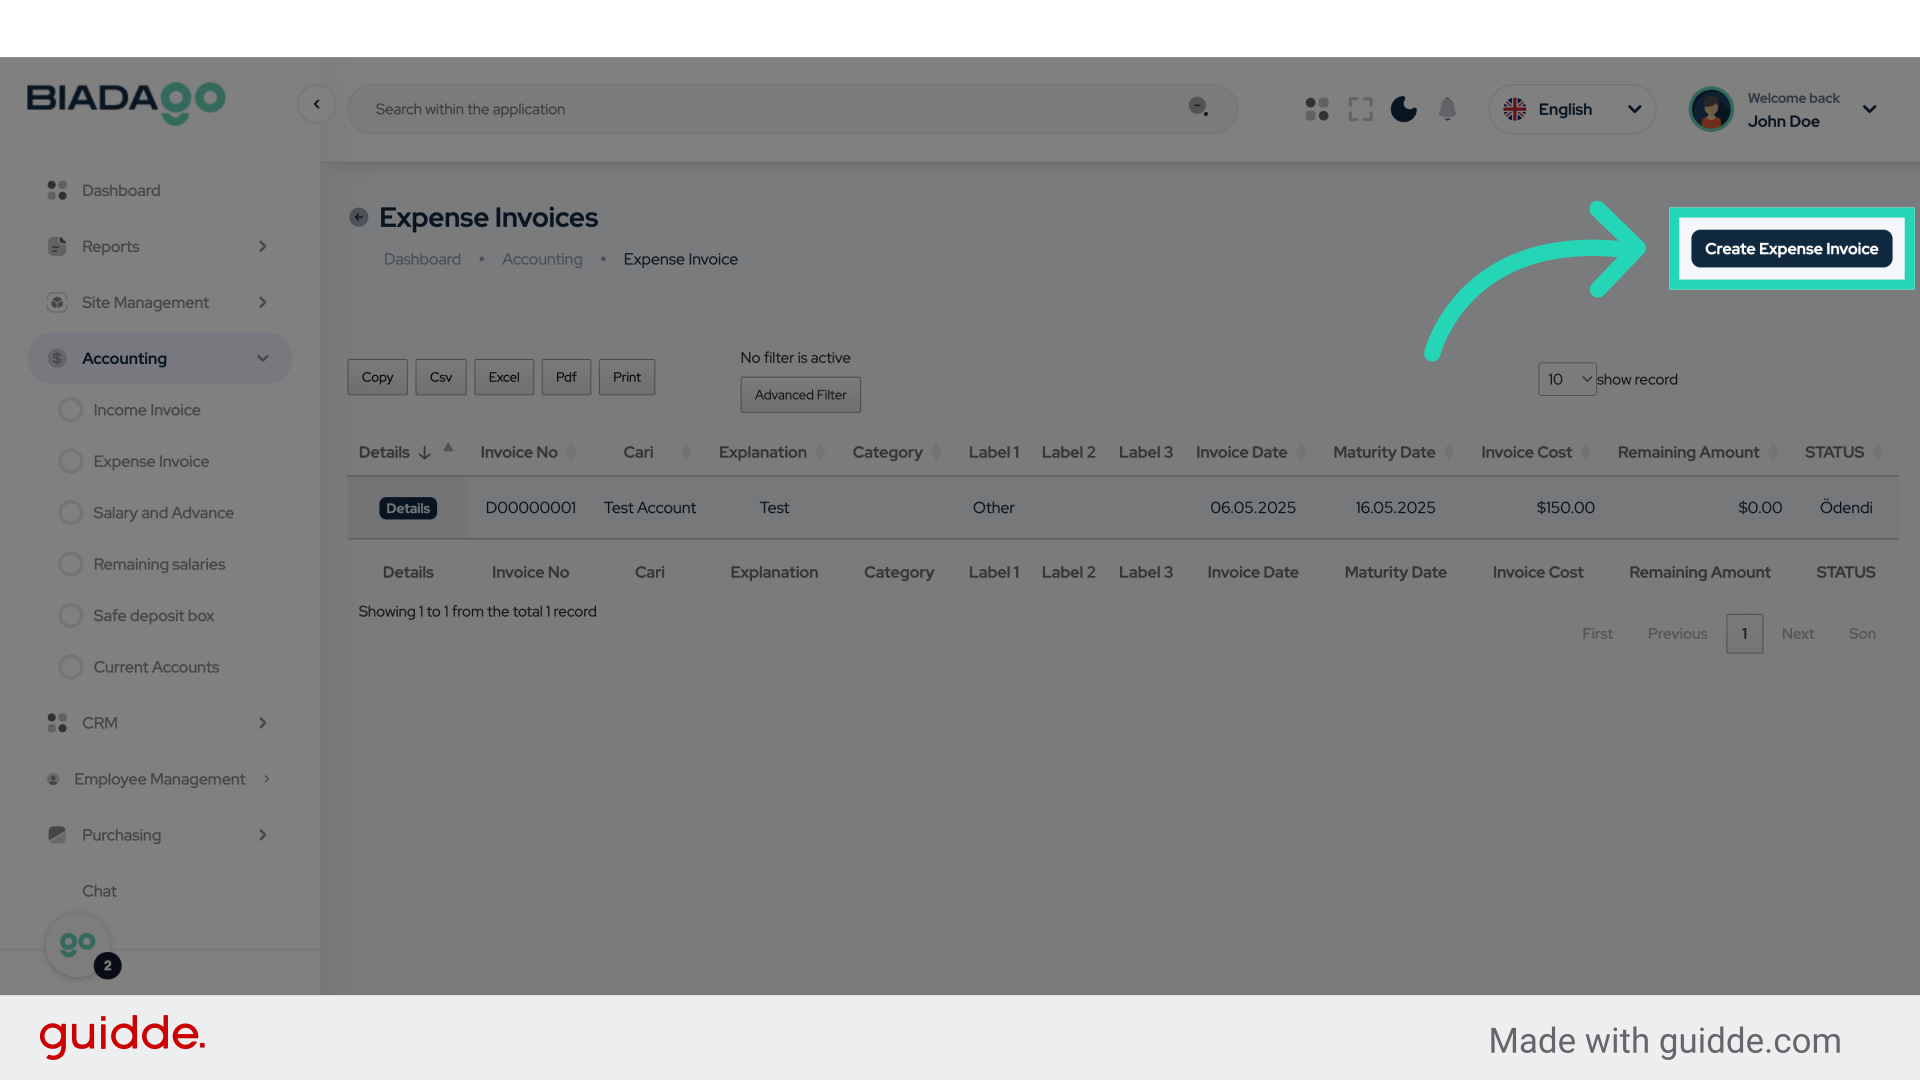
4. Click “Create Expense Invoice”
Initiate the creation of a new Expense Invoice.
5. Click “Select the current account”
Choose the current account for the transaction.

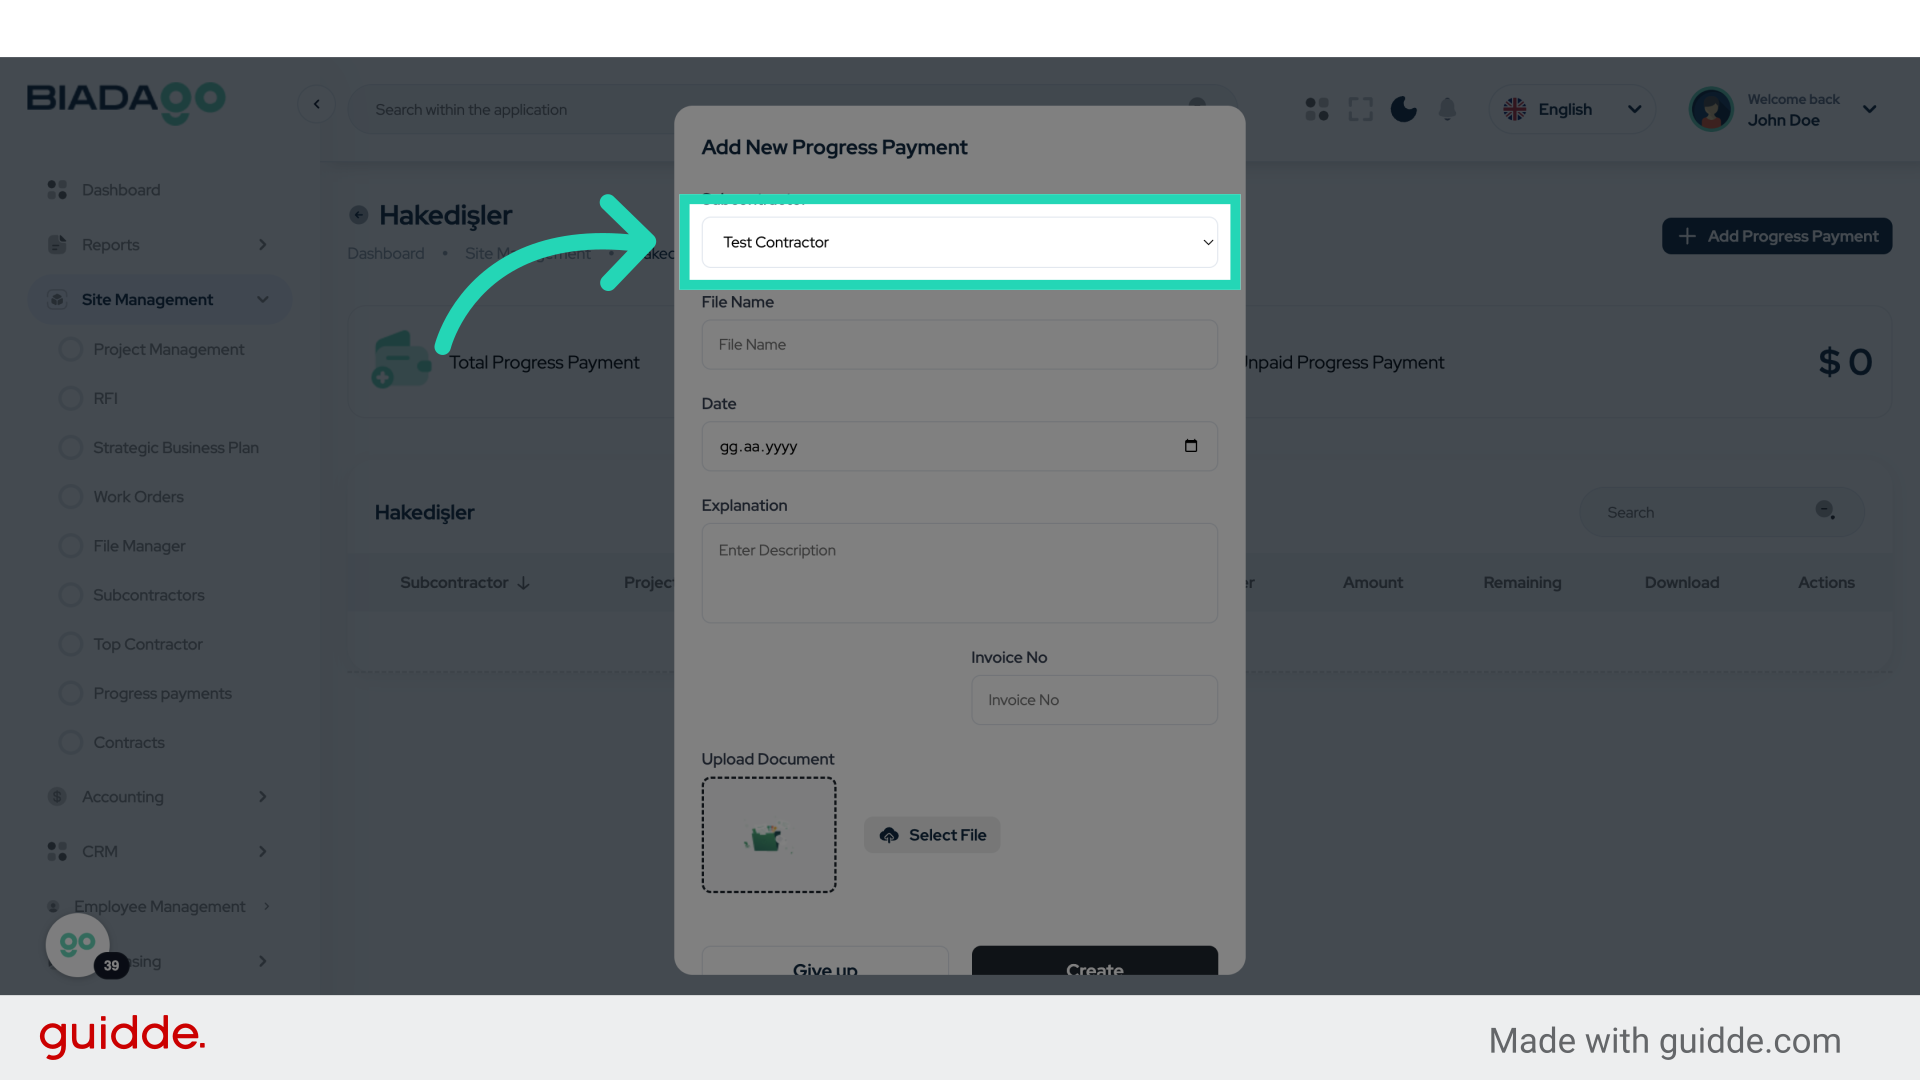
6. Fill “Test Contractor”
Fill in “Test Contractor”

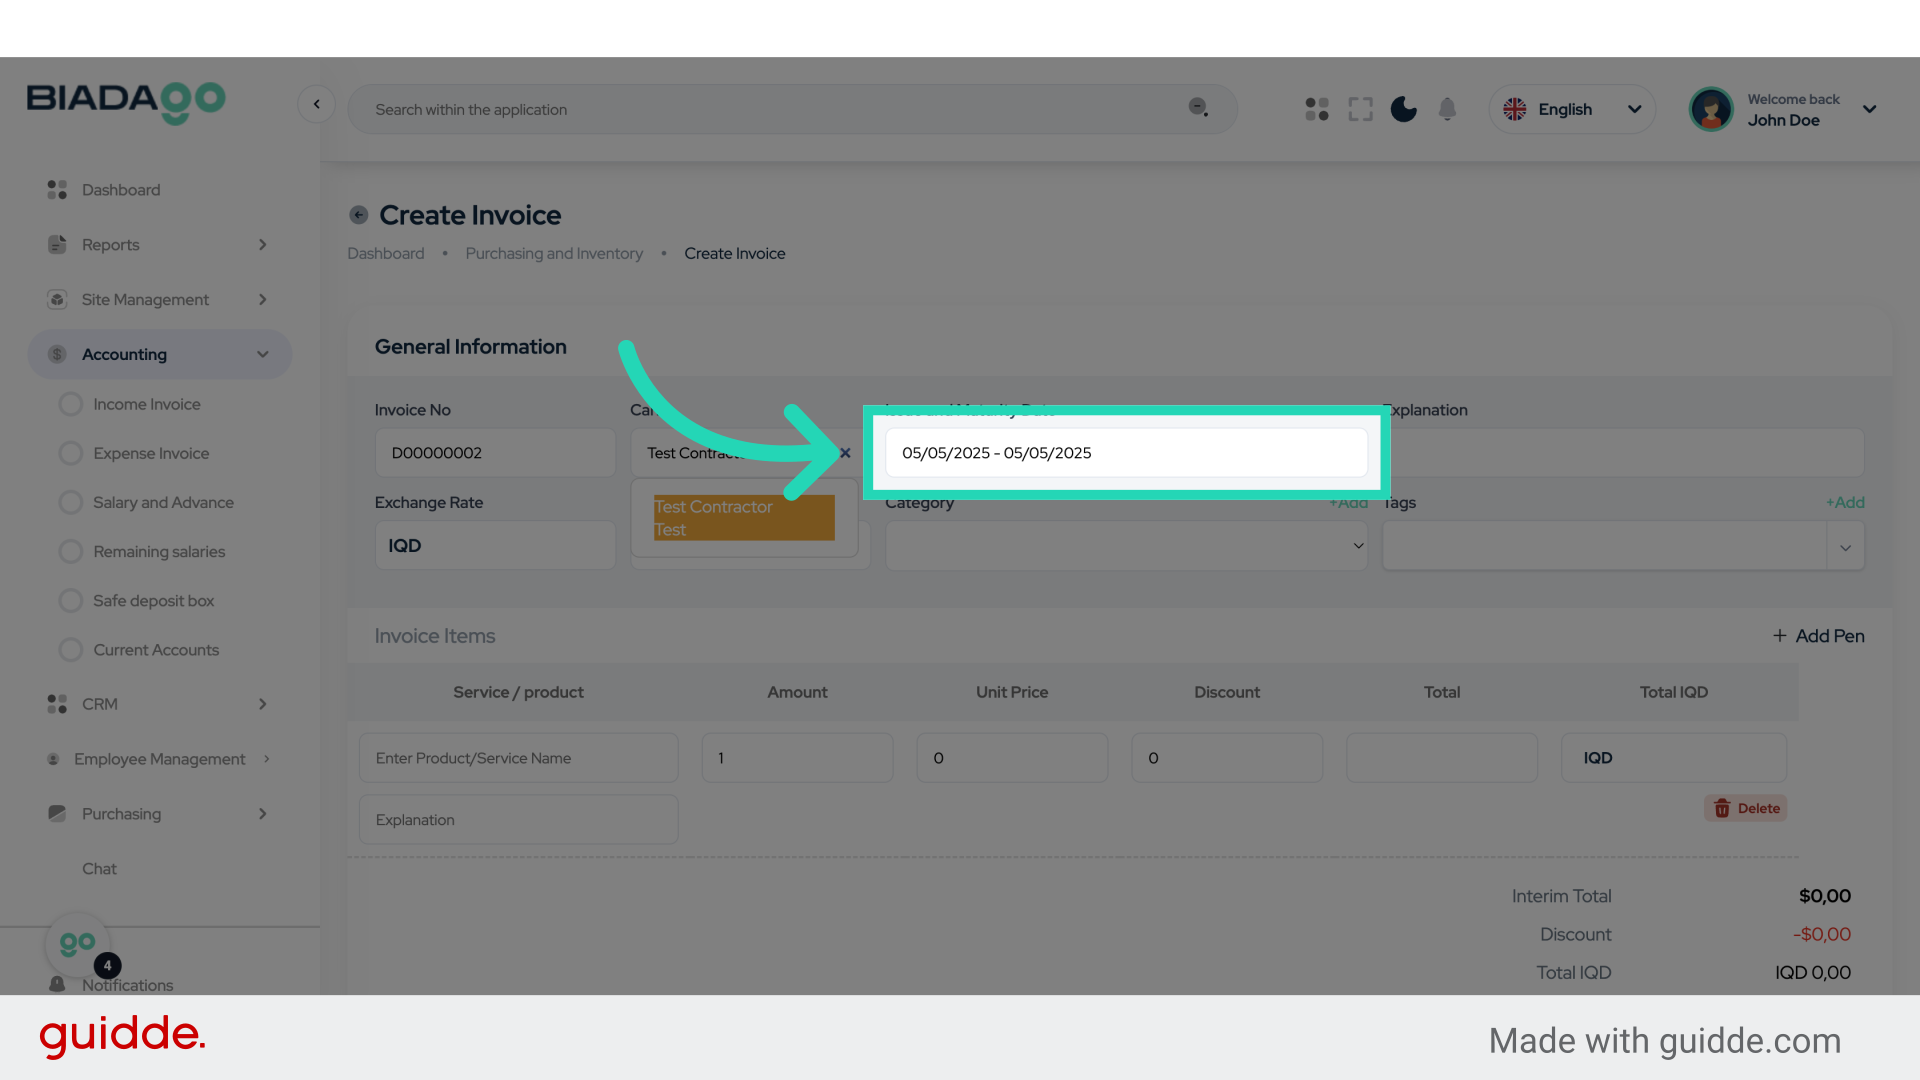
7. Click “Issue and Maturity Date”
Set the Issue and Maturity Date for the invoice.
8. Click “5”
Enter the quantity as ‘5’.
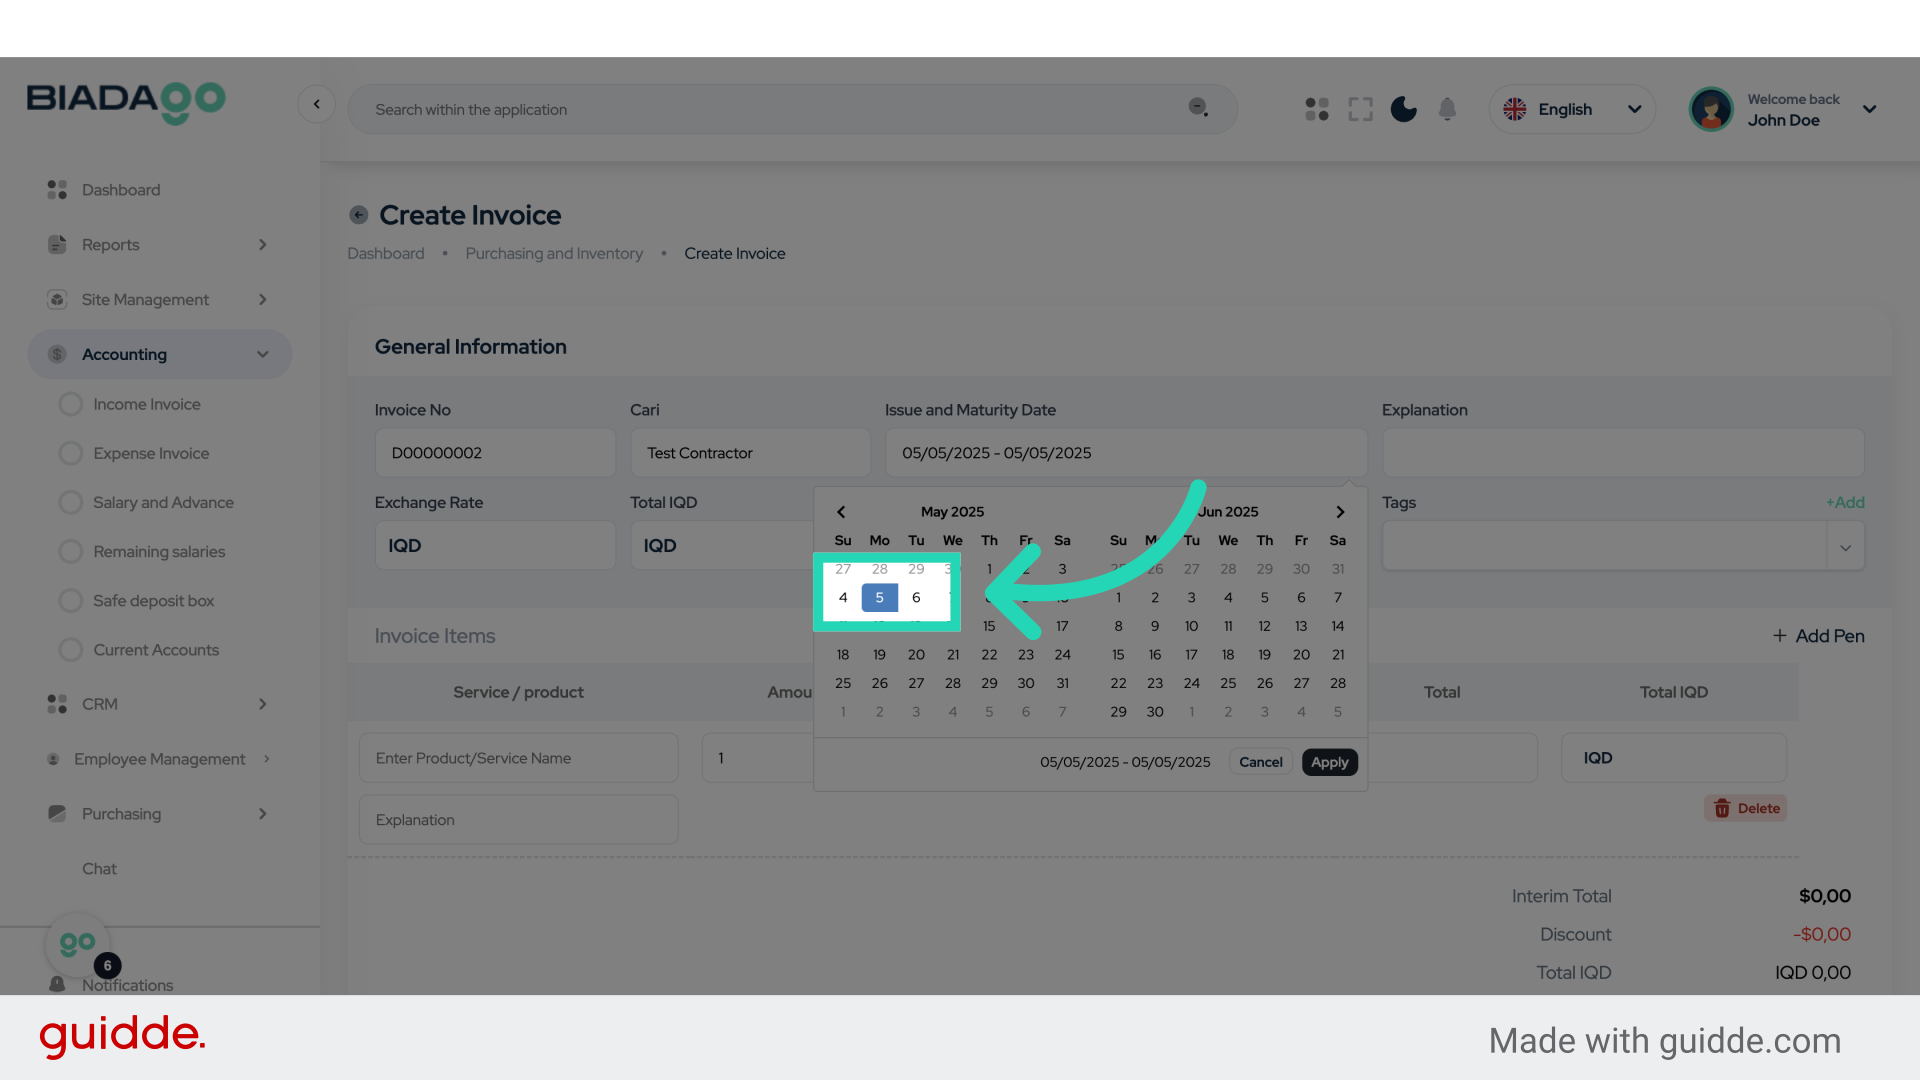
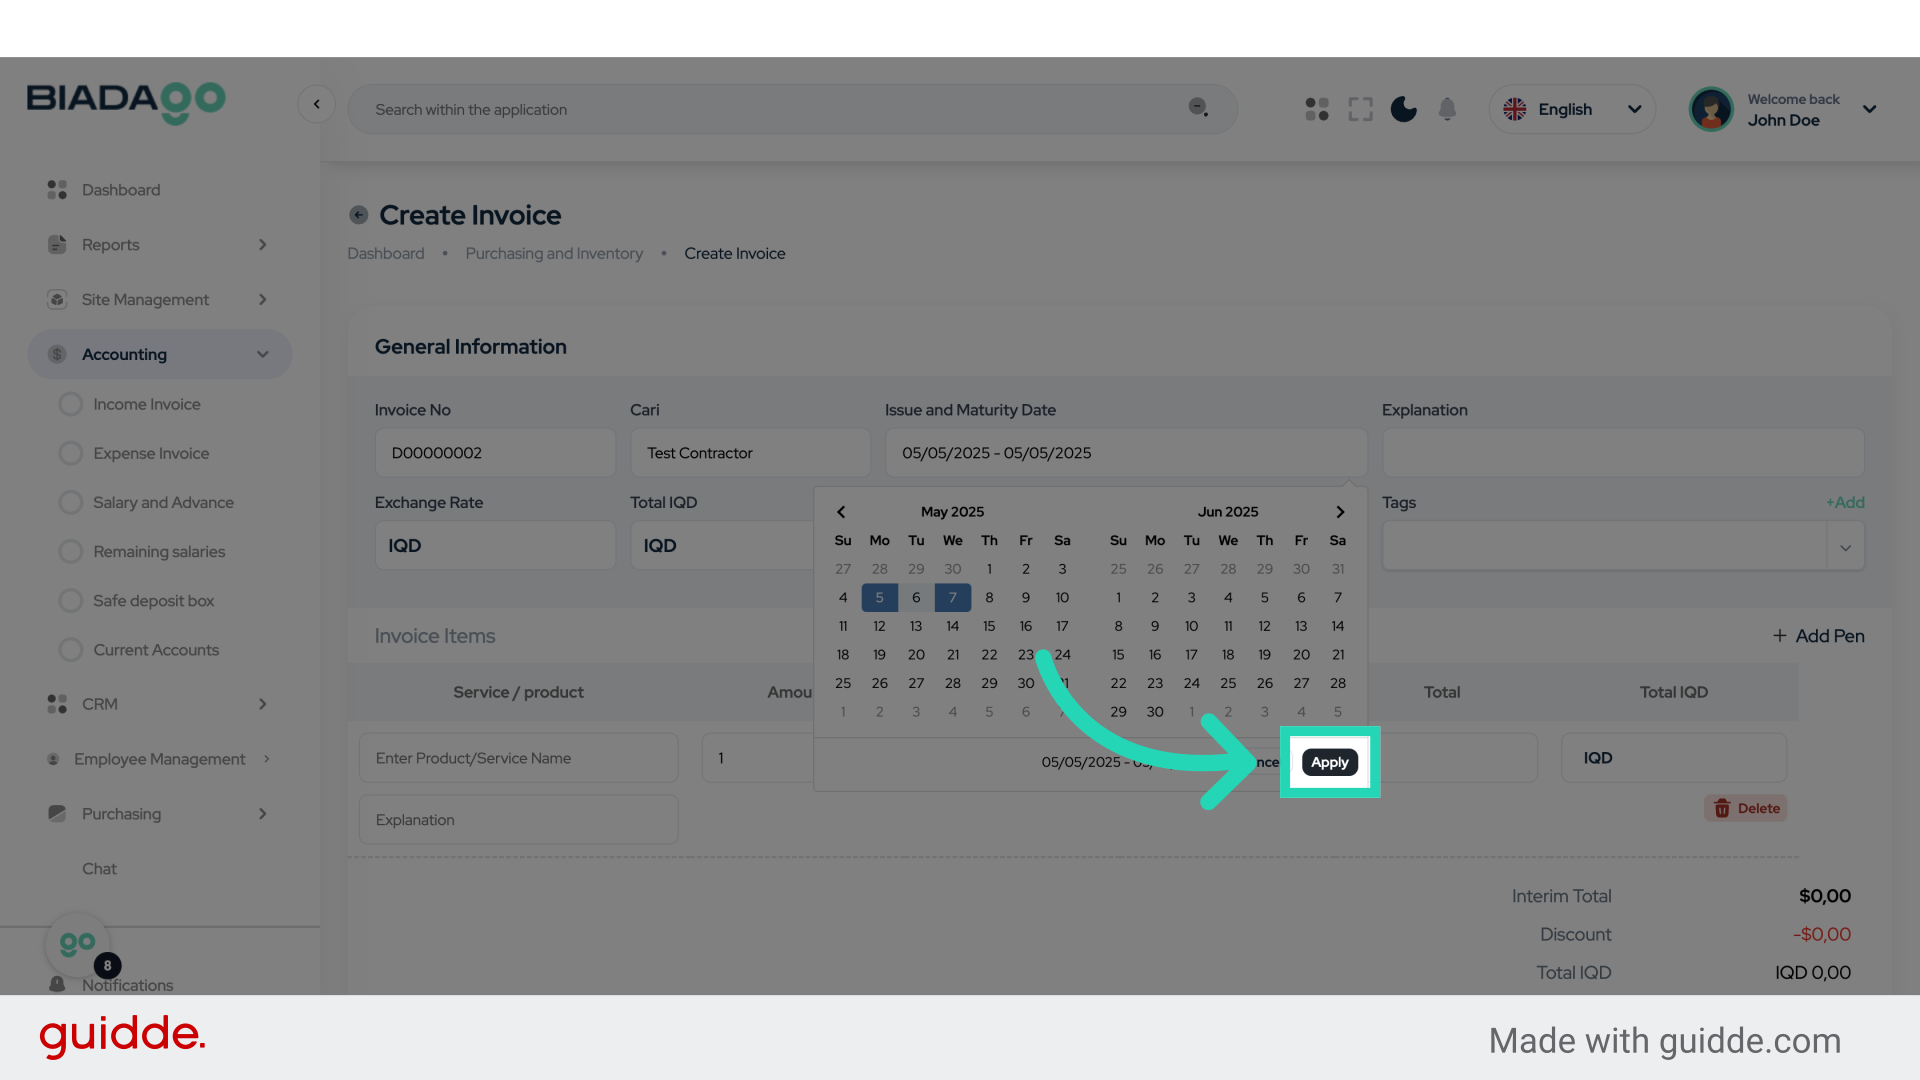
9. Click “7”
Enter the rate as ‘7’.

10. Click “Apply”
Apply the changes.
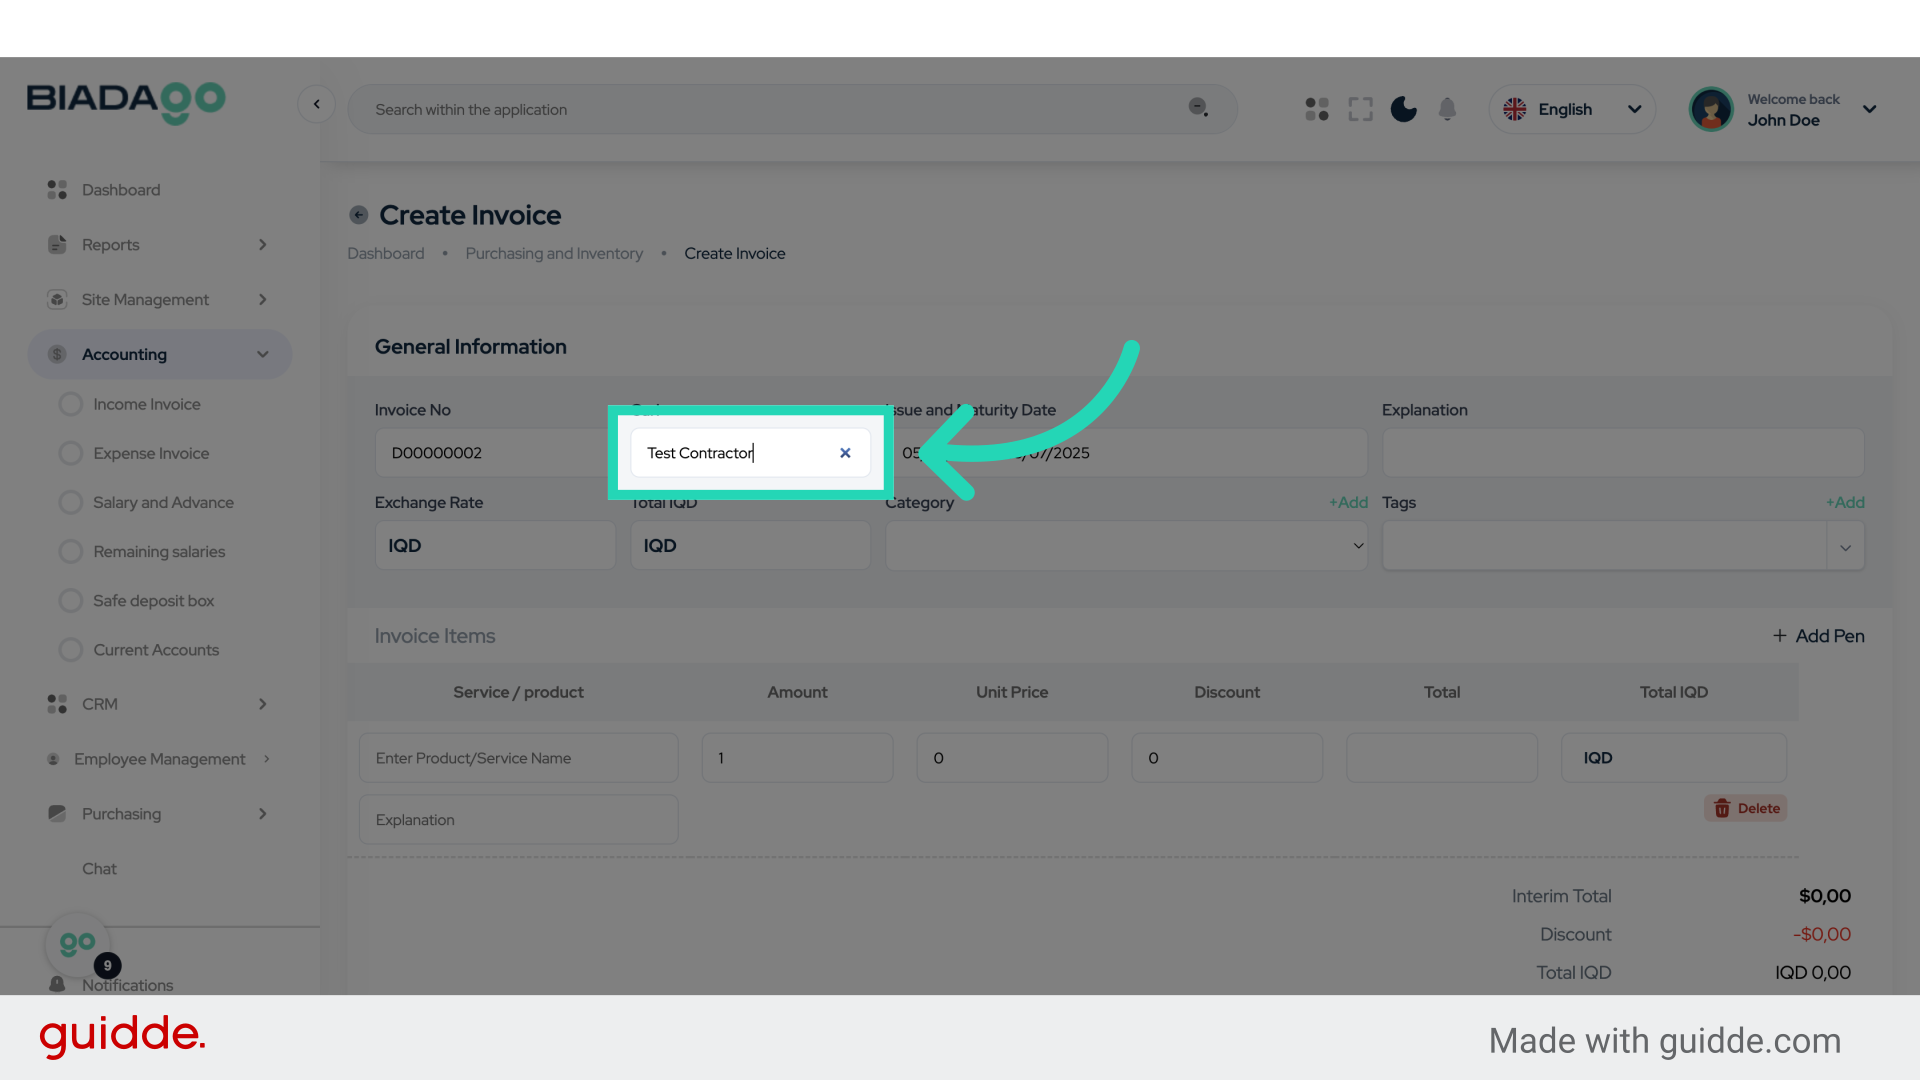
11. Click “Test Contractor”
Select the Test Contractor.
12. Click “Explanation”
Provide an explanation for the transaction.
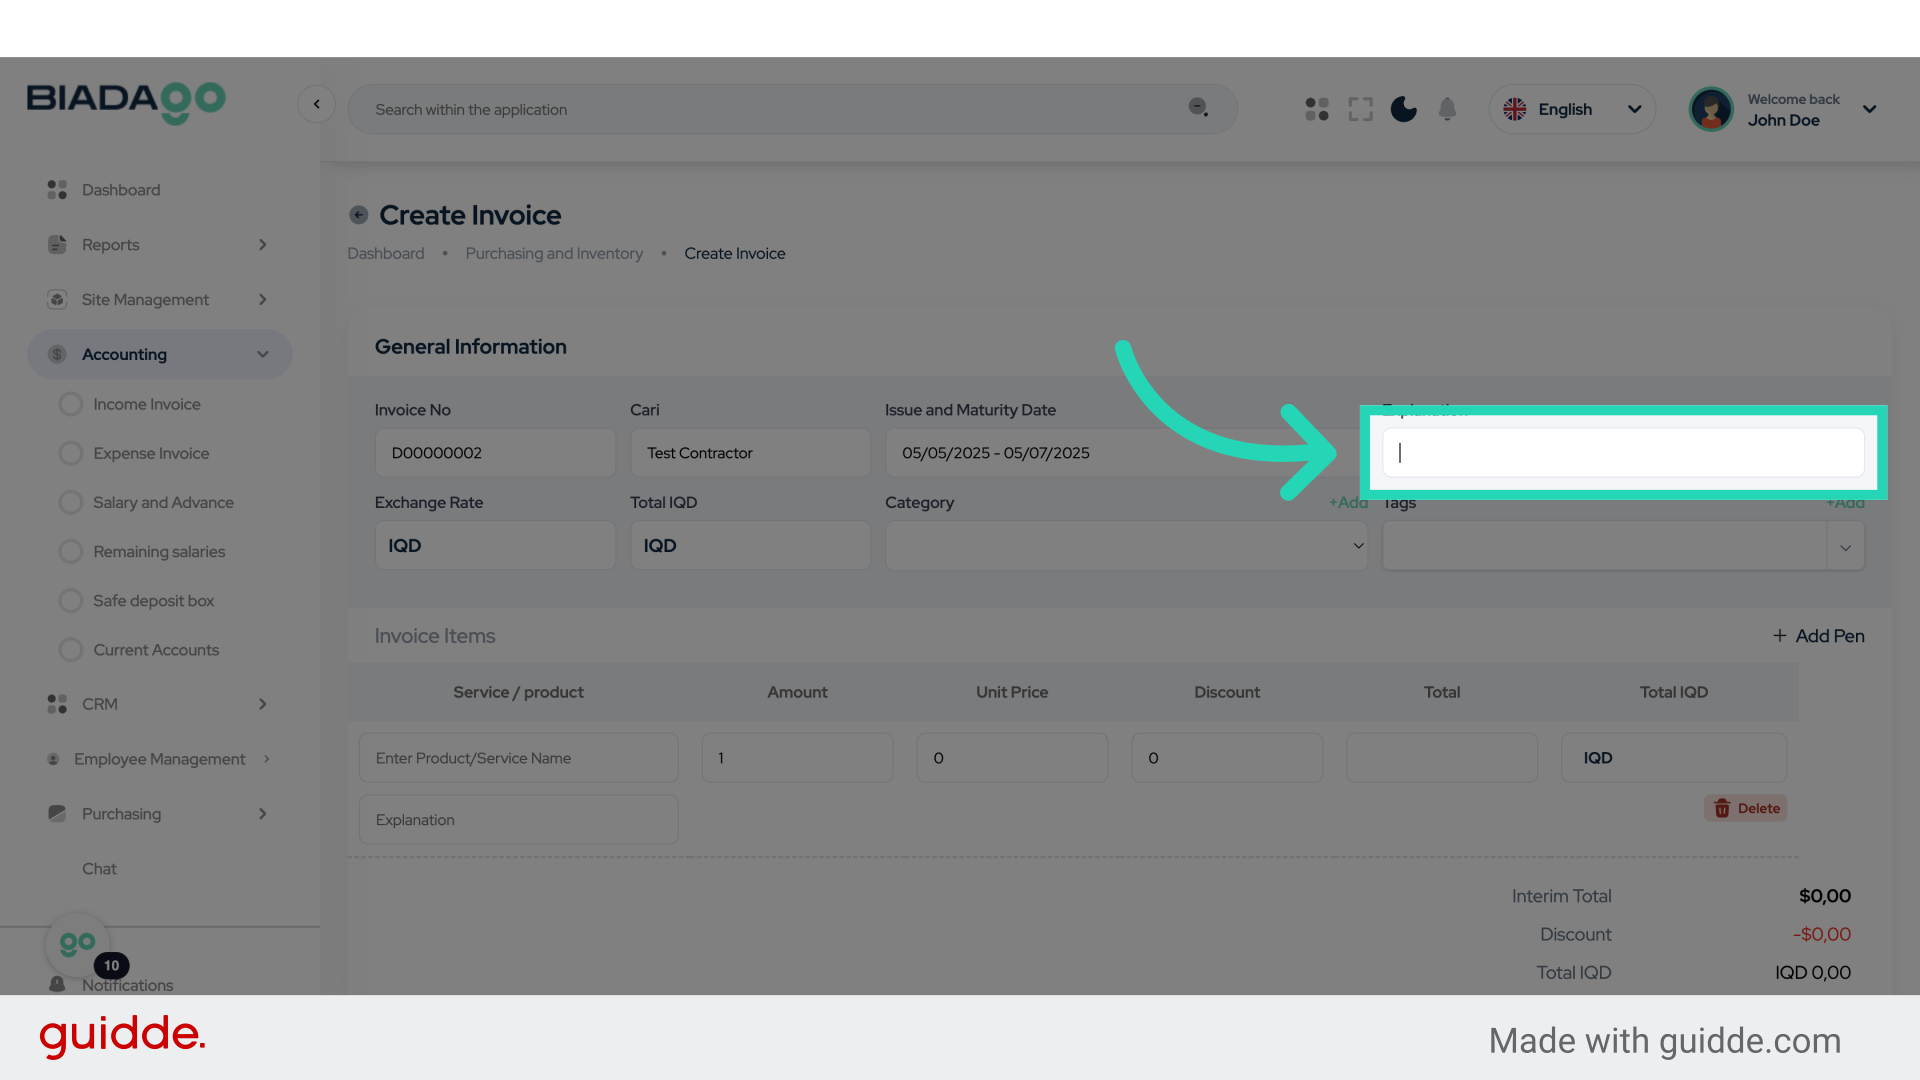
13. Fill “Test”
Enter “Test” in the provided field

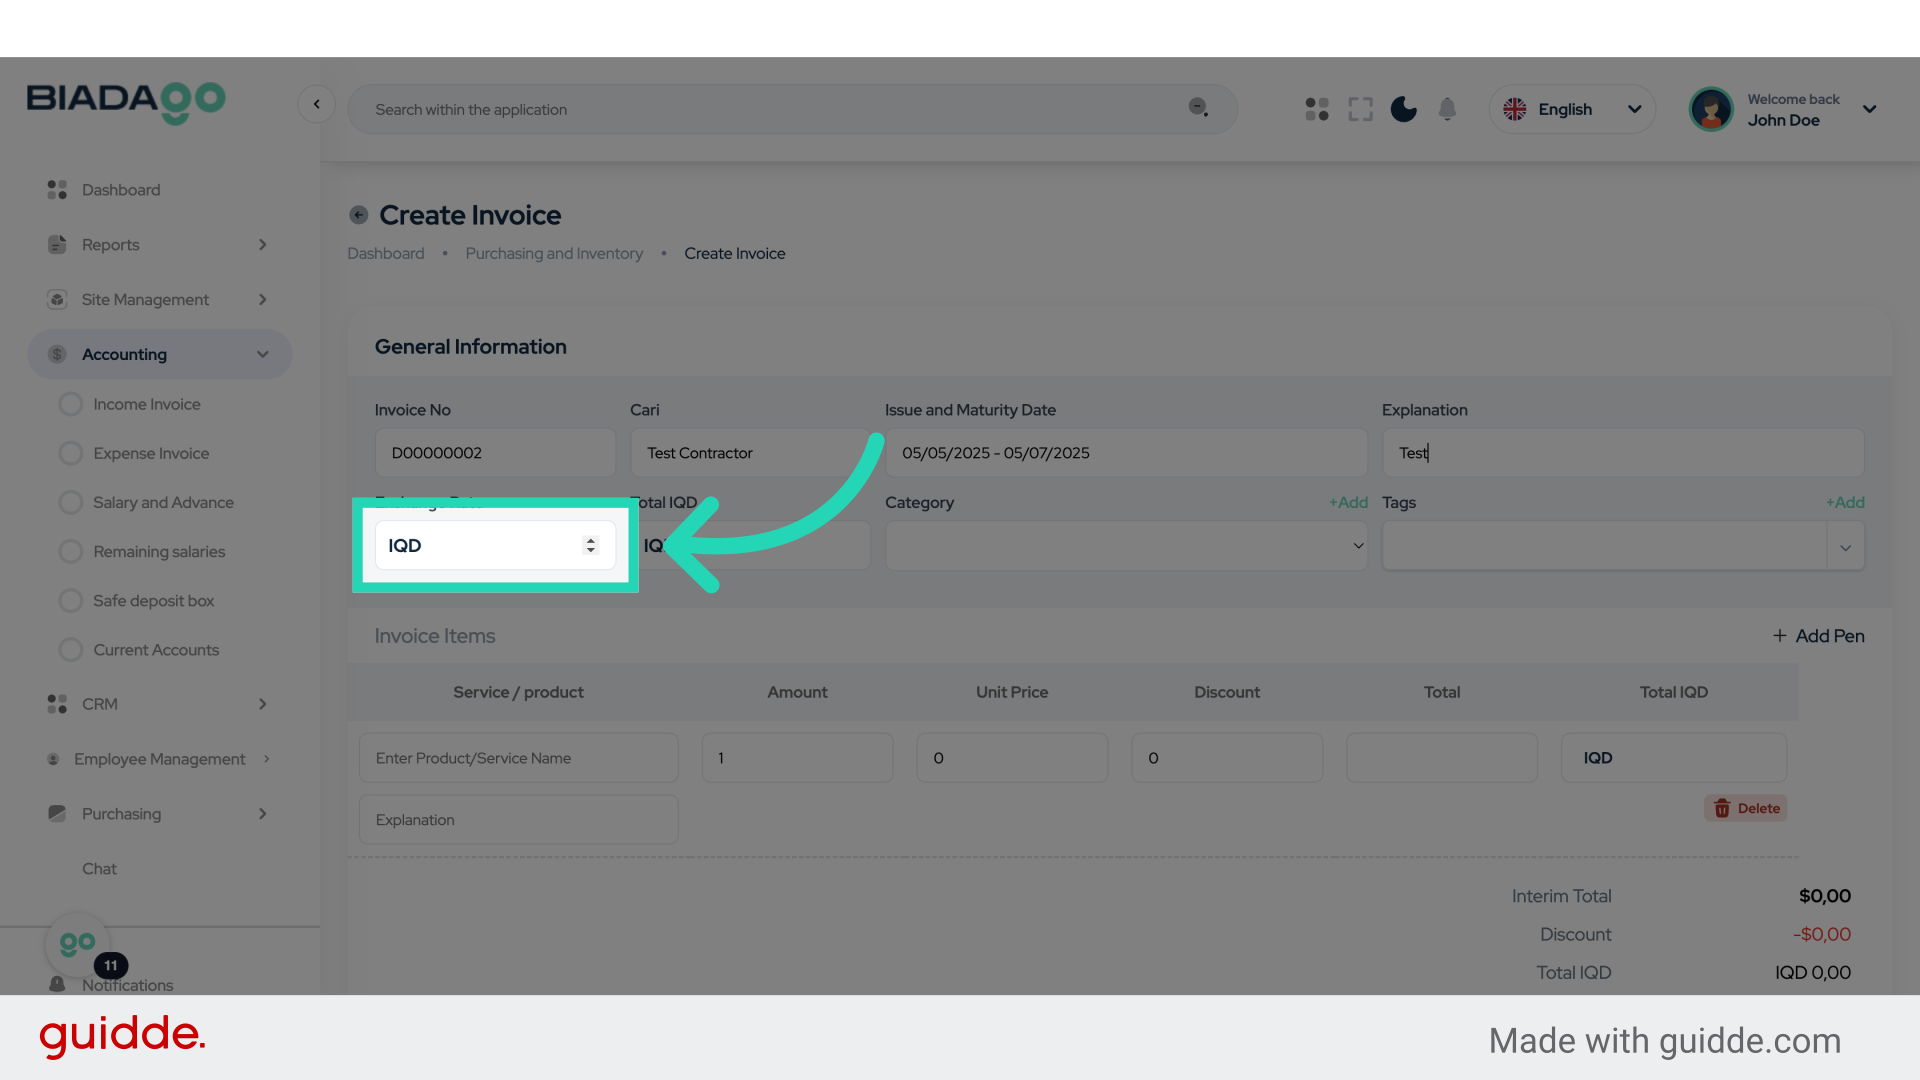
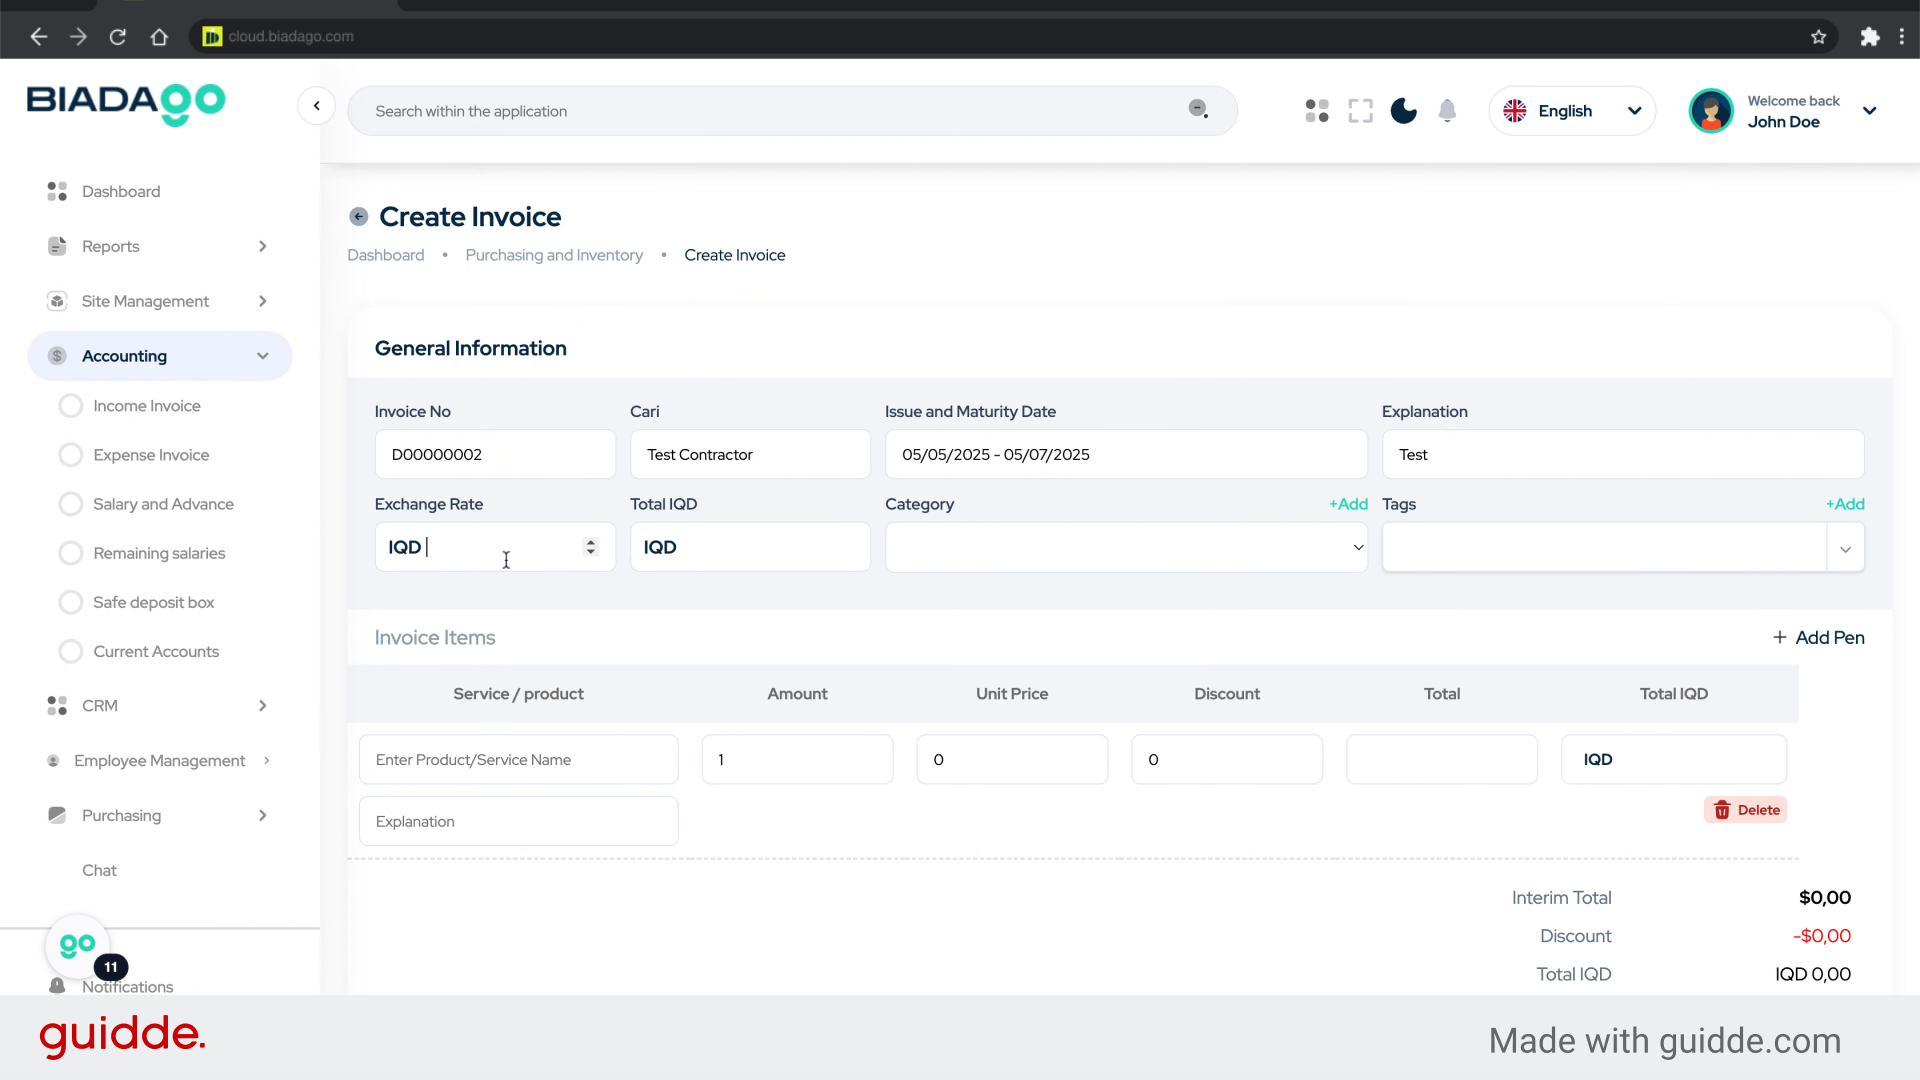
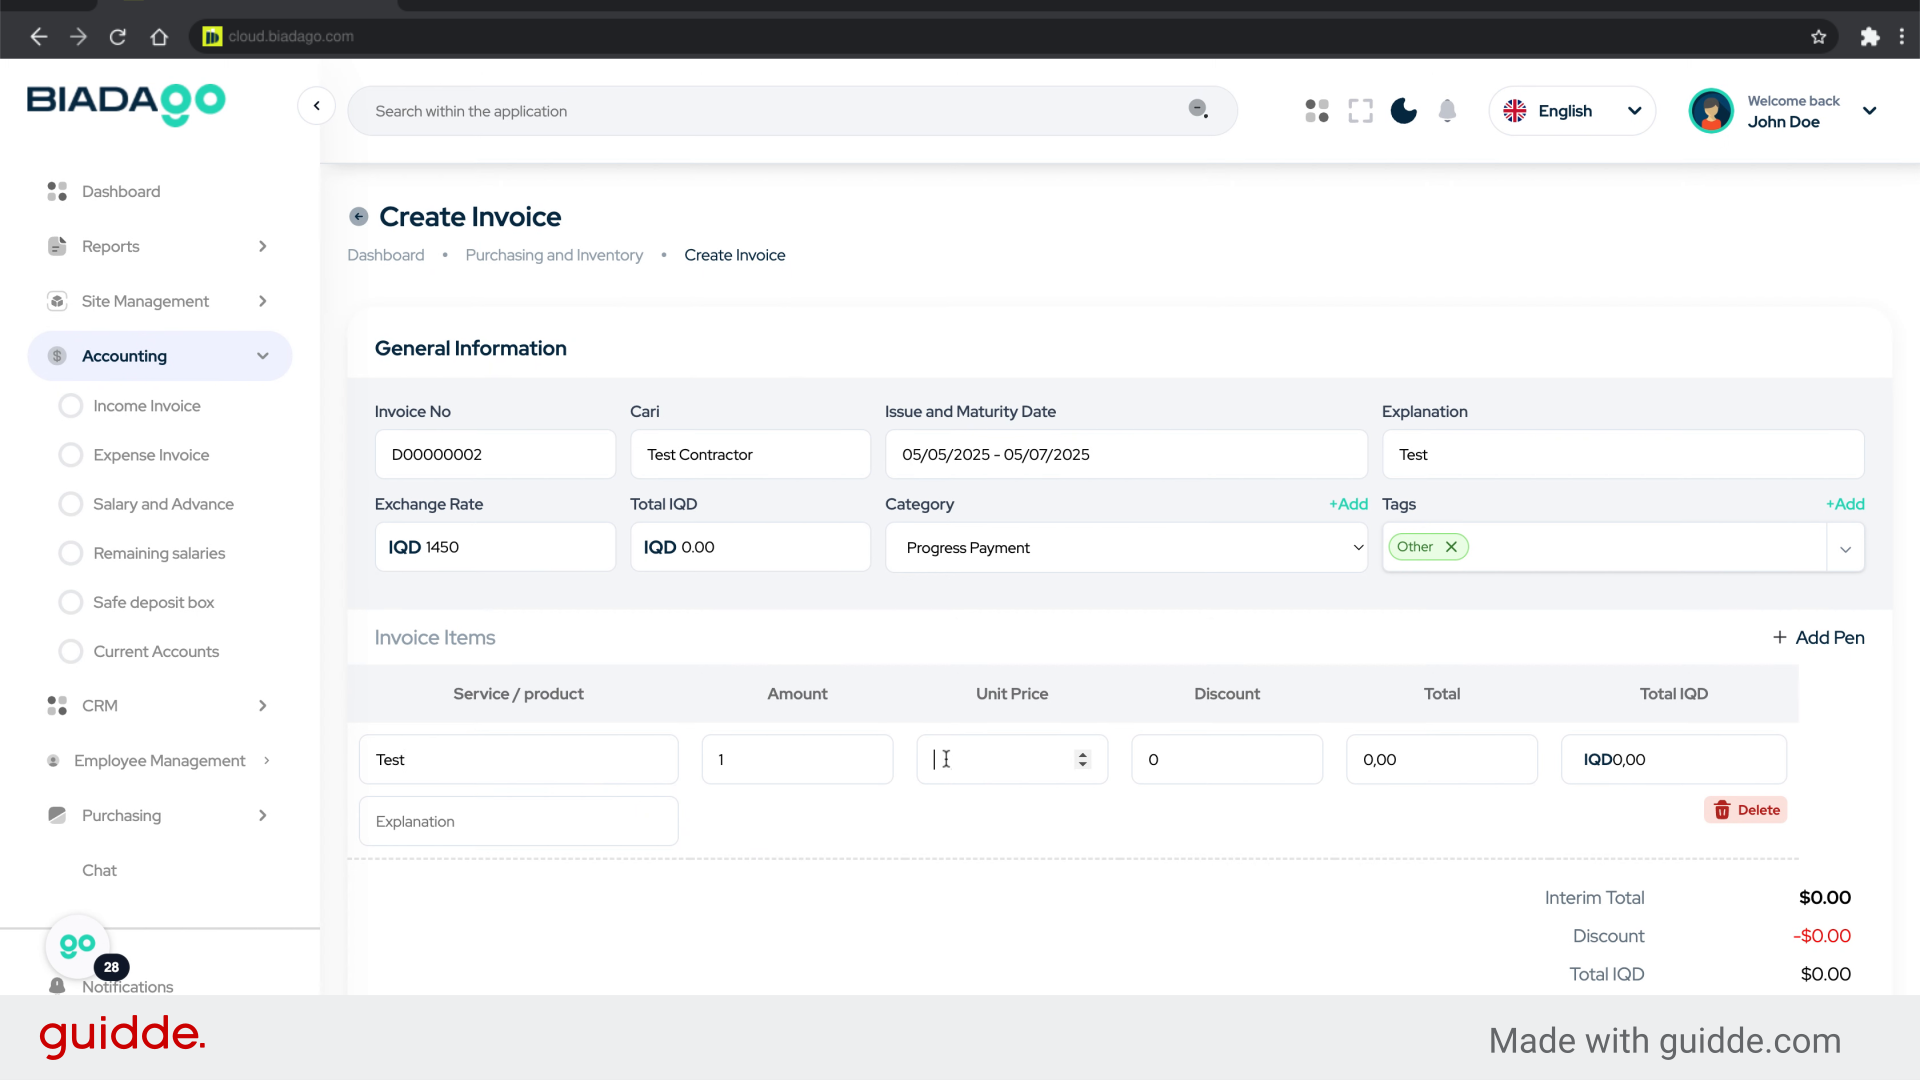
14. Click “Exchange Rate”
Enter the Exchange Rate.
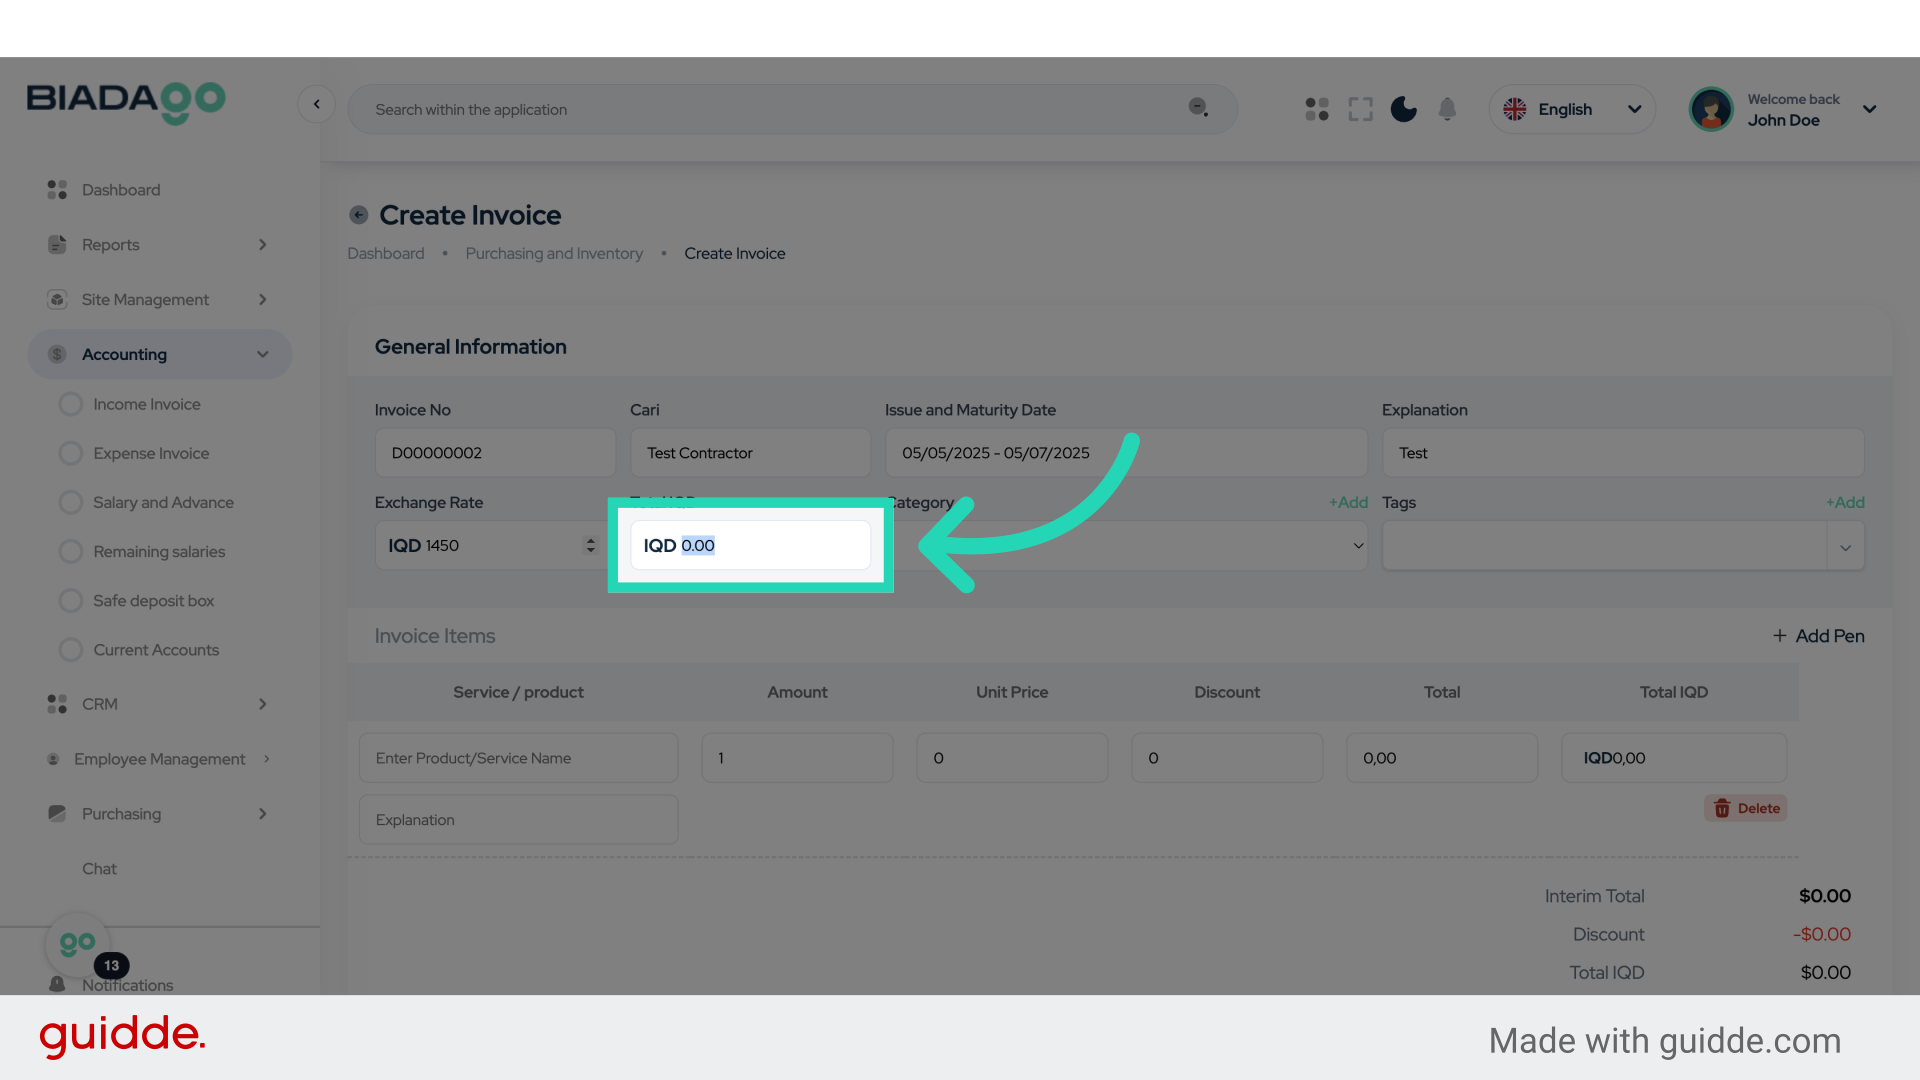
15. Fill “1450”
Fill in the text box with “1450”
16. Go here
Navigate to a specific section.
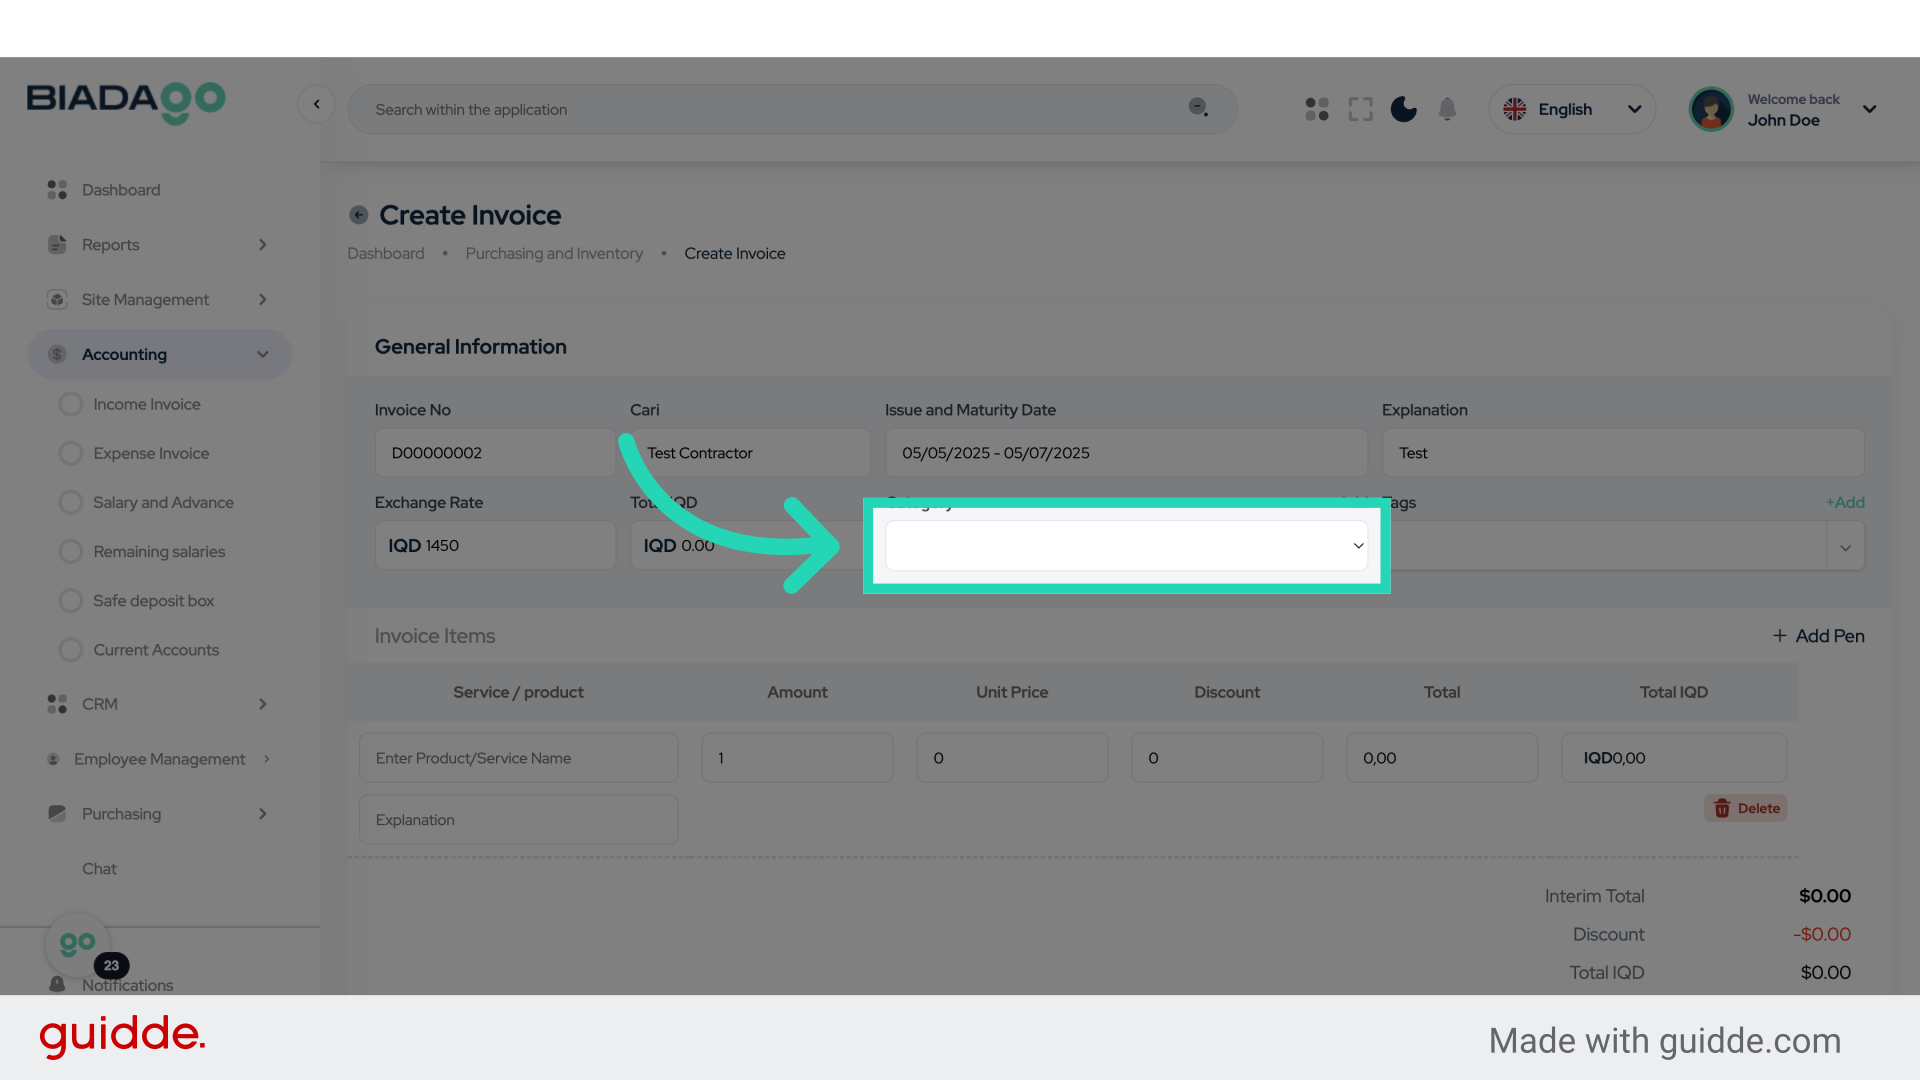
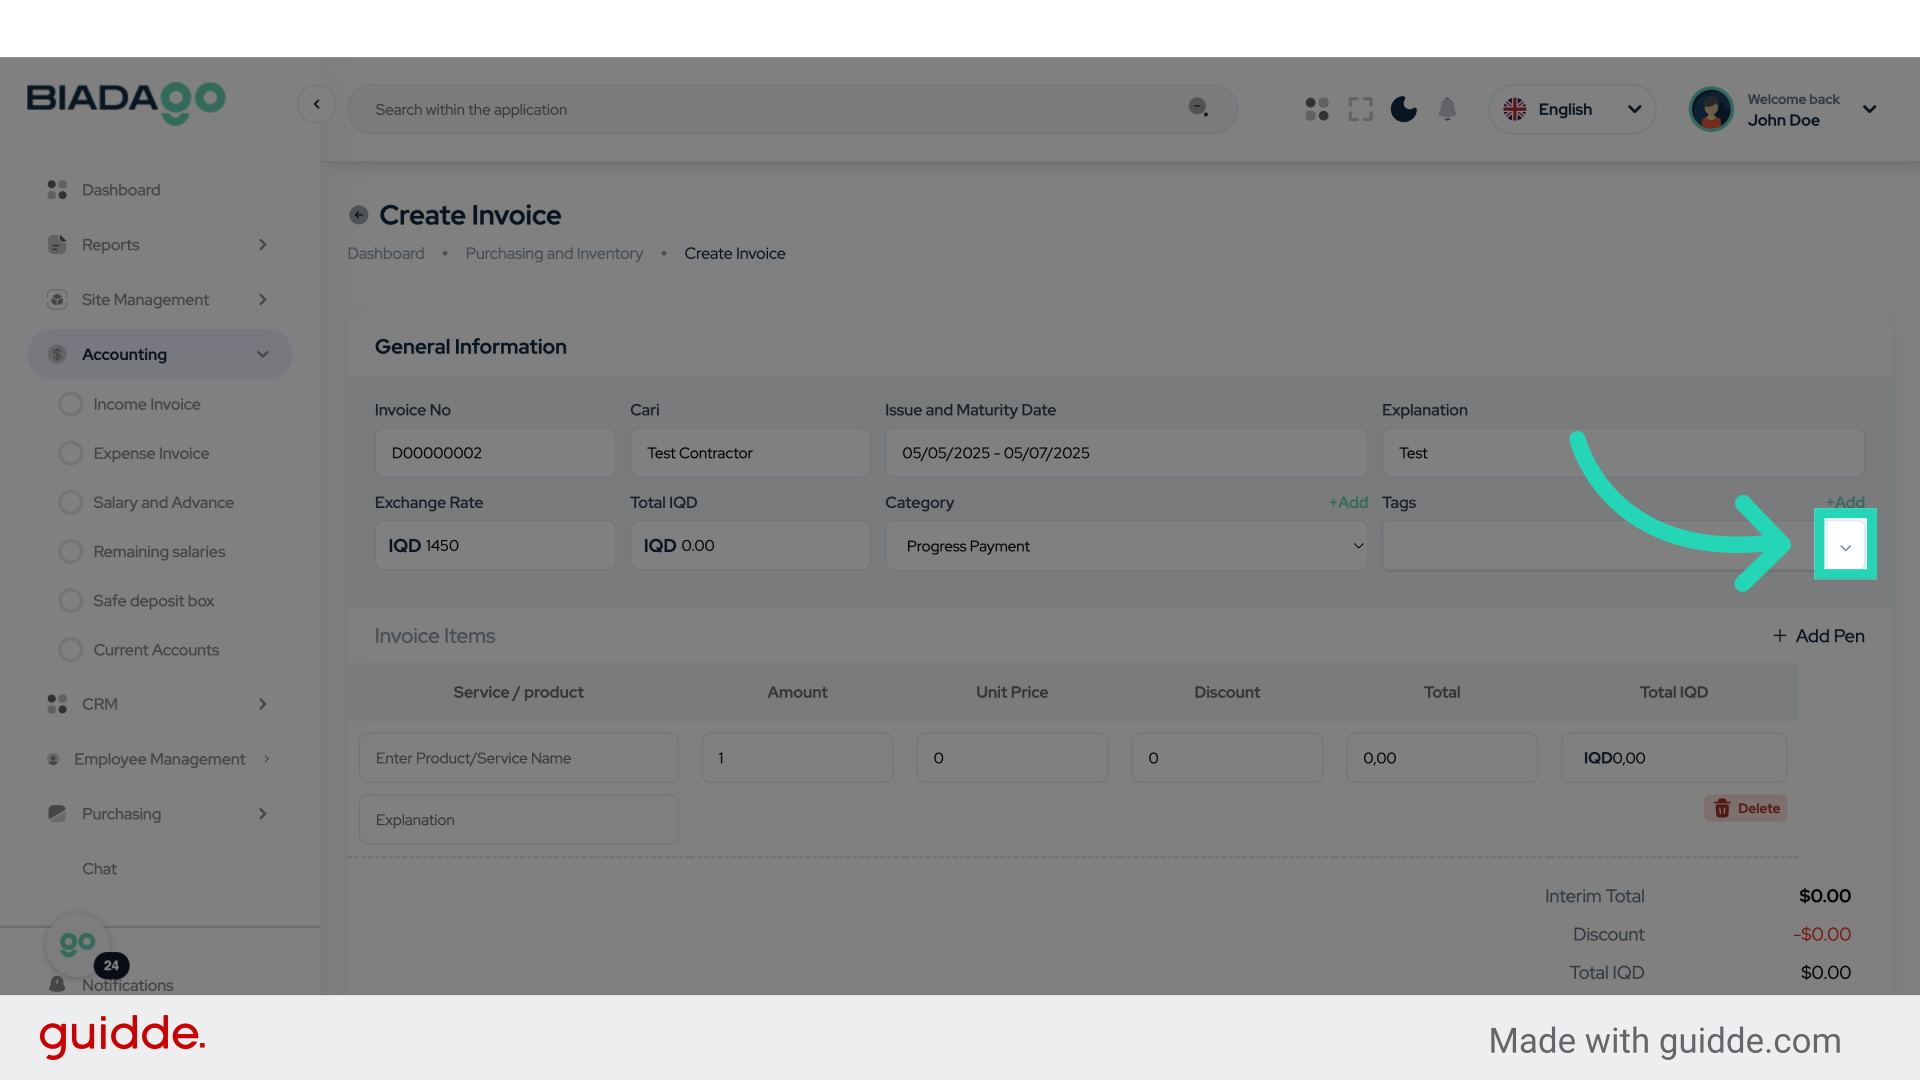
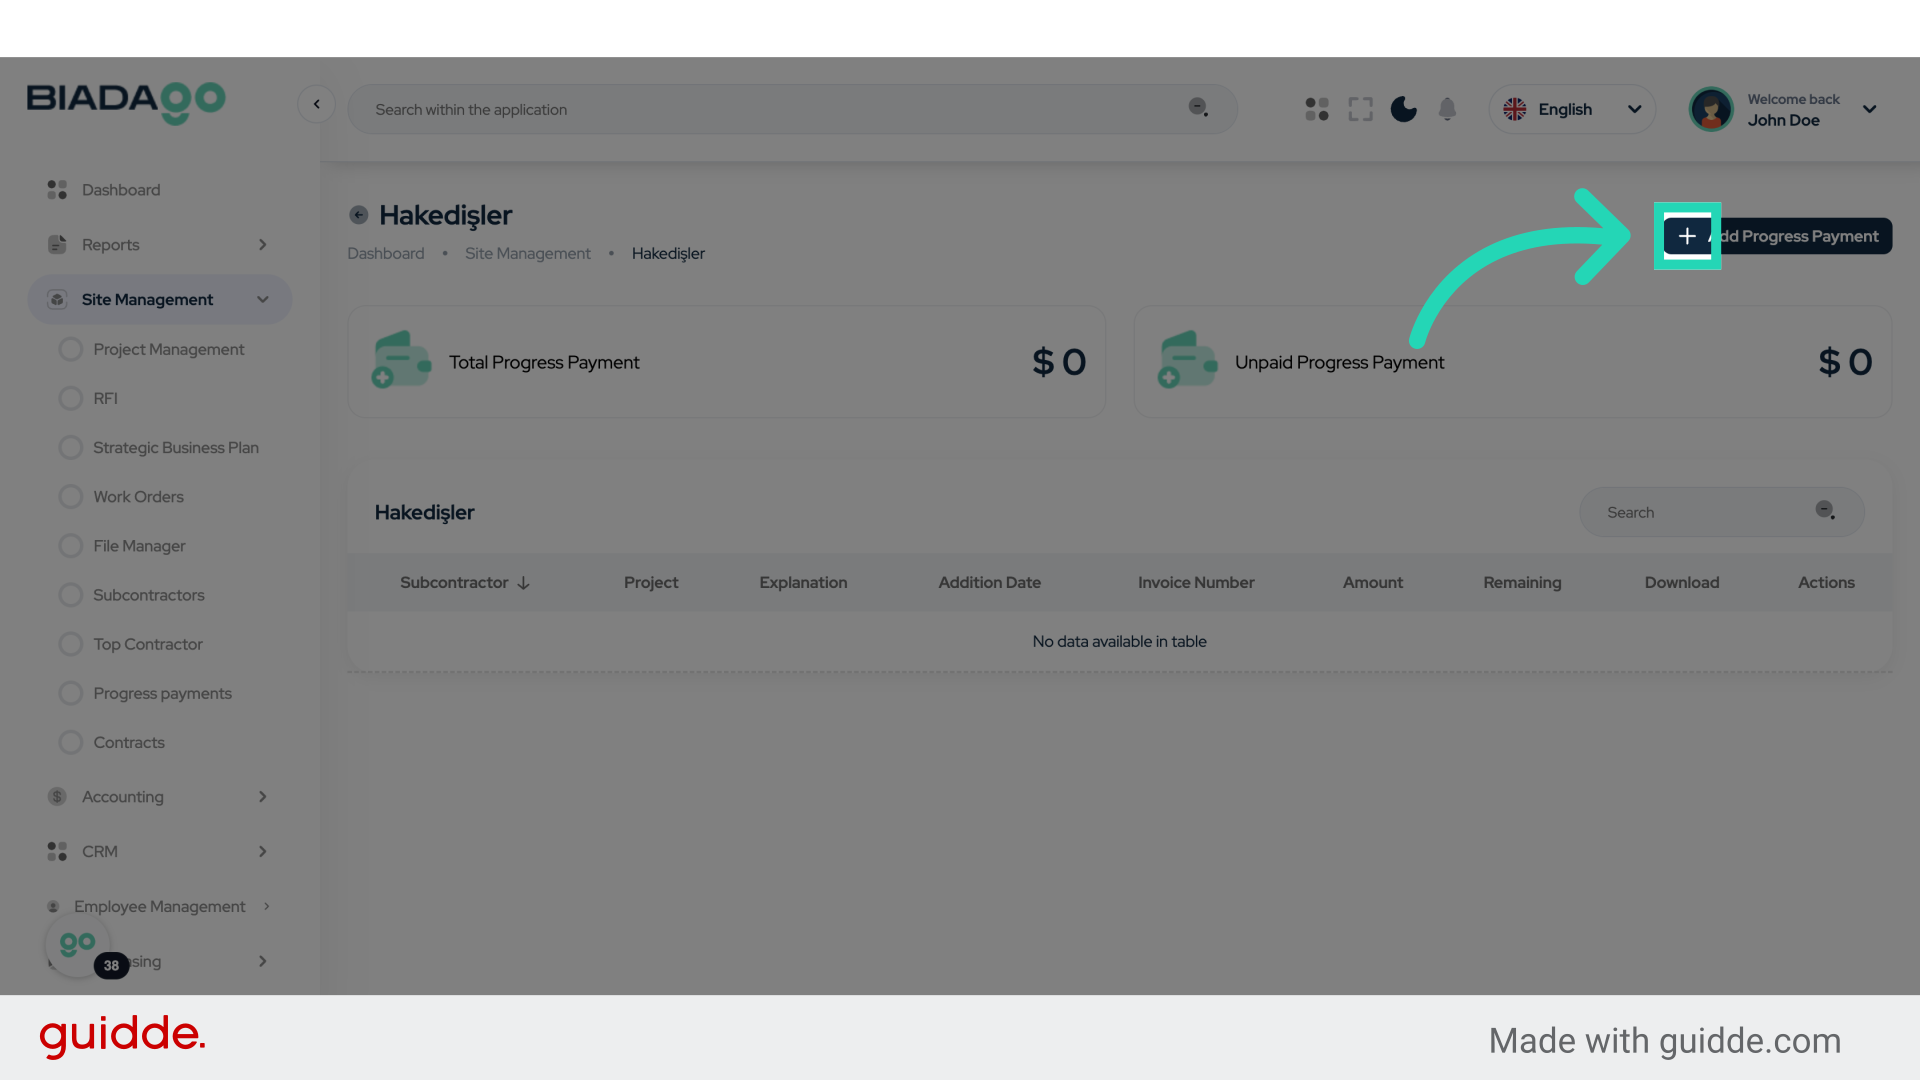
17. Click “+Add”
Add a new item.

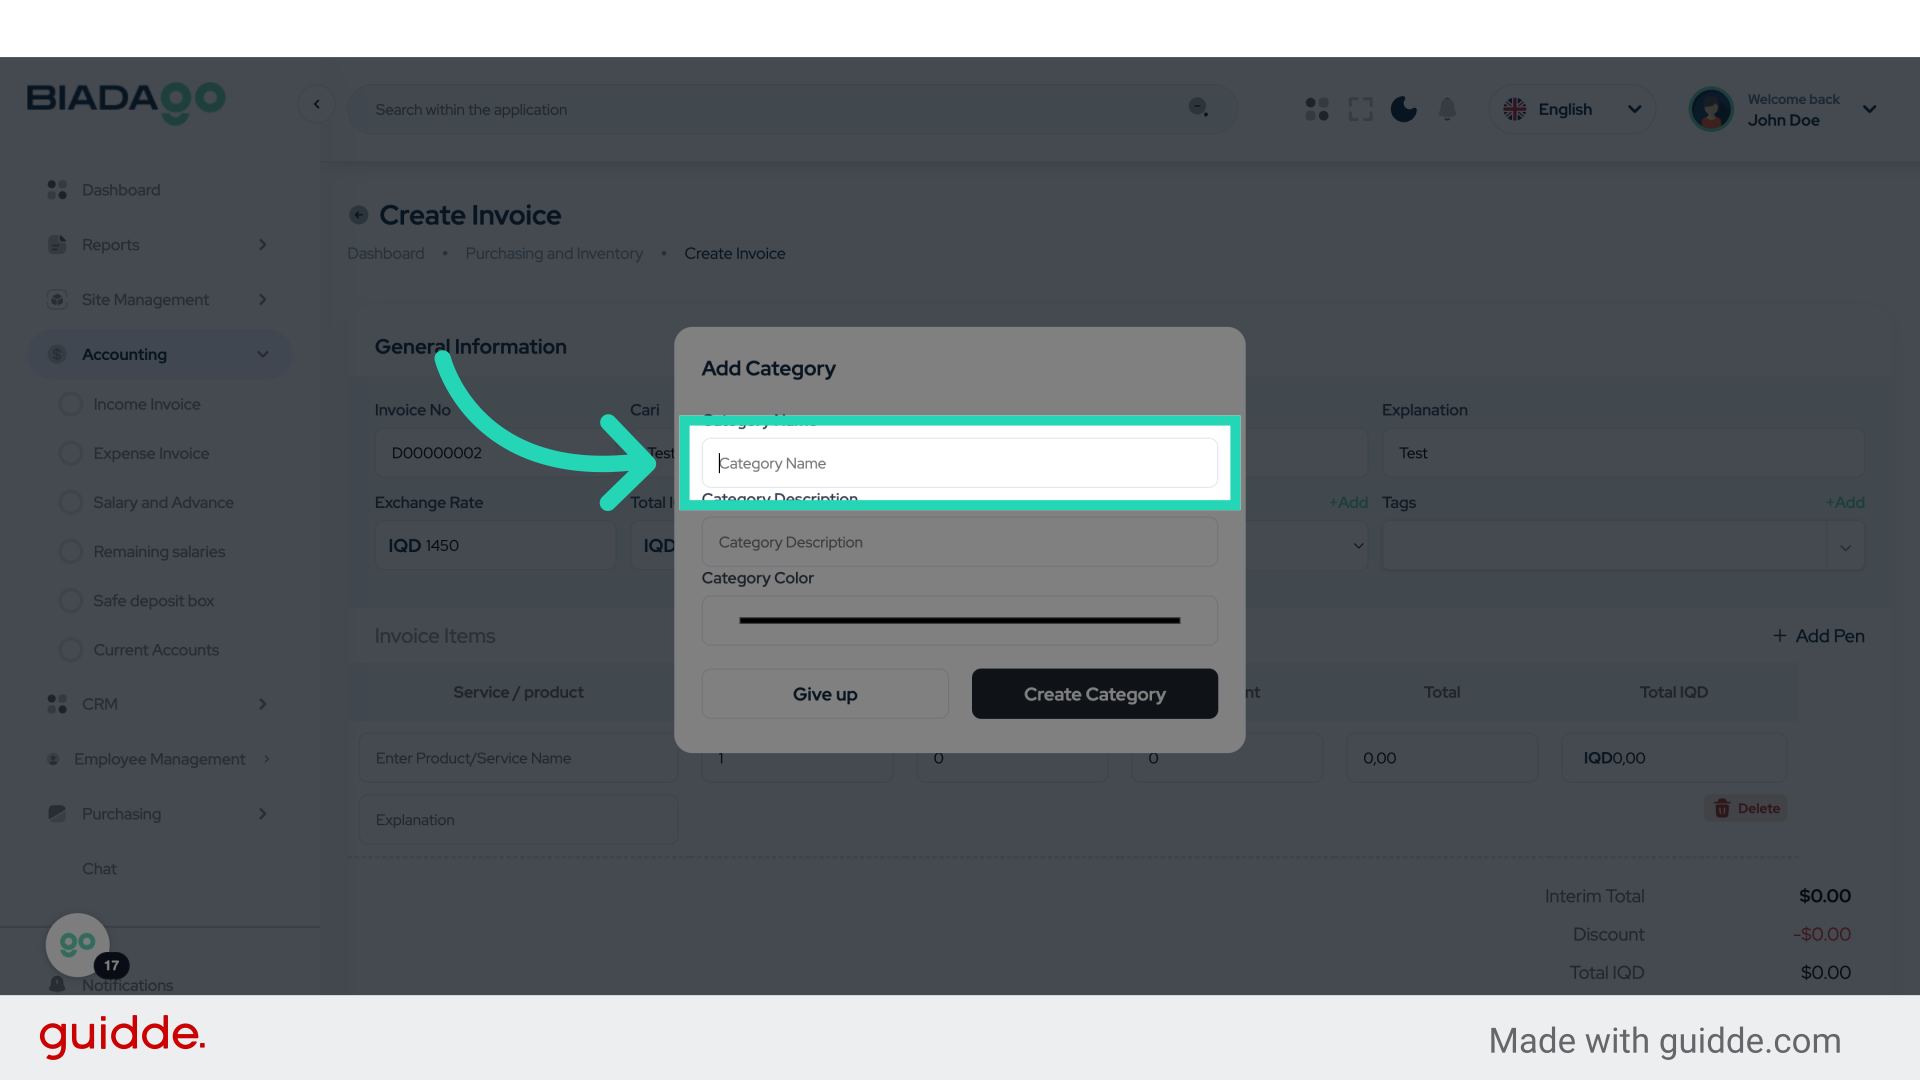
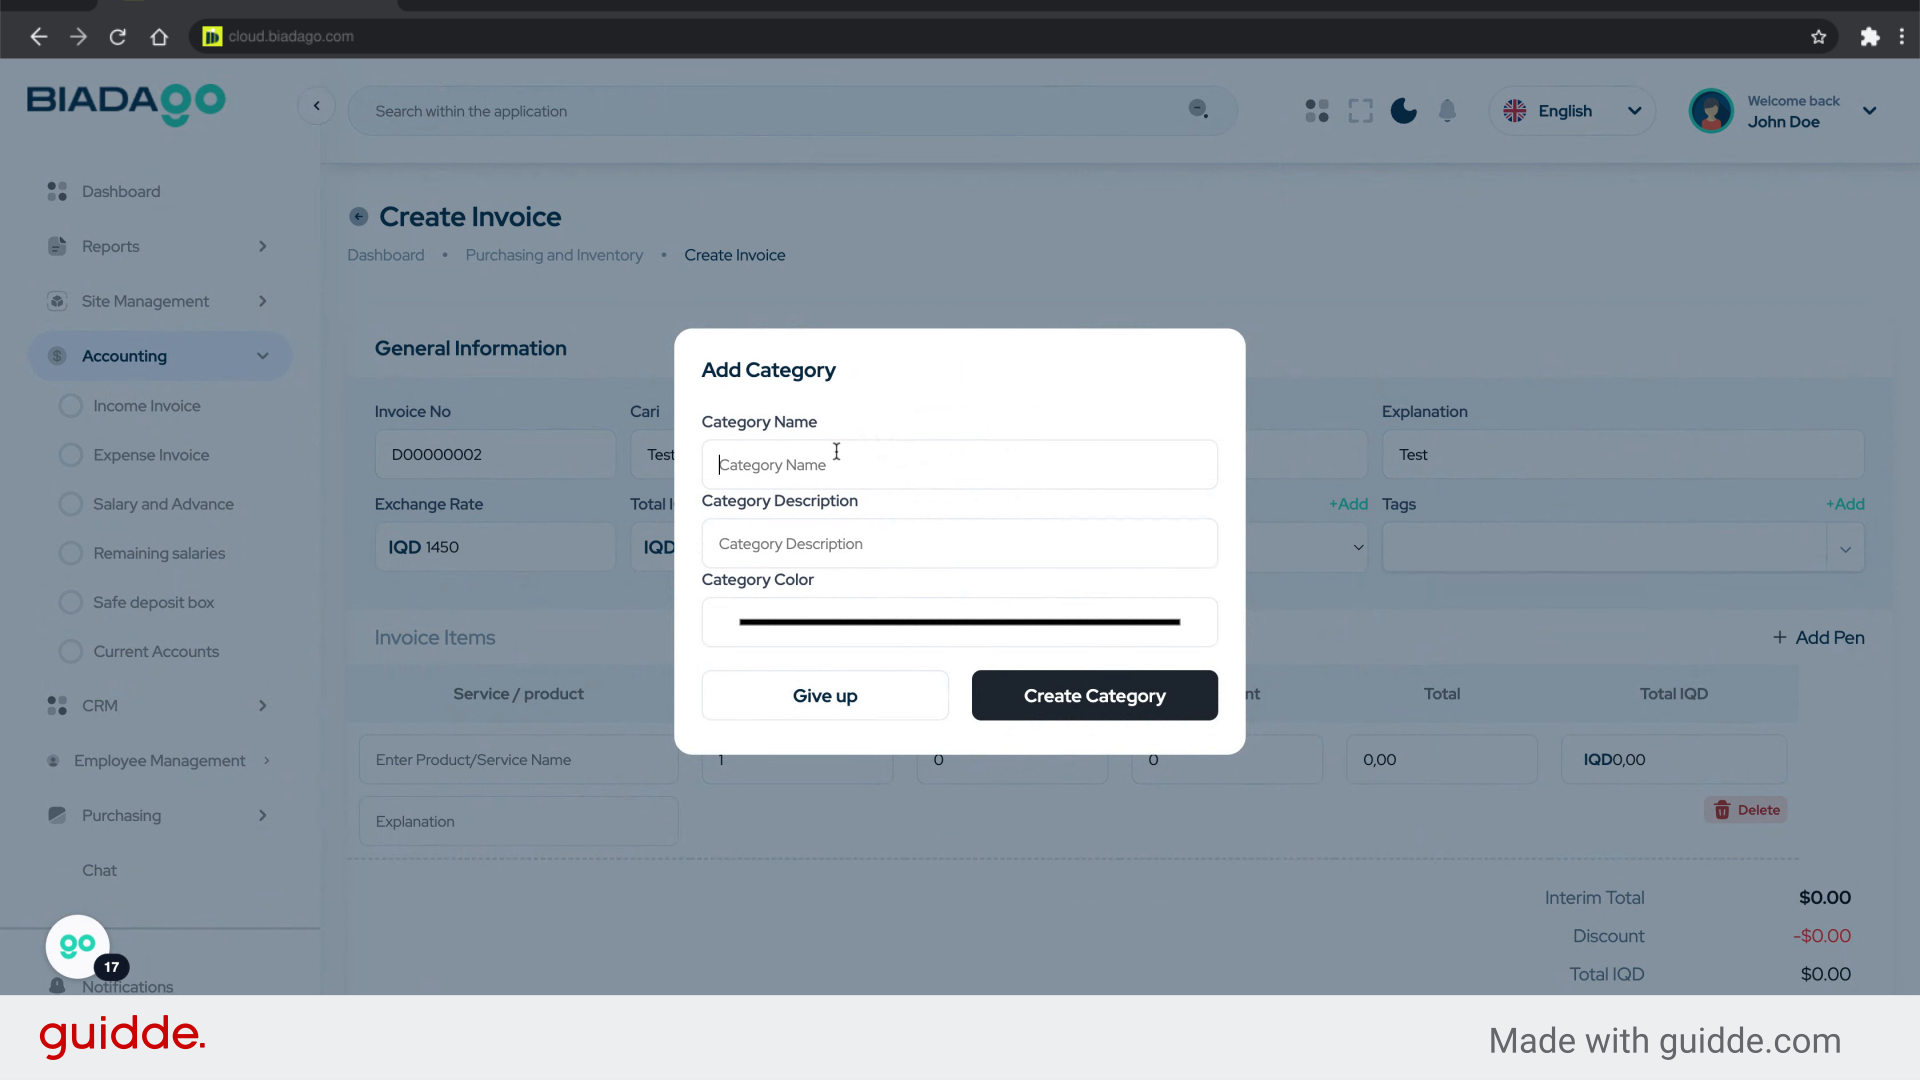
18. Click “Category Name”
Select the Category Name.
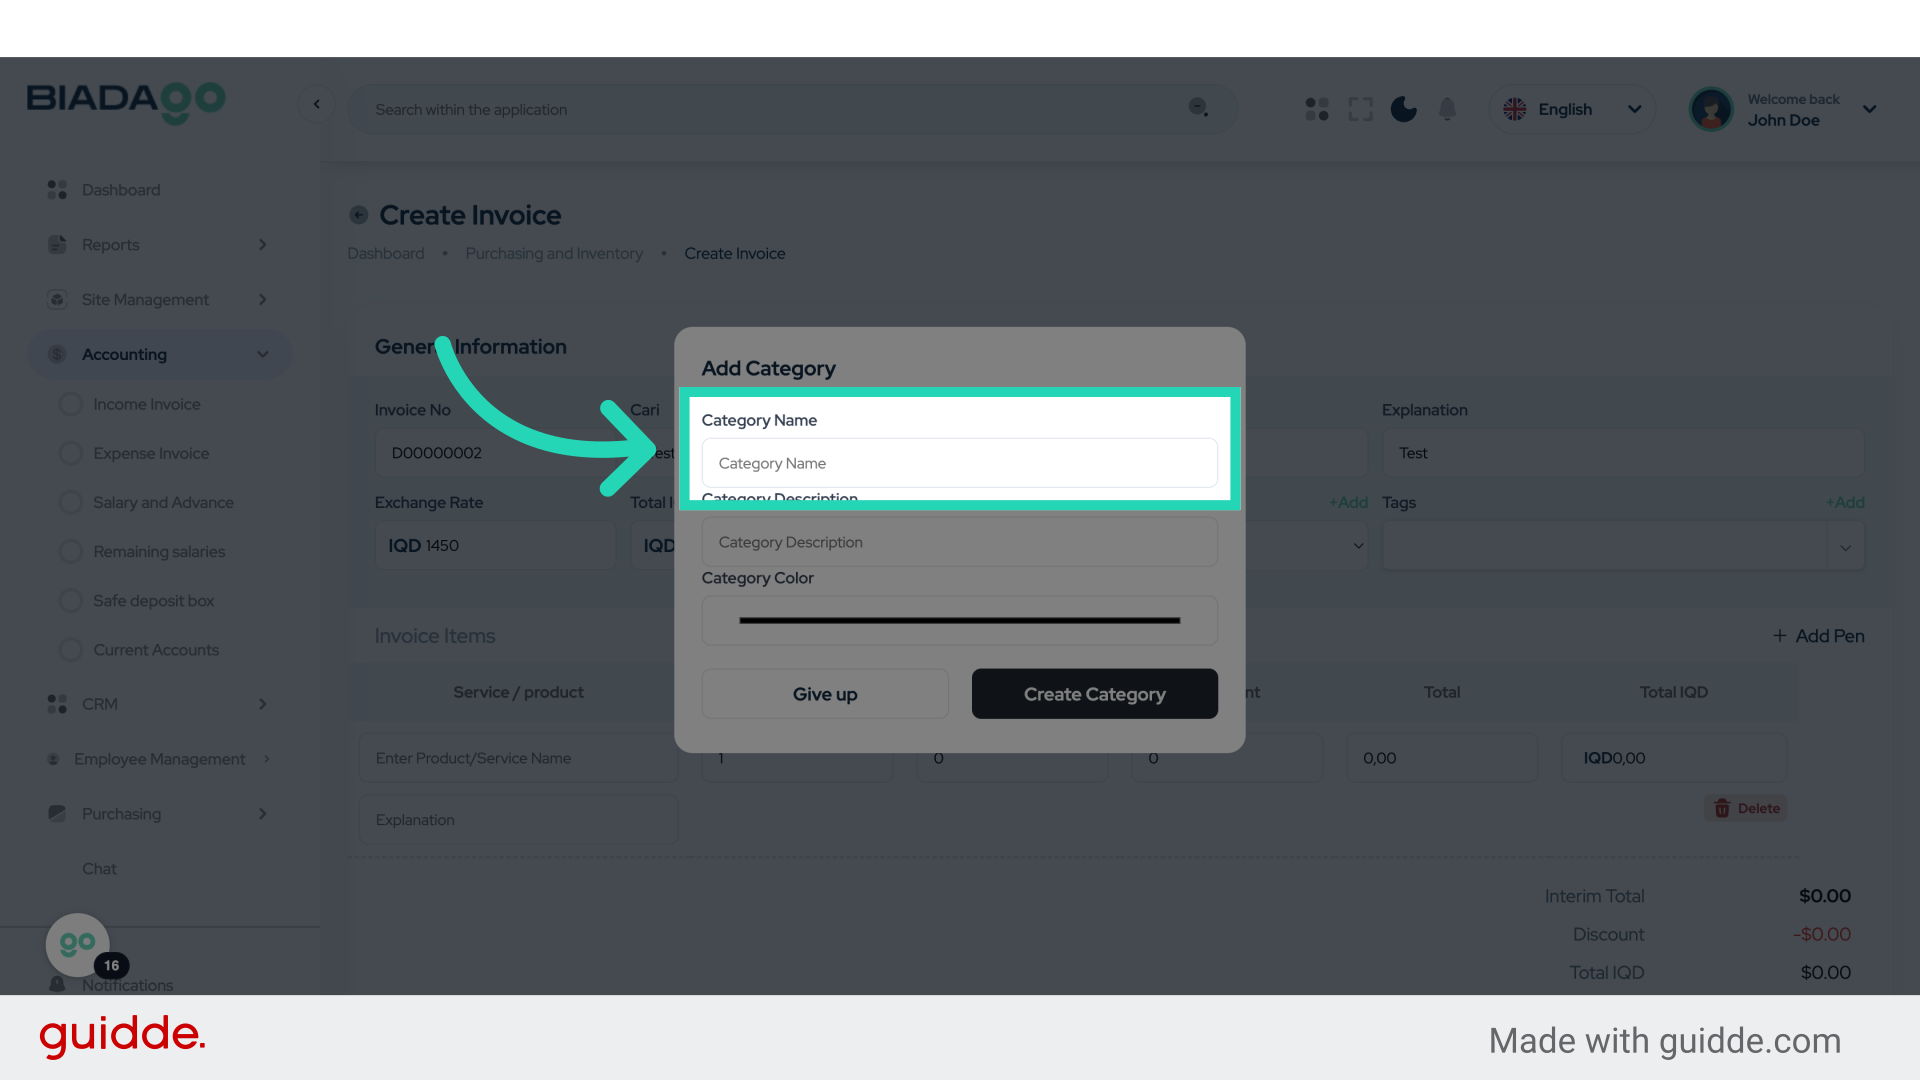
19. Click “Category Name”
Choose the Category Name.
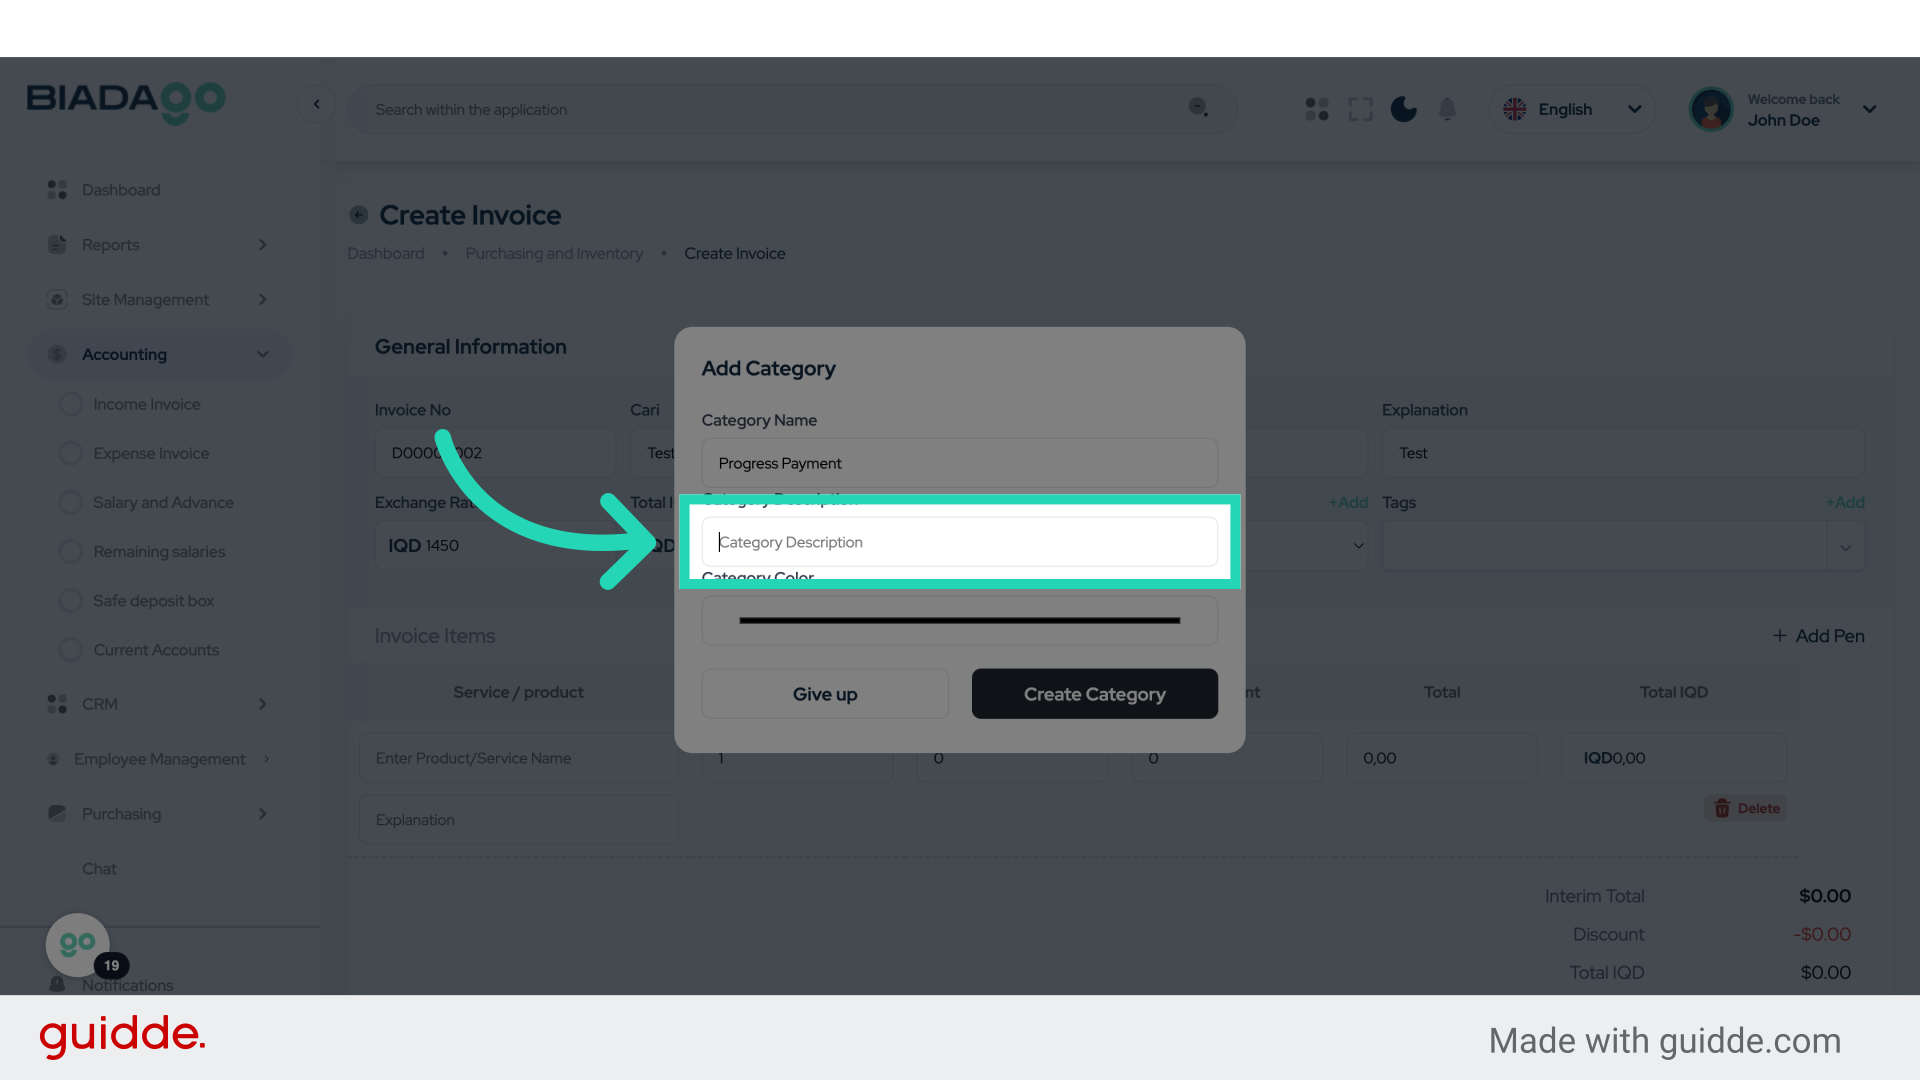
20. Fill “Progress Payment”
Enter the desired text.
21. Click “Explanation”
Provide an Explanation.
22. Fill “Test”
Type “Test” in the given field
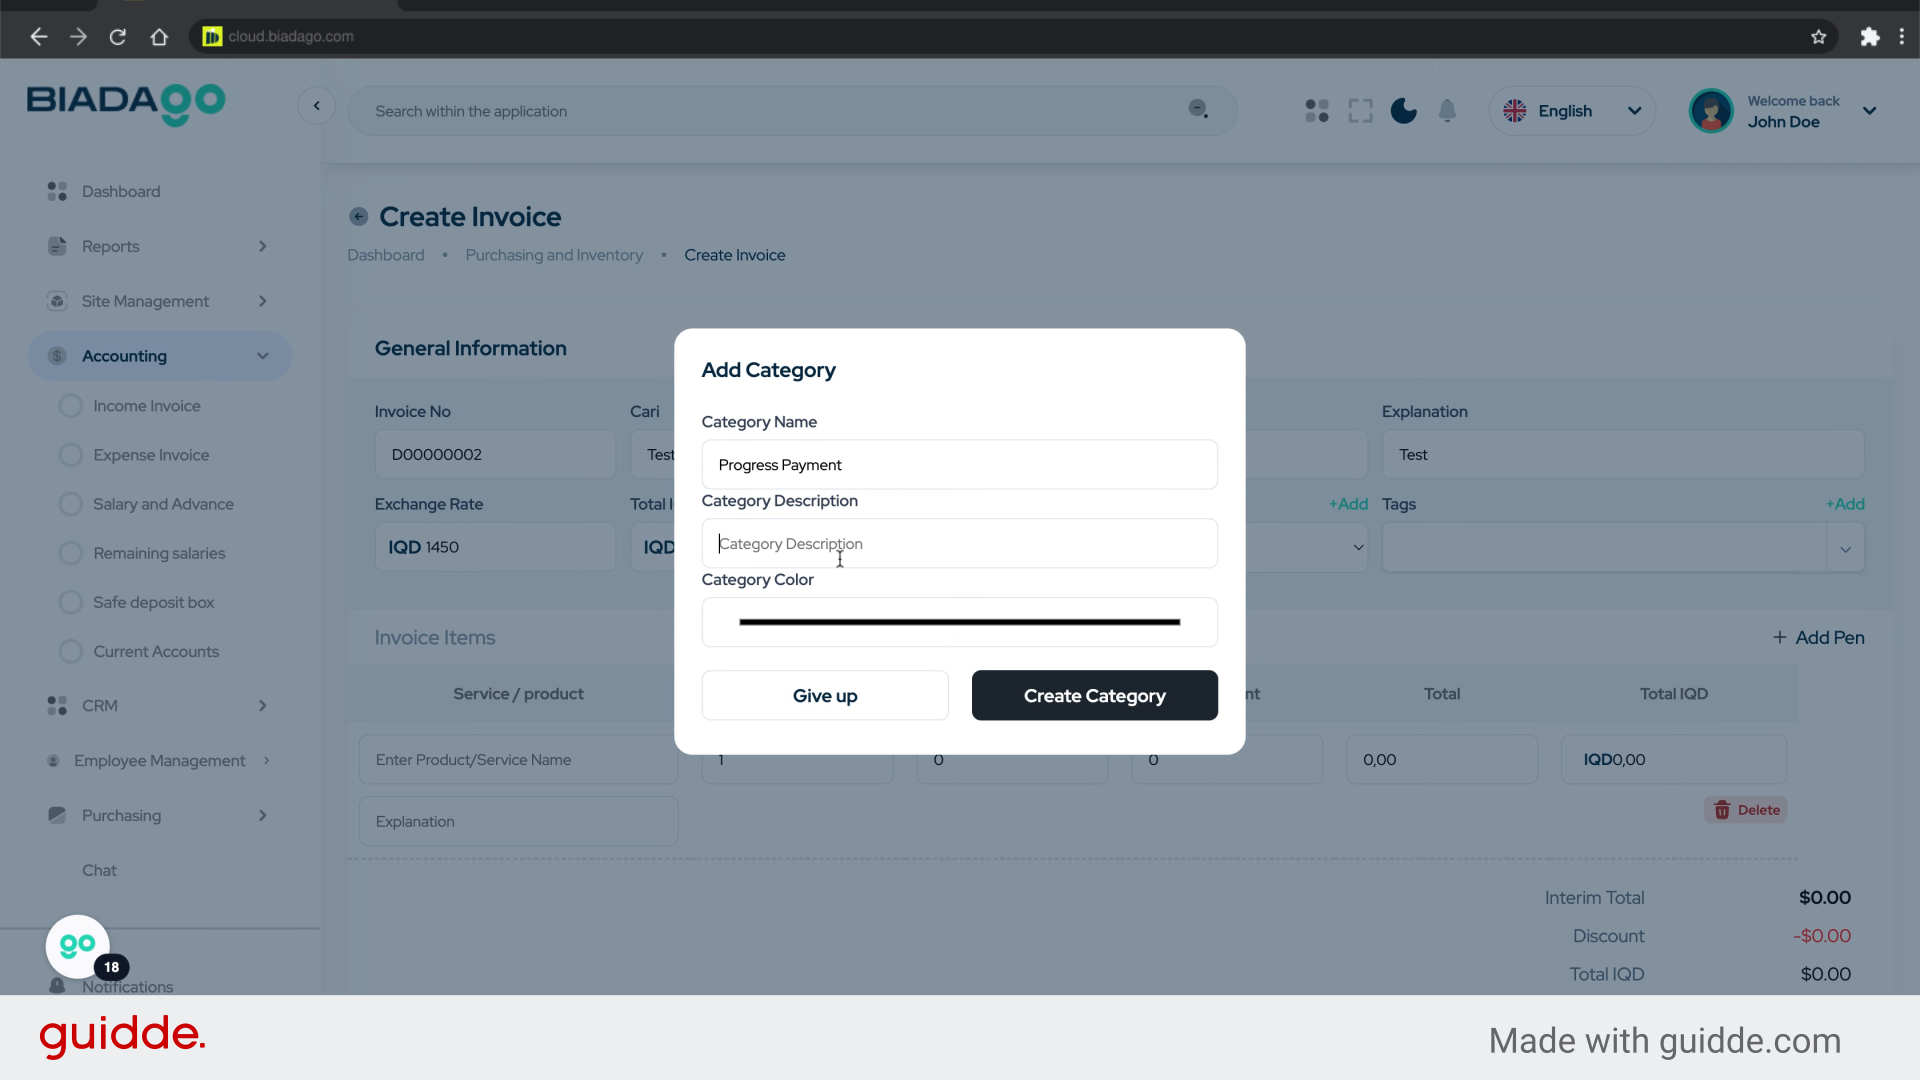
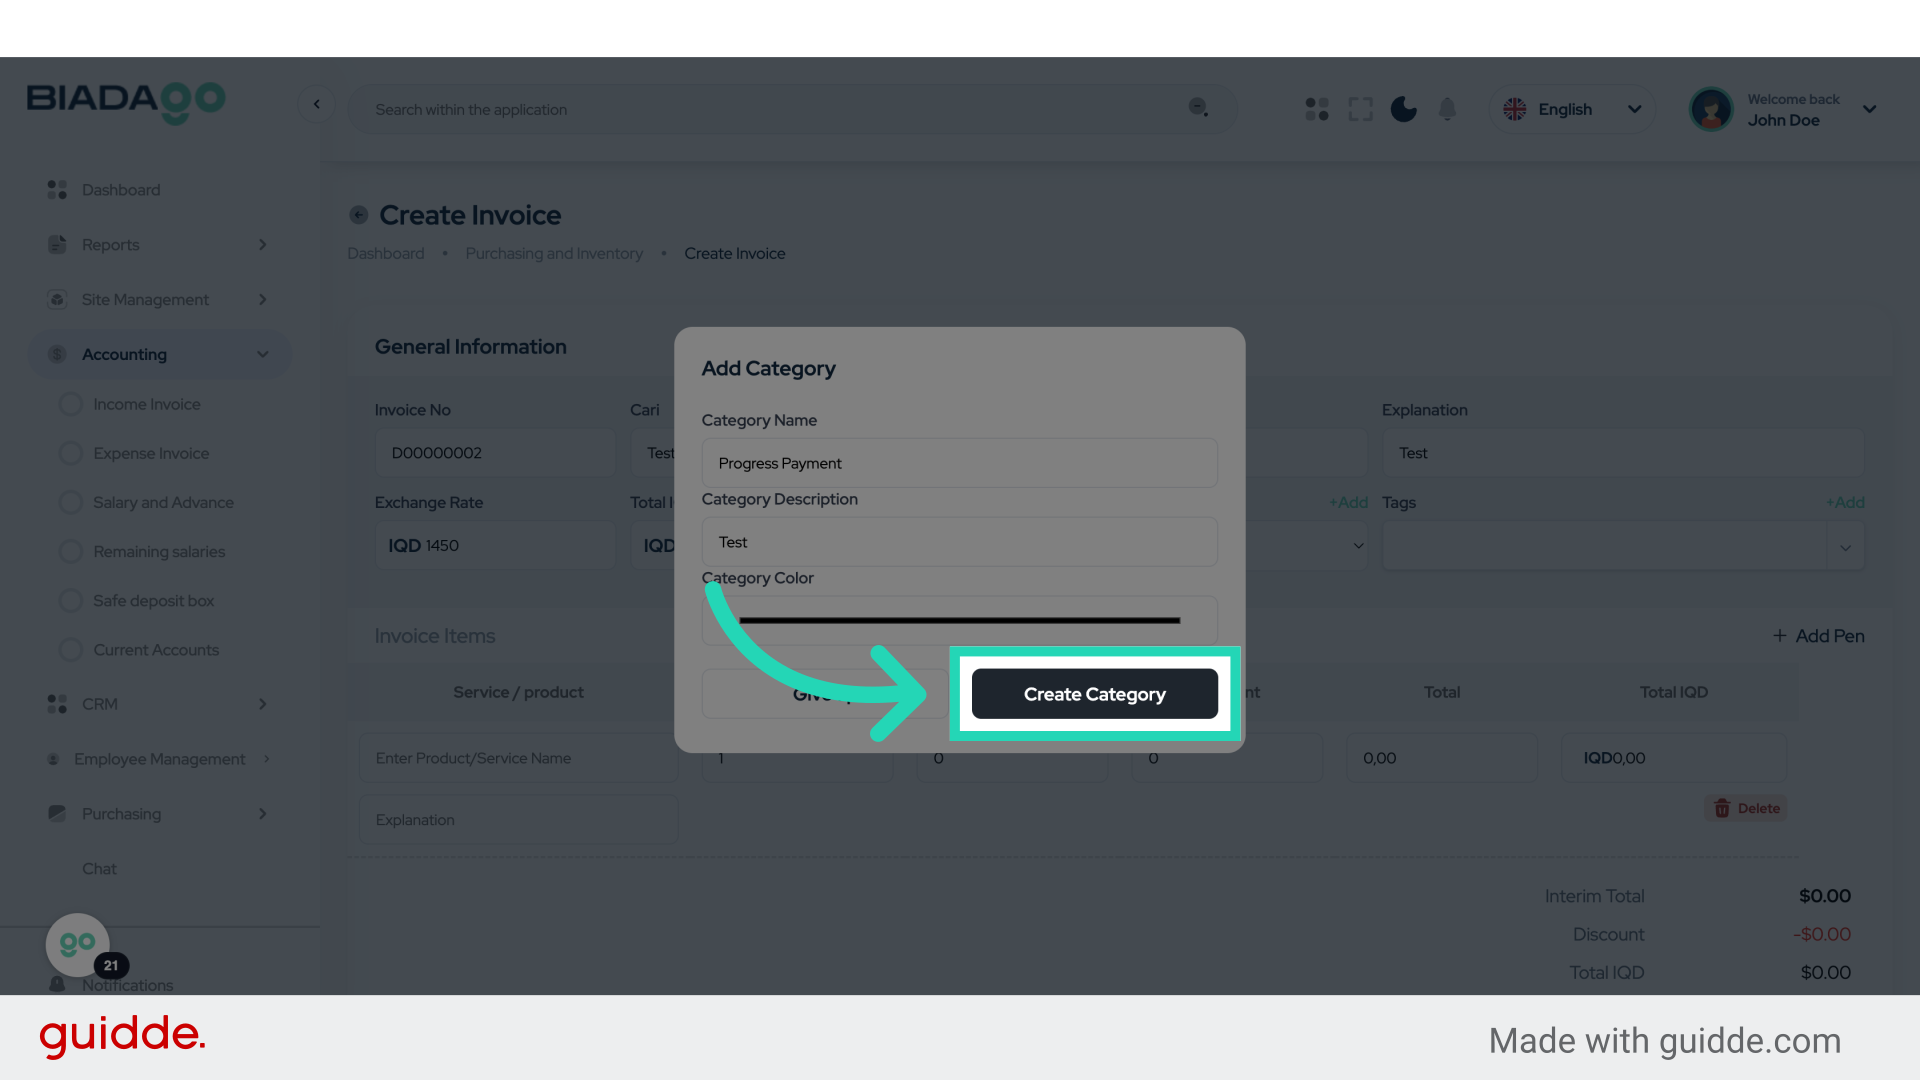
23. Click “Create Category”
Create a new Category.
24. Click “Test Expense”
Select Test Expense.

25. Click “Test Expense
Progress Payment”
Choose Test Expense Progress Payment.
26. Fill “Test Expense
Progress Payment”
Input “Test ExpenseProgress Payment” in the available field
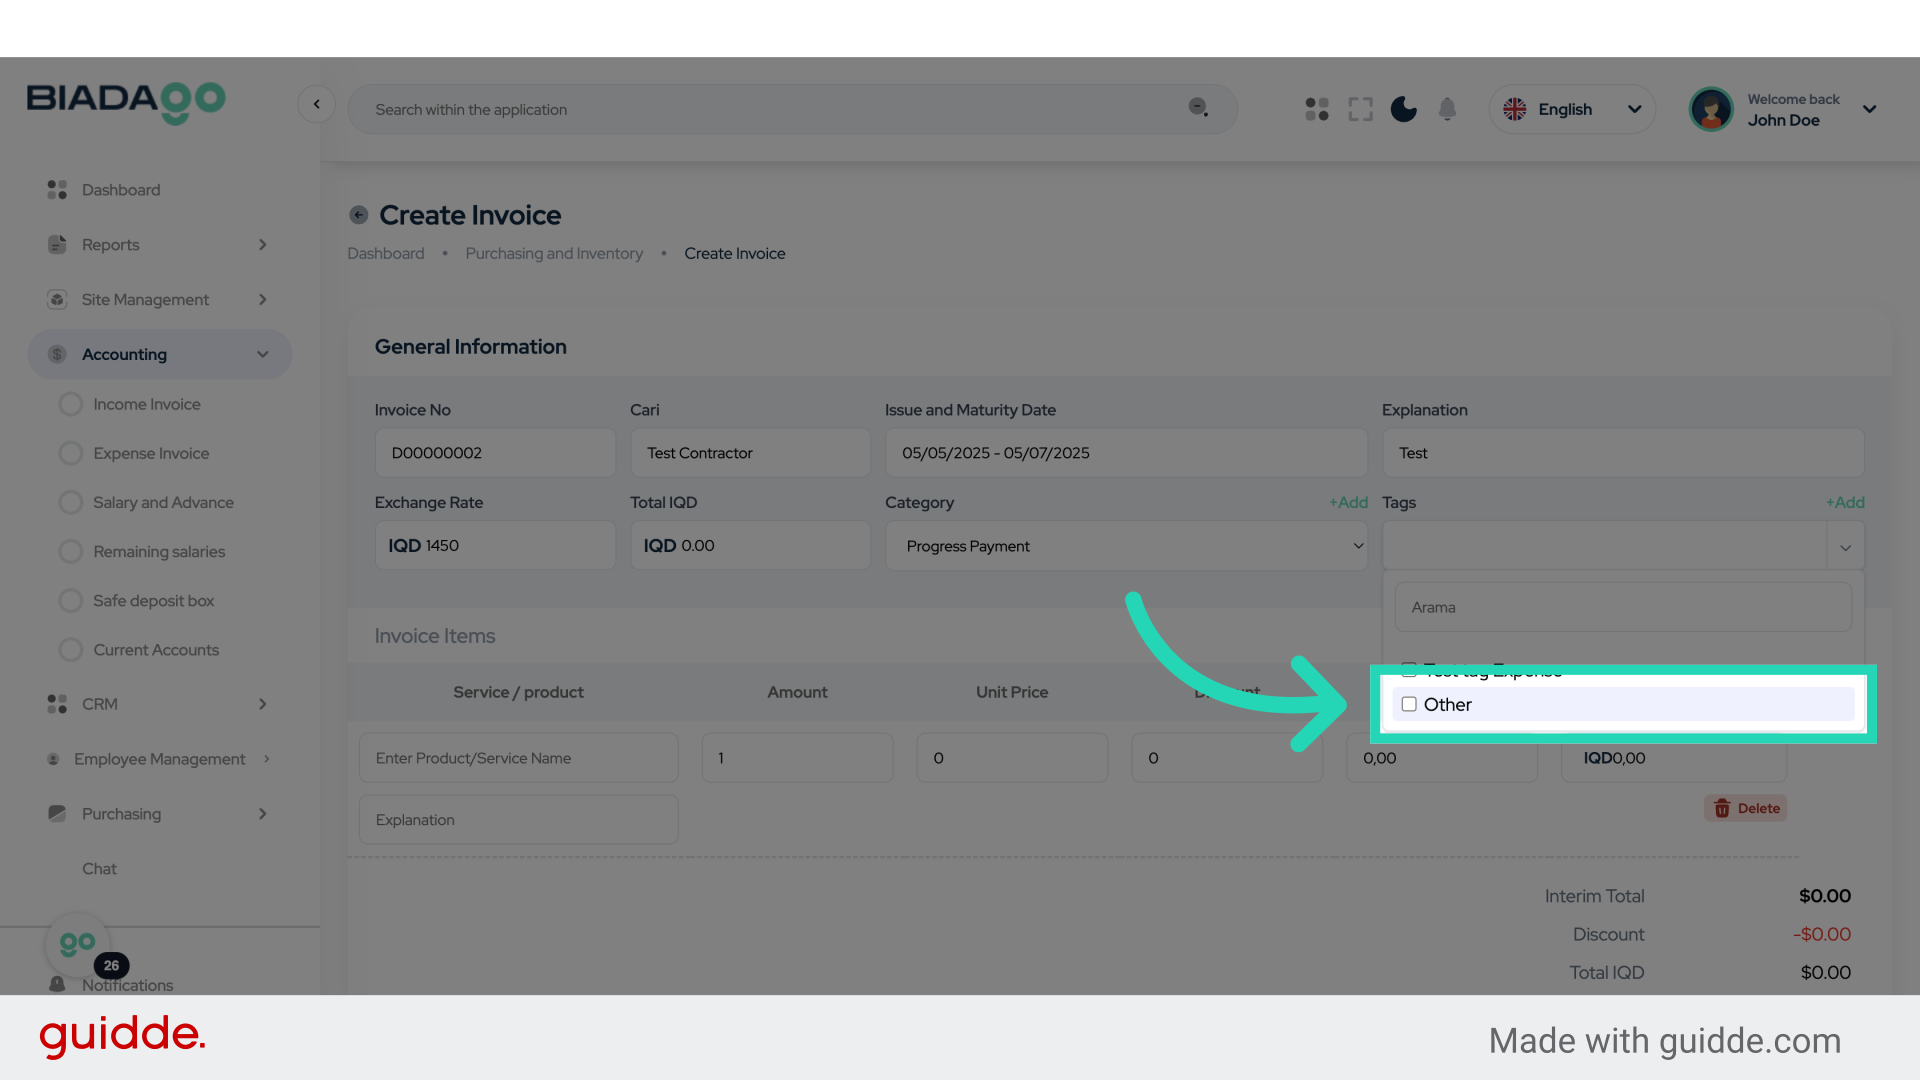
27. Click here
Access a specific section.
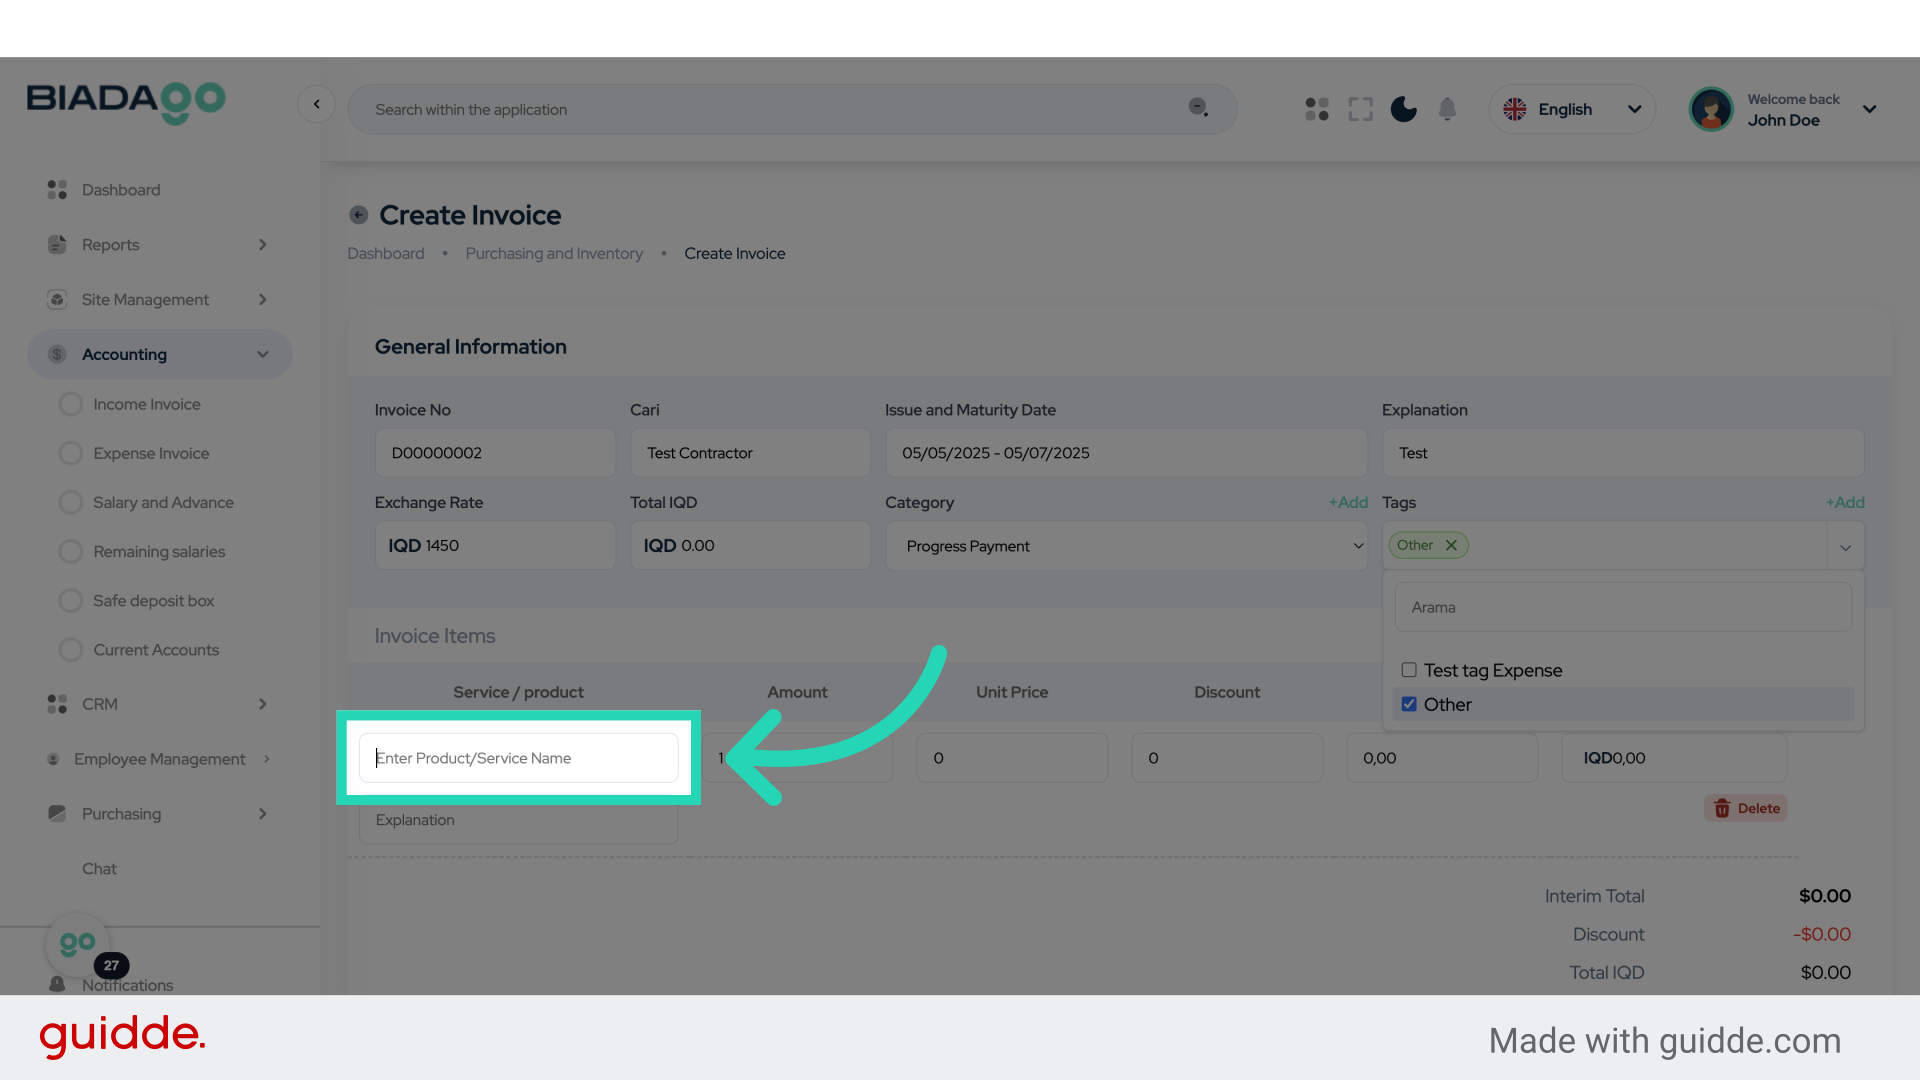
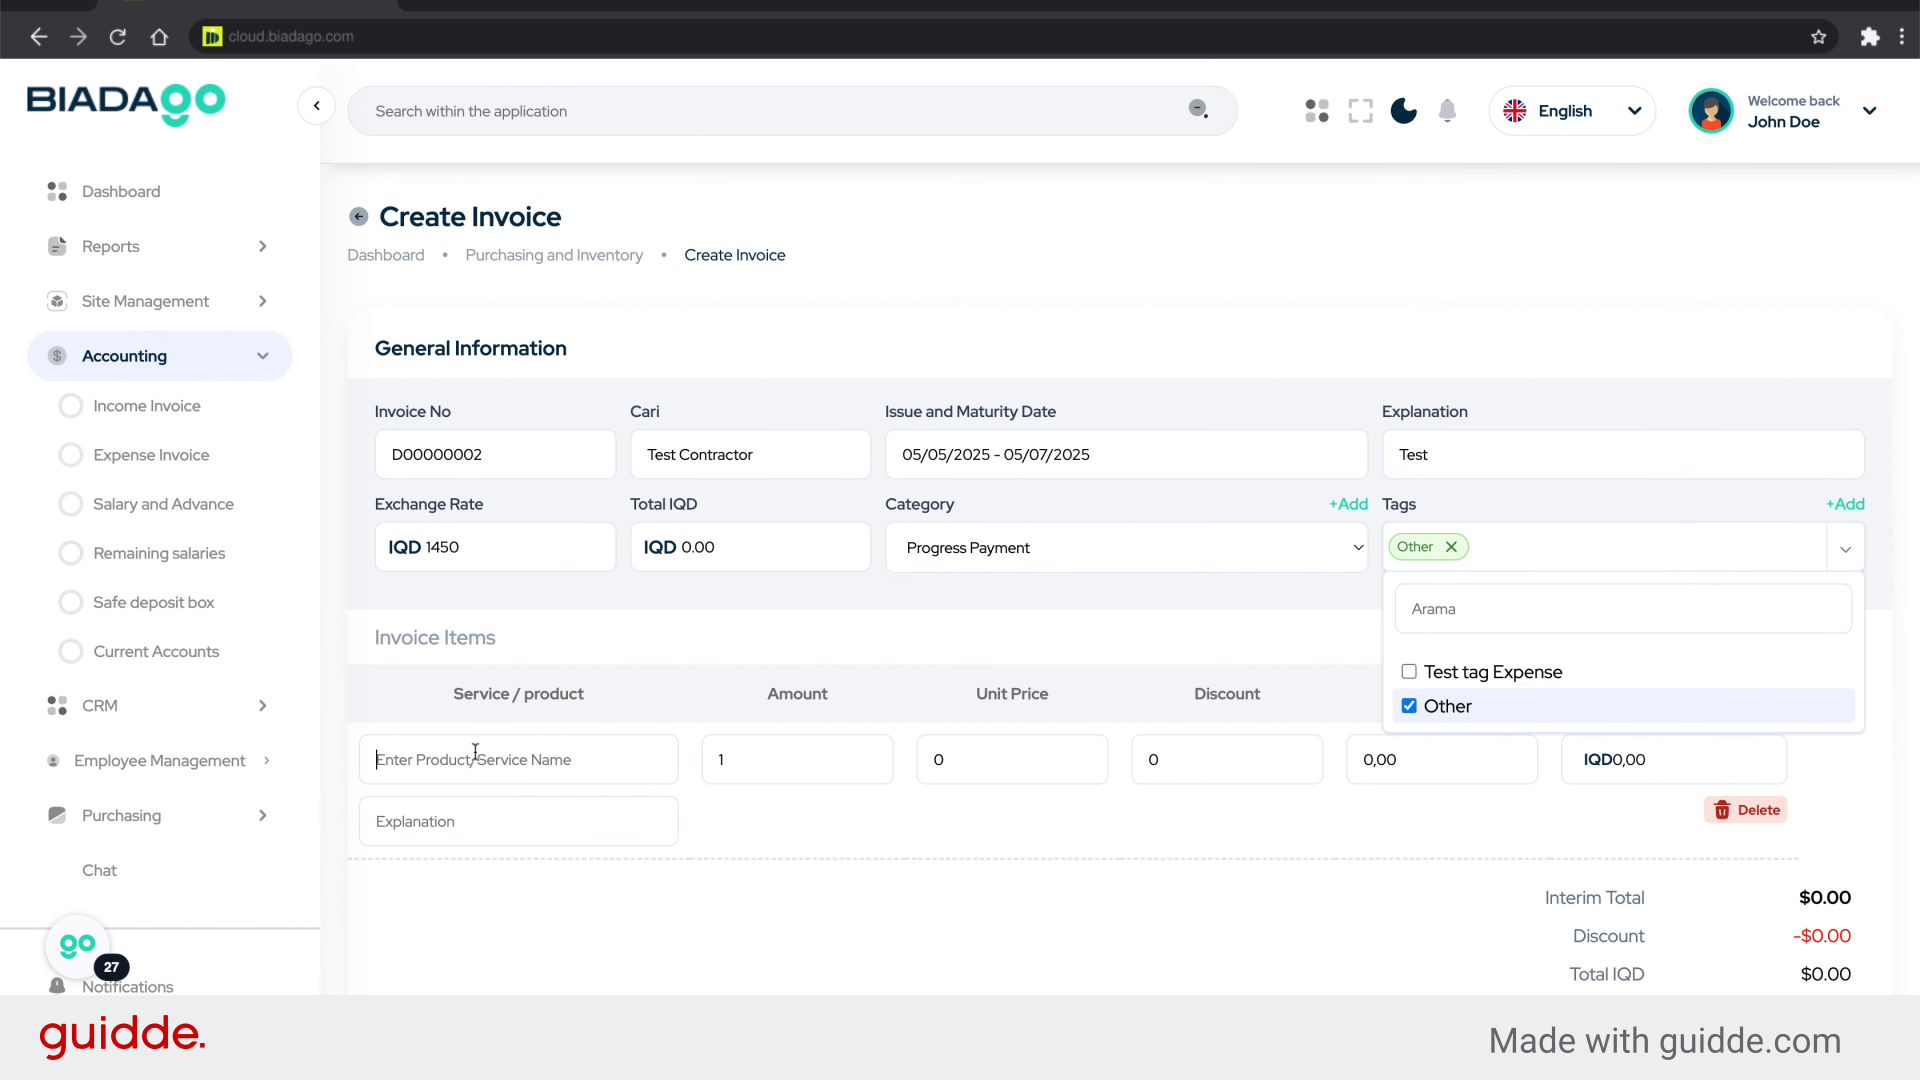
28. Click “Other”
Select the ‘Other’ option.
29. Click “Enter Product/Service Name”
Enter the Product/Service Name.
30. Fill “Test”
Write “Test” in the specified field
31. Click here
Navigate to a specific location.

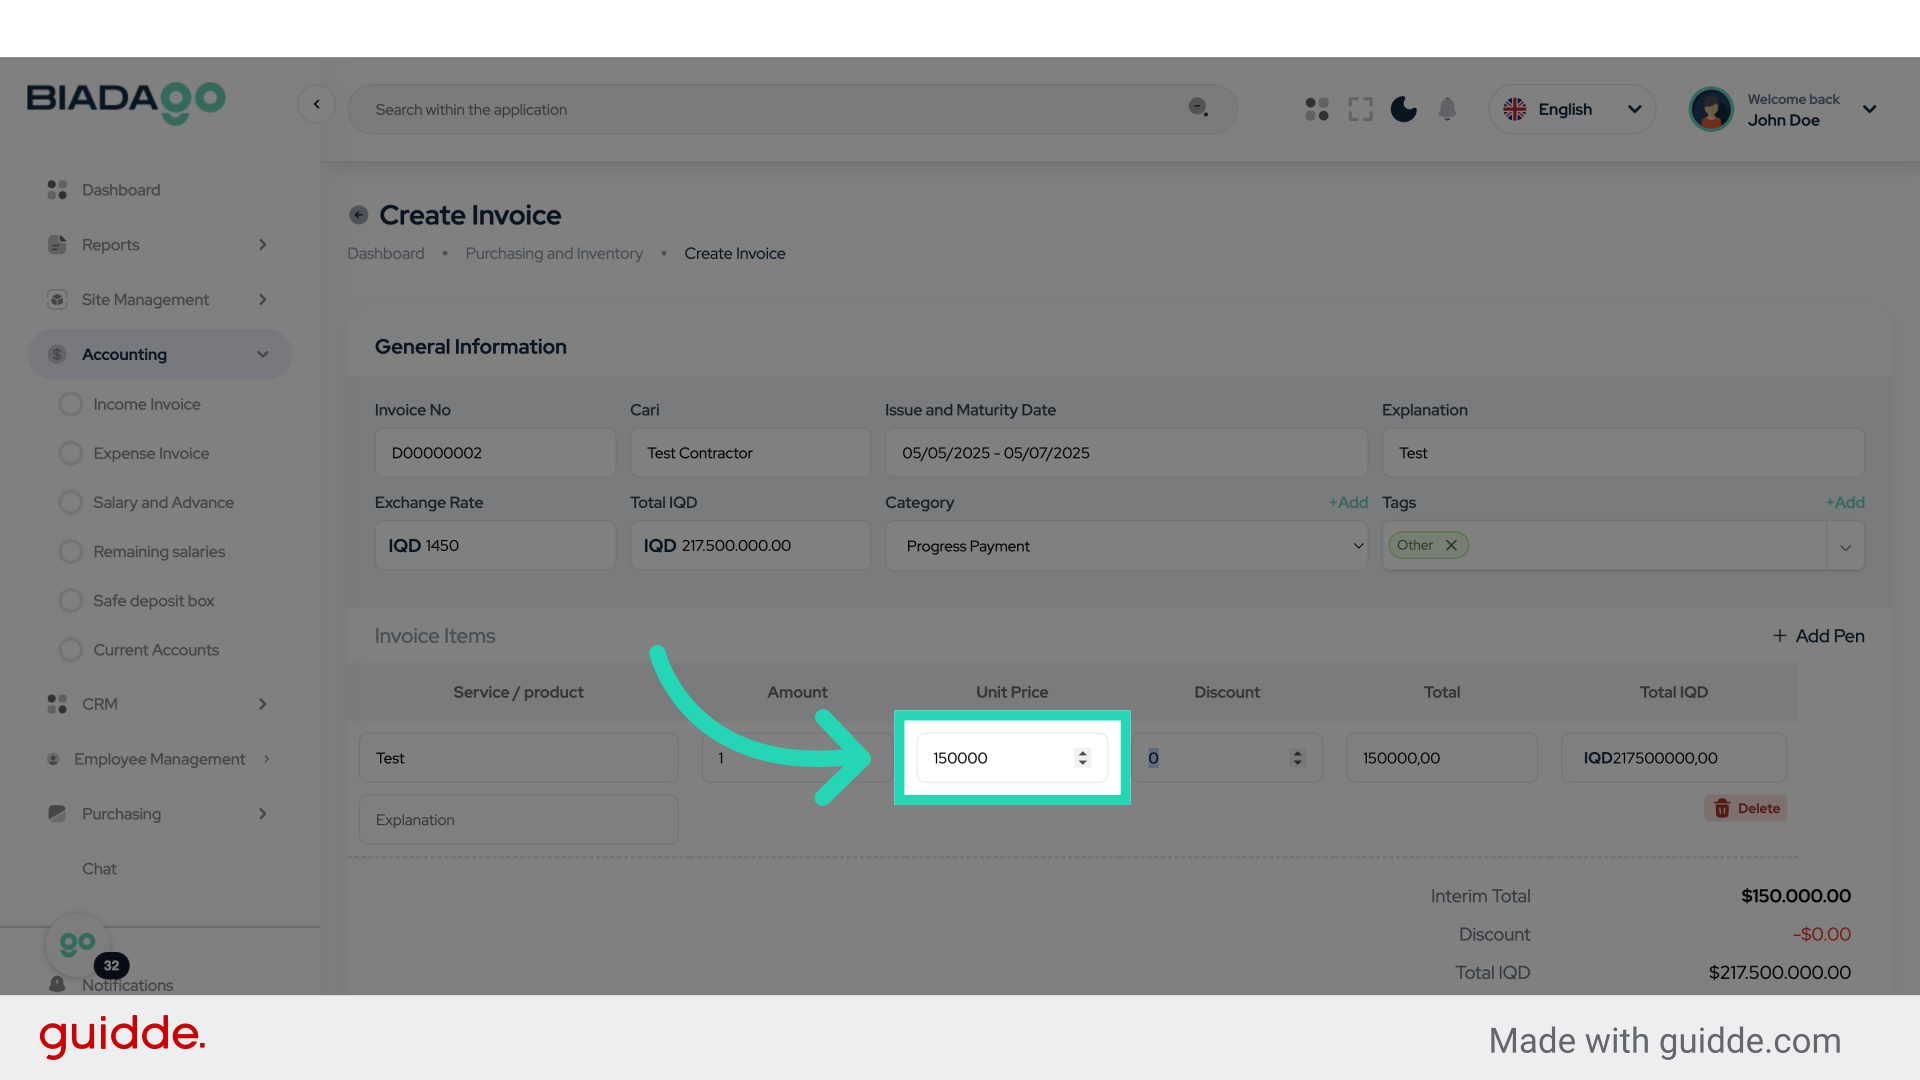
32. Fill “150”
Submit “150” in the appropriate field
33. Fill “150000”
Enter the amount ‘150000’.
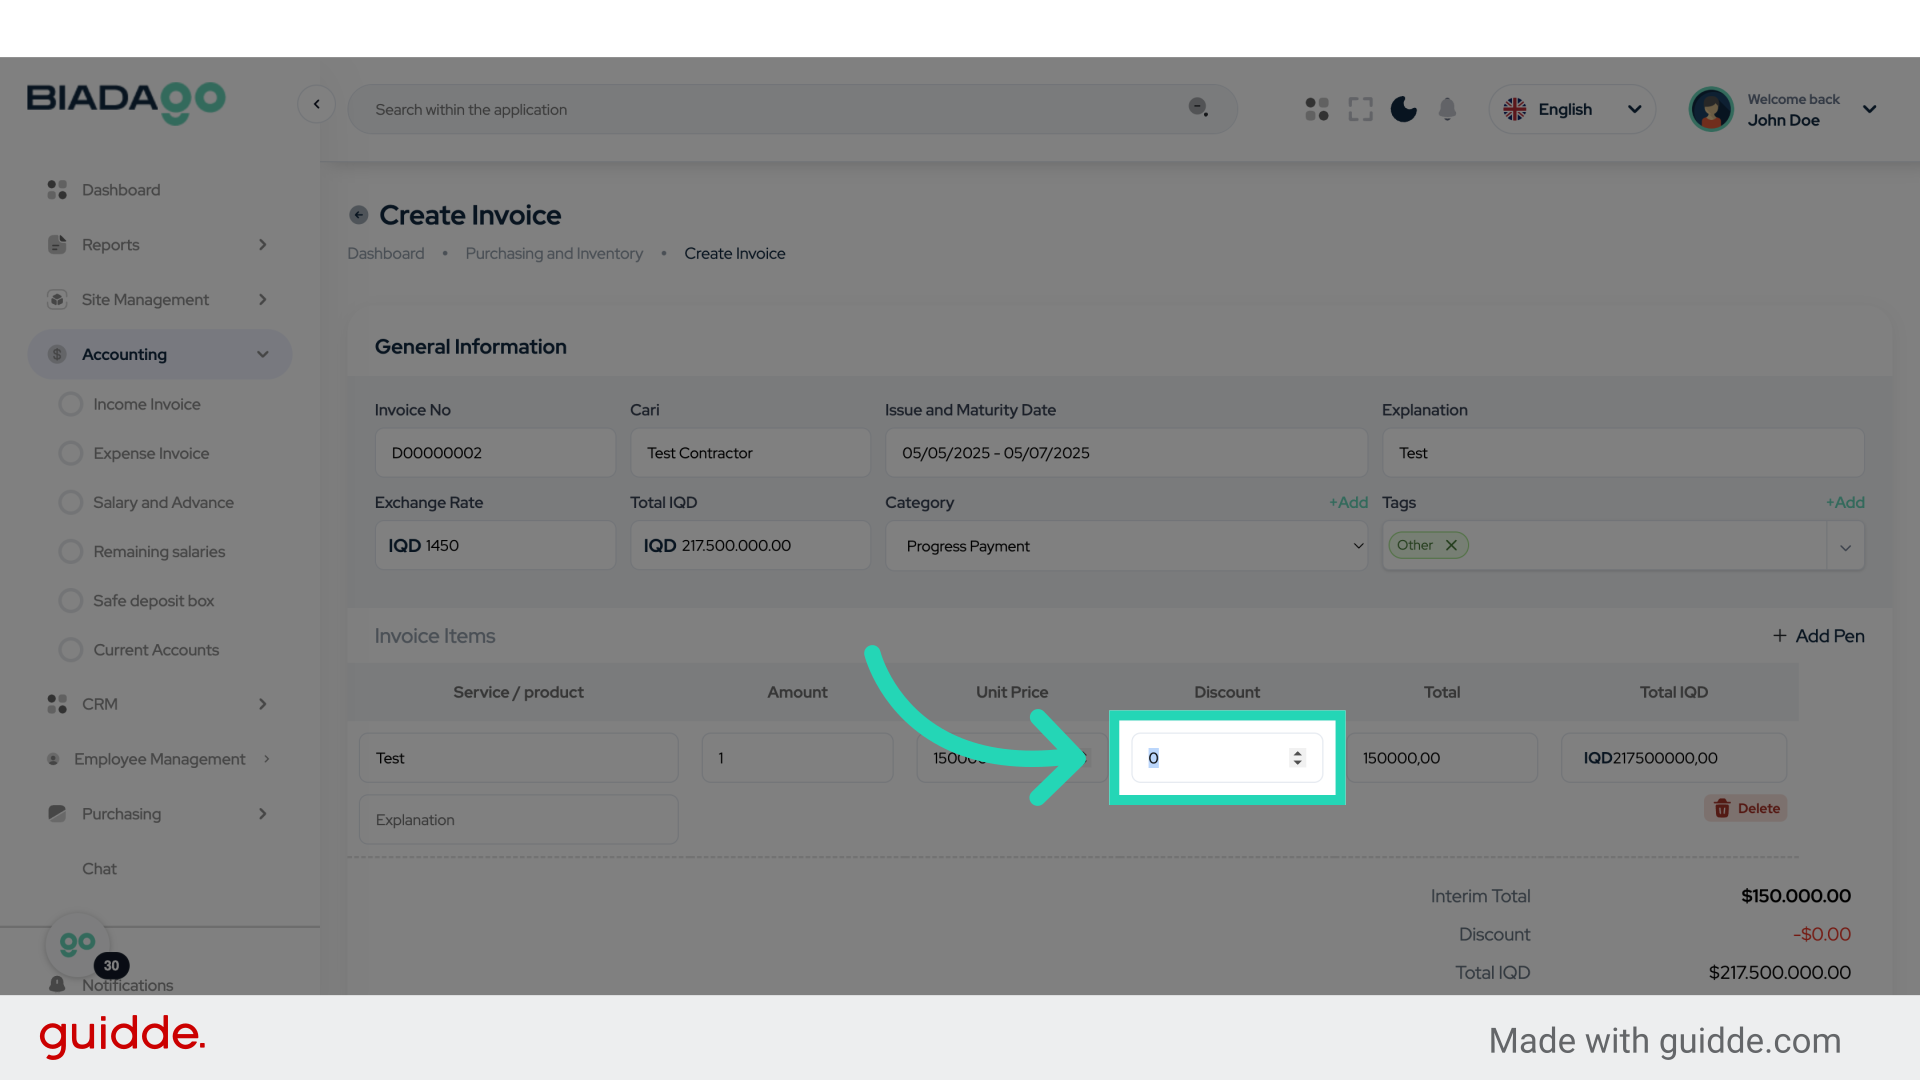
34. Go here
Navigate to a specific section.
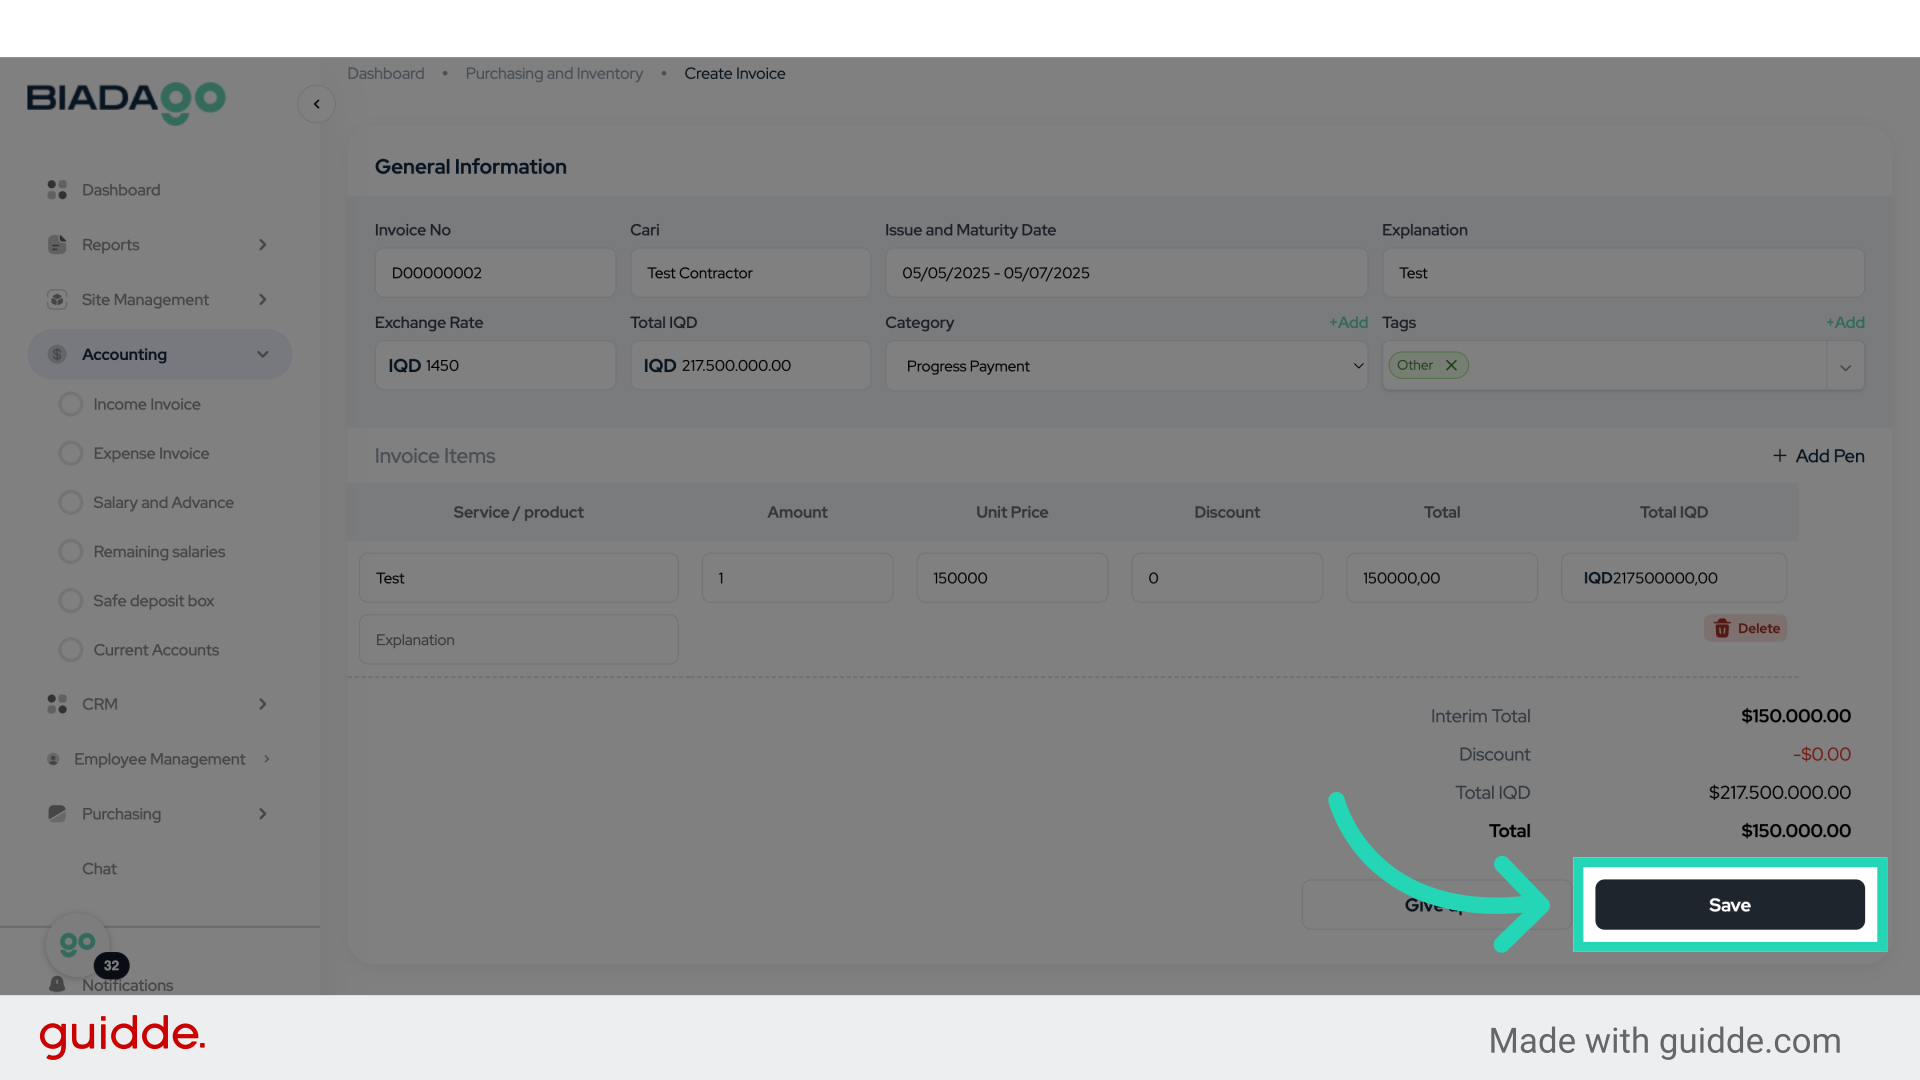
35. Click “Save”
Save the changes.
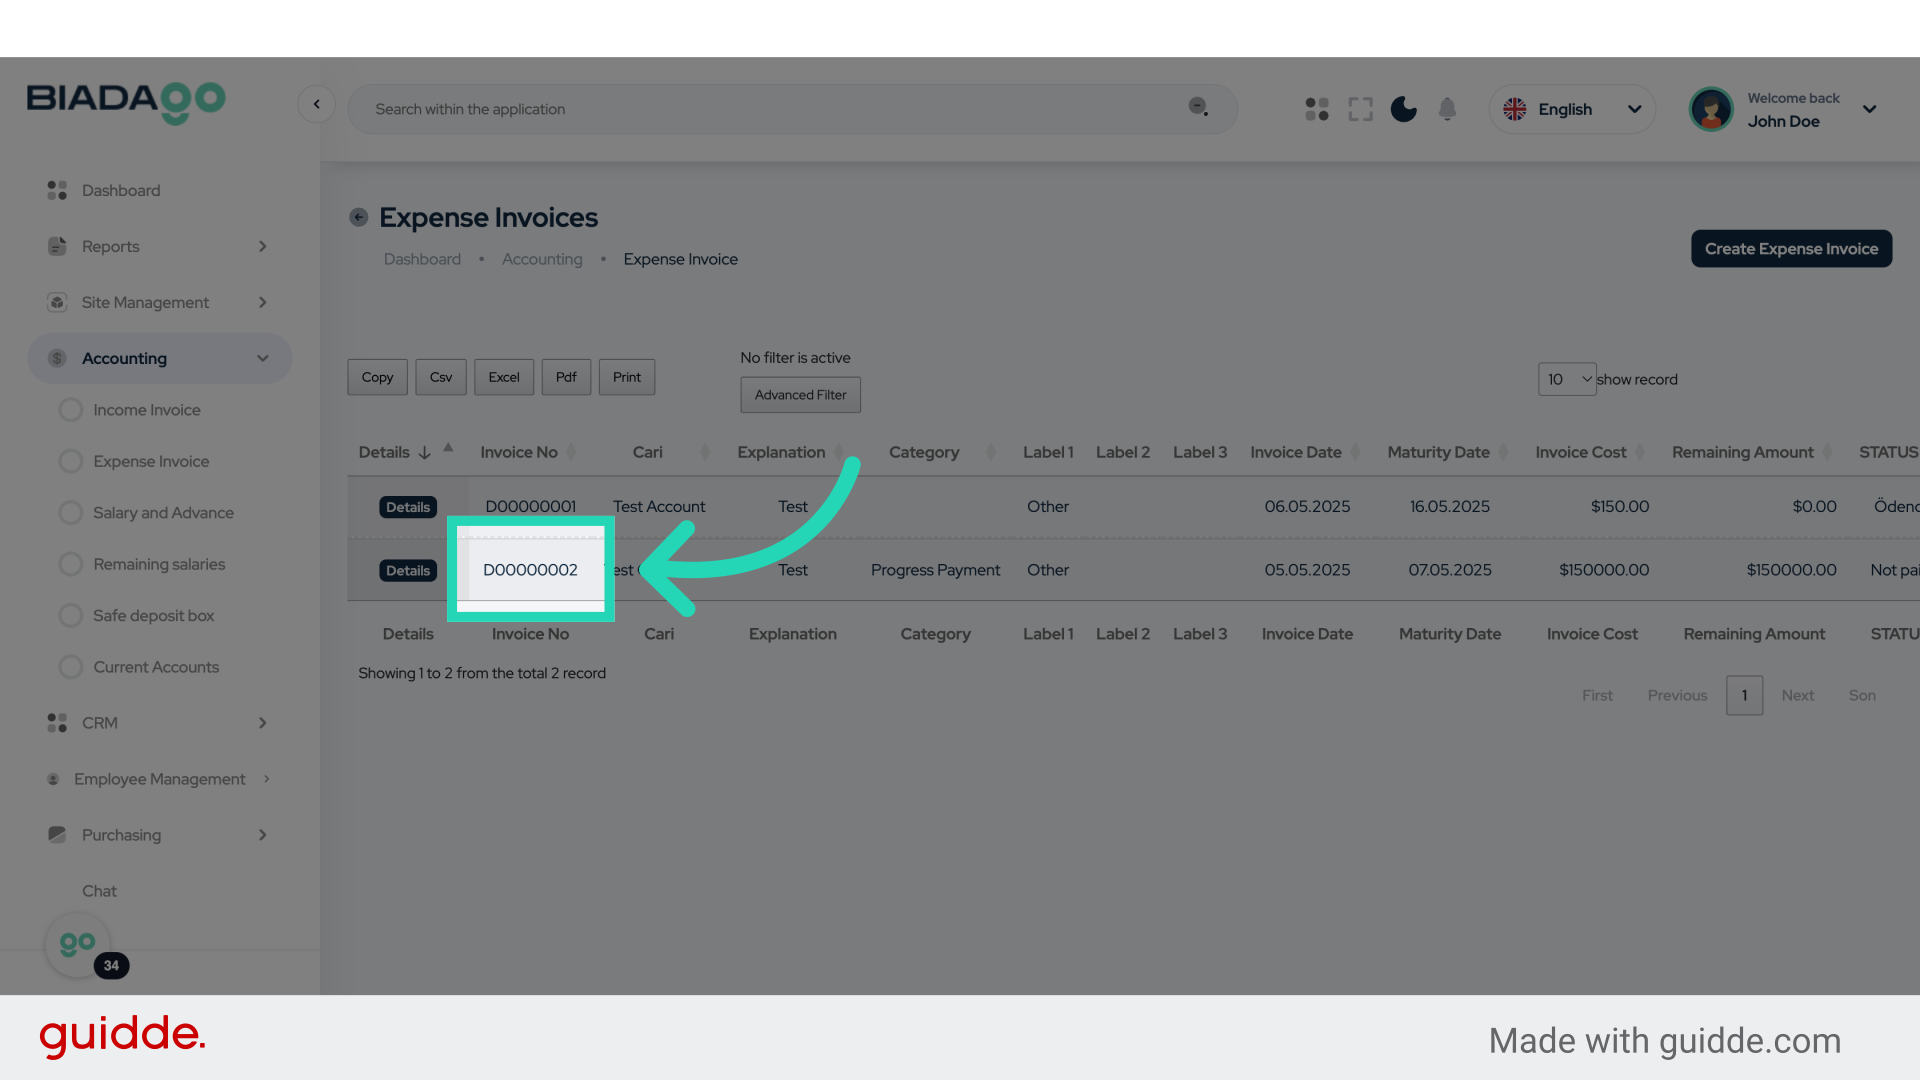
36. Click “D00000002”
Select ‘D00000002’.
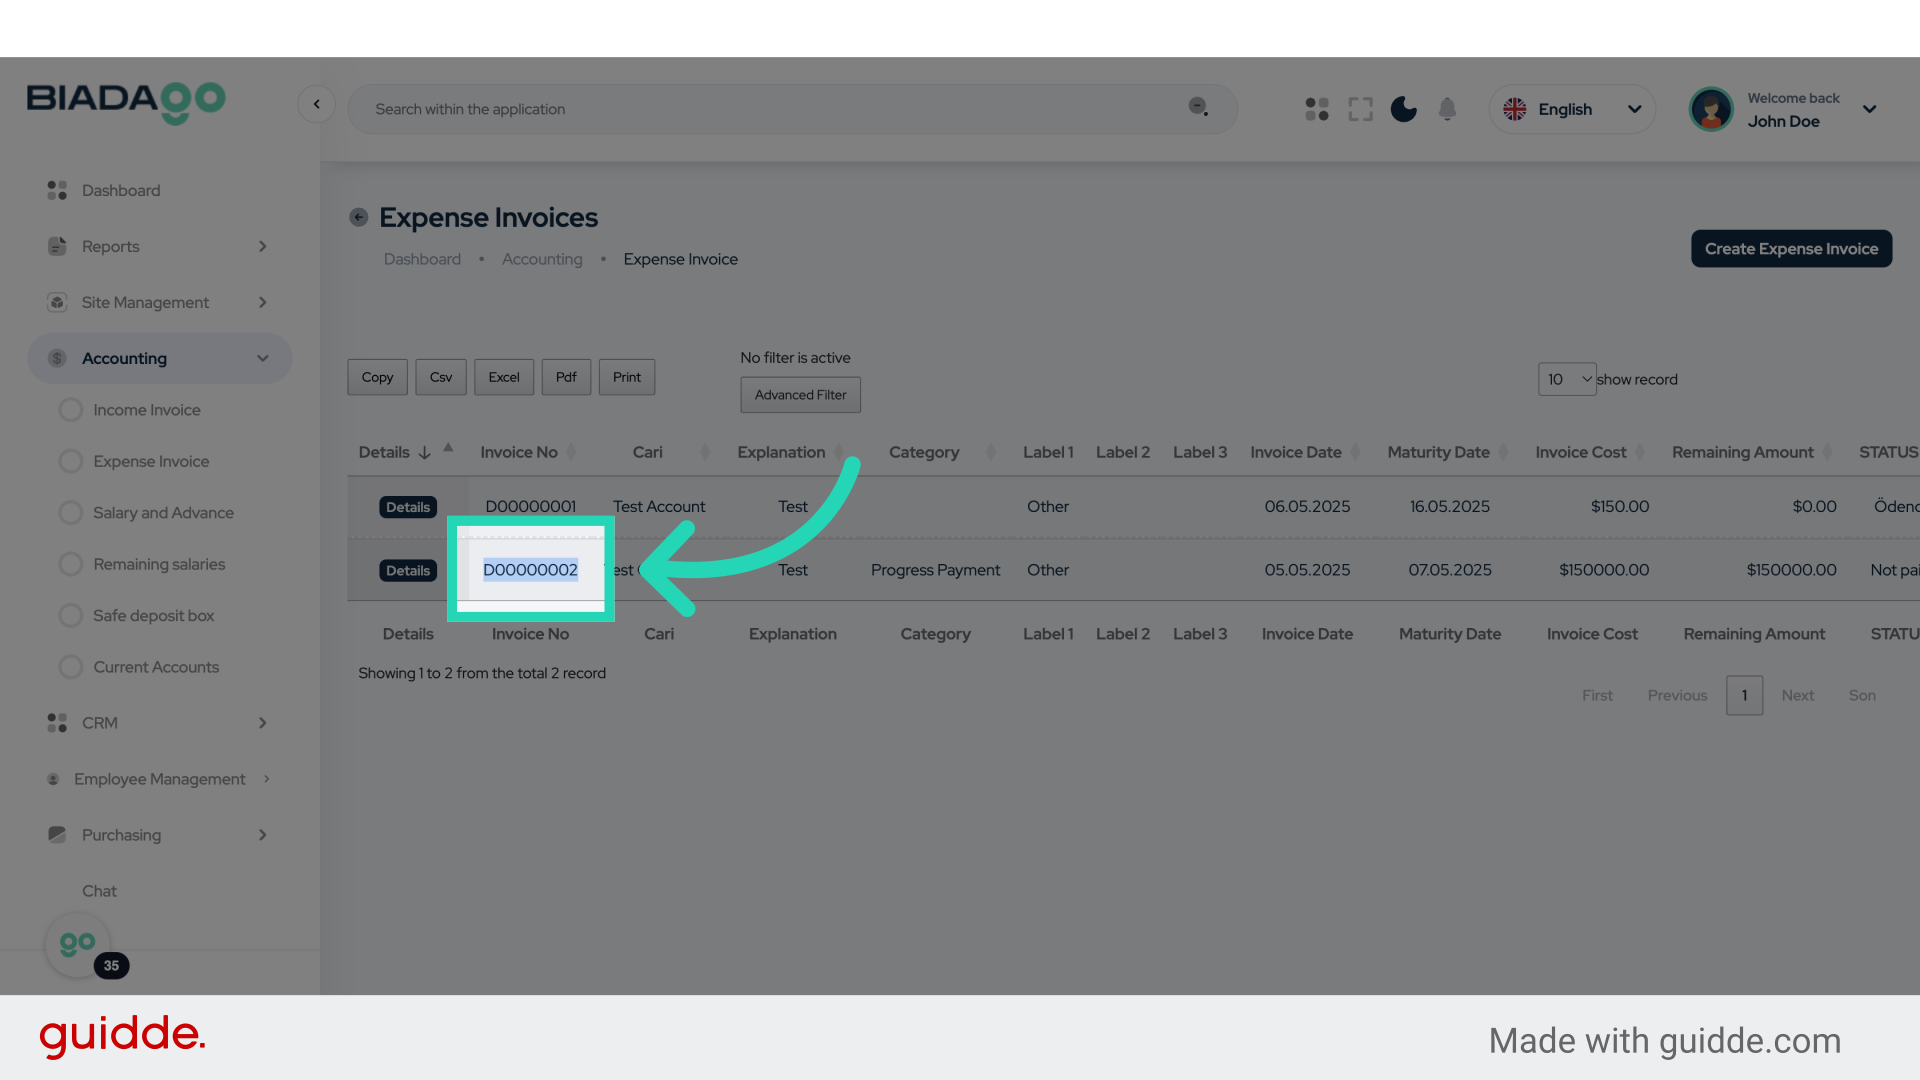
37. Click “D00000002”
Choose ‘D00000002’.
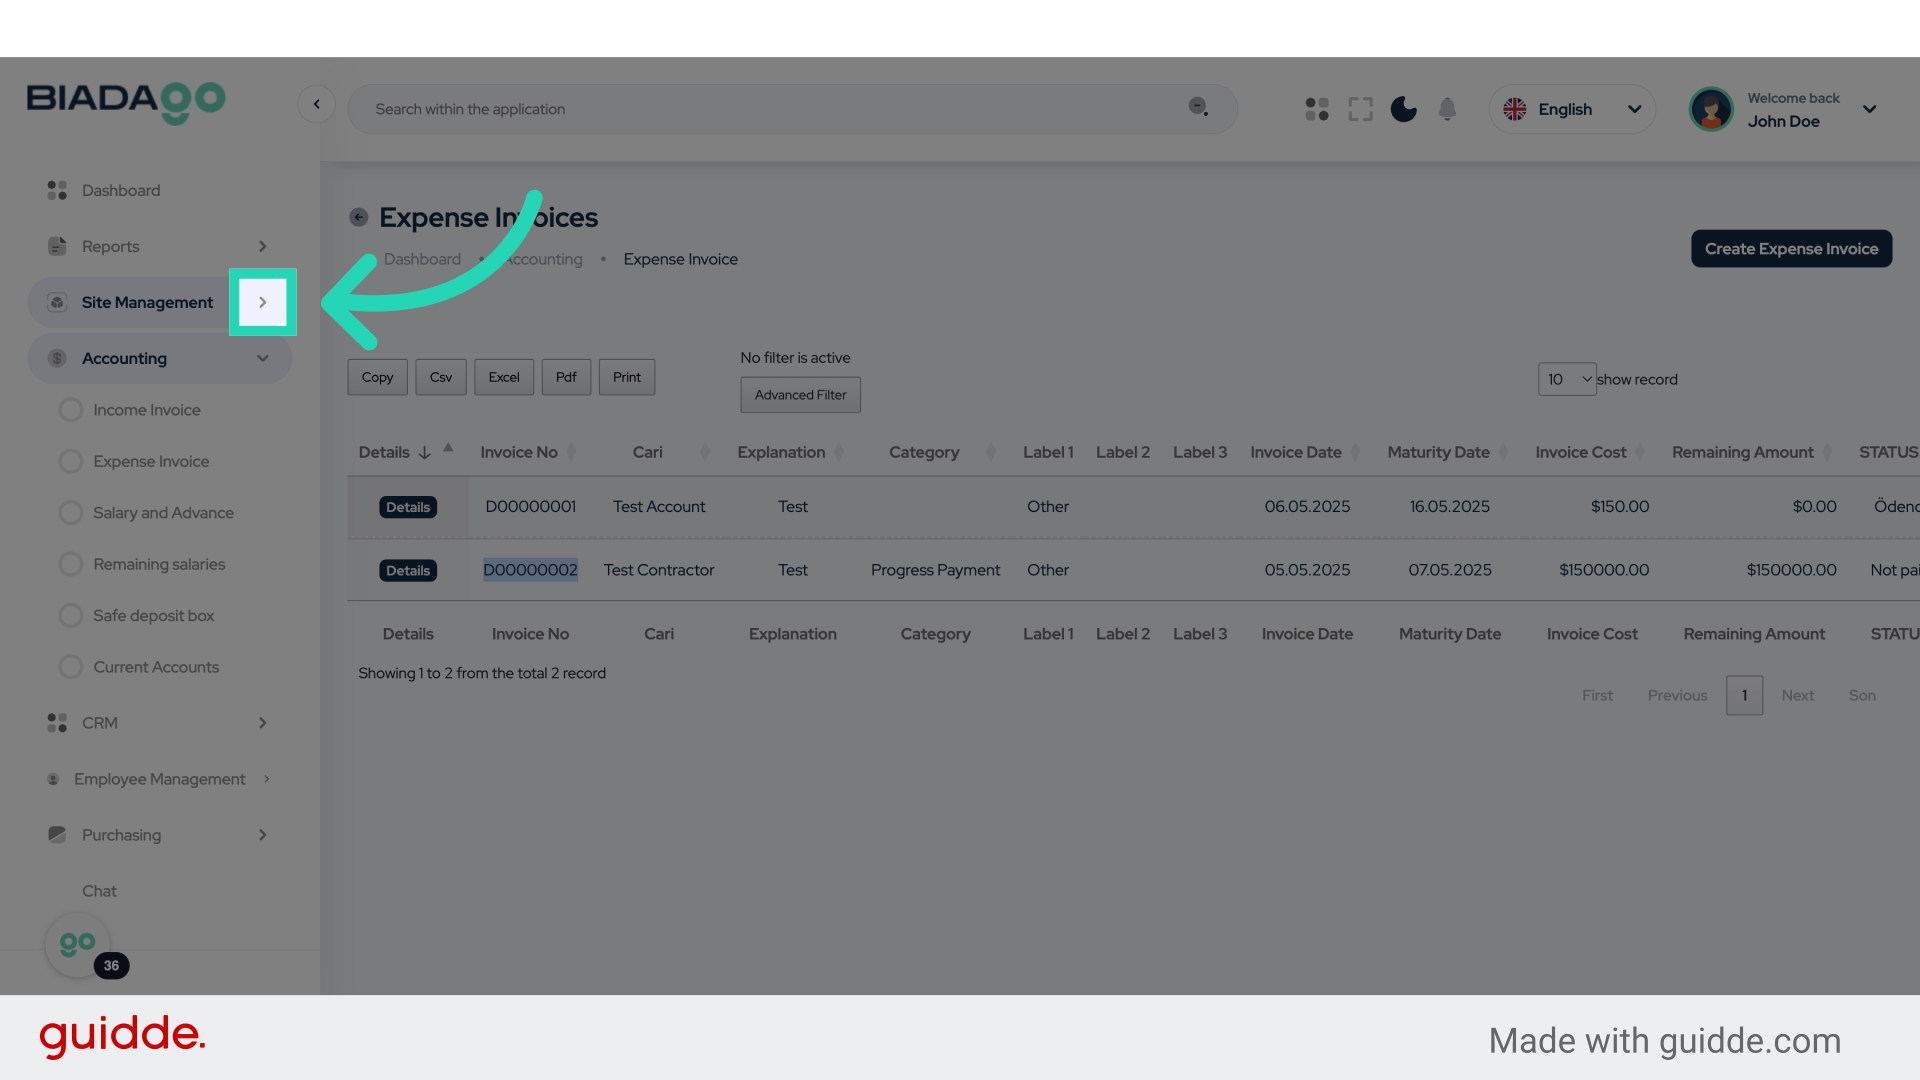
38. Click here
Access a specific section.
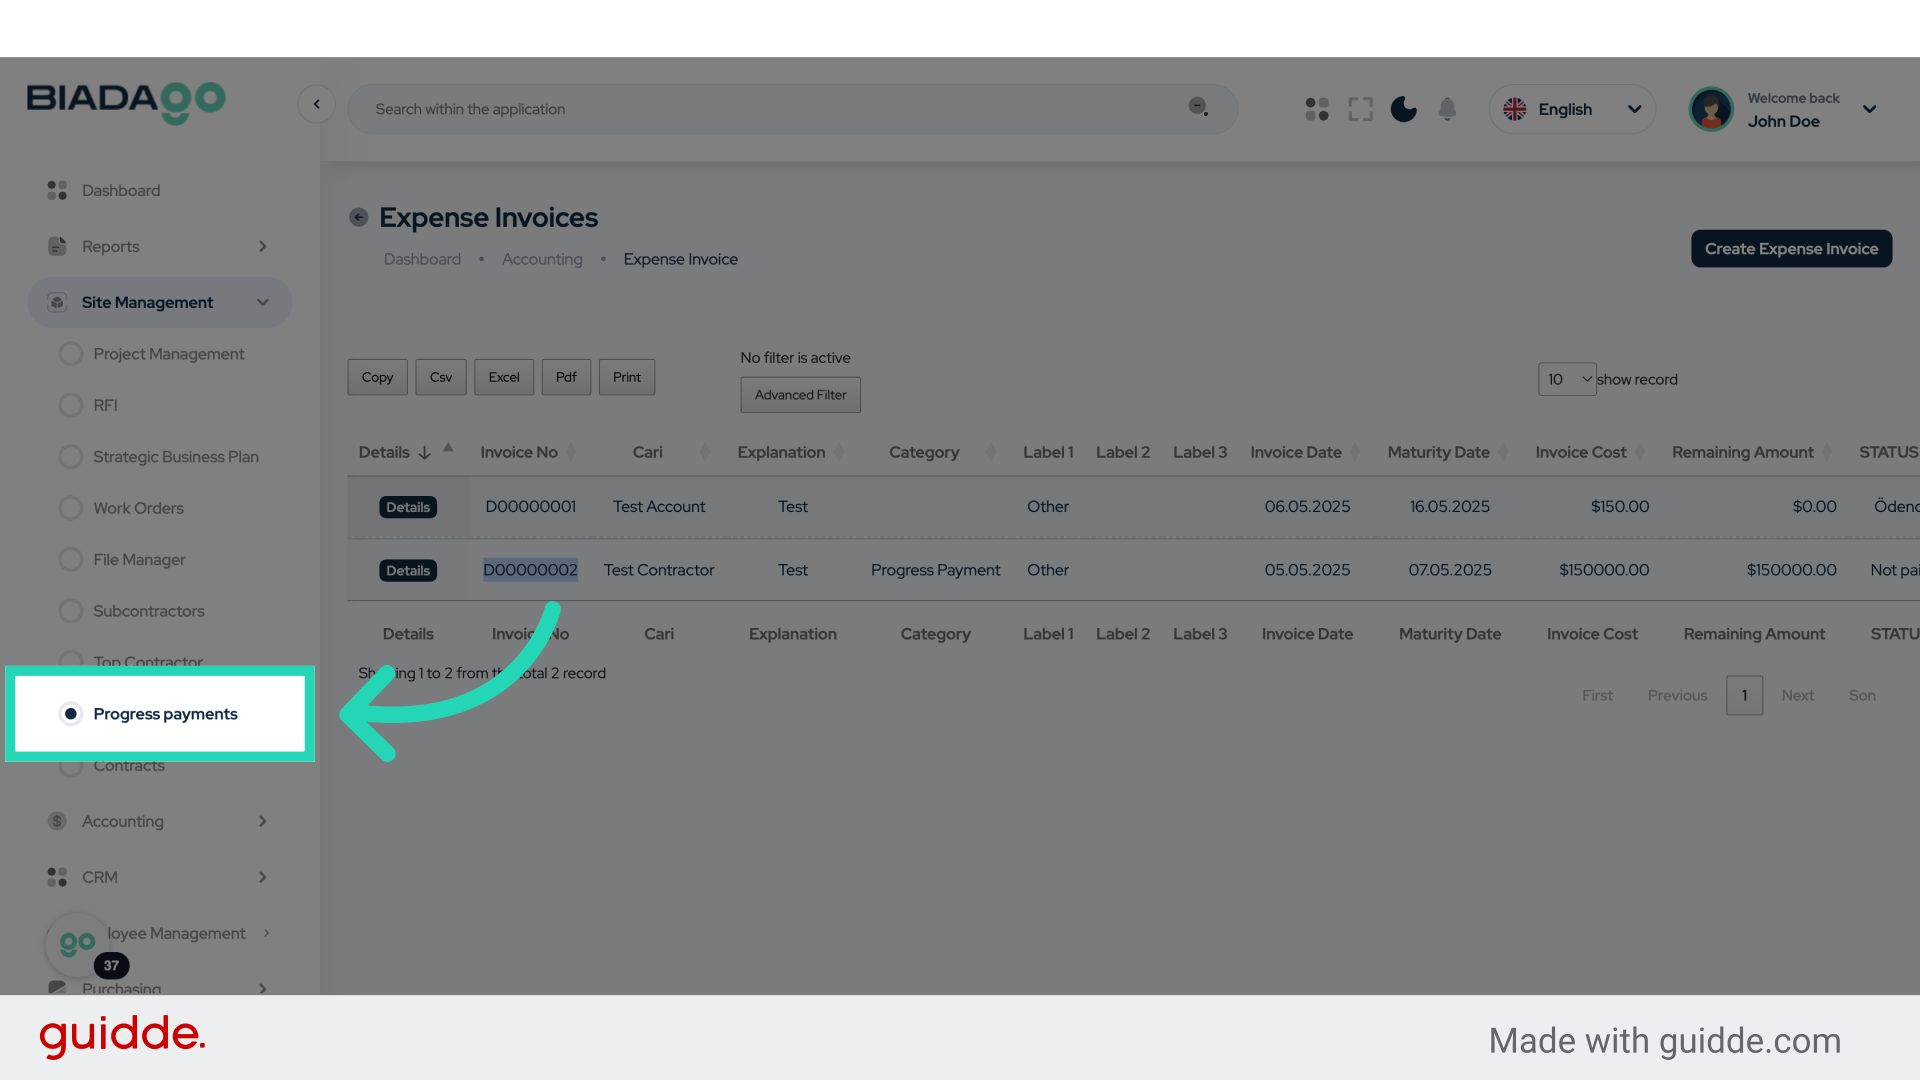
39. Click “Progress payments”
Select ‘Progress payments’.
40. Click here
Navigate to a specific location.
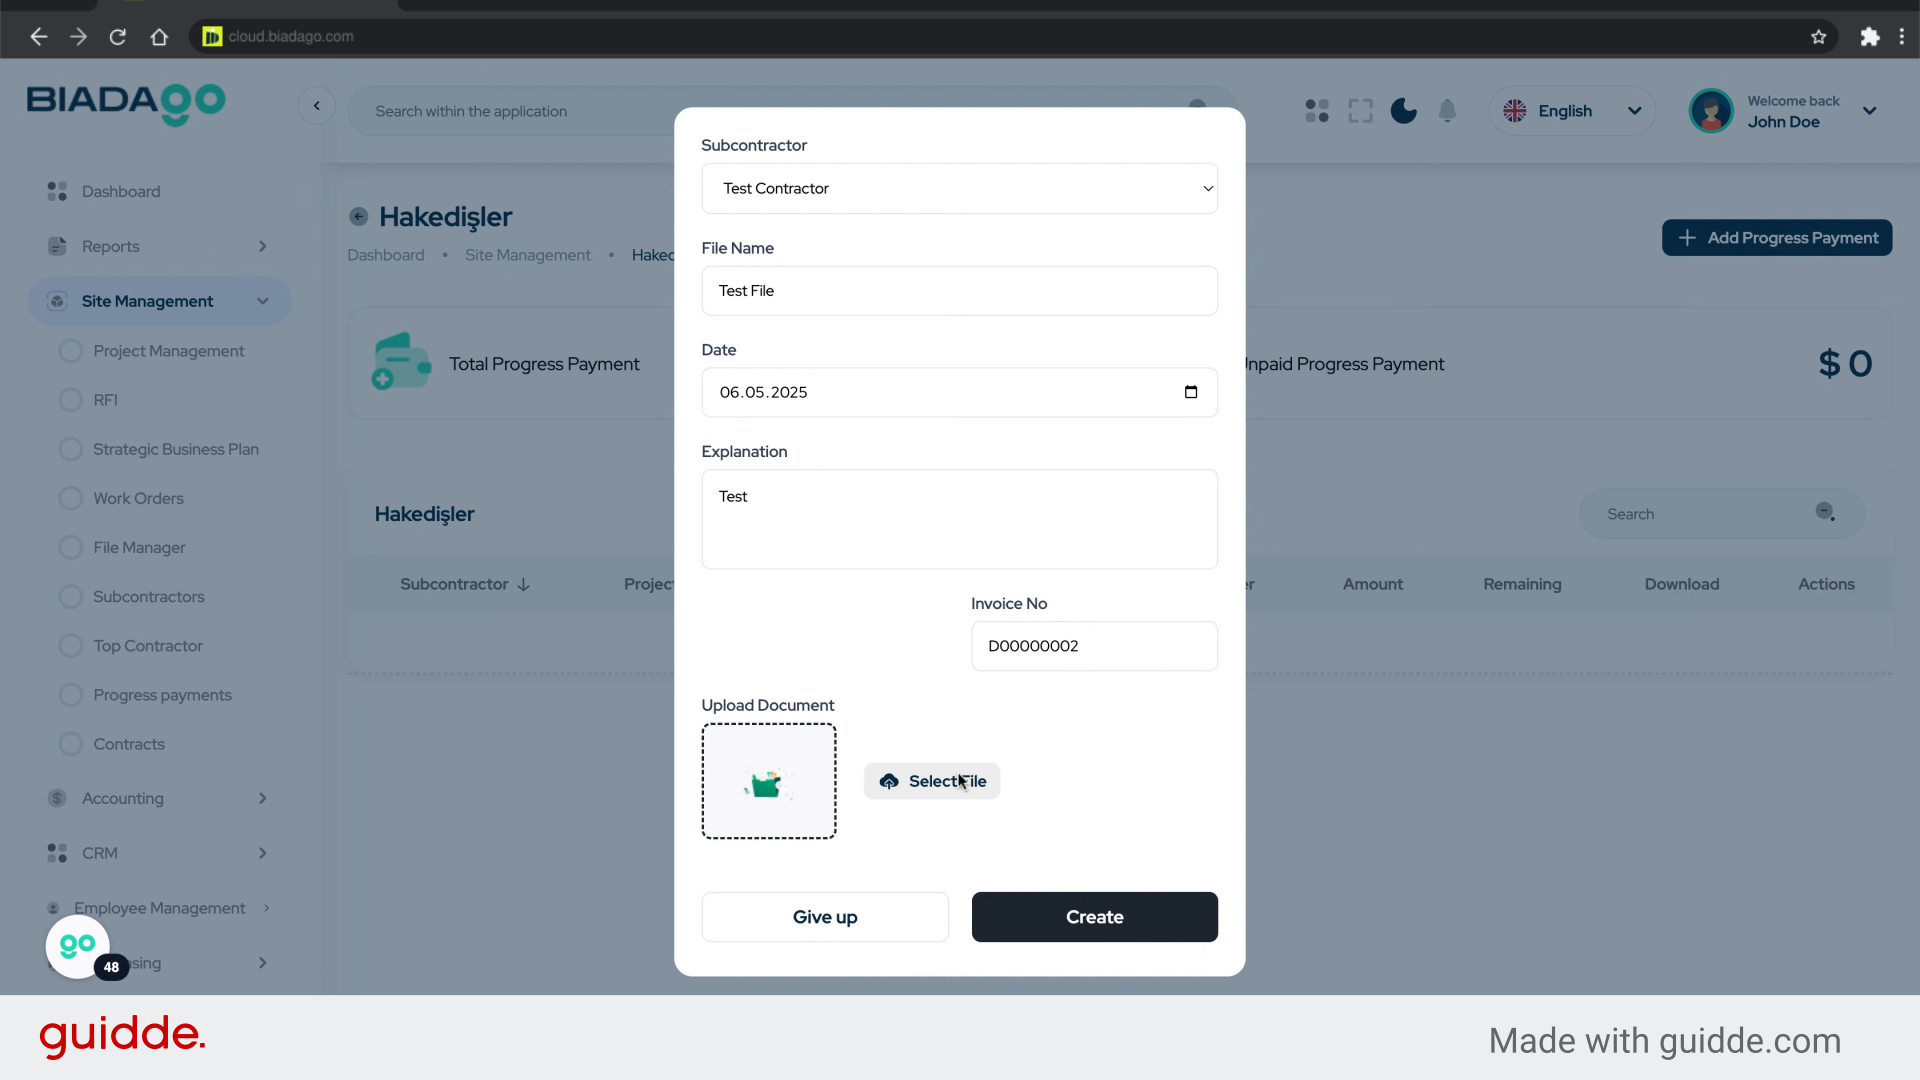
41. Click “Test Contractor”
Select the Test Contractor.
42. Click “File Name”
Enter the File Name.
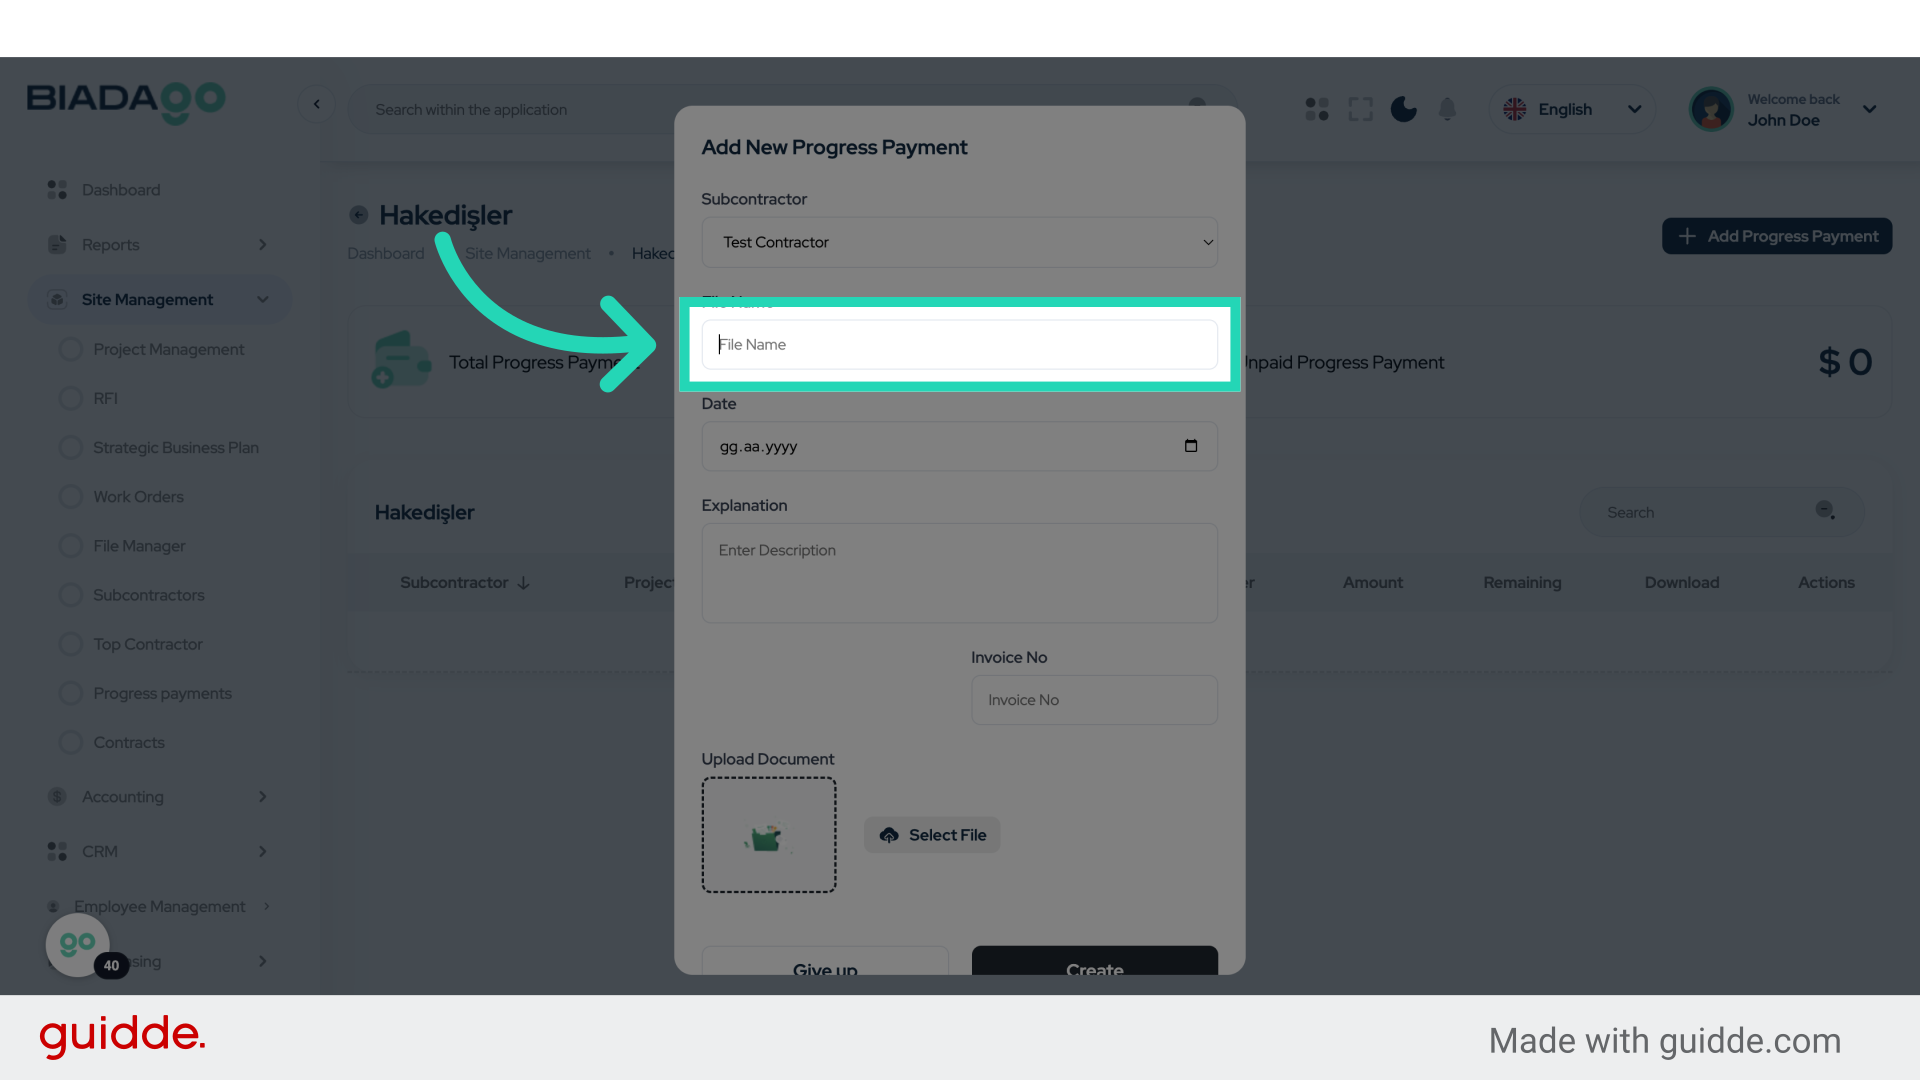
43. Fill “Test File”
Write your desired text.

44. Click “Date”
Enter the Date.
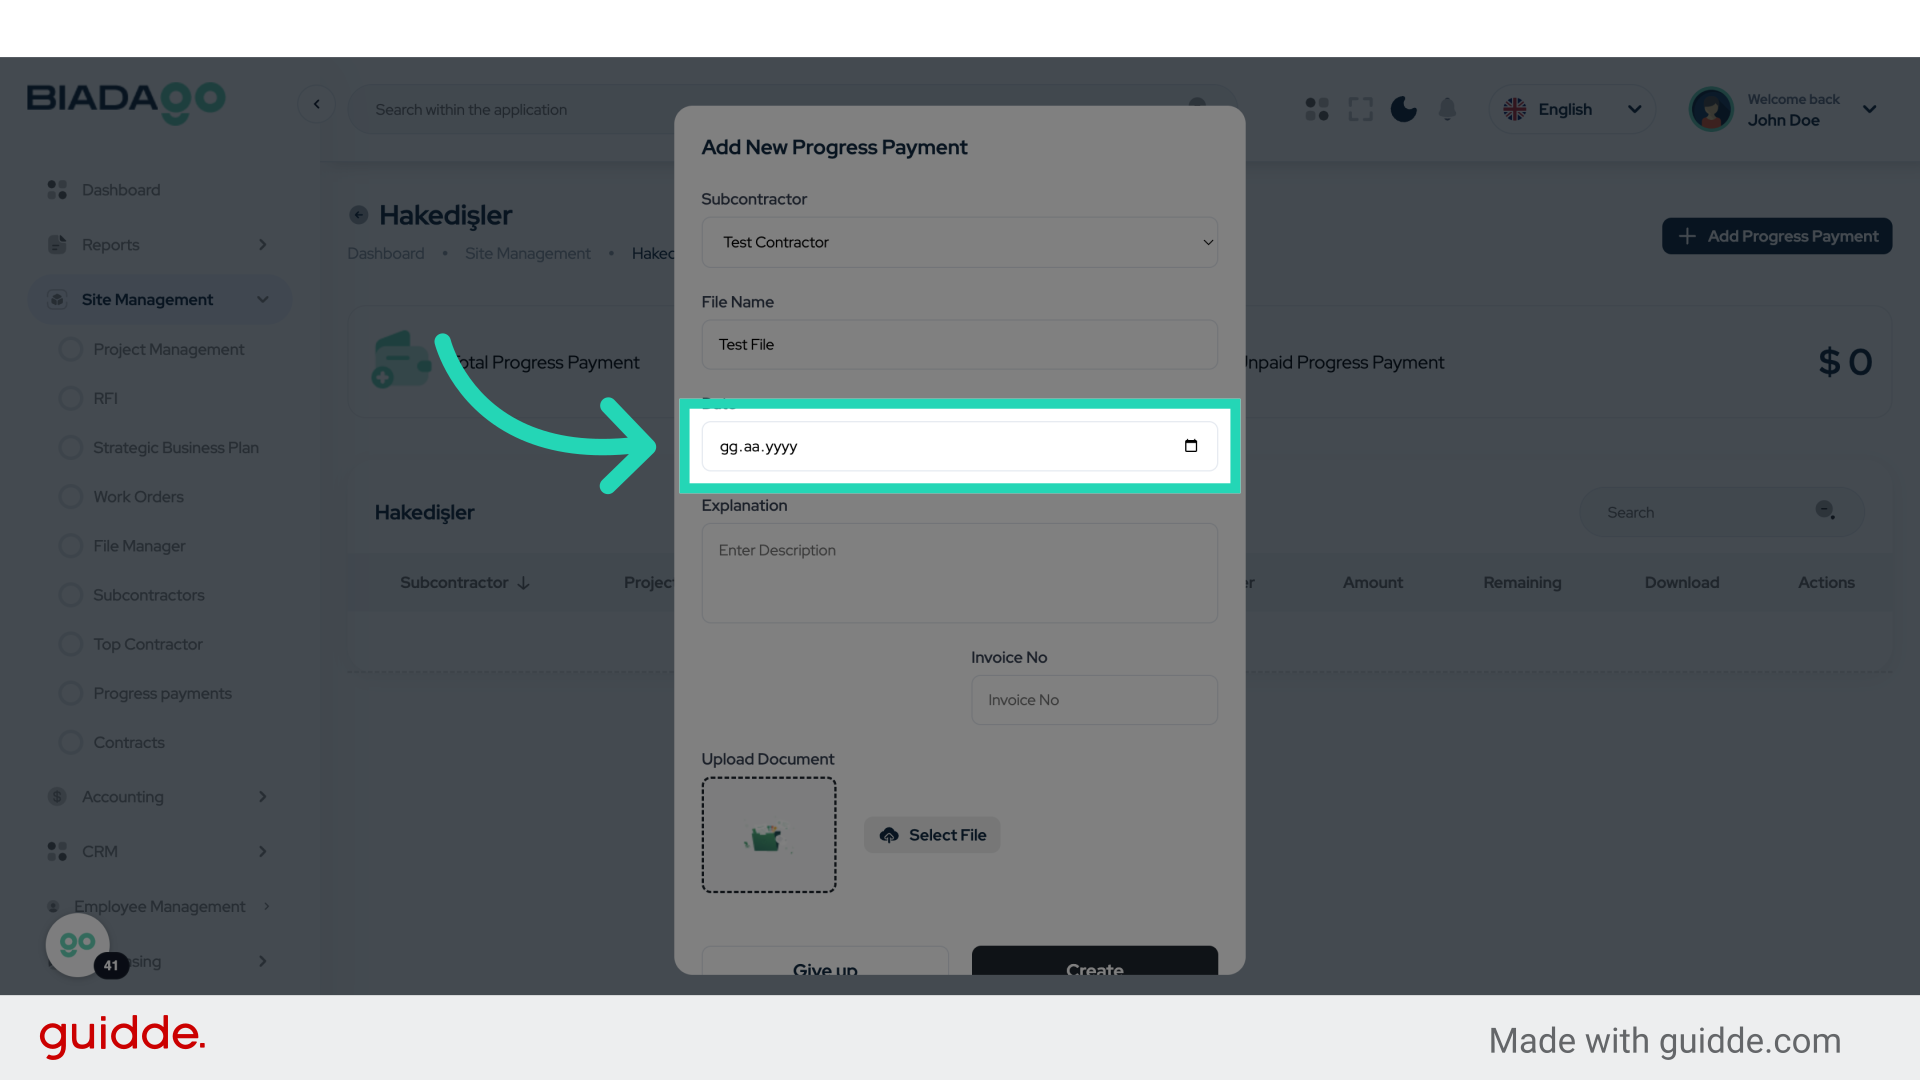
45. Fill “2025-05-06”
Fill in “2025-05-06”

46. Click “Explanation”
Provide an Explanation.

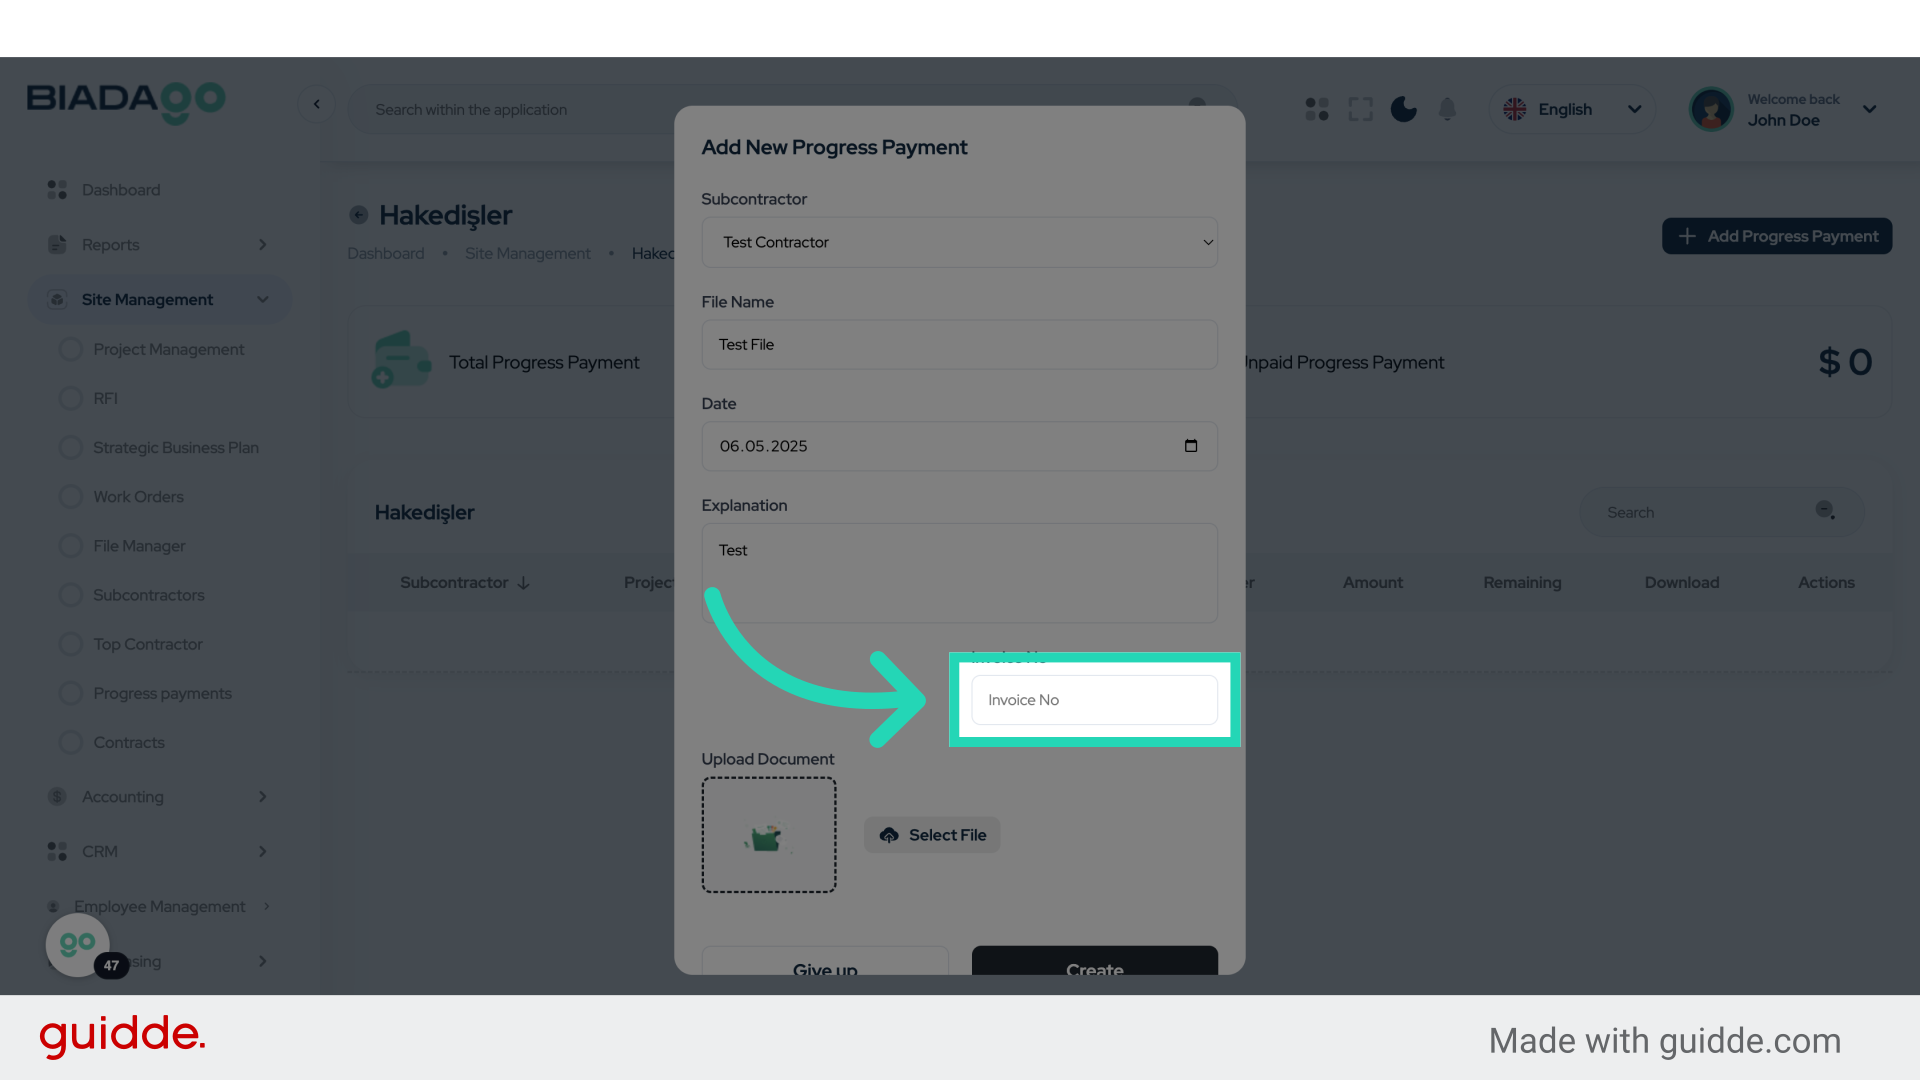
47. Fill “Test”
Enter “Test” in the provided field
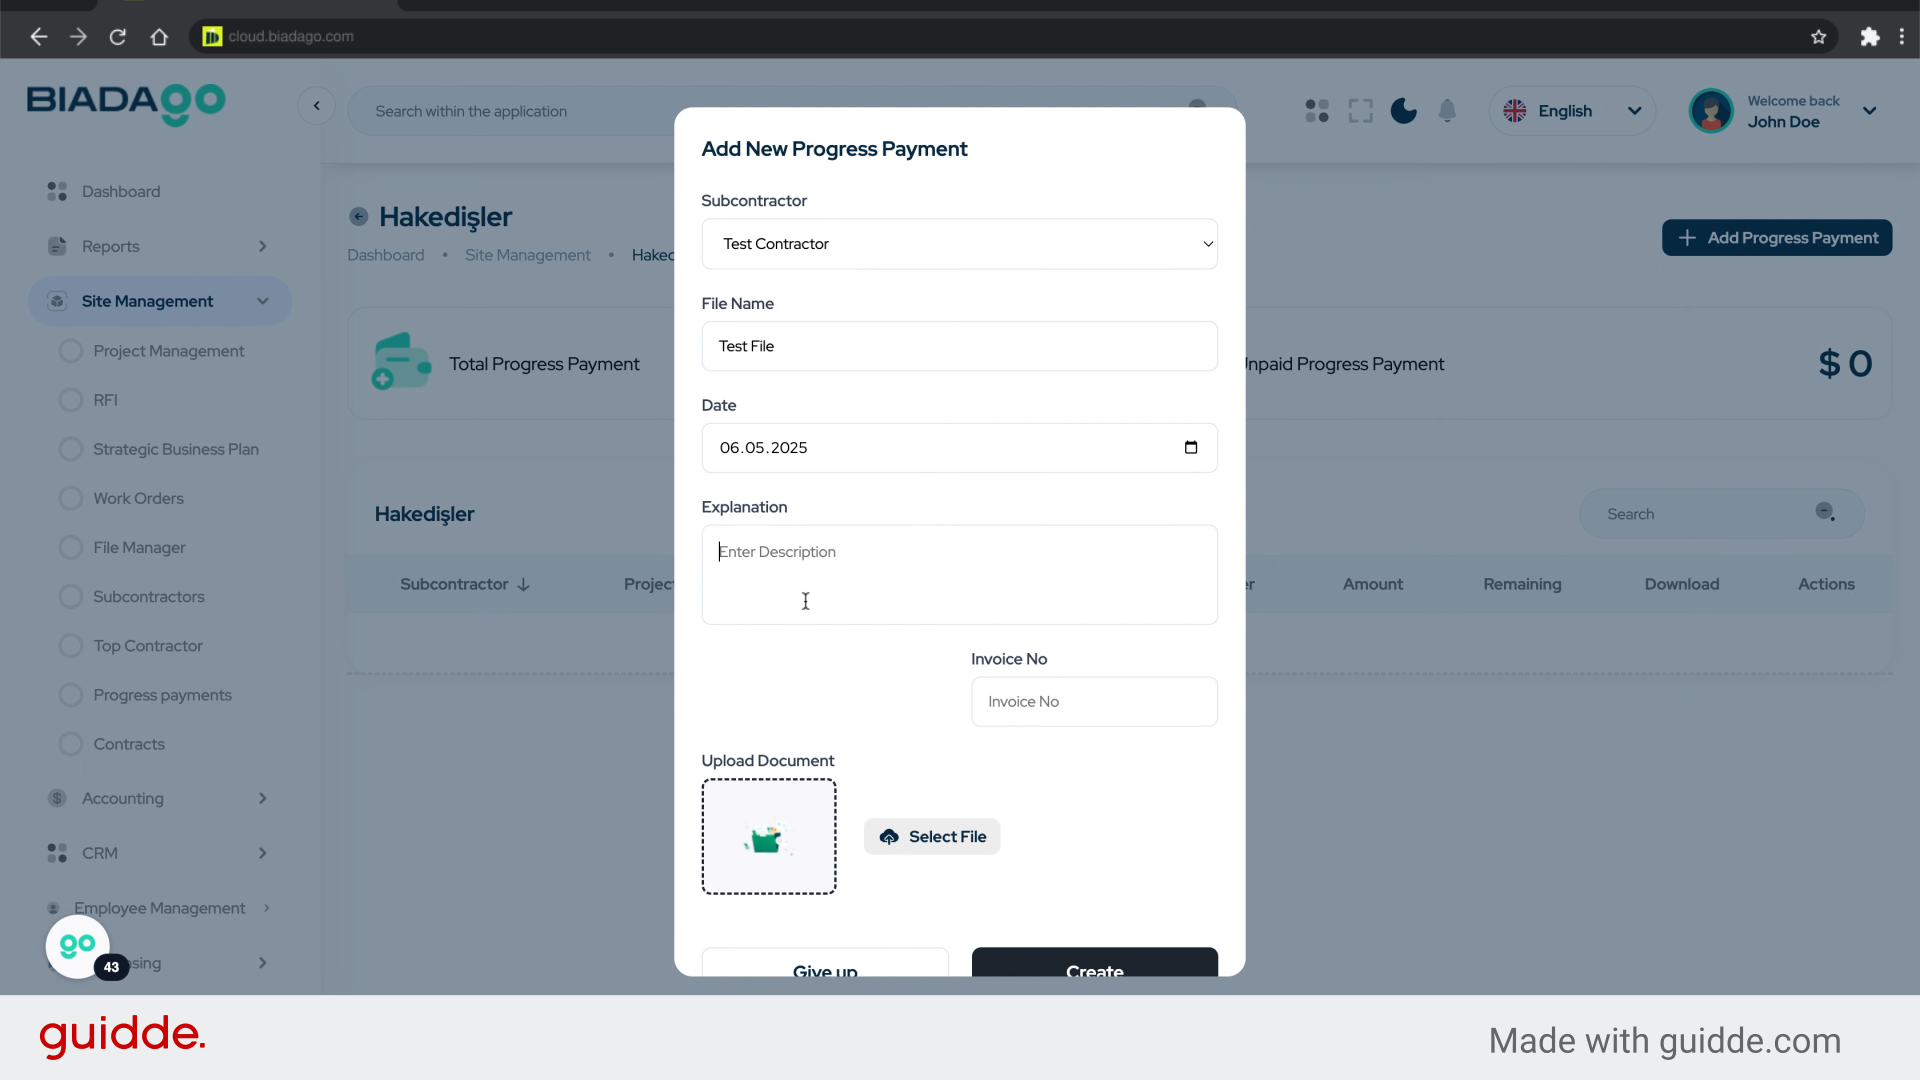
48. Click “Invoice No”
Enter the Invoice No.

49. Click “Invoice No”
Choose the Invoice No.
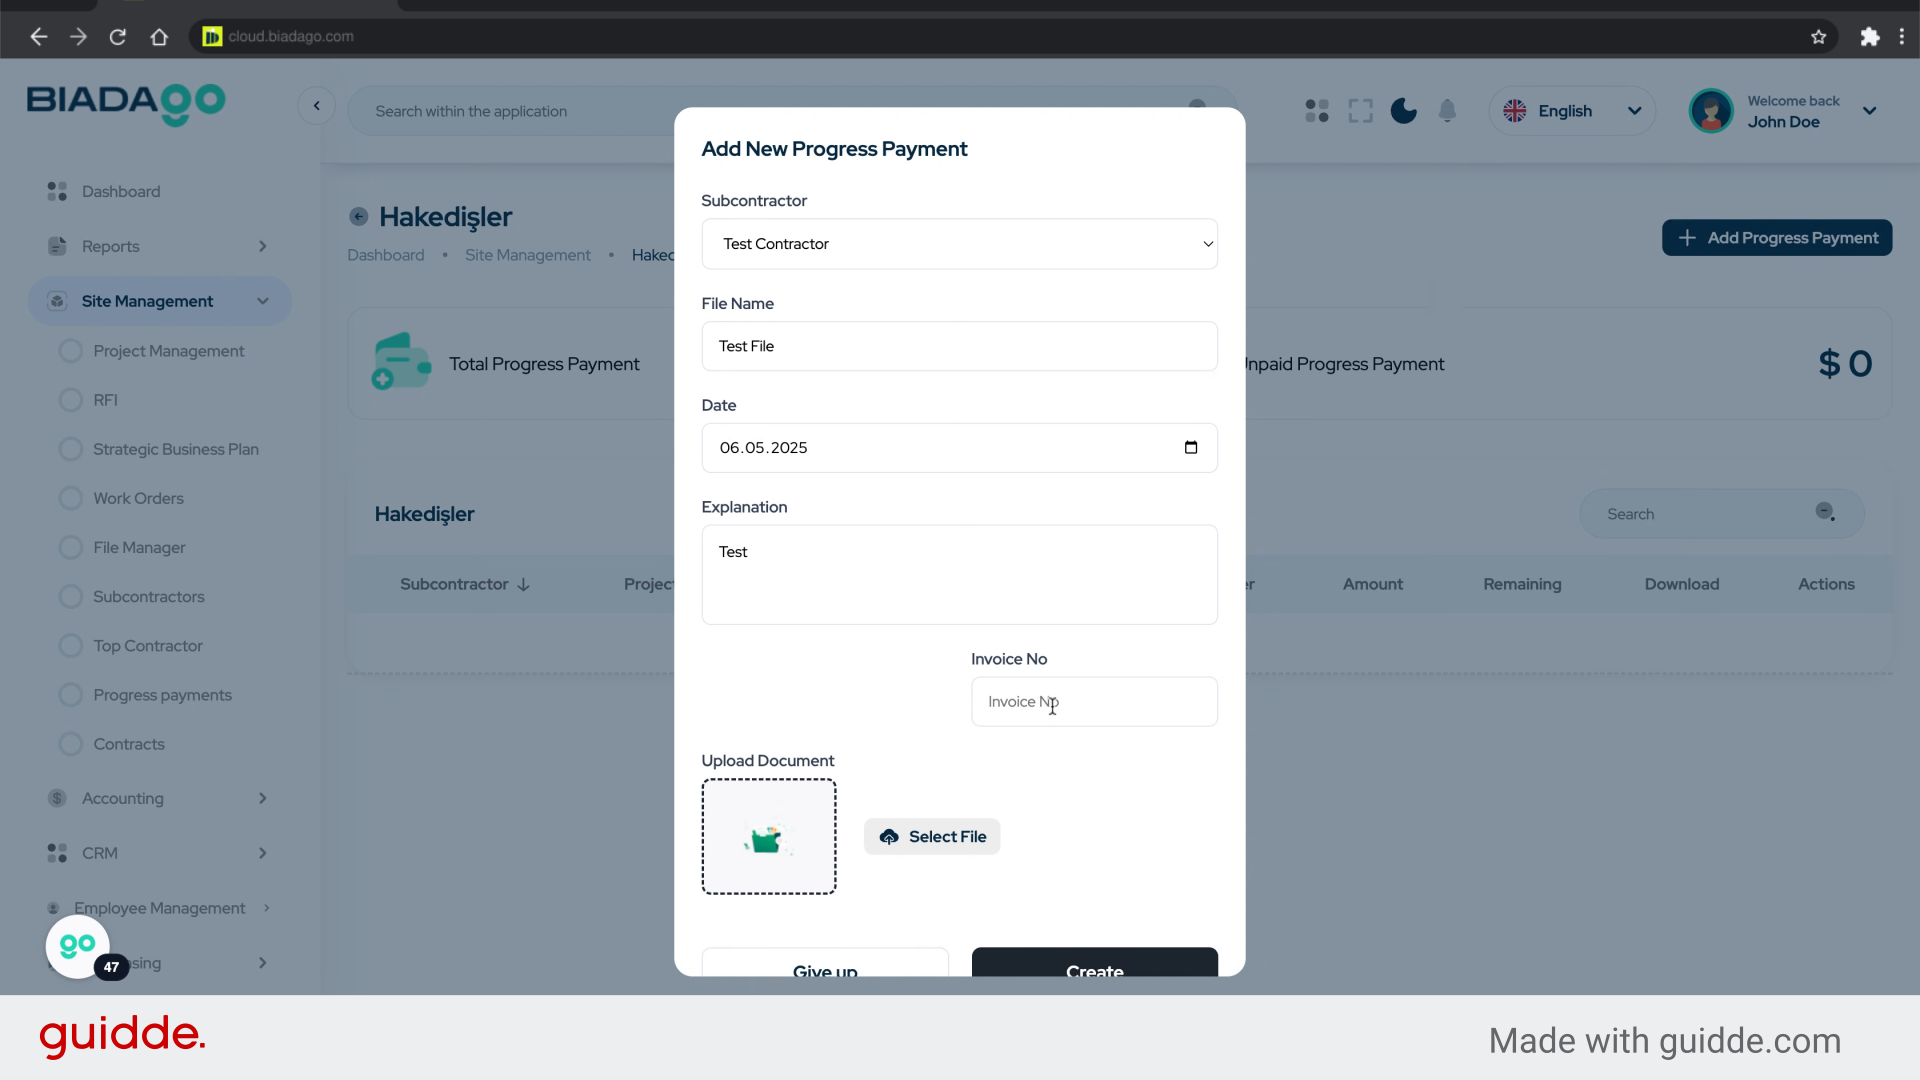
50. Fill “D00000002”
Fill in the text box with “D00000002”
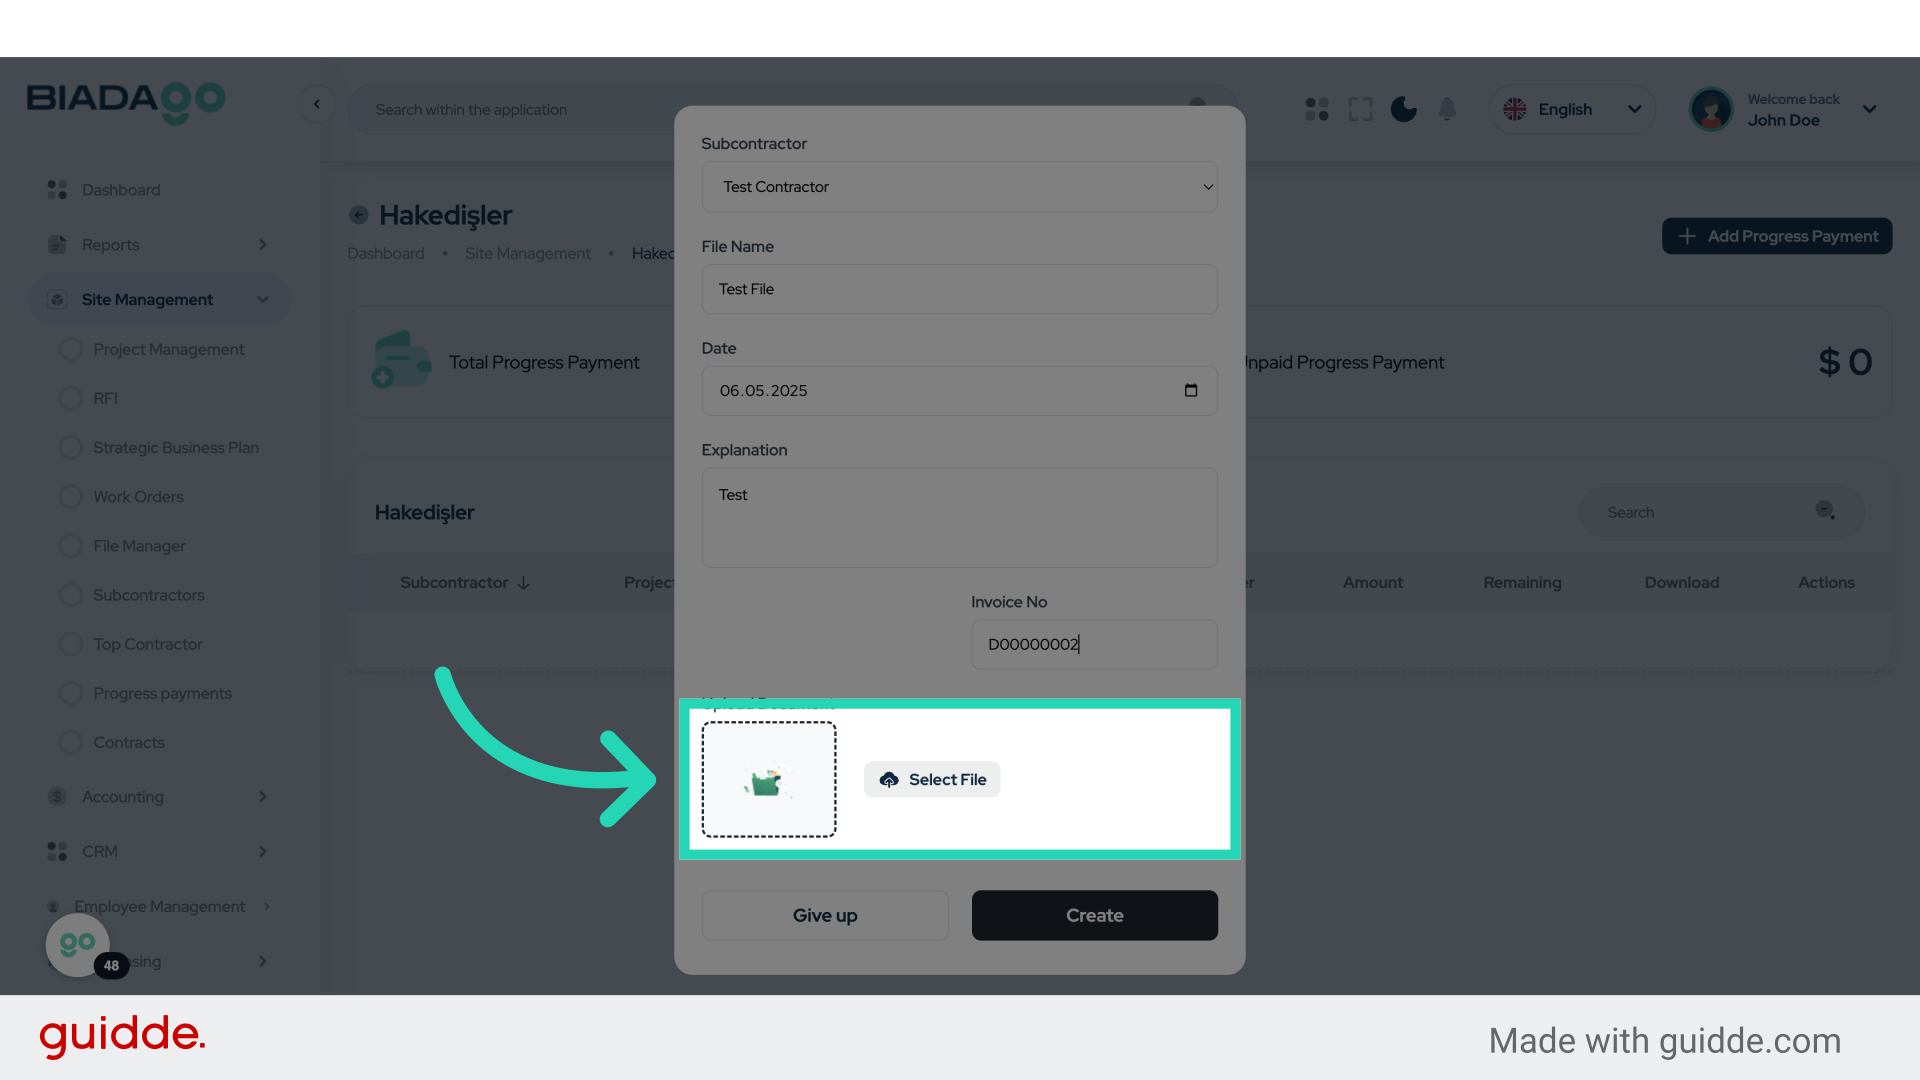
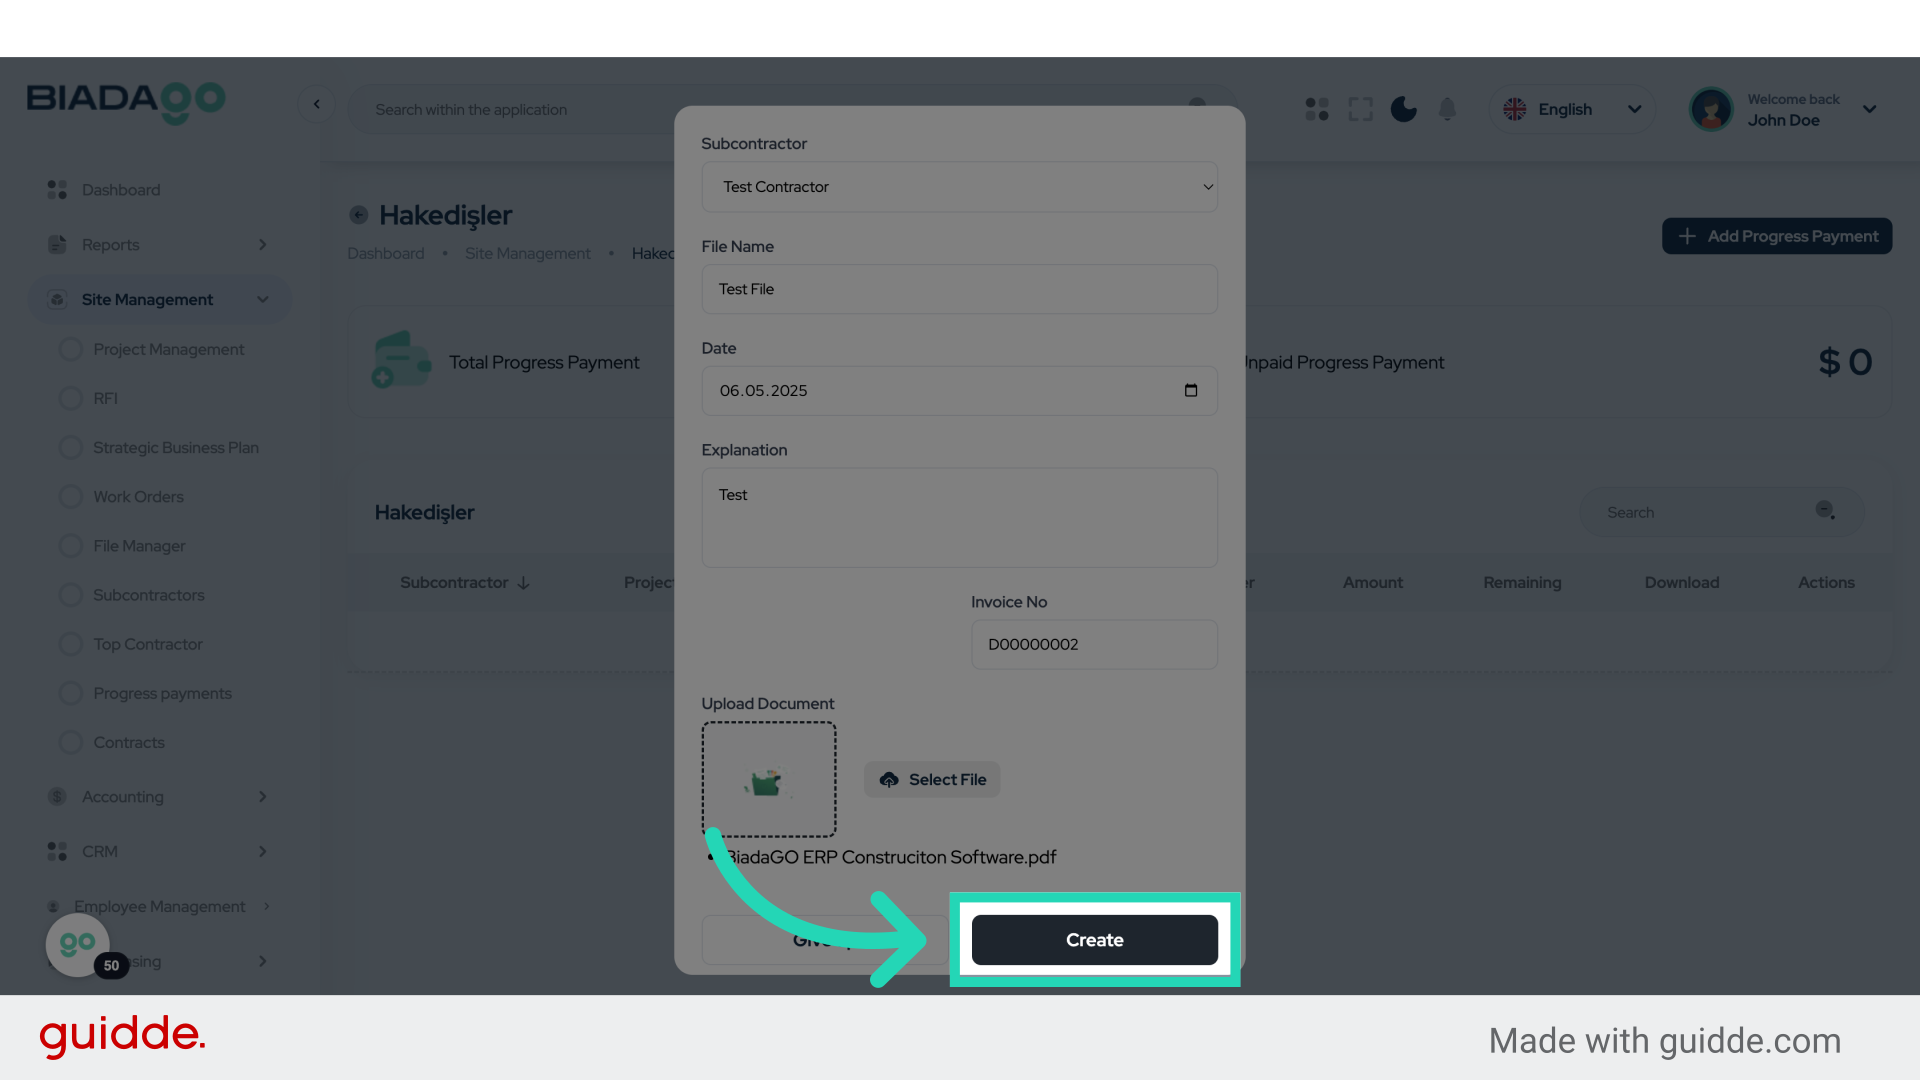
51. Click “Upload Document”
Upload a Document.
52. Fill “C:\fakepath\BiadaGO ERP Construciton Software.pdf”
Enter the desired text.
53. Click “Create”
Finalize and Create the transaction.
This guide covered navigating through BiadaGO’s features to create and manage Progress Payment entries effectively. From selecting accounts to uploading documents, the instructions provided a comprehensive overview of the workflow, ensuring a smooth experience for users.