Using the File Manager in BiadaGO | Document Upload & Organization
Using the File Manager in BiadaGO | Document Upload & Organization
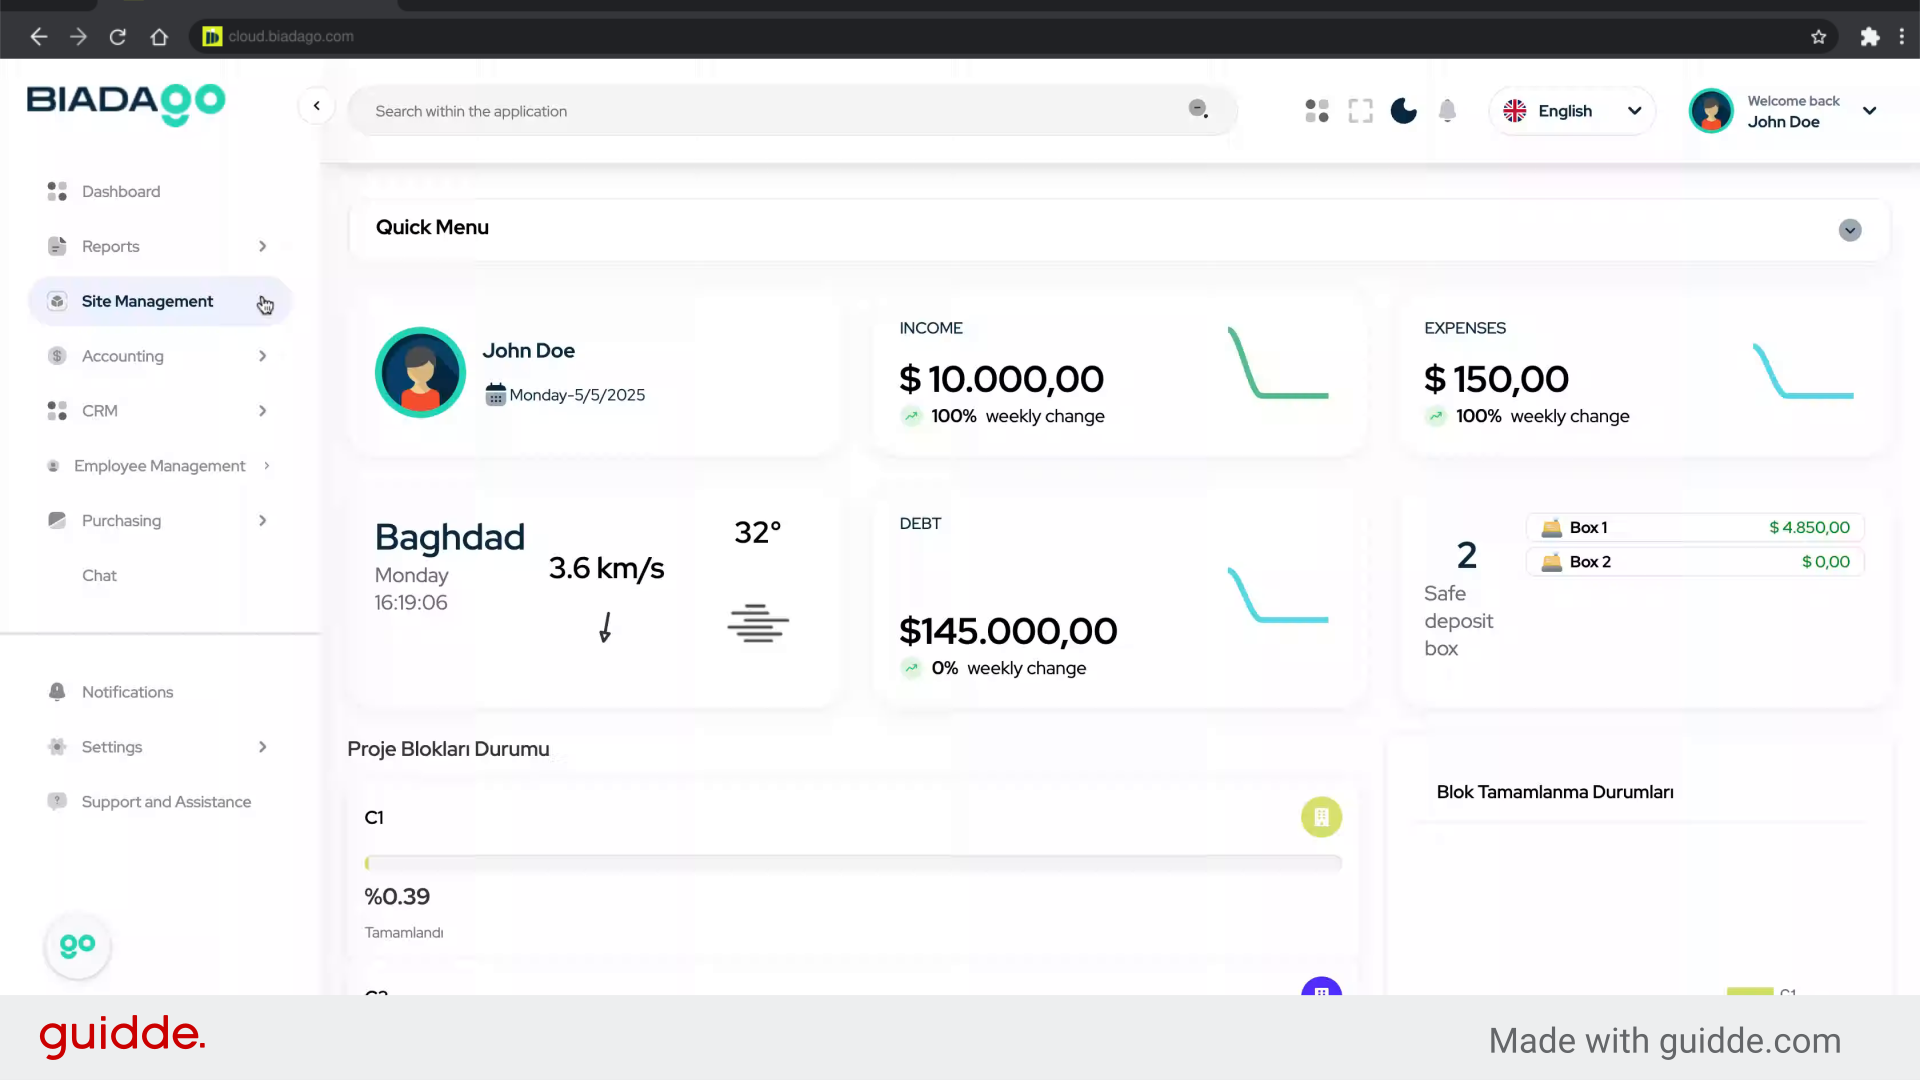
Streamline your document upload and organization process in BiadaGO’s File Manager
Go to cloud.biadago.com
1. Introduction
Follow these clear instructions to efficiently manage your files, create folders, add files, and delete unwanted documents.
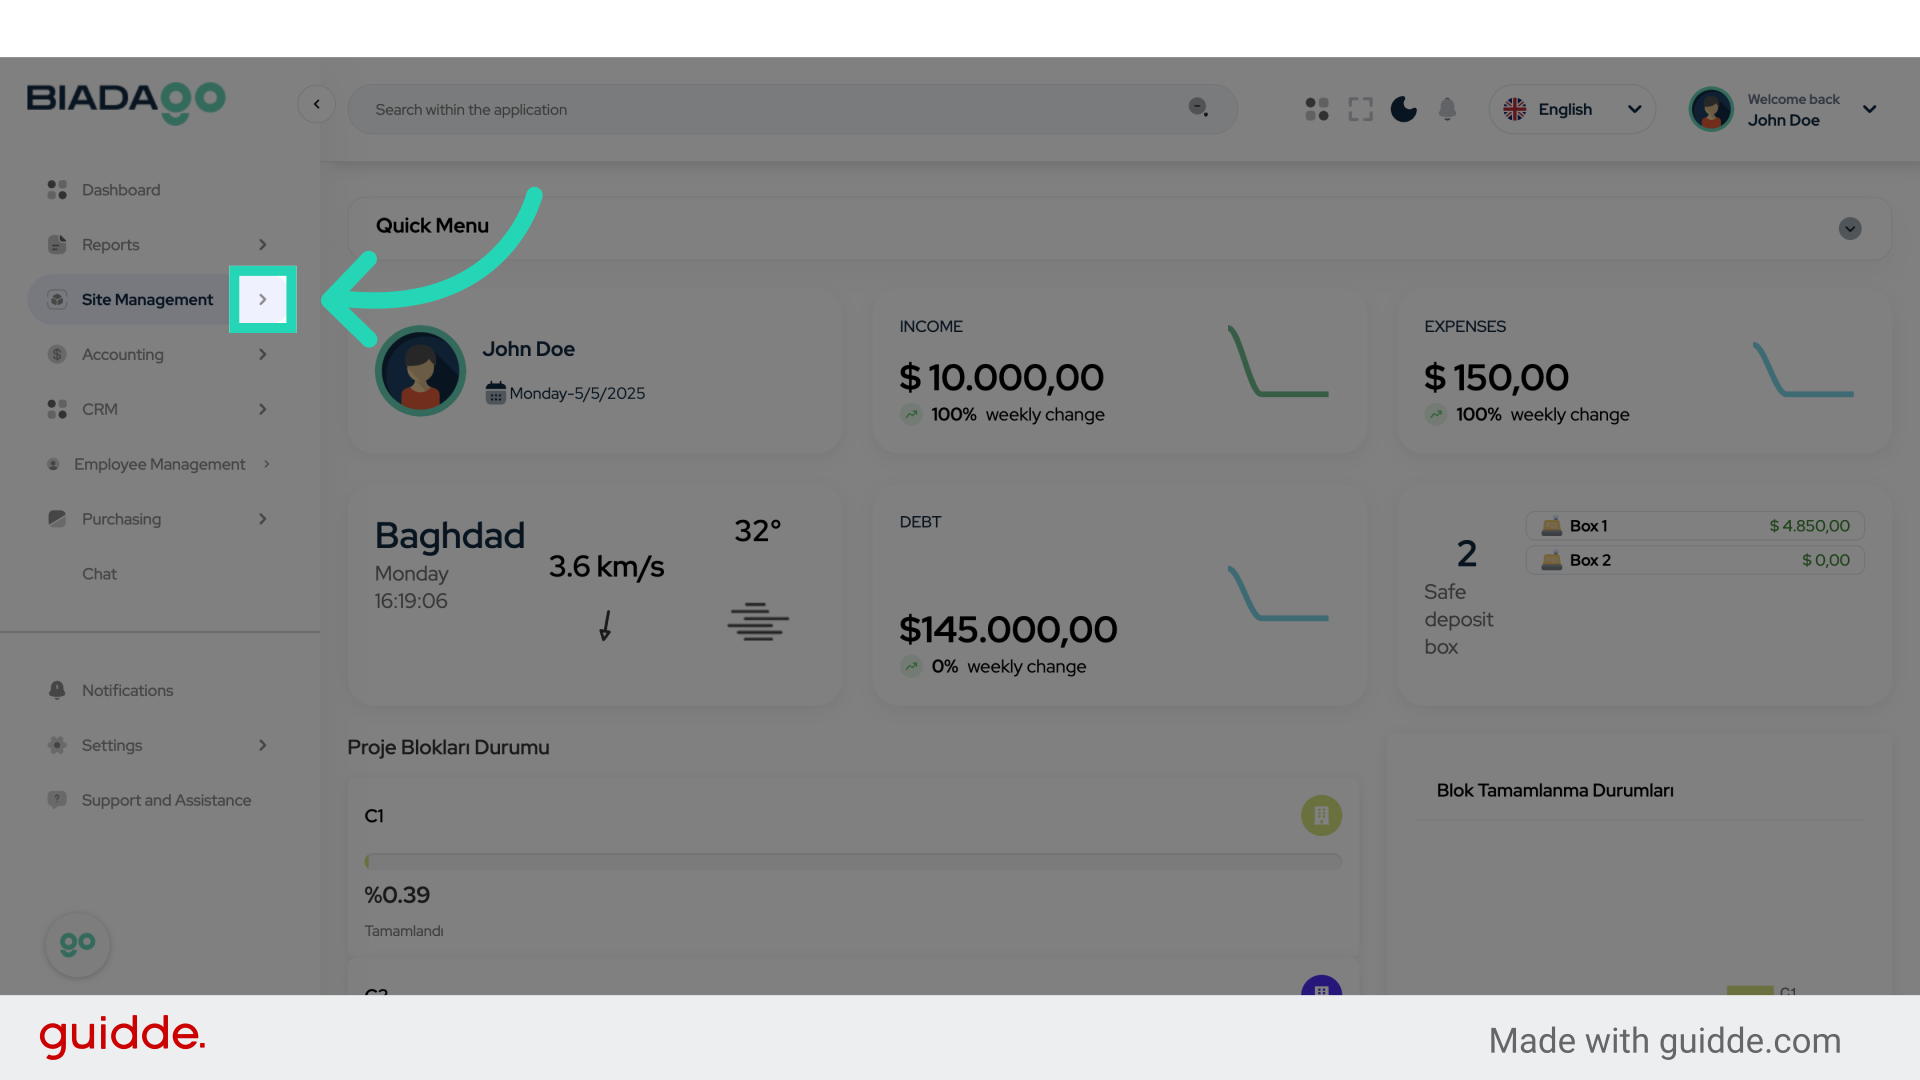
2. Click here
Click the specified element.
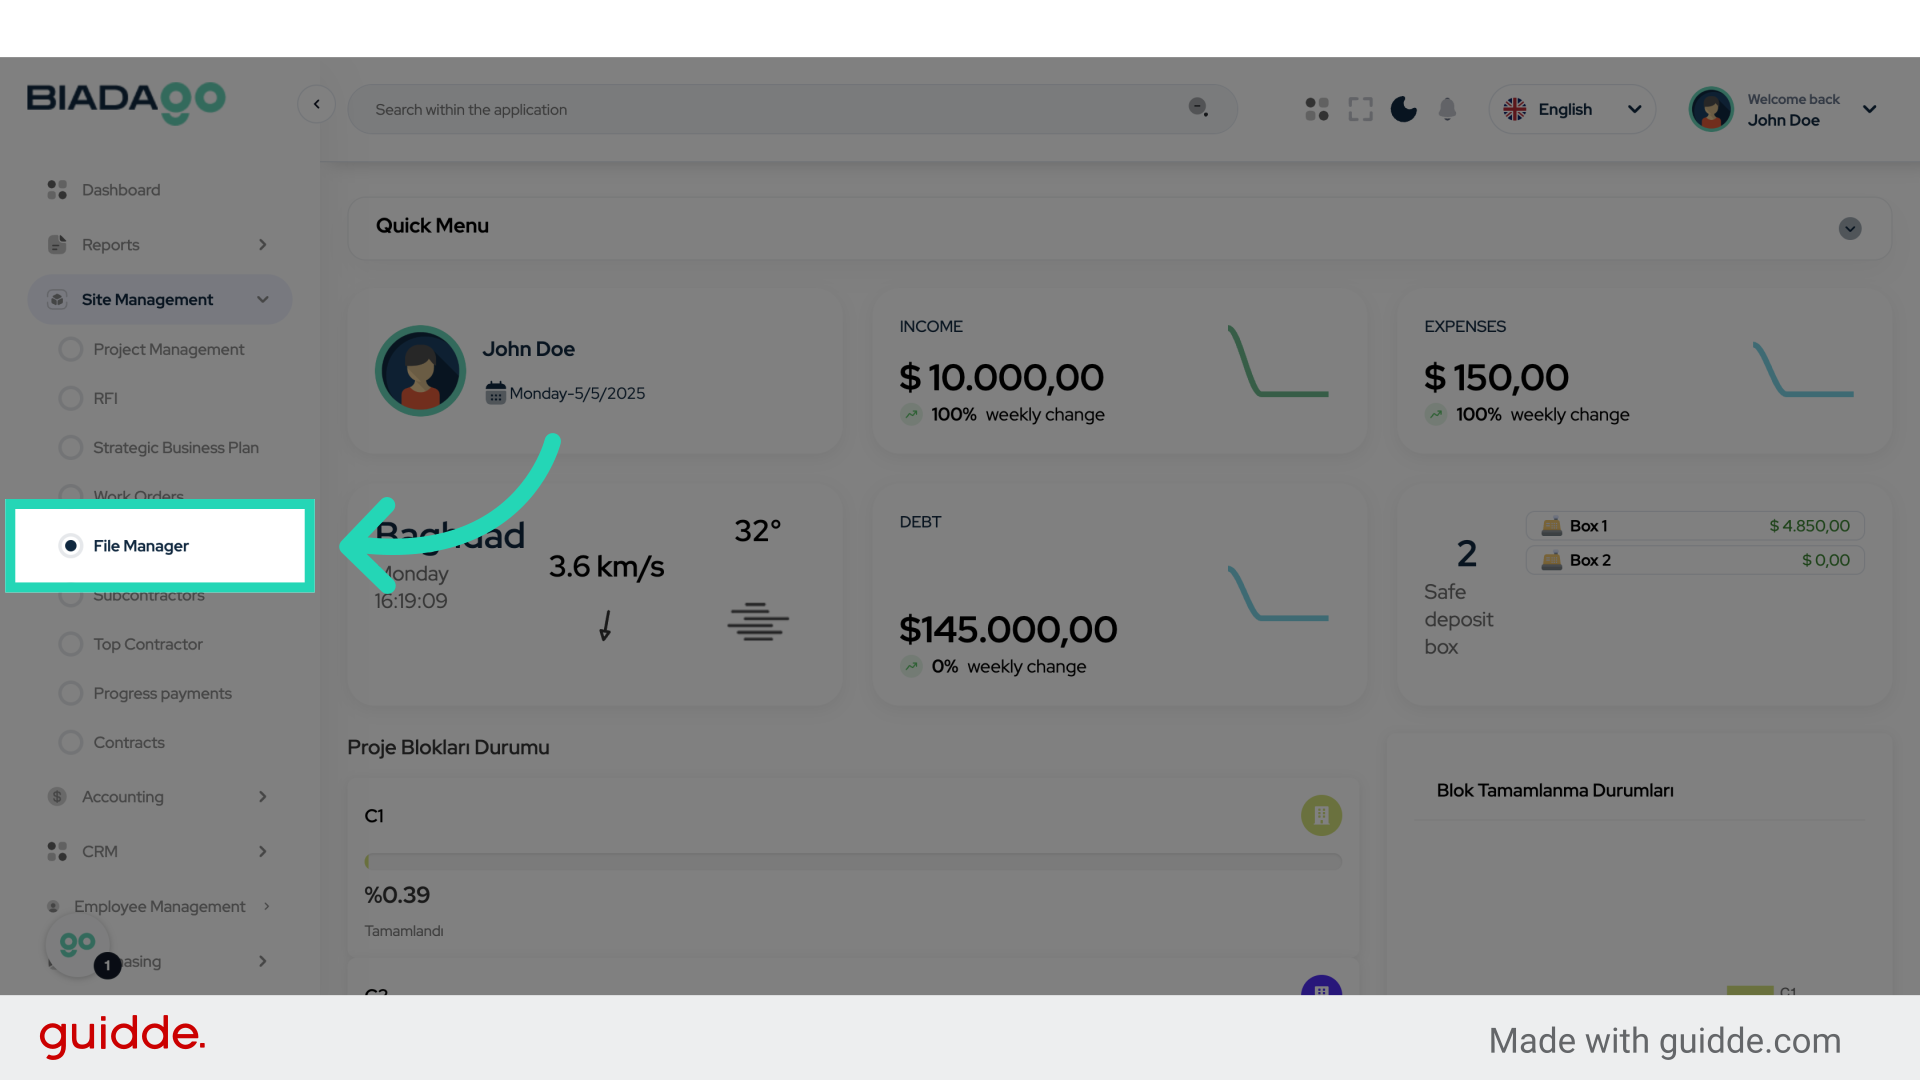
3. Click “File Manager”
Navigate to the File Manager section.
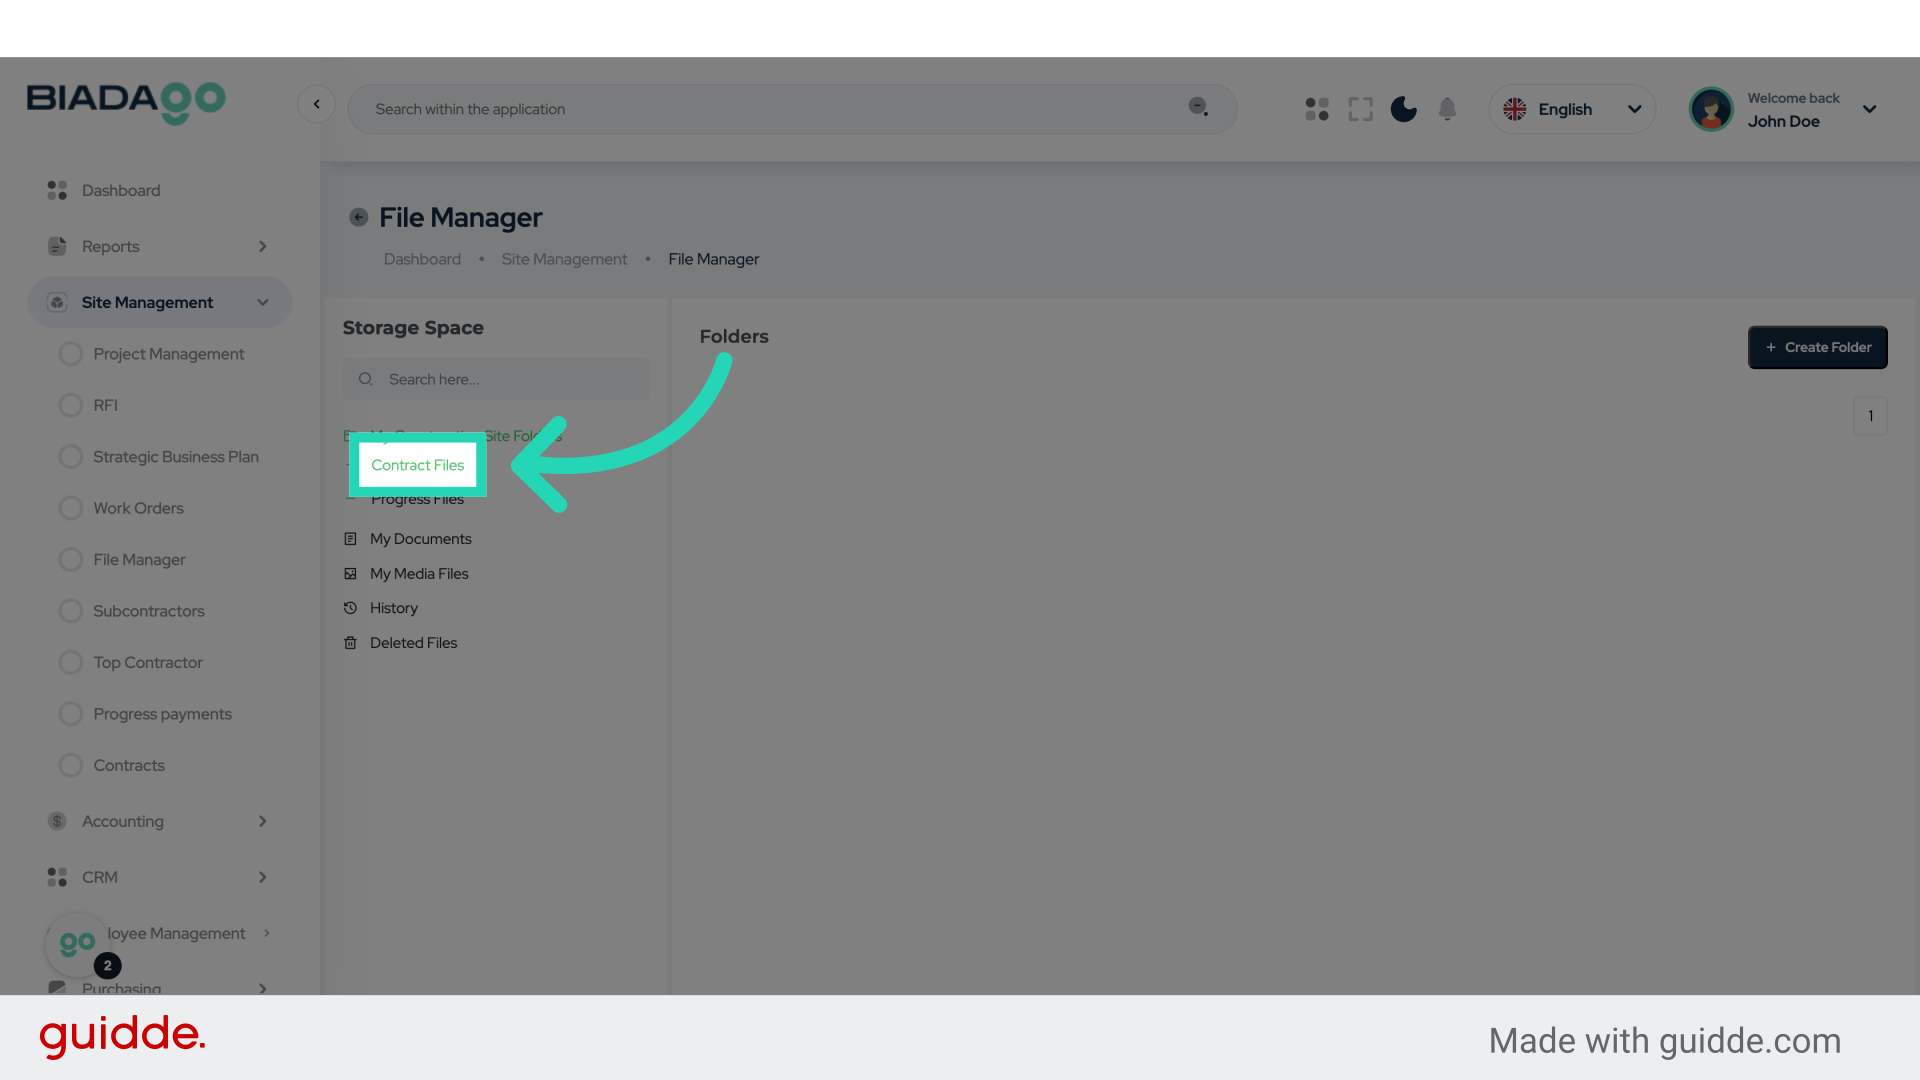
4. Click “Contract Files”
Access the Contract Files section.
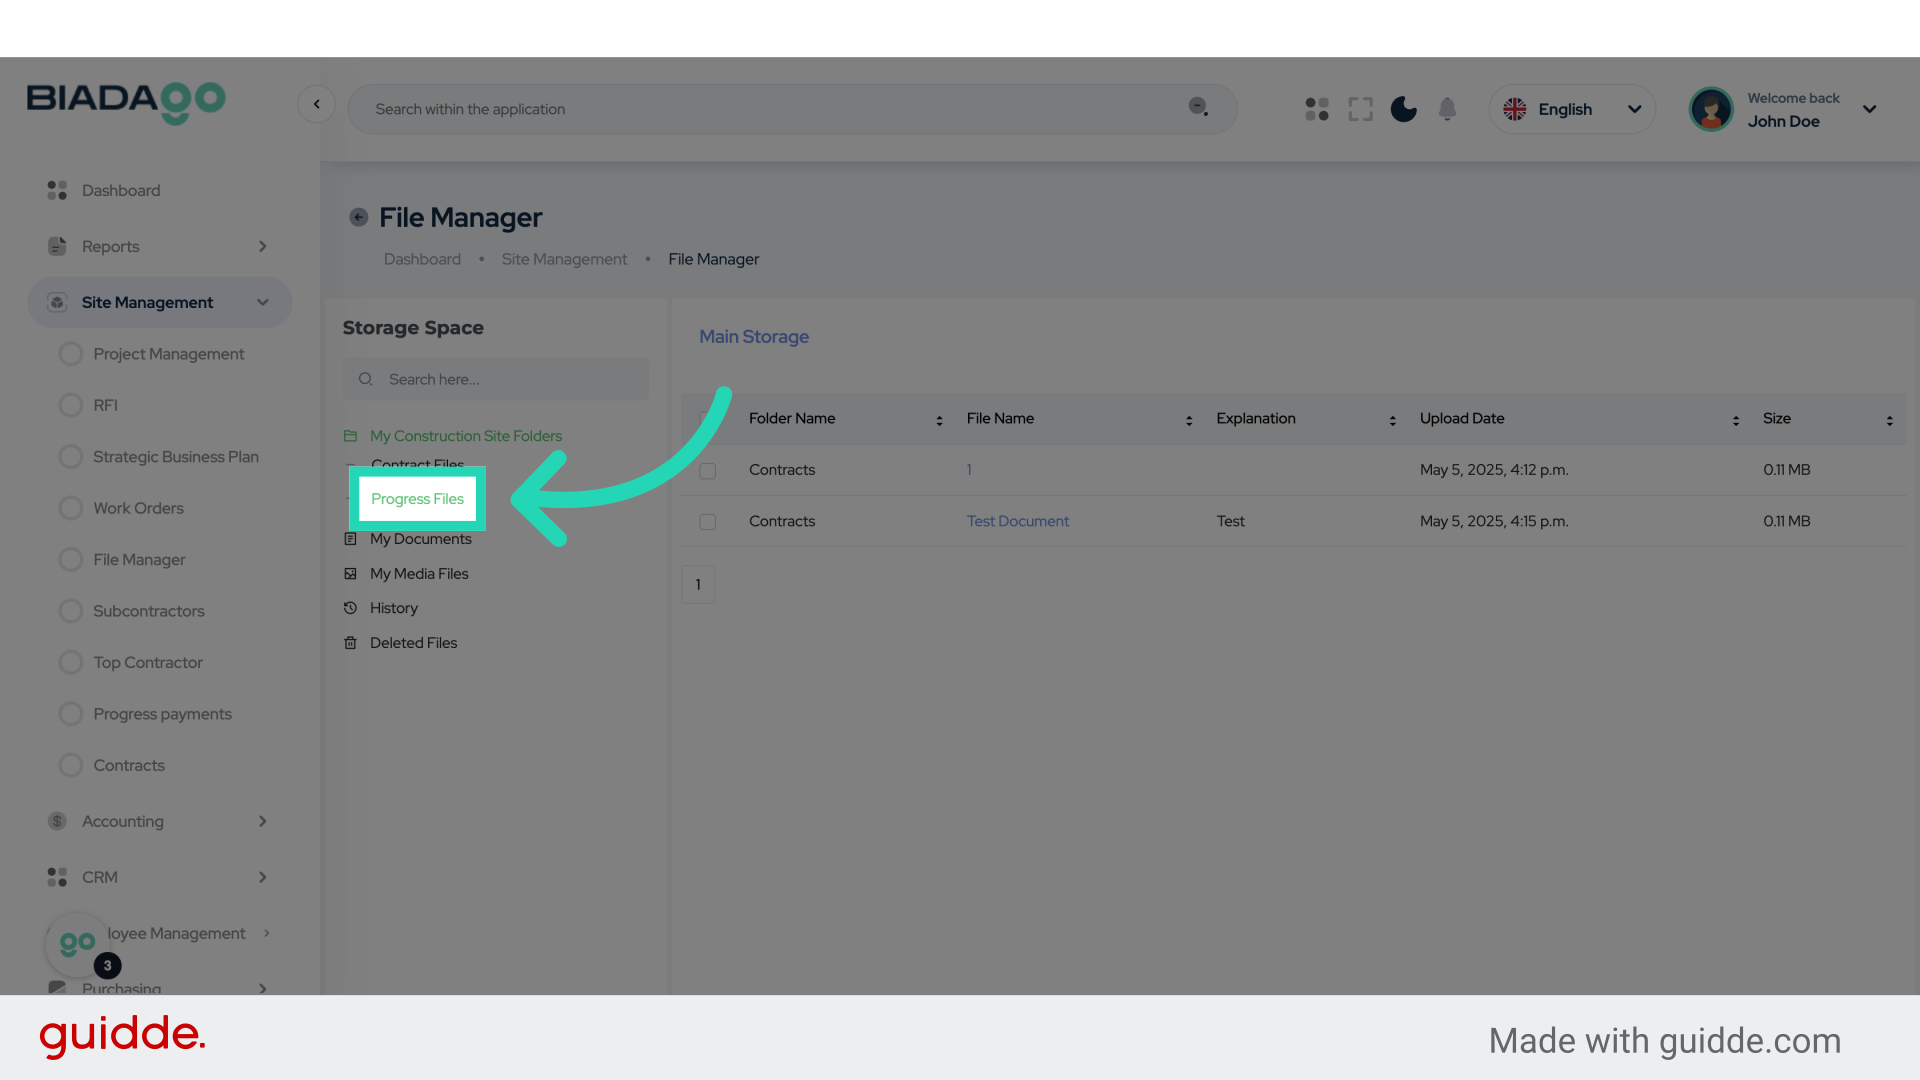
5. Click “Progress Files”
Navigate to the Progress Files section.
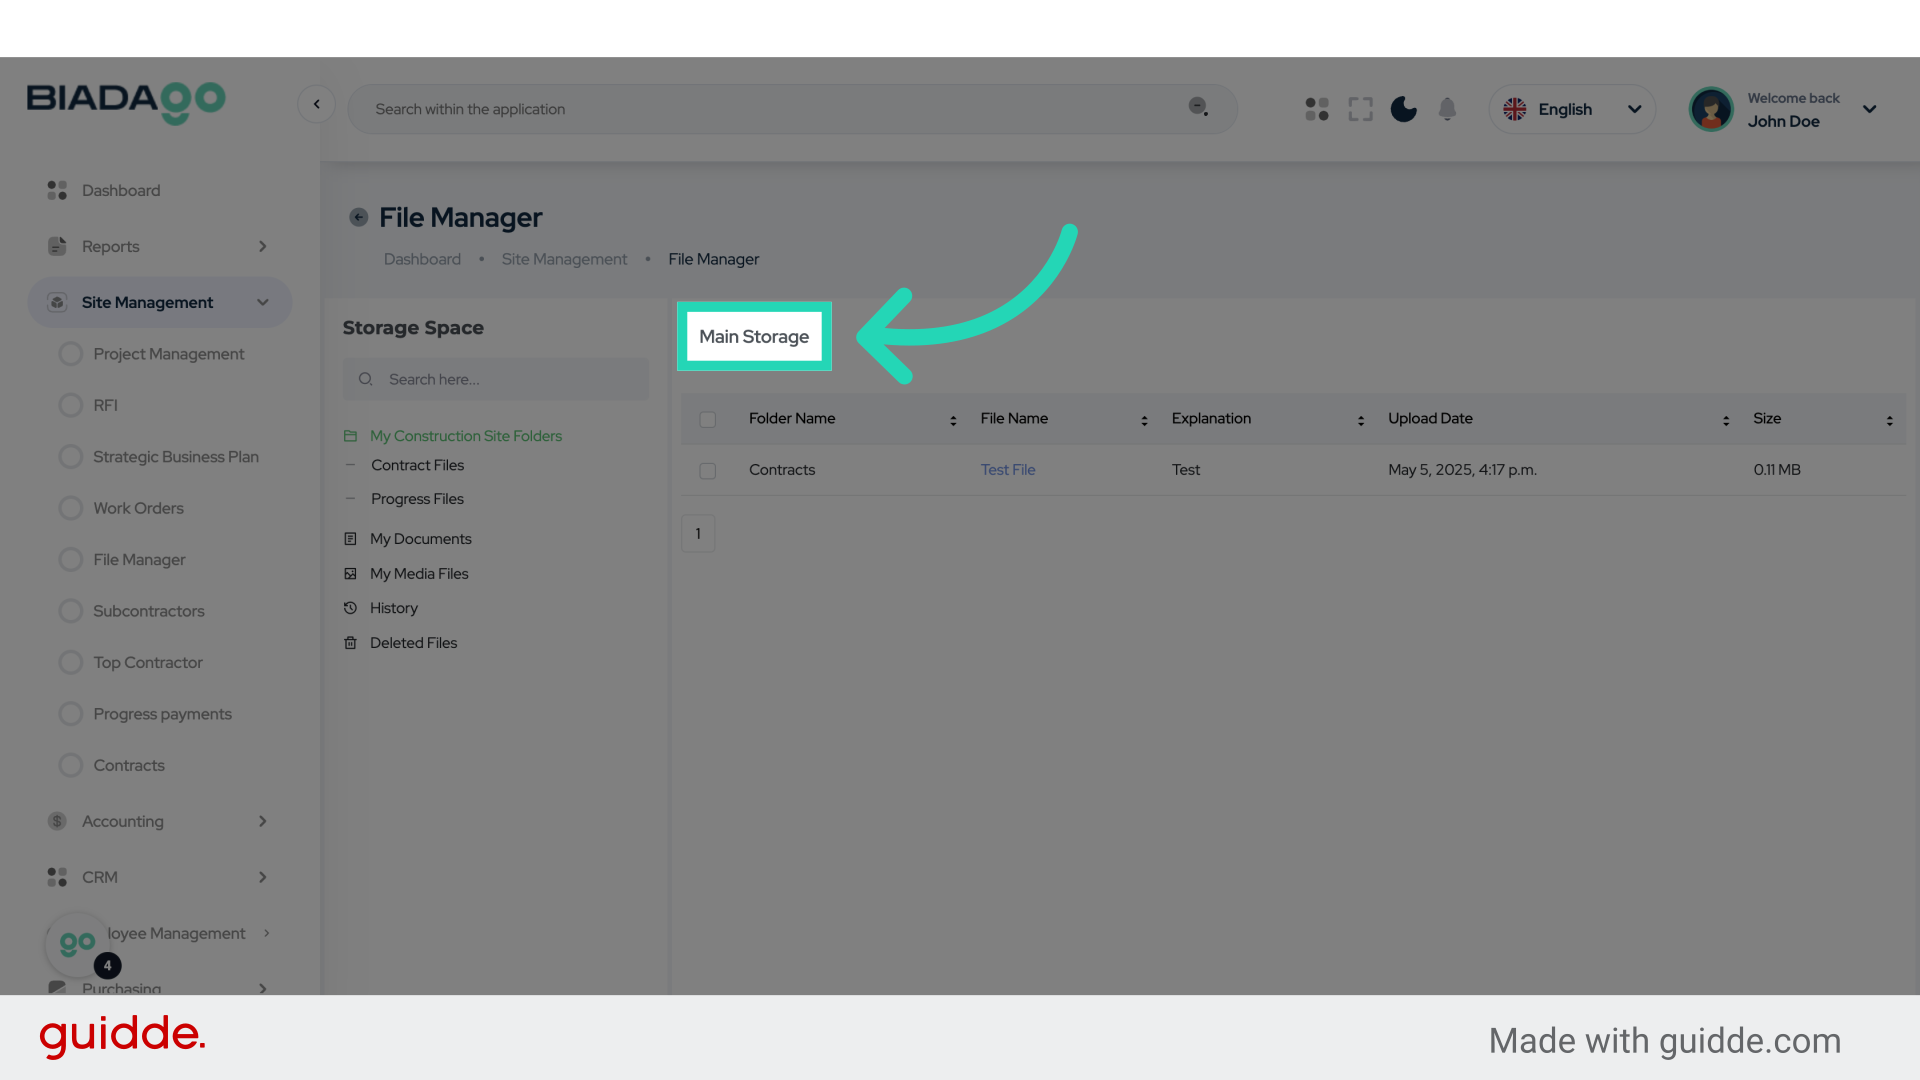
6. Click “Main Storage”
Access the Main Storage area.
7. Click “Create Folder”
Initiate the process to create a new folder.

8. Click “Folder Name”
Enter a name for the folder being created.
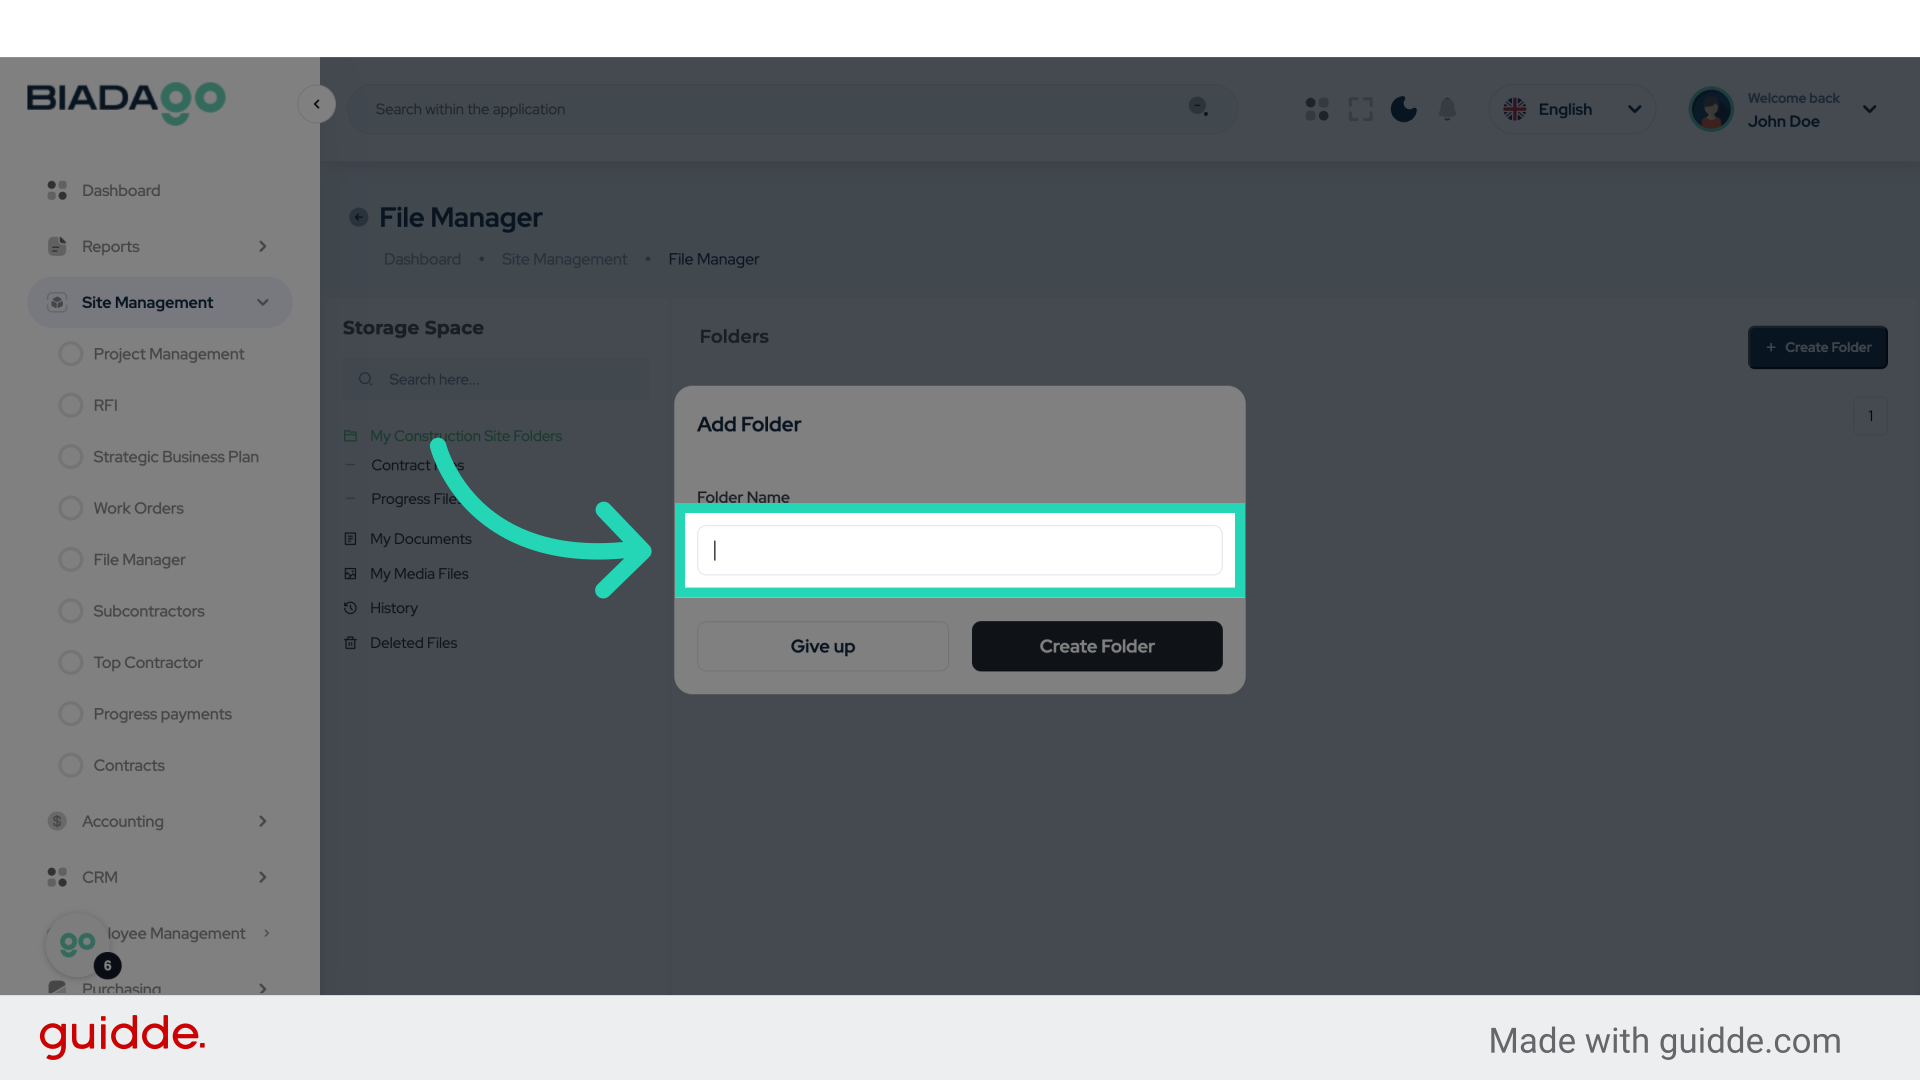
9. Fill “Test Folder”
Fill in “Test Folder”
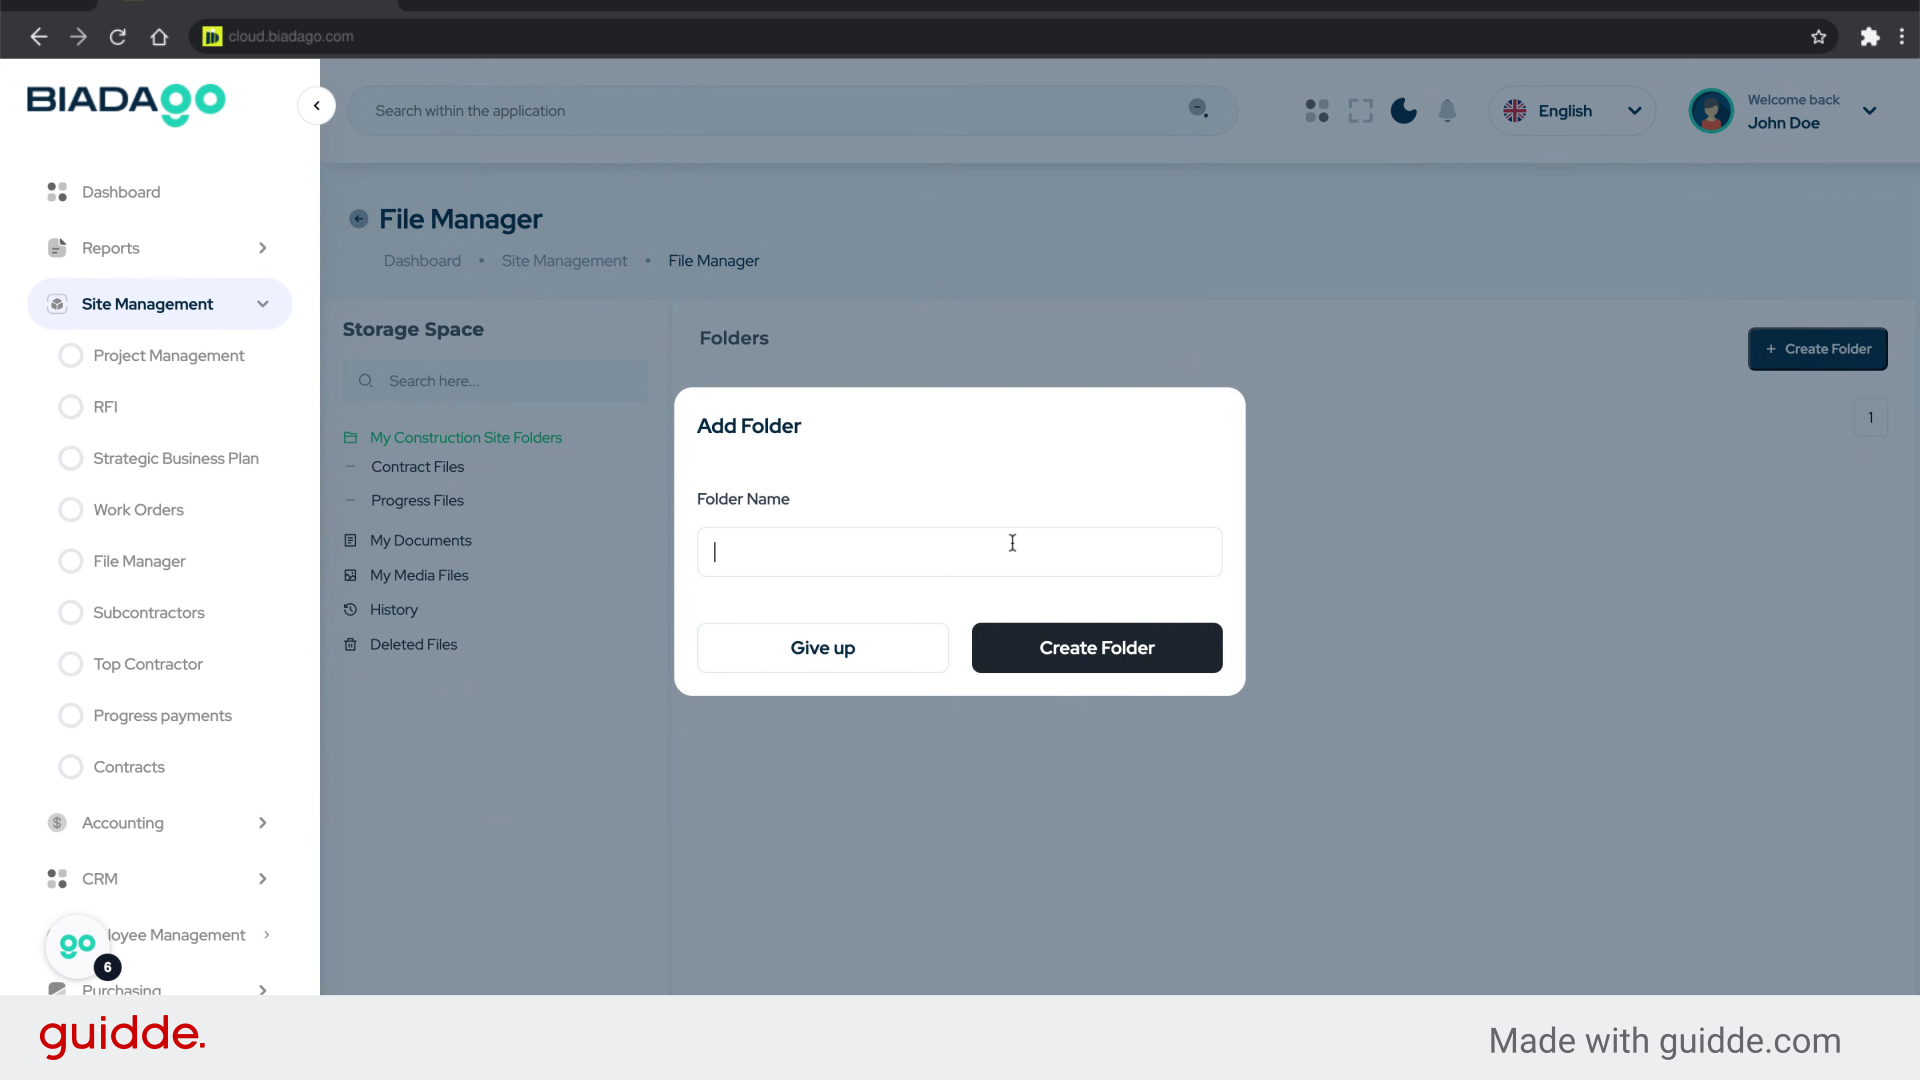
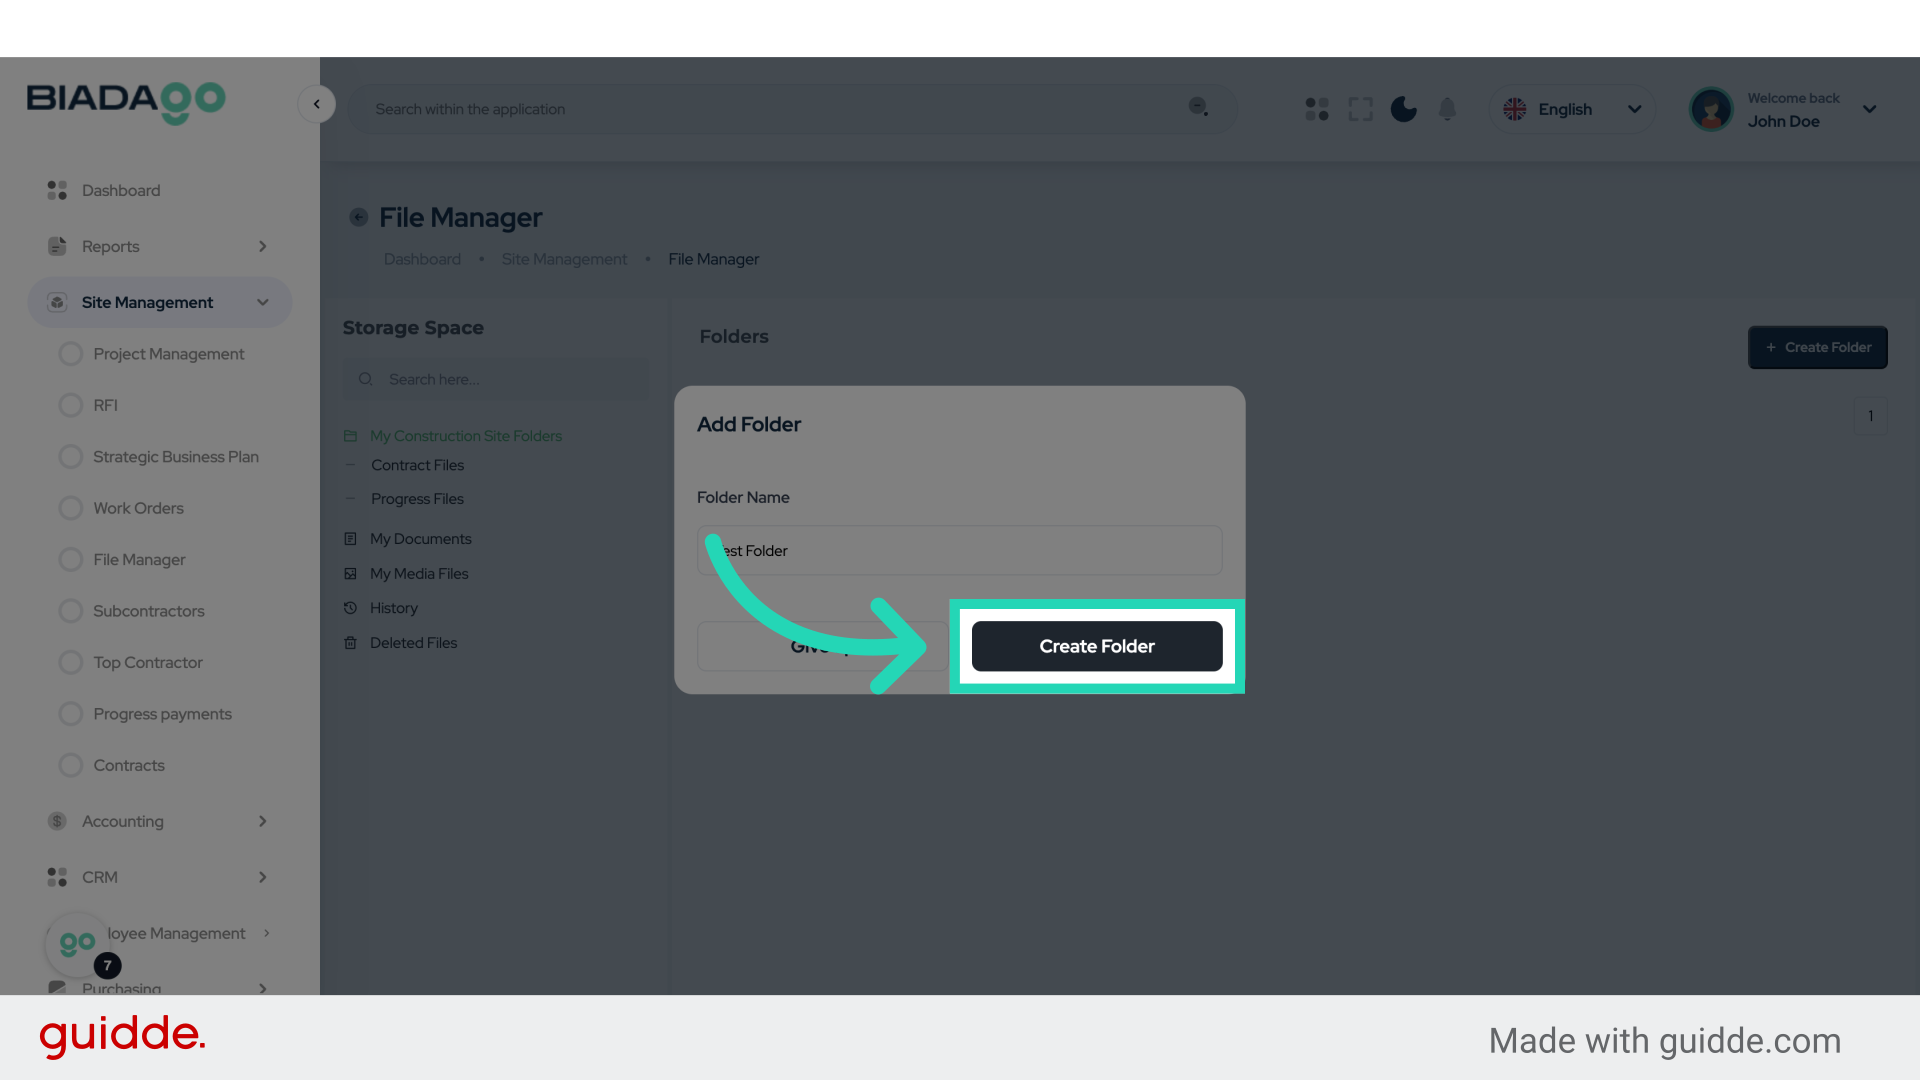
10. Click “Create Folder”
Finalize the creation of the folder.
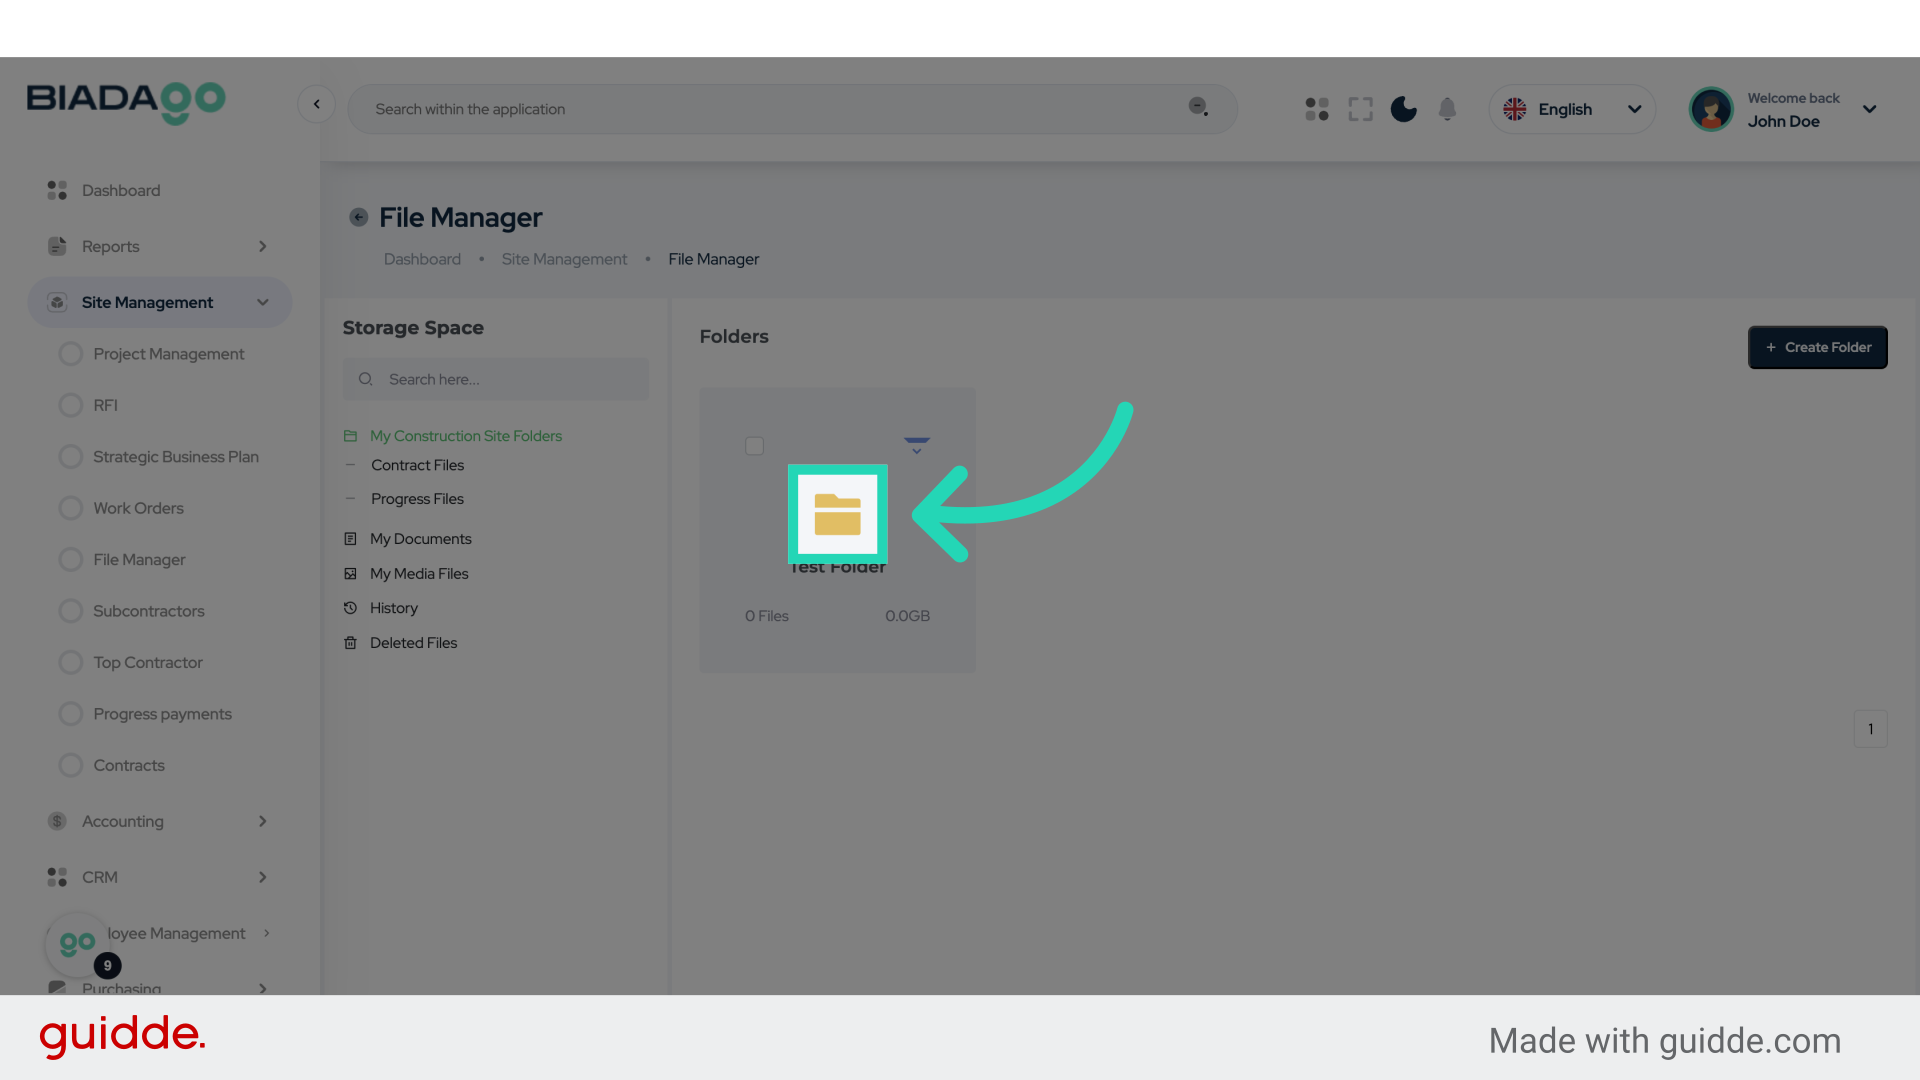
11. Click here
Click the specified element.
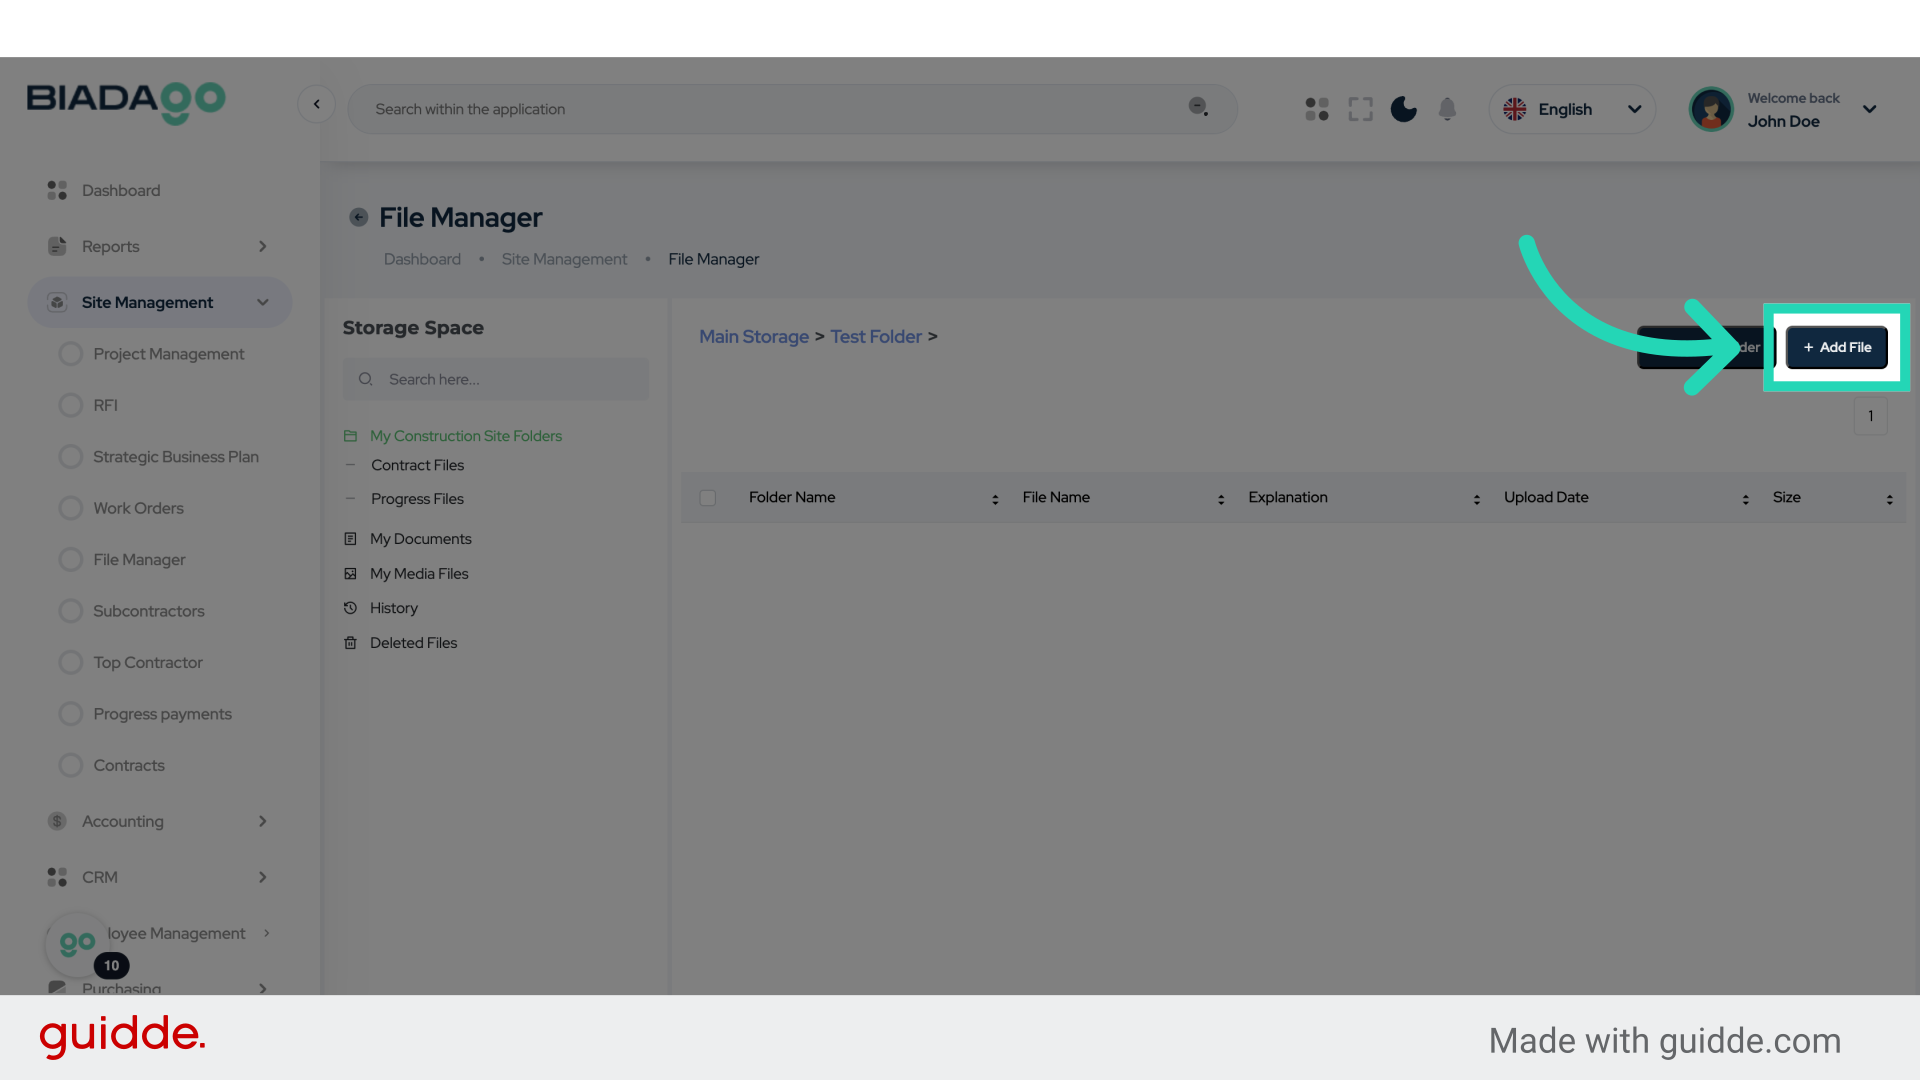
12. Click “Add File”
Select the option to add a file.
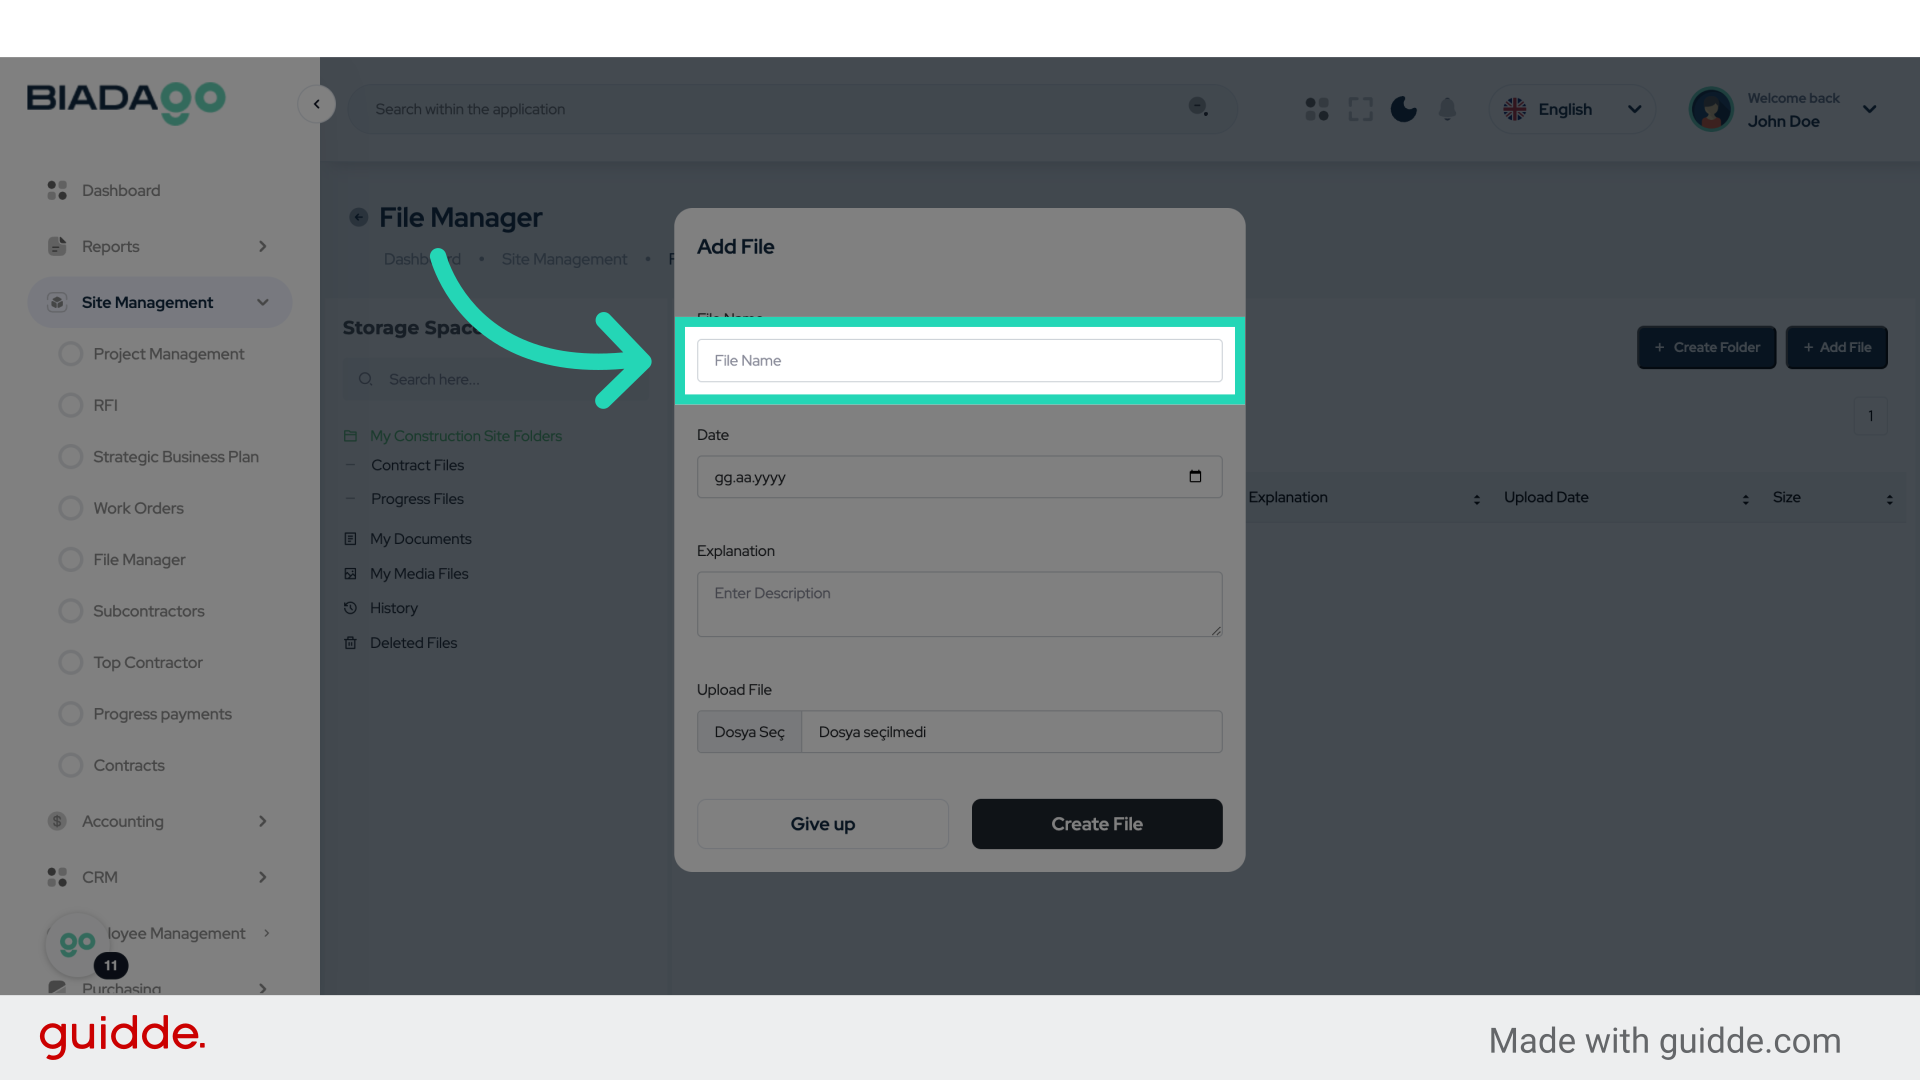
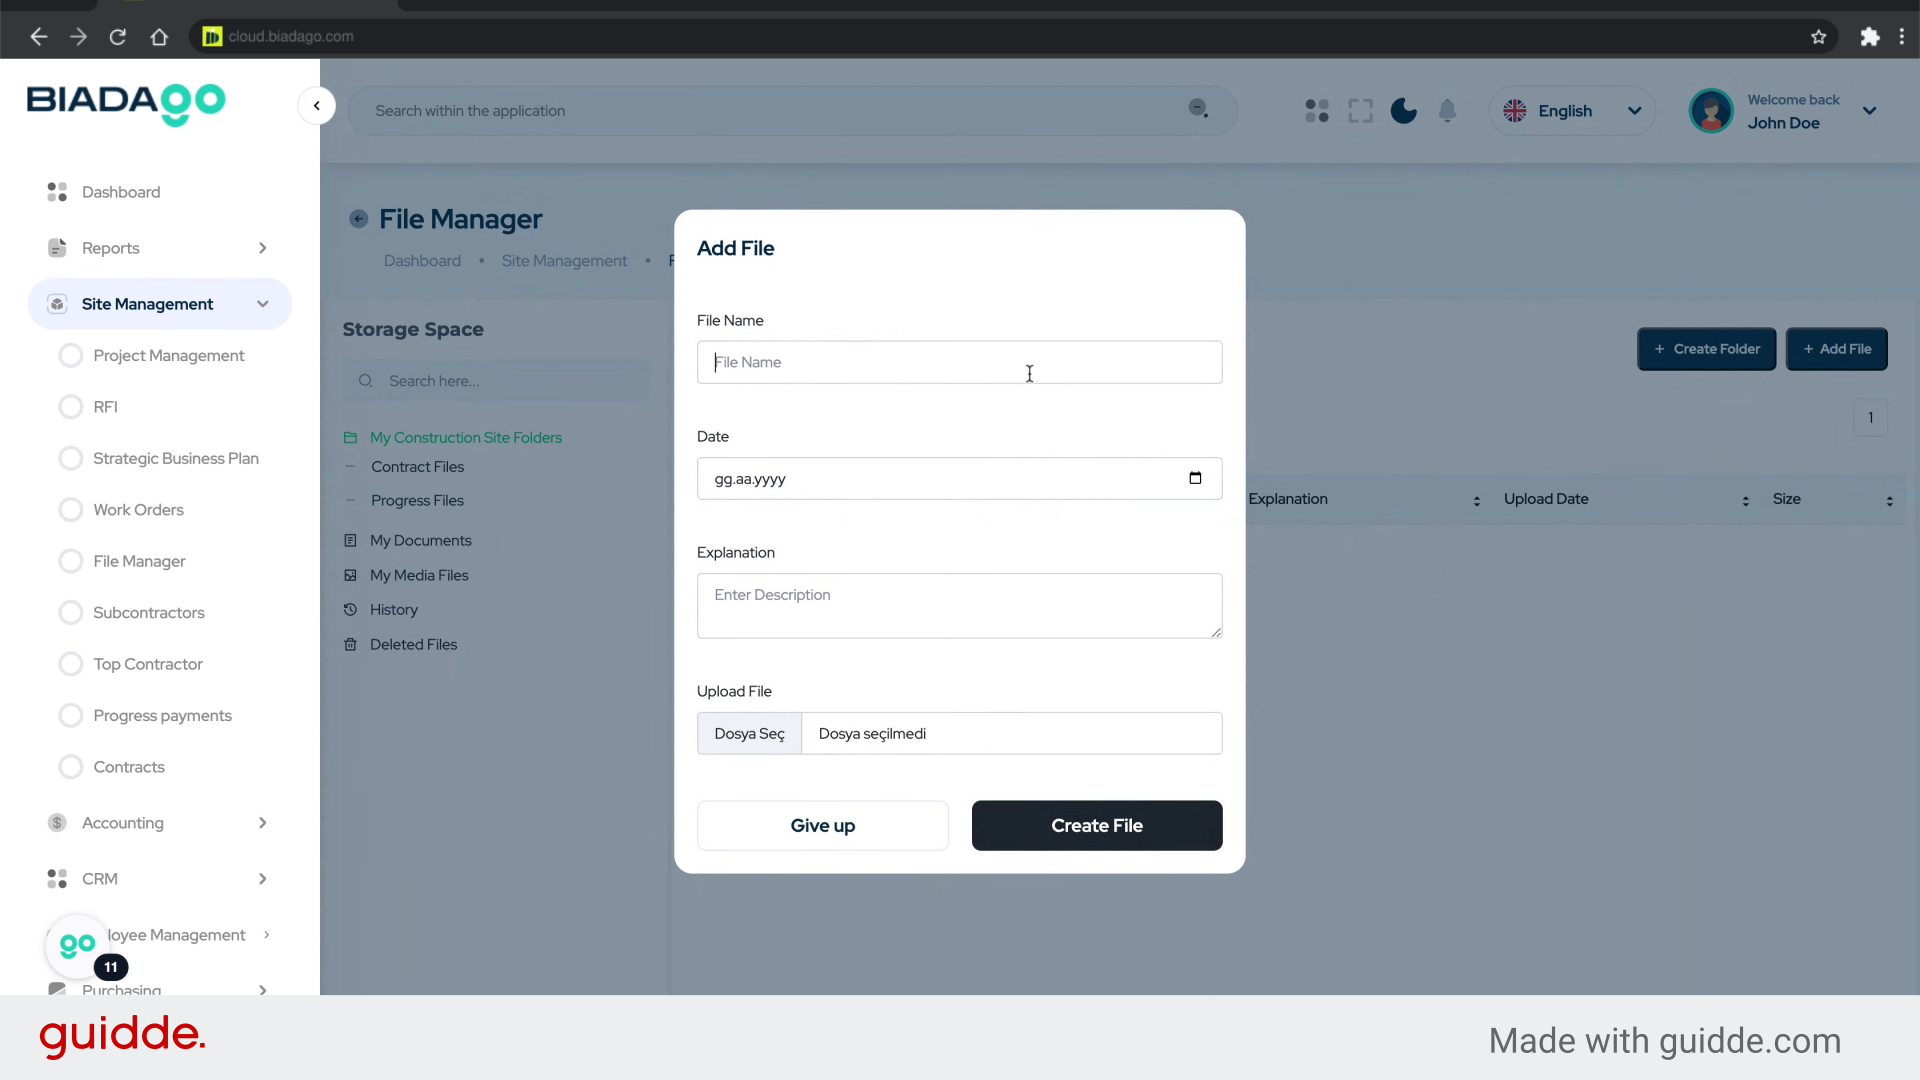
13. Click “File Name”
Input the name of the file.
14. Fill “Test File”
Enter “Test File” in the provided field
15. Click “Date”
Enter the date for the file.
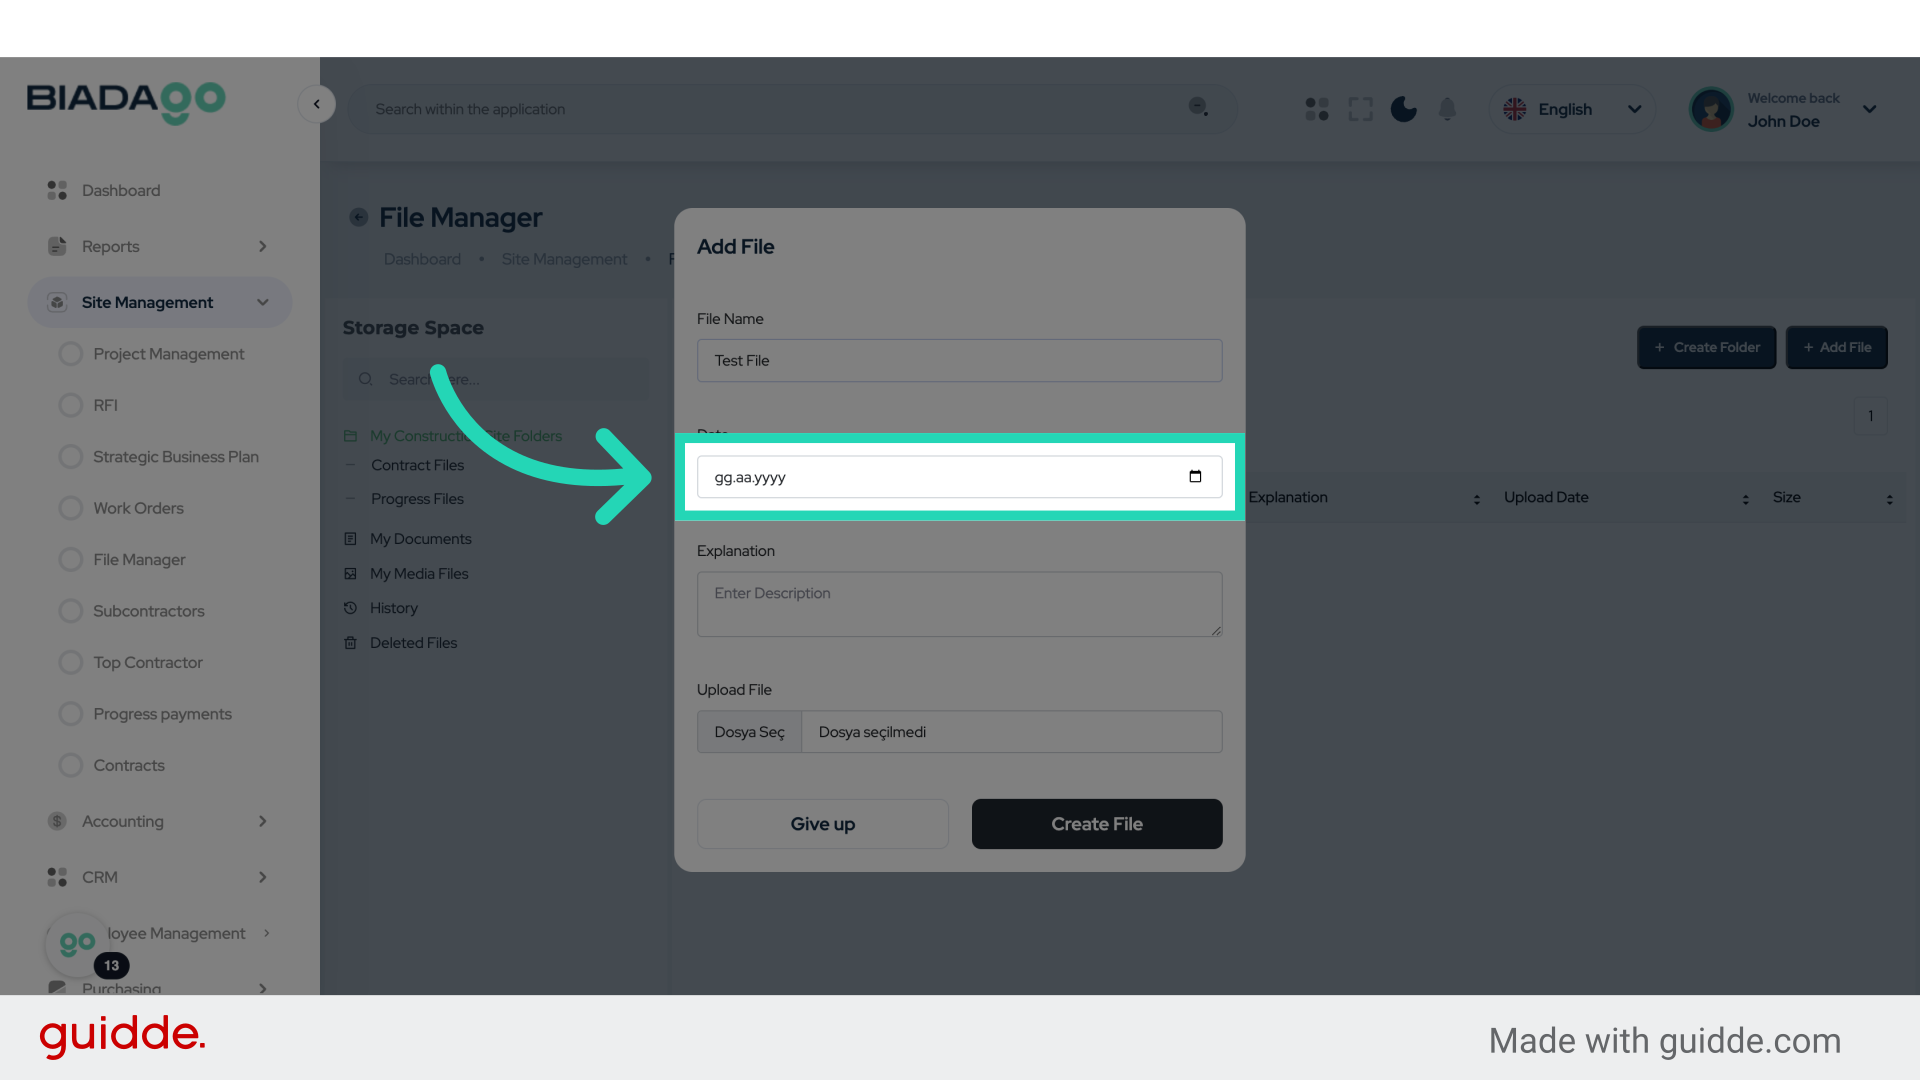
16. Fill “2025-05-05”
Fill in the text box with “2025-05-05”

17. Click “Enter Description”
Provide a description for the file.
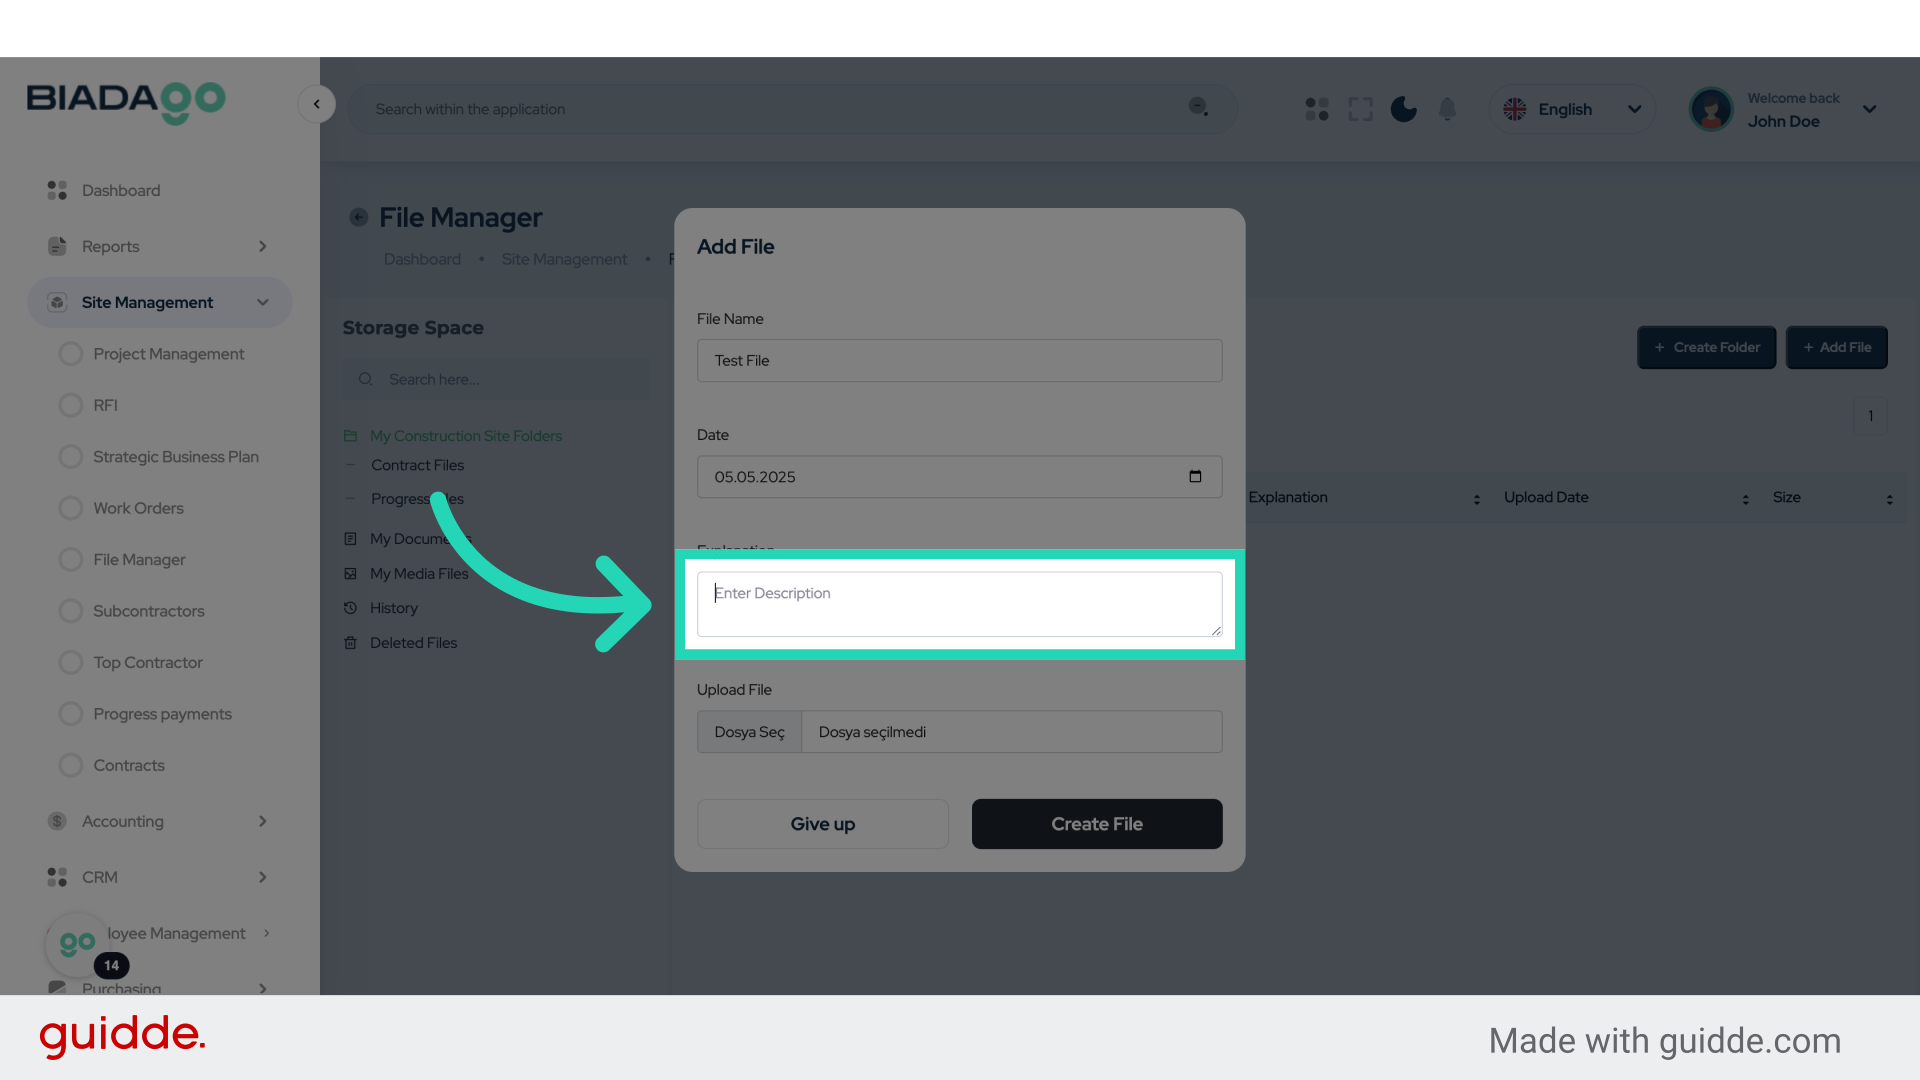
18. Fill “Test”
Enter the desired text.

19. Click here
Click the specified element.
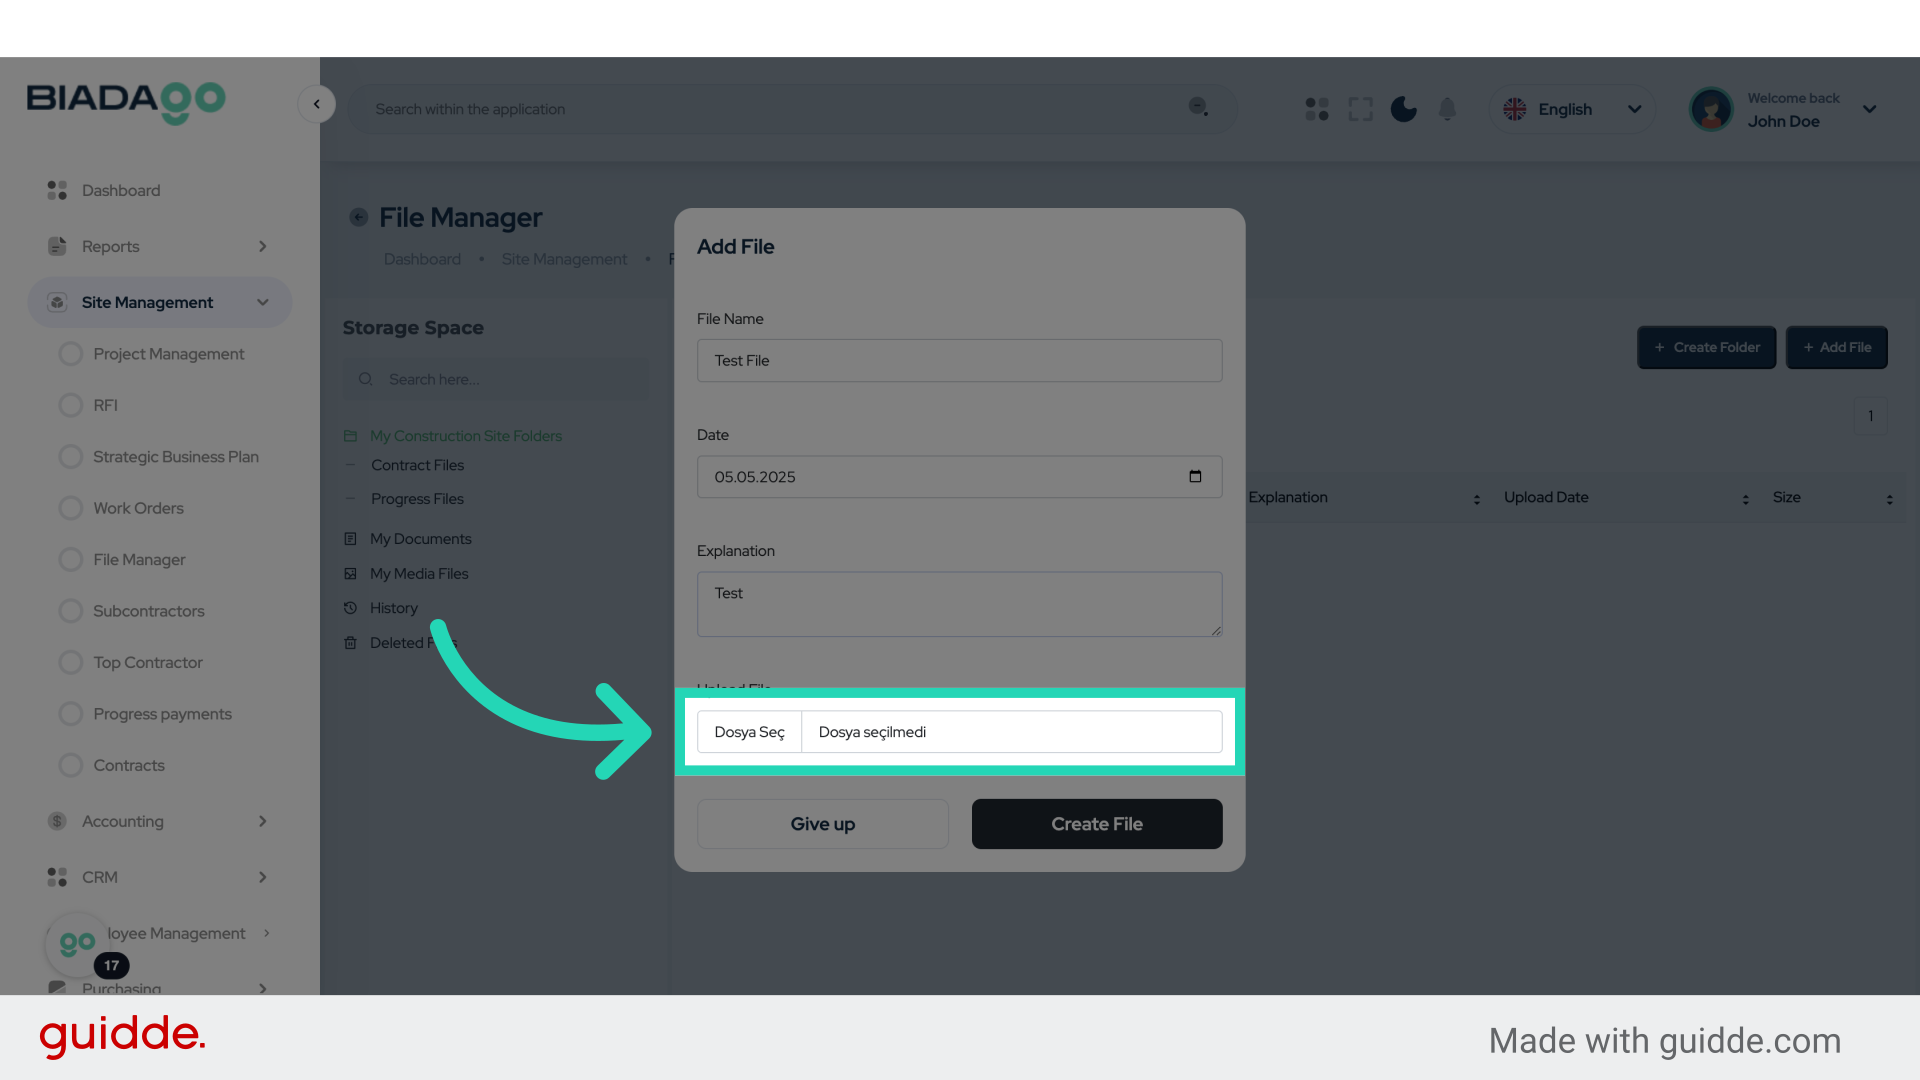
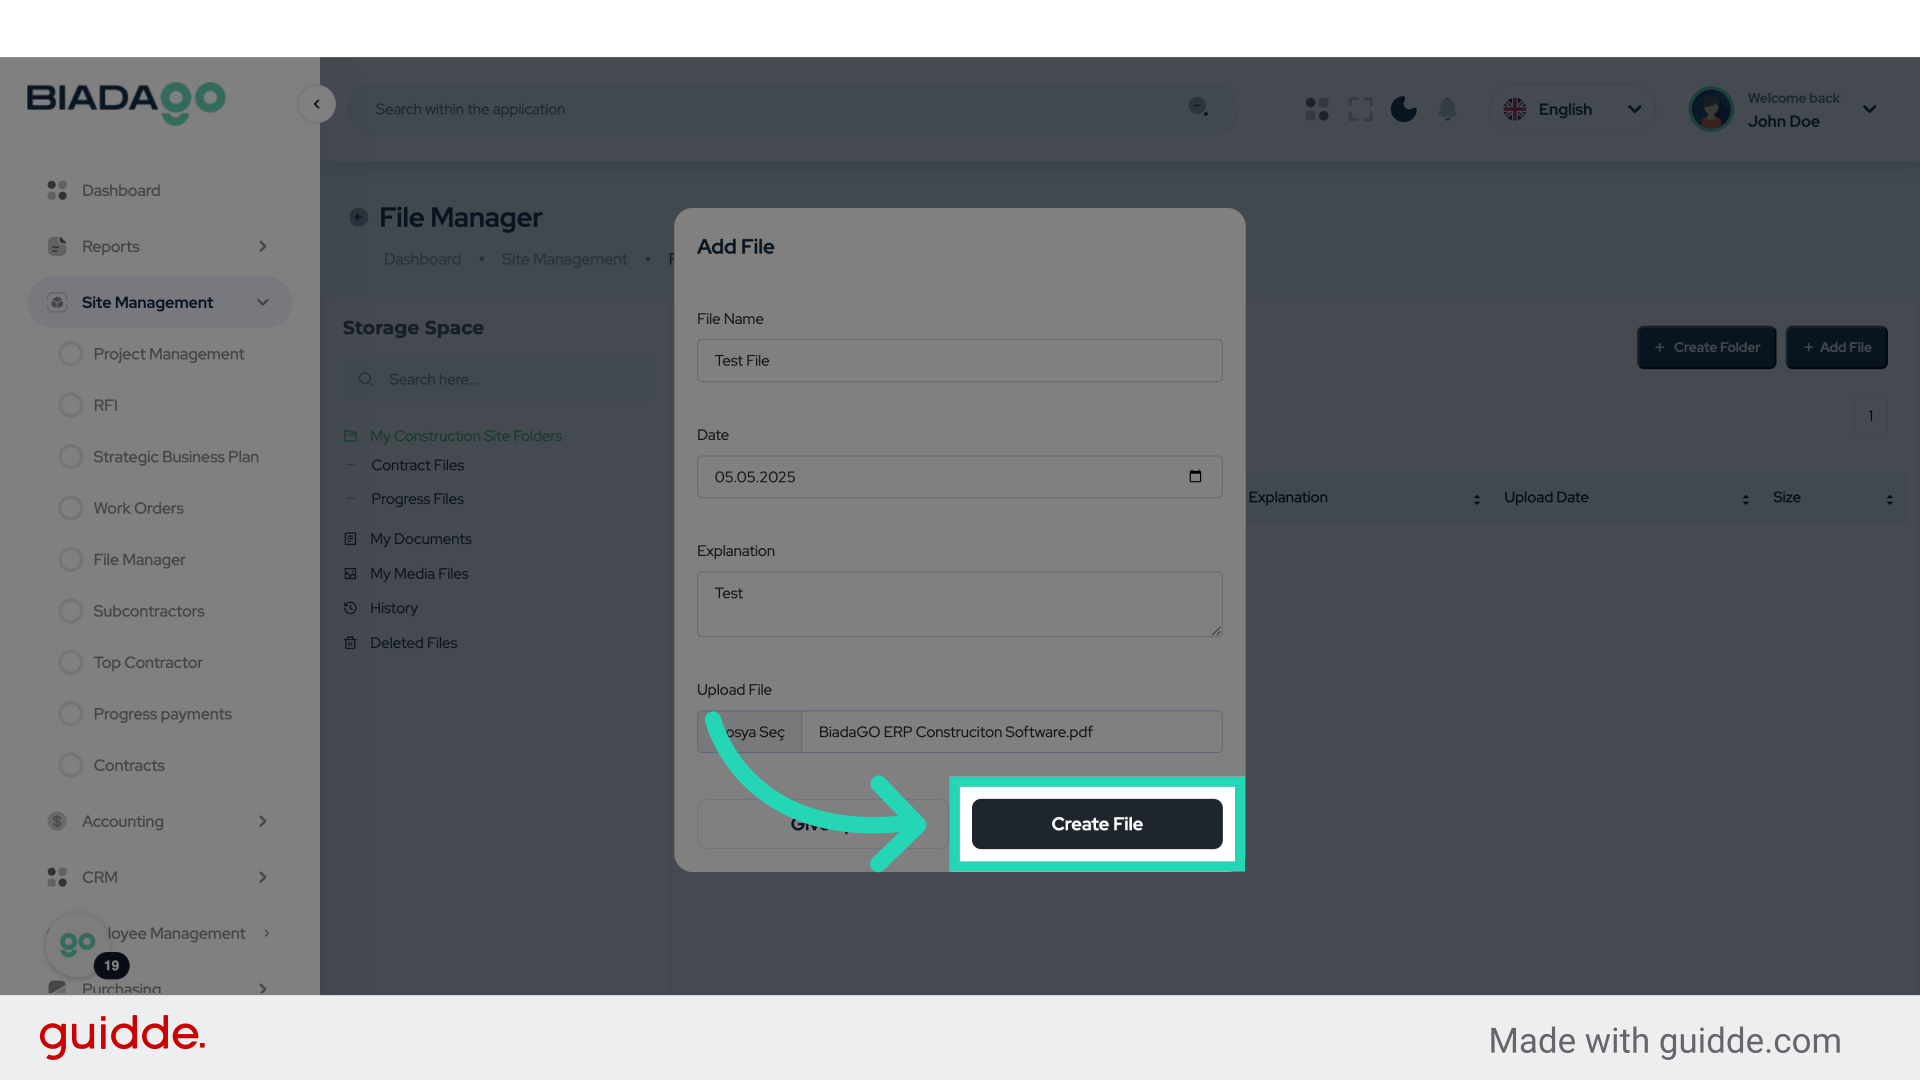
20. Fill “C:\fakepath\BiadaGO ERP Construciton Software.pdf”
Type “C:\fakepath\BiadaGO ERP Construciton Software.pdf” in the given field

21. Click “Create File”
Complete the process to create the file.
22. Click “Delete File”
Select the option to delete a file.
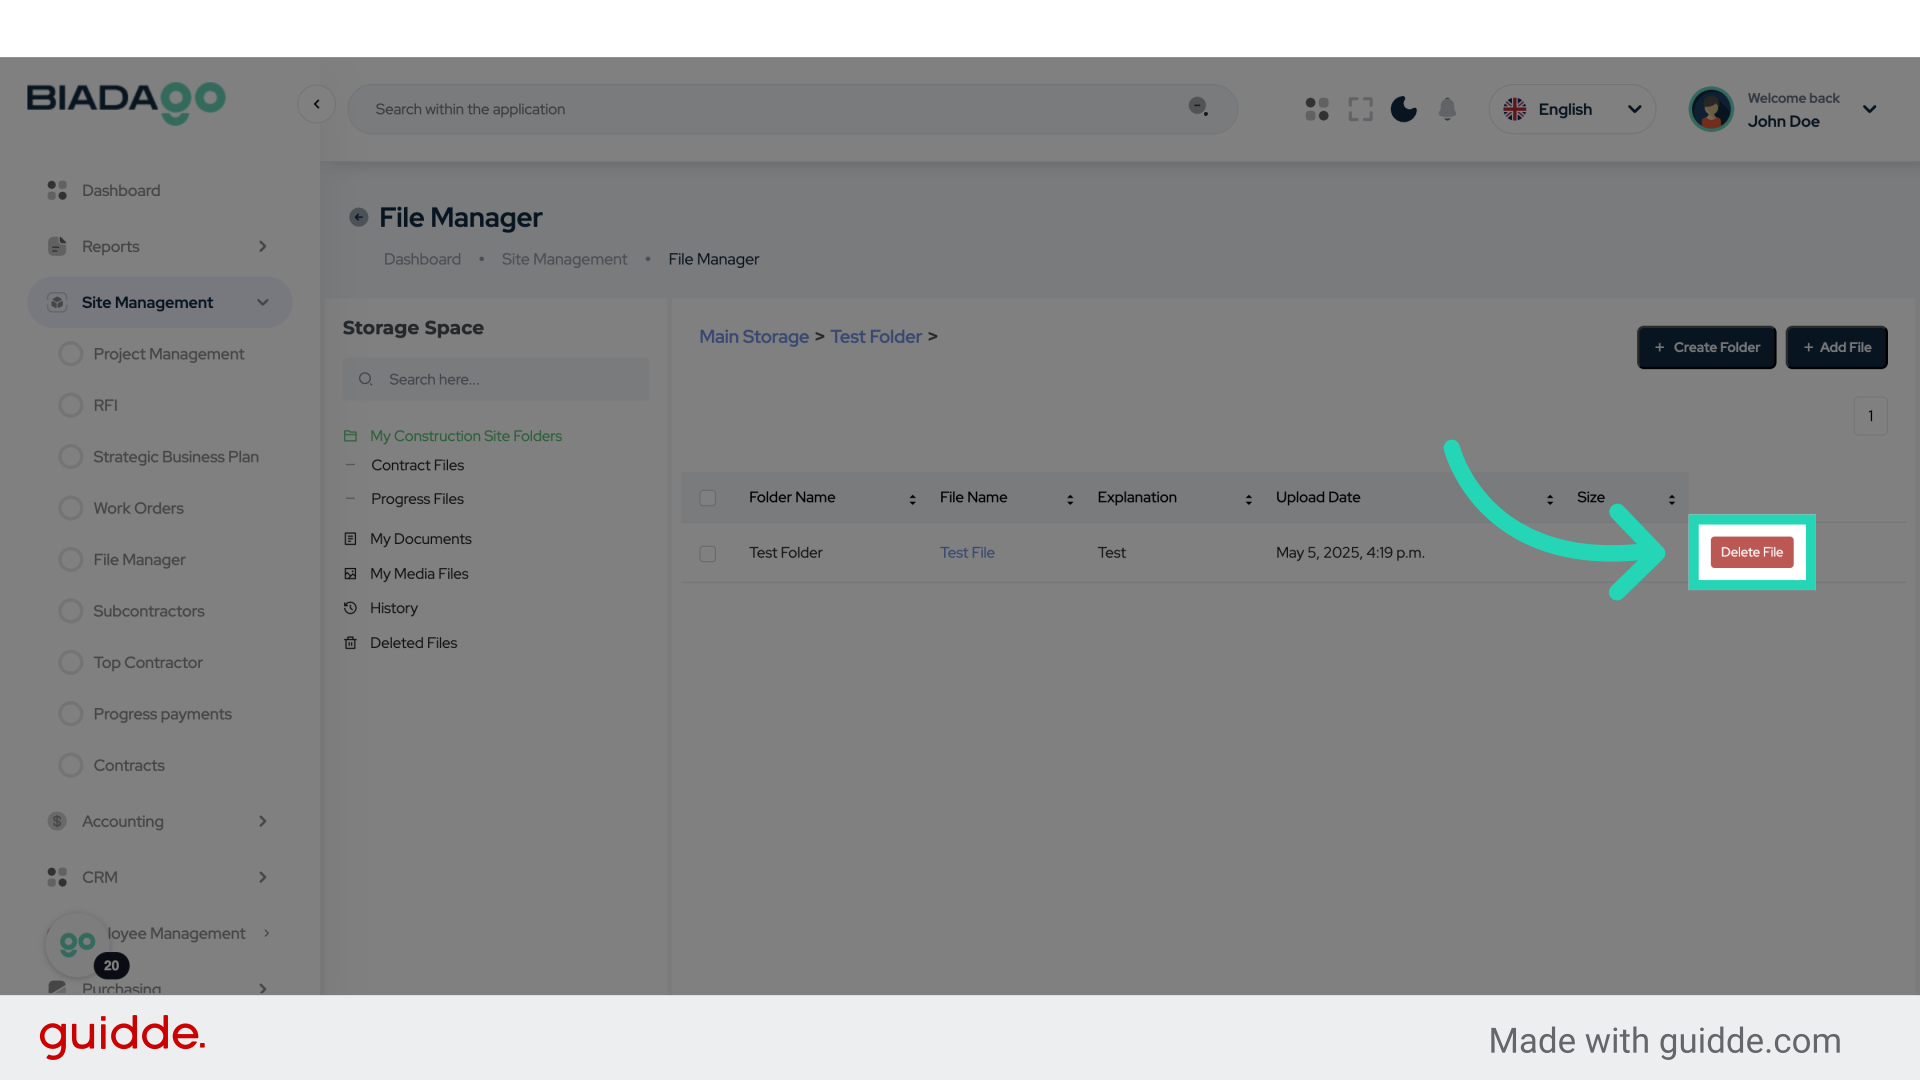
23. Click “Delete”
Confirm the deletion of the file.

This guide simplifies the process of utilizing the File Manager in BiadaGO for document upload and organization. From creating folders to adding files, and deleting documents, these steps ensure a smooth workflow.