Work Order Management and User Assignment in BiadaGO
Work Order Management and User Assignment in BiadaGO
This guide will walk you through the process of managing work orders and assigning users in BiadaGO
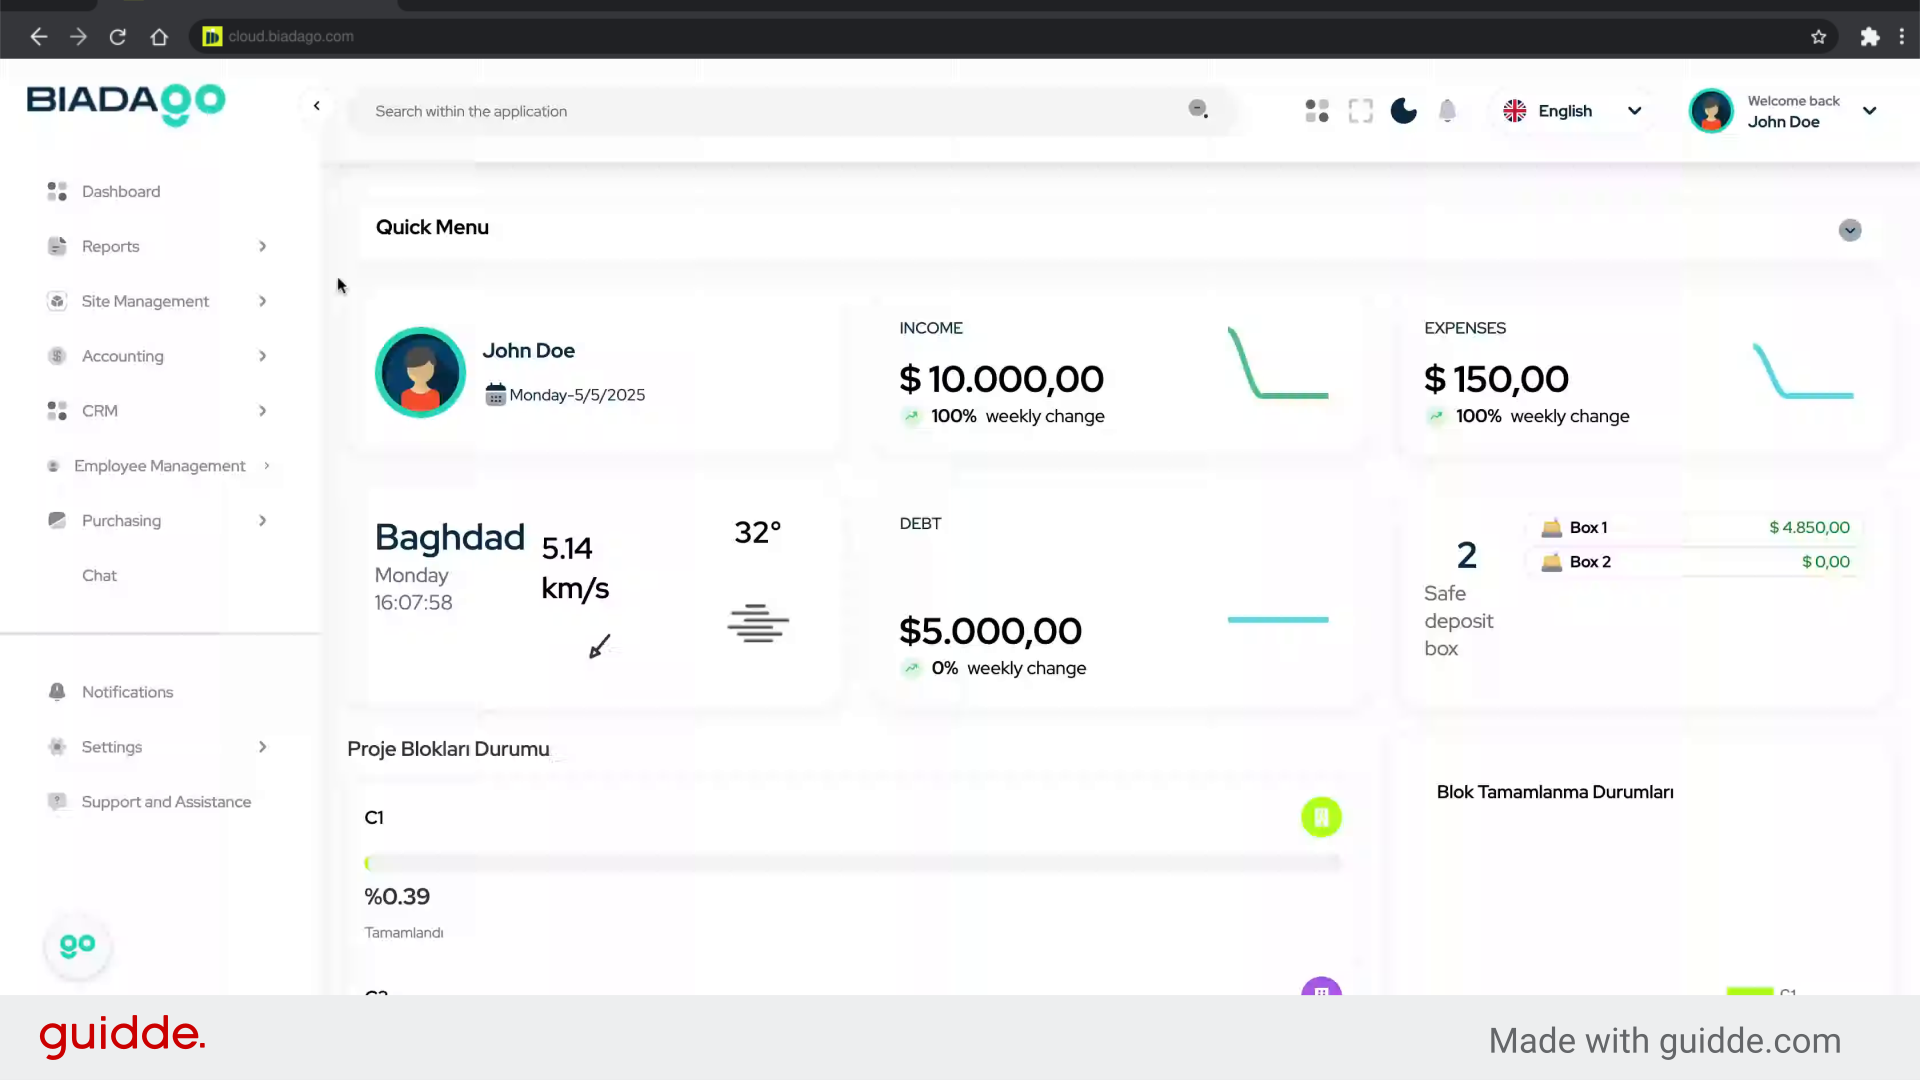
Go to cloud.biadago.com
1. Introduction
From creating a new work order to setting priorities and user assignments, you will learn the essential steps to efficiently handle tasks within the application.
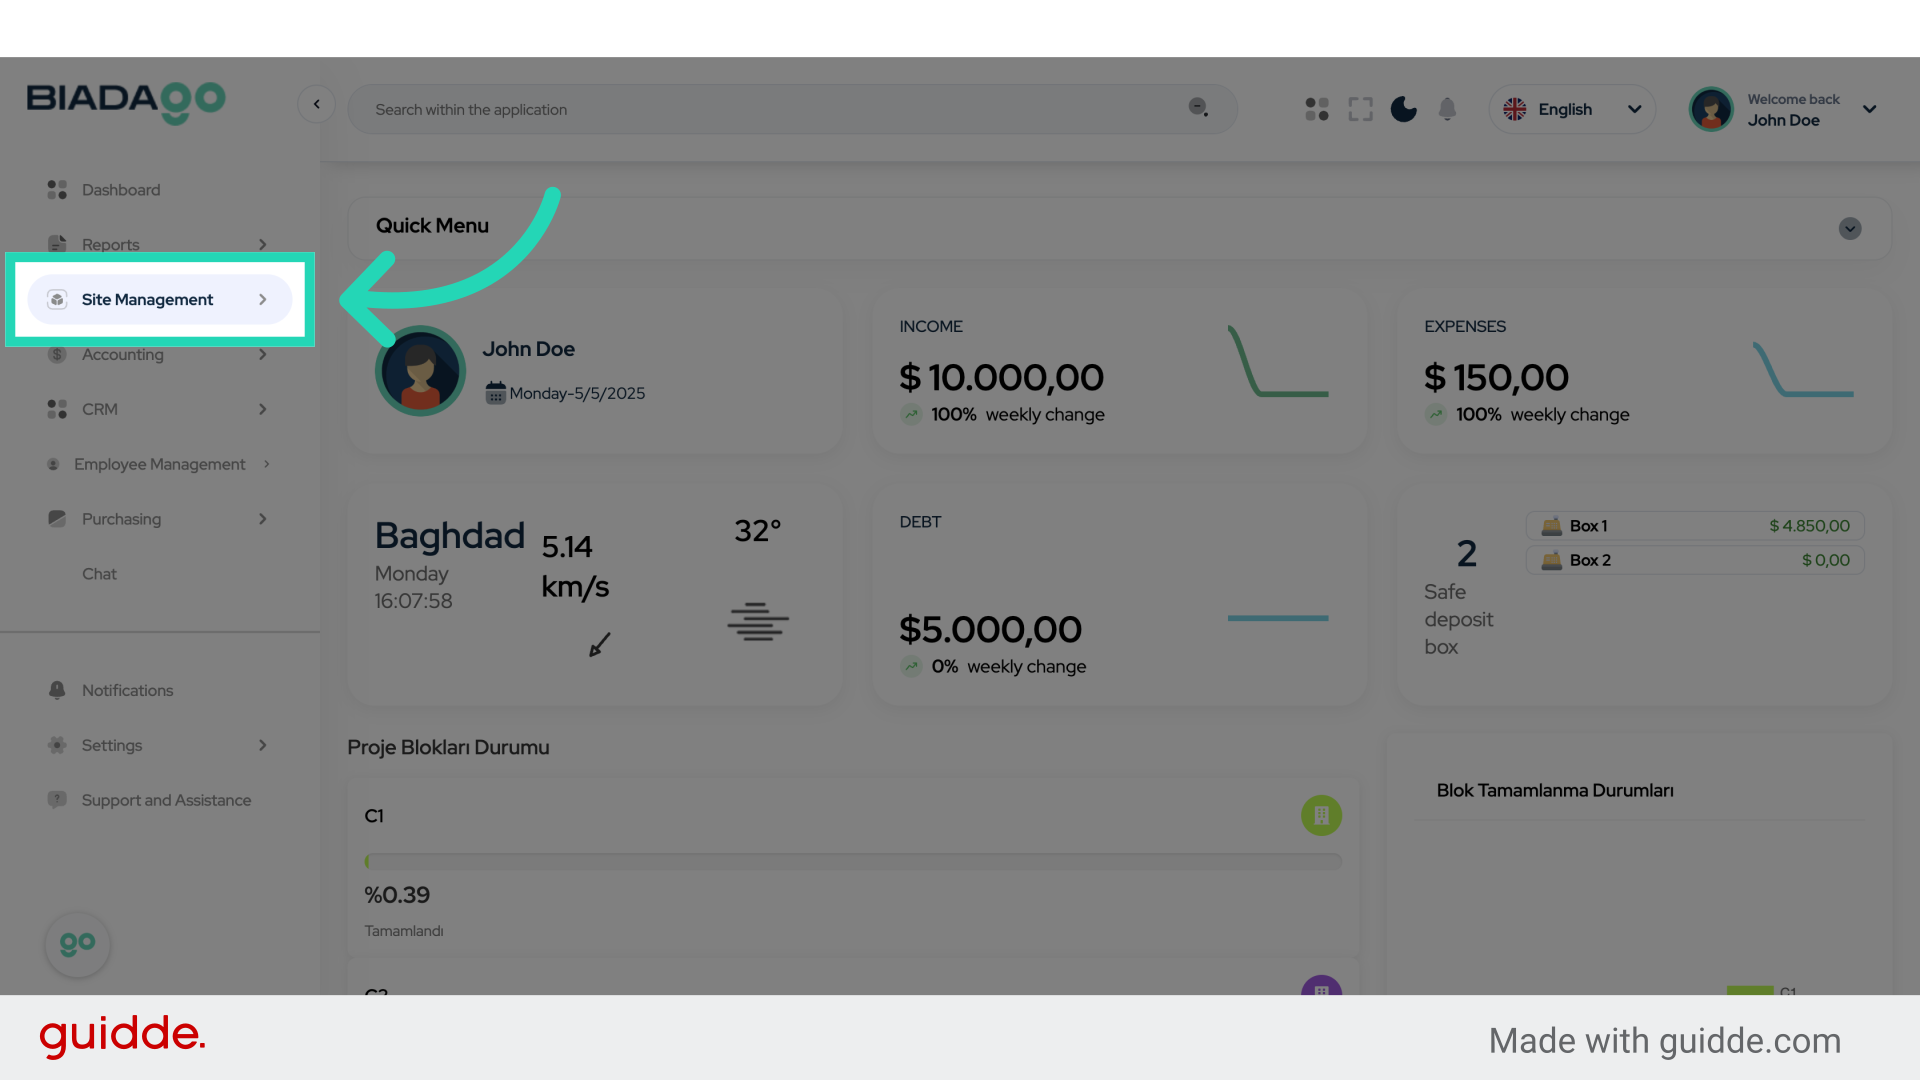
2. Click “Site Management”
Access the site management section.
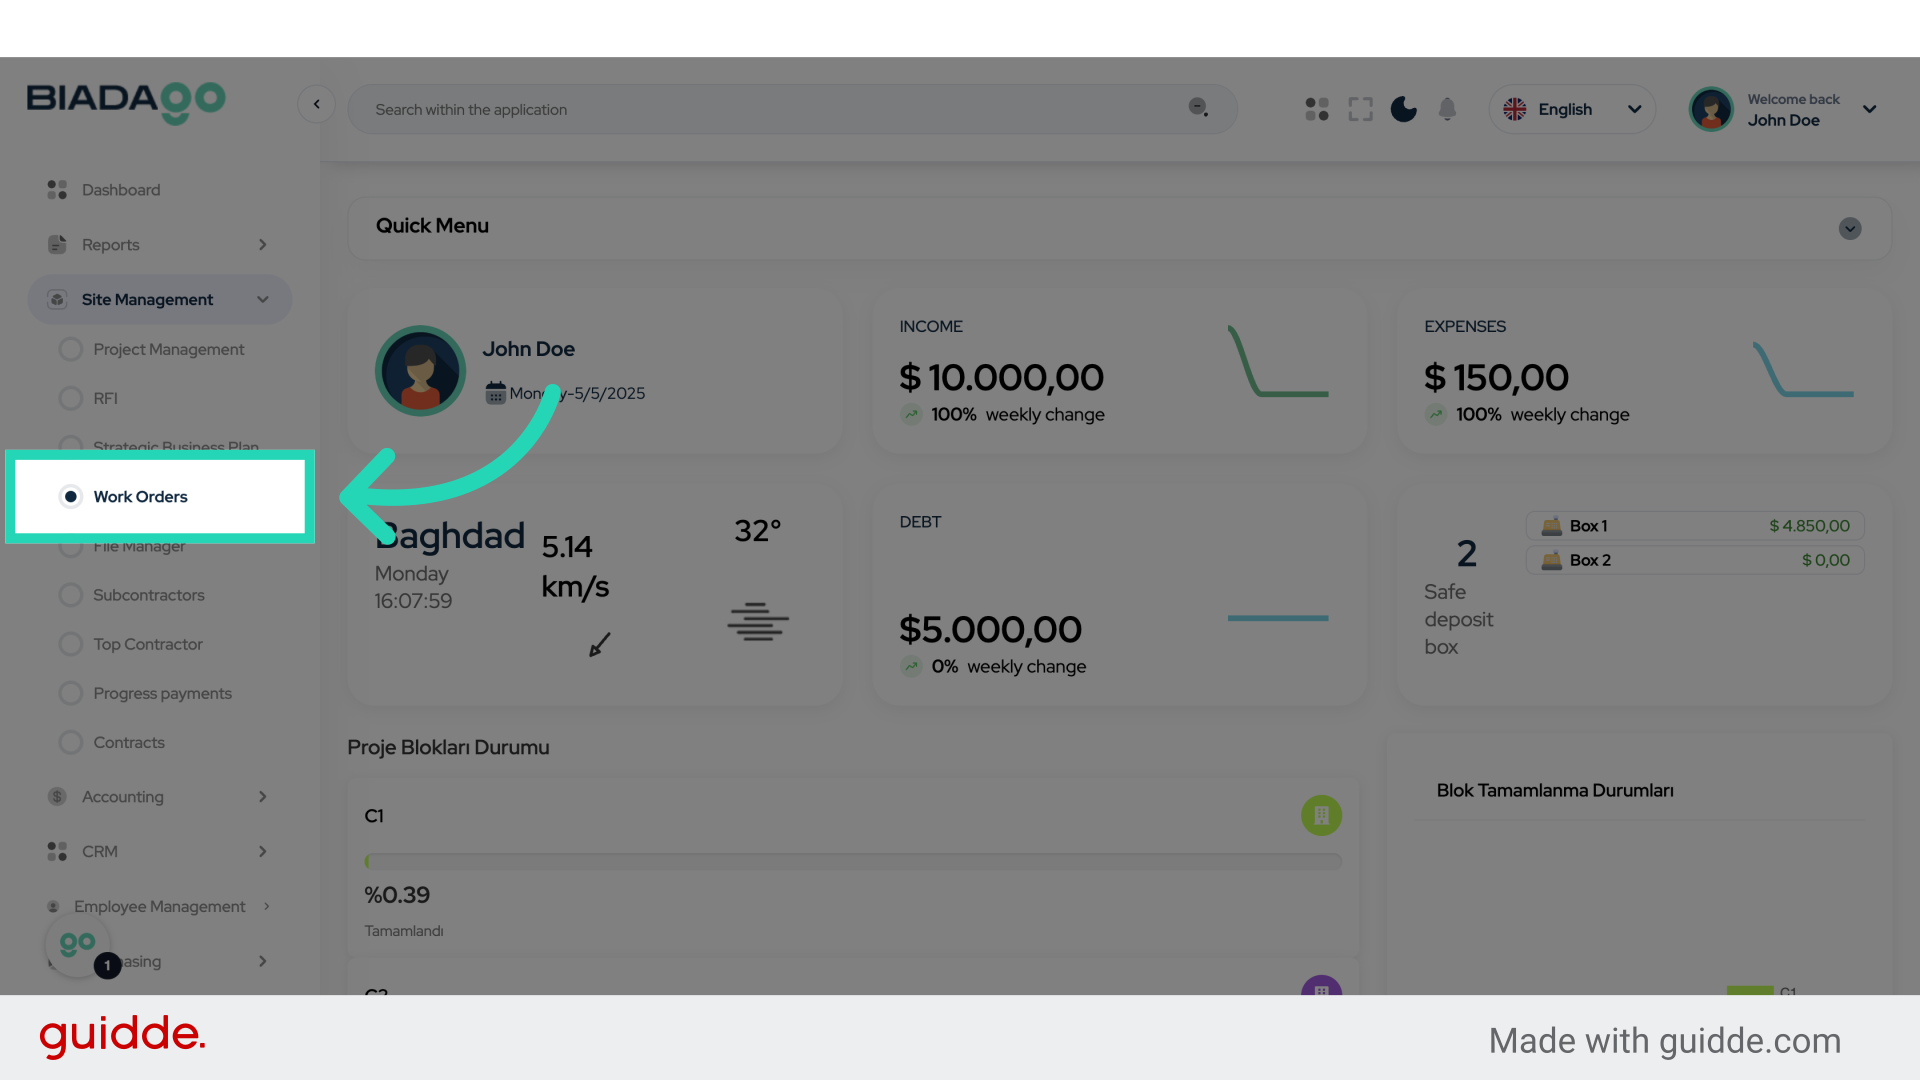
3. Click “Work Orders”
Navigate to the work orders area.
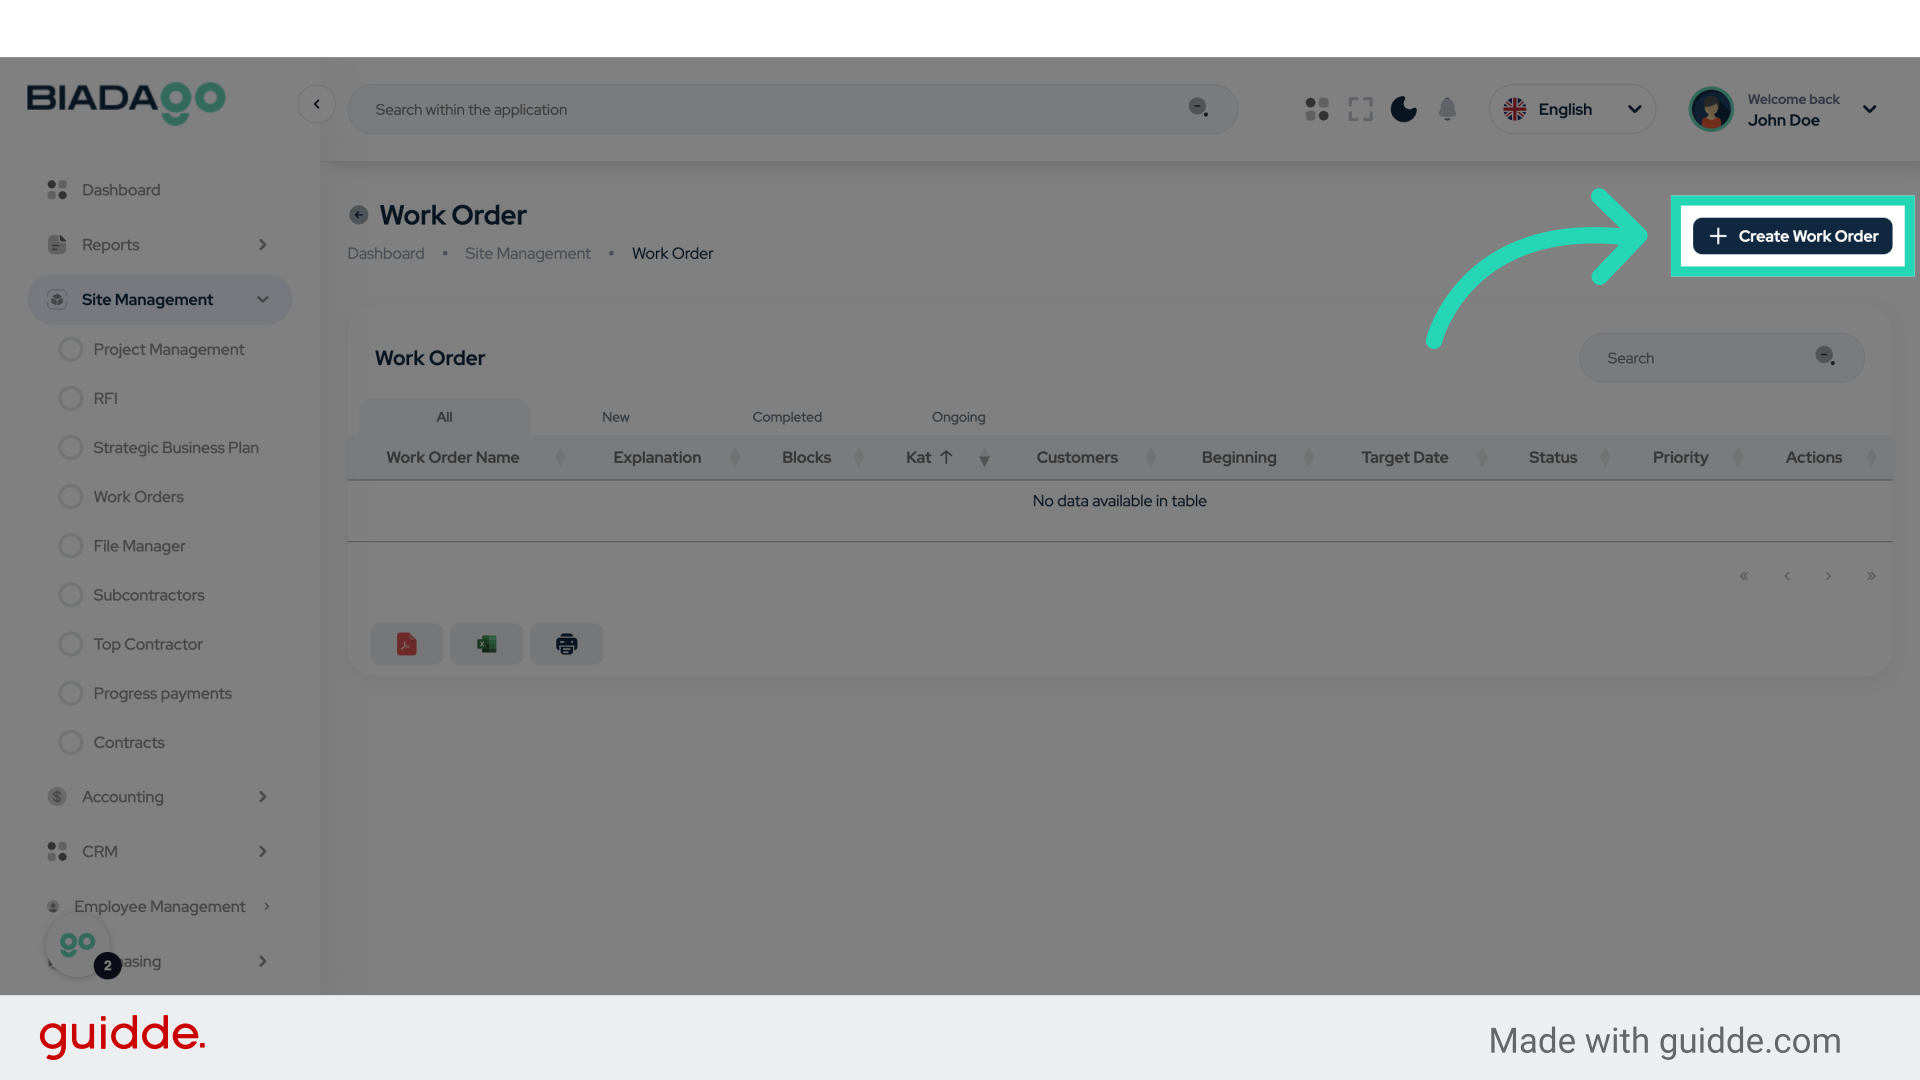
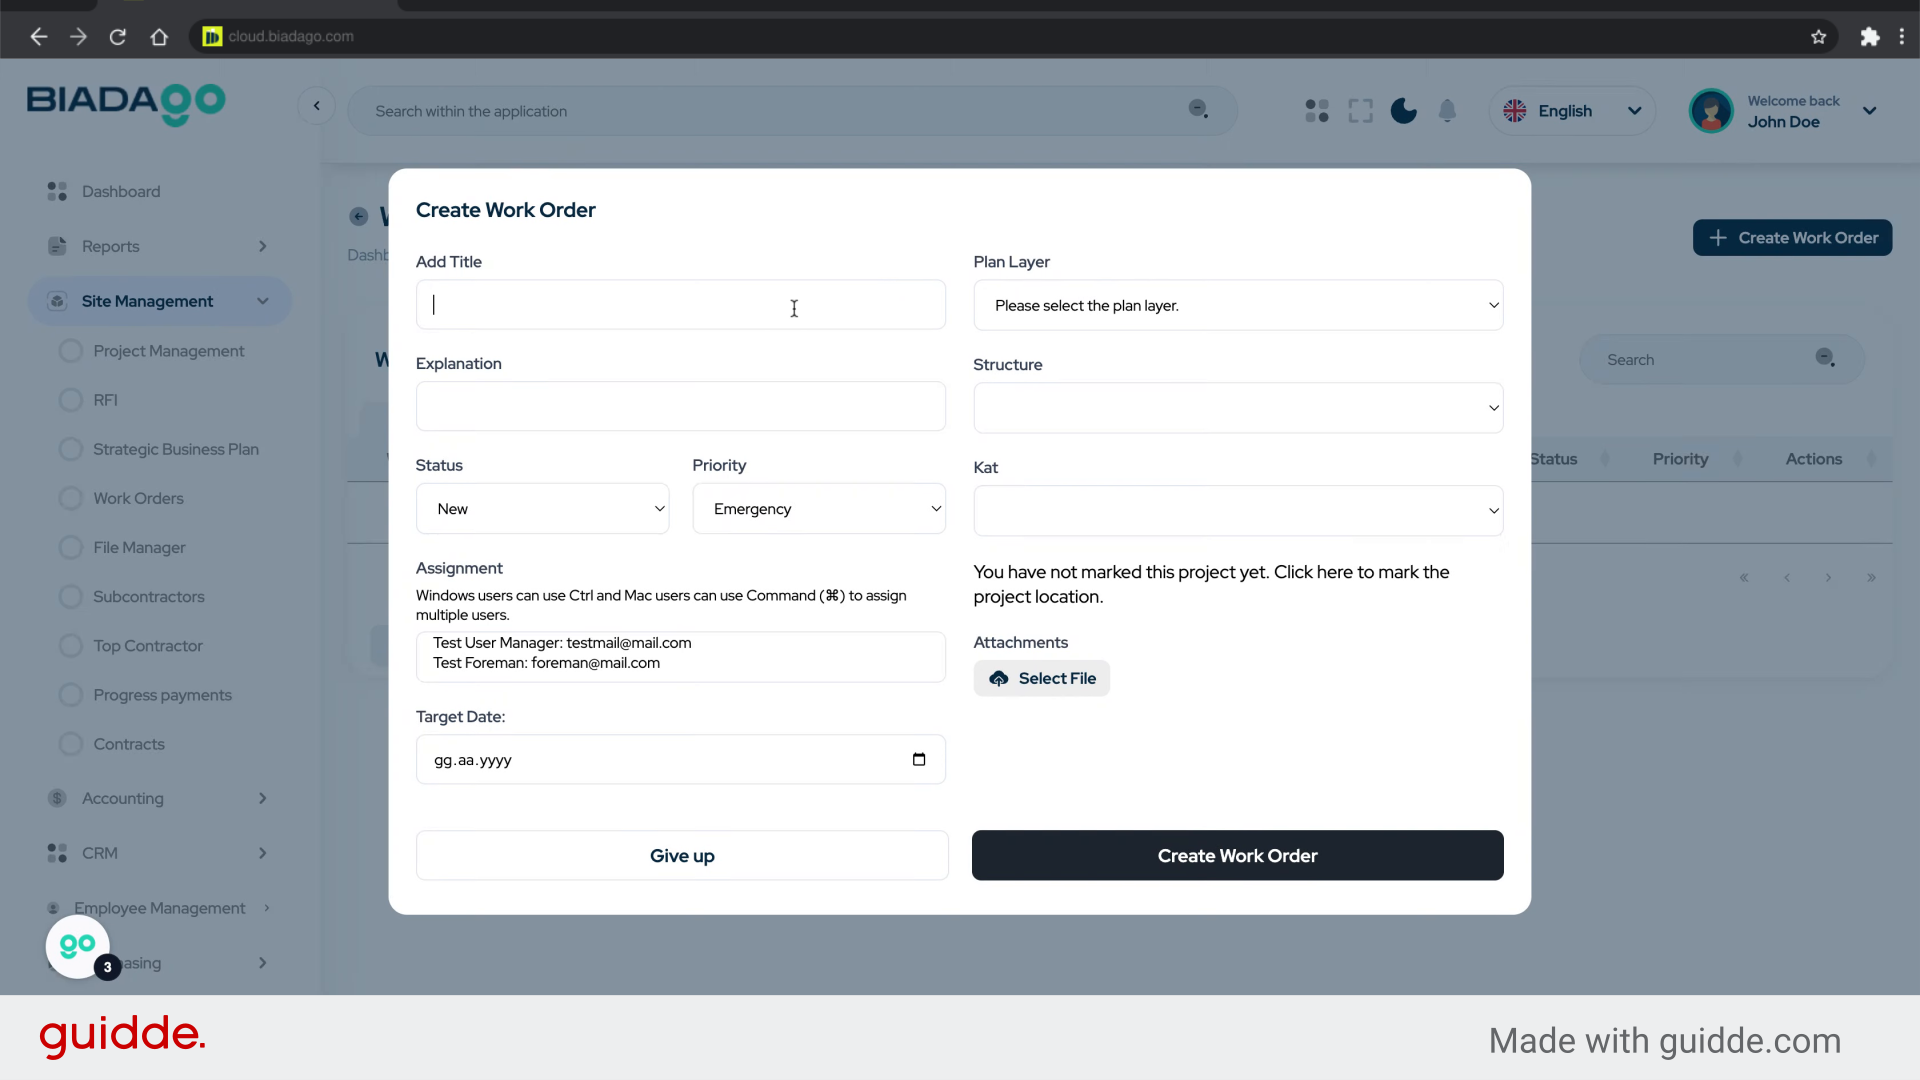
4. Click “Create Work Order”
Initiate the process to create a new work order.
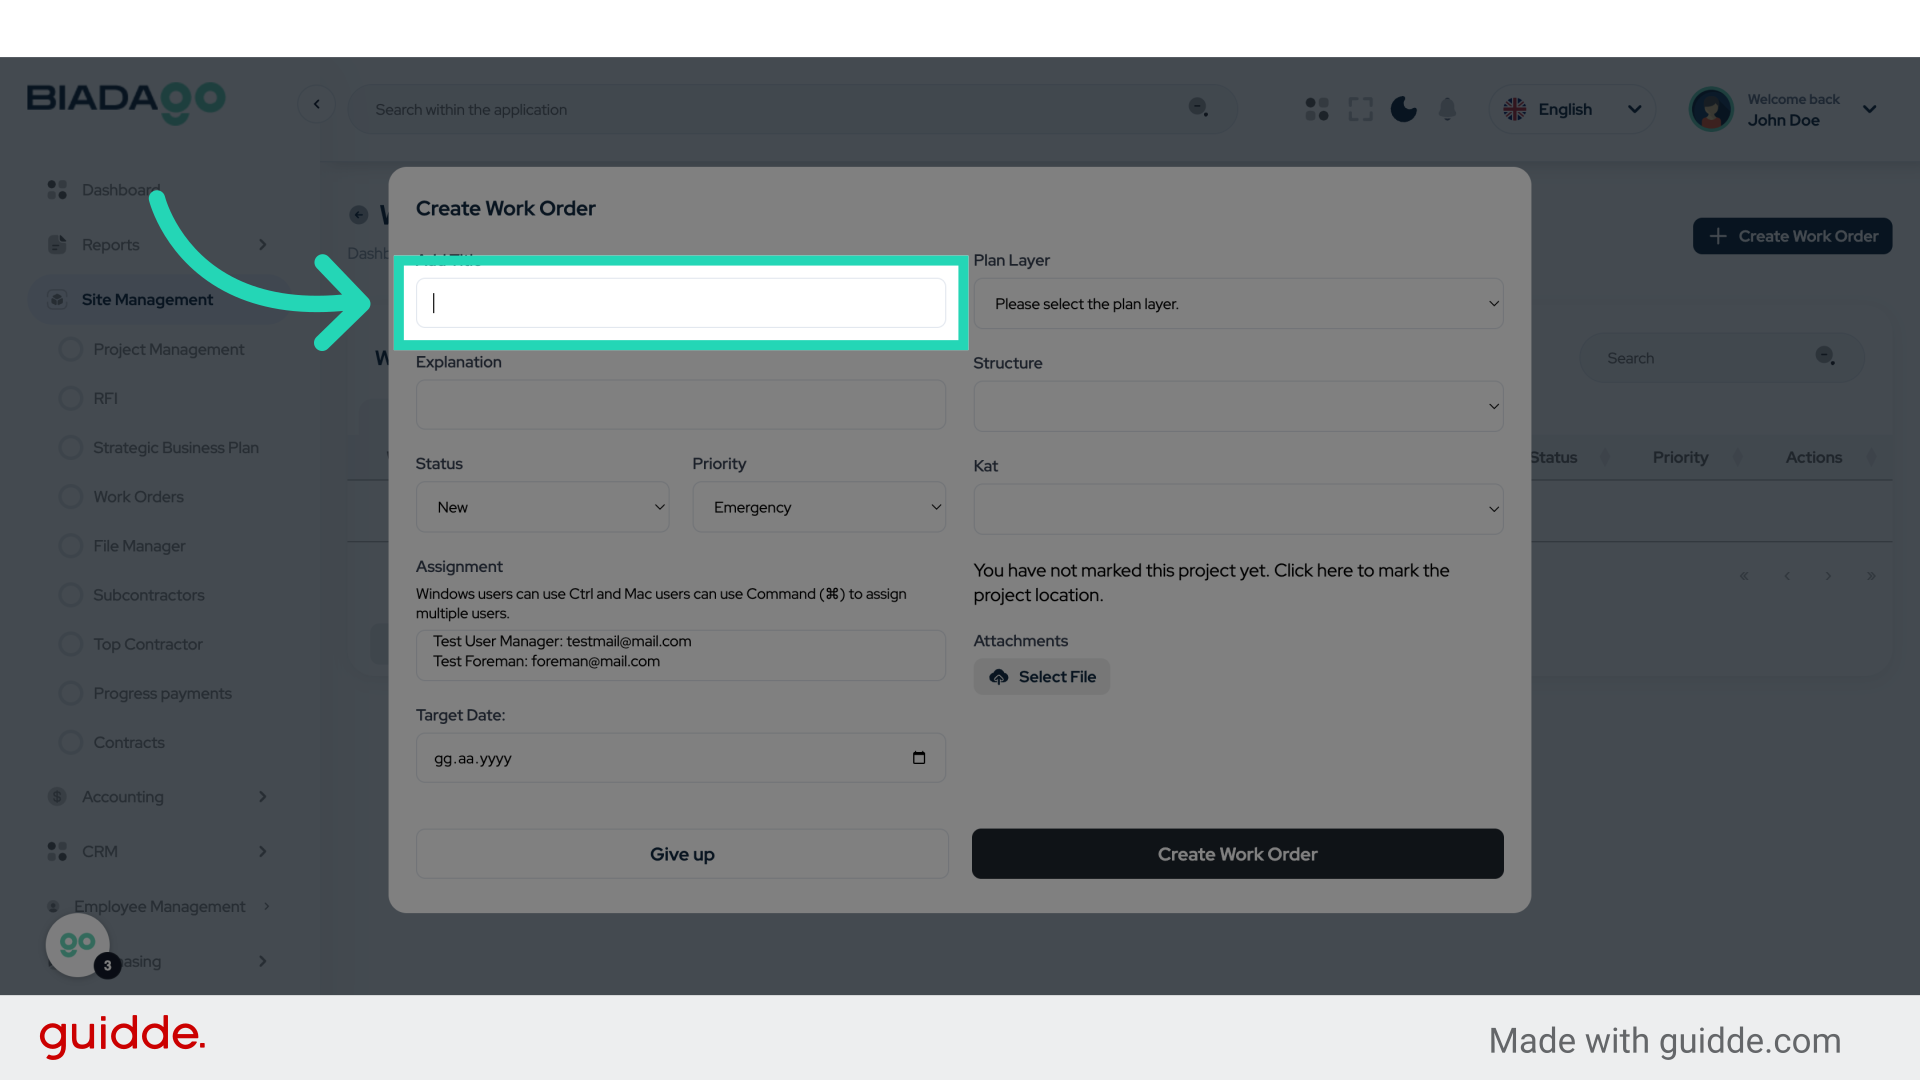
5. Click “Add Title”
Input a title for the work order.
6. Fill “test order”
Fill in “test order”
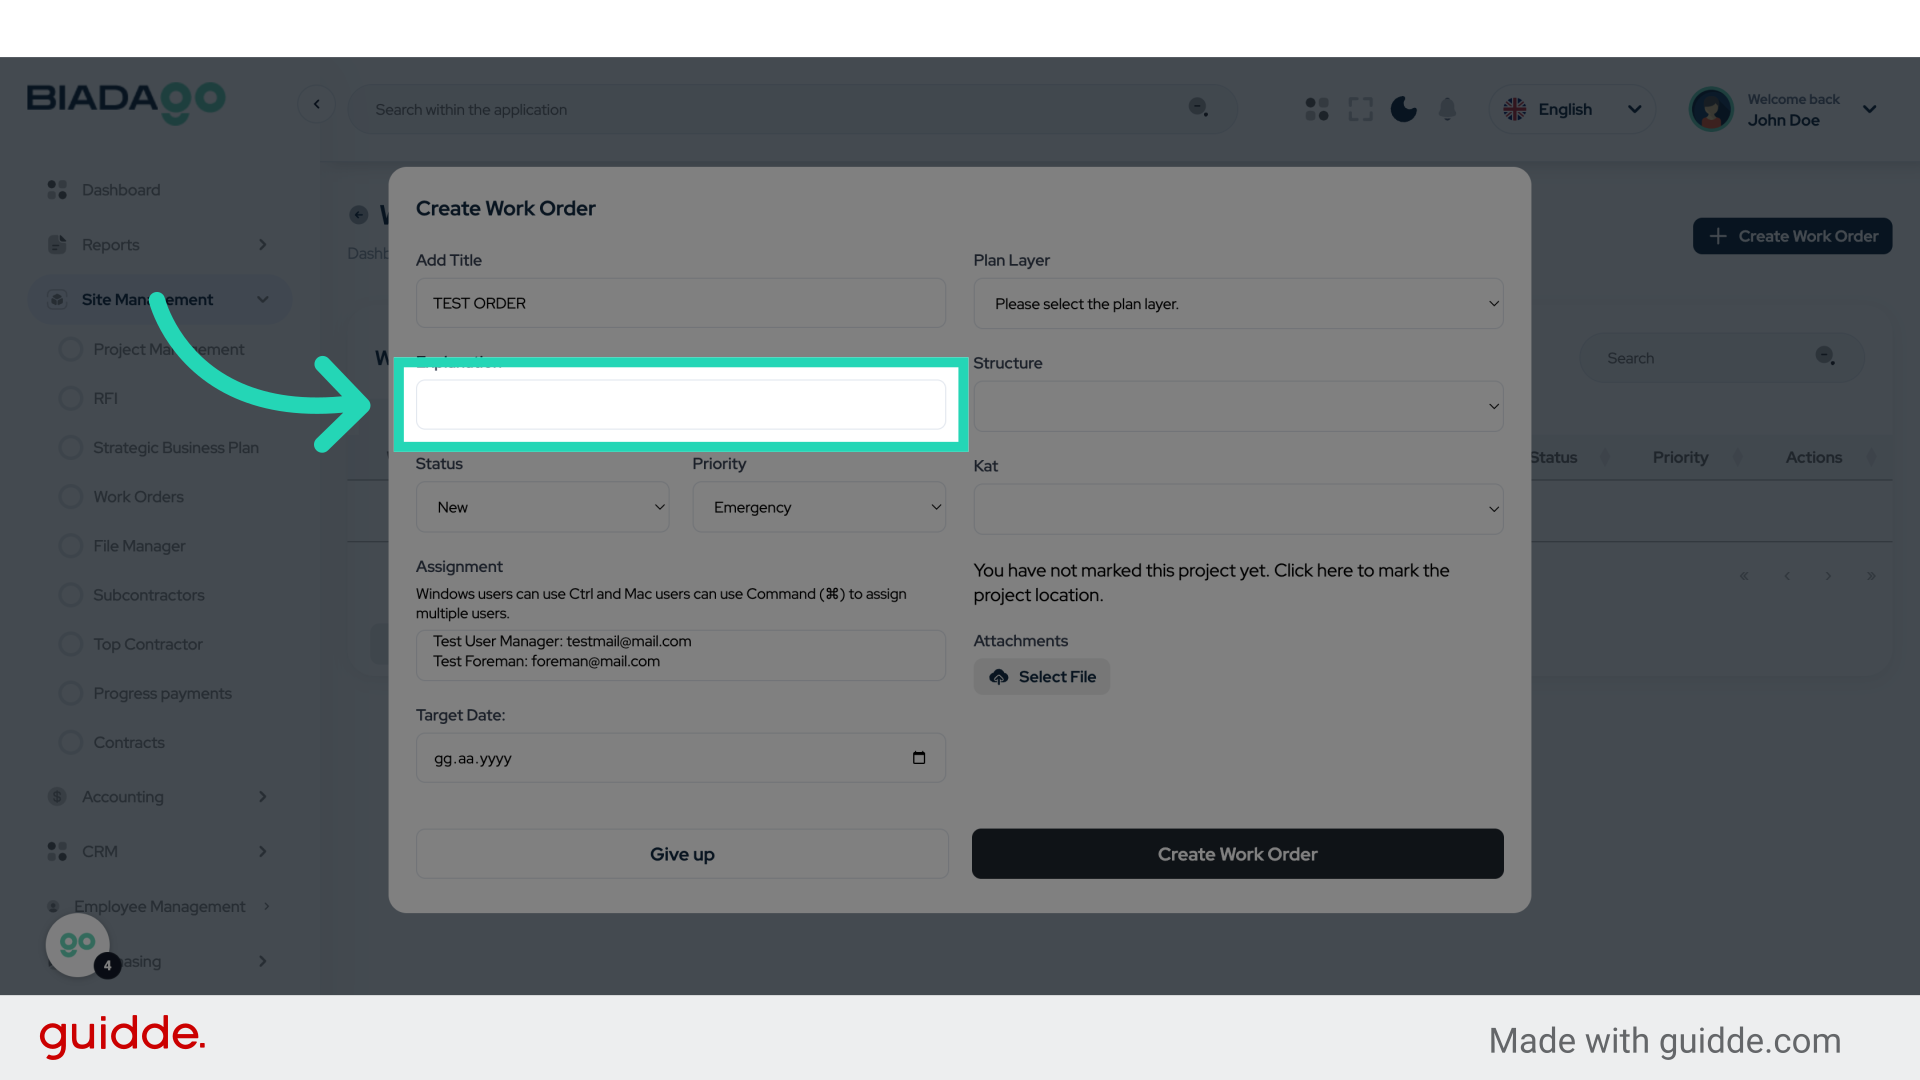
7. Click “Explanation”
Provide details or an explanation for the work order.
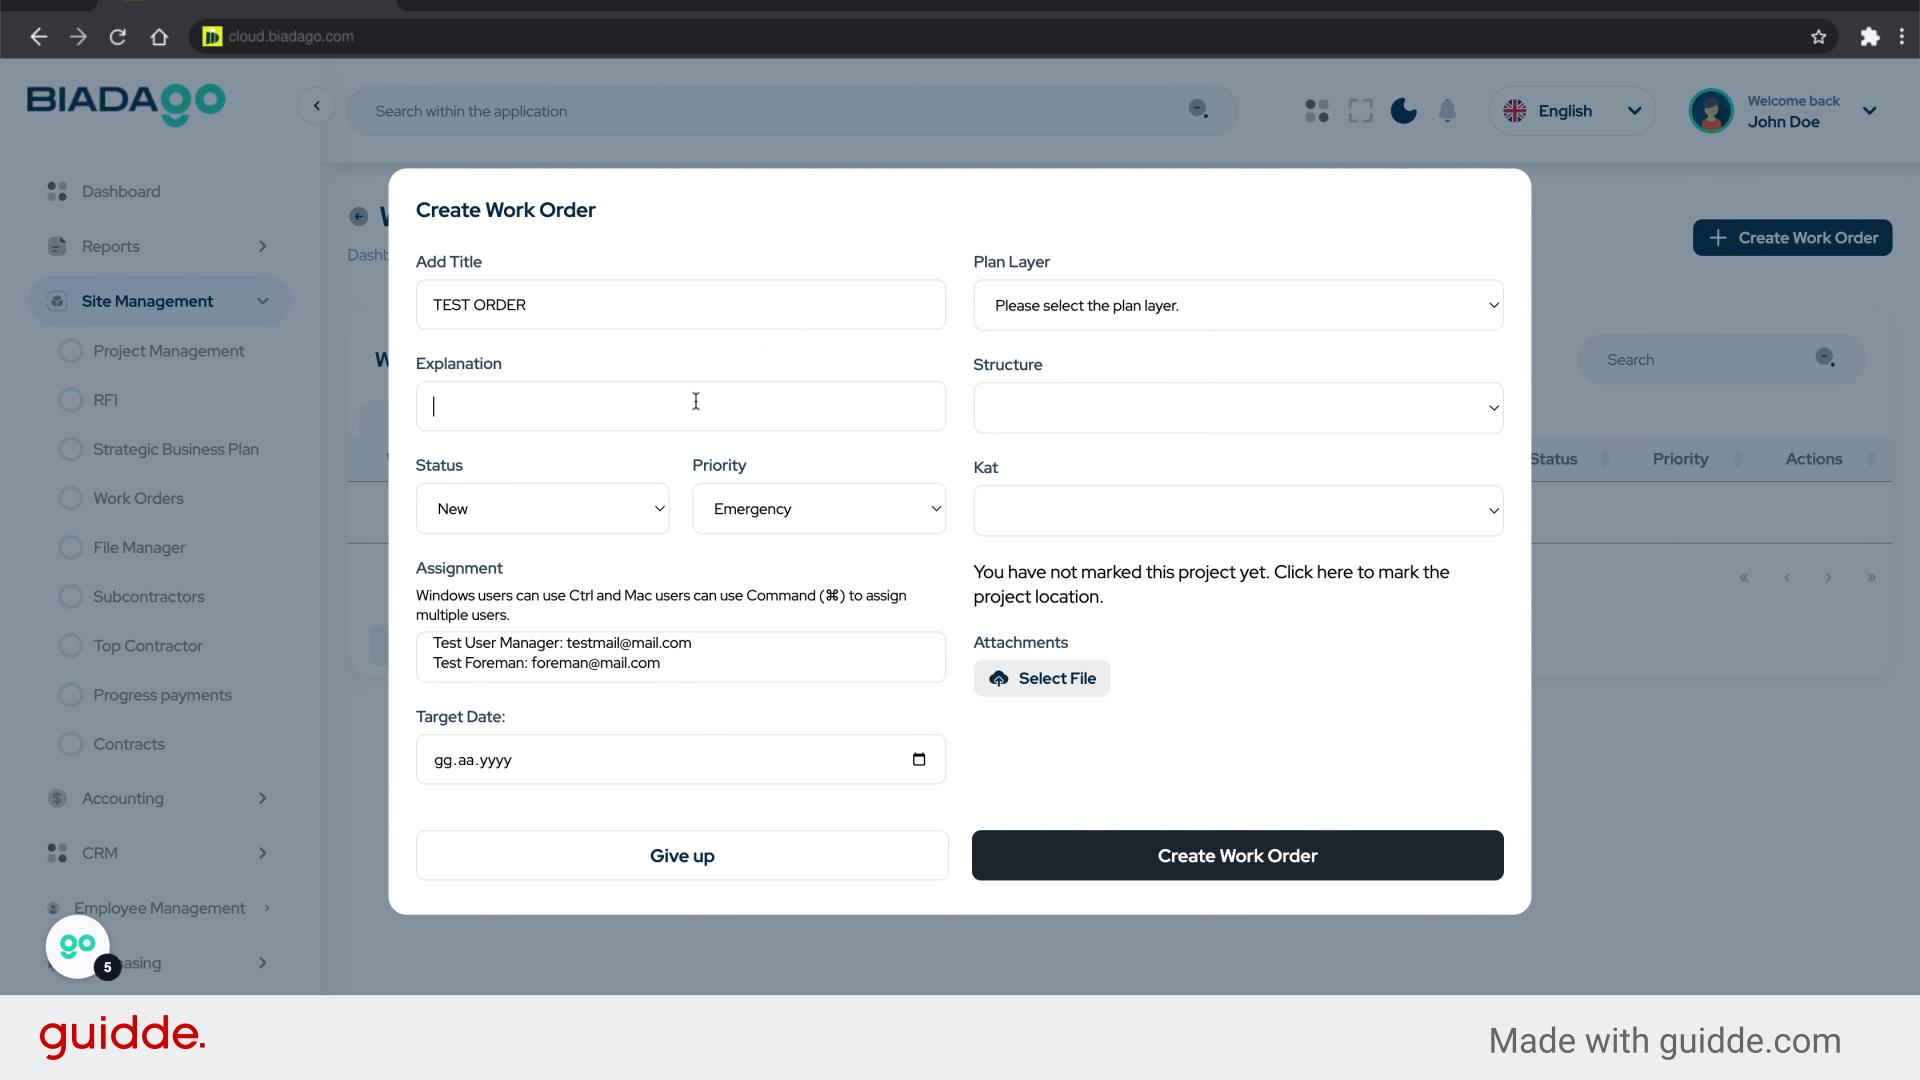
8. Fill “Test”
Enter “Test” in the provided field
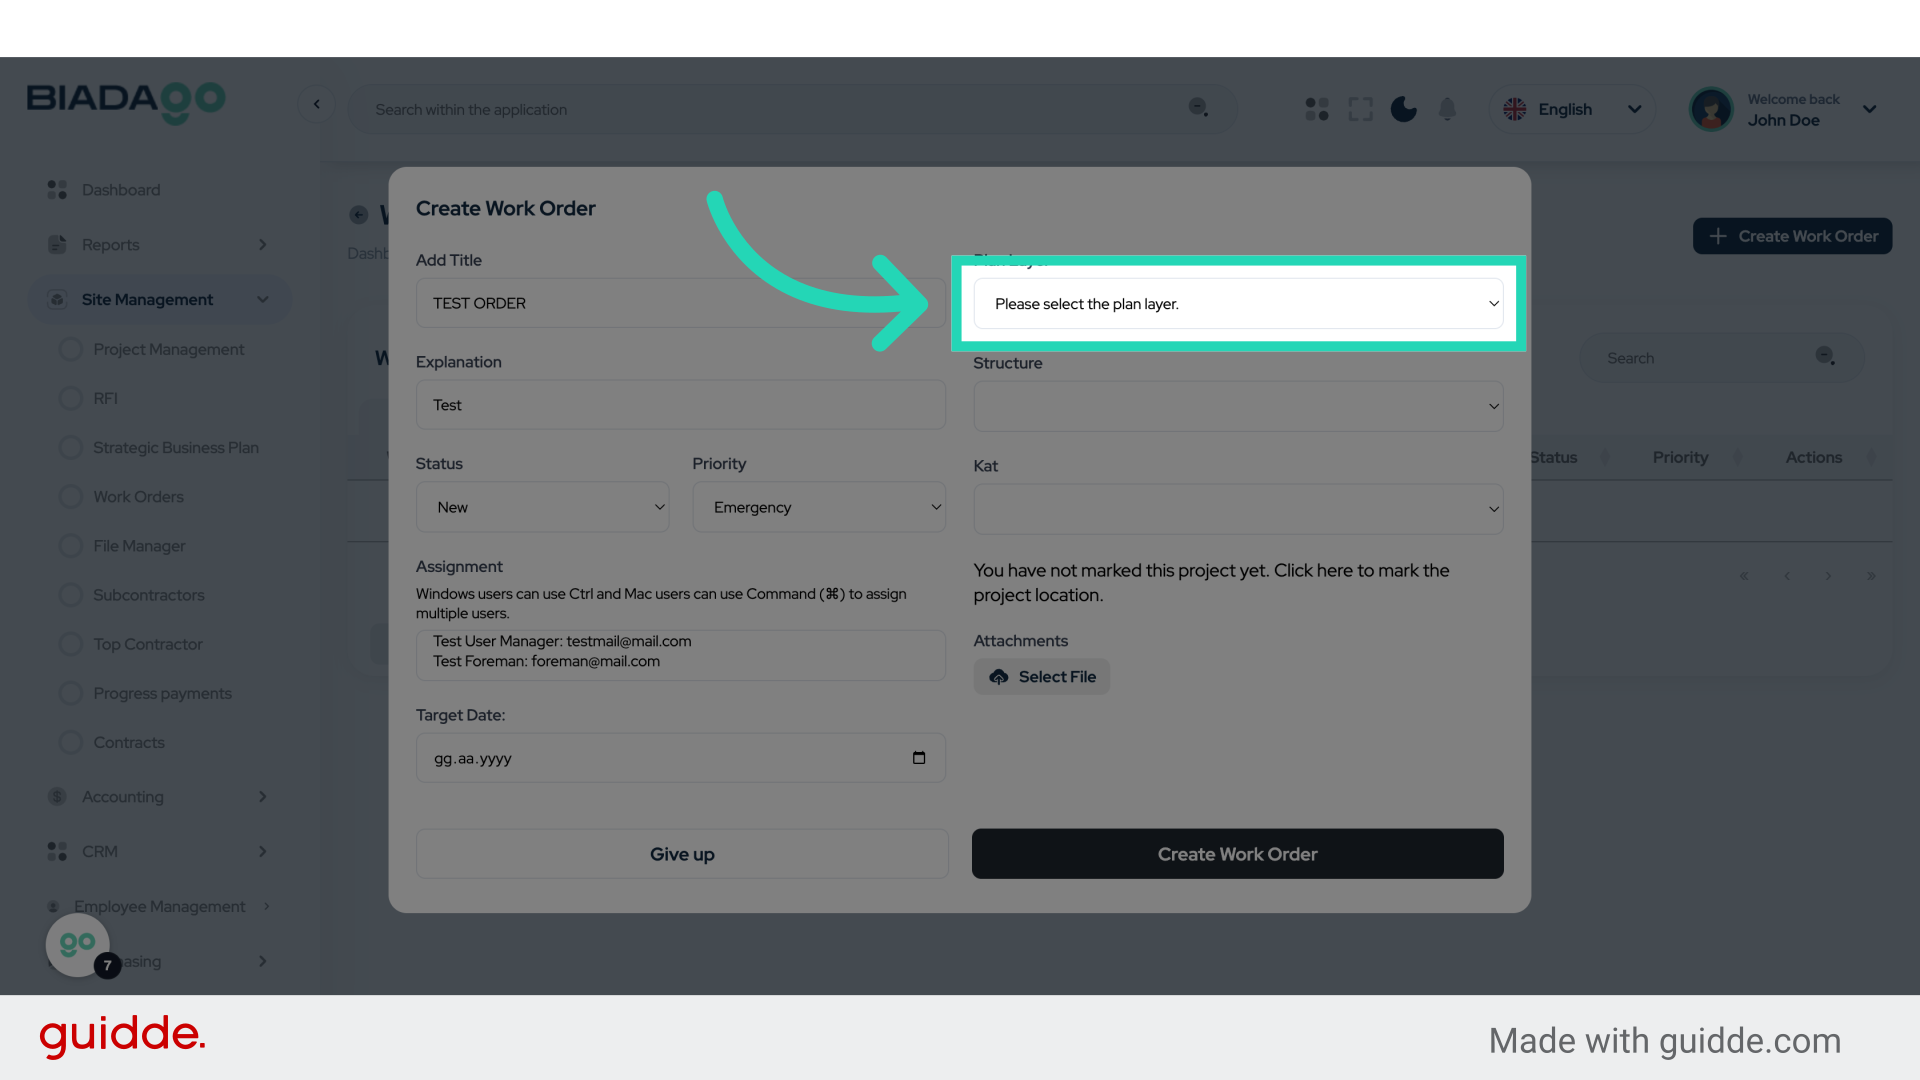
9. Click “Please select the plan layer.
Demo Project: Demo Project
Demo…”
Select the appropriate plan layer for the work order.
10. Fill “Please select the plan layer.
Demo Project: Demo Project
Demo…”
Fill in the text box with “Please select the plan layer.Demo Project: Demo Project
Demo…”

11. Click here
Proceed with the next step.
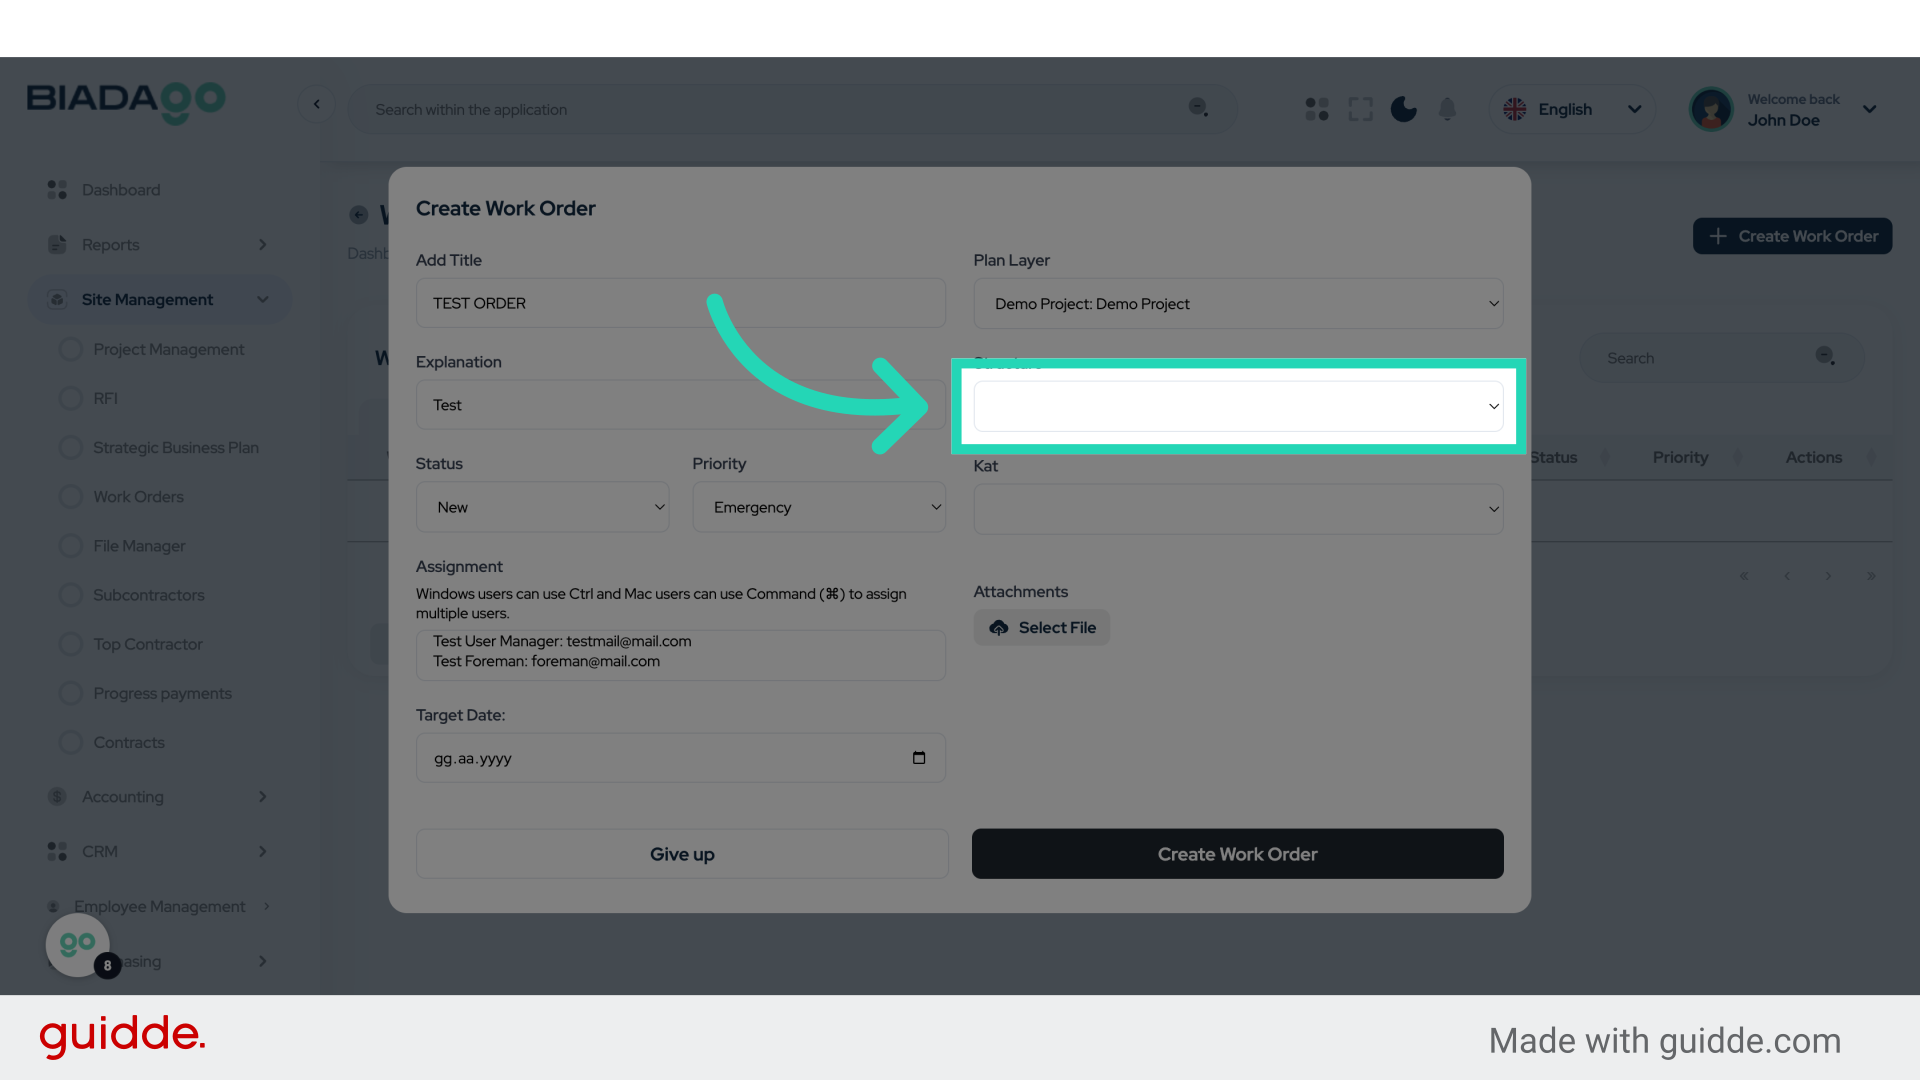
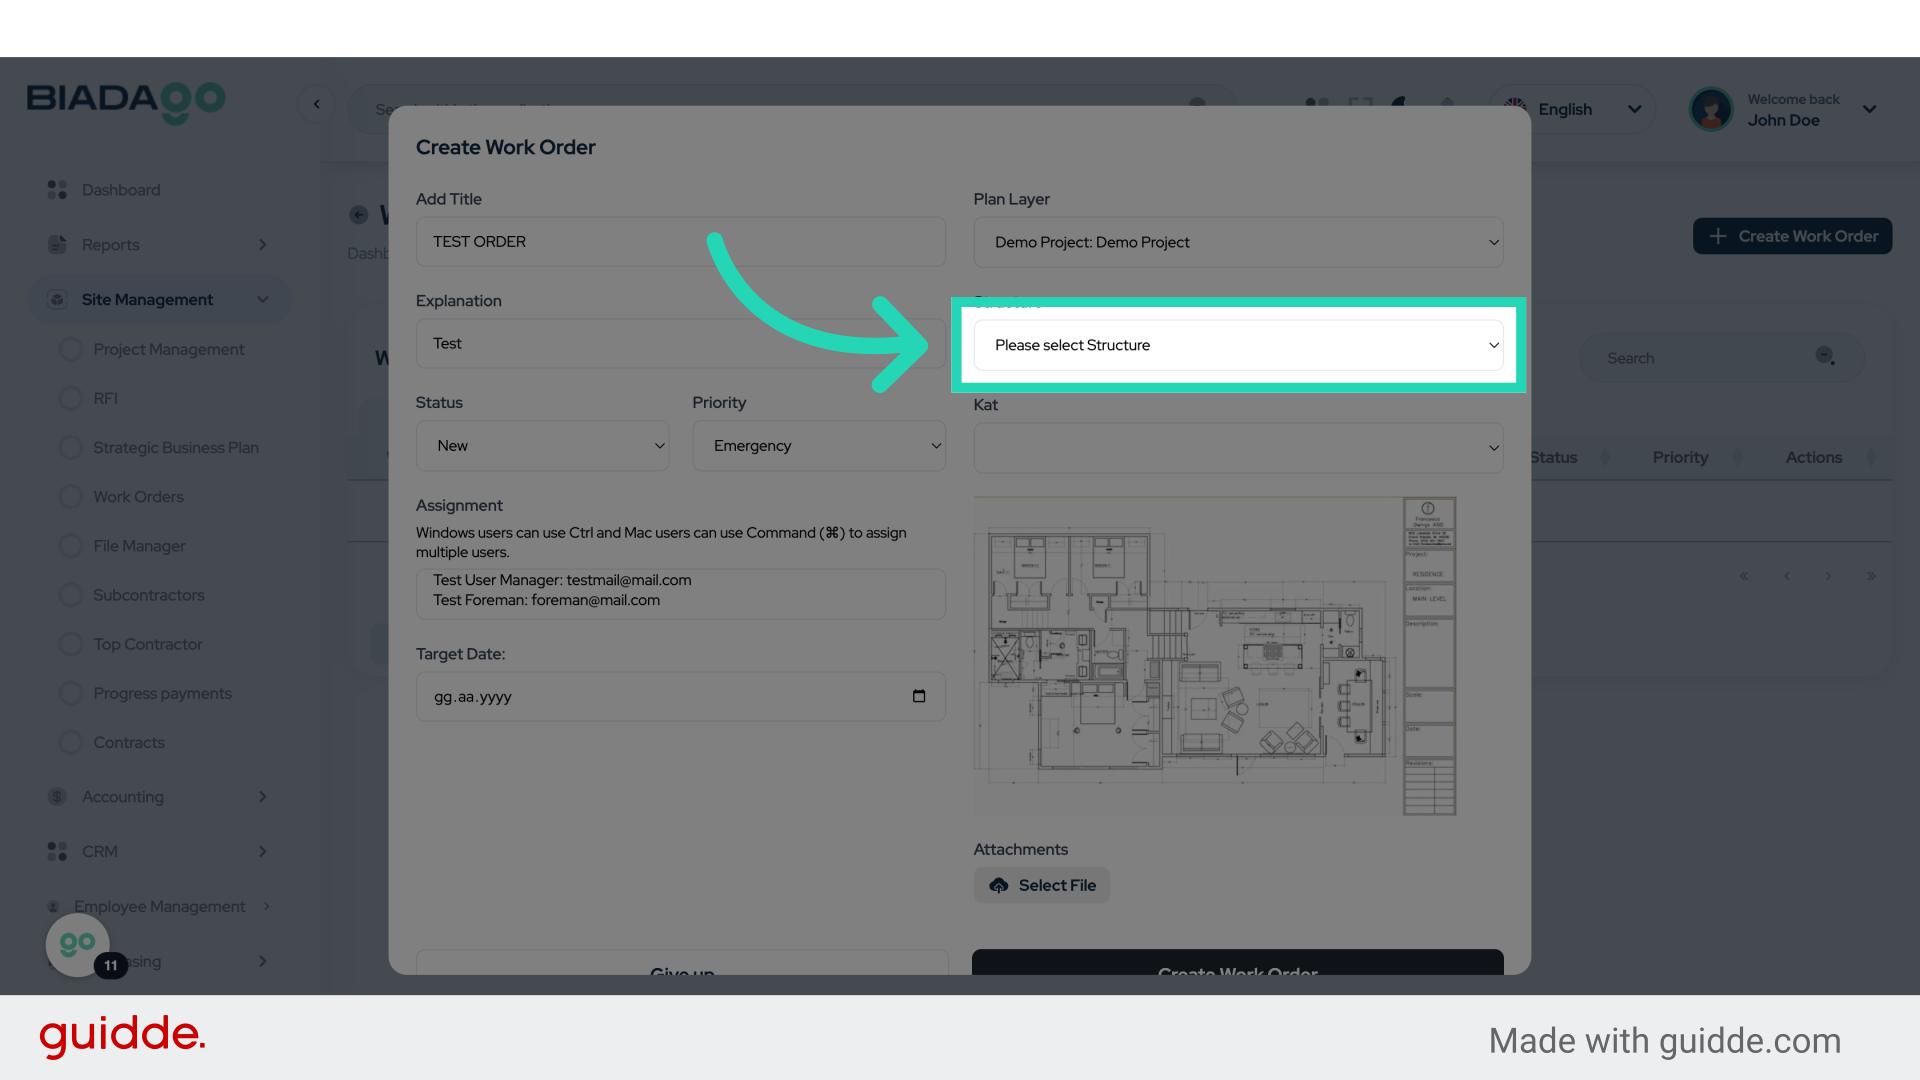
12. Click “Please select StructureC1C2”
Select the specified structure.

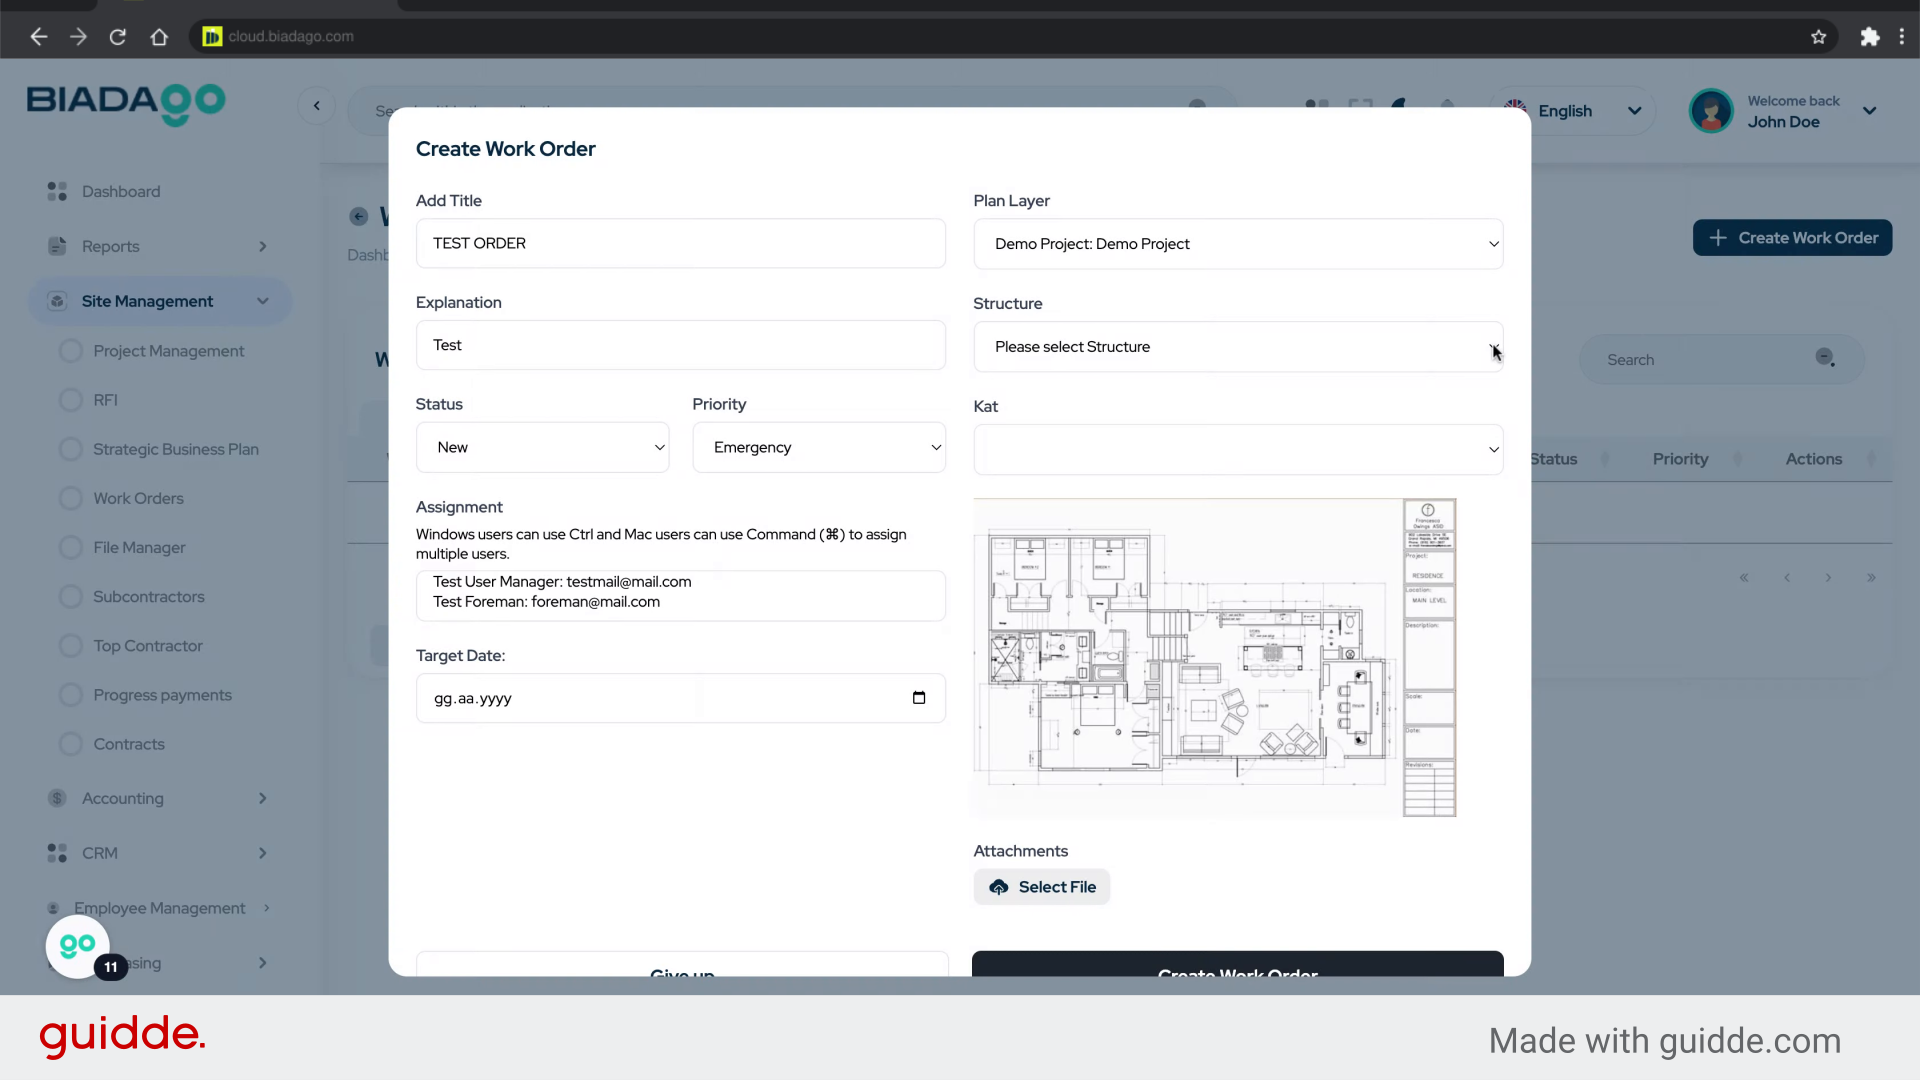
13. Click “Please select StructureC1C2”
Confirm the selection of the structure.
14. Fill “Please select StructureC1C2”
Enter the desired text.
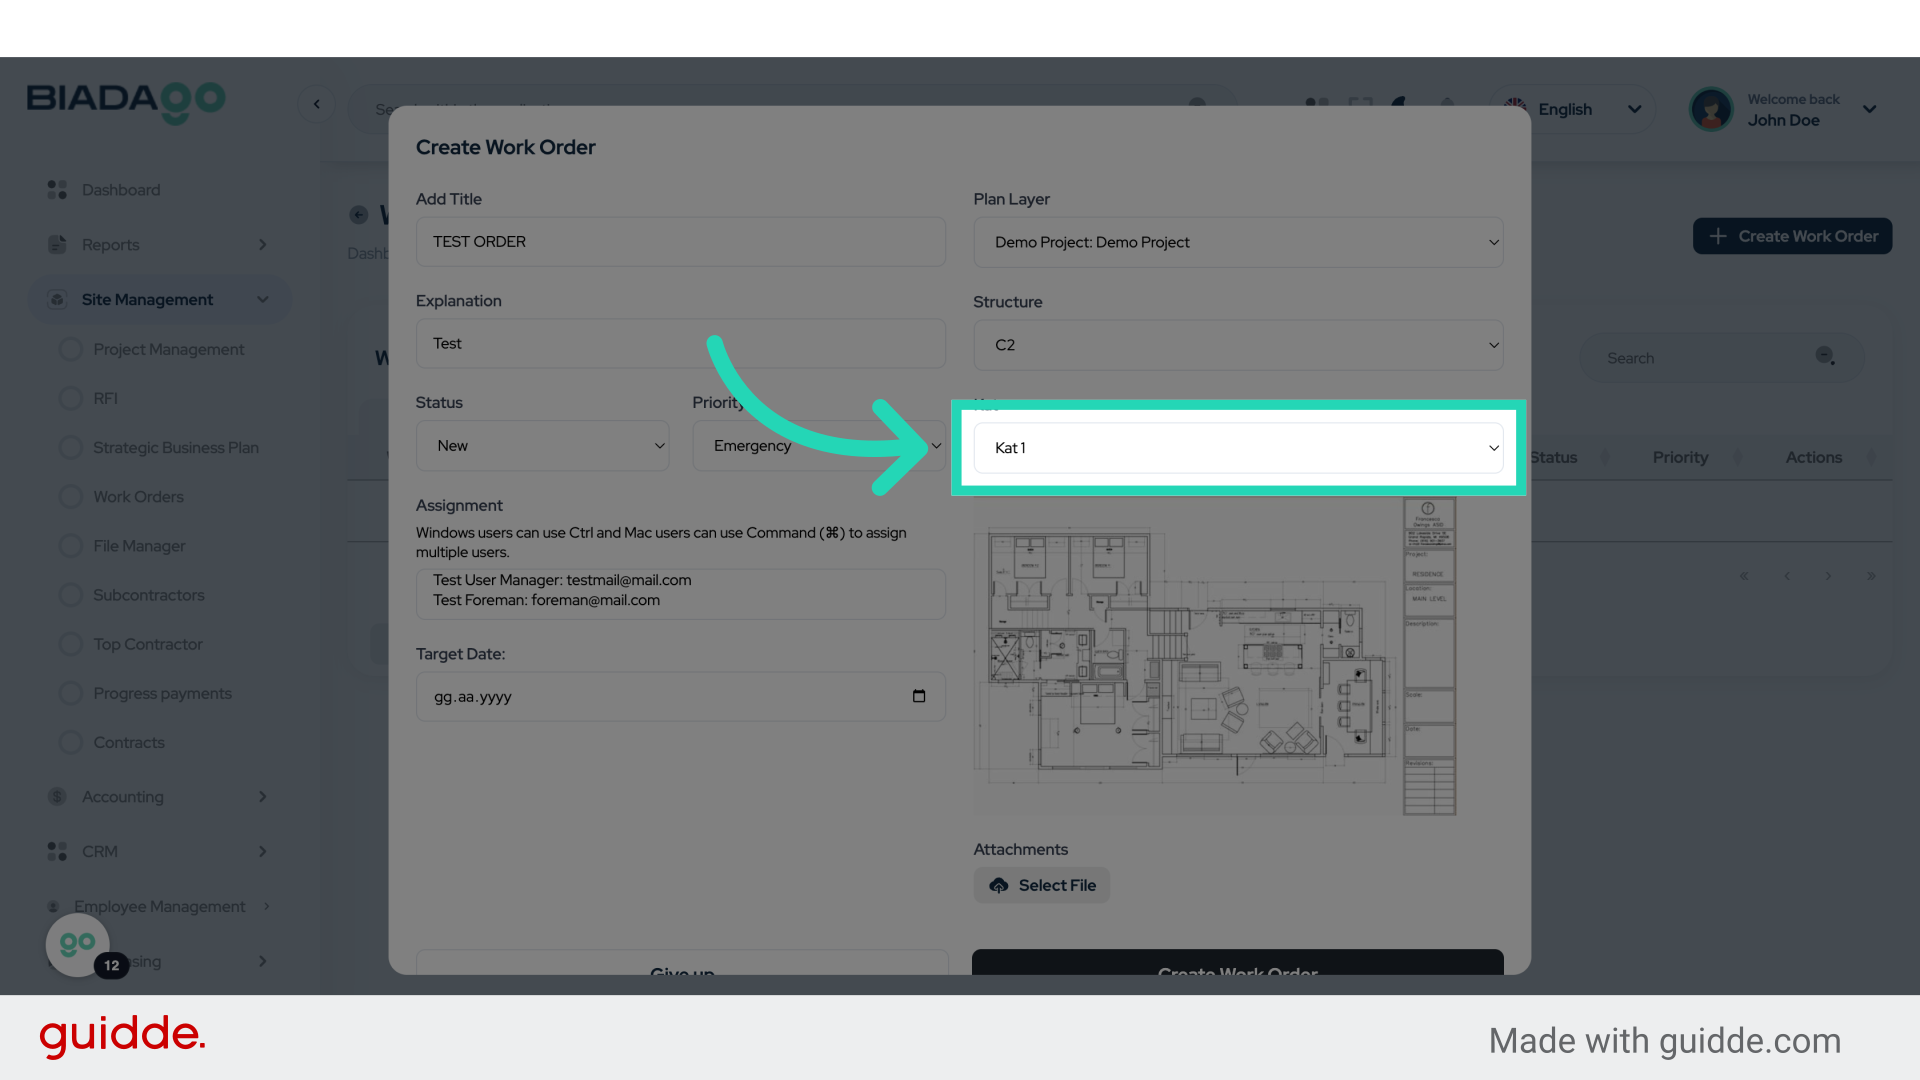
15. Click “Kat 1Kat 2Kat 3Kat 4Kat 5Kat 6Kat 7Kat 8Kat 9Kat 10Kat 11Kat 12Kat 13Kat 14Kat 15Kat 16”
Choose from the provided list of options.
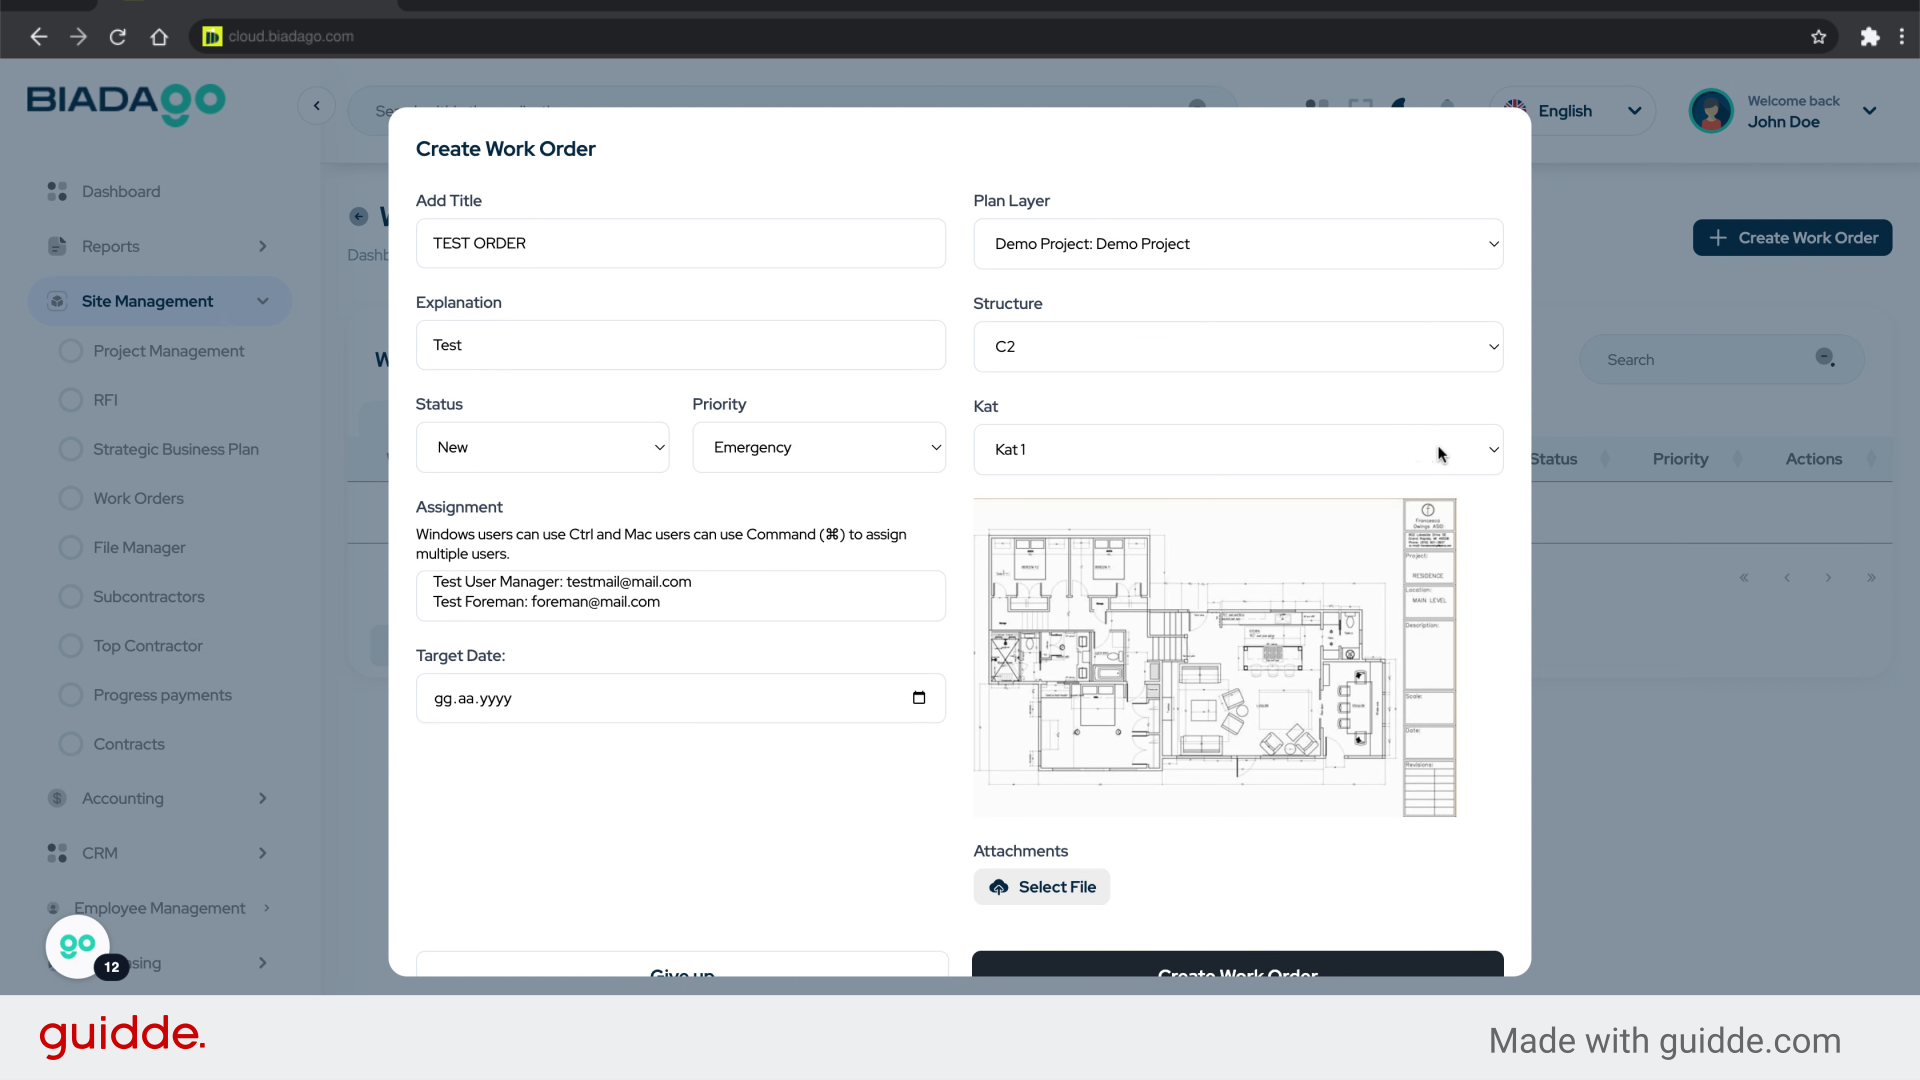
16. Fill “Kat 1Kat 2Kat 3Kat 4Kat 5Kat 6Kat 7Kat 8Kat 9Kat 10Kat 11Kat 12Kat 13Kat 14Kat 15Kat 16”
Type “Kat 1Kat 2Kat 3Kat 4Kat 5Kat 6Kat 7Kat 8Kat 9Kat 10Kat 11Kat 12Kat 13Kat 14Kat 15Kat 16” in the given field
17. Click here
Continue to the next step.
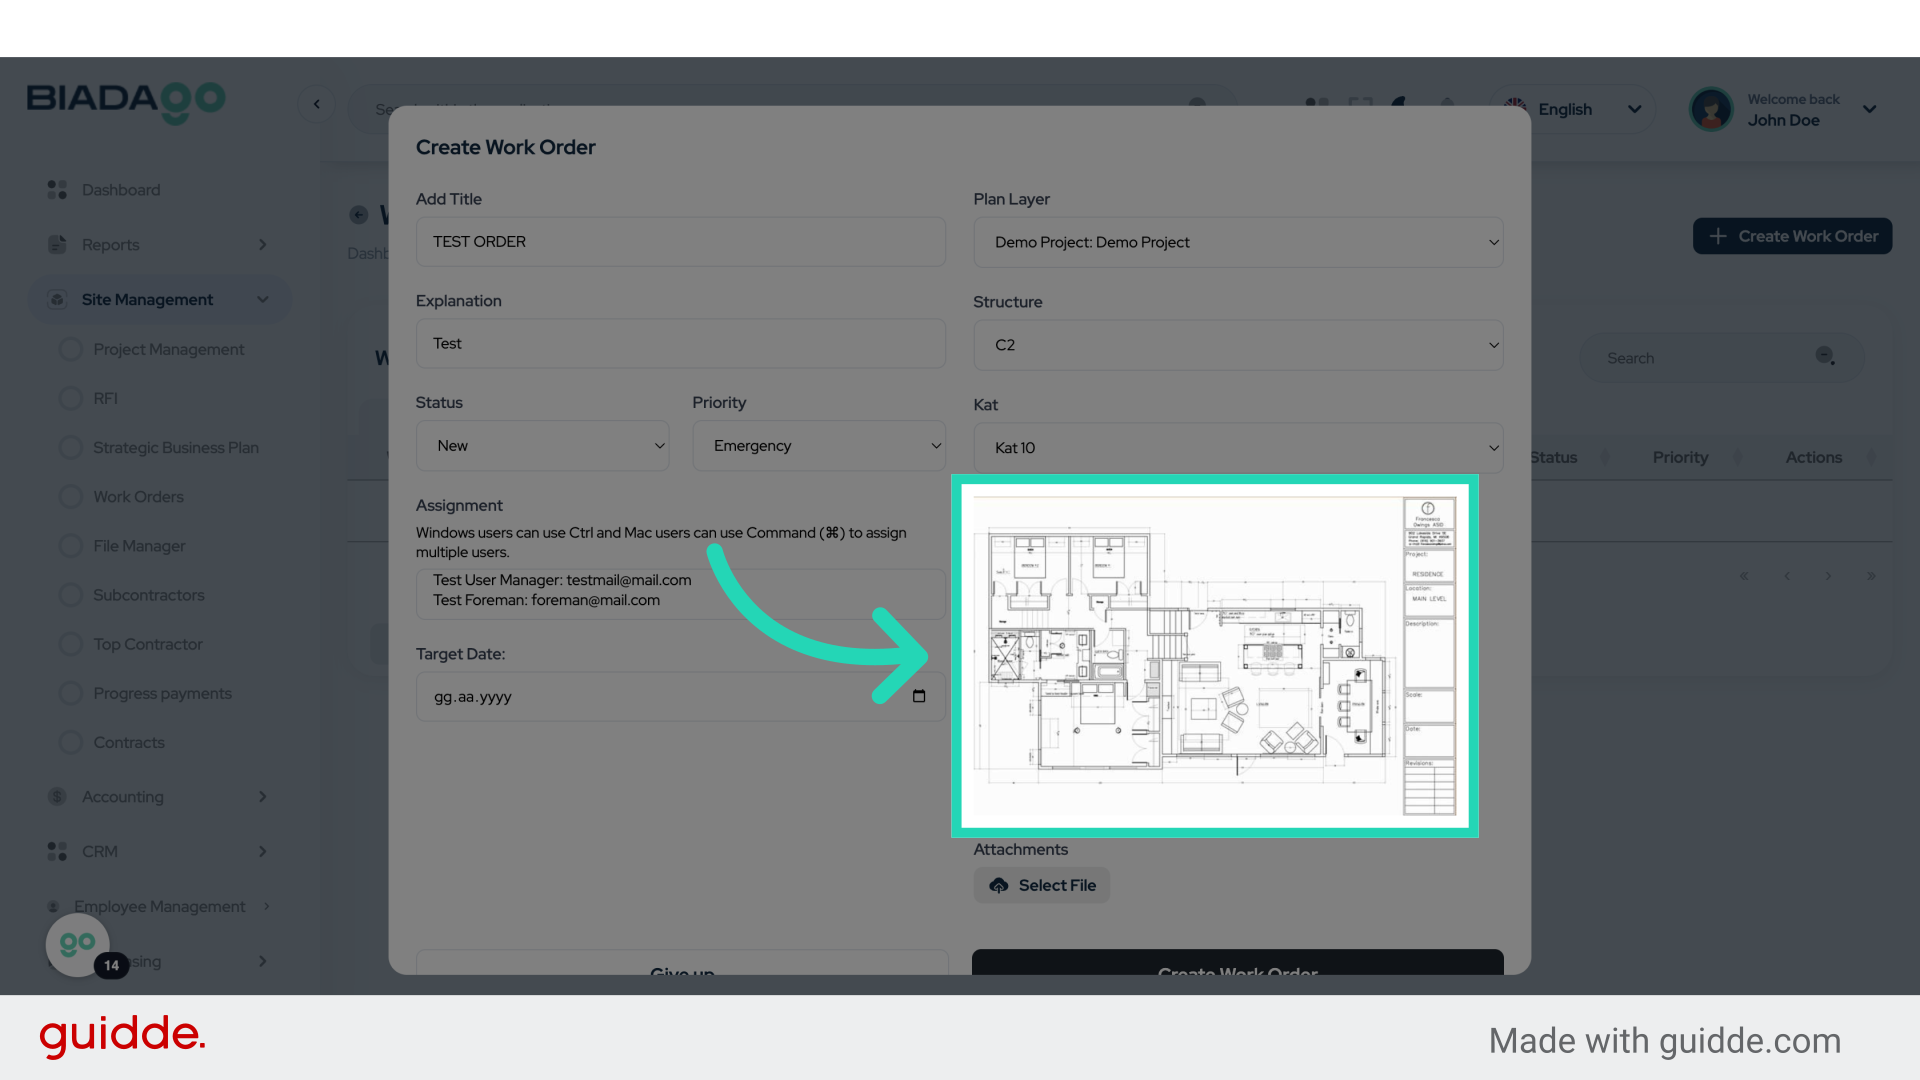
18. Click here
Proceed to the following action.
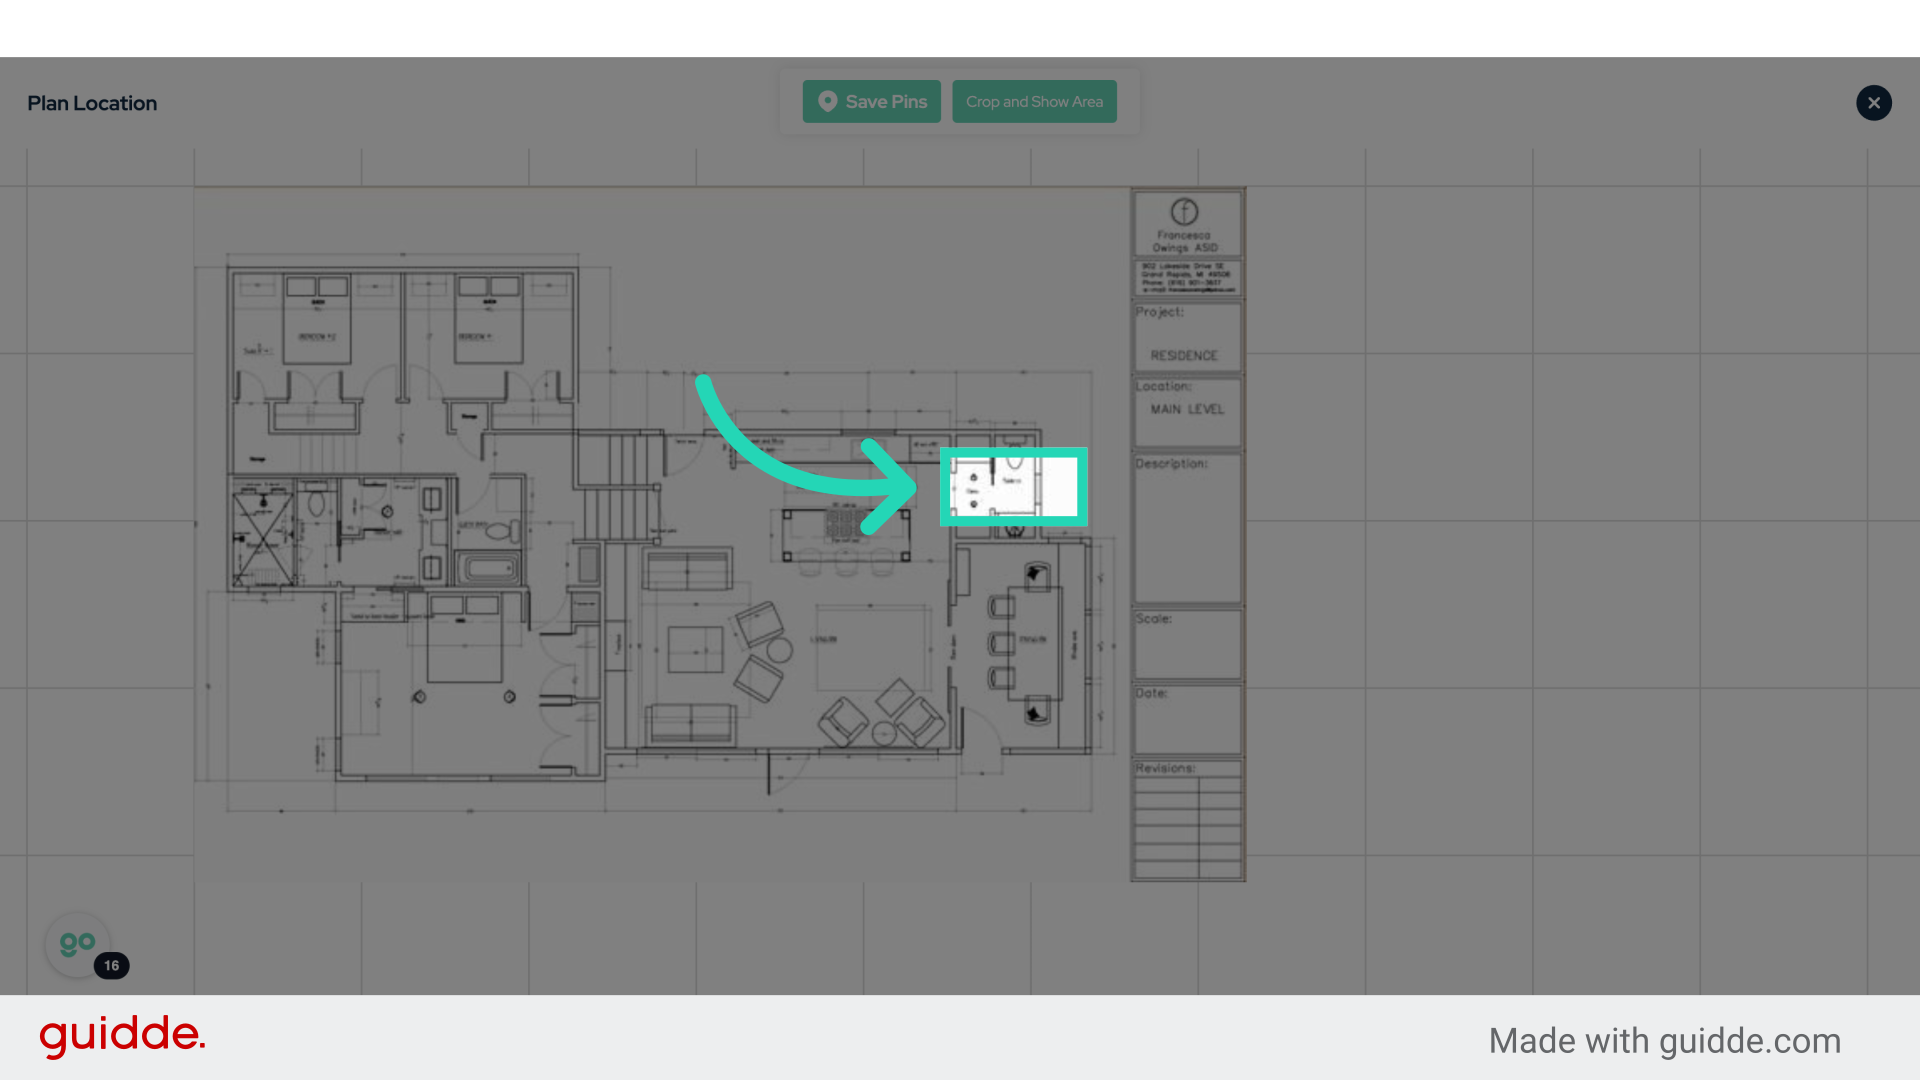
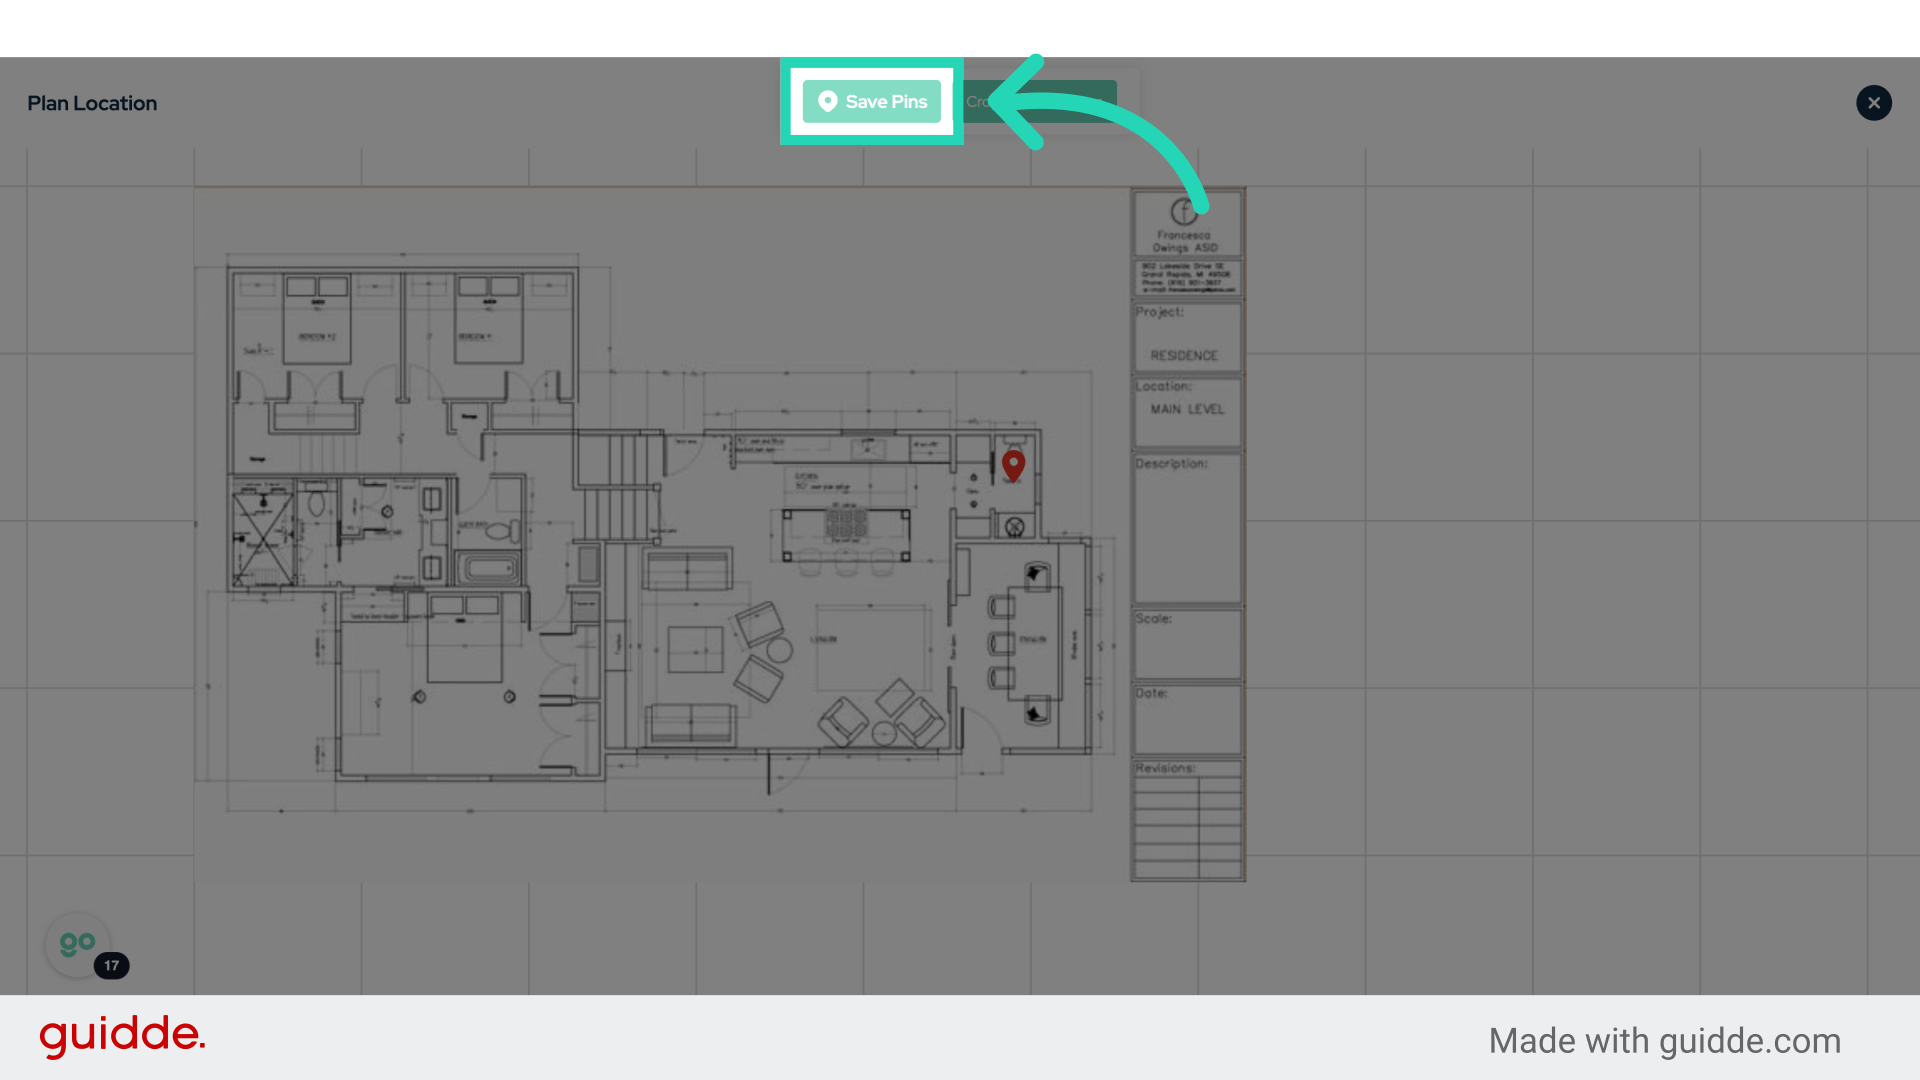
19. Click “Save Pins”
Save the pinned items.
20. Click “Attachments”
Access or attach documents.
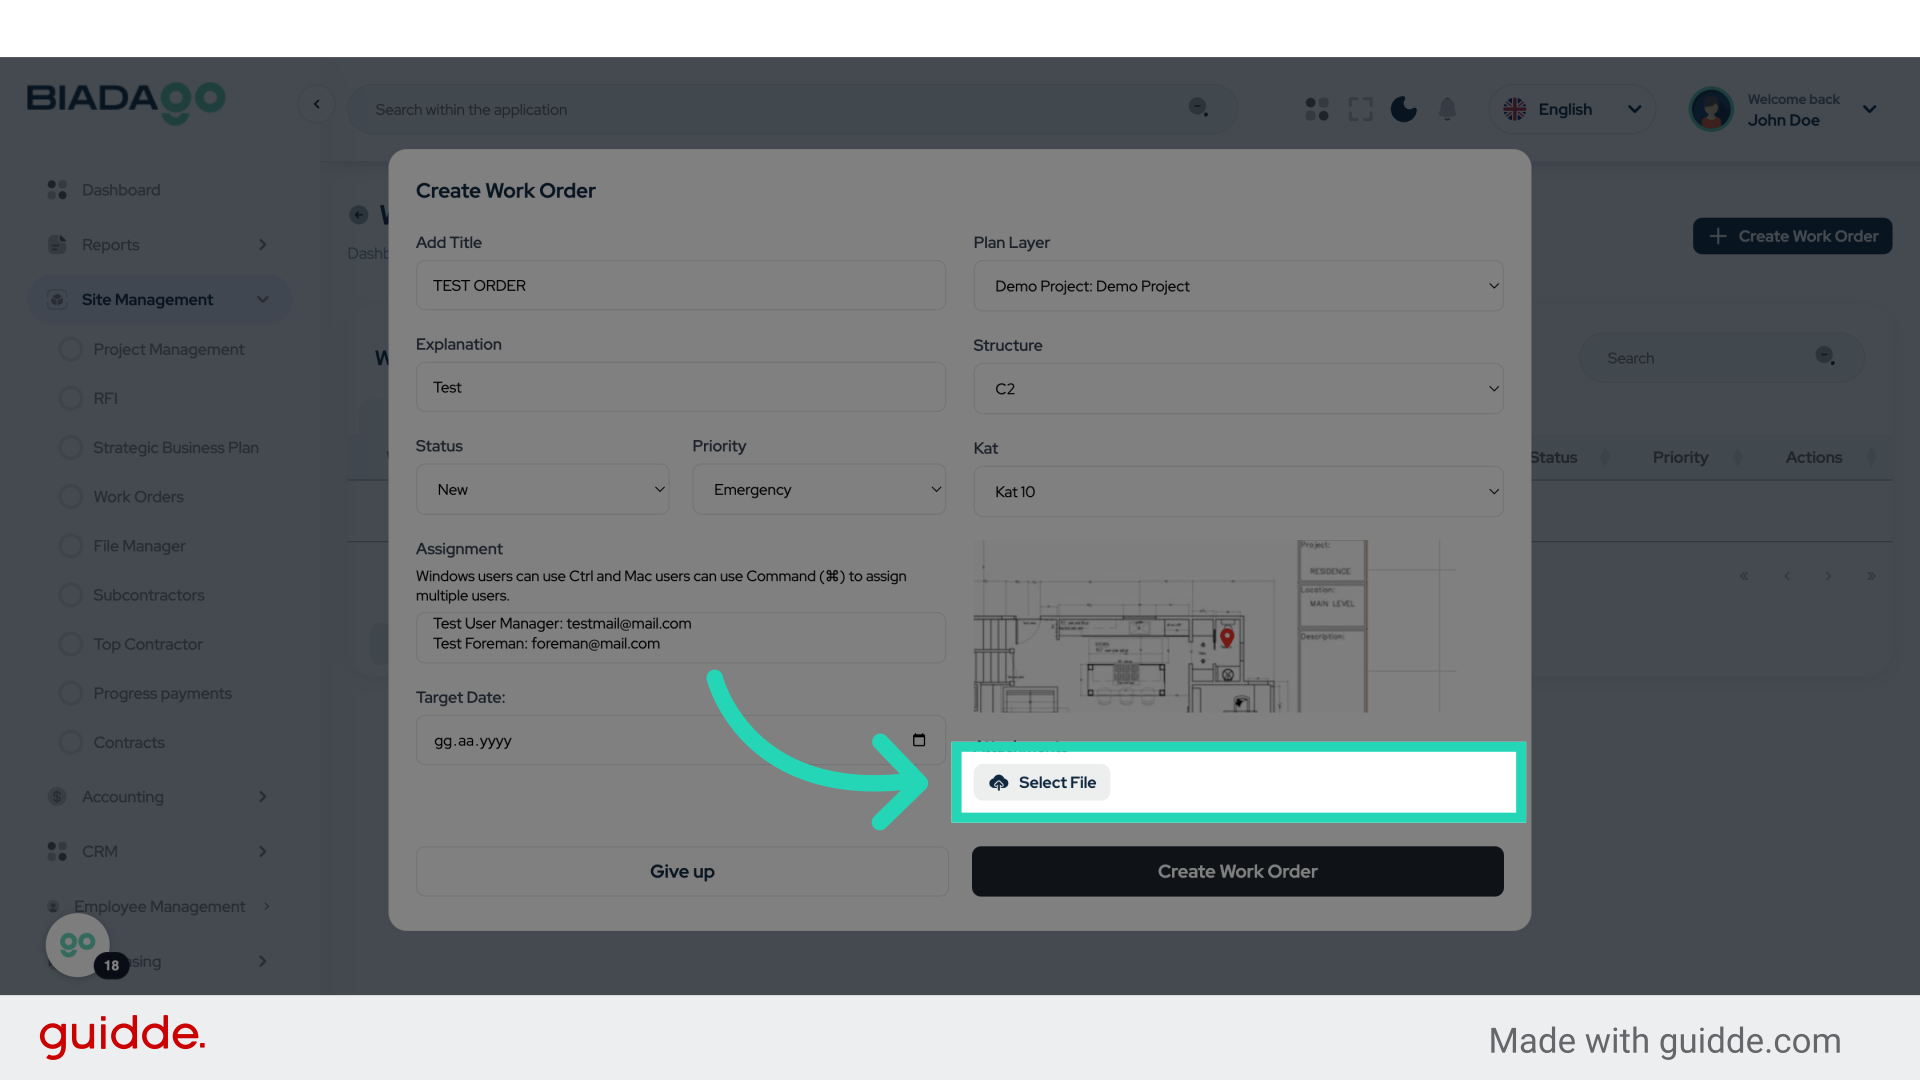
21. Fill “C:\fakepath\demo-project.png”
Input “C:\fakepath\demo-project.png” in the available field

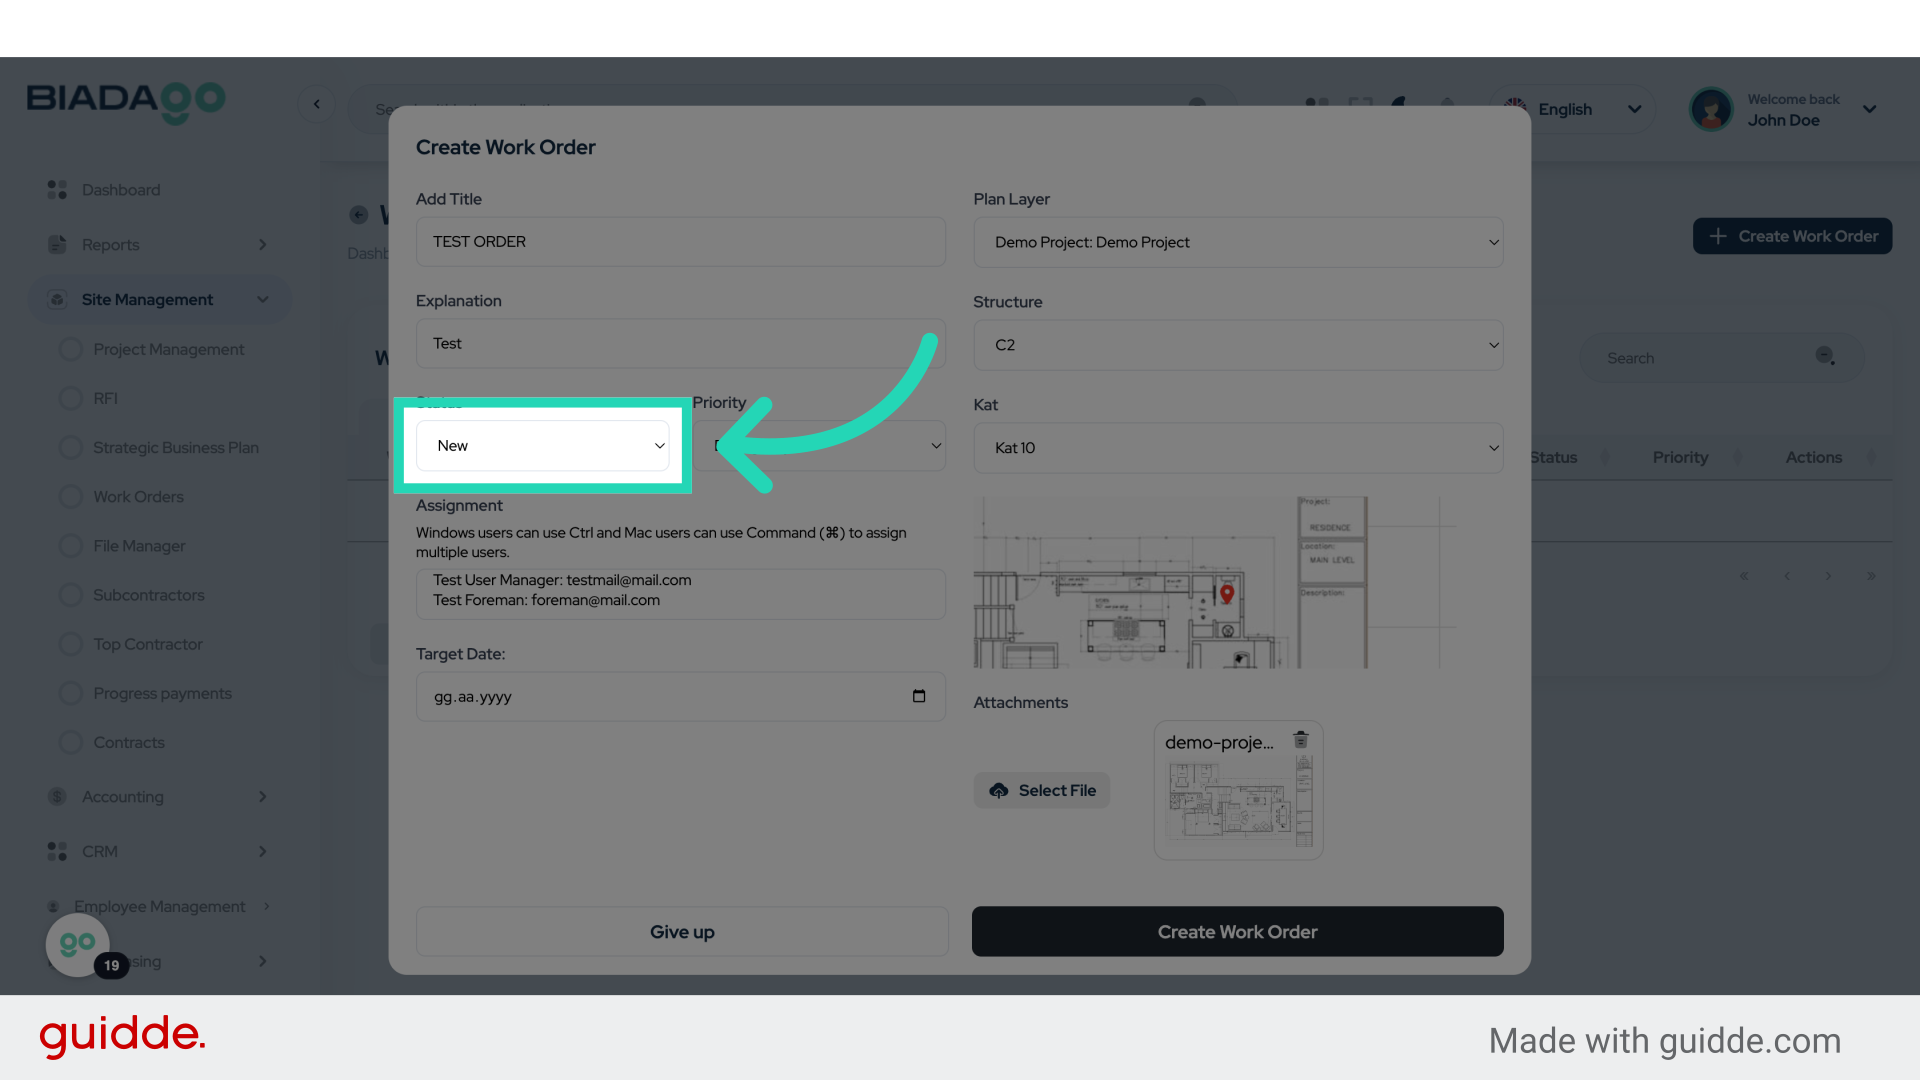
22. Click “New
Continues
On hold
Completed”
Select the status of the work order.
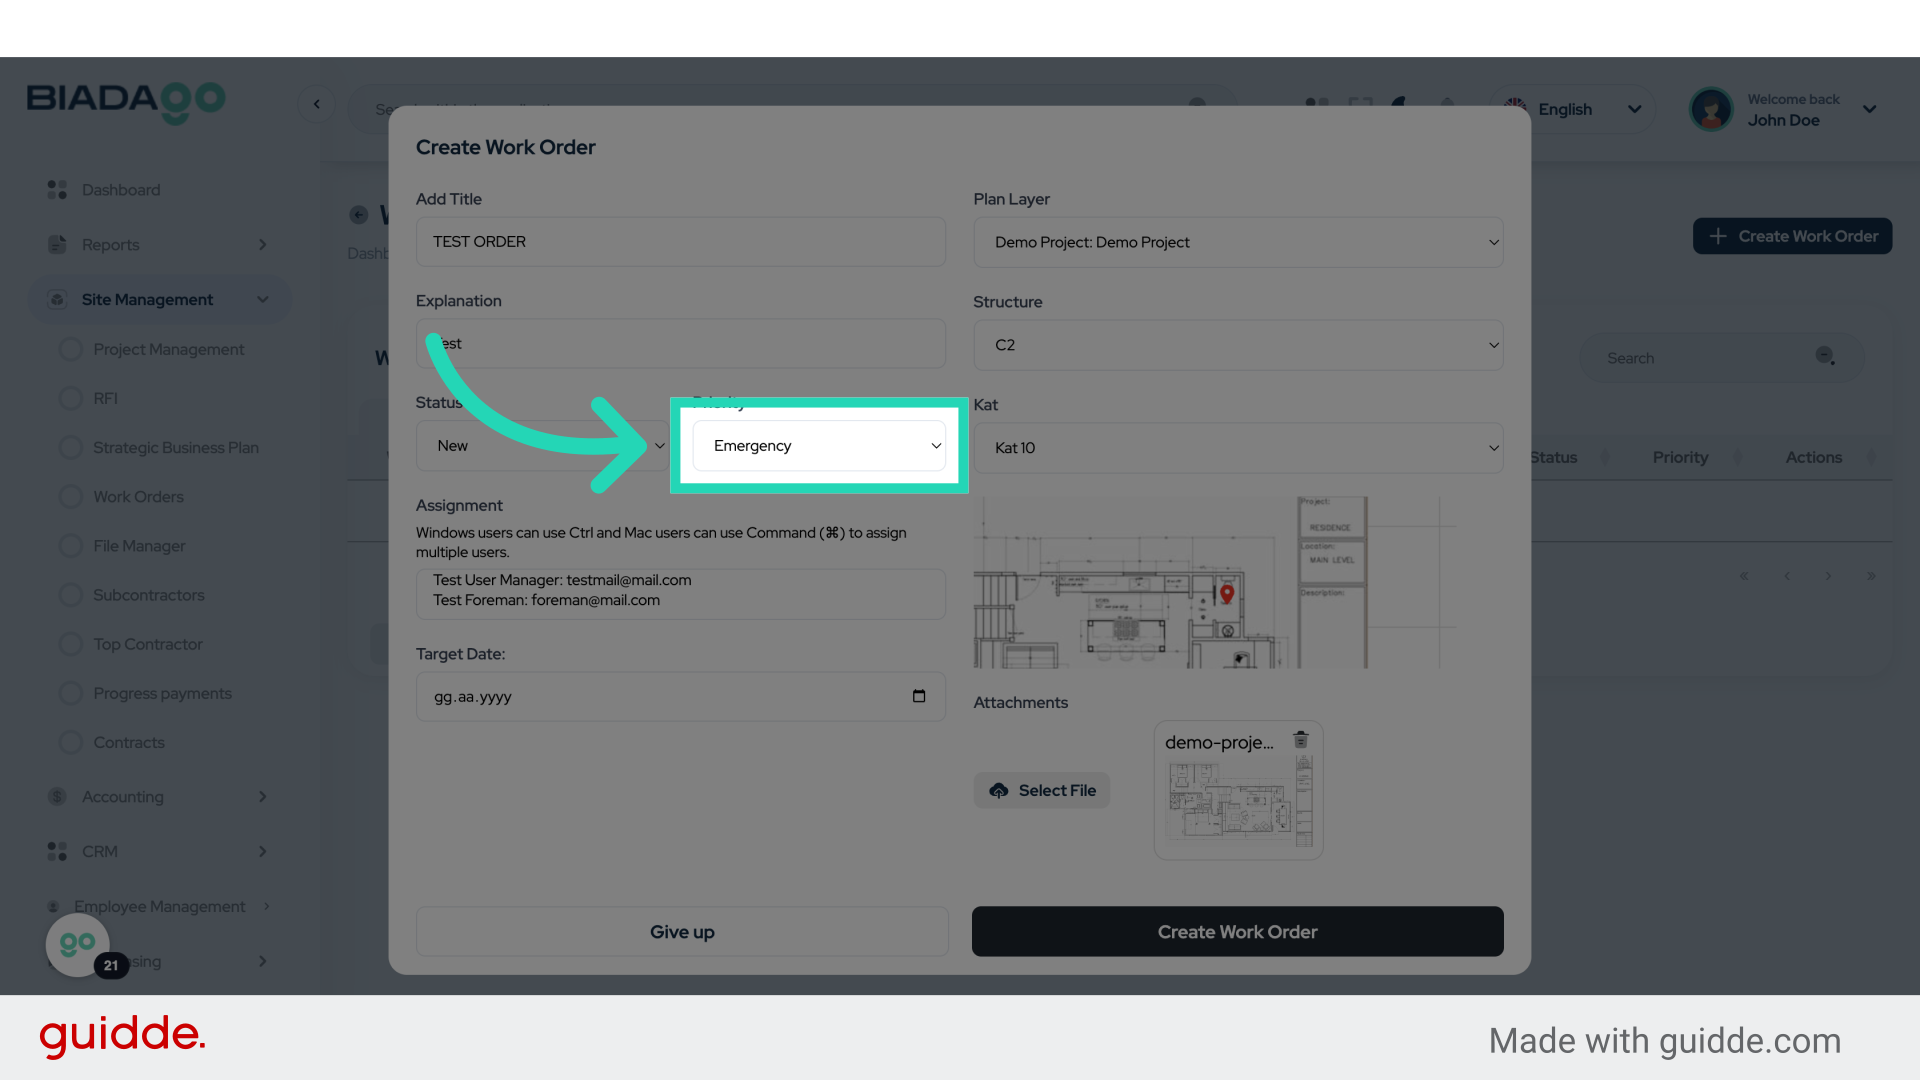
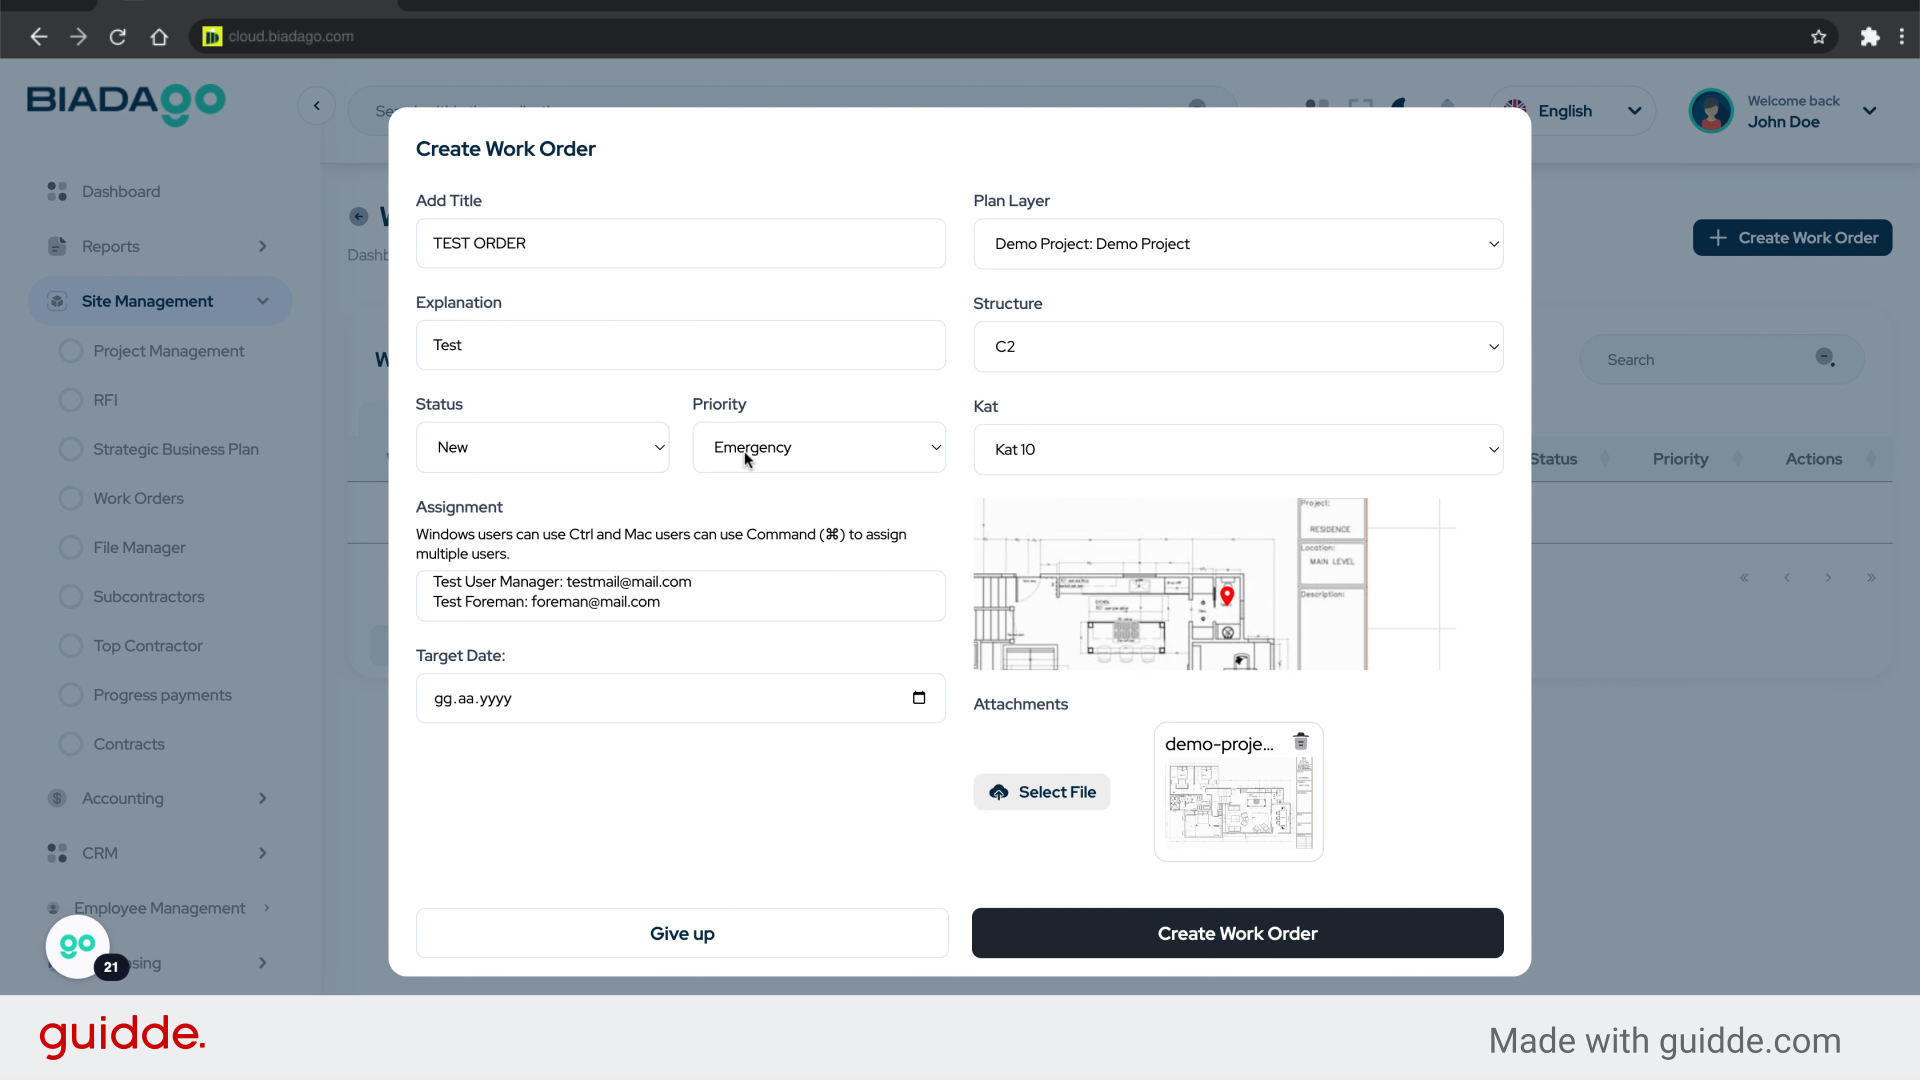
23. Click “Emergency
Intermediate
Low”
Set the priority level for the work order.
24. Fill “Emergency
Intermediate
Low”
Write “Emergency
Intermediate
Low” in the specified field
Intermediate
Low” in the specified field
25. Click “Test User Manager: testmail@mail.com”
Choose or manage the user associated with the work order.
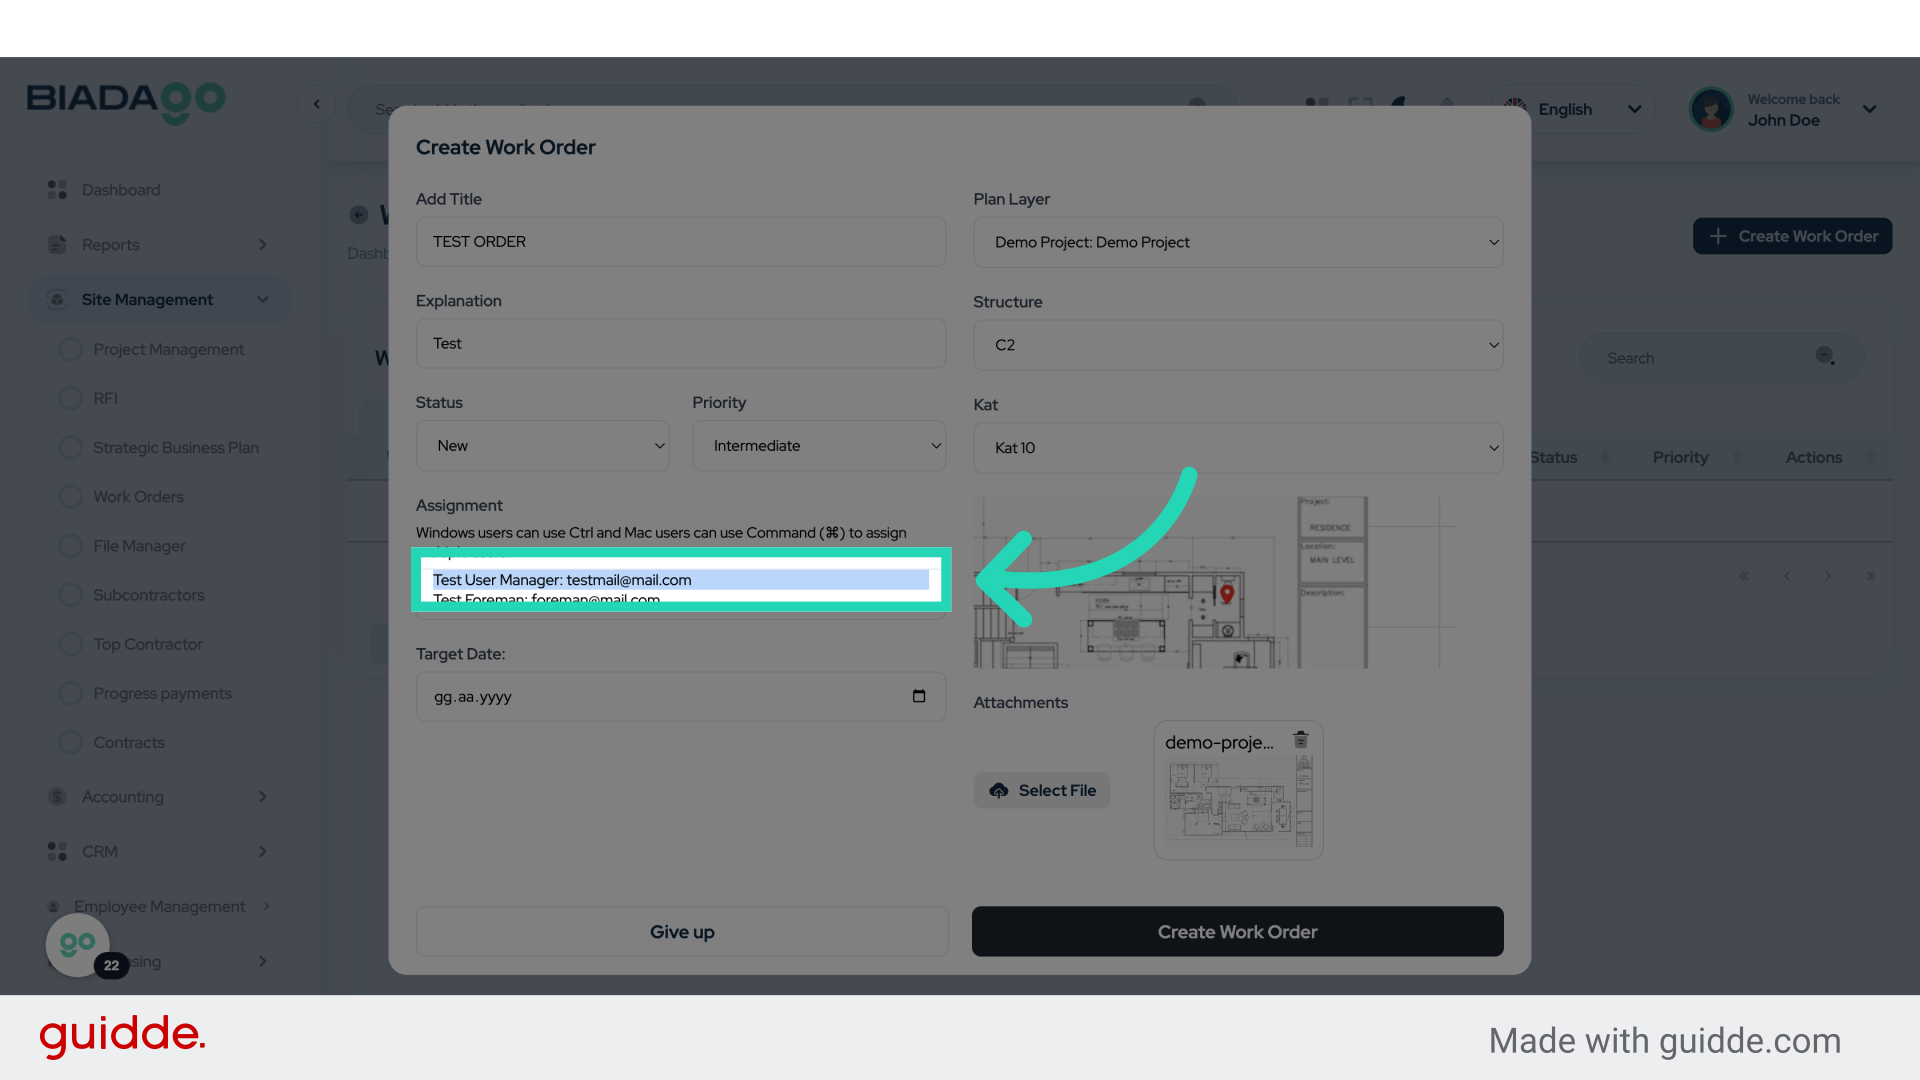
26. Fill “Test User Manager: testmail@mail.com
Test Foreman: foreman@mail.com”
Submit “Test User Manager: testmail@mail.comTest Foreman: foreman@mail.com” in the appropriate field

27. Click “Target Date:”
Set the target completion date.
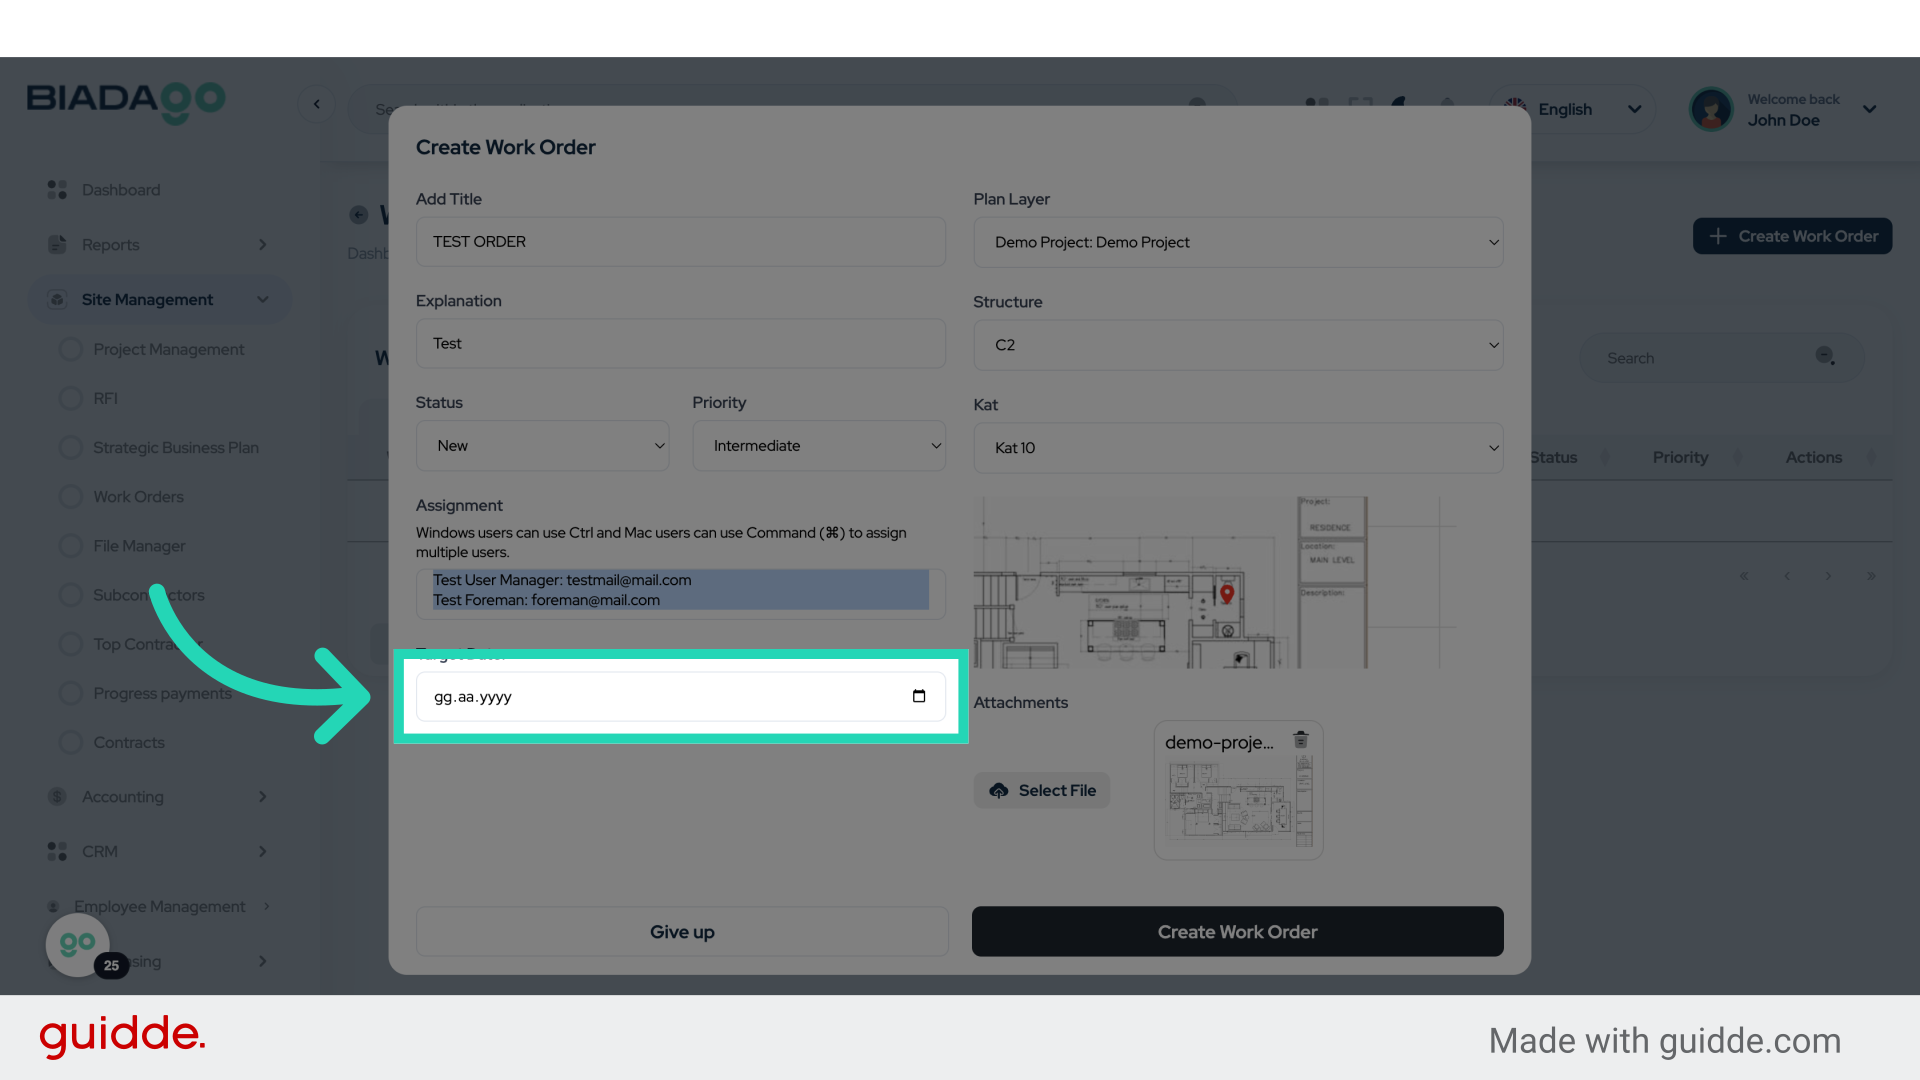
28. Fill “2025-05-08”
Input the desired text

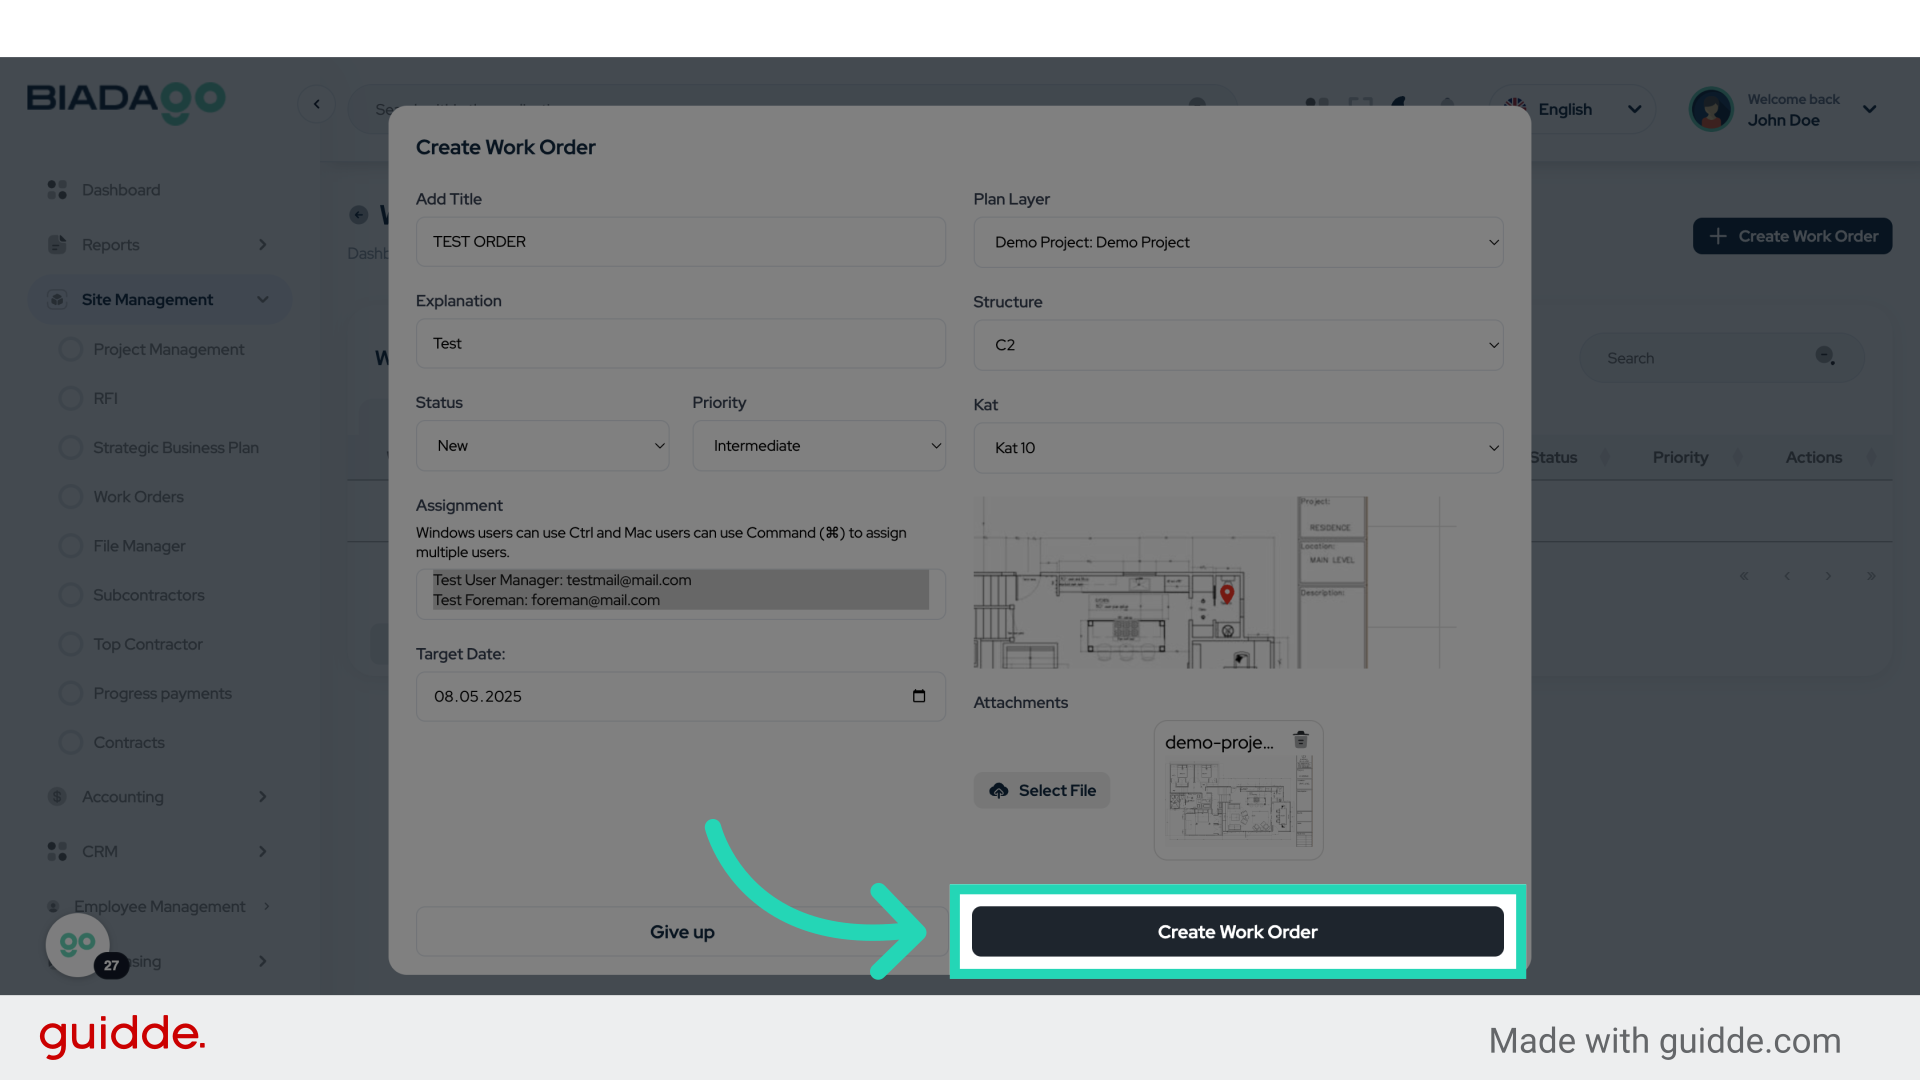
29. Click “Create Work Order”
Finalize and create the work order.
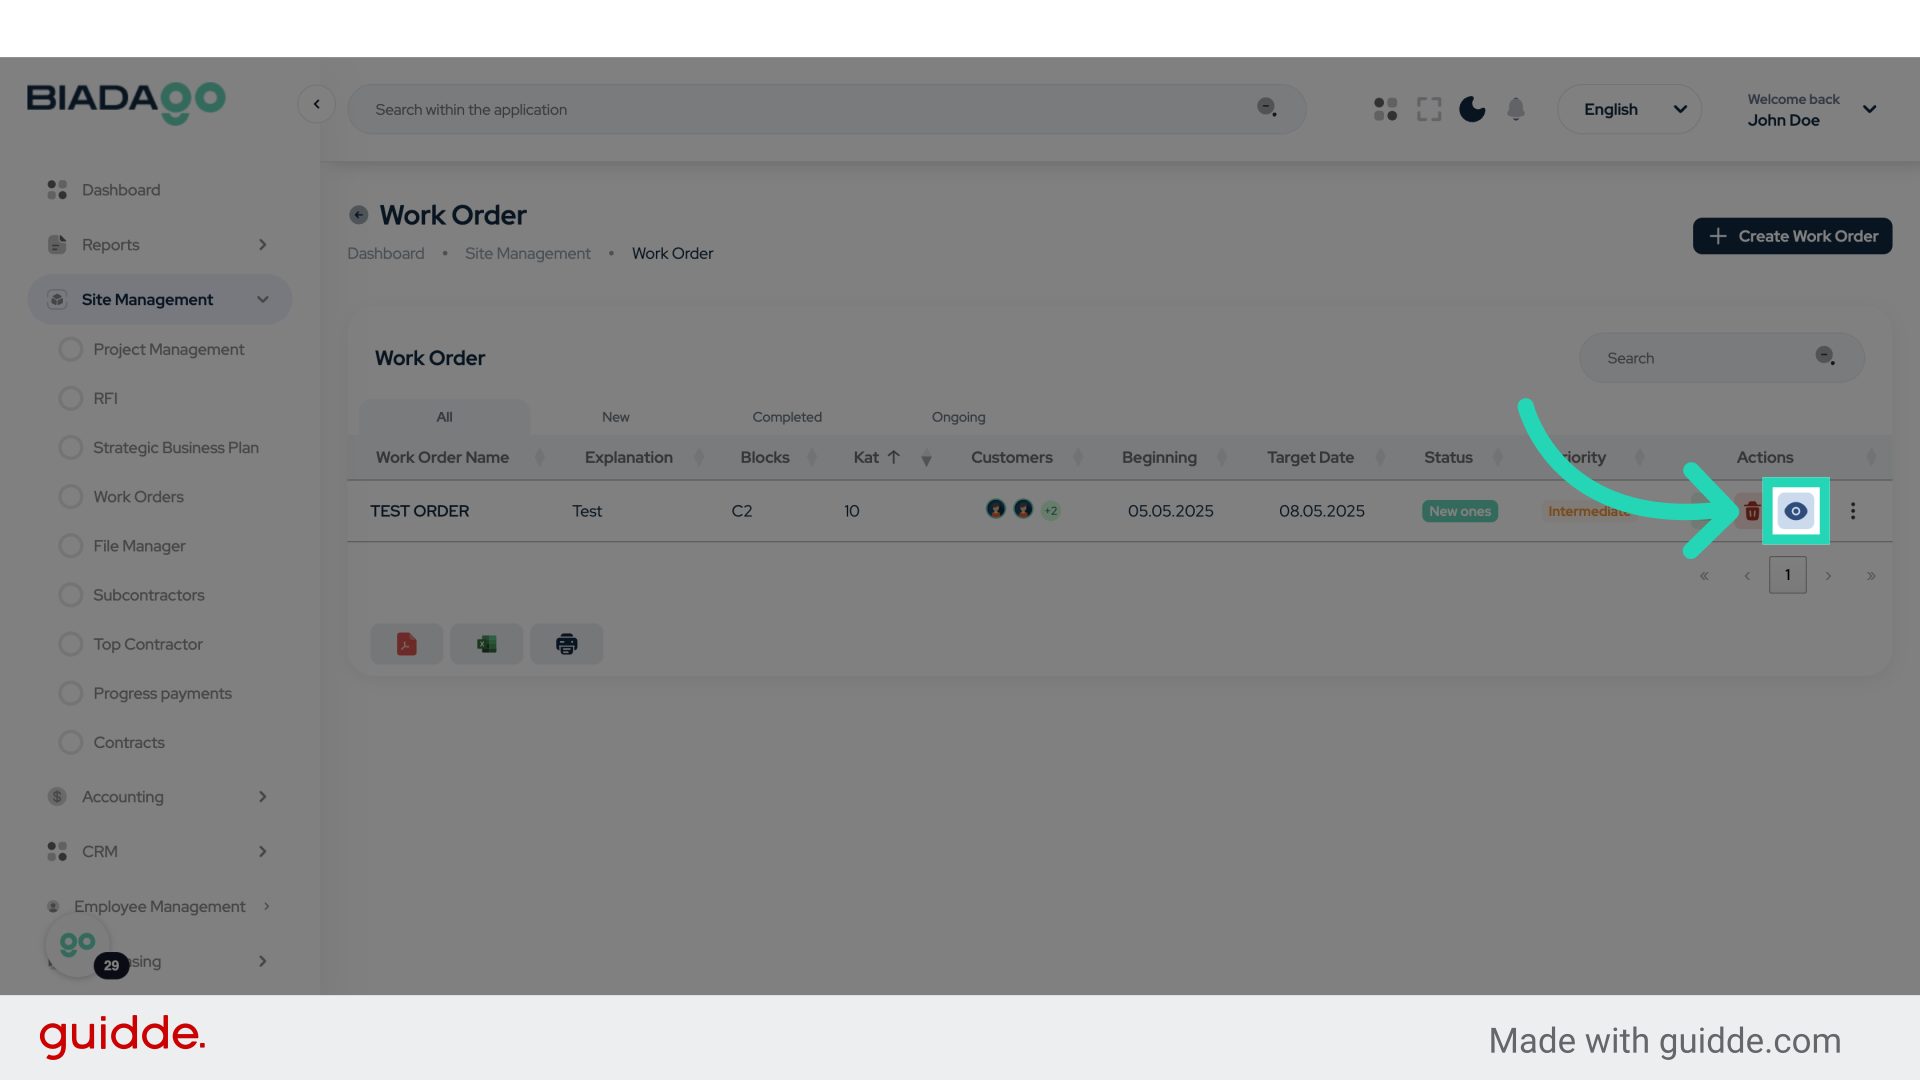
30. Click here
Proceed with the next step.
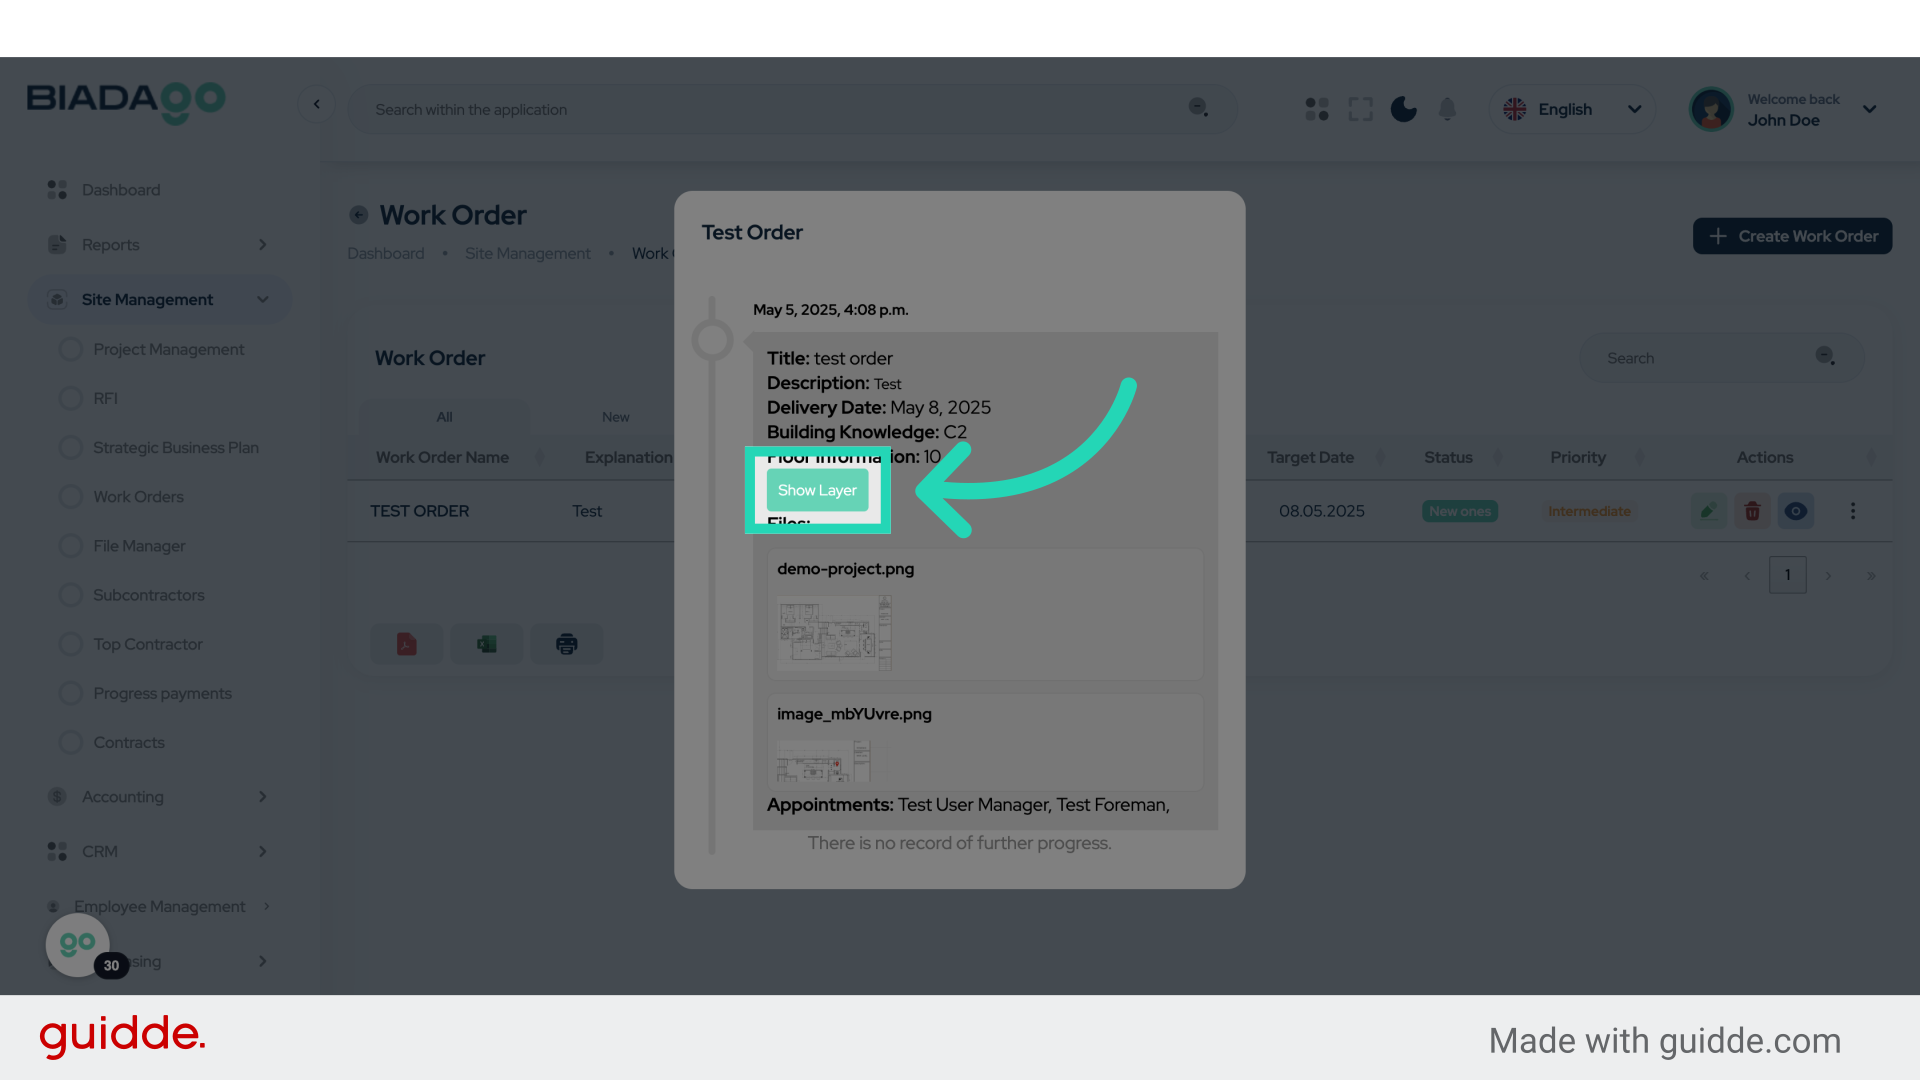
31. Click “Show Layer”
Display the selected layer.
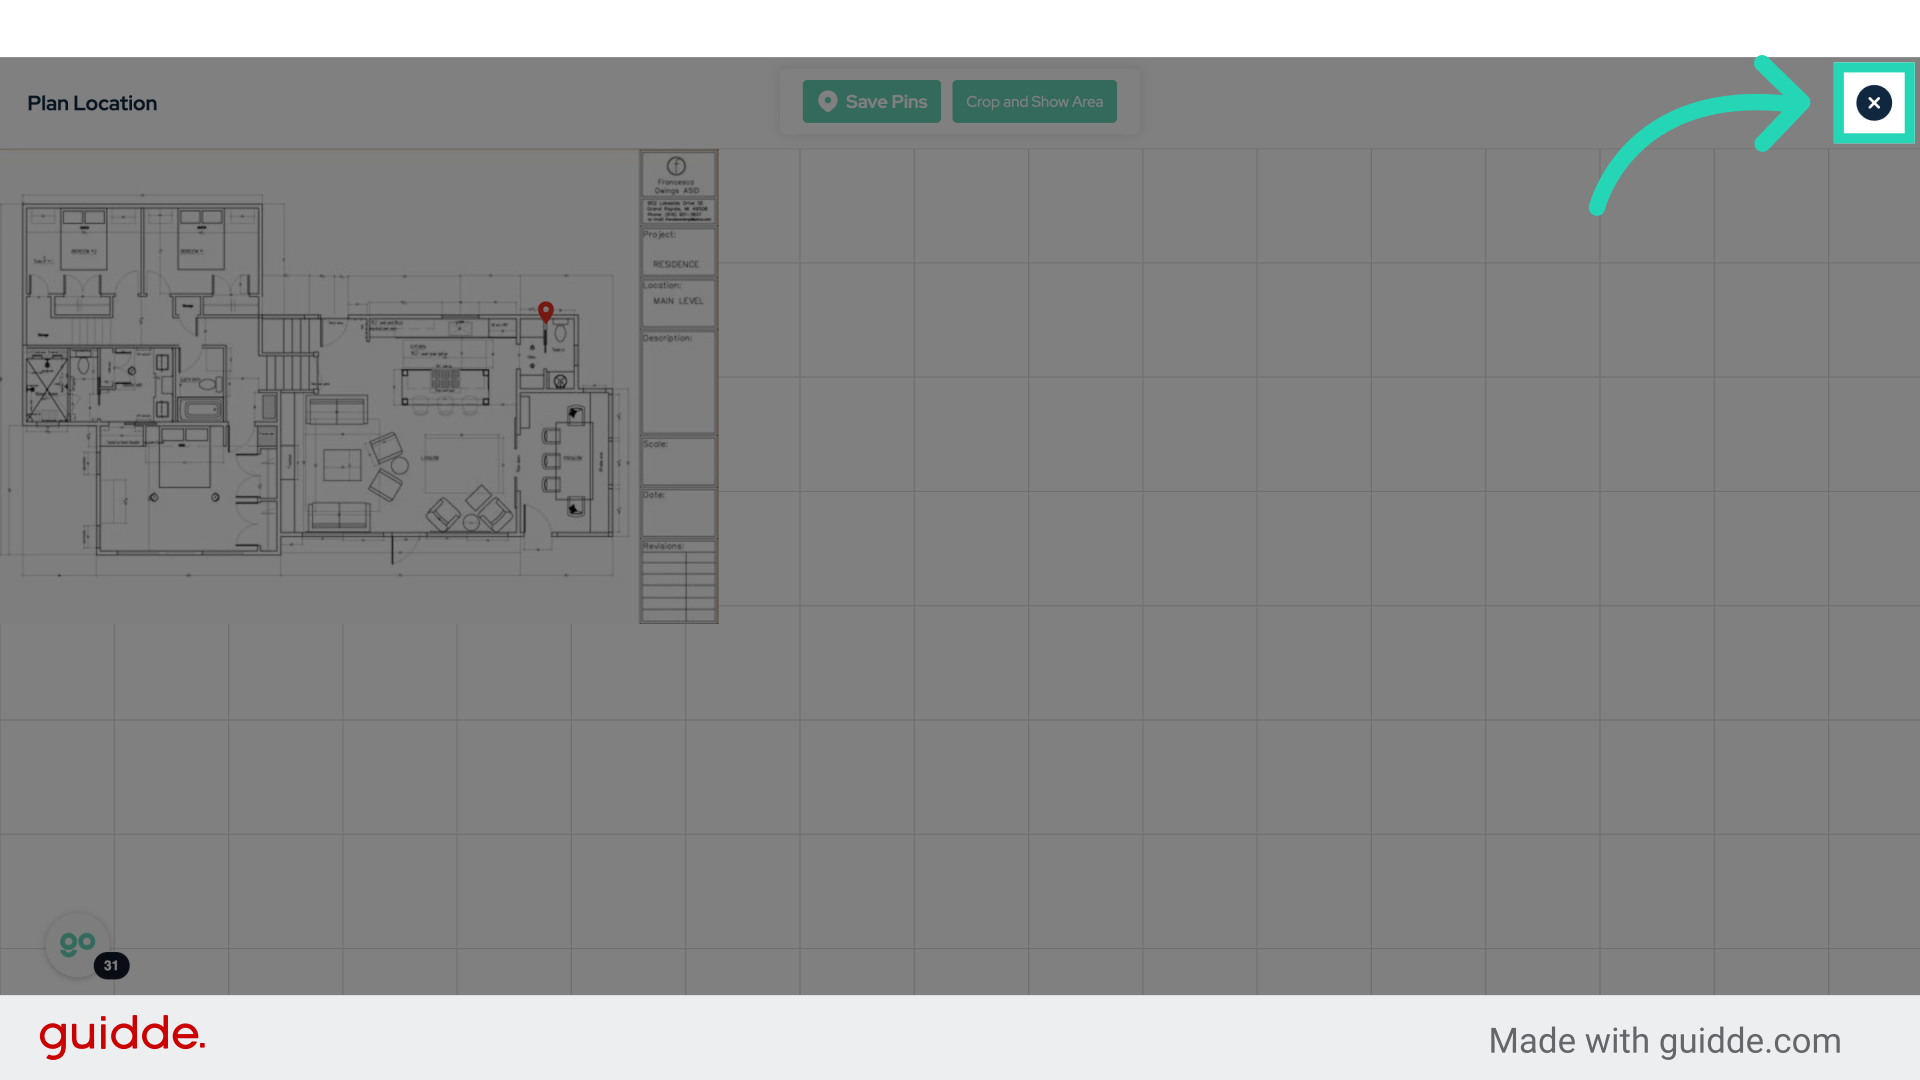
32. Click here
Continue to the next action.
33. Click “test order
May 5, 2025, 4:08 p.m.
Title: test order…”
Review the work order details.
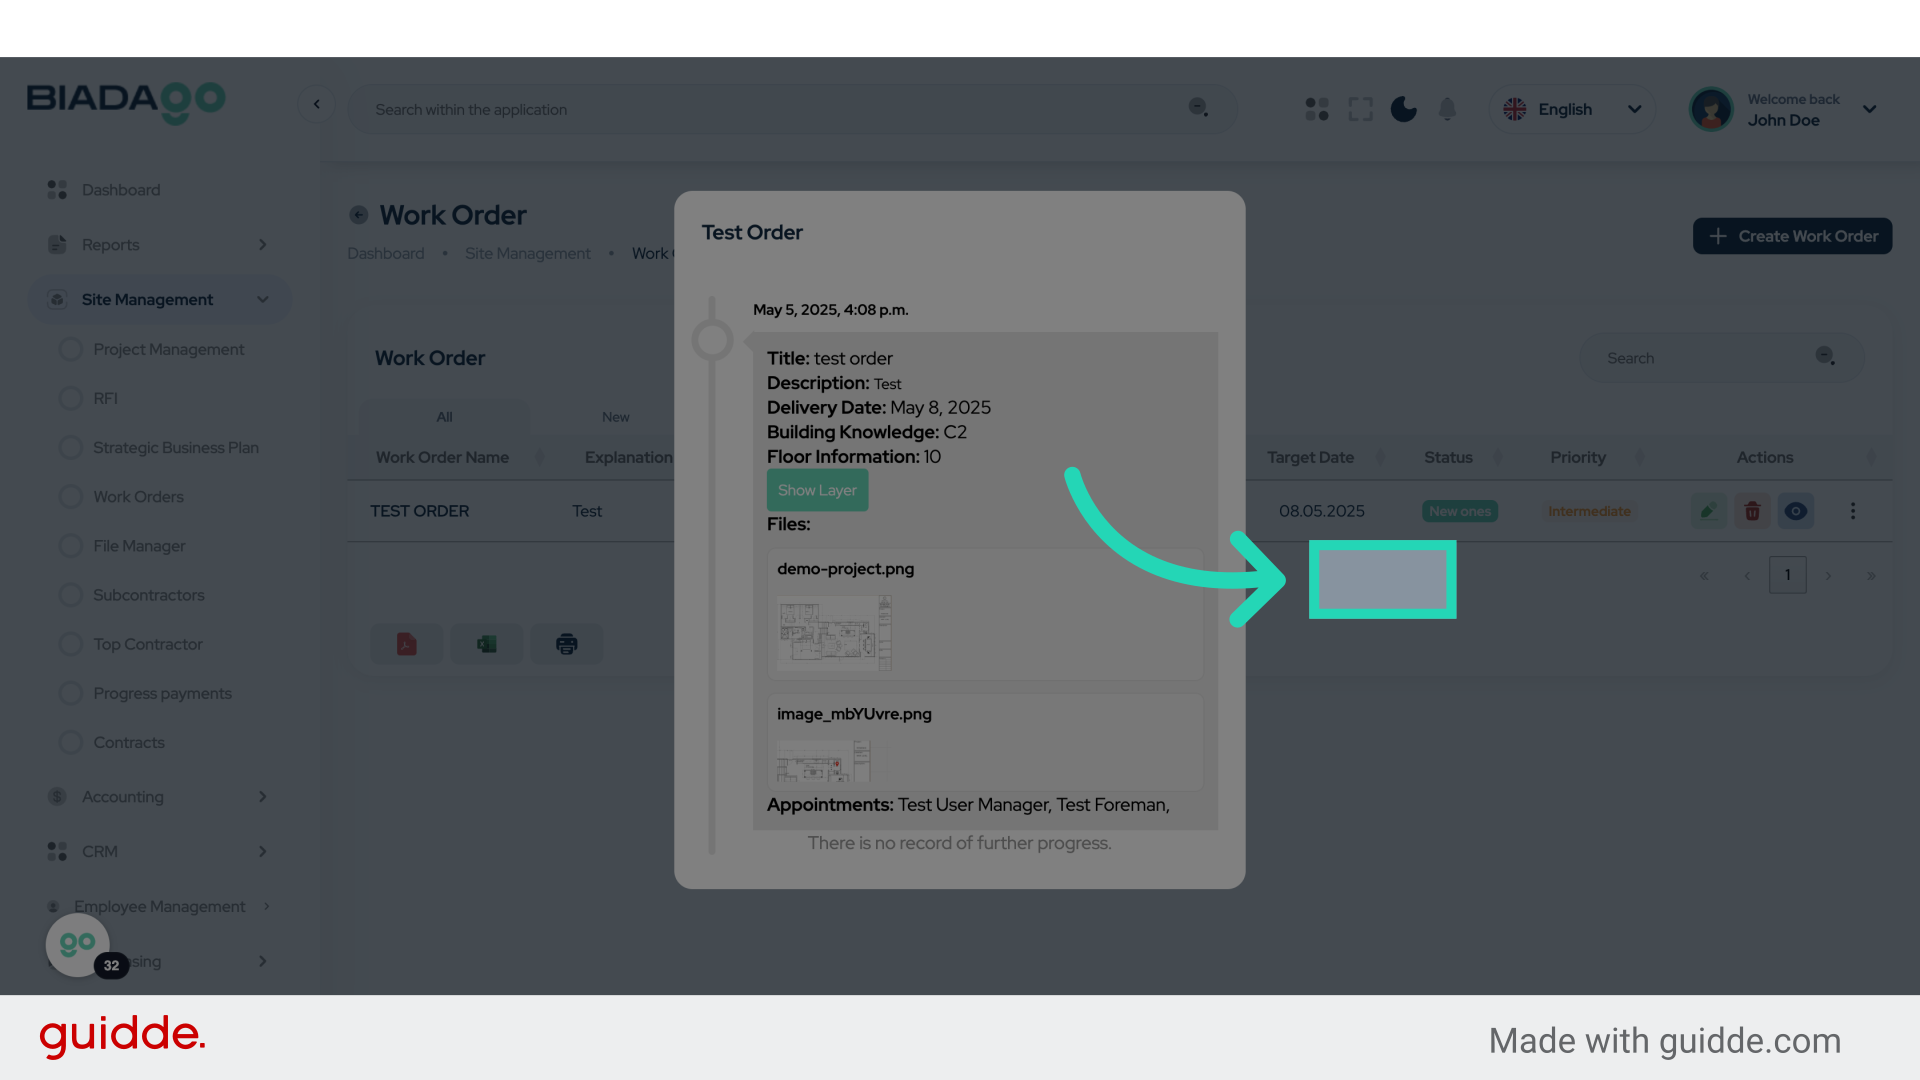
The guide covered the complete process of managing work orders and assigning users in BiadaGO, from initiating a new work order, setting priority levels, selecting users, to finalizing and creating the work order. Master the essential steps for effective work order management.